To start this assingment, you must first complete N7: Blood Pack Communications Relay. Once that prerequisite has been met, travel to the Xe Cha system in The Shrike Abyssal and scan the planet Zada Ban. Once you’ve found the anomaly there, pick a squad suited to battle Blood Pack mercenaries (means of dealing with armor are essential).
When you land, head forward and across the rock bridge; pick up the Refined Palladium to the left and the datapad from the table if you are interested. Head down the nearby ramp and into the hollow area beneath the cliff to the left. As you enter, a group of Blood Pack Vorcha will attack you from ahead, and from a gap in the ground in the center of the area. Kill as many as you can from here, then look to the right for a metal scaffolding. Follow it down to the lower level. Enter the room to the left and mop up any remaining hostiles. There is some more Palladium here and a third datapad you can inspect.
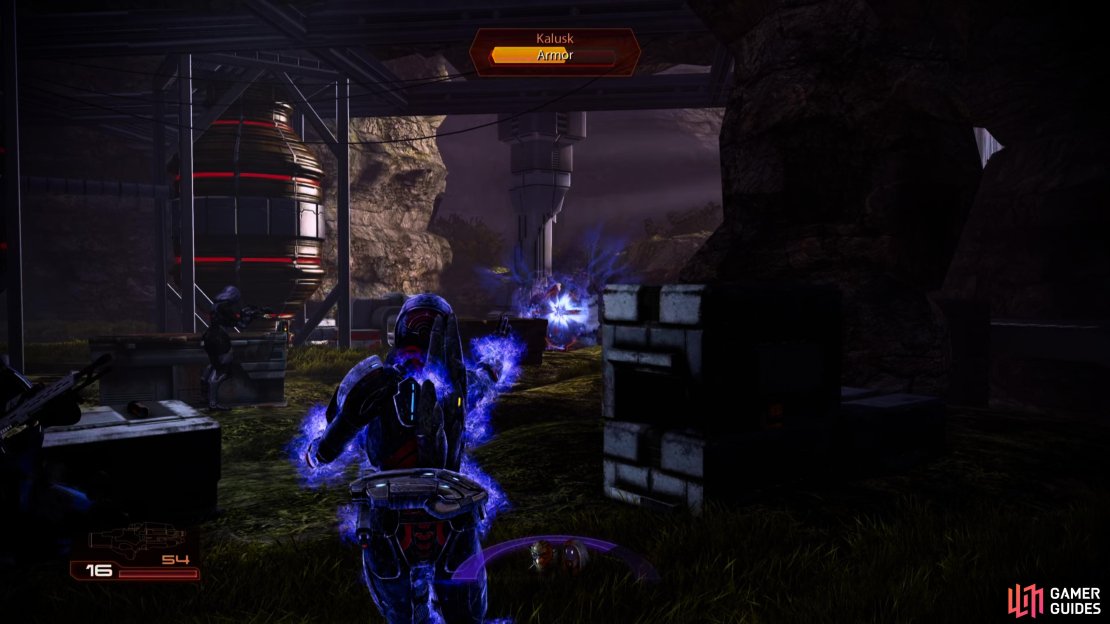
(1 of 3) Fight your way through various Blood Pack mercenaries until you encounter their leader, a krogan named Kalusk.
Head back outside and past the ramp you just descended. As you venture onto the rock bridge here, several Vorcha (5 - 6 in total) will appear at the other end and a couple of Vorcha with rockets will also make their presence known on a ledge above and to the right of your position on the other side of the bridge. They will attack you as you cross, so take cover behind the crates as required and mop them all up before heading across.
Once you have made it to the other side, head into the cave and turn right. Open the door at the end of the passage. Turn to the left and you will encounter a Krogan named Kalusk and 3-4 Vorcha (one has rockets so watch out!). Kill them all and look to the far left of the room from the entryway to find a canister of Refined Palladium . Once you have this, locate the two large metal cylinders in the middle of the room. At the base of these you will see explosive containment cells. Shoot all of these to destroy them, and when prompted, make a run for the exit to finish the mission.
| Mission Completion Rewards | |
|---|---|
| Experience Gained: | 125 (156) |
| Credits: | 3,750 + 3,750 |
| Palladium: | 2,000 |
| Research Project: | Heavy Weapon Ammo (Microfusion Array) |


No Comments