This phase of the suicide mission will begin after you complete the Collector Base Infiltration phase of the mission, after you assign an escort for the crewmembers you rescued, a biotic expert to deter the seeker swarms and perhaps a new leader for your second squad leader.
To recap, we recommend taking Samara along as your biotic expert (although Jack will suffice, if she’s alive and loyal) while sending Mordin back as your escort. Mordin’s not getting this job out of some great aptitude on his part, but rather because he’s just not needed later on, and his fragility may prove to be a detriment. Of course, this only applies if Mordin is loyal, if he’s not, send another character instead. We keep Jacob as our secondary squad leader.
| Assignments | Suggested Characters |
|---|---|
| 2nd Squad Leader | Garrus, Jacob, Miranda |
| Survivor Escort | Any loyal character |
| Biotic Expert | Jack, Samara |
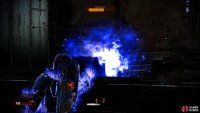
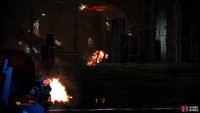
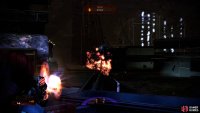
During this section you will need to stay close to your biotic expert, as they are maintaining a barrier to deter the seeker swarms. Straying outside this barrier for too long will cause your health to drain rapidly, although the area is rather generous. When you are ready to go, speak to your biotic expert and they will walk into the passage on the right. As you approach the end, a group of Collector Drones and Harbinger will hover in front of you, then land in a room down and to your left. Wait for the biotic specialist to take cover, then eliminate the enemies in the room below.
(1 of 3) During the long walk you’ll have to fend off attacks from Collectors (including Harbinger),
When the area is clear, speak to the biotic to move on. As you climb down the stairs, you will see a platform lower in the distance; from this a couple of Abominations and a Husk or two will run at you. Kill them and you will then be able to see several Drones accompanied by Harbinger fly into the right side of the area. Again you need to wait for the biotic to take cover and follow suit. From the cover you get, be sure to lean out and kill the enemies on the platform in front of you without leaving the protective barrier. When the area is clean, speak to the specialist to continue onwards.
The next place your biotic will stop is just ahead in a small chokepoint. Enemies will come at you from the front and will also climb up onto the small ledge to the left and drop down to attack you from here. You will be dealing with Husks and Abominations for the most part and a single Scion bringing up the rear of the attack. It is important to kill all the smaller enemies (especially Abominations) fast (so get friendly with your shotgun!) or the Scion will be upon you very quickly and with the limited area of protection, there is nowhere to run.
Speak with your biotic expert when you are ready to move on again and escort them through the hallway. As you do, watch out for a couple of Husks that climb up onto the platform from the left. When the group reaches the top of the ramp here, you will see the entrance you need to get to below. Unfortunately your biotic is starting to get exhausted and needs to get there quickly. The biotic will start jogging down the hill, so you need to catch up - you should be aware that Abominations and Husks will start popping up onto the ramp as you cruise down, so you will need to do your best to deal with them and keep them off the specialist.
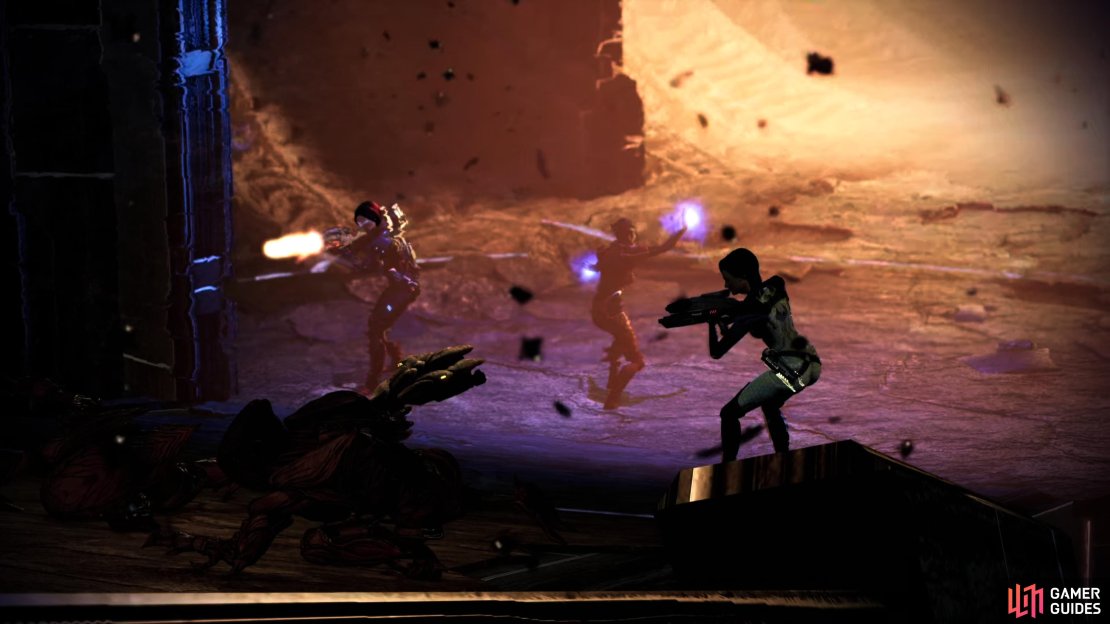
When you reach your goal you’ll be treated to a scene. Provided you chose a loyal Samara or Jack as your biotic expert, Shepard’s squad should have survived their ordeal, while a loyal Garrus, Jacob or Miranda will keep the secondary squad intact. Finally, any loyal character should have managed to keep the survivors (and themselves) alive on the trip back to the Normandy.
You’re near your destination now, so the remaining operation isn’t nearly as complex as the beginning bits were; any survivors who are not in Shepard’s squad (excluding the character sent to escort the crew back to the Normandy) will remain behind to cover Shepard. While you only have to pick Shepard’s companions this time around, it’s a choice with some weight, as you won’t be able to change your squad again this mission. You should only pick loyal characters to accompany Shepard at the end here, as characters who are not loyal are less likely to survive.
Furthermore, the characters left behind have varying odds of survival depending on how combat savvy (and durable) they are, which is also improved if they’re loyal. Garrus, Grunt and Zaeed are the best to leave behind, being more than capable of keeping themselves and others alive, while Jacob, Legion, Miranda, Samara/Morinth and Thane are capable of holding their own (if they’re loyal) and Jack, Kasumi, Mordin and Tali are all liabilities… moreso if they’re not loyal. Consider leaving characters like Garrus, Grunt and Zaeed behind while bringing Jack, Kasumi, Mordin or Tali with you for the final stretch of the game if you want to keep everybody alive.
Of course, keep in mind you still have some fighting left, and you’ll want companions who are capable of dealing with armor and barriers (especially the former) for the final phase of this mission. We bring along Miranda and Garrus, but consider bringing along less defensively capable characters if your rearguard needs some liabilities removed, and remember, only bring loyal characters with Shepard.
Pick your final squad, after which you’ll press on towards your final objective.
Everybody should survive the long walk, provided you picked a loyal Jack or Samara to serve as your biotics expert,.


No Comments