Reaper IFF is the penultimate core mission in Mass Effect 2, and will become available immediately after you complete the Collector Ship. Fortunately, unlike many mid-to-late game core missions, you control when you start this one, and since the final core mission punishes delay, you should make absolutely sure you’ve recruited every character, earned their loyalty, completed every assignment and have purchased every upgrade. The more missions you leave incomplete, the worse you’ll perform during the final mission, and if you care about importing your save to Mass Effect 3, you’d do well to ensure you have the best possible outcomes.
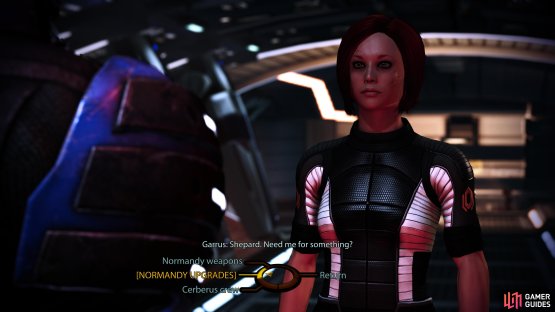
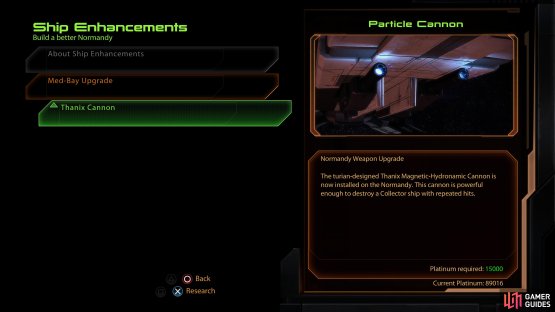
(1 of 2) Make sure you talk to your companions on the Normandy to gather upgrade ideas for the Normandy,
Make sure you talk to your companions on the Normandy to gather upgrade ideas for the Normandy, (left), and be sure to expend the resources on actually implementing them - Garrus, Jacob and Tali especially have useful upgrades. (right)
Aside from completing every recruitment/loyalty mission, you should be sure to purchase the following upgrades:
- Speak With Tali to upgrade the Normandy’s shields ( Multicore Shielding ).
- Talk to Jacob for a research project to upgrade the ship’s armor ( Heavy Ship Armor ).
- You should also talk to Garrus to upgrade the Normandy’s weapon systems ( Thanix Cannon ).
There’s only one character you can’t recruit before Reaper IFF, so don’t worry about that missing spot on your roster. You’ll take care of that soon enough.
The Normandy approaches the derelict Reaper.
Anywho, when you’ve done everything you can (or care to) do, travel to the Thorne system in the Hawking Eta cluster to find the Derelict Reaper. Dock with the giant synthetic space crustacean to start this mission. For your squad, you’ll mostly be fighting Husks and Scions, so anything that can burn through armor (especially on higher difficulties, where every Husk will have an armor bar) is recommended.
| Notable Items in This Area |
|---|
| Upgrade - Research Project: Sniper Rifle Damage |
| Upgrade - Research Project: Heavy Skin Weave |
| Upgrade - Research Project: Shotgun Damage |
Once aboard, move up and through the first door, around the first corner you will find a small lab containing two wall safes, a terminal and a work log you can check out. Further down the hallway you will find another log and a medstation if you need it. Continue down the passage to the right to watch a short scene.
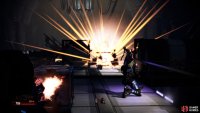
(1 of 2) The derelict Reaper is full of explosive crates you can use against your foes,
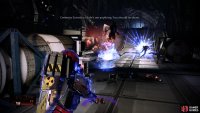
The derelict Reaper is full of explosive crates you can use against your foes, (left), although traditional means work just as well. (right)
After the cut scene, you will find yourself on a catwalk of sorts, head forward and to the left for another work log and then follow the path over to the right. As you reach the explosive crates, a group of husks will attack you. Defeat them and continue down the nearby ramp. At the bottom you will encounter several more groups of husks. As the numbers are a little overwhelming, feel free to retreat back up the ramp if you start to get crowded. When they are all dead, check out the work log and continue onwards.
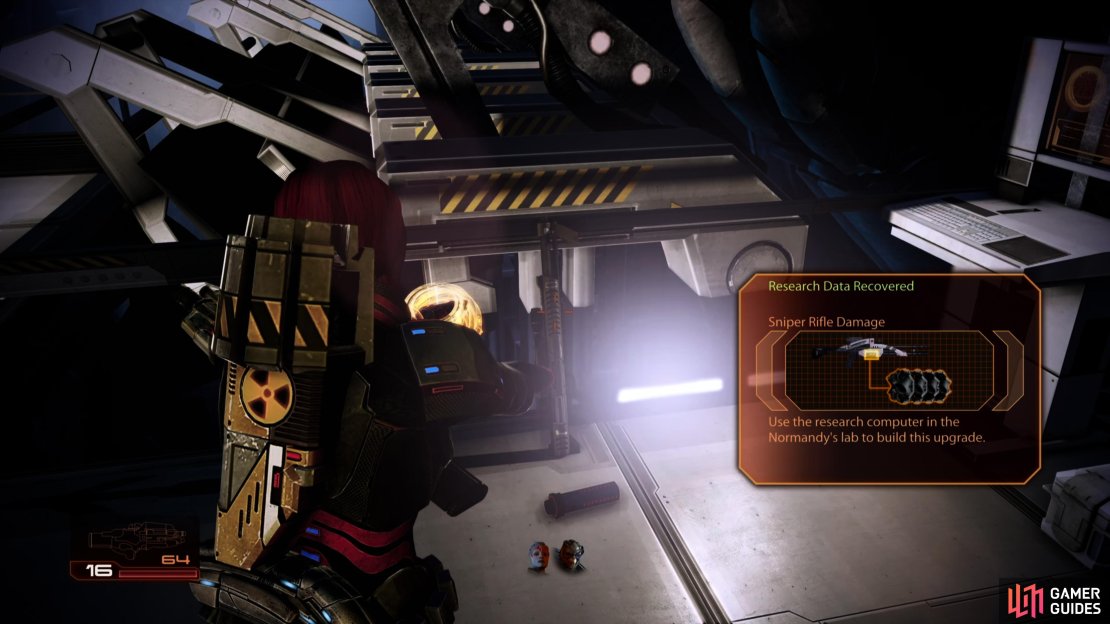
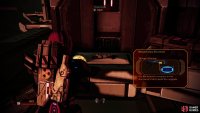
At the top of the ramp you will see a pair of Husks get taken out and be warned of a sniper in the area. Check the immediate area for a box of Power Cells , a canister of Refined Platinum , a new Research Project (Sniper Rifle Damage) and a Terminal that can be used to earn a few easy credits.
(1 of 3) Search a “Cerberus Rifle” to obtain a “Sniper Rifle Damage” research project.
Continue into the open area on the left until you head down a small ramp. At the bottom here, fight off the Abominations and Husks that climb up from the left and the right and the large group that charges at you from the far end of the room. Be sure to keep your eye on the Scion that appears back there as well as they can do a lot of damage in a hurry if you get caught in the open and are exposed to its ranged attacks. Once again, retreat a short way if you start to get surrounded or you are likely to be heading back to the previous autosave!
Once the room is clear, go to the back of the room to find a work station, Med Kit and a hackable research terminal for a new Research Project (Heavy Skin Weave) and when you are ready to progress, look to the left of the ramp you entered from to find a tunnel containing a bypassable door. Open the next door here for a scene.
You receive assistance from a most unlikely source.
After the scene, defend yourself against the horde of Husks and Abominations that decide to visit you by climbing onto the catwalk. Once the first group is dead, descend the stairs in front and look just to the right and you will see another group climbing up onto the walkway. Retreat up the stairs as you are going to have to kill about twenty of them whilst a Scion also appears from further ahead. Once they are all dead (including the Scion), cruise down the stairs, around the crates and up the stairs on the other side.
(1 of 2) Fight through numerous waves of Husks (and the odd Scion),
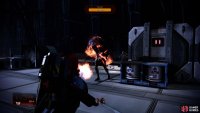
Fight through numerous waves of Husks (and the odd Scion), (left), stopping to search a cubby where a “Cerberus Shotgun” will yield a “Shotgun Damage” research project. (right)
At the very top here you will find a Terminal and if you head on down the catwalk to the left you will find a Med Kit if you require one. Return to the top of the ramp and move a short way past it to trigger another wave of Husks. Kill them all before you continue. In this area, examine the Terminal before going down the ramp to the right. Find the next set of stairs leading down and as before, as you reach the bottom, Husks and Abominations will start crawling over the sides, and matters are further complicated by another Scion who will appear atop a ramp further ahead. Withdraw out of the Scion’s range and gun down the Husks and Abominations, then deal with the Scion. When the way is clear, descend the stairs again and search to the right to find a cubby containing some Power Cells and a Cerberus Shotgun you can scan for Research Project (Shotgun Damage). Grab this loot, then turn around and head up the ramp the last Scion appeared on.
At the top of the ramp, look to the right for a Terminal , before heading forward down the next ramp. As you reach the bottom, two Scions will appear on ramps in front of you and a group of Abominations and Husks will start to climb over the railings as well, just to mix things up a bit! Immediately retreat up the ramp and down the other side a little to break line of sight with the Scions so that you can kill the Husks/Abominations without having to worry about ranged attacks as they come to get you. Once the minor enemies are done, take down the Scions from cover – try to save the explosive containers at the bottom of the ramp and shoot them when they get close. When the Scions are dead, move to the bottom of the ramp and kill any remaining baddies in the area.
(1 of 2) As you approach your destination, you’ll find opposition in the form of two Scions, in addition to the usual swarm of Husks.
As you approach your destination, you’ll find opposition in the form of two Scions, in addition to the usual swarm of Husks. (left), Defeat your foes and claim the Reaper IFF. (right)
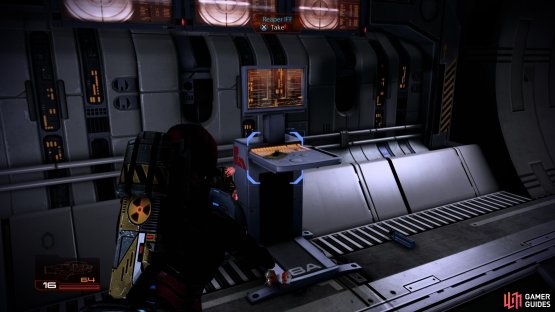
Continue around the walkway to the next ramp leading downwards and descend. Eliminate the Husks that climb up to meet you and as you do that, you would do well to notice a pair of Scions slowly making their way up a nearby path to meet you. Retreat and take out the Husks before focusing fire on the Scions. Mop up any stragglers you may have missed and pick up the Power Cells in the corner before making your way along the walkway the Scions came from and bypass the security lock on the door. Grab the Reaper IFF from the console here and snaffle the contents from the nearby Wall Safe before heading through the next door.
(1 of 2) Fend off waves of Husks guarding the Reaper Core,
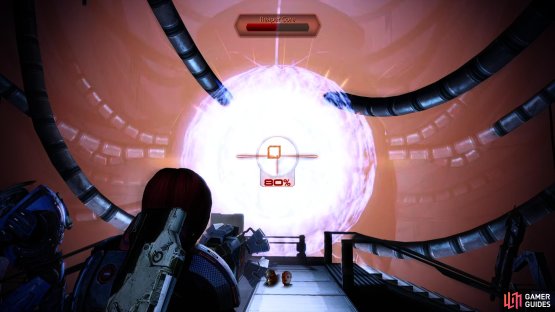
Fend off waves of Husks guarding the Reaper Core, (left), stopping either to take potshots at the Core when it’s vulnerable, or waiting until all the Husks are dead to deliver a coup’de’grace. (right)
After the scene, have a quick look at the room; there are three long walkways running parallel to each other and linked together at the front and back by bridges. At the far end from the entry is the Reaper Core. As you approach it, the Core will close and send out a pulse of energy that summons bad guys. Within seconds, Husks and Abominations will begin to climb up onto the left and right platforms and you will need to defend yourself from the onslaught.
To make this a little easier, we recommend chilling in the back corner of the left platform (there is also a laptop here to pick up). Note that the Reaper Core will open whilst you are fighting the smaller enemies so try and get a few sneaky shots in at it whilst you have a break in the fighting. Once enough damage has been done to it, the Core will seal itself once again and summon another wave of hostiles.
Continue to defend yourself, dispatch minions and shoot the Core when it reveals itself - if you can find the time, a single shot from the M-920 Cain can just about do the job - until it is destroyed and a scene ensues. Mission complete!
The Normandy leaves the moribund Reaper ship.
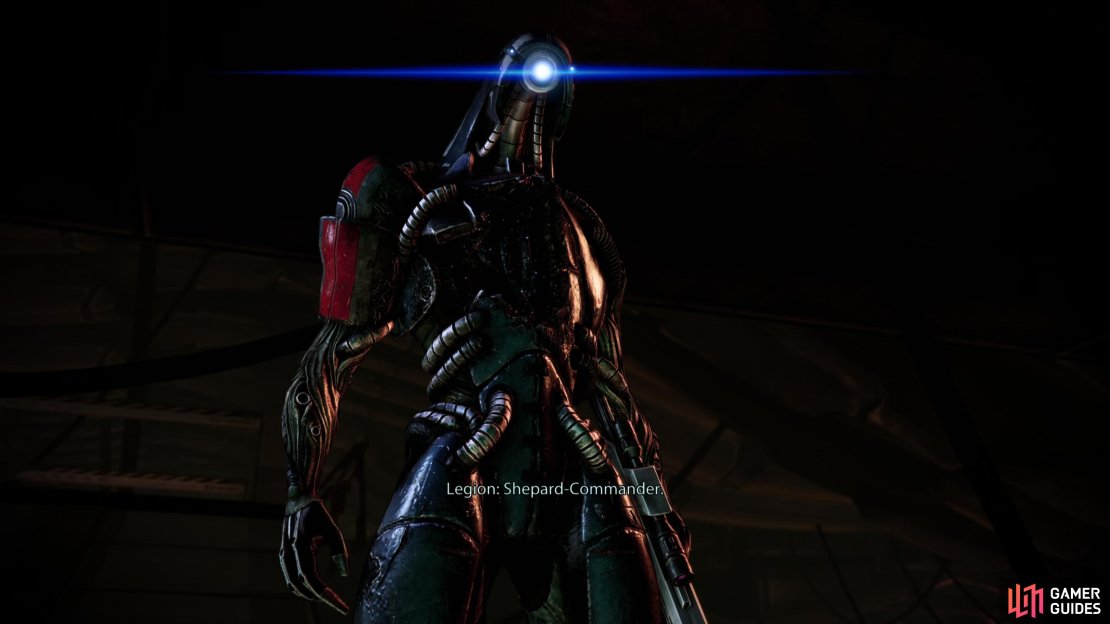
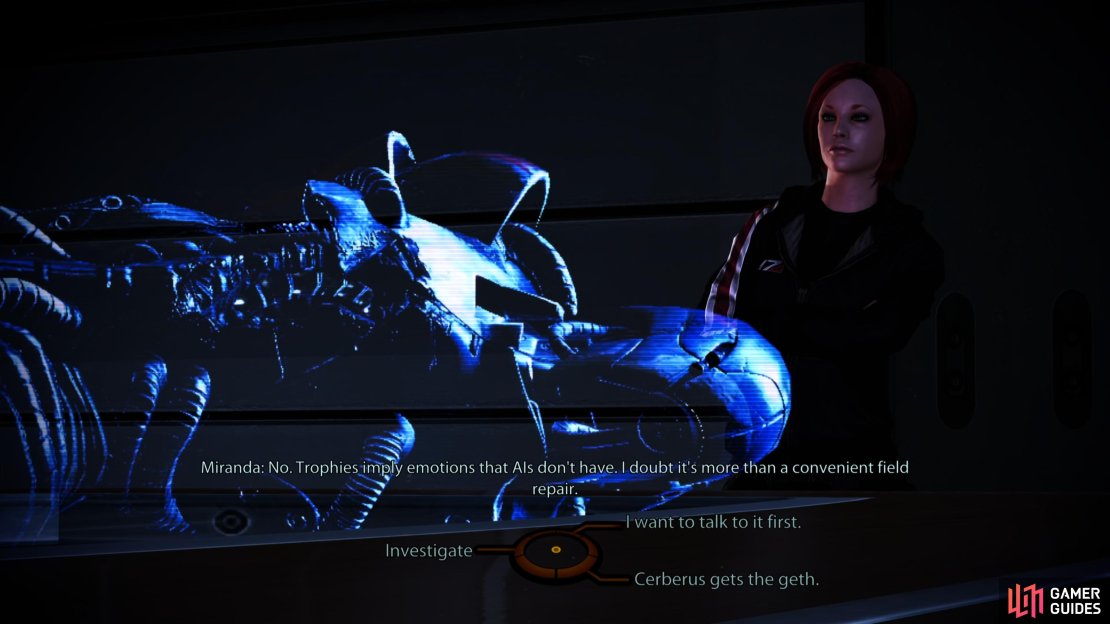
Back on the Normandy, the crew will discuss the odd geth that you rescued. Your history with the geth hasn’t been checkered - it’s been decidedly skewed in favor of violence. That said, this is the first geth you’ve encountered that didn’t shoot at you… unless its aim on the derelict Reaper was really, really bad. You’ll get two options for dealing with the deactivated geth; either ”I want to talk to it first.” or ”Cerberus gets the geth.”, and we strongly suggest you pick the former, as otherwise you’ll miss out on a new companion.
During the following conversation, you need to be sure to hang onto the Geth (named Legion as you will find out later) that has helped you during the mission. Once you are back aboard the Normandy, you will be able to decide its fate, plus if you want, it can also join your squad later on. We highly recommend keeping it as a squad member to gain full benefit from the story especially if you plan on playing Mass Effect 3 and wish to see everything there.
| Mission Completion Rewards | |
|---|---|
| Experience Gained: | 1000 (1250) |
| Credits: | 25,000 + 25,000 |
| Platinum: | 2,000 |
(1 of 3) Make sure you keep Legion on board the Normandy - if you send him off to Cerberus, it’ll be lost forever.
Once all that’s done, you’ll have free reign of the Normandy again, and you’ll most likely be told it’ll take some time for the Reaper IFF to install. That’s right, you have a variable amount of time to burn between the end of the Reaper IFF core mission and the next - final - core mission. Before this final mission starts up, you may as well complete any remaining missions/assignments, and if you took our advice earlier and did everything possible before starting Reaper IFF, this will be a nice, simple, clean matter: talk to Legion down in the AI Core (Crew Deck) and accept it into the squad, then talk to it again to start Legion’s loyalty mission, A House Divided.
Completing this mission will secure the loyalty of the game’s final squadmate, and when it ends you’ll (hopefully) move on to the final mission.




















No Comments