
You’ll gain access to this mission after the events at Freedom’s Progress, after which you’ll find yourself in the Omega Nebula system. Dock on Omega and talk to Aria, whom will tell you about the Professor and Archangel and you’ll finally be able to start this mission in earnest. Before you do, however, we recommend you explore Omega, as there’s some shopping you can do… especially if you fancy assault rifles and/or shotguns.
| Notable Items in This Area |
|---|
| Weapon: M-6 Carnifex Hand Cannon |
| Upgrade - Research Project: Medi-Gel Capacity |
| Upgrade - Research Project: Assault Rifle Damage |
When you’re ready to start this mission, head over to the Quarantine Zone and talk to a District Guard, who will let you pass - you can attempt a Paragon/Renegade response here, but they’re not necessary to advance. You probably don’t have much choice in squadmates right now, but if you recruited Zaeed earlier, bring him along over Jacob. His Inferno Grenade ability will prove more useful than Jacob’s biotics.
As you enter, look behind the barricade in front of the starting hallway to find a canister of refined element zero. Enter the nearby alley and go through the door on the right, in this corridor, pick up the medkit if you need it, then exit and enter the door at the far end of the main room.

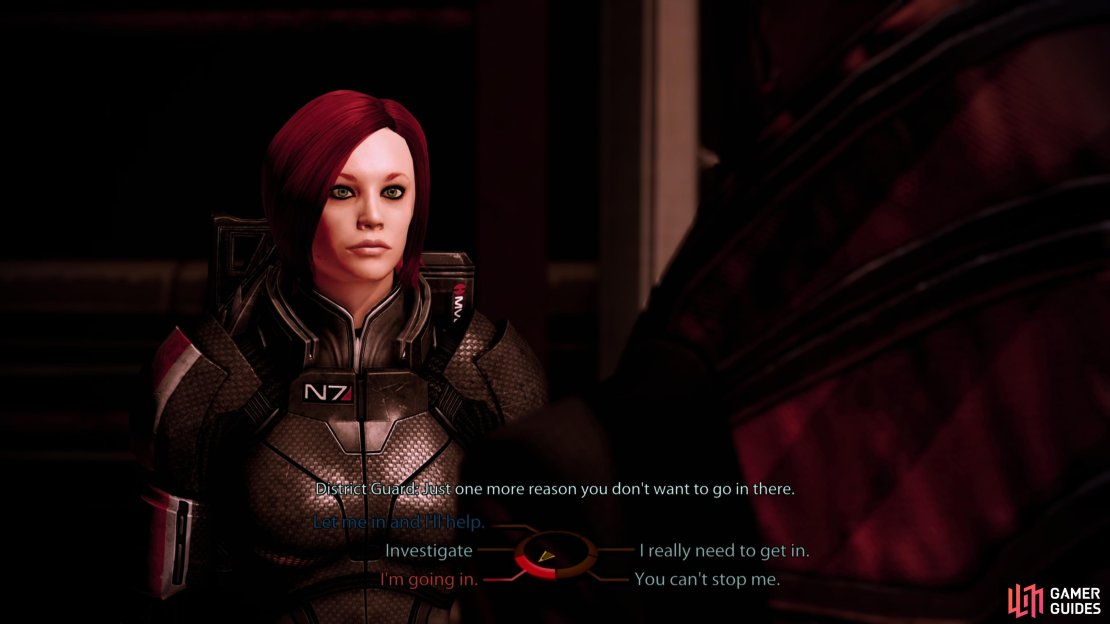
(1 of 3) Talk your way into the quarantine zone - perhaps scoring more Paragon/Renegade while you’re at it.
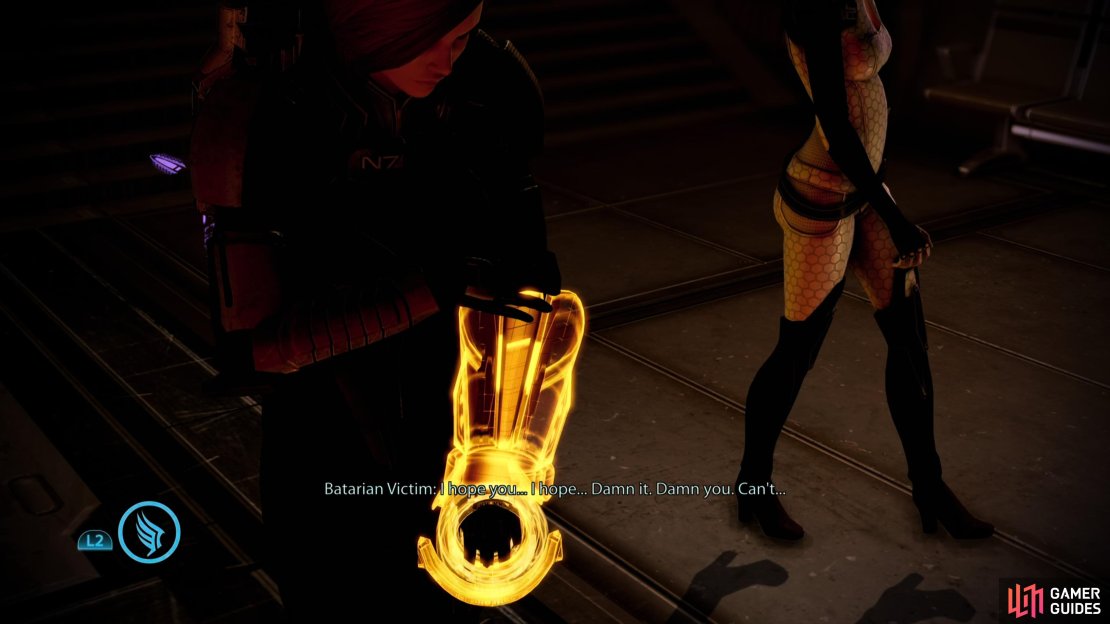
As soon as you reach the bottom of the stairs, you will see a pair of Blue Suns Troopers in front of you. Slay them, and then check out the terminal in the corner behind them for a few credits. Enter the door behind them and check the bench near the left hand wall for a box of power cells, and bypass the security lock on the door here. Inside you can examine the audio log and the dead turian on the floor for a bit of back-story. Return to the room in which you fought the Blue Suns not so long ago and turn to the left. Speak to the Batarian plague victim here (you may trigger a Renegade/Paragon interrupt during this conversation) before entering the alley to the left of him.
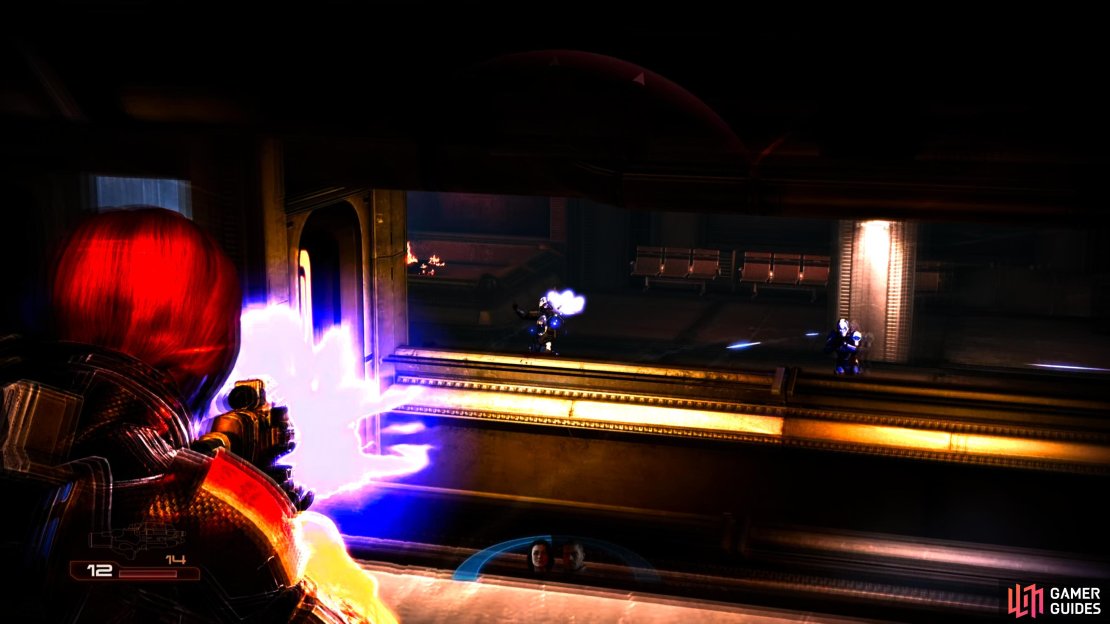
After exiting the alley, bypass the security lock on the door to the right and head inside for another audio log and a lootable wall safe. Return to the main room, and enter the door to the right at the foot of the small set of stairs.Inside this area, you will see a group of Blue Sun troopers and a Centurion (shielded trooper) hanging out behind a barricade at the far end of the room. Killing these guys will cause several more troopers to enter this large room from a door on the right, close to the barricade at the far end. If finding cover in this area is a bit tricky, cruise into the room on the left side of the area and climb to the top floor, inside you will find a med kit, salvageable circuit boards, and a conveniently placed window overlooking the enemy forces below.

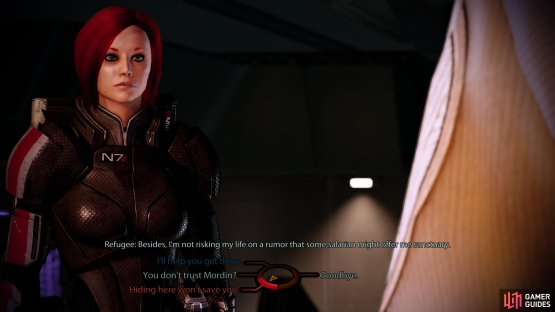

(1 of 2) As you explore the quarantine zone, you’ll be able to convince refugees to… take refuge and looters to stop… looting.
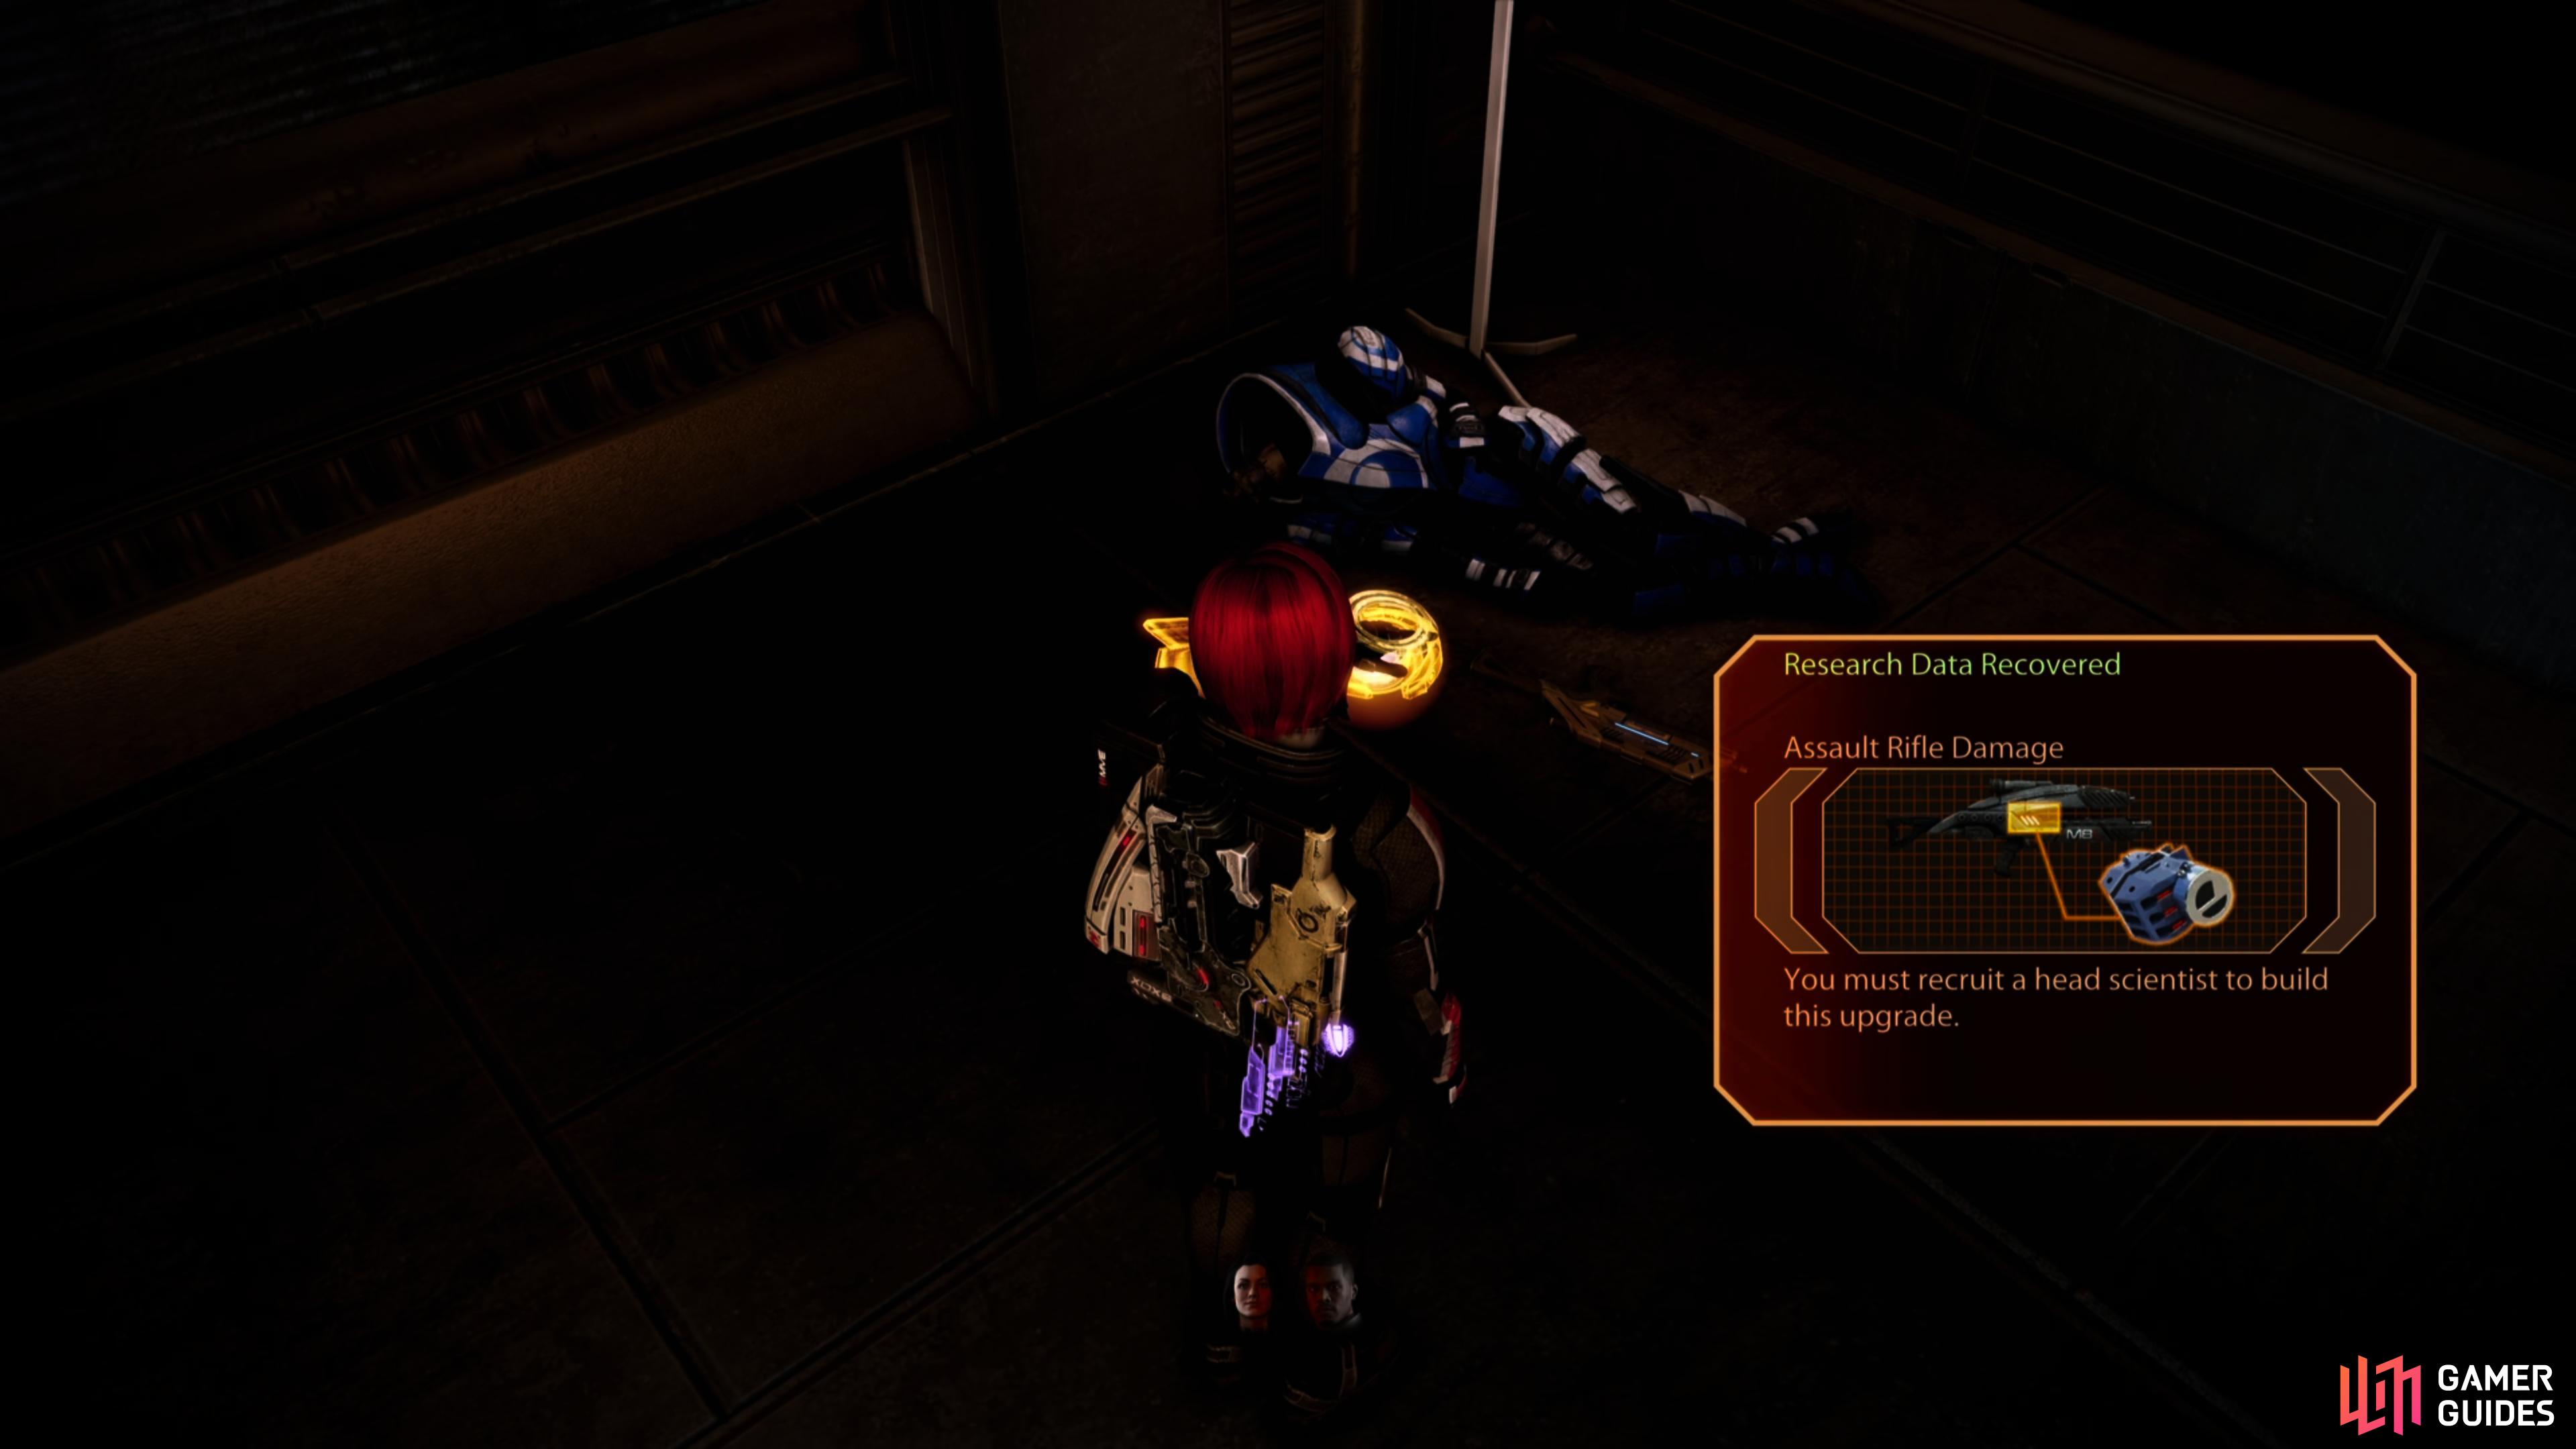
As you explore the quarantine zone, you’ll be able to convince refugees to… take refuge and looters to stop… looting. (left), You can also score an Assault Rifle Damage upgrade by examining the gear of a dead Blue Suns mercenary. (right)
When the coast is clear, make your way across the open room and into the door the enemy reinforcements emerged from. Follow this hallway past the opening leading to the barricade until you reach a dead end. Look to the right for a bypassable door. Inside you will find a human survivor (talk with them for a Renegade/Paragon option), a Med Kit and a hackable Wall Safe . Return outside and use the doorway to get behind the barricade; on the floor here you will find a modified assault rifle that will give you an Assault Rifle Damage research project when examined. Go through the nearby door.
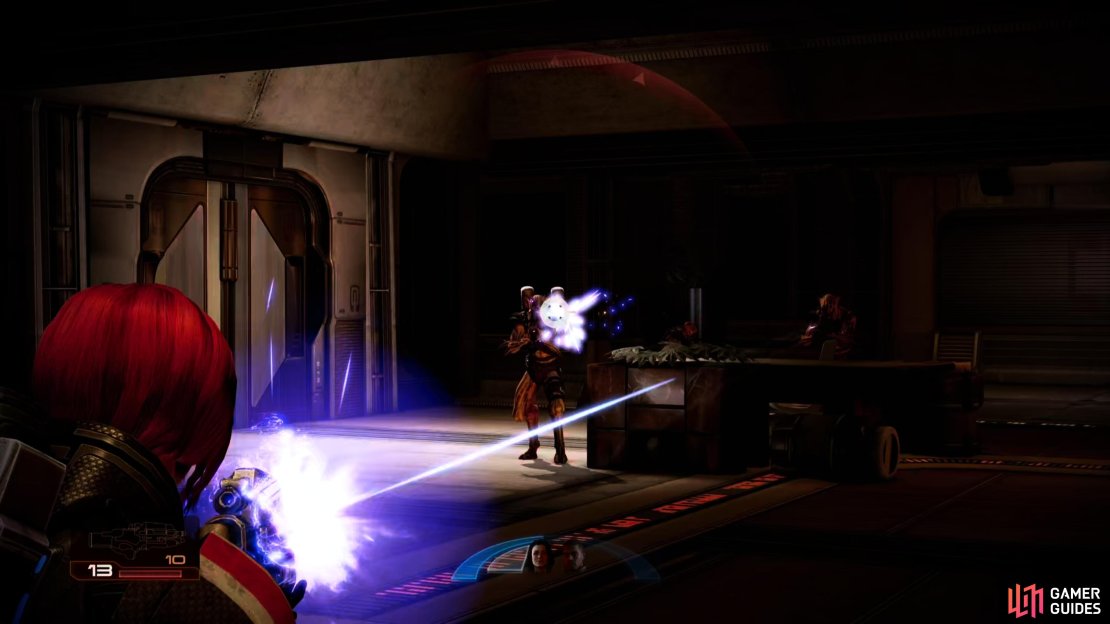
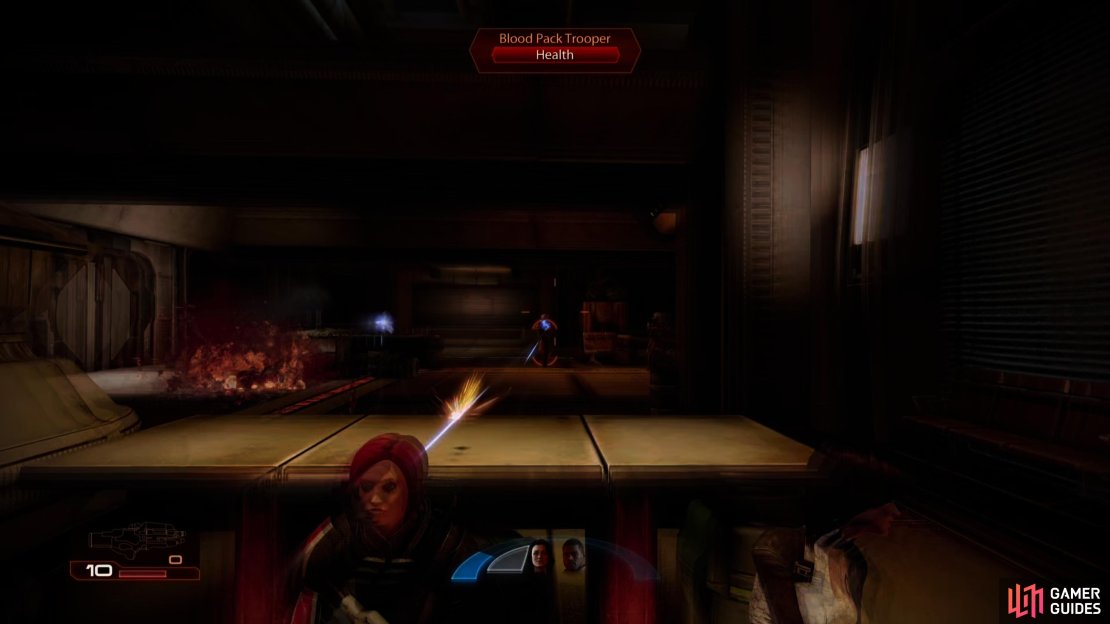
Entering the next hallway, you will hear gun fire coming from up ahead. You can either go through the right hand door here to reach a balcony overlooking the fight below, or you can continue to the end and use the pillars and door on the left as cover. Either way you will need to eliminate the Blood Pack presence in this room.
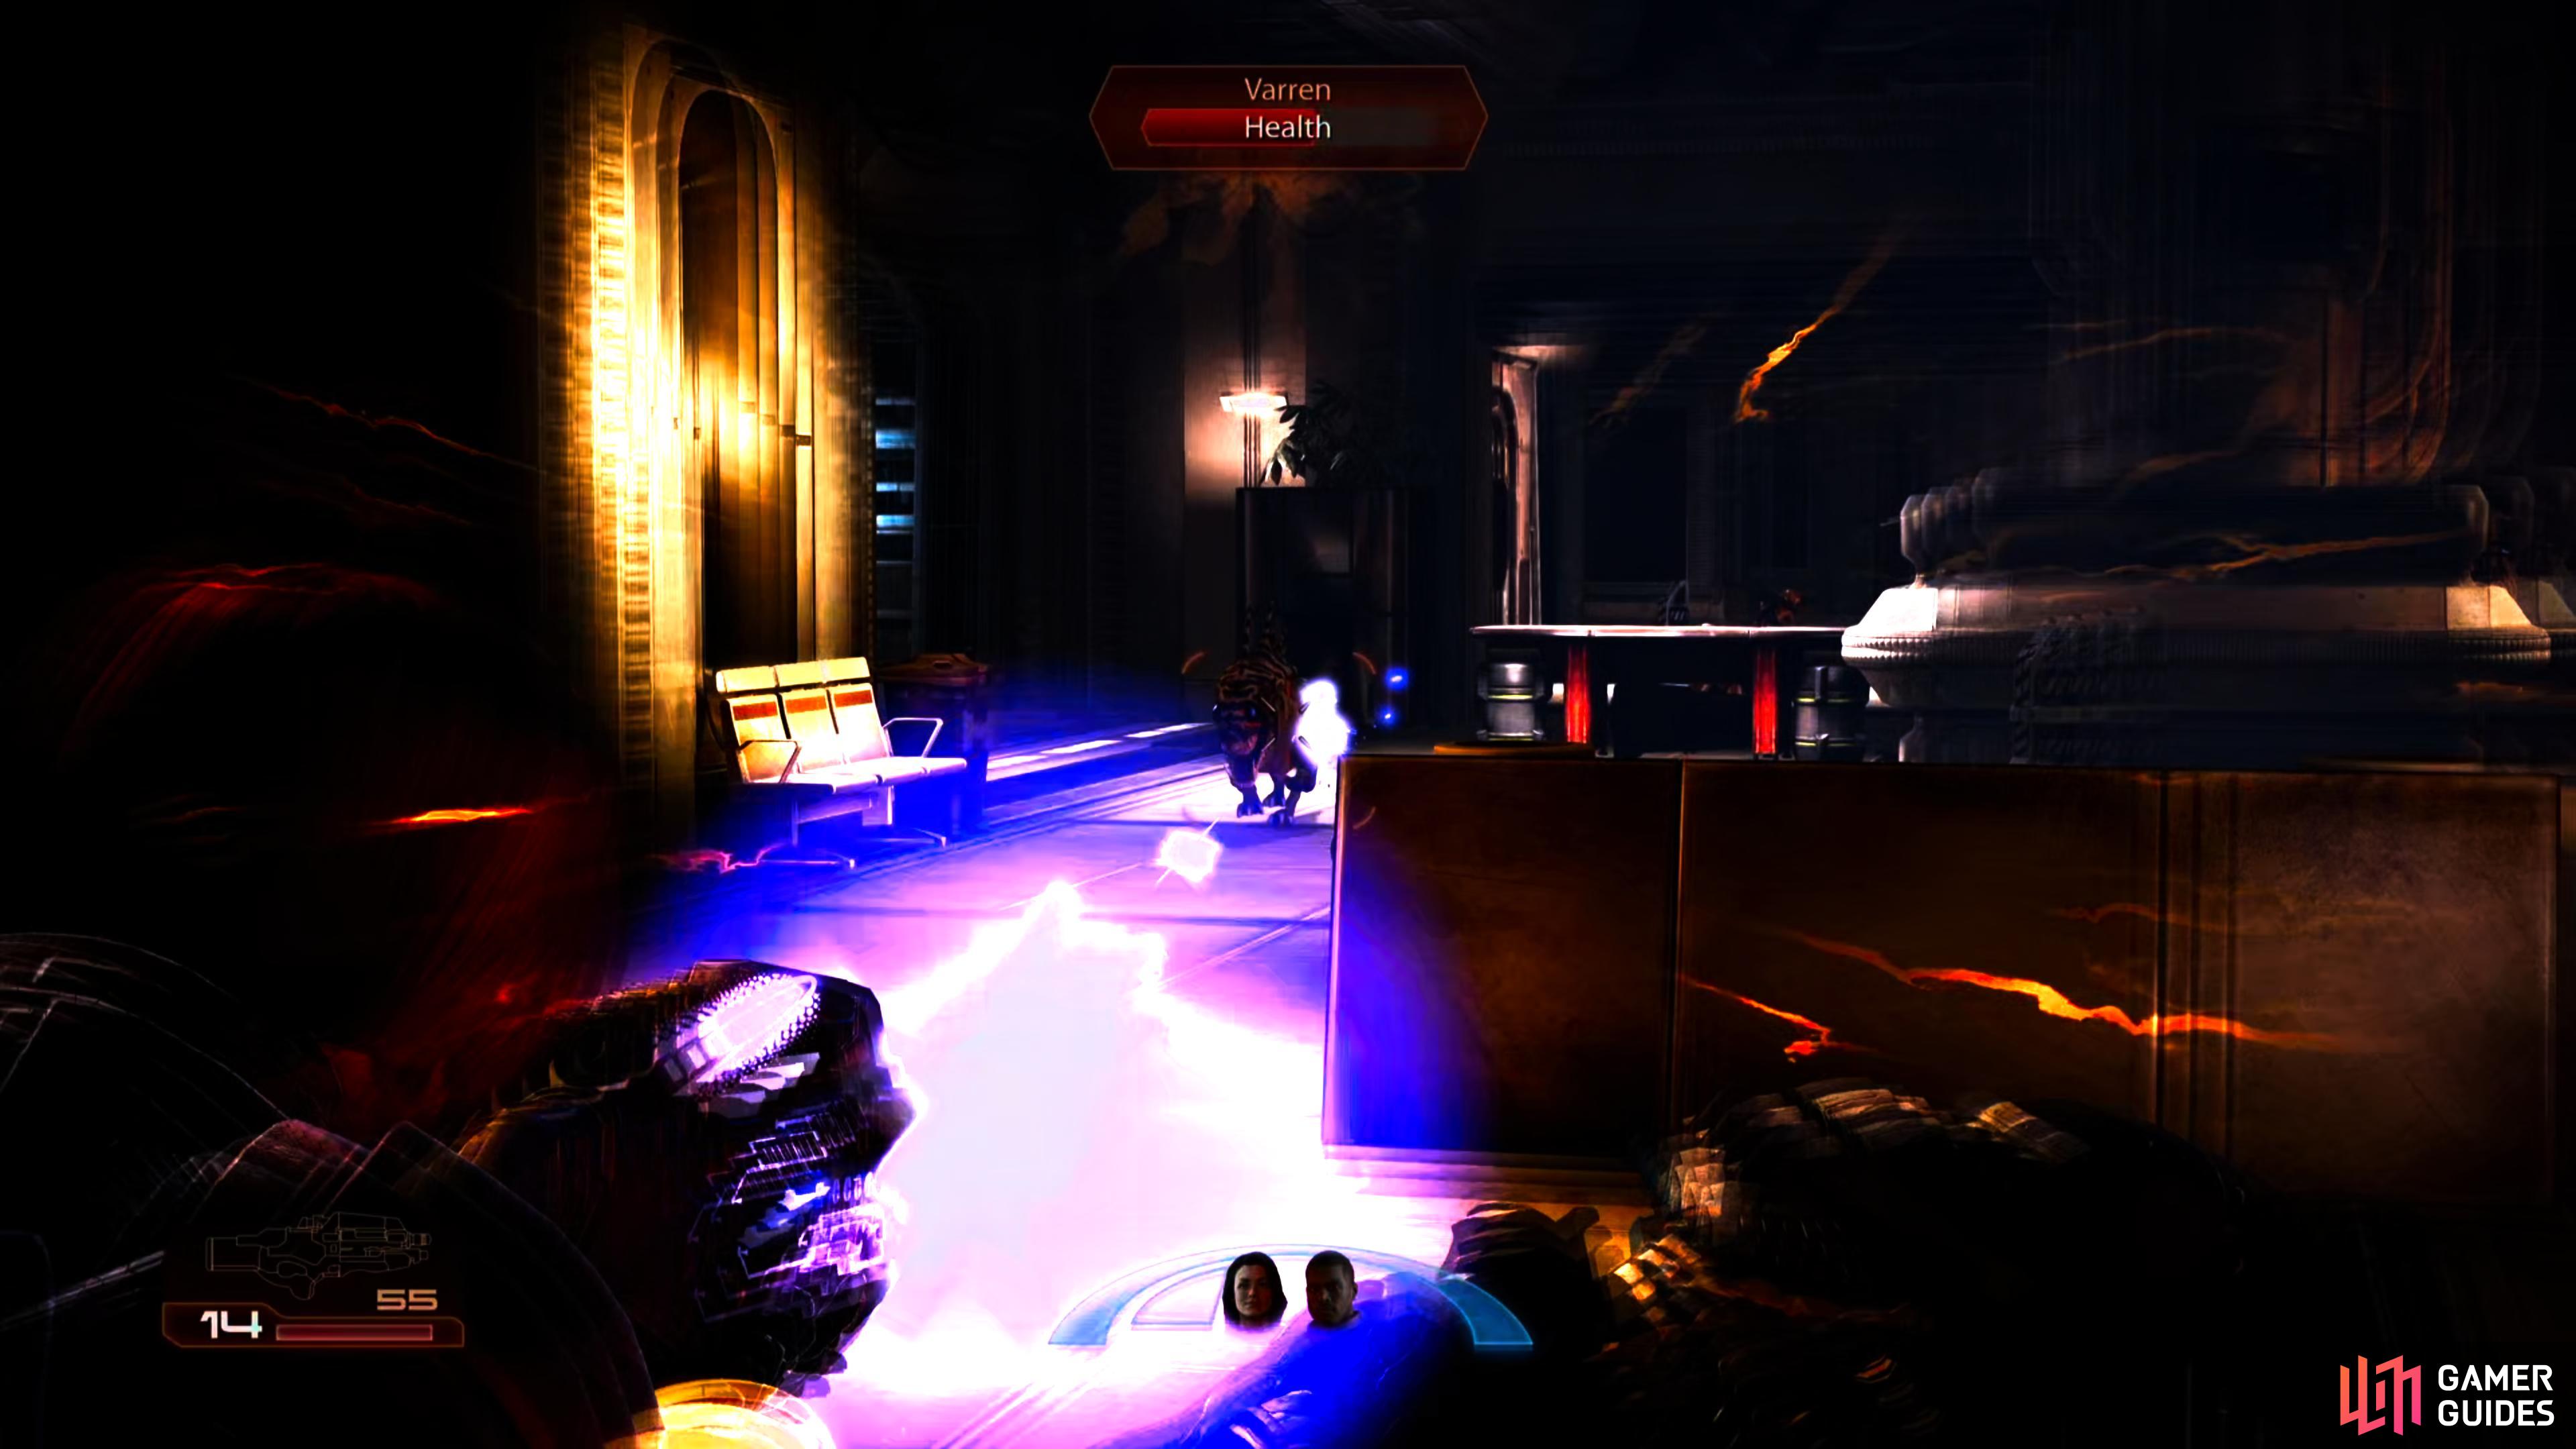

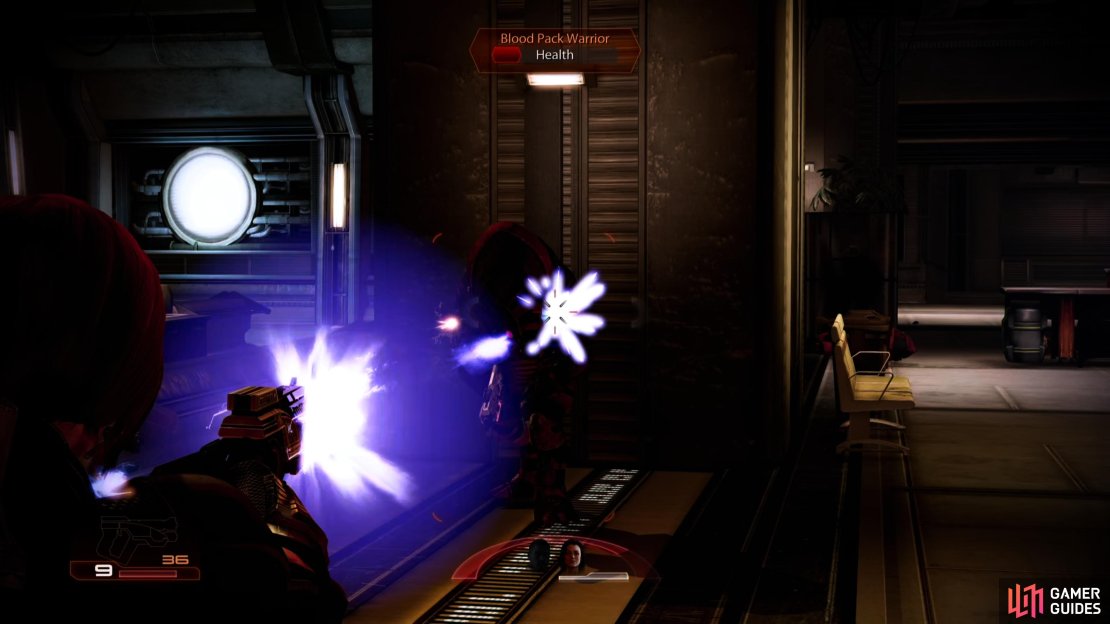
(1 of 4) The Blood Pack control most of the district, and they include Varren,
You will encounter Vorcha, Vorcha Pyros, Varren, Troopers and a few Krogans. Note that the Vorcha have a ridiculously high regeneration rate, so be sure to make sure they are dead before you change targets. Also, you need to pay special attention to the Blood Pack Pyros - Vorcha with flamethrowers; they can do a lot of damage to you in a short time if they get too close to you. Also note that killing these guys with a shot to their flame packs will cause them to explode, damaging anything near them at the time. From cover you will need to eliminate everything. Killing the original inhabitants of the room results in the addition of new reinforcements, which in turn when killed summon more guys. This will continue until you have defeated between 15-20 enemies.
When the room is finally clear, look over towards the left-hand side of the area to find an open door. Here you will find a canister of Refined Element Zero and a pair of looters (talk with them for a Renegade/Paragon option). Return to the previous room and cruise around the corner at the back of the area; look for a door nearby to enter Mordin’s clinic.
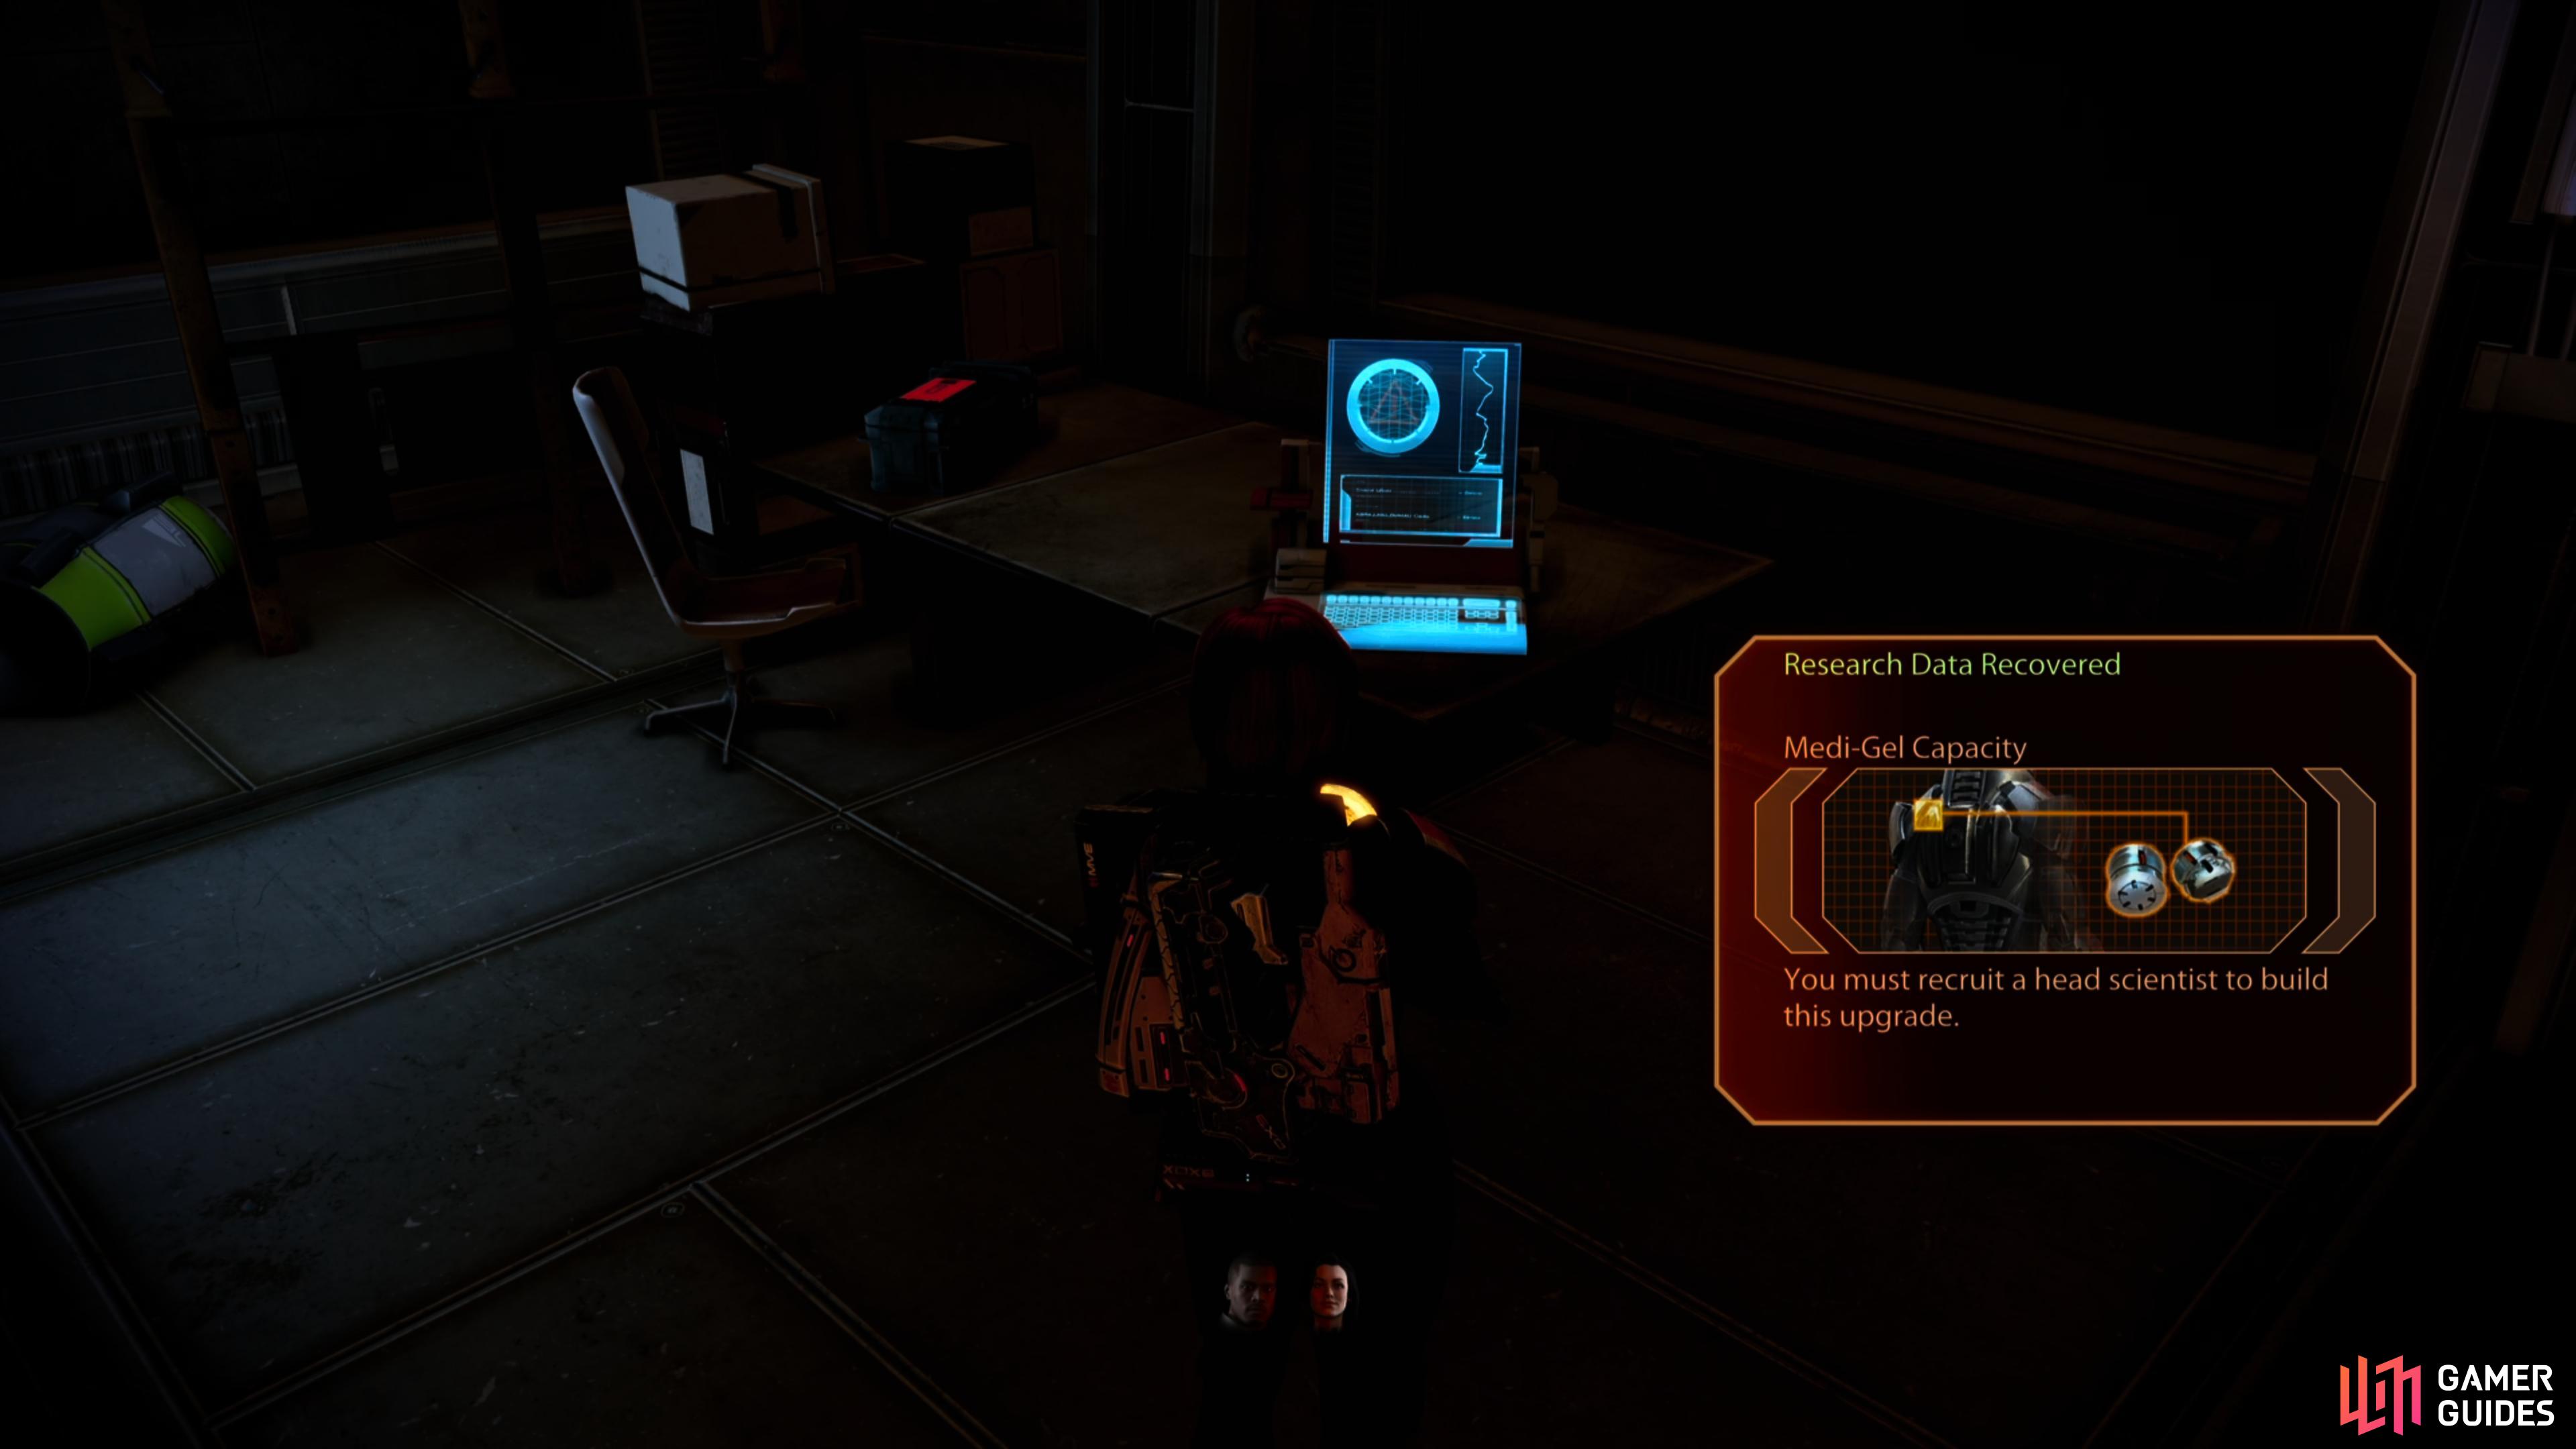
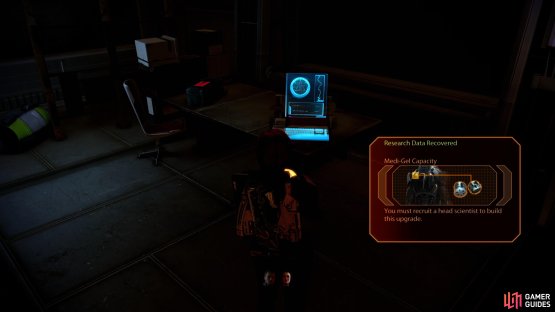
(1 of 2) Grab a Medi-Gel Capacity upgrade from a computer,
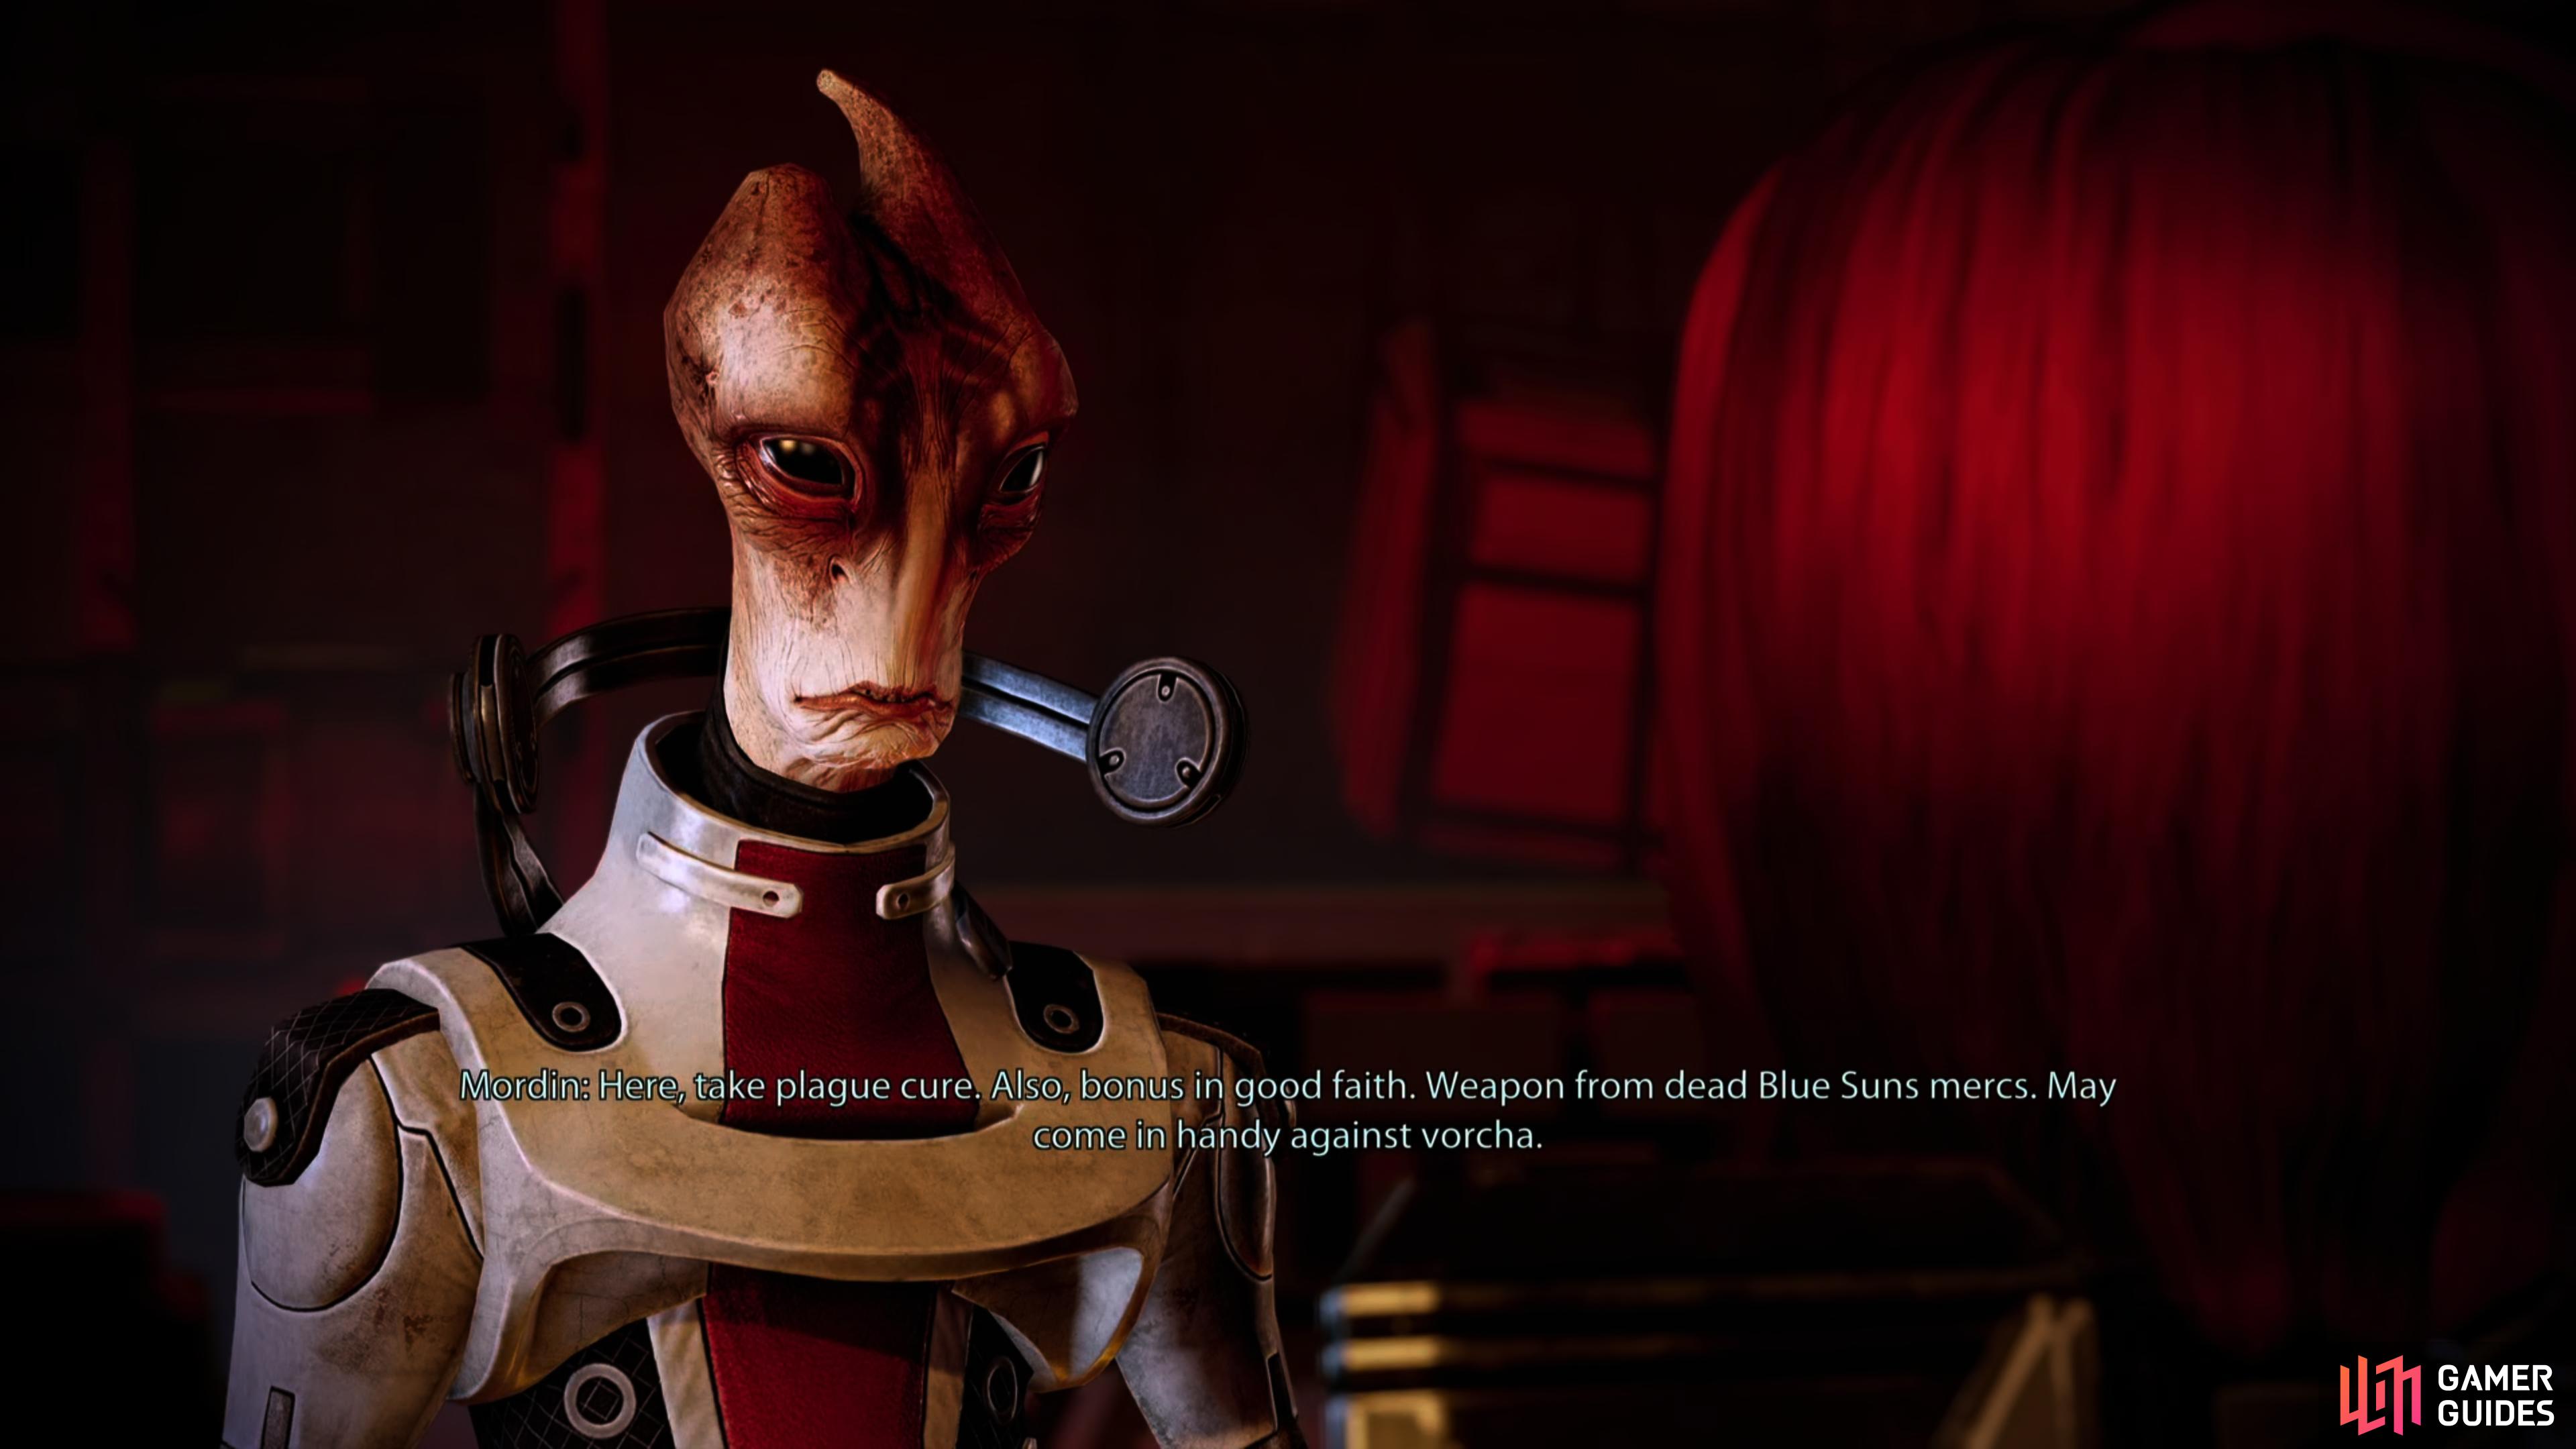
Grab a Medi-Gel Capacity upgrade from a computer, (left), then talk to Mordin, who won’t join you without conditions… but he does give you a new handgun. (right)
Run past the counter to the left and look for rooms on the left and the right at the end of the hallway. Look in the left room for two canisters of Refined Palladium , a research terminal yielding a Medi-Gel Capacity research project, and a Med Kit. Next, look in the right-hand room to find a box of thermal clips, a canister of Refined Eezo , another canister of Iridium and the object of our search - Mordin Solus. Speak with him and he will tell you what you need to do next (you can also tell him about the Batarian plague victim near the entrance for some Paragon points). Afterwards Mordin will give you a new weapon, the M-6 Carnifex Hand Cannon.
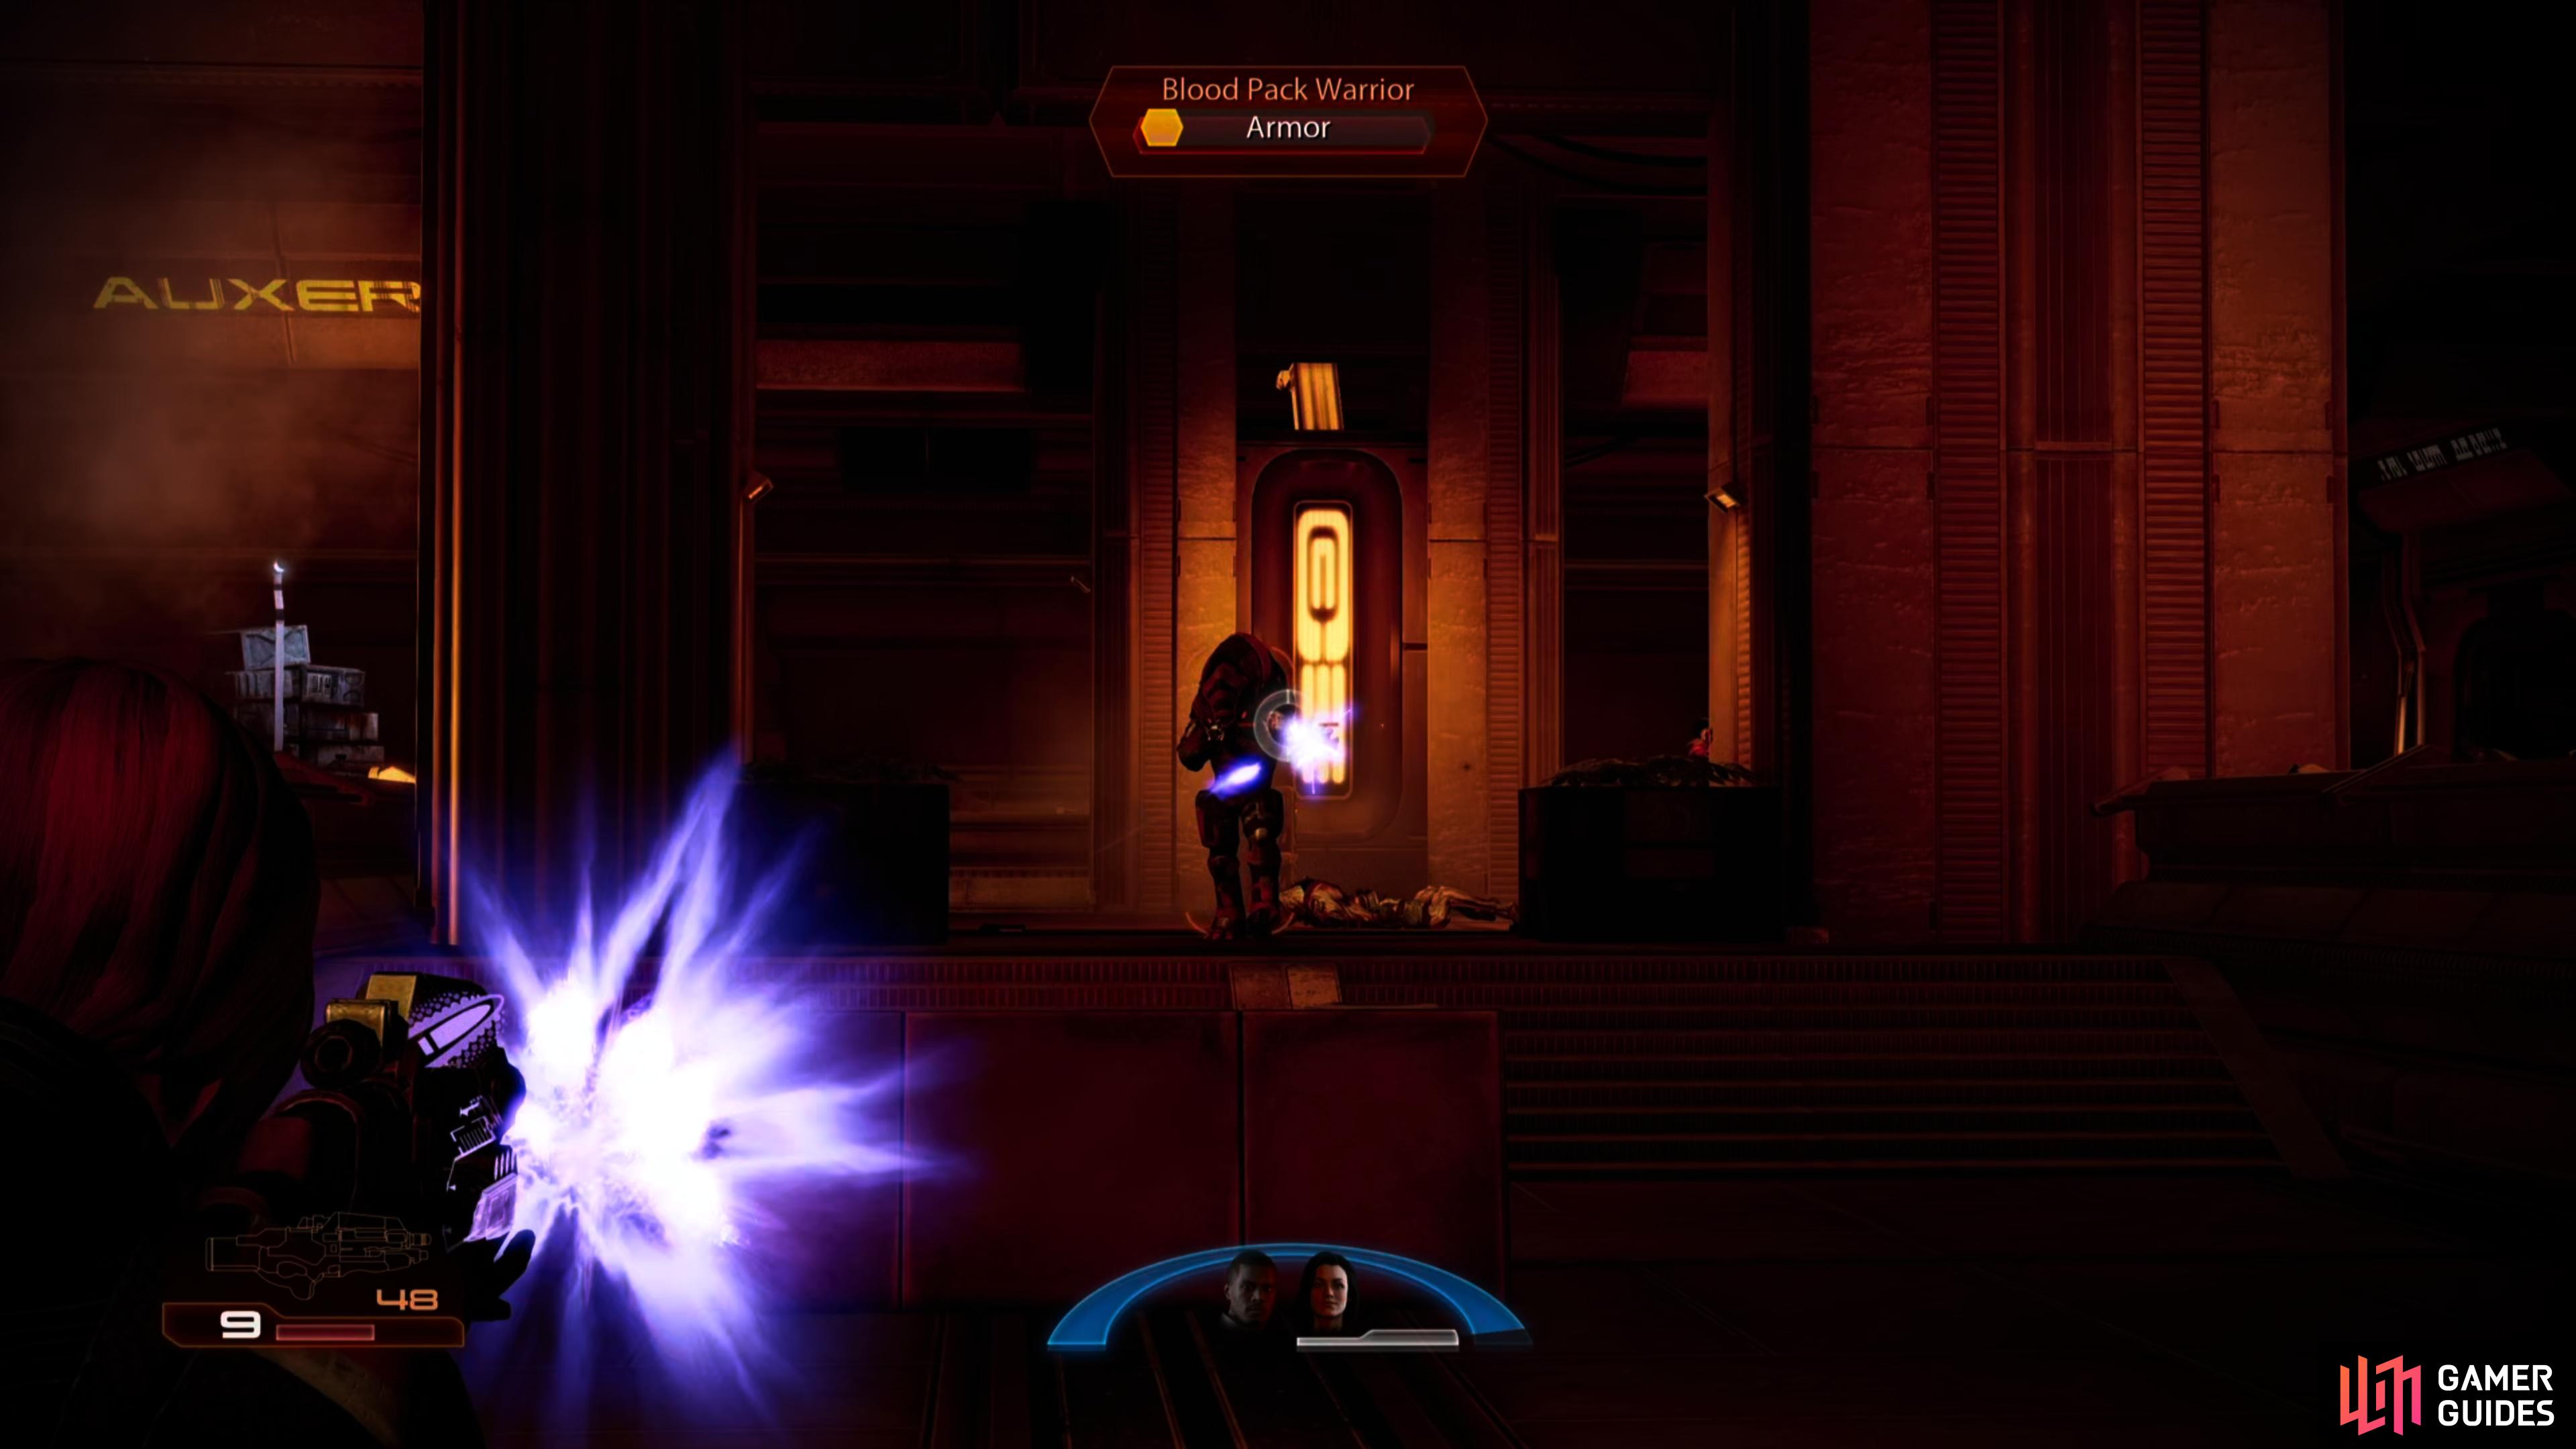
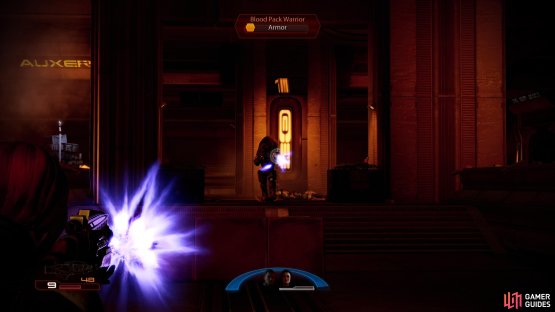

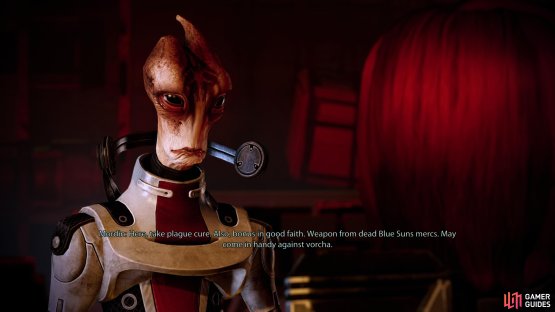
(1 of 2) Beyond Mordin’s clinic you’ll find more Blood Pack in need of some death,
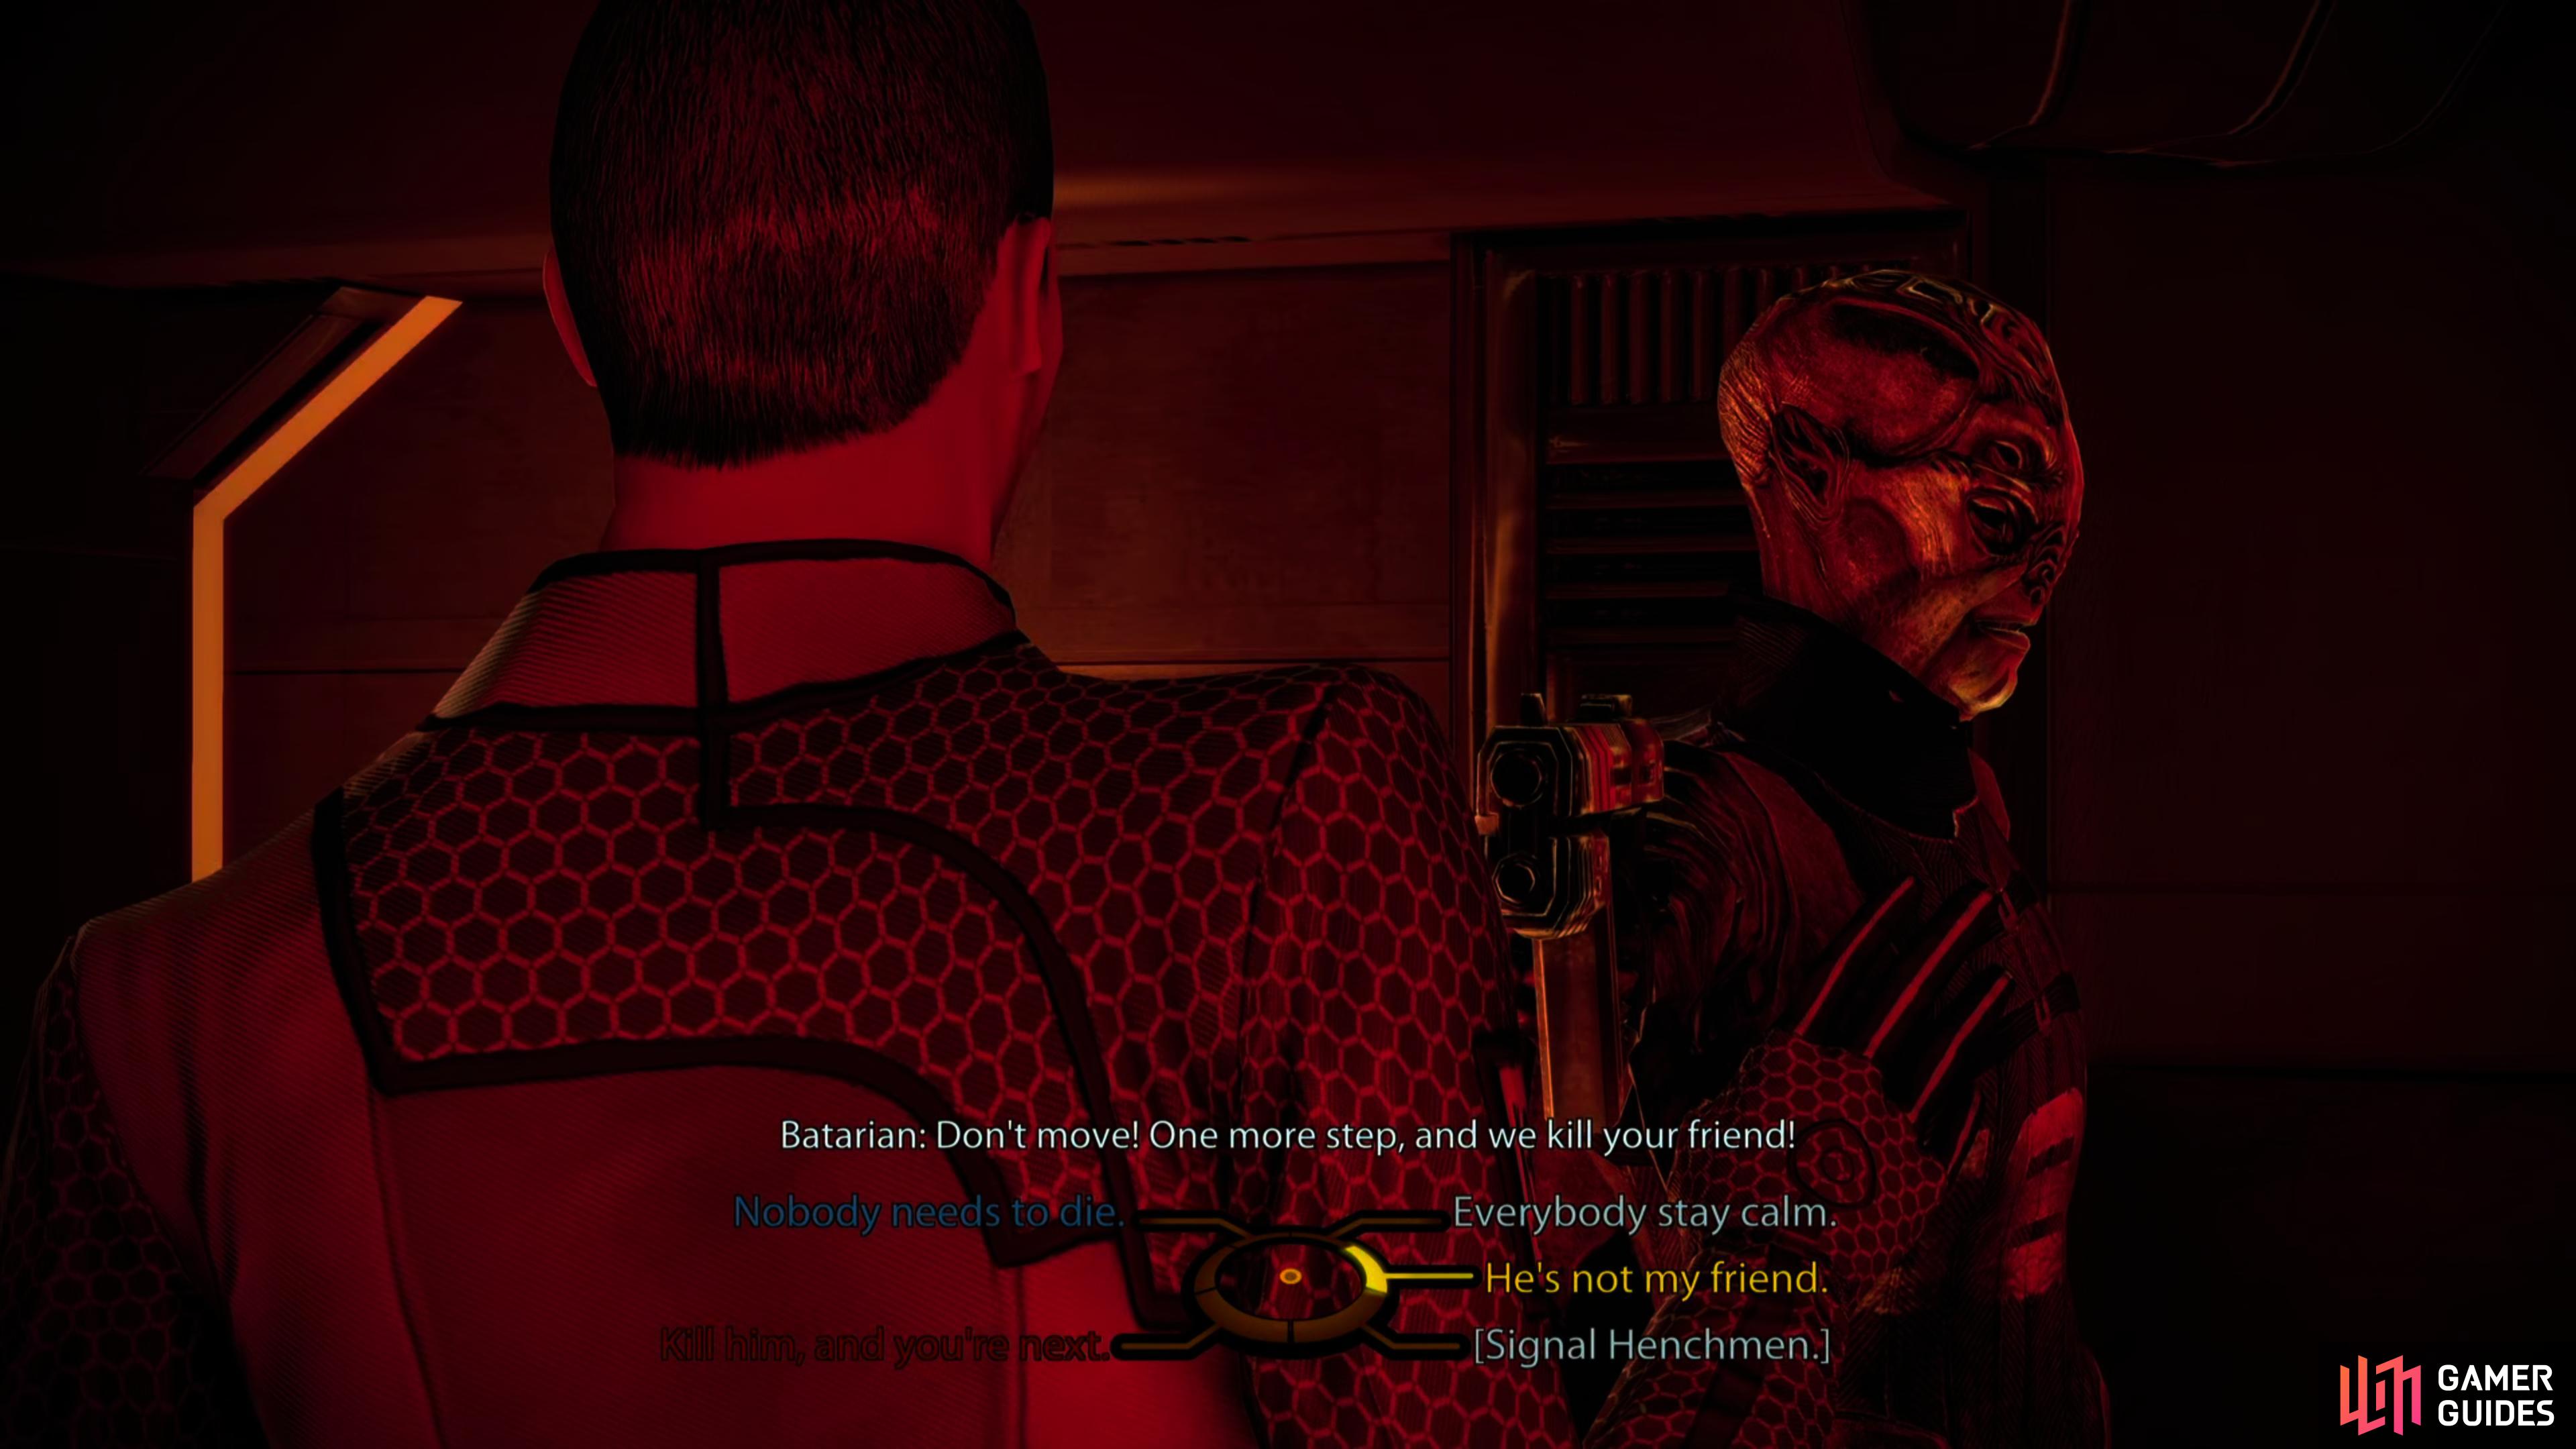
Beyond Mordin’s clinic you’ll find more Blood Pack in need of some death, (left), and Mordin’s assistant Daniel, who ran afoul of some Batarians. Play the peacemaker or threaten them, after which you can let them go, or kill them. (right)
You will now need to re-activate the environmental systems and save Mordin’s assistant. Return to the reception area and look to the left; you will see that the door here is now open. Use the door and enter the large room at the end. This area is filled with Blood Pack Vorcha and Krogans and, like the previous large area, will be populated by reinforcements fairly regularly. After killing 12-15 of the guys, they should cease appearing. At the back left of the room is a set of stairs. As you approach said stairs, more enemies will appear at the top and try to prevent you from accessing them. Eliminate the defenders and as you reach the top, you will find a Bank Terminal to the right you can loot before heading up the stairs on the left side.
When you reach the top of the stairs, look in the room to the left to find Mordin’s assistant. Either kill (Renegade) or negotiate (Paragon) with the Batarians for his release. Afterwards, return to the hallway and enter the door on the right. Kill the group of three Vorcha in here, and then continue down the ramp to the right.
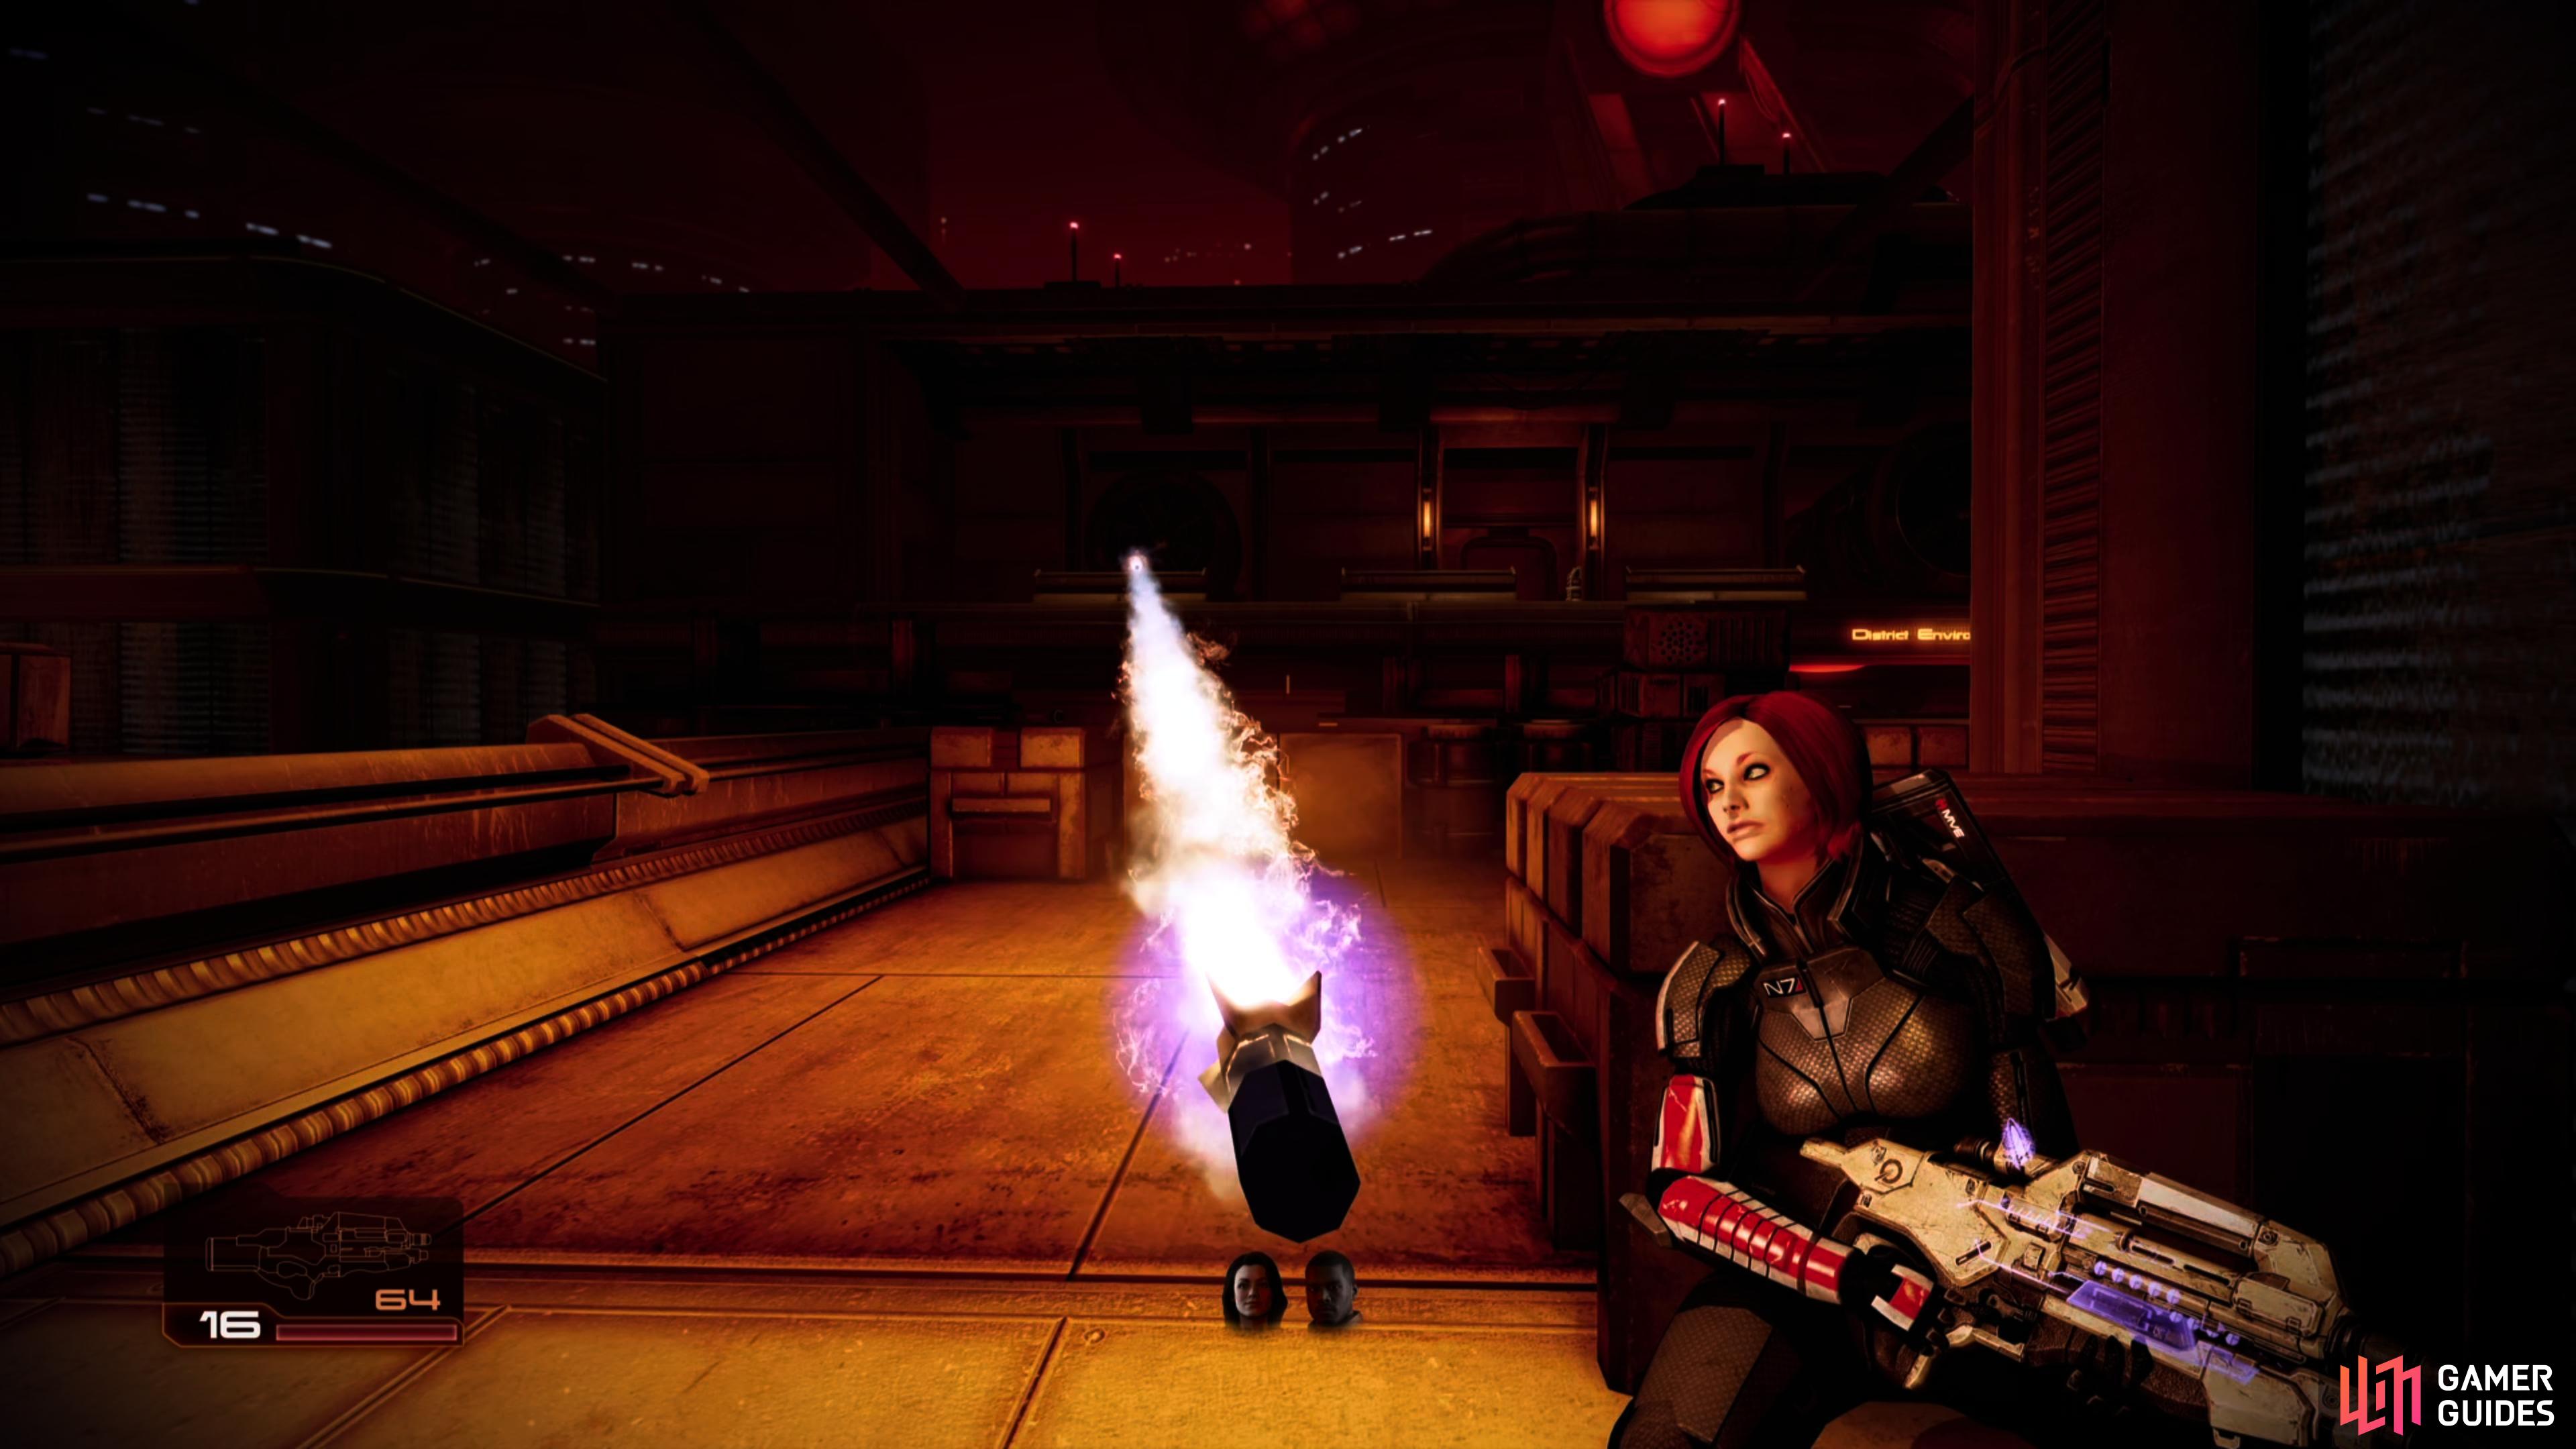

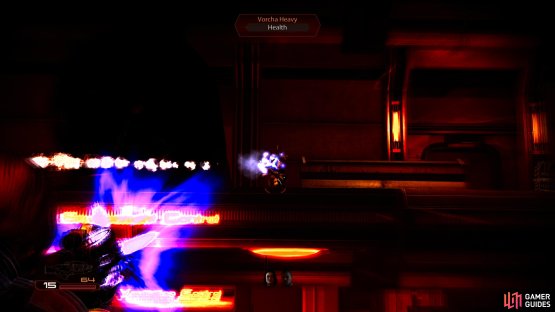
(1 of 2) As you approach your destination, you’ll meet resistance in the form of Blood Pack Heavies, who will pelt you with rockets.
As you approach your destination, you’ll meet resistance in the form of Blood Pack Heavies, who will pelt you with rockets. (left), Fortunately, being Vorcha, a few well-placed headshots will stop their mischief. (right)
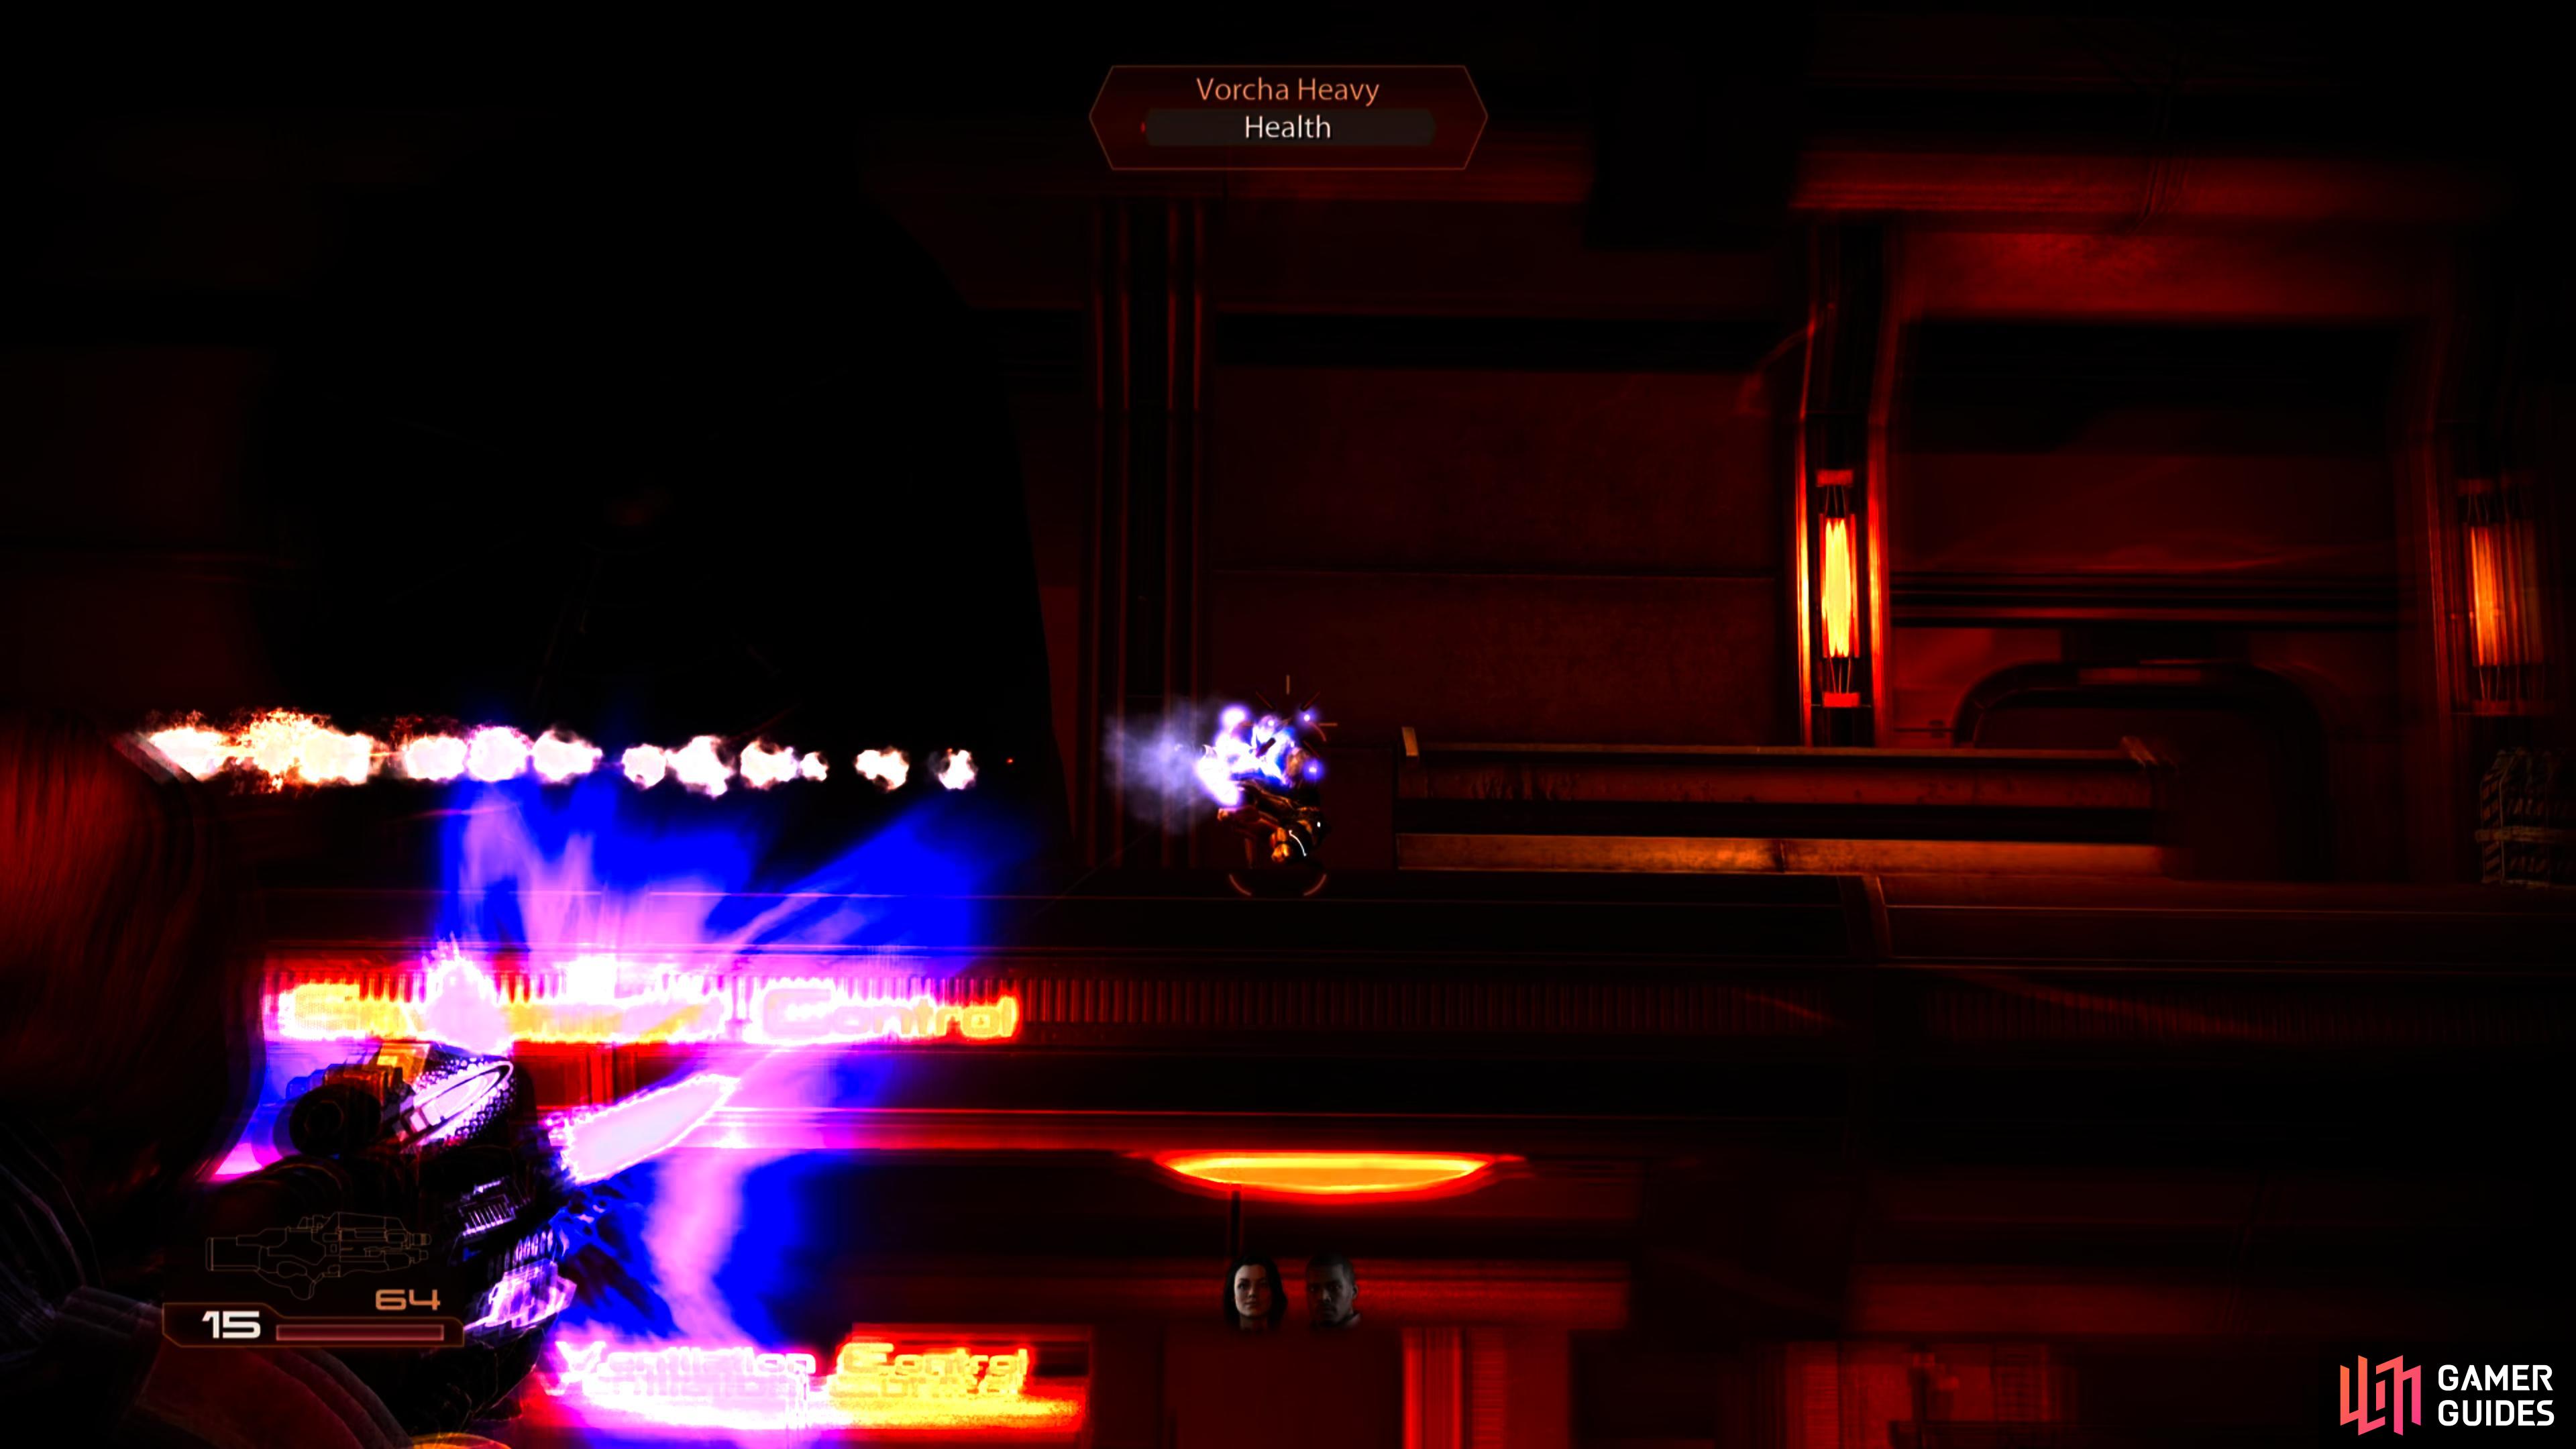
This next room can be a little rough as there are a good number of hostiles below as well as enemies packing heavy weapons on balconies overlooking the area. As you enter, stick to the right and stay on the balcony overlooking the area below. Take cover at the end and look up to see another raised platform in front of you on the opposing side of the room filled with Vorcha heavy troopers; there are five or six of these guys, each trying to snipe you with rockets. Eliminate them from cover before heading downstairs to clear the ground floor of any Vorcha and Krogans. When they are all dead, enter the hallway at the back of the area and use the door.
In the hallway here you will be ambushed by a Krogan and a pair of Vorcha. Once they are dead, look to the right to find a Med Kit and some Salvageable Spare Parts before heading up the stairs on the left side of the room. At the top of the stairs you will enter the environmental control room.
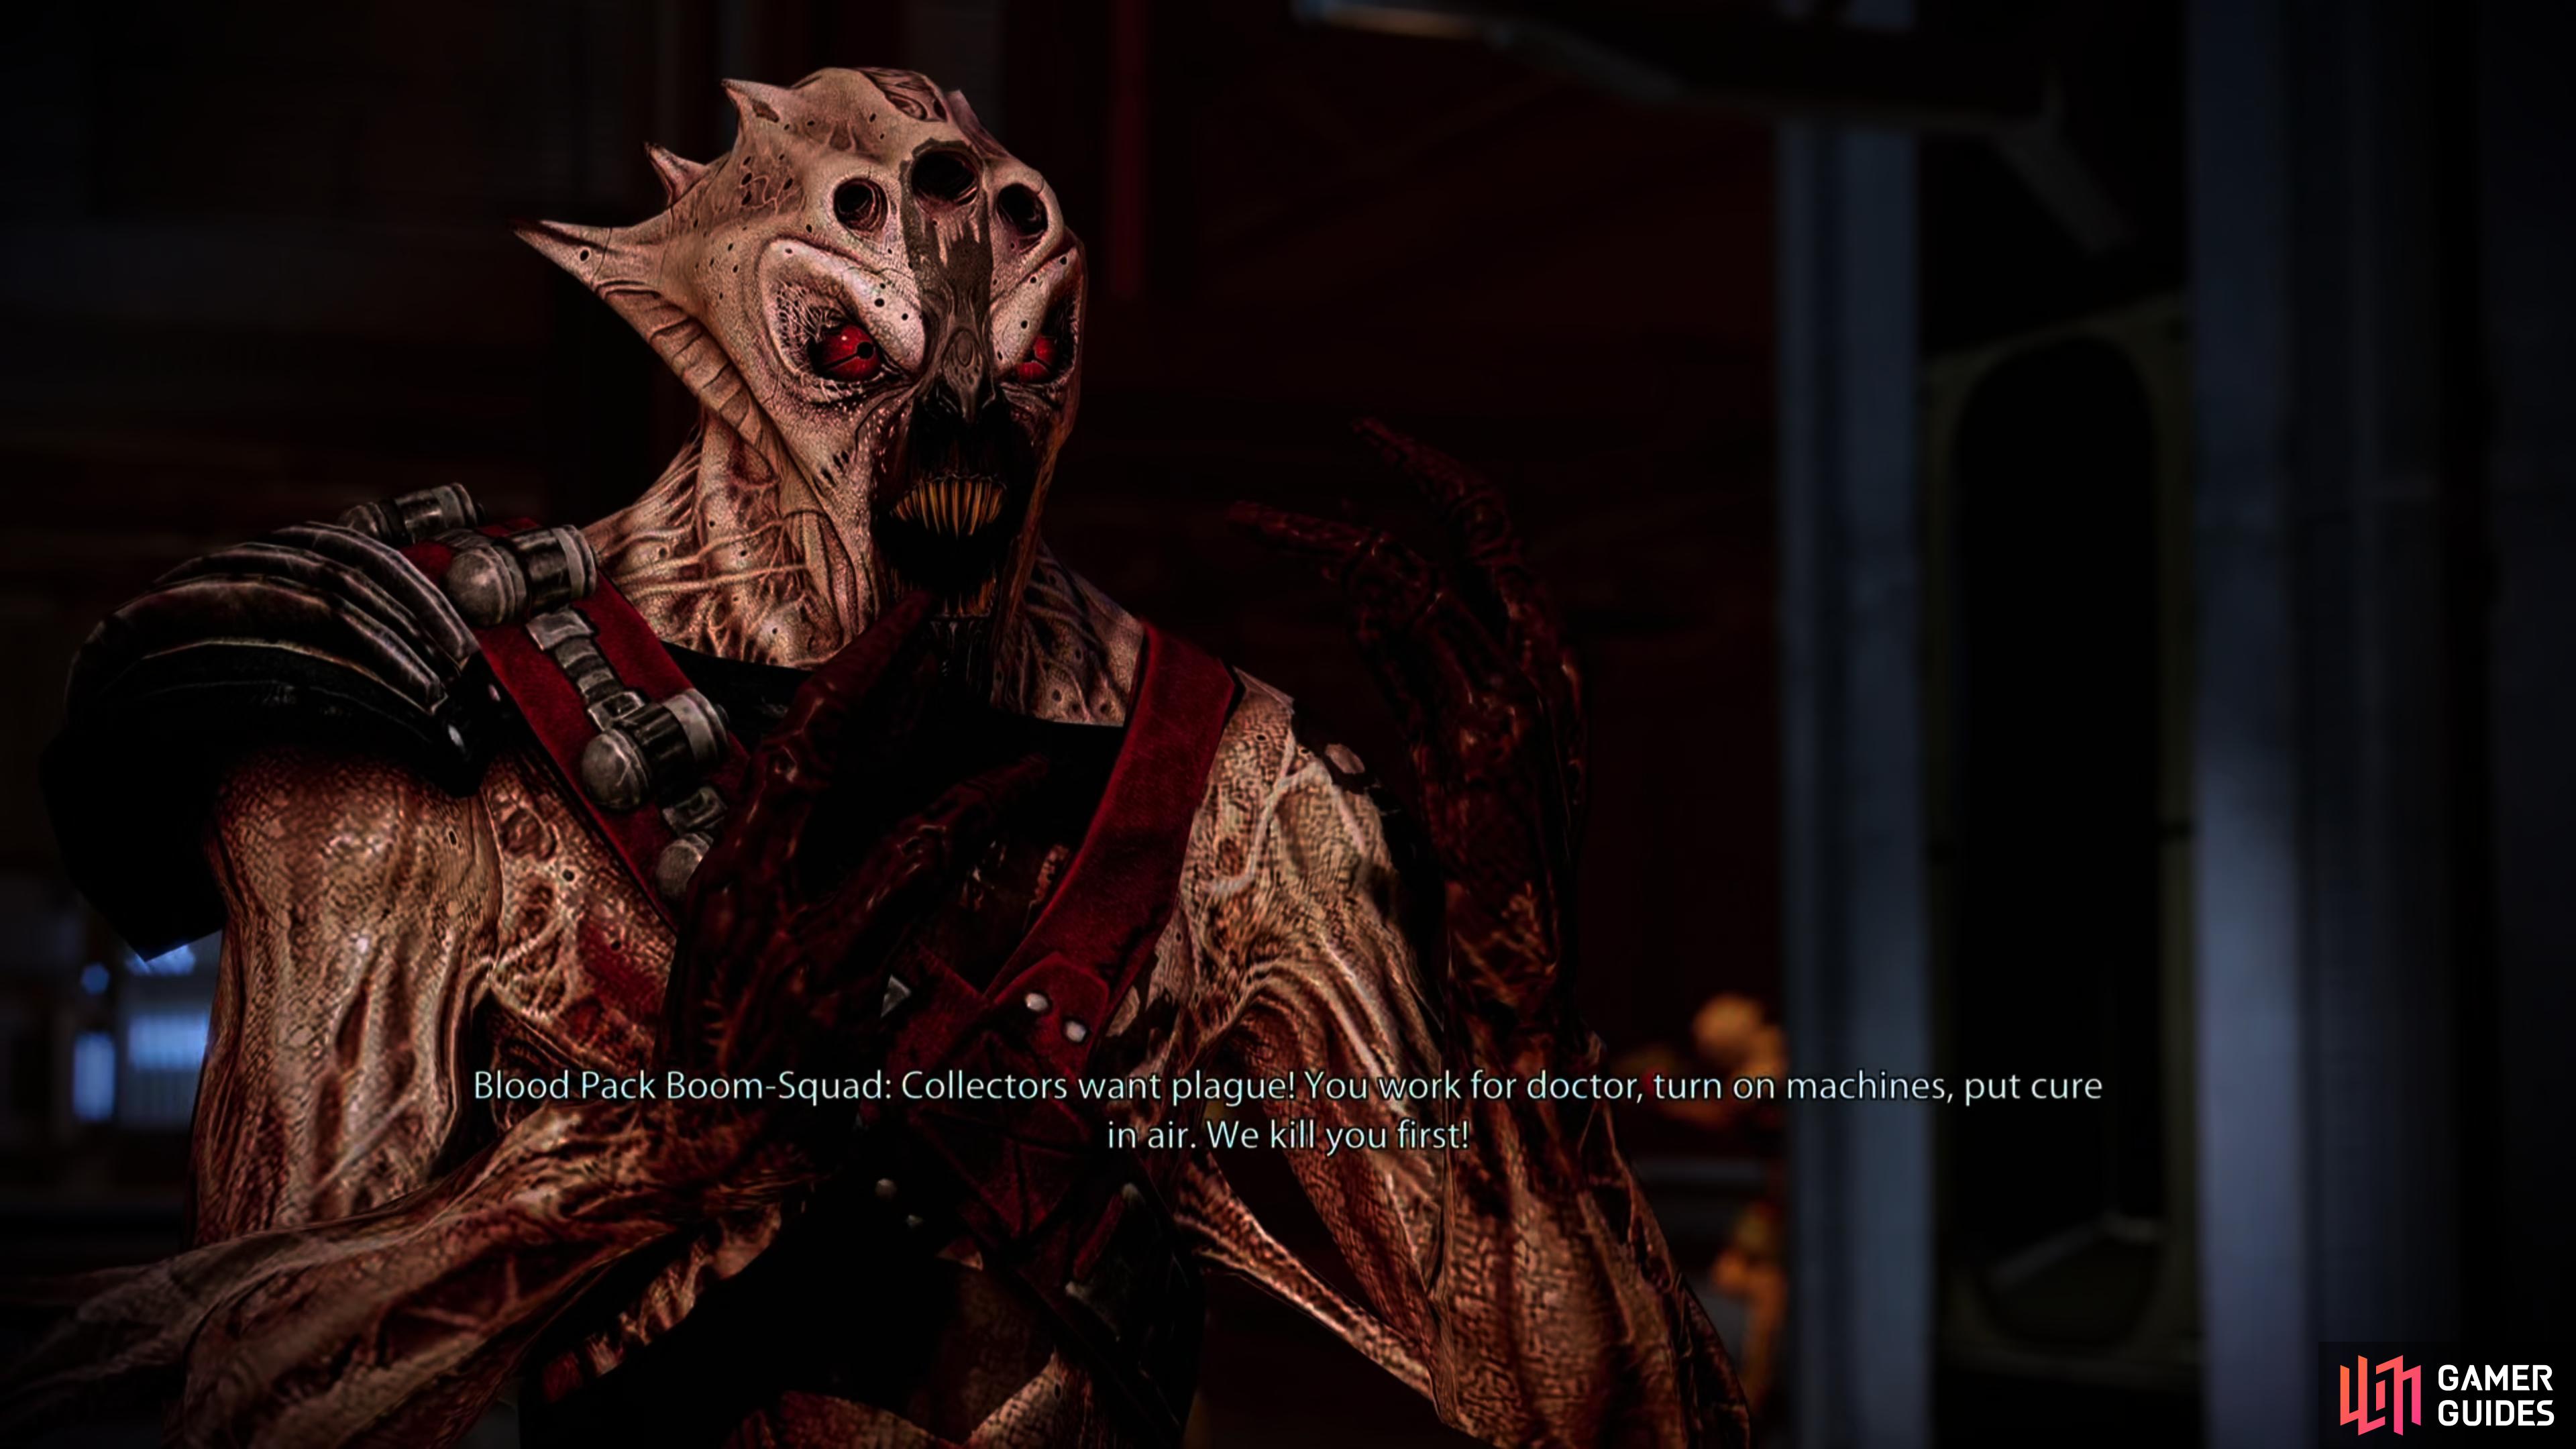


(1 of 3) When you reach the control room, one of the Vorcha will admit the Collectors are involved. Discretion isn’t a Vorcha’s strong point.
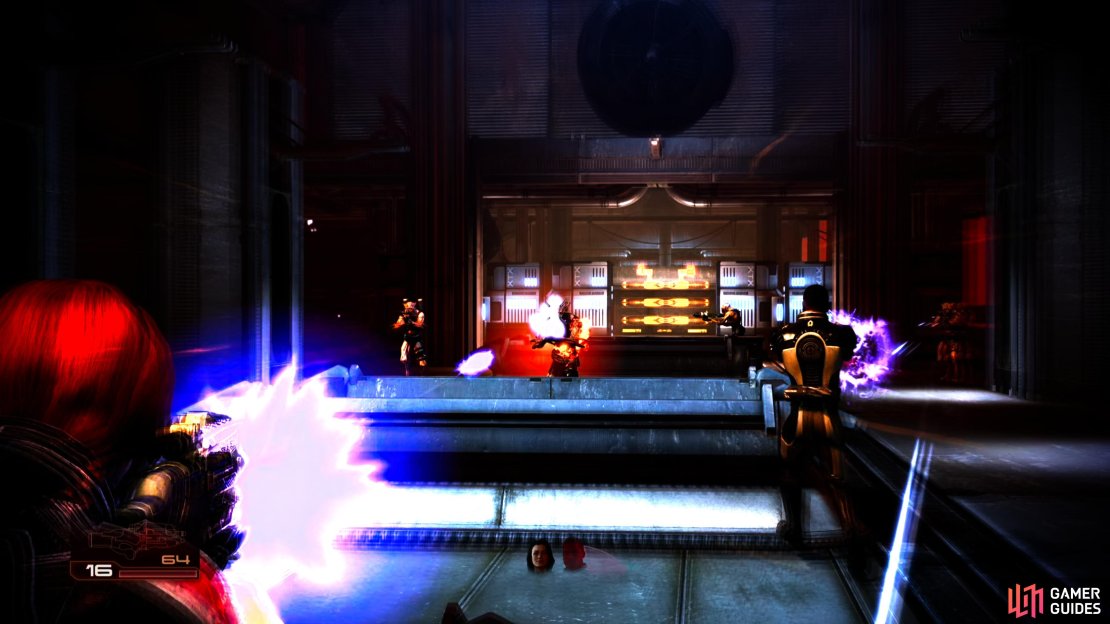
The control room consists of a main central platform with two flanking platforms on the left and the right; these join with the main platform via ramps in the mid-section of the area. As you enter, you will find yourself on the middle platform. Eliminate the group of Vorcha at the far end and then race up and use the console here to administer the cure. Turn around and take cover as a group of four Vorcha will appear on the ground level to attack you and another two rocket guys will spawn on the balcony above the entrance to the area.


(1 of 4) Head down a ramp and fight your way through some Blood Pack mercenaries,
When they are clear, make your way down the bridge to the left-hand platform and fight your way through the group of 5-6 Vorcha that appear before entering the door at the end.
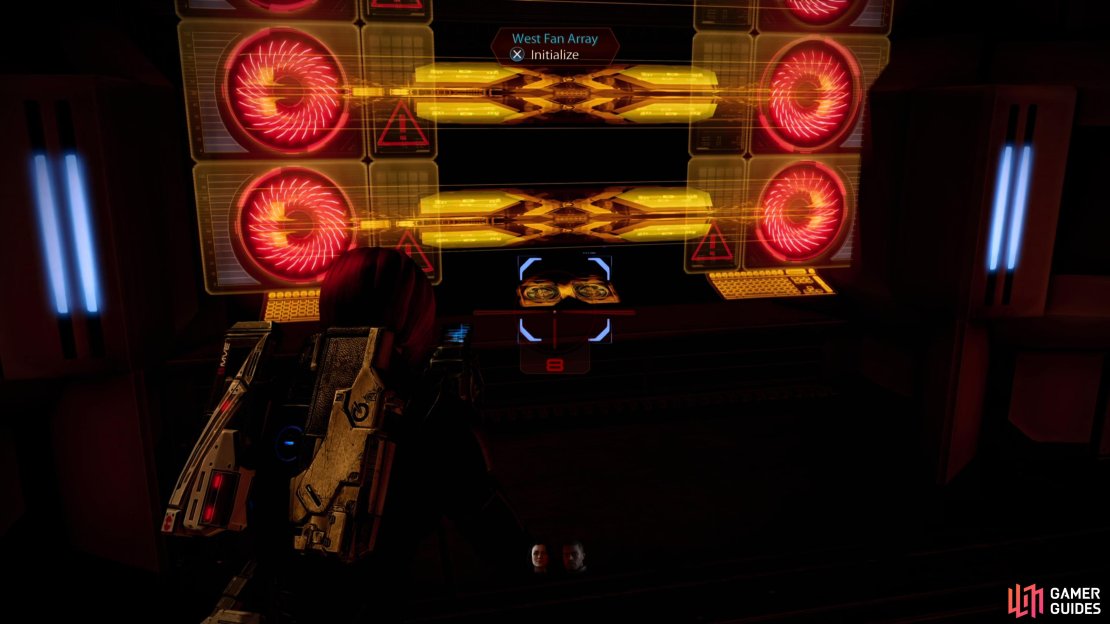
Use the console here to activate the first fan. Exit back to the main room and make for the ramp. As you approach, another squad of hostiles will come down said ramp and try to stop you. Pop them and head over to the central platform. Take cover as another group of enemies will appear on a balcony above the right-hand platform and shoot at you with rockets, whilst a second group consisting mainly of Krogans will advance up the opposite ramp. Try to snipe all the rocket guys first, before focusing on the threat a little closer to home. When possible, cruise down the ramp and fight your way into the room at the end to use the console to activate the second fan and complete the mission.
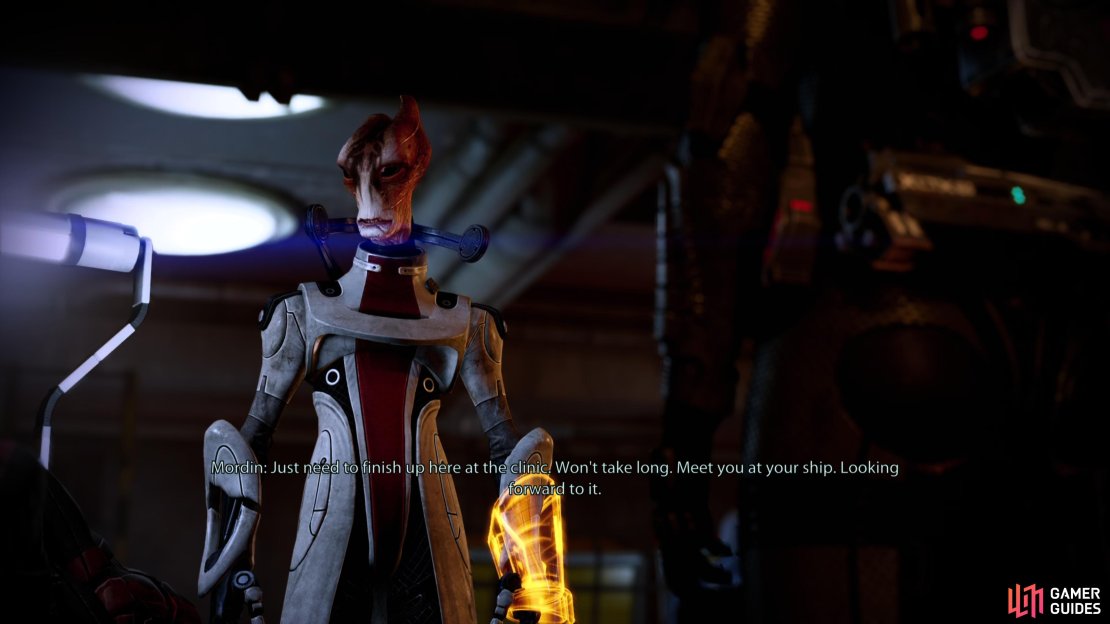
After a quick chat with Mordin on the Normandy, return to the galaxy map and decide where to go next - we recommend grabbing Archangel next, as this character’s abilities are incredibly useful, plus it’ll finish up business on Omega for the time being, but you can also seek out the Convict or the Warlord, as you prefer.
| Mission Completion Rewards | |
|---|---|
| Experience Gained: | 1000 (1250) |
| Credits: | 25,000 + 25,000 |
| Iridium: | 2,000 |
| Paladium: | 2,000 |
| Platinum: | 2,000 |


No Comments