This core mission will begin automatically after you’re completed the first four recruitment (dossier) missions: Dossier: The Professor, Dossier: Archangel, Dossier: The Warlord and Dossier: The Convict. Once these are all completed, you may be forced to start this mission the next time you interact with the Galaxy Map on the Normandy.
The Illusive Man’s intel was good - you catch the Collectors on Horizon.
You can delay this mission indefinitely by simply refusing to complete one of the aforementioned recruitment missions, which will allow you to complete various other assignments, and perhaps the loyalty missions for Zaeed and [Kasumi].
In any event, once it triggers you’ll be told that the Illusive Man demands your attention in the Communications Room. Indulge him, and shortly afterwards you’ll find yourself deploying on Horizon. This mission can be rough - you’ll need characters capable of dealing with barriers and armor, with Miranda being a prime choice. Garrus (with Squad AP Ammo) and Grunt (with Squad Incendiary Ammo) are good secondary choices, and Concussive Shot will be surprisingly useful on either of them.
| Notable Items in This Area |
|---|
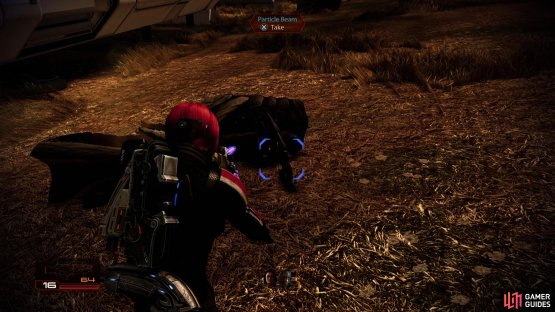
| Weapon: Collector Particle Beam |
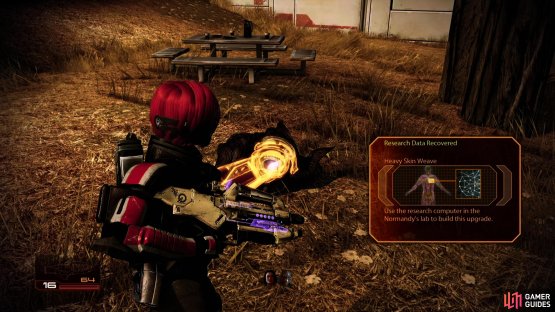
| Upgrade - Research Project: Heavy Skin Weave |
| Upgrade - Research Project: Biotic Damage |
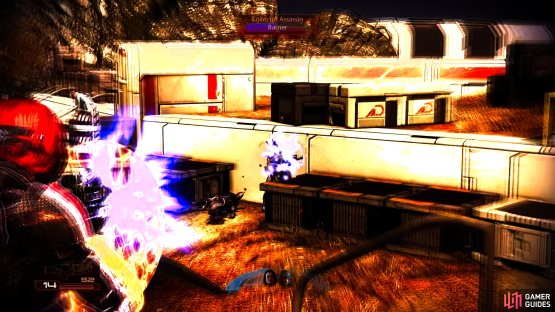
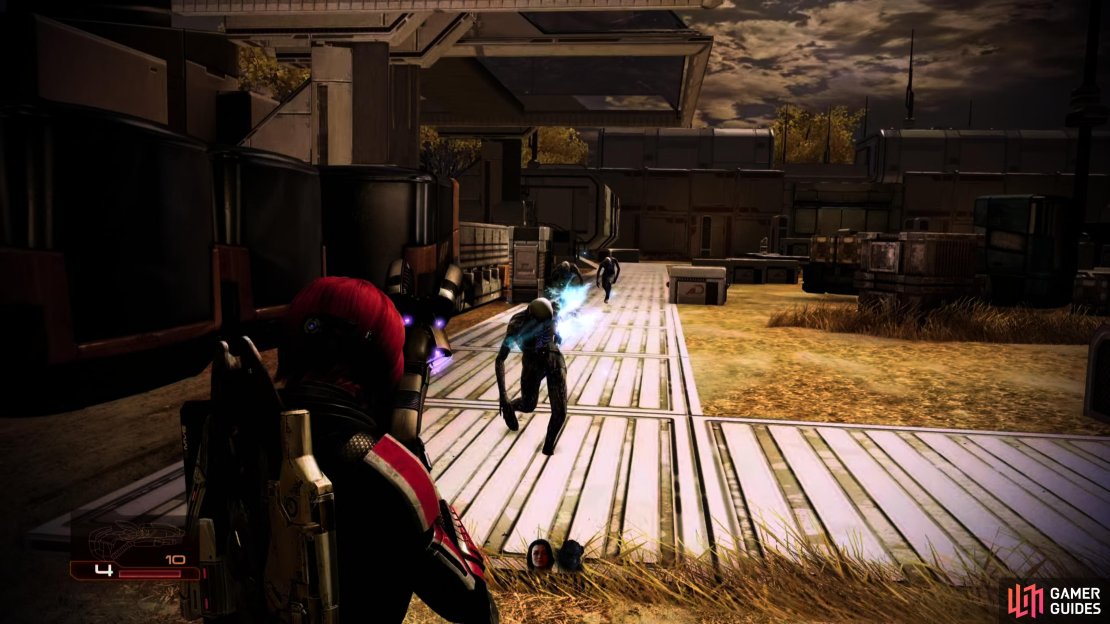
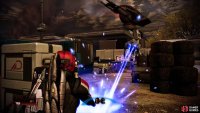
(1 of 2) Collectors tend to come with barriers, so be sure to deploy the correct weapons and abilities.
Collectors tend to come with barriers, so be sure to deploy the correct weapons and abilities. (left), After defeating the first wave of Collectors, search for a Heavy Skin Weave upgrade. (right)
After landing, move forward and around the corner and continue along the path here until you reach an open area. As you arrive a new, sinister enemy awaits: the Collectors. The standard Collector Drones are fairly easy to take out, but you will also encounter Guardians (which are equipped with barriers) and Assassins here. You’ll want to pay special attention to the Assassins as they will use the Particle Beam gun (a Collector heavy weapon) from a distance, which can do a ton of damage to Shepard and your crew if they remain exposed to it for long enough. It will steadily drain your shields and then your health at quite a rate.
When the area is clear of hostiles, check the middle of the area to find a box of thermal clips (you’ll need as much ammo as you can get for this next bit). Proceed to the far end and near the pathway to the next area you will find a hackable Data Pad .
Follow the dirt path around the next corner until you reach a settlement; drop down to the area below and take cover. In addition to a couple of Drones, a Guardian and an Assassin, the squad will also be attacked by a small group of Husks (zombified humans who will run up to you in an attempt to melee attack). Try to focus on the Husks first before prioritising other targets as they can be quite irritating otherwise. Once the remainder of the enemies are dead or dying enter the building on the right side of the area for a Data Pad and investigate the dead Collector in front of the picnic table at the back of the area for a Heavy Skin Weave research project.
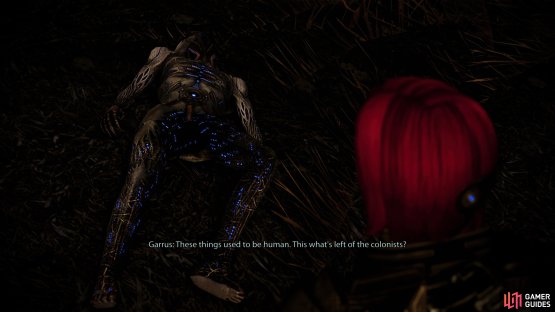
(1 of 2) Examine a husk to determine the Collectors are, indeed, tied to the Reapers.
Examine a husk to determine the Collectors are, indeed, tied to the Reapers. (left), After fighting a few more Collectors, make sure you pick up the Particle Beam heavy weapon. (right)
From the dead Collector, look to the left to find a small opening; enter this to find an examinable Husk corpse. Check it out for a short conversation with your crew. Continue around the corner and head into the building directly in front of you. Move to the windows on the left side of the building and use them as cover to eliminate the Collector Guardians and Drones in the area below and to the left of your current position. When they are all dead, turn around and loot the Wall Safe here (you can also return back the way you came and examine the building across the way for a Med Kit if required).
Head out the door opposite the entrance and turn left; climb the low wall here and make your way between the scattered crates on the platform until you reach the stairs located at the back left corner of the area. Examine the colonist in stasis here and continue up to the top of the stairs. In the room here you will find a hackable Computer . Return to the stasis’d colonist and move across the path here to the building in front (don’t forget to pick up a new weapon - the Collector Particle Beam - from the pod in the centre of the road).
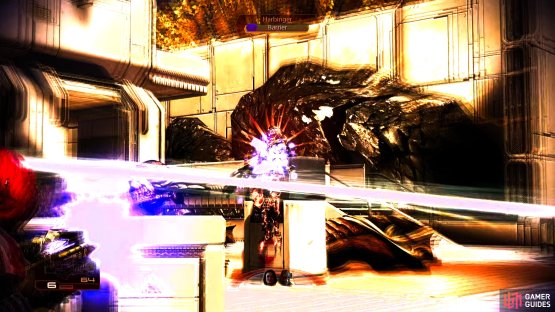
(1 of 2) Midway through the mission, you’ll encounter Harbinger, who takes control of various lesser Collectors.
Midway through the mission, you’ll encounter Harbinger, who takes control of various lesser Collectors. (left), Harbinger possesses barriers and armor, and can attack with biotics - when he’s assuming control of a lesser Collector, dish out as much damage as possible. (right)
Exit via the far side and move forward. After a short scene, your first battle with Harbinger will begin. It will possess one of the Collector enemies and make them much stronger, with more powerful attacks. They have a barrier and heavy armour so can be a little tough to take down (unless you have Warp/Incinerate on hand). Harbinger will attack in concert with a Guardian and once both are dead, a swarm of Drones will fly in from the far end of the area. Exterminate these guys.
When the area is clear, look to the opposite side of the street from the last building you came through; head inside this building to find a computer to use.
Return to the scene of the previous fight and check the building that was behind the attackers for some thermal clips. Exit and continue up the hill nearby. Bypass the security door and enter for a small story scene. Afterwards, loot the room of a canister of Refined Platinum and a Med Kit, before heading out the next door.
Once outside again, turn to the right and take cover. A Guardian and group of Collector Drones will attack and one will be possessed by Harbinger. At the same time, at the far side of the area, a group of Husks will become active and advance on your position. In the same location is a Collector Assassin with a particle gun to look out for. Prioritise the elimination of the Husks first, then the Assassin and then the rest of the Collectors in the immediate area. Once the casualties start mounting, you will also encounter your first Scion which will move in slowly from the right side of the area - these are large, heavily armored Husks fused together that can fire a weapon that generates a large warp effect similar to Jack’s Shockwave ability; this attack will do a massive amount of damage so it is imperative that you stay in cover whilst fighting them. You can kill Scions by using anything that is good against armor.
Once the area is secure, look behind the building on the left for some thermal clips then head through the next building and up the small set of stairs behind. Look to the right and examine the dead Collector for Research Project (Biotic Damage). Continue until you reach a locked, bypassable door. Instead of opening it right away, turn to the left or right and make your way through either building here, up the stairs and into a second floor room. Check out the Computer in here for some credits before returning to the locked door. Bypass the security to unlock it.
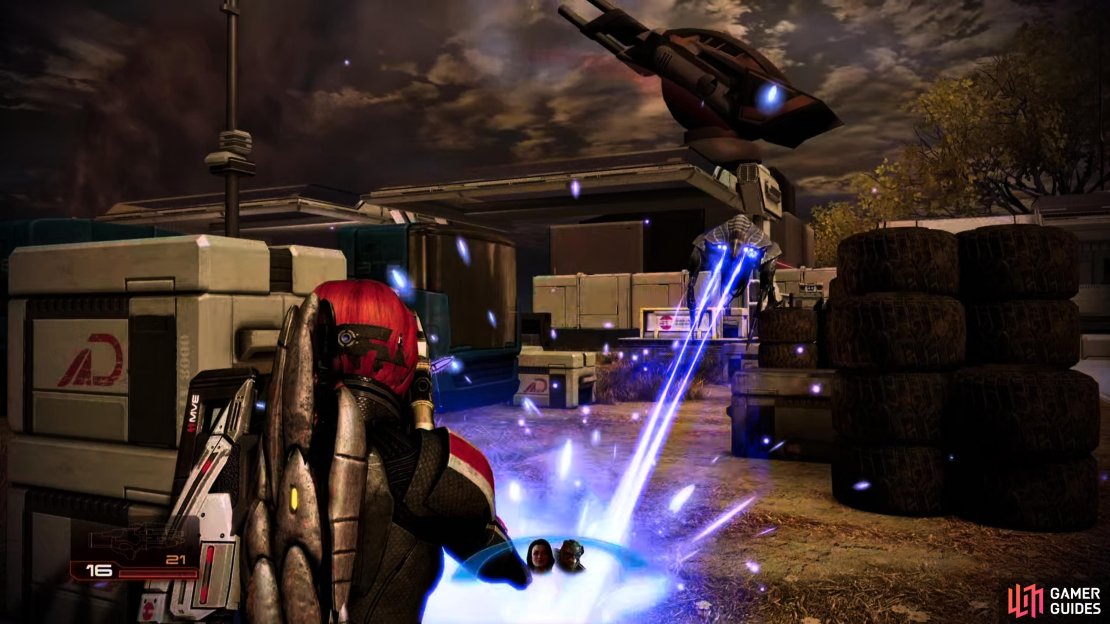
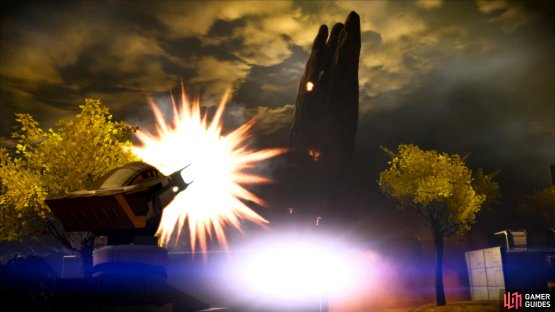
(1 of 3) Defending the AA gun you’ll have to fend off waves of Husks,
Upon entering the next room you will be attacked by a pair of Scions and a large group of Husks. Try to take out the Husks before they get too close or they will swarm you. If you have to leave cover to take them out, make sure you do it out of the line of sight of the Scions otherwise they will hit you with their shockwave. Once the Husks have been dealt with, focus your team’s fire on the Scions. Once the Scions have been defeated, you can go to the raised platform in the centre of the area and use the computer for a short conversation with the Normandy.
As soon as the scene ends, a group of Collectors will fly in from the far right side of the area. There are 5-6 Drones (one of which will become Harbinger), an Assassin and a Guardian. At some point, you will also be attacked by a small group of Husks. Killing the lot of them will result in a small wave of enemy reinforcements consisting of a couple of Drones and a Guardian. When they are all dead, return to the centre of the area and await the next wave.
The next group of enemies will appear from the right side of the room in the form of 5-6 Husks and once they have been dealt with, another group of Collectors will enter the area close to the door you came in from. This contingent of enemies is made up of three Guardians, an Assassin or two and a group of Drones (one will become Harbinger). Killing these guys will cause 5-6 additional troops to fly in intermittently from the same general direction. After these guys have been defeated, return to the centre.
(1 of 4) The Praetorian’s primary attack are lasers, which is essentially a cover check.
A short scene will introduce players to a new enemy - the Praetorian. These are floating constructs made up of thirty deformed Husks fused together that move slowly around the area. They will fire laser beams which pack a mean punch with precise accuracy, so it is important to stay in cover for the most part. When the Praetorian gets close to a squad member’s position, it will do a ground pound-style attack causing a small shockwave which can do considerable damage. In addition to the damage it can also destabilise your characters and knock them out of cover. To defeat it, just keep distance between the Praetorian and Shepard and sprint to the opposite end of the room when it gets close. After a few rounds from a heavy weapon and some armor/barrier-dampening attacks, the Praetorian will fall.
(1 of 2) Defeat the Praetorian and the AA Guns will finally decide to work,
Defeat the Praetorian and the AA Guns will finally decide to work, (left), after which you’ll encounter either Kaiden or Ashley. (right)
The Praetorian’s death triggers a scene, and when the Collectors are routed, you’ll meet an old friend - either Ashley or Kaiden, depending on who survived the first game. If you romanced the survivor, you can make a tepid display of affection, but time, death and working for a terrorist organization will ensure you’re not rekindling any romances here, nor are they going to accompany you on your suicide mission. The best you can aspire to is leaving on good terms.
| Mission Completion Rewards | |
|---|---|
| Experience Gained: | 1,000 (1,250) |
| Cerberus Funding: | 30,000 + 30,000 |
| Platinum: | 2,000 |
Back on the Normandy you’ll chat with the Illusive Man, who will give you three more dossiers: Dossier: The Assassin, Dossier: The Justicar and Dossier: The Quarian. The first two require you to travel to Illium, which we recommend making your first stop after Horizon.









No Comments