The next core mission after Horizon is the Collector Ship, although this fact is obfuscated somewhat by the fact that Collector Ship will only start up after some rather obscure conditions are met. For the sake of simplicity, however, assume you’re on a countdown, and after completing a variable number of recruitment and/or loyalty missions the core mission Collector Ship will start, at which point you’ll be forced to deal with it. This doesn’t have immediate endgame implications - you’ll have time to finish up whatever outstanding missions you have left after dealing with the Collector Ship - but be wary that every mission you complete after Horizon could trigger the Collector Ship mission.
A derelict Collector Ship is too tempting for Cerberus to ignore.
Once you’ve completed a sufficient (and perhaps variable) number of recruitment/loyalty missions, you’ll be drawn into a meeting with the Illusive Man after interacting with the Galaxy Map. Head into the “Briefing/Comm Room” and during your chat you’ll be informed of your new objective - investigate an apparently damaged Collector ship.
| Notable Items in This Area |
|---|
| Weapon: Choice between Revenant Machine Gun (Assault Rifle) / Claymore Heavy Shotgun (Shotgun) / M-98 Widow (Sniper Rifle) |
| Upgrade - Research Project: Damage Protection |
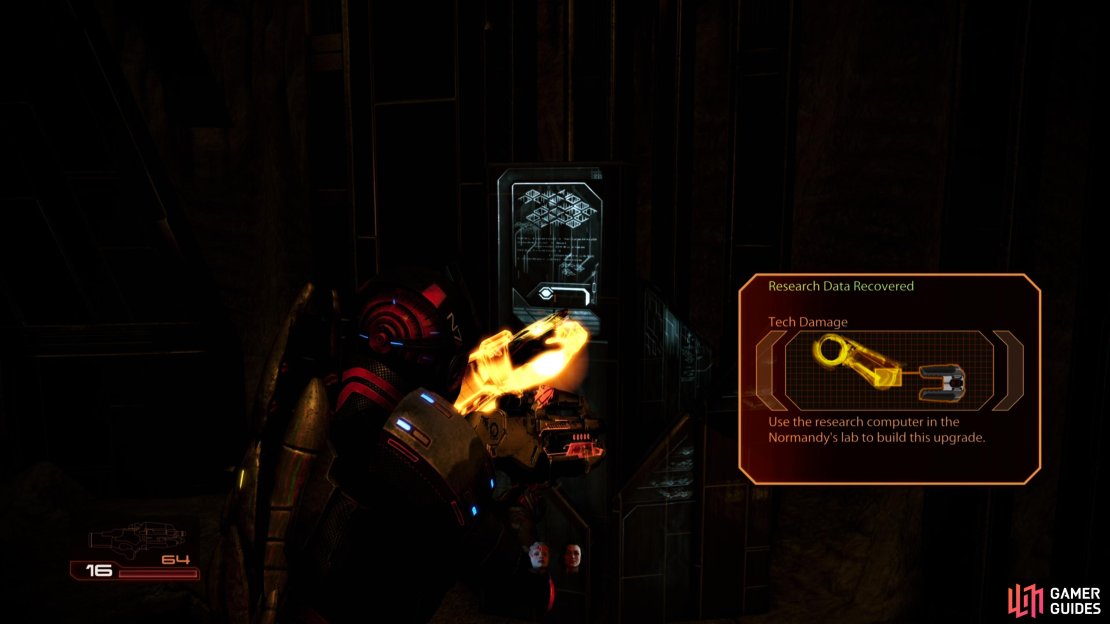
| Upgrade - Research Project: Tech Damage |
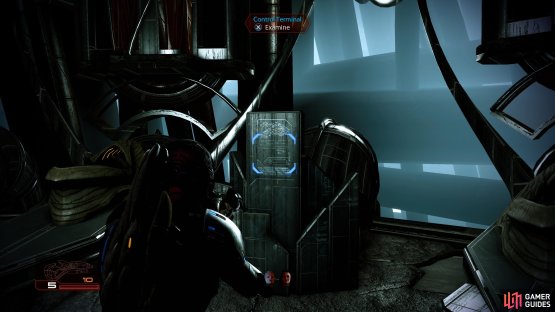
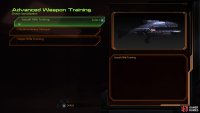
(1 of 2) Examine a Control Terminal,
Examine a Control Terminal, (left), to unlock Weapon Training, granting you access to a new weapon, or a new type of weapon. (right)
After chatting with the Illusive Man, you will be automatically whisked away to the damaged Collector ship. Pick your squad (Collectors typically possess barriers and armor, so prepare accordingly - you can’t really go wrong with Miranda) and when you regain control of Shepard you will be on the inside of the monstrosity. Start off down the hallway and as you circle around to the right, look for an examinable pod. Continue until you reach the pile of dead bodies. Investigate this for a scene. Continue into the nearby corridor. Keep your eye on the right-hand wall and you will find some Collector Technology (examining this will give you a choice of three weapons) and a Med Kit.
The Collector Technology is by far the most important thing about this mission. Generous it’s at the start! After examining it, you’ll be presented with three weapon options: Assault Rifle training, Shotgun training or Sniper Rifle training. If you already have access to one of these weapon types and pick the same weapon again (for example, a Vanguard picks Shotgun Training) you’ll acquire a new weapon of that type: the Revenant assault rifle, the Claymore shotgun or the Widow sniper rifle. If you pick a weapon type you do not already have access to, you’ll gain proficiency in that weapon type, but you will not otherwise gain one of the three aforementioned weapons.
The best option here varies heavily based on Shepard’s class and your own playstyle. Check out the various builds for detailed recommendations, but it’s awfully hard to argue against picking up the Widow as an Infiltrator, Revenant as a Soldier, or adding the Mattock via Assault Rifle Training as any other class.
Pree on to the next room and examine a terminal for another scene. Afterwards pick up the box of Power Cells and the canister of Refined Eezo before continuing onward.
In the next room follow the ramps to the top. In front you will see some salvageable Collector Technology . Grab this and continue to the left. As you enter the next room examine the console in front of you for a new Research Project (Damage Protection) .
(1 of 2) Pick up a Damage Protection upgrade.
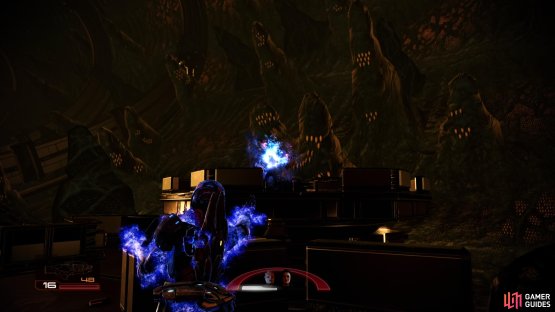
Pick up a Damage Protection upgrade. (left), On some moving platforms you’ll be confronted by numerous Collectors, the worst of which are Scions. Incinerate, Reave and Warp will serve you well, especially if you keep a gap between you and the Scion. (right)
Follow the ramp on the left to the top and take the path to the right and down the hill. At the bottom you will find a command console. Activate this for a scene.
Following the scene, you will be on a small floating platform with a limited amount of space with which to maneuver. Conveniently, the platform comes with plenty of cover. As soon as the cutscene ends, you should be able to spot another pair of platforms identical to the one you are on flying towards you. Take cover. The closest platform will attach to yours and carry a pair of Drones and a Guardian. One of these will be taken over by Harbinger. The second platform will move from the left side to the right and back intermittently and is inhabited by a Scion. Be sure to stay in cover and move to new cover or the Scion’s shockwave attack will smash you pretty quickly. Try to take down the enemies closest to you as soon as possible, and then focus on the Scion.
As you are killing the Scion, another platform with Drones will come in on the left side and attack, and after you have killed the Scion another platform will appear with a second. This time, focus on destroying the Scion before eliminating the Collectors. Keep in mind that a fourth platform of Collectors will dock during this time complete with an Assassin, Harbinger and a Guardian or two. Once the Scion is down, methodically take care of the rest of the baddies. After the platforms have been cleared, check out the furthest one from the command console to find a box of Power Cells . Return to the platform you started on and re-activate the console for another scene.
Once the scene has concluded, descend from the platform and cruise up the tunnel; continue round the corner, picking up the Med Kit and entering the door EDI opens for you on the right. Salvage the Collector Technology from the tank on the left and continue into the room in front. As you enter, a group of four Drones will fly in from your right (one will become Harbinger). Take them out and then continue down the ramp in the back left corner of the room.
At the bottom of the ramp, quickly take cover as you will be attacked by a group of Collectors composed of Guardians, Drones and Harbinger. More enemies will try to sneak in from the ramp on the left (notably a pair of Assassins toting the nasty Particle Beam weapon) and some additional Collectors will drop down from a higher ledge on the right. Once the room is clear head to the far side to find a box of Power Cells; check out the small passage behind the support here for a Med Kit and a canister of Refined Eezo.
(1 of 3) The Praetorian’s lasers will keep you honest,
Find the passage leading out of the room and drop down to the area below. Move inside and a Praetorian will appear. This enemy functions in pretty much the same way as it did on Horizon earlier in the game. As before it will float around relatively slowly firing off its laser beam attack and performing ground slams when in close proximity to your squad members. This time though, the Praetorian is not alone: a group of Husks will enter from the door at the back left of the room, followed by a group of Collector Drones. The trick here is to kite the Praetorian around the room whilst taking out the other enemies from cover. When the lesser baddies stop appearing, focus your full attention on the Praetorian and take it down.
Once the Praetorian is dead, pick up the box of Power Cells if you haven’t already and then exit through the door at the far end of the room.
In the next hallway turn right, salvage the Collector Technology on the left for some credits and check out the control terminal on the right for a new Research Project (Tech Damage) . Follow the hallway until it empties into a larger room. Run up and take cover. You will be ambushed by a group of Drones (one will become Harbinger) and an Assassin. On occasion an Abomination (exploding Husk) will run down to try and pop itself next to you so be absolutely certain to kill them before they get too close or it will be almost certain death.
Once the initial wave of enemies have been dealt with, move up to the next set of cover and destroy the Guardians and Drones (again one will become Harbinger) at the back of the area. Once you reach the tunnel at the far end, you will encounter a Scion and another group of Drones. Eliminate these guys and continue into the tunnel beyond.
(1 of 3) Grab a Tech Upgrade.
Follow the path until you encounter a large group of Husks; your goal here is to escape, not necessarily to kill everything along the way. If you put up a fight, you can expect to battle around two dozen Husks, which will show up at regular intervals. So long as you hang back you should have plenty of time to pick them off, or you could try your luck and run past them. Either way, when you approach the shuttle you’ll complete the mission.
| Mission Completion Rewards | |
|---|---|
| Experience Gained: | 1000 (1250) |
| Credits: | 37,500 + 37,500 |
| Element Zero: | 500 |
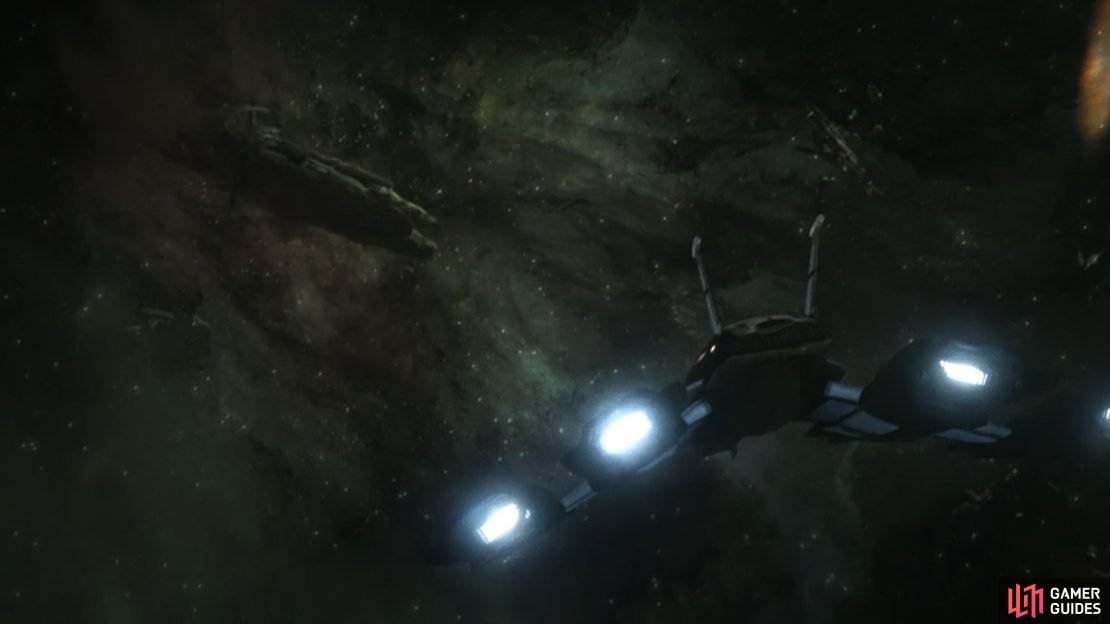
The Normandy escapes the Collector Ship.
After you’re back on the Normand - and have safely escaped from the Collectors - you’ll have a chat with the Illusive Man. Paragon or Renegade, Shepard’s not too happy about being used as bait and being lied to, but you at least got what you needed: intel. Seems you need to track down a Reaper IFF to travel safely through the Omega 4 Relay, and fortunately the Illusive Man knows where you might find one.
What you say here - and later when contemplating your next moves with your squad - don’t matter save for Paragon/Renegade points. Whether you say you plan to set off immediately after the Reaper IFF or would rather build up your squad, actions speak louder than words. Unlike many core missions, the Reaper IFF mission will not start until you go seek it out.
While you may not be keen on the Illusive Man’s duplicity, he did obtain the intel you needed, setting up the next core mission - Reaper IFF.
That being the case, we strongly suggest you complete all remaining recruitment and loyalty missions before going after the Reaper IFF. Once you obtain the IFF, the next core mission will begin after a variable number of missions, and while this doesn’t directly lock you into the point of no return, your crew will suffer losses if you do not immediately continue on with the final mission. If you want to keep everybody alive, finish every other mission and assignment before going after the Reaper IFF.
Also, you should ensure you have the following upgrades before the endgame (and hence, the Reaper IFF):
- Speak With Tali to upgrade the Normandy’s shields ( Multicore Shielding ).
- Talk to Jacob for a research project to upgrade the ship’s armor ( Heavy Ship Armor ).
- You should also talk to Garrus to upgrade the Normandy’s weapon systems ( Thanix Cannon ).
When you’re ready to continue on, travel to the Thorne system in the Hawking Eta cluster to find the Derelict Reaper, where the Reaper IFF mission will take place.











No Comments