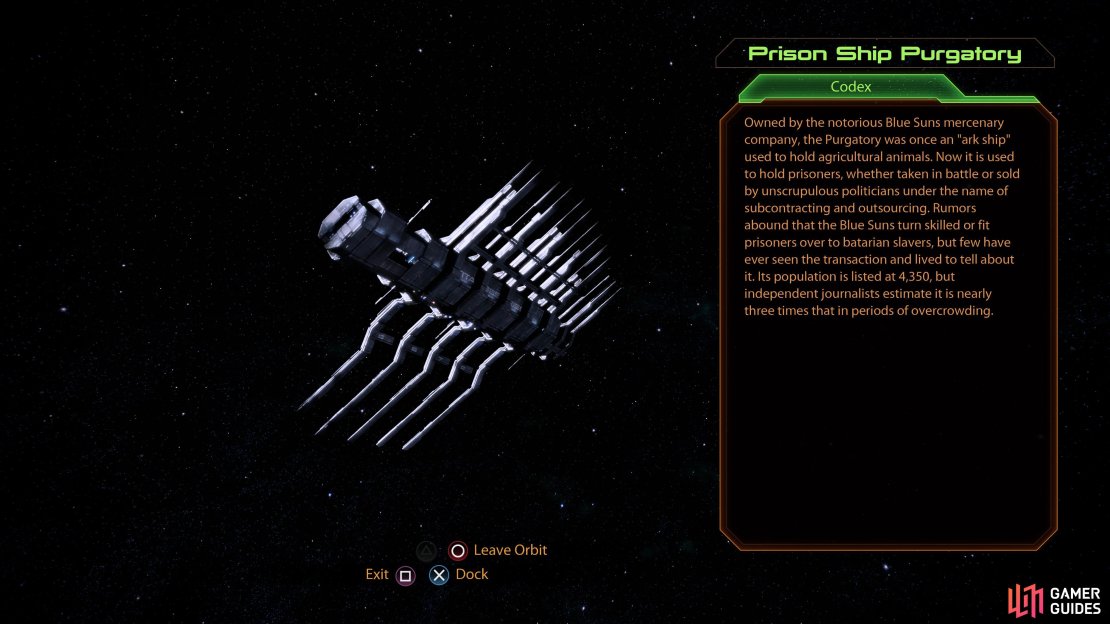
You’ll gain access to this mission after the events at Freedom’s Progress, after which you’ll find yourself in the Omega Nebula system. Travel to the Hourglass Nebula cluster and you’ll arrive in the Osun systerm, which is home to the Prison Ship Purgatory. Sounds like a nice place. Dock with it to start this mission. You’ll have to deal with both shields and armor in this mission, so Miranda, Garrus and Mordin make good squadmates - it goes without saying that we suggest waiting until after you’ve recruited the two aforementioned characters on Omega.
The Prison Ship Purgatory.
| Notable Items in This Area |
|---|
| Upgrade - Research Project: Damage Protection |
| Upgrade - Research Project: Shotgun Damage |
(1 of 2) As you head to outprocessing you’ll get the opportunity to intervene and stop some guards from beating a prisoner.
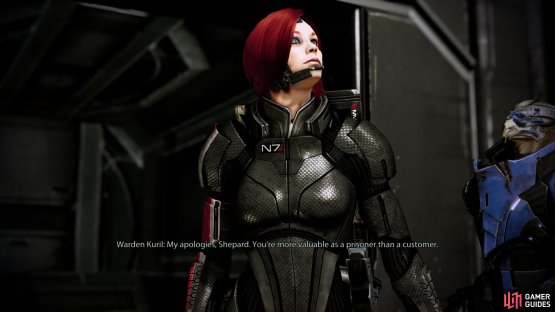
As you head to outprocessing you’ll get the opportunity to intervene and stop some guards from beating a prisoner. (left), When you approach your destination, the Warden will foolishly let his greed get in the way of his judgement. (right)
Once you’ve boarded the Purgatory, proceed forward and talk to a Prison Guard to ultimately end up in a confrontation with Warden Kuril over the trivial manner of whether you’re going to surrender your arms. Just like the security on Noveria learned in the last game, we don’t give up our guns.
After the Warden concedes you’ll join him on a walk and talk where he’ll show off his prison and you’ll be allowed to question him further. Press on and you’ll eventually part ways with the Warden, where you’ll be instructed to head to outprocessing to pick up your convict. Along the way you’ll see a prison guard on the right observing a beating (talk to him for a Renegade/Paragon action). Afterwards continue into the room at the end of the hall. Inside, make your way to the door at the back right of the room. As you enter a short scene will play, and a message will be relayed over the loud speaker - it looks like a routine pick up is turning into an escape for Shepard.
Good thing you kept your guns.
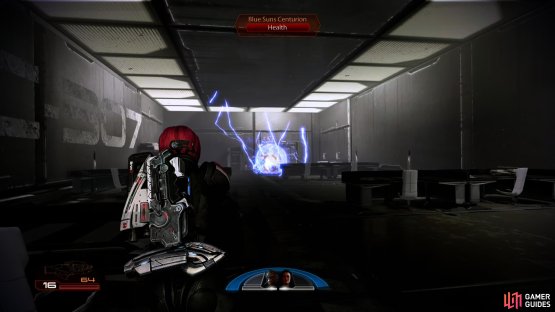
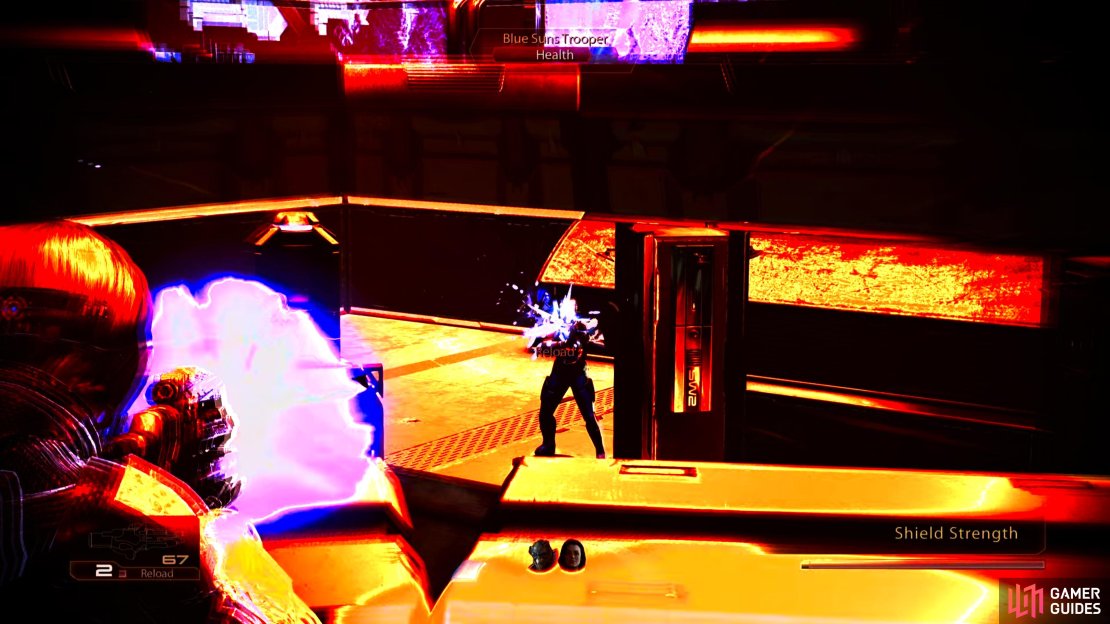
(1 of 2) Veteran Blue Suns mercenaries often come with shields - Overload is an excellent counter.
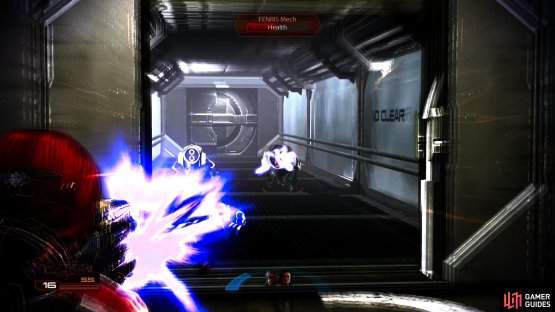
Veteran Blue Suns mercenaries often come with shields - Overload is an excellent counter. (left), After clearing the first room, be wary of some FENRIS Mechs, which will arrive shortly afterwards. (right)
Quickly turn around and take cover. As you do, a group of Blue Suns troopers will enter the room along with a Centurion (shielded trooper) or two and a pair of FENRIS mechs.
Destroy the lot of them and exit into the passage outside. Kill two more troopers approaching the door with another pair of FENRIS mechs. Once they are done, take the first left. Fight your way through the troopers and Centurions who are guarding the hallway and open the door at the end. Kill the technician here and use the terminal behind him to free Jack.
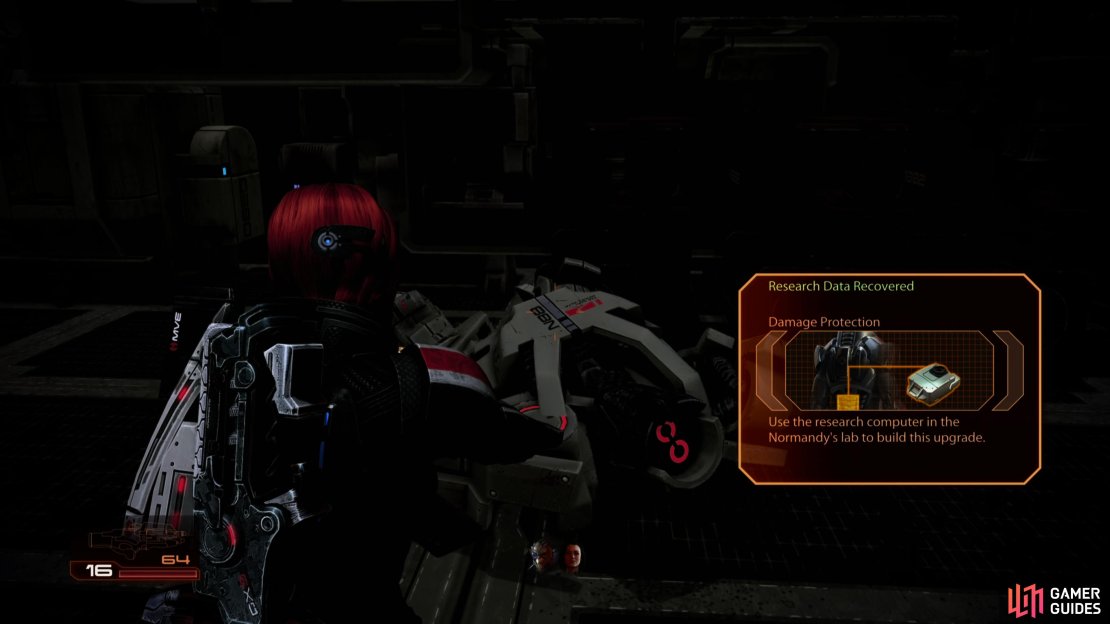
(1 of 3) Search a damaged YMIR Mech to score a “Damage Protection” upgrade.
After the story scene, pick up the Med Kit and the canister of Refined Eezo nearby before entering the now unlocked door on the left. At the bottom of the stairs, examine a damaged YMIR mech for a Damage Protection research project, then find the hole in the wall and run into the passage behind it. Pick up the thermal clips here if you need them and check the prison guard corpse nearby for credits then exit through the next hole in the wall to the right.
Move to the left, and take cover on the raised catwalk here. In the room below you will see prisoners fighting against prison guards and a YMIR mech at the far side of the room. You will need to eliminate the soldiers and the prisoners before focusing your attention on the mech. After it is dead, head to the back wall of the room; when you reach the door, scan the shotgun on the ground for a Shotgun Damage upgrade and then head up the stairs to the left to find a hackable Data Pad . Return to the door, pick up the thermal clips and investigate the dead prison guard before entering the next area.
This room is essentially the same as the previous one; this time though, you will be on the ground floor. As you enter, step behind the crates on the left and eliminate the enemies in front on the ground floor and then the pair on the balcony overlooking the area. Move down into the depression in the floor and move to the right. Take cover just before the overpass and kill the 5-6 enemies that move in to attack you. When no more show up, climb up the nearby ramp onto the overpass where you will see a number of prison guards still kicking down the far end of the room and a YMIR mech as well. The mech will take a long time to reach you, so try and eliminate all the infantry units before it gets close. When the mech is the last enemy standing, just kite it in big circles, running across the balcony, down to the floor and up the two overpasses, shooting at it when you get the chance.
When the mech is dead, investigate the dead guard next to the exit before heading into the sub-tunnel where you can loot a box of thermal clips, a Med Kit and a Wall Safe . Exit the next door for a scene.
It’s time to take on the main man of the big house - Warden Kuril himself! Kuril will chill out at the back left corner of the area within a shield and send a ton of enemies to do his dirty work. Once you have killed the initial wave of troopers and Legionnaires he sends your way, move up one of the sets of stairs and clean out the top area. Note that a small group of enemies will enter the area from where you entered and 5-6 baddies will emerge from a door on the right side of the upper platform. Two of these enemies will be Blue Sun s Commanders (shield over armour) so be sure to use your squad abilities (Overload etc) to help make taking these guys out a lot less painful.
When no more enemies are forthcoming, it is time to take on the warden.
(1 of 3) Clear out the lesser mercenaries so you can focus on the Warden.
To do so, you will need to destroy the pylons around the room with the blue beams of energy emerging from the top. These are feeding the warden’s shield, so removing them will in turn remove the warden’s protective field. Destroy the first two, and then make a quick sweep of the room to make sure there are no more bad guys ready to sneak up on you and when ready, get yourself into cover and blow the third generator.
The warden will stay on the raised platform in the corner, in plain sight and is about as difficult to take down as one of the Commanders you faced before. Just stay in cover, remove his armor and shields and continue to pour ammo into him until he falls.
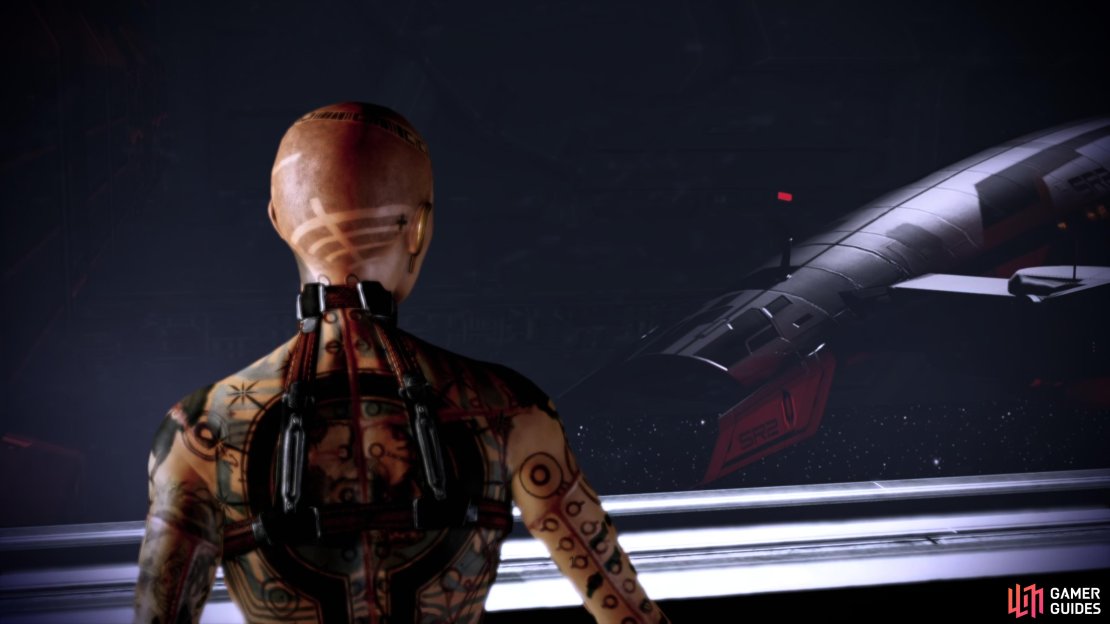
Once the warden is dead, a scene will play, Jack will join your crew and the mission will be complete.
After a quick chat with Jack on the Normandy, return to the galaxy map and decide where to go next. Assuming you’ve already recruited the squadmates on Omega, we recommend seeking out the Warlord next. If you’ve recruited all four base game squadmates, the main mission on Horizon may trigger, instead, which must be resolved before you can continue.
| Mission Completion Rewards | |
|---|---|
| Experience Gained: | 1000 (1250) |
| Credits: | 15,000 + 15,000 |
| Element Zero: | 500 |
Jack joins the crew of the Normandy.






No Comments