

Build advice for the Vanguard in Mass Effect 2, including information on powers, weapons and tactics.
Vanguard Overview
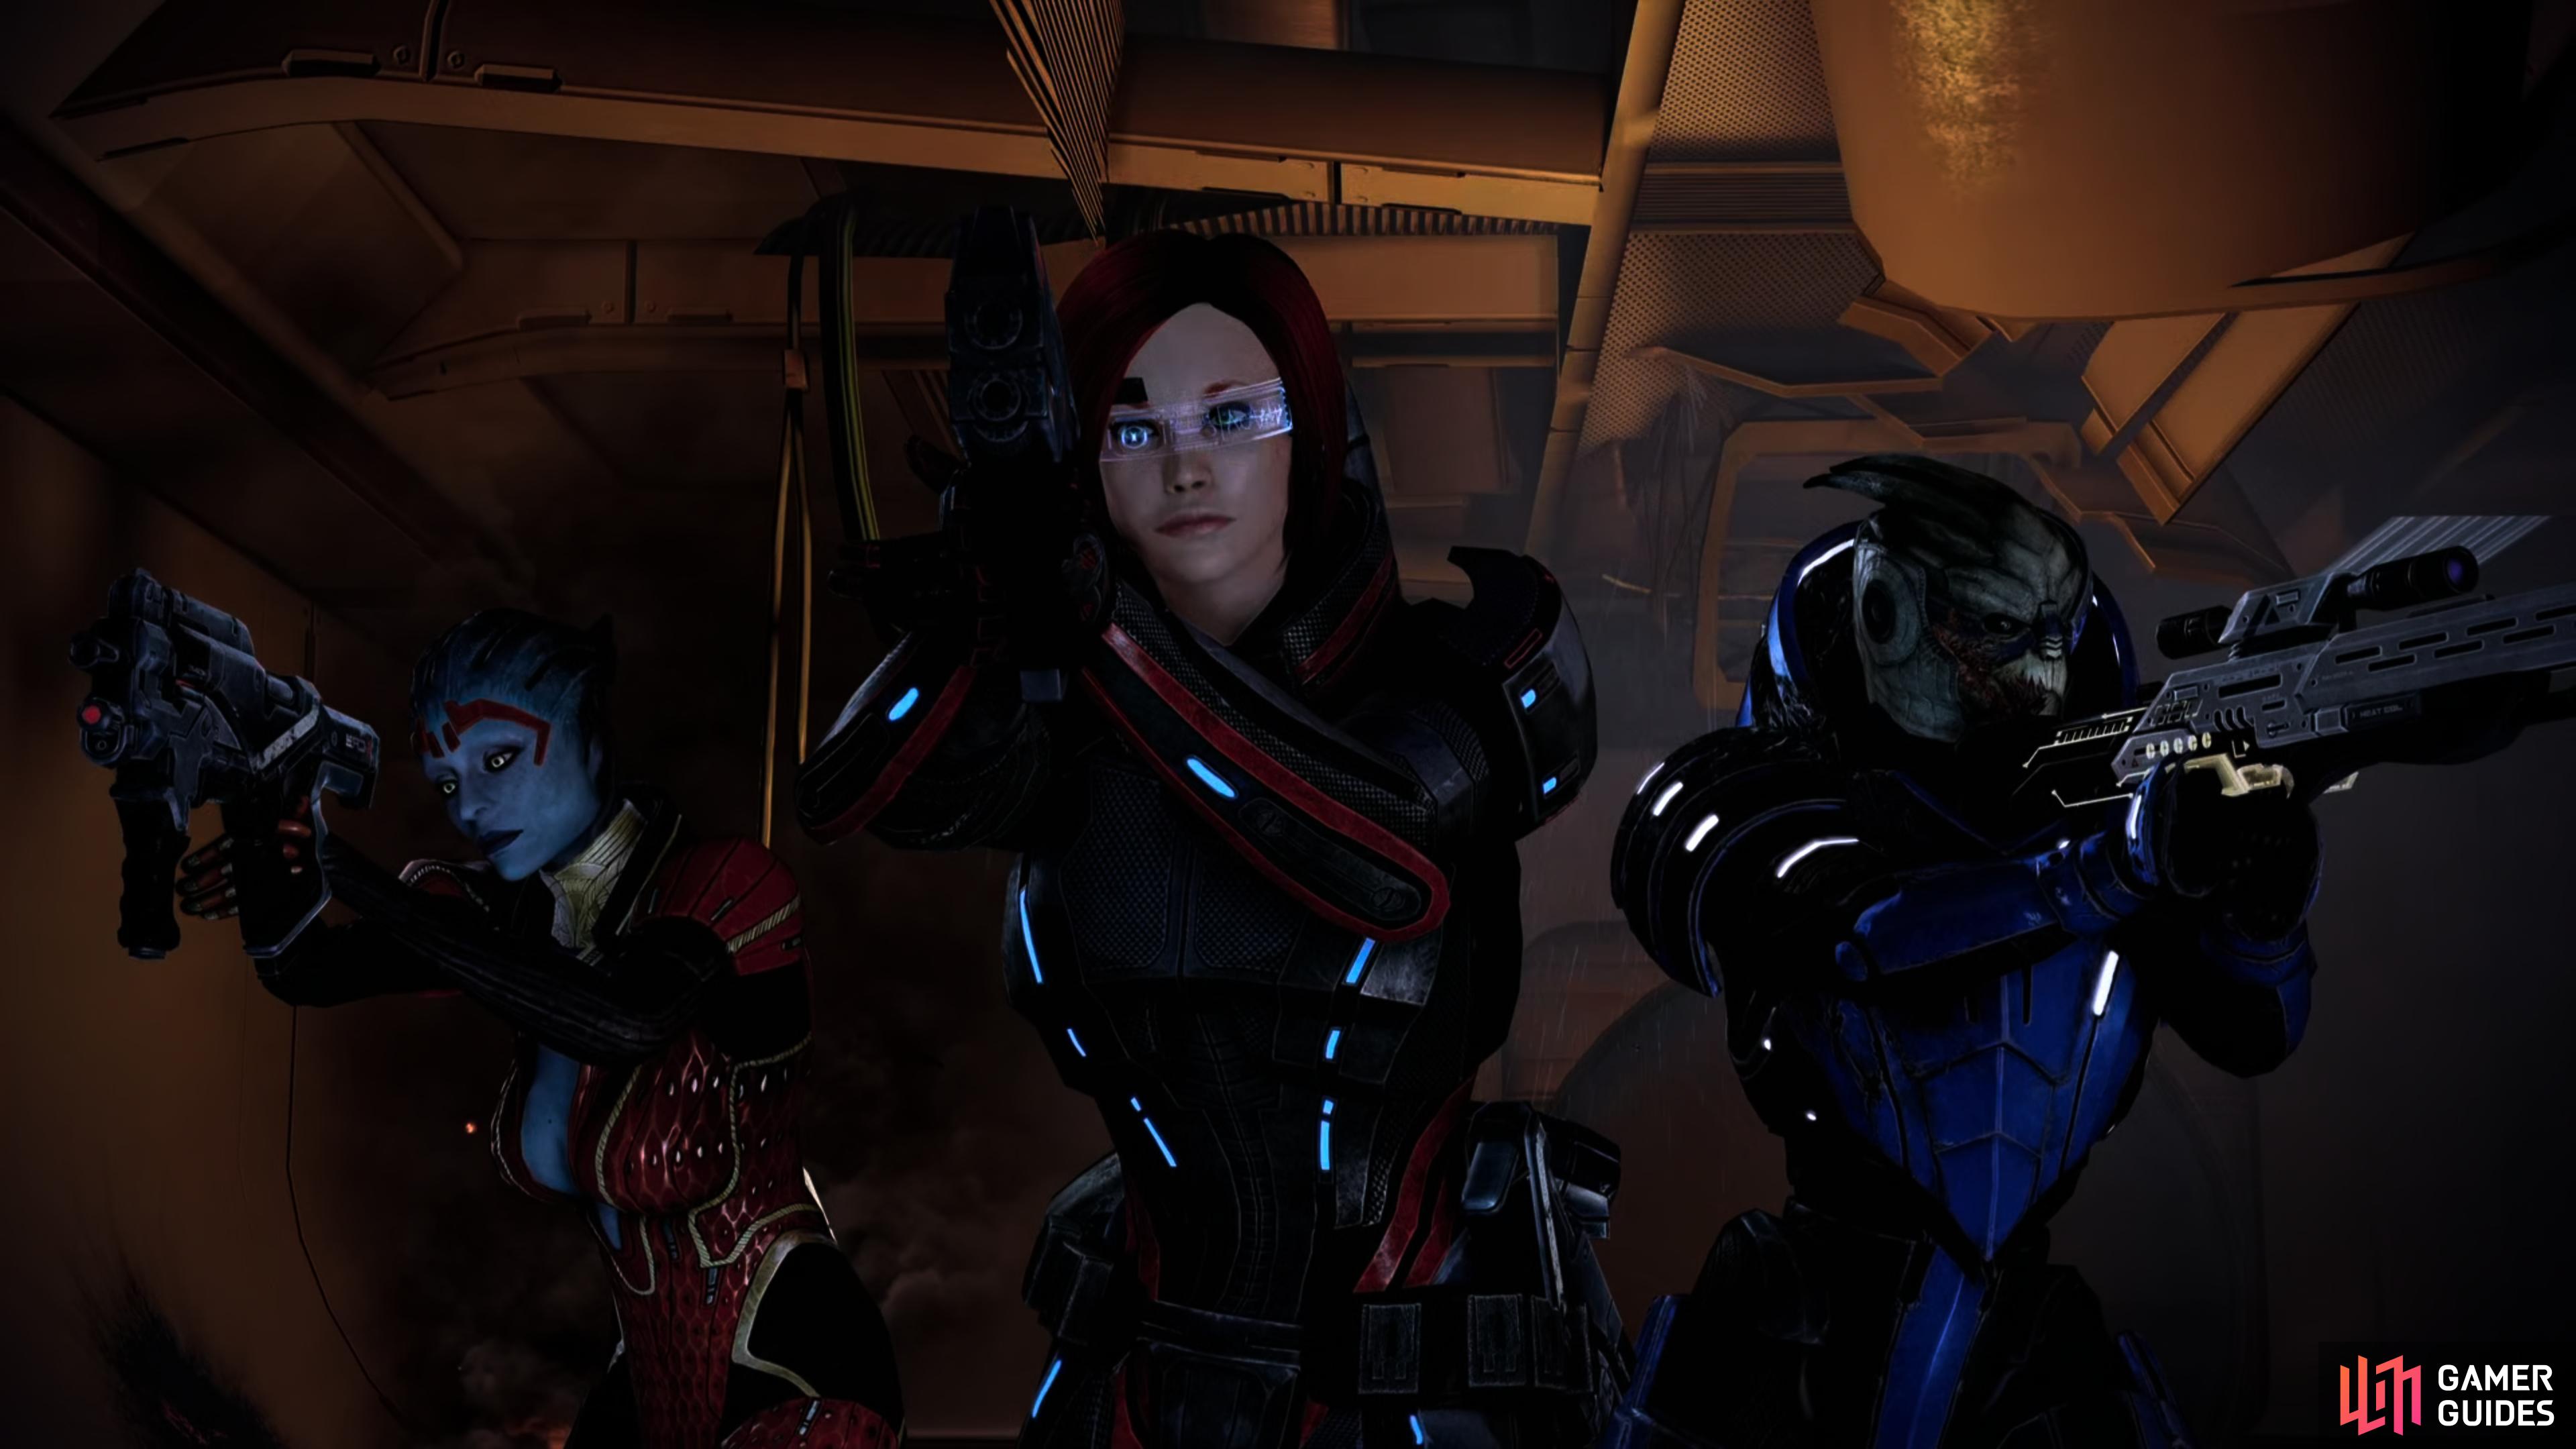
The Vanguard is something of a hybrid of the Soldier and Adept, an aggressive, front-line warrior that blitzes enemies with biotics before finishing them off with gunfire - preferably shotguns, but heavy pistols, SMGs and even melee attacks will suffice in a pinch. It’s a high-risk gameplay style, and lapses of judgement will be harshly punished, especially on higher difficulties, but prudent aggression will be rewarded with domination.
Best Vanguard Build
| Power | Evolution | Rank (Squad Points) |
|---|---|---|
| Incendiary Ammo | Inferno Ammo | 4 (10) |
| Charge | Heavy Charge | 4 (10) |
| Shockwave | Improved Shockwave | 4 (10) |
| Assault Mastery | Champion | 4 (10) |
| Bonus Power: Reave | Heavy Reave | 4 (10) |
- 1 Squad Point remaining.
When a Vanguard’s shields are down, a retaliatory Charge becomes an appealing defensive counterstrike.
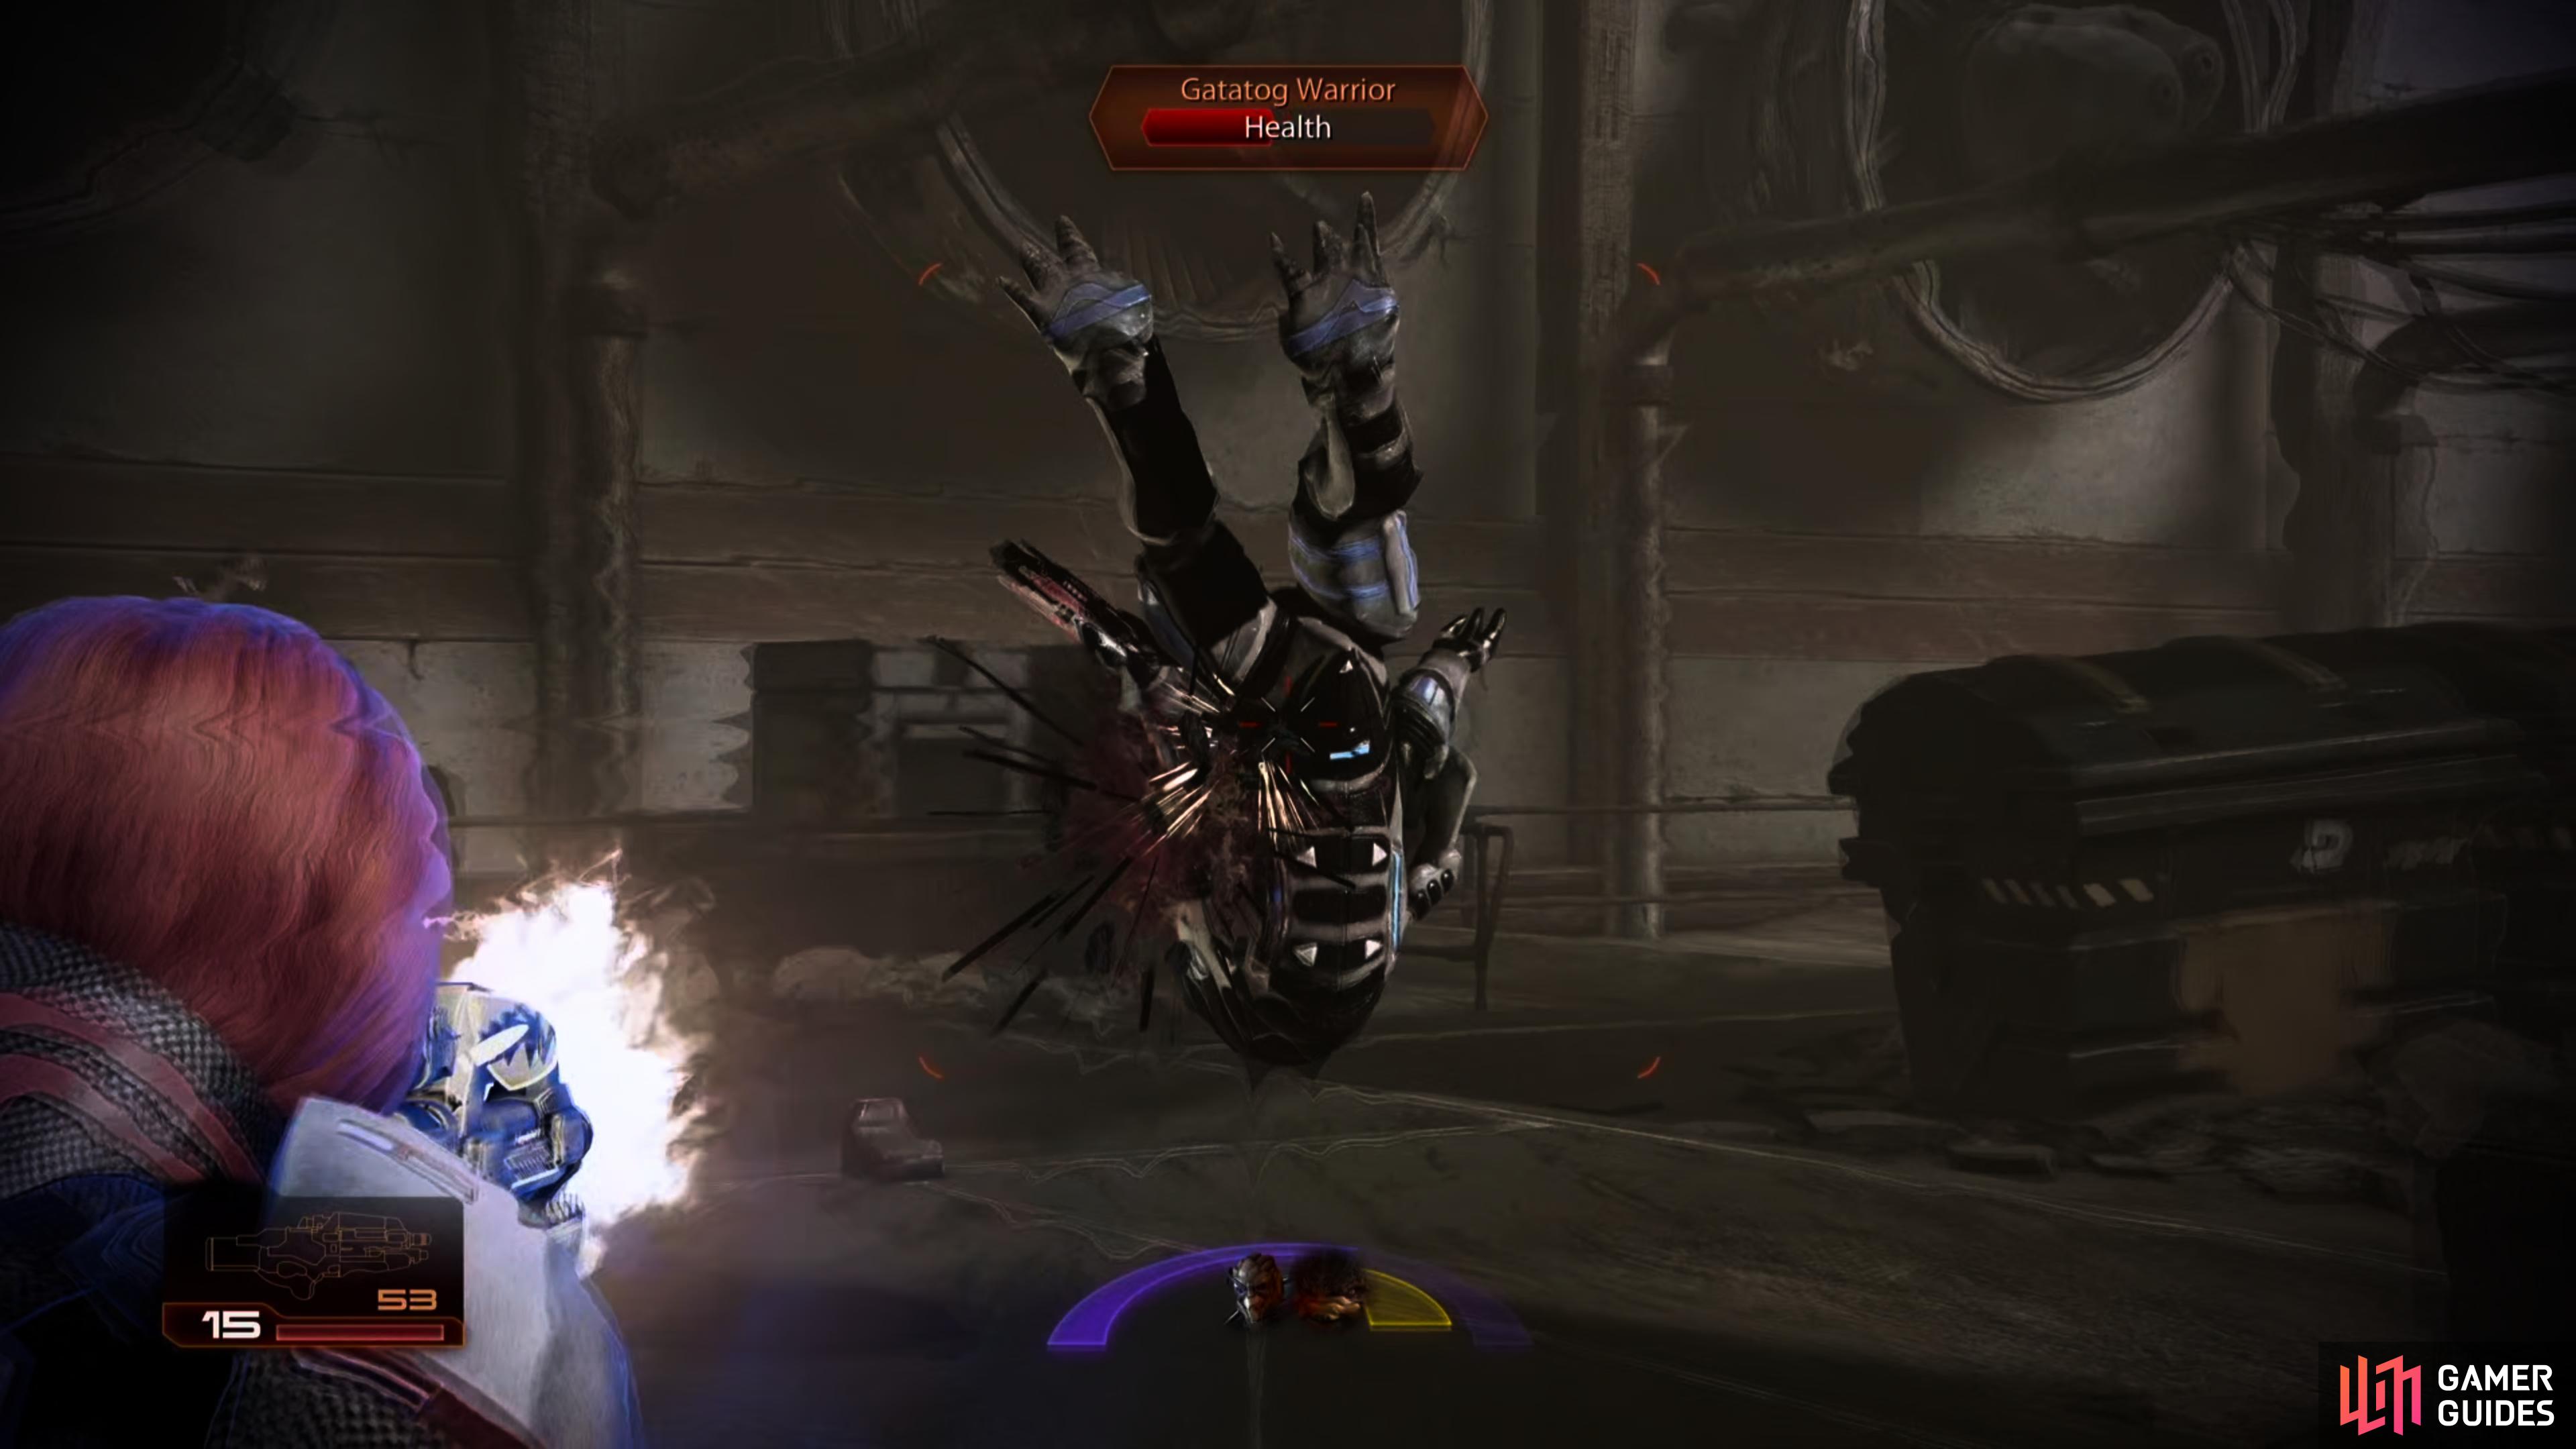
By restoring the Vanguard’s shields and propelling an enemy helplessly away, Charge can shift the tide of battle if your favor.
Charge
Charge is the Vanguard’s unique, playstyle defining class power, providing them a source of offense, but perhaps more importantly, of defense and mobility, as well. As such, any discussion of a Vanguard build should start out with Charge - it’s in large part the thing that separates the Vanguard from an Adept with a shotgun. In game, the Vanguard is referred to as a “high risk, high reward” combatant, which, to be fair, is viewing things through rose-tinted glasses, at best. More accurately they’re a high risk, moderate reward combatant whose Charge power is just as likely to get them into trouble as it is to preserve them. This is due in no small part to Mass Effect 2’s fickle targeting system (the words “Can’t reach the target!” will likely presage a few reloads), but even at the best of times the player must demonstrate a degree of situational awareness not required from other classes.
Properly deployed, Charge will hurl the Vanguard at an enemy, knocking them back and giving you an opportunity to finish them off with conventional small arms. This is provided that the enemy survives the Charge in the first place; Husks will be destroyed instantly by Charge, and other enemies may be knocked off ledges or into other objects. It’s worth noting, however, that enemies with armor, shields or barriers will be highly resistant to the effects of Charge - such defenses should be stripped beforehand, lest you find yourself standing uncomfortably close to an enemy who ended up only slightly staggered from your exertion.
Underwhelming at first, as you expend Squad Points in Charge it’ll gain a number of useful properties, most notably temporarily recovering your shields. With its relatively short recharge time (6 seconds), Charge can be used repeatedly to buffet enemies and keep your health bar from being subject to abuse, although it should be noted that the temporary shields last only 4 seconds, and that’s plenty of time for enemies to bring Shepard down with sustained fire - especially on higher difficulties. You’ll have to balance keeping your shields up via Charge with mitigating risk by charging when and where enemies are unlikely to be able to respond; a single enemy near cover, rather than a group of foes standing out in the open.
While Charge is best used against enemies unprotected by armor, shields or barriers, against some foes you can use it to engage in a biotic slugfest.
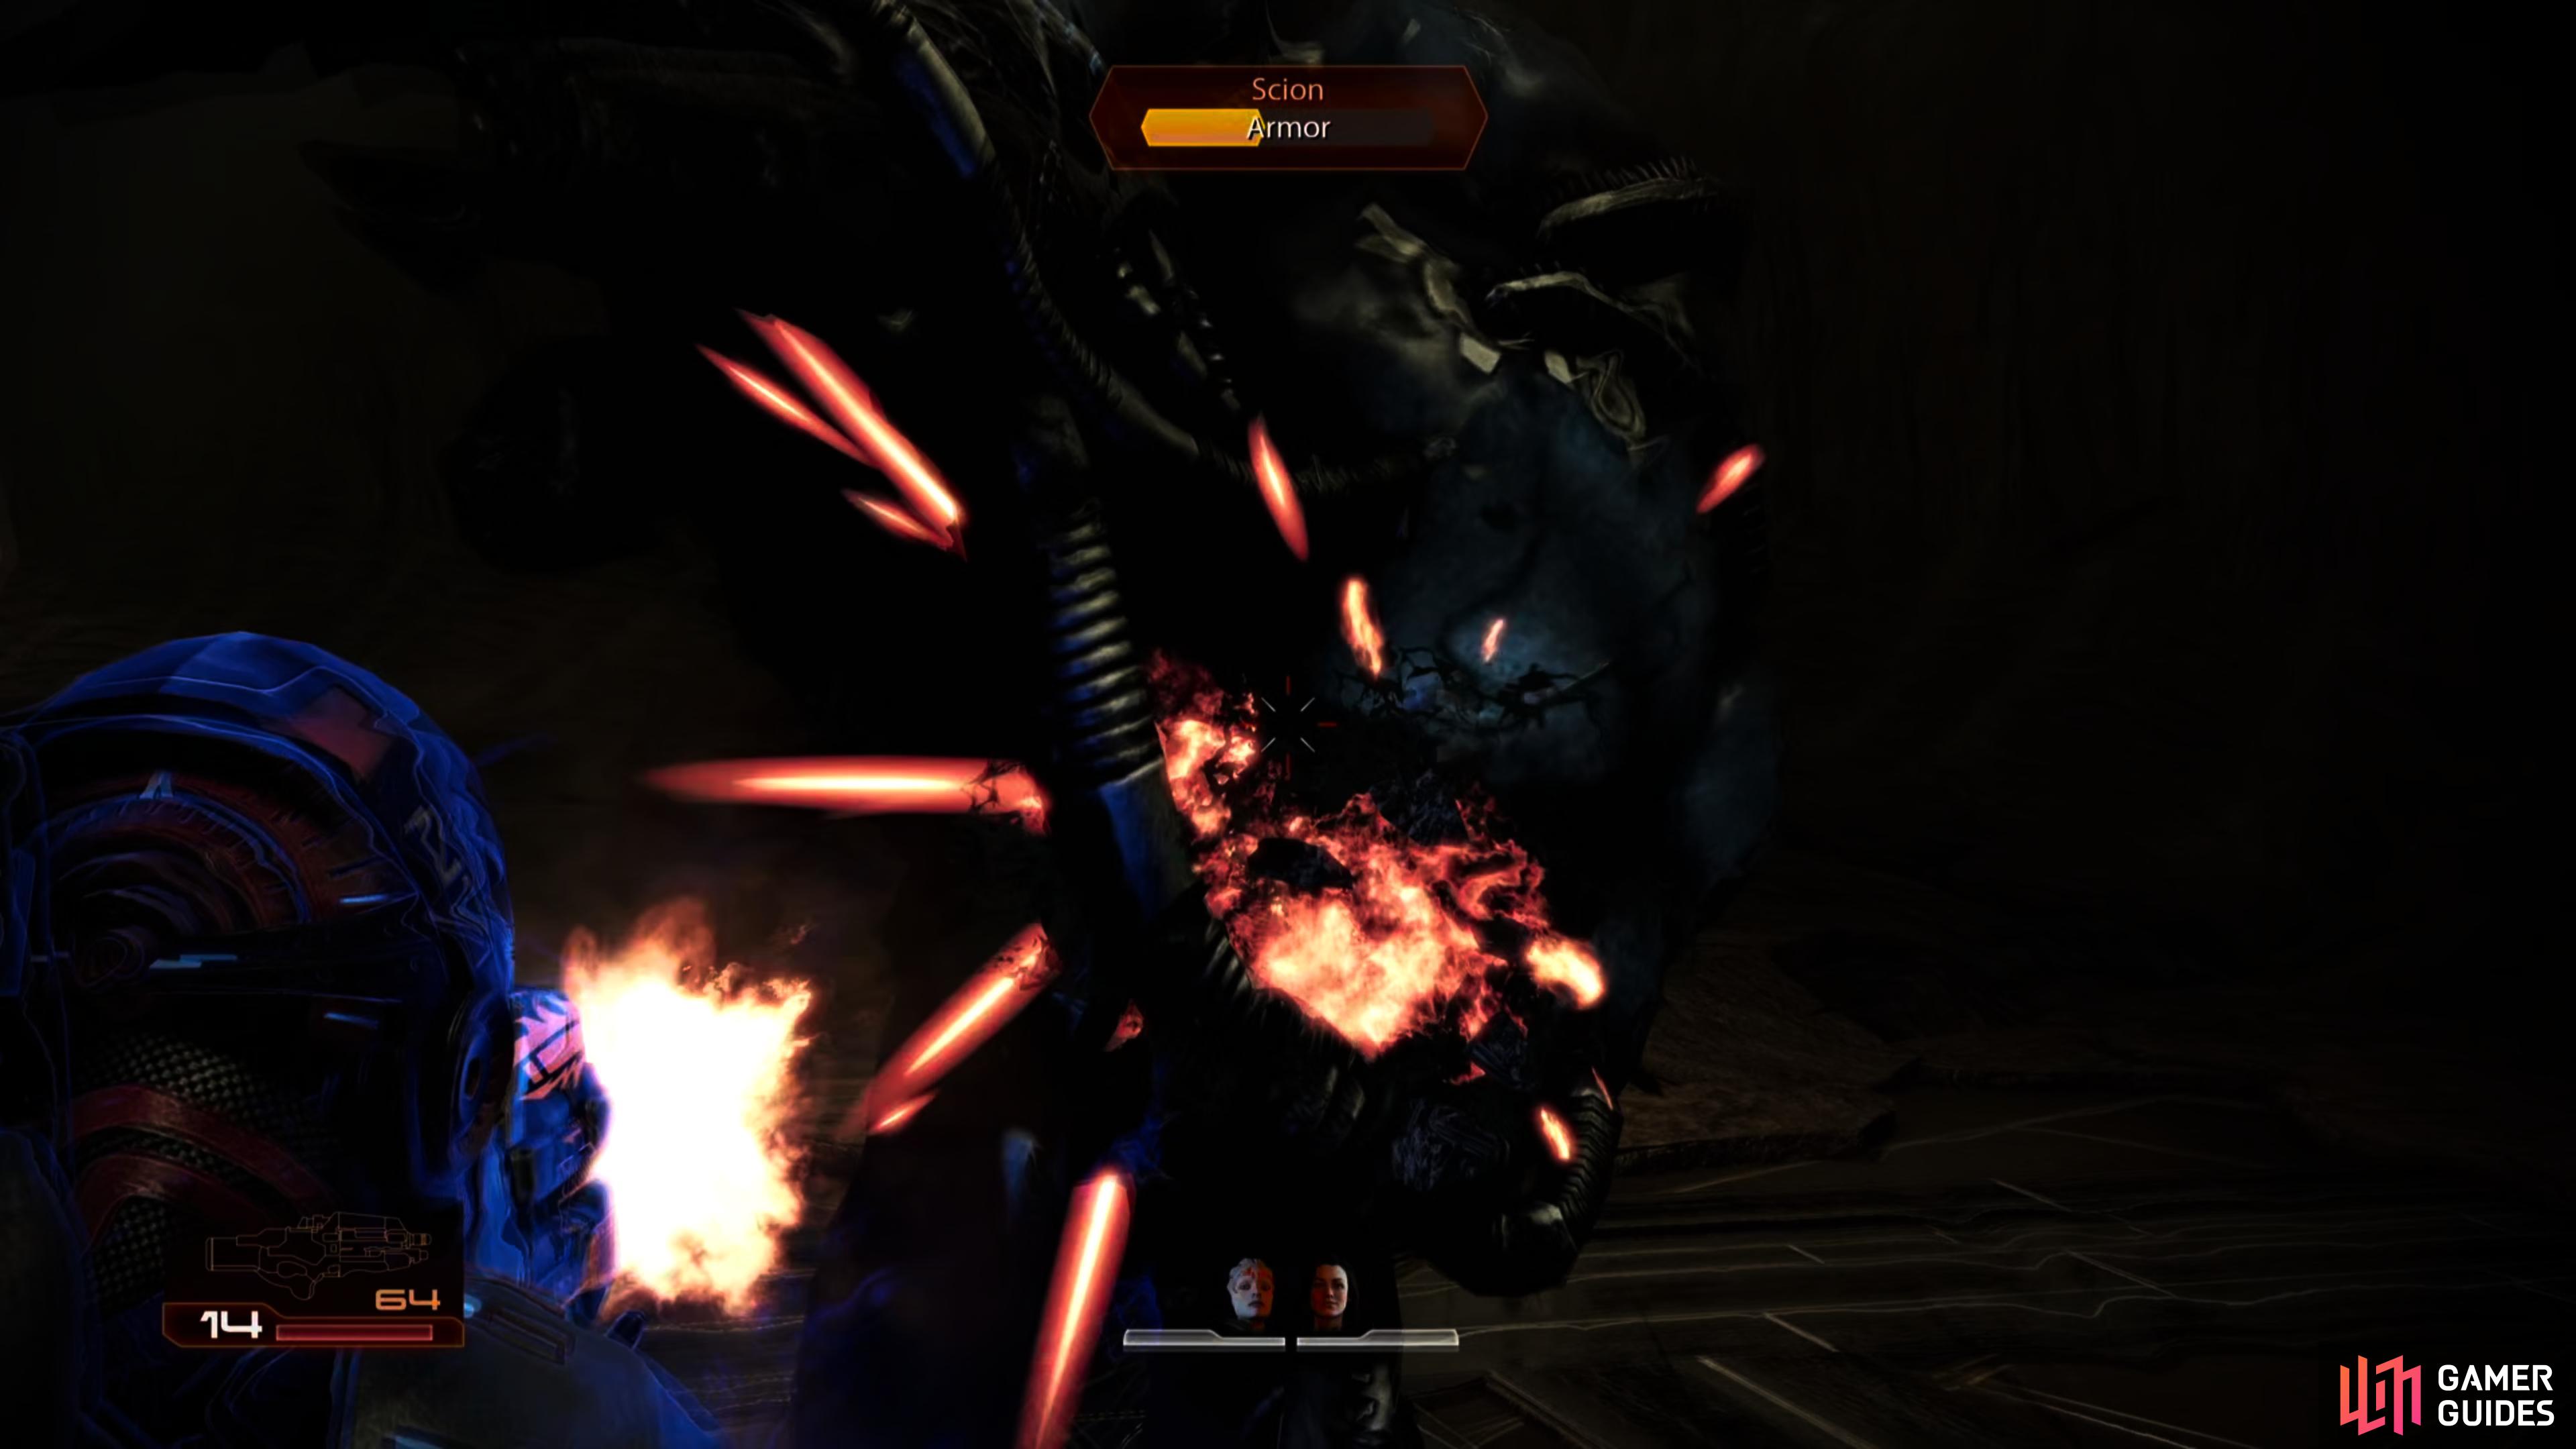
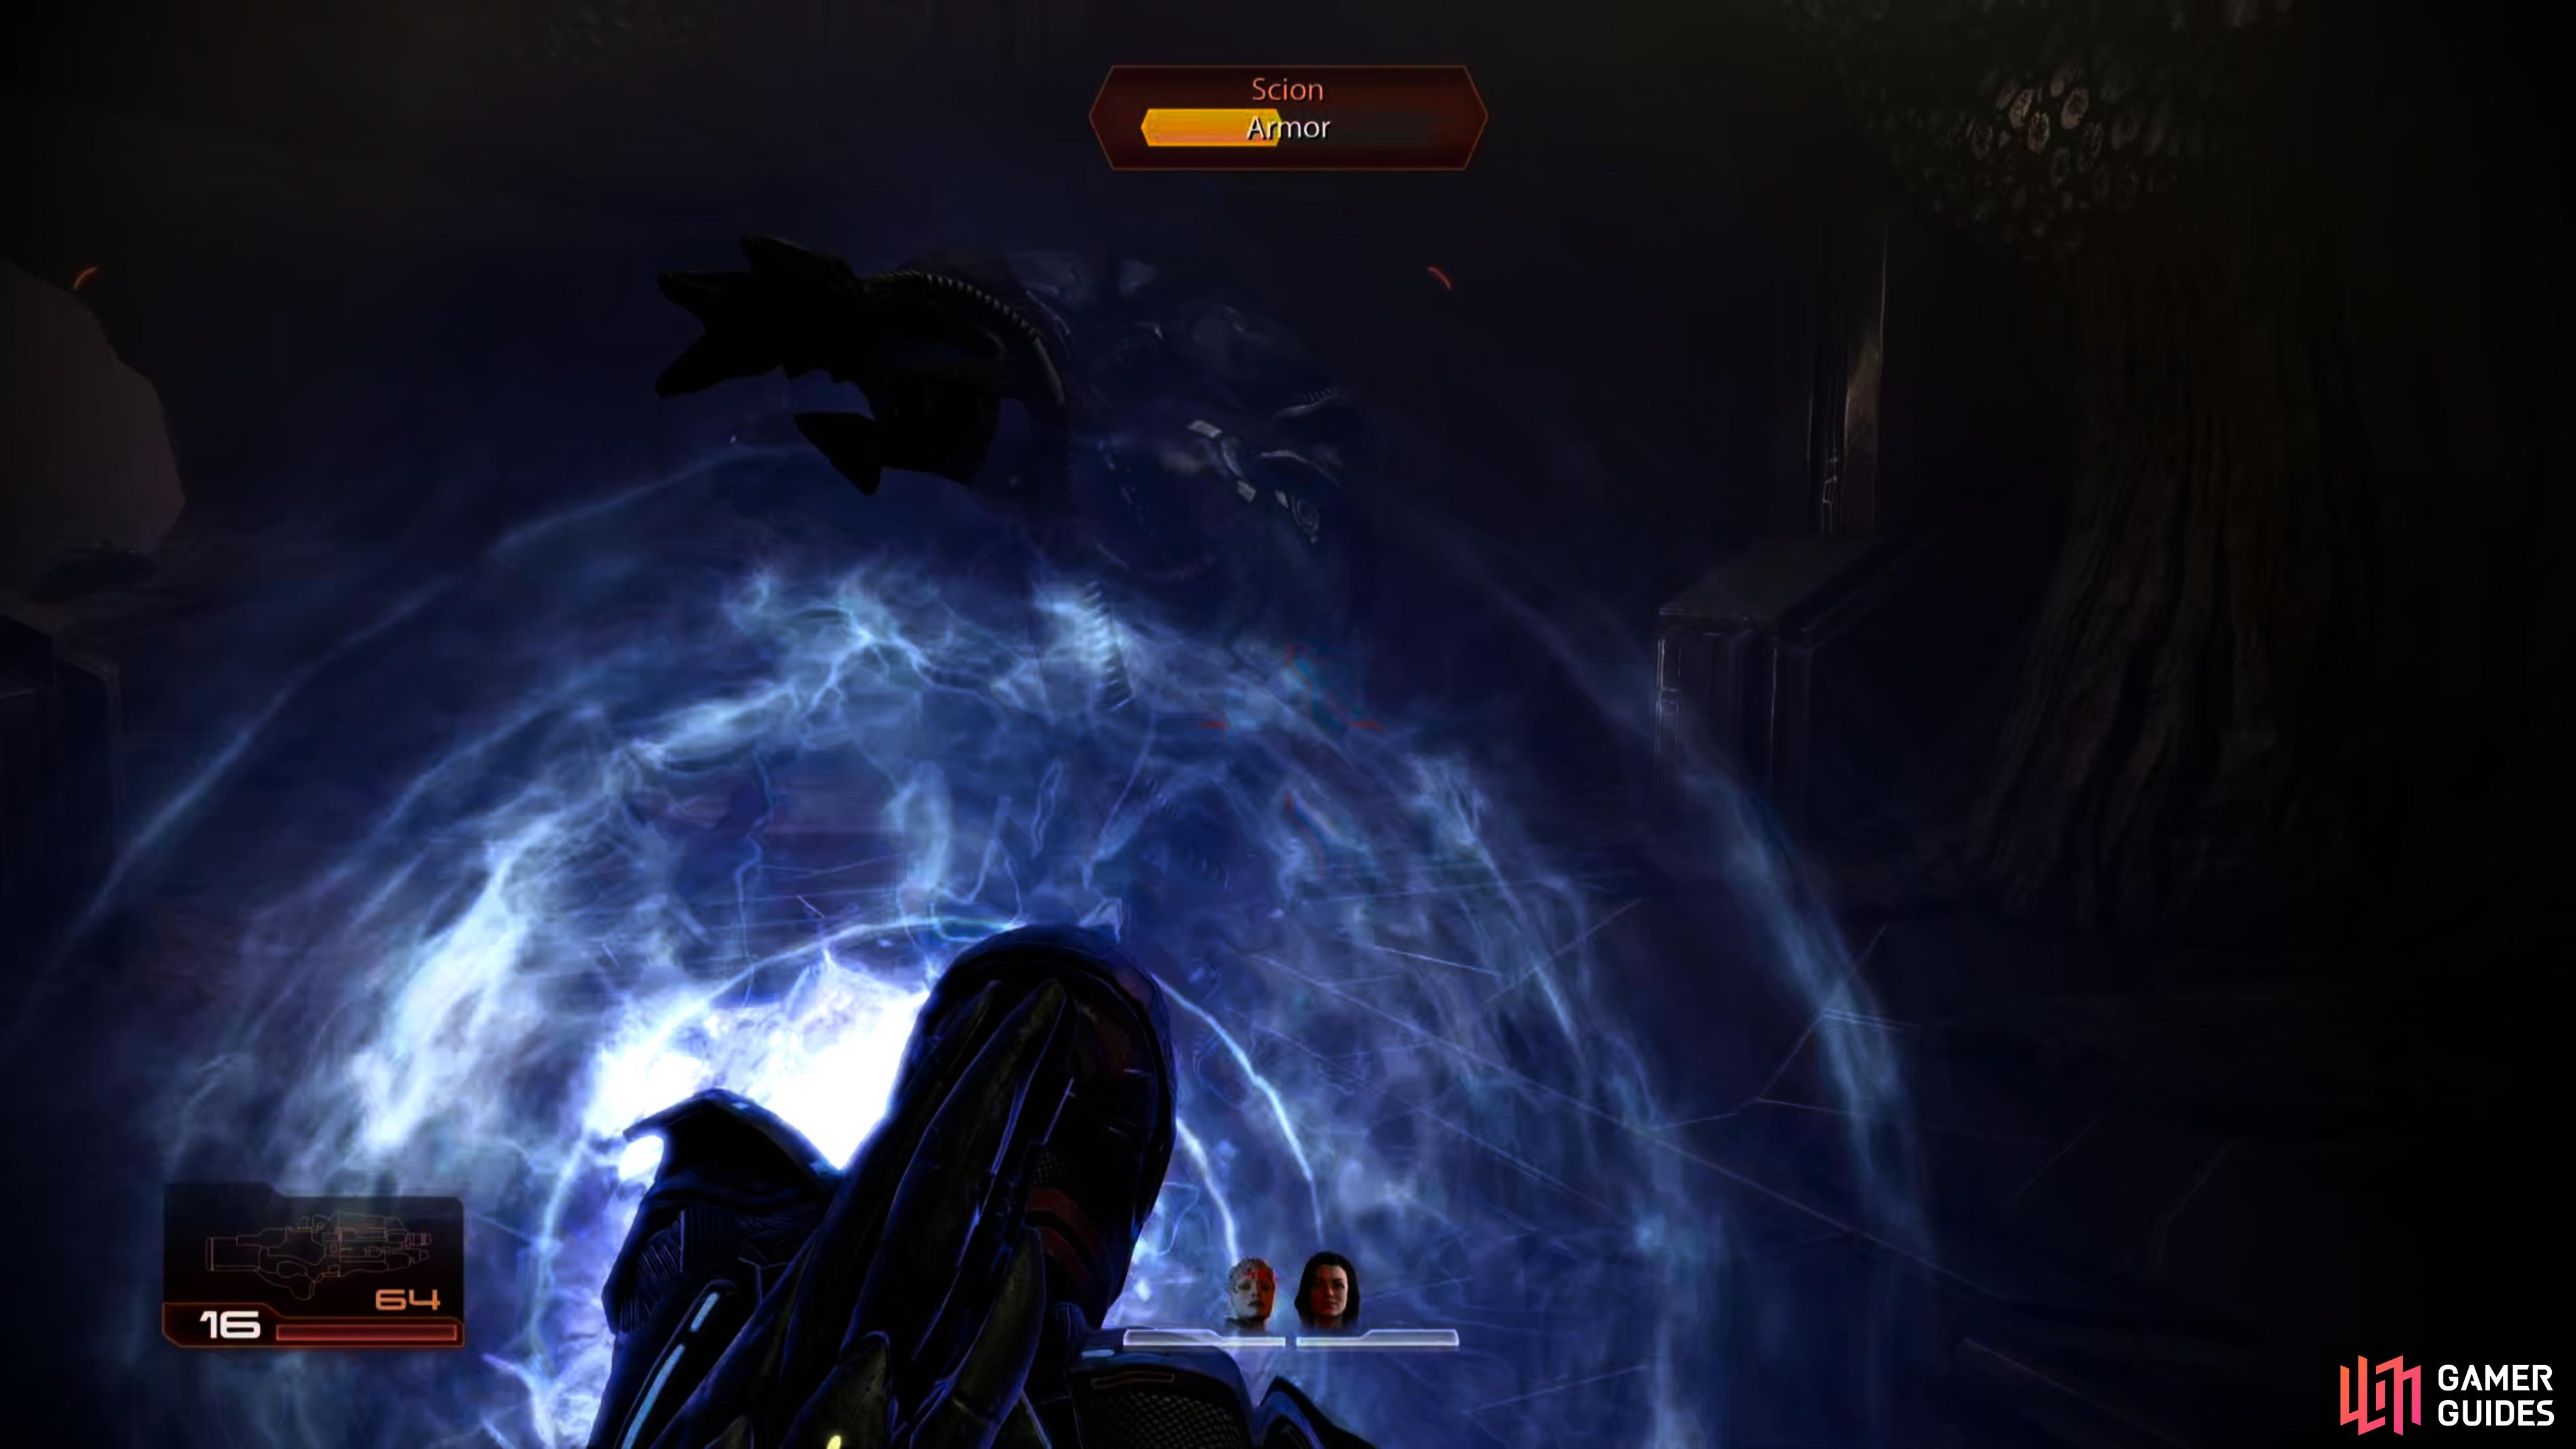
Should your shields be lowered by a Scion, charging to replenish them then laying into the ponderous monstrosity with gunfire can be quite satisfying… just don’t remain too close after the Charge.
Because of the inherent risks of charging, the evolution of Charge at rank 4 is a fairly simple one: Area Charge will give Charge an impact radius of 3 meters, while Heavy Charge will increase impact force up to 1,000 newtons and cause charging to recover 100% of your maximum shields (as opposed to Area Charge’s 750 newtons and 75% shields). Since charging into situations where you can hit more than one enemy is usually a bad idea anyways, we highly recommend Heavy Charge, which, to sweeten the deal further, will also net you some time dilation when you finish your Charge. Not quite as good as the Soldier’s Adrenaline Rush, it’ll still suffice for finishing off most foes.
Despite the significant caveats, Charge is an excellent power, if wisely deployed. When many other characters are forced to cower ignominiously while their shields recharge, the Vanguard can simply seize the opportunity, go on the offensive, and turn the tables. It’s especially gratifying to engage in a slug-fest with a Scion, using Charge to constantly restore your shields while whittling your foe down, their otherwise potent Shockwave-like attack rendered a mere nuisance in the face of your determined assault.
Inferno Ammo can melt through enemy armor and panic groups of unarmored foes.
Incendiary Ammo
The Vanguard only has two ammo powers, and fortunately, Incendiary Ammo is one of the better ammo powers in the game. When active, it’ll increase the damage dealt to armor, prevent regeneration and induce panic in unarmored organic foes. Since the Vanguard is otherwise lacking in ways to strip armor (aside from the woefully inadequate pistol), it’s a welcome addition to their arsenal. As for evolutions, Incendiary Ammo can be upgraded to Squad Incendiary Ammo, which will give everybody in your squad the benefits of this power. Sharing is good and all, but in the case of Incendiary Ammo, the Inferno Ammo evolution really begs for you to be selfish, as it’ll boost the damage output of the ammo to +60% and give it an area-of-effect burst up to 3 meters. With a high-damage weapon like the Mattock Heavy Rifle, this AoE burst should proc every shot, making it one of the better crowd control options in the game, and a very decent compliment to the Vanguard’s other powers.
Cryo Ammo
Arguably the lesser of the Vanguard’s ammo options, Cryo Ammo gives your weapons a chance to freeze enemies for 3-7 seconds (depending on rank and evolution). Not too shabby, but this will only work against enemies with no armor, shields or barriers… meaning it’s strictly for trash mobs and stronger enemies who are largely already defeated. Frozen enemies are easily shattered, and this makes choosing an evolution incredibly easy; Improved Cryo Ammo will add two seconds to the effect’s duration, which is all but meaningless, while Squad Cryo Ammo will give everybody in your squad the effects of Cryo Ammo. The latter is by far the better option.
While it might not be as good of a general-purpose option as Incendiary Ammo - especially on higher difficulties where many enemies will have some form of protection that needs to be removed before this ammo can have any effect - there are situations where it’ll come in handy. If you have squadmates with high-damage weapons (again, the Mattock Heavy Rifle is a stellar example of a weapon that’ll proc ammo effects often) you can expect just about every shot to freeze an exposed enemy. Pass this ammo onto your squad, then switch Shepard back to Incendiary Ammo to take down armor, and you’ll be able to mow through armor/health enemies like Husks on any difficulty. We ultimately prefer Incendiary Ammo for general use, but on Insanity difficulty, there’s no good reason why you shouldn’t be able to Retrain Powers to reset Shepard’s Squad Point allocation and invest in Cryo Ammo when the mission calls for it (Reaper IFF being a prime example).
Shockwave can be potent against unprotected foes, but will primarily be used to flush enemies out of cover.
Shockwave
A power of secondary importance, Shockwave will send a line of biotic energy along the ground, damaging all enemies in front of you. As you rank this power up, it’ll gain improved impact force, impact radius and add more shockwaves (effectively increasing range). The damage is moderate, at best, and while it’s not strong against any protection type, it’s not really weak to anything, either. The best that can be said about Shockwave is it’ll go through walls, navigate up and down slopes (to a degree) and yes, strike enemies through cover. This makes it a useful tool for flushing enemies out, but probably not something you’ll care to heavily invest into early on. For its evolution we recommend Improved Shockwave for the superior AoE rather than Heavy Shockwave, which offers increased impact force.
Pull
Being two tiers down on the powers tree (requiring 2 ranks in both Charge and Pull) you might expect Pull to be better than it is, but… well, it’s one of the more lackluster powers in the game, honestly. While it’ll incapacitate enemies that have no protection, allowing you a generous amount of time to shoot them down (5-12 seconds, depending on rank and evolution), this requires you to all but dispatch the enemy, first. It’s ineffective against enemies with armor, shields or barriers, and Pull does nothing to help you get rid of those. On the plus side, one rank of Pull should suffice for the rare instances where you’d want to use your cooldown on this power instead of another - 5 seconds should be more than enough time to gun down any helpless foe - and Pull does prime enemies for biotic combos. If you do invest in it, the range offered by Pull Field is a better option than the marginal duration increase of Heavy Pull, but again, one rank in this power should be all you need.
Assault Mastery
Assault Mastery will boost the Vanguard’s health, weapon damage, power recharge time and damage, and inflate the number of Paragon/Renegade points earned. Like all class powers, this is absolutely indispensable, and should be maxed. As for its evolution, we prefer Champion over Destroyer, as the former boosts power recharge time over weapon damage - you’ll want those cooldowns ending more than you’ll miss the damage bump, and on the plus side, Champion also doubles your Paragon/Renegade points, as compared to Destroyer’s +70% boost.
Reave gives the Vanguard a useful way to tear down barriers and heal themselves.
Bonus Power: Reave
Squadmates typically have two missions associated with them: their recruitment mission, and their loyalty mission. The recruitment mission will add them to the squad for you to deploy as you see fit, while their loyalty mission will increase their competence both in storyline and in actual gameplay. In the latter case, this will unlock their fourth (bottom-most) power for them to invest in, as well as allowing you to assign this newly-unlocked power as a bonus power. This can be done by using the “Advanced Training” option in the Research Terminal, and will set you back 5,000 Element Zero every time you reassign a bonus power.
Due to the shield-replenishing nature of Charge, the Vanguard doesn’t really need defensive bonus powers like Barrier, Fortification or Geth Shield Boost - any time you’re inclined to use one of those, you’re probably better off with Charge, instead. Incendiary Ammo will help take down armor, and while shotguns generally do superior damage to shields and barriers, it’d be nice to have a power that helped take down enemy protections. Of the bonus powers at your disposal, the best of the bunch for this is arguably Reave, which deals heavy damage to barriers and armor, and when used against organic enemies, it’ll heal Shepard. This still leaves the Vanguard somewhat bothered by shielded enemies, but unless you’re a Sentinel or Miranda, you can’t have everything. We recommend evolving this power to Heavy Reave for the extra damage, rather than Area Reave, which will cause it to gain a 3 meter area-of-effect.
Best Weapons for Vanguard
| Weapon Loadout | Strengths |
|---|---|
| Shotgun - Geth Plasma Shotgun | Barriers/Shields |
| SMG - X-12f Locust SMG | – |
| Hand Cannon - X-6f Carnifex Hand Cannon | Armor |
| Bonus Weapon: Assault Rifle - X-96f Mattock Heavy Rifle | – |
By default the Vanguard has training in Heavy Pistols, SMGs and Shotguns, the last of which is their bread-and-butter weapon. The use of Charge followed by a point-blank-range shotgun blast is the core tactic of the Vanguard, and when the alternatives are pistols and SMGs, it doesn’t take a whole lot of incentive to push one into using a shotgun.
Heavy Pistol - Carnifex Hand Cannon
The X-6f Carnifex can be obtained during the main mission Dossier: The Professor, and is a very, very welcome addition to the Vanguard’s arsenal due to its relatively high damage output. While it packs more of a punch, it’s slower and not great when it comes to ammo management, and it’s weak against shields and barriers. You’ll outgrow it before long, but until you get your hands on the Locust or Mattock Heavy Rifle, it’s the best early-game fallback weapon you can find.
SMG - Locust SMG
There are only three SMGs in the game, and one of them was previously DLC-only, leaving your choices limited to the Shuriken Machine Pistol - your starting weapon - and the Tempest, which is acquired later in the game during the mission Dossier: The Quarian. Both are strong against shields and barriers and weak against armor, and thoroughly unimpressive, especially considering that the Tempest on full-auto is about as accurate as throwing a handful of bullets over your shoulder in the enemy’s general direction.
Fortunately, this is the Legendary Edition, and we’re spoiled with DLC weapons. During the mission Kasumi: Stealing Memory you’ll acquire the Locust SMG, which performs much more like an assault rifle than an SMG. That’s a good thing. It deals more damage than other SMGs and while it’s not as strong against shields and barriers, it’s not weak against armor, either. Most importantly, it’s accurate at range, and while its clip size isn’t great, it’s fairly ammo efficient. A great mid-range, all-rounder weapon that’ll serve as a fallback/alternative choice along with the Geth Plasma Shotgun.
The Geth Plasma Shotgun can be acquired early, can be charged to deal heavy damage, is a viable midrange weapon and is effective against shields.
Shotgun - Geth Plasma Shotgun
For the Vanguard, it’s a pretty simple picture to paint: You see an enemy you can pick off, you Charge, and then finish them off with a shotgun. For this sort of tactic, most any shotgun will do. You’ll start out with the Katana, move up to the Scimitar, and during the Collector Ship mission you can choose to gain training in the assault rifle or sniper rifle, or failing that, gain the ability to use the otherwise Grunt-exclusive M-300 Claymore.
The Legendary Edition provides us with an alternative, however, as you’ll have access to new DLC weapons from very near the start of the game, most relevant of which is the Geth Plasma Shotgun. Sure, shotguns are good and all, but what if we had a shotgun with a decent clip size, functional midrange utility, and the ability to charge it up to deal even more damage? Enter the Geth Plasma Shotgun, which you can purchase from Kenn on Omega - early enough to make this your undisputed go-to weapon as a Vanguard for most of the game.
While its damage output isn’t as prodigious as other shotguns, holding down the fire button will charge the weapon up, increasing its damage output significantly, albeit at the cost of consuming more ammo if you reach a full charge. The tradeoff is worth it, and it should be noted the Geth Plasma Shotgun isn’t an all-or-nothing affair; partial charges deal increased damage, so any time spent holding the fire button down - even if it’s not enough for a full charge - will still increase the pain you inflict when you let go of the trigger. The only real downside to this weapon is the fact that you can’t charge the weapon and remain in cover at the same time, so you’ll need to pick your shots well… or stand behind walls/pillars, which provide cover without forcing you to actually stick to them. Still, the ability to mow down most enemies in a single shot at a decent range with a shotgun makes this weapon well worth your attention.
…plus, using the Geth Plasma Shotgun means you can use the weapon training on the Collector Ship to expand your arsenal, rather than grabbing the Claymore, which is of dubious utility when you have access to the Geth Plasma Shotgun.
Advanced Weapon Training - Assault Rifle Training
During the mission Collector Ship you’ll be able to examine some “Collector Technology”, which will present you with three weapon options: Assault Rifle training, Shotgun training or Sniper Rifle training. If you already have access to one of these weapon types and pick the same weapon again (for example, a Vanguard picks Shotgun Training) you’ll acquire a new weapon of that type: the Revenant assault rifle, the Claymore shotgun or the Widow sniper rifle. If you pick a weapon type you do not already have access to, you’ll gain proficiency in that weapon type, but you will not otherwise gain one of the three aforementioned weapons.
The choice, in essence, is whether you want a shiny new weapon of a type you’re already proficient in, or access to a whole new suite of weapons.
The Geth Plasma Shotgun made this choice relatively simple for the Vanguard as the Claymore is a rather dubious upgrade. On the other hand, while the Locust and Geth Plasma Shotgun both are midrange pretenders, having a dedicated midrange weapon will ease ammo woes and give us more versatility. We opt for Assault Rifle Training, and include the Mattock Heavy Rifle in our arsenal for the rest of the game. Its damage output is great, it fires as fast as you pull the trigger, and it procs ammo effects nearly every time it connects, making it a great anti-armor option in conjunction with Incendiary Ammo. You could very well make an argument for a sniper rifle to cover the Vanguard’s lack of long-range options, but the Mattock performs admirably at most ranges where you’ll regularly engage in combat and since it packs a punch without being encumbered by a scope, it’s nearly as effective as a shotgun in the Charge-and-shoot strategy that defines the Vanguard.
The weapon damage, melee damage and shield boosts given by Kestral Armor make it ideal for a Vanguard.
Best Armor for Vanguard
| Armor | Location | Stats |
|---|---|---|
| Kestrel Armor | Serrice Technology, Illium | 30% Melee Damage, 5% Headshot Damage, 11% Weapon Damage, 25% Shield Strength, 5% Spare Heavy Weapon Ammo Capacity |
The Kestrel Armor, originally confined to DLC, is a great all-rounder set. With all its pieces combined, it’ll boost melee damage, headshot damage, weapon damage, shield strength and heavy weapon ammo capacity. They’re not all winners, but the weapon damage and shield strength both work well with the Vanguard build, especially the latter, considering how Charge replenishes your shields. Hard to be upset at the melee damage, either - sometimes you just need to give an enemy a good smack, especially after a Charge.
Best Squadmates for Vanguard
The greatest consideration for squadmates are whether they’re effective at countering the enemies you’re facing on a specific mission, especially if your Shepard is lacking those countermeasures. For a Vanguard Shepard following the advice above, you’ll be relatively capable against armor (thanks to Incendiary Ammo and Reave) and barriers (shotguns and Reave). Shields are a bit of a weak spot, but you do have Shotguns to rely on, so you’re not completely hopeless.
Miranda is a great choice, as she’s capable of taking down enemy armor and barriers (with Warp) and shields (with Overload) while providing a lovely bonus to squad weapon damage (Cerberus Leader evolution). Garrus and Zaeed are both good secondary options, as the former can grant Squad Armor-Piercing Ammo (+50% damage to armor and health) as well as Overload (counters shields) while the latter can give Squad Disruptor Ammo (+40% damage to shields and synthetics) and Inferno Grenade (counters armor). Both also have access to Concussive Shot, which can knock down foes that are trying to get too friendly. Hard to go wrong with either, but we favor Garrus if you have Shockwave, Zaeed if you have Squad Cryo Ammo. In fact, if you have Squad Cryo Ammo, you can alternatively go with Samara to get another character with Reave.
No Comments