| Optional Objective/s |
|---|
| 1. Use a key to enter the White Drawing Room. |
| 2. Free all captive royal guards (2 groups). |
| Reward/s | . | . | . |
|---|---|---|---|
| Money: | 3,990 £ | Bonus: | 250 £ |
| XP: | 4,500 XP | Bonus: | 250 XP |
| Gear: | Schematics: Legendary Assassin Belt Schematic |
This is the final mission of the campaign and as such is much longer than anything we have played so far. It is also unique in that we’ll take control of both Jacob and Evie at various stages throughout the memory. As such, if you’ve been favoring one over the other, head on into the menu and equip your best gear and make sure you’ve used any unspent skill points!
Part 1: Infiltrate the White Drawing Room
The memory begins with us in control of Evie and we’ll want to follow Jacob through the building ahead and out the far side where we’ll reach the party. During the first section of this memory, Evie is decked out in a proper dress and as such has a limited range of movement. You will not be able to sneak or attack enemies in this state, although you can still kidnap and knock them out.
As soon as we reach the part a short scene will play alerting us to an opportunity – one of these guards has a key to the room we want to get to.
Use your Eagle Vision to identify your targets – they will be highlighted in red. Follow either of them and when they are in the midst of a crowd, grab them – kidnap style. Doing this will almost always result in you being detected by the royal guards though, so as soon as you have him under control, immediately start walking slowly away so that you escape the last known area quickly.
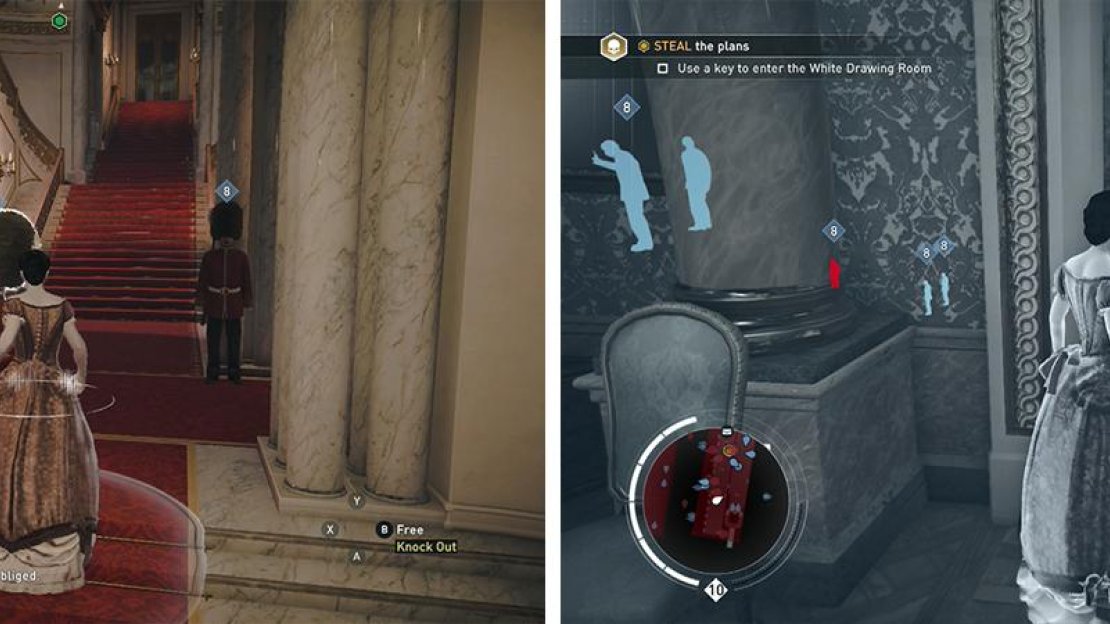
Use a royal guard to get up the stairs inside (left). Make a run for the target door when nobody is looking (right).
With the guard in escort mode, return slowly into the building we came from and climb the stairs on the right – remember keep it slow and steady to avoid suspicion. At the top of the first flight of stairs, follow the passage around and enter the hallway.
Duck into the first room on the left. Note the locked door on the right side of the room (that’s where we want to go) and the pair of guards looking out the window here. Quickly move into the door on the left, opposite the target door and choke out the guard behind the corner here. Loot the key from his body before returning to the previous room and accessing the locked door here.
Loot the marked chest inside and then backtrack down the stairs. A scene will play when you arrive.
Part 2: Kill the Snipers
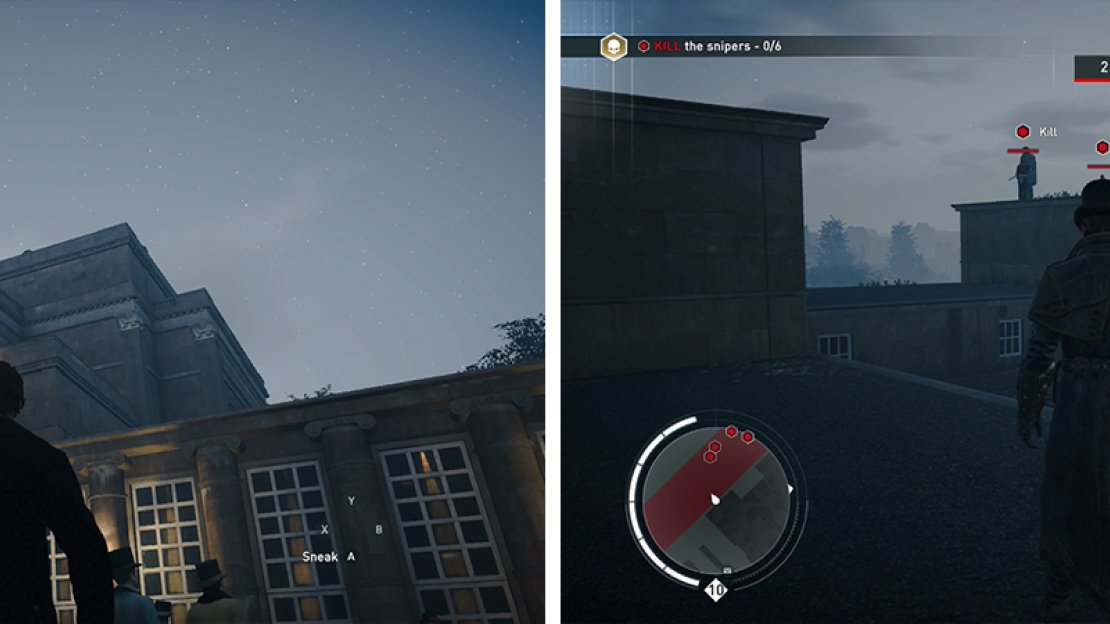
After the scene, you’ll be in control of Jacob. Climb to the roof of the main building and work your way over to the green objective marker on the far side of the roof. Follow the friendly guard here and enter the indicated hiding spot to recover your gear.
As soon as our gear is back on, a timer will appear at the top of the screen. We’ll have 3 minutes to kill the six Snipers on the nearby rooftop. All of the snipers are facing the courtyard below and will not turn around unless you make too much noise.
As Jacob climb to the roof (left) to retrieve your gear. Take out the Snipers that appear in less than 3 minutes (right).
As they are pretty much oblivious to your approach, try to sneak up behind them and kill them all in turn – it’s beset if you move from the back to the front. If you start running out of time, feel free to use throwing knives/pistol shots to deal with any stragglers.
Part 3: Eliminate the Templars
Once the Snipers are down, your objectives will be updated. We’ll now need to kill 16 Templars who are disguised as Royal Guards. Fortunately, they are located in two groups of eight and can be found at the northwestern and the southeastern ends of the main building. Each of these two groups of Templars has a group of captive royal guards nearby that we can release.
If you approach the northwestern group first, you should tag all of the enemies when you get into range. It’s a good idea to kill the guard on the balcony first before proceeding to the rooftop above the green marker an air assassinating the guard closest to the captives. This will trigger another 3-4 Templar guards to come and attack you, so use your hand-to-hand skills to beat them down.
Release the guards and you’ll be able to recruit them as allies. Move over and eliminate any remaining Templar targets in the area.
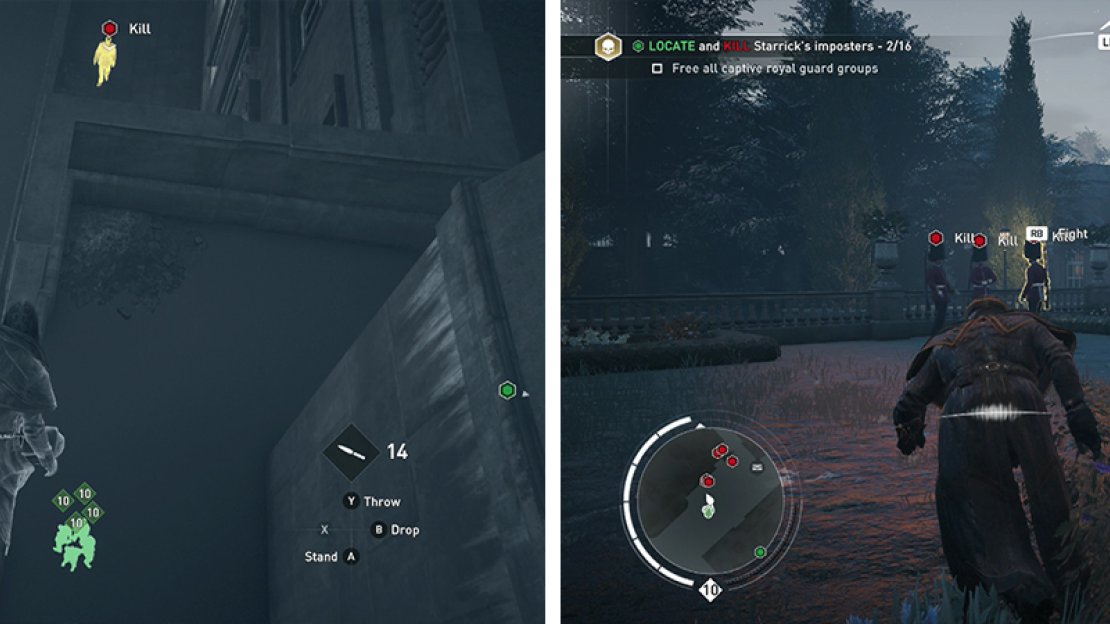
Climb back up to the rooftop and head over to the opposite end of the building to find the second group. The group of captive Royal Guards is somewhat isolated from the majority of the Templars so when the coast is clear, air assassinate their lone Templar guard, release them and recruit them.
Locate the groups of royal guards (left), rescue and recruit them. Use the royal guards to help take out the remaining Templars in the area (right).
It’s a good idea now to return up top and kill the Templar guard on the rooftop. From here we’ll be able to scope out the remaining Royal Guard impostors in the area and also be able to double air assassinate some guards below as well. However, you decide to proceed, if you have recruited the freed Royal Guards, the fight will be much easier!
Once all 16 of the Templar impostors have been dealt with an objective marker will appear on the rooftop nearby. Climb up here for a scene.
Part 4: Locate the Vault
Following the cut-scene, we’ll be back in Jacob’s shoes on the shore of a small lake. Swim to the opposite side and approach the objective marker nearby to find a hole in the ground leading to a man-made structure. Hop in and slide down.
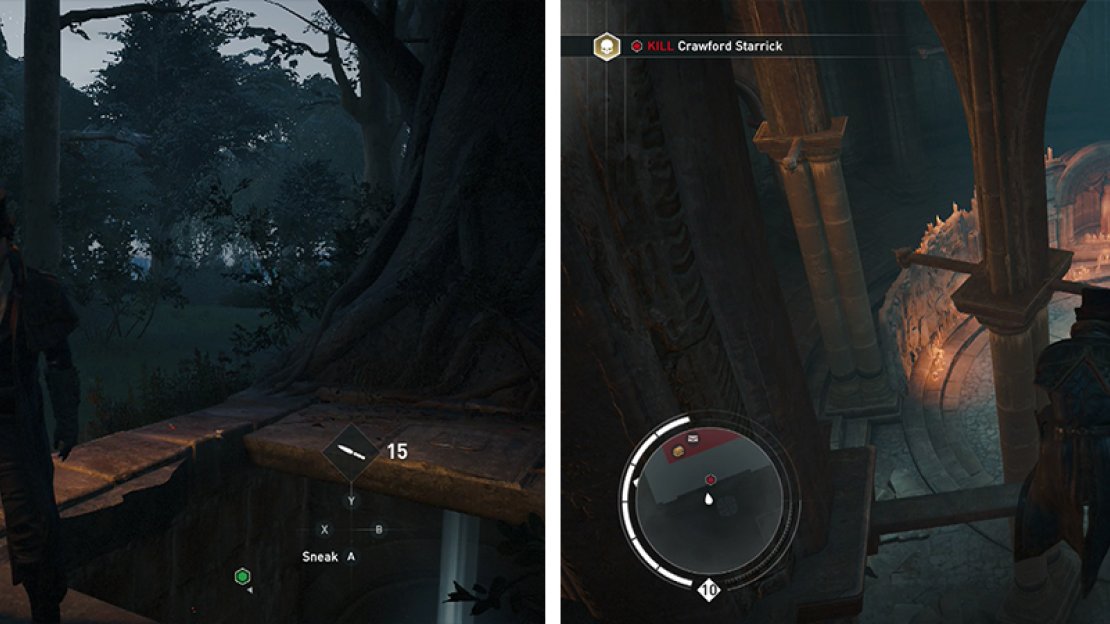
Work your way through the cave and you’ll soon reach a large, open chamber with our assassination target standing at the far end. Approach him and attempt an air assassination for a scene.
Cross the water to find a tunnel leading ot the vault (left). Inside sneak up to assassinate the target (right).
Once the scene ends, we’ll switch over to Evie (back in our proper assassin gear no less) and we’ll need to reach the same location Jacob is at. Unfortunately, it’s a little trickier with Evie as the game will now impose a 4-minute time limit on you and to slow you down, it has also placed Templar guards near the entrance to the Vault. Deal with them if you wish (or ignore them altogether) and move through the vault until you reach the room with the target.
Part 5: Assassinate the Target
This fight with the Templar target acts as the final boss in the game and it’s a pretty long fight so you’ll need to be patient. There are a couple of sections to this fight that seem to repeat over and over and you’ll learn the pattern of play pretty quickly.
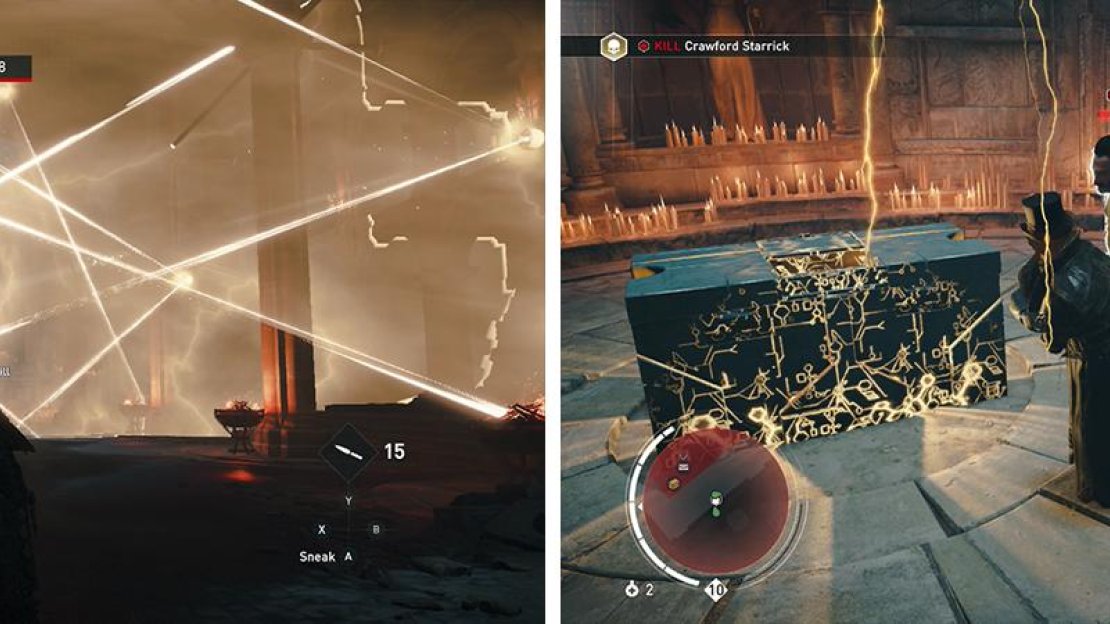
Essentially, you’ll spend an equal amount of time between Jacob and Evie during this fight. Usually, upon switching to a new assassin, you’ll be located away from the assassination target and need to reach him within a specific time limit. As you approach, moving walls of yellow laser death will appear from the target’s location and move outwards, damaging and forcing you back slightly if they make contact with you. As such you’ll need to maneuver around them either at ground level or via the series of suspended poles, girders and supports around the pillars lining the center of the room. As the fight progresses, these laser walls will become more numerous, faster moving and much more difficult to maneuver around.
During the fight you’ll need to manouver through the laser walls (left) before fighting the target one-on-one (right) several times over.
When you do reach the target’s location, you’ll enter a one-on-one combat scenario. Your opponent will for the most part throw single attacks your way, but upon taking various amounts of damage, he’ll transition to a cut-scene style attack where he will unleash 3-4 attacks at you in quick succession which can be difficult to counter until you get your timing down. There’s no real tactic to this, it’s a matter of playing it and practicing until you are able to pull it off successfully. She’ll enter this cut-scene mode several times before she goes down.
Each time you have dealt him enough damage in melee combat, a cut-scene will play and you’ll switch to the other assassin and need to move in through the deadly laser obstacles to reach him to attack once again. This will repeat over and over four times until an ally shows up to help out.
At this point, you’ll take control of both Jacob and Evie in turns as you fight the boss one-on-one. When he has taken a sufficient amount of damage, a cut-scene will play. During the scene, hit the ‘assassinate’ button (X/Square) when prompted.
Assassinating the target will trigger a number of scenes and complete the memory.


No Comments