| Optional Objective/s |
|---|
| 1. Use Henry’s distraction ability twice. |
| 2. Kill guards using hanging barrels (2 guards). |
| Reward/s | . | . | . |
|---|---|---|---|
| Money: | 1,200 £ | Bonus: | 250 £ |
| XP: | 600 XP | Bonus: | 250 XP |
| Gear: | Schematic: Purple Vengeance Schematic |
Part 1: Infiltrate and Loot Templar Chests
As we begin, we’re tasked with finding and looting three chests within a decent sized restricted area below (note the alarm bell icons on the map – there is a chest close by each of them). Before we proceed to do that though, you’ll want to swing down onto the rooftop to your right from the start location and speak to Henry. This will unlock a distraction ability that we can use to have him distract guards for us. Handy!
Whilst on Henry’s rooftop, it’s also probably a wise decision to use throwing knives to deal with the three snipers on rooftops that you can see around this location. If you have no knives, move up and kill them one at a time, preferably without being detected.
You should be able to see the first chest in the courtyard below. Get into the haystack near the chest here and then use Henry’s distract ability on one of the guards. He’ll run in and draw several guards to his location before dropping a smoke bomb and running off. Wait for the smoke bomb and whilst it is active, quickly hop out of the hay and run to loot the chest. Use the Rope Launcher to return to the rooftops ASAP (and become anonymous if you were detected).
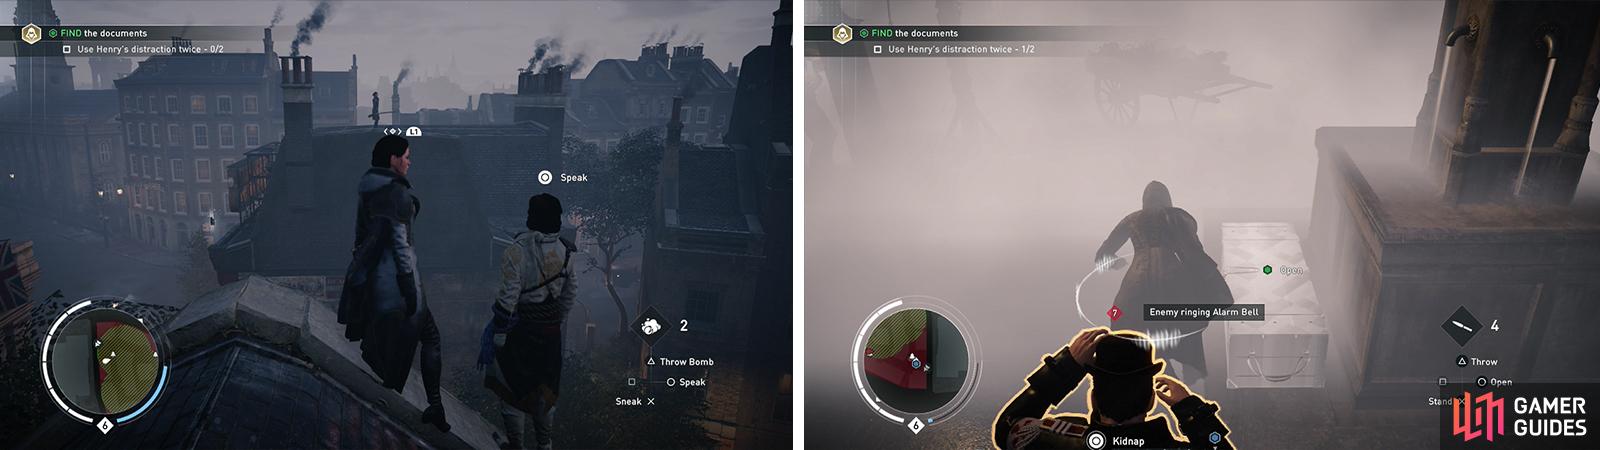
Speak with Henry to unlock his distract ability (left). Have him use distract and whilst the enmies are occupied, run in and grab the chest (right).
The second chest can be found in the northern corner of the restricted area, northeast of the first chest. Again, you’ll want to stick to the rooftops as you approach to avoid the large contingent of thugs at ground level. As you arrive close to the marker you’ll notice that it is located inside one of the buildings. There are multiple open windows we can use to enter the area and a single guard patrolling the interior. The chest itself can be found on the lowest floor we can access.
After looting the second chest, climb to the top floor and exit via one of the open windows to return to the roof.
The final chest is in the southern portion of the restricted area. It, as with the second chest is located inside. Again, there are multiple entry points. Before heading inside, it’s a good idea to use Henry’s distract ability on some of the guards in the courtyard to ensure you complete the optional objective.
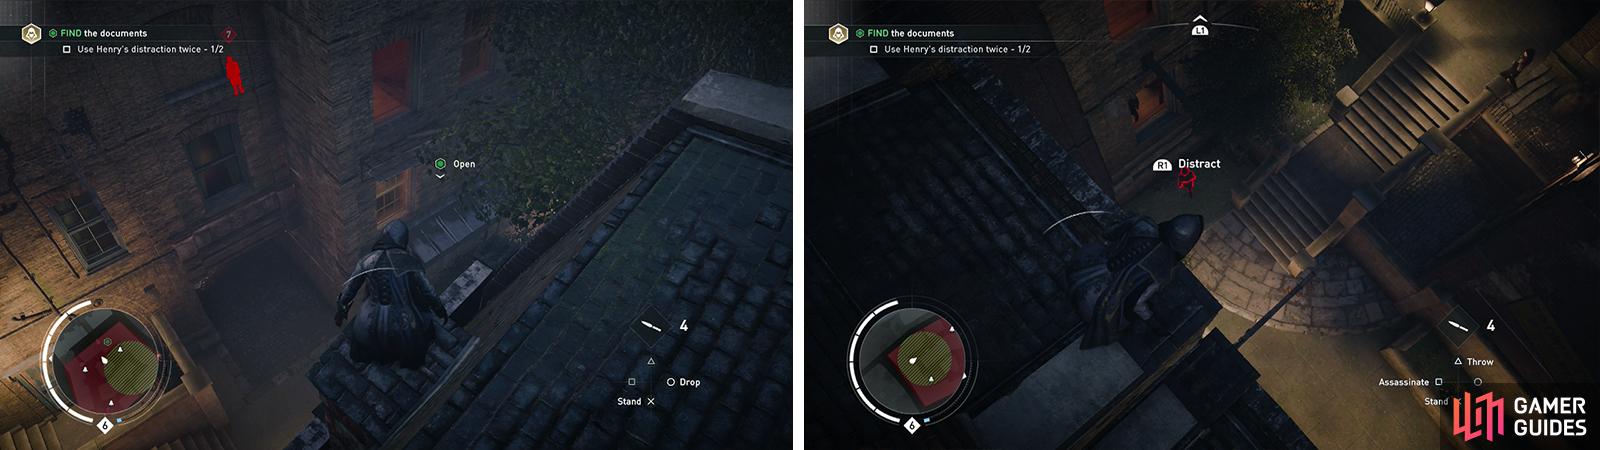
The second chest is located in the building to the north (left). The final chest is inside the southern building pictured (right).
There are three guards in the building with the final chest which can be found on the second floor. Additional enemies will move inside if you get detected though. If you enter through the open window facing the restricted area, you’ll be right next to the chest with only a single guard in your way.
Upon looting the third and final chest, your objectives will be updated.
Part 2: Kidnap a Templar
Unfortunately, none of the three chests contained the item that we were looking for and this means we’ll have to acquire that information in another way… by kidnapping a Templar for a good old fashioned interrogation.
Now, if you managed to enter via the window and loot the chest without being spotted, there should be a pair of guards downstairs either of whom will do. Simply move up and grab one of them to have your objectives updated. Note that if you are grabbing the fellow guarding the door, make sure you drag him into the restricted area or the game will tell you to find another.
Part 3: Locate the Ally
Head over to the next objective indicator. This will transition into a green search area. We’ll need to examine the area to try and piece together what happened. We can examine the following clues:
- The archway on the western side of the search area.
- The body on the floor by the archway.
- The two objective markers by the group of three bodies near the center of the park.
- Follow the footprints out of the nearby gate.
Speak to the girl standing just outside of the gate and she’ll tell you that the target was taken in a cart. Proceed to the objective marker that appears on the next corner.
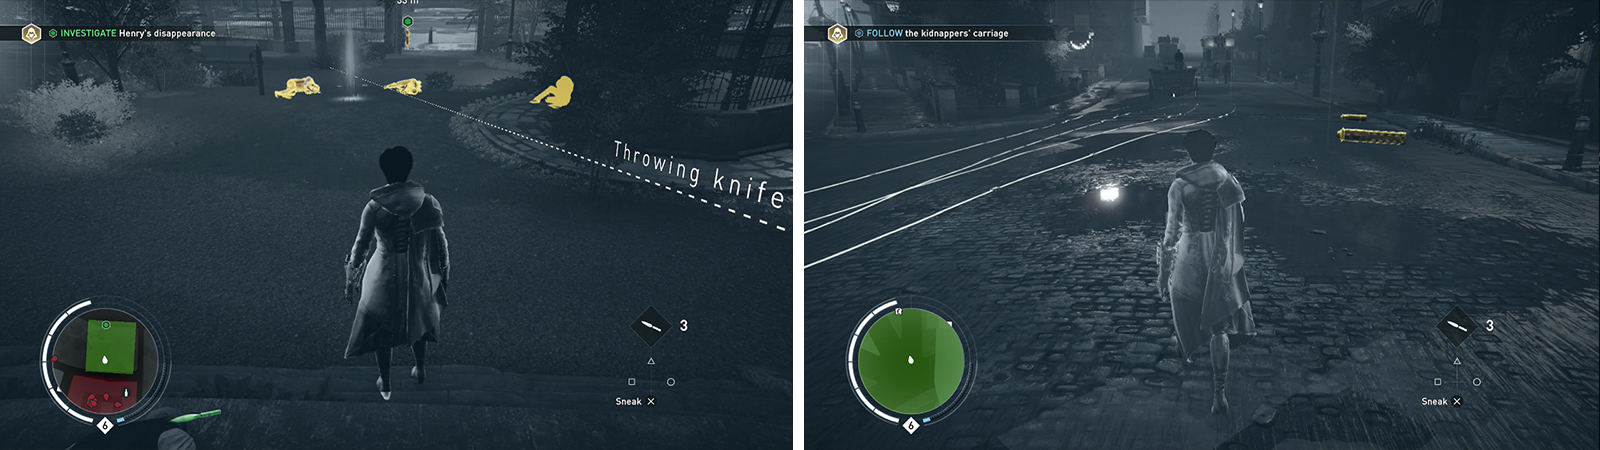
Investigate the crime scene with Eagle Vision (left). Follow the tracks through the streets (right) until you find the next memory area.
Activate Eagle Vision to investigate the area and follow the tire tracks here until your objectives are updated.
Part 4: Rescue the Ally
At this location, there is a large search area and we need to find out where our friend has been taken. There are four objective markers in the area and in each of these represents a person that we can speak to glean a little information that allows us to narrow down where we want to look.
The most important objective marker is the one behind the church furthest to the west of the search area and this guy will let you know where to go. To get to him quietly, climb to the top of the church and dive into the haystack near the objective marker, assassinate the pair of guards here before moving over and speaking to the fellow here.
The fellow will point out the open gate nearby which will also reveal an ‘Entry Point’ leading down to some sewers. Sneak over here and kill the Blighter guarding the entrance or just drop down into the tunnel below.
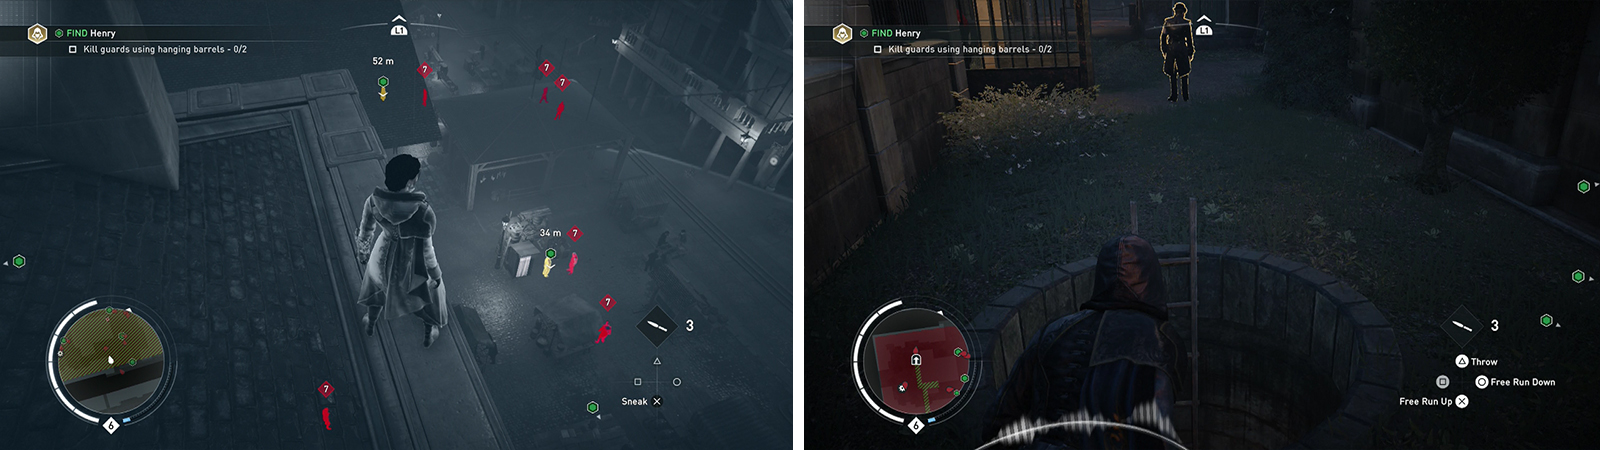
There are three NPCs to speak with in the restricted area (left). The entrance to the next area can be found on the west side of the area (right).
Follow the tunnel and kill the guard at the bottom of the first set of stairs. Follow the tunnel here and watch out for and deal with a second patrolling guard who you will come across.
As you move through the tunnel, you’ll eventually you’ll reach a larger room. There are three guards here and a set of hanging barrels overhead. Shoot/throwing knife these to kill one of the guards and then fight the remaining enemies to clear the area.
Loot the chest in the corner if you are interested before approaching the prisoner and interacting with him.
Part 5: Escort the Ally to Safety
Follow your new ally through the tunnel ahead, killing the pair of guards you bump into along the way with a double assassination as you go. Keep moving until you exit the sewers and enter a train station.
As soon as you enter the train station, immediately look up and to the left to see another group of hanging barrels above some enemies located on one of the platforms. Stop for a moment and bring these down to complete the second optional objective. Keep moving until you are back outside.
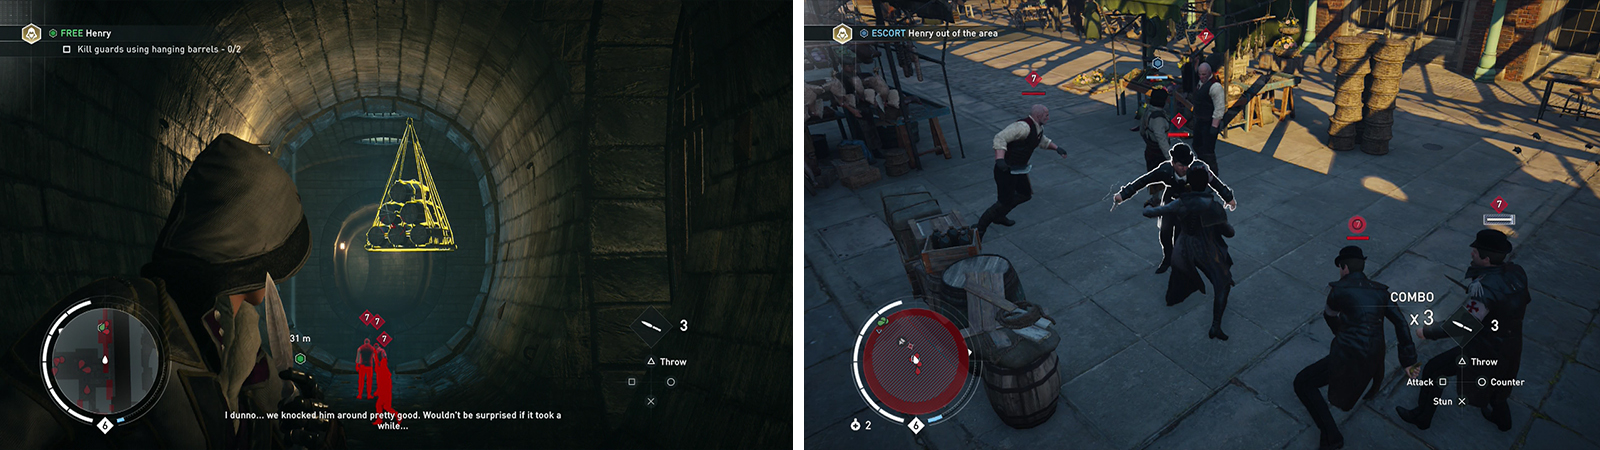
Use the hanging barrels to kill enemies for the optional objective (left). Escort the prisoner through the marketplace (right).
Upon exiting the station, you’ll need to follow our buddy as he moves through a marketplace. In two different locations you’ll be ambushed by small groups of thugs and have to fight them off. As you do this, ensure that you keep them off of our ally – if he dies, we desynchronise! Fortunately, there should be some Rooks that we can recruit in the area (or some that will join in and assist).
After leaving the marketplace, continue after your ally until a scene plays to end the memory.
No Comments