| Optional Objective/s |
|---|
| 1. Do not kill anyone inside the target locations. |
| 2. Don’t let any target escape from being kidnapped. |
| Reward/s | . | . | . |
|---|---|---|---|
| Money: | 1,160 £ | Bonus: | 250 £ |
| XP: | 500 XP | Bonus: | 250 XP |
| Gear: | Schematic: Assassin Gauntlets Schematic |
This is a fairly long memory sequence, but should be fairly straightforward for those who have been undertaking any of the Bounty Hunt side-missions thus far. The aim of the mission is to enter three different restricted areas, find a target within each before approaching, grabbing and escorting them out to an awaiting carriage.
After watching the introduction, hop in the nearby cart and pilot it over to the objective marker nearby at the national gallery.
Part 1: Kidnap the First Target
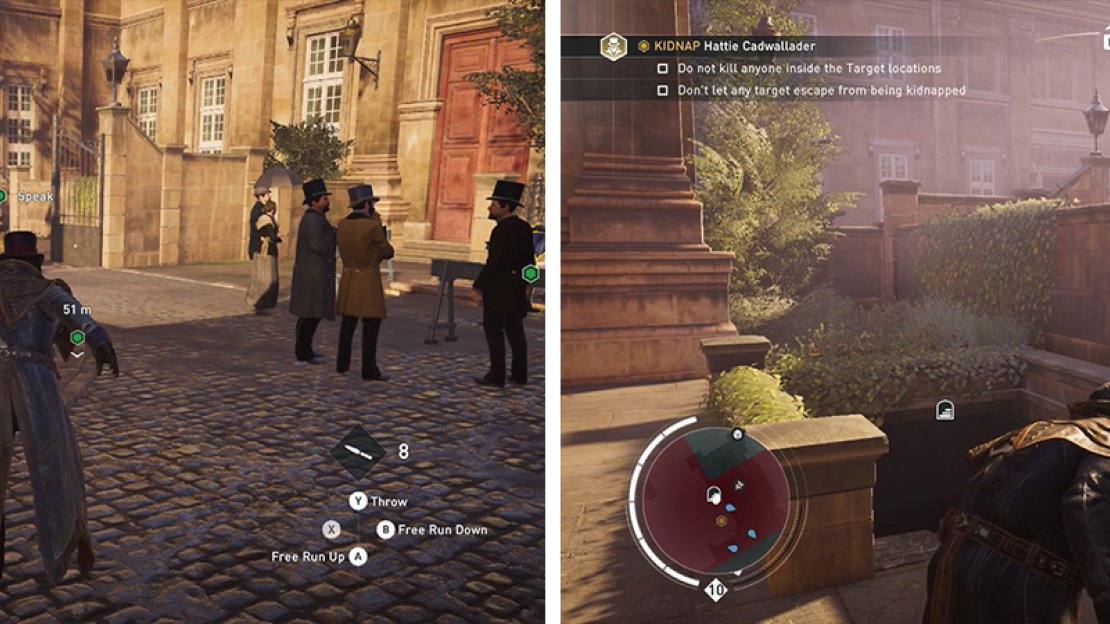
Exit the cart and head up the alley nearby. Speak to the children playing football here before moving through the open gate to their right. The first target is not so cut and dry – we’ll need to figure out her location before we can actually find her. To do so we can inspect the area here – there is a statue plinth being investigated by a policeman and another child we can speak to by an open gate leading to a restricted area.
Checking out both leads will give us her location – she’d in the nearby sewers. An icon will be added to the screen showing the entrance. Note that there are three policemen in the large restricted area here and we’ll need to escort our target through here shortly – to make things easier you can sneak up and knock all of them out.
Enter the search area (left) and find the stairs leading to the sewers (right).
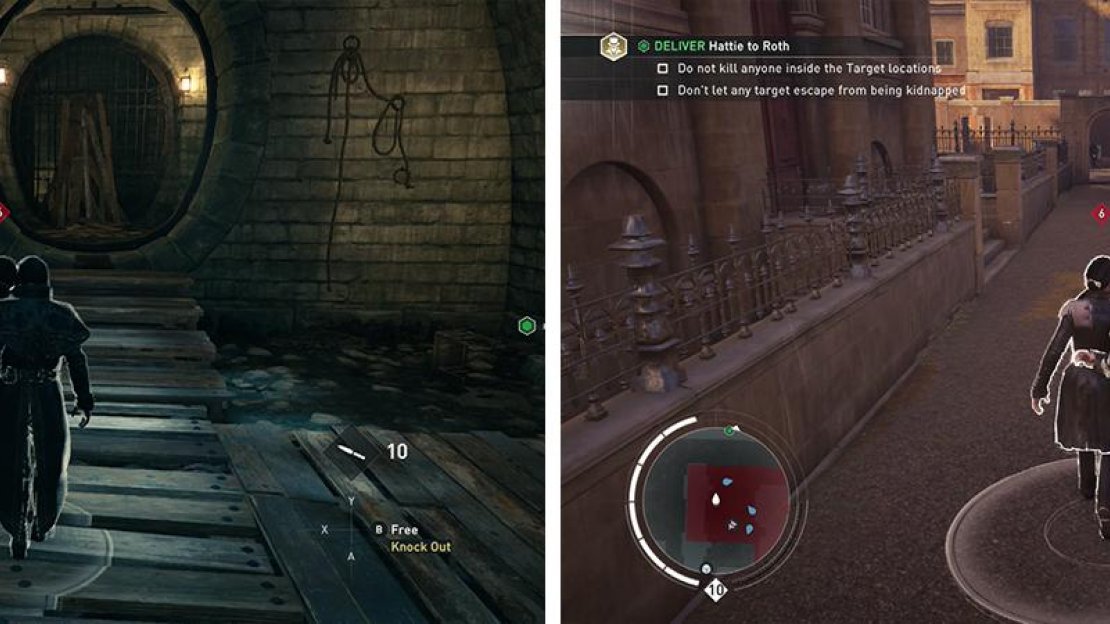
Sneak down into the sewers and before entering the tunnel activate your Eagle Vision to tag the enemies within. Wait near the bottom of the stairs for the nearest thug to patrol away from you and when he does, sneak up behind him and knock him out. Quickly take a left and follow the patroller through the room to the far side (ignore the fellow occupied with the walls here) – choke the patroller out when he stops by a metal grating.
From here we can follow the tunnel to the left to find the first target. Sneak up and grab her. Note that there is a locked chest in the corner of the room if you are interested.
With the target in hand, the enemies in the sewer tunnels will not be too fussed about our presence – just be sure to move slowly and thus keep our detection radius small. We should be able to maneuver around any that get in our way as we backtrack to the entrance we came from.
Once you have the target, escort her through the sewers (left) and past the police across the courtyard (right).
When we are back above ground, we’ll need to escort our target through the restricted area to the right. If you took my advice and knocked out the policemen earlier, this will be much easier. If not, you’ll need to tag them all with Eagle Vision and move through the area whilst avoiding their patrols – they won’t like seeing you in a restricted area and will attack! Fortunately, we have several series of benches and circular walls we can use as cover to move towards the exit.
Once you have reached the cart, place the target in the back and hop back on the reins.
Drive to the next target’s location.
Part 2: Kidnap the Second Target
The second kidnapping target is located in a park. On the road surrounding the park are enemy carriages cutting laps. Each of these is surrounded by a mobile restricted area and the bad guys will detect you if you do anything silly within these. Inside the park itself the target has multiple groups of bodyguards. Make sure you use Eagle Vision as you enter the area to tag as many as possible.
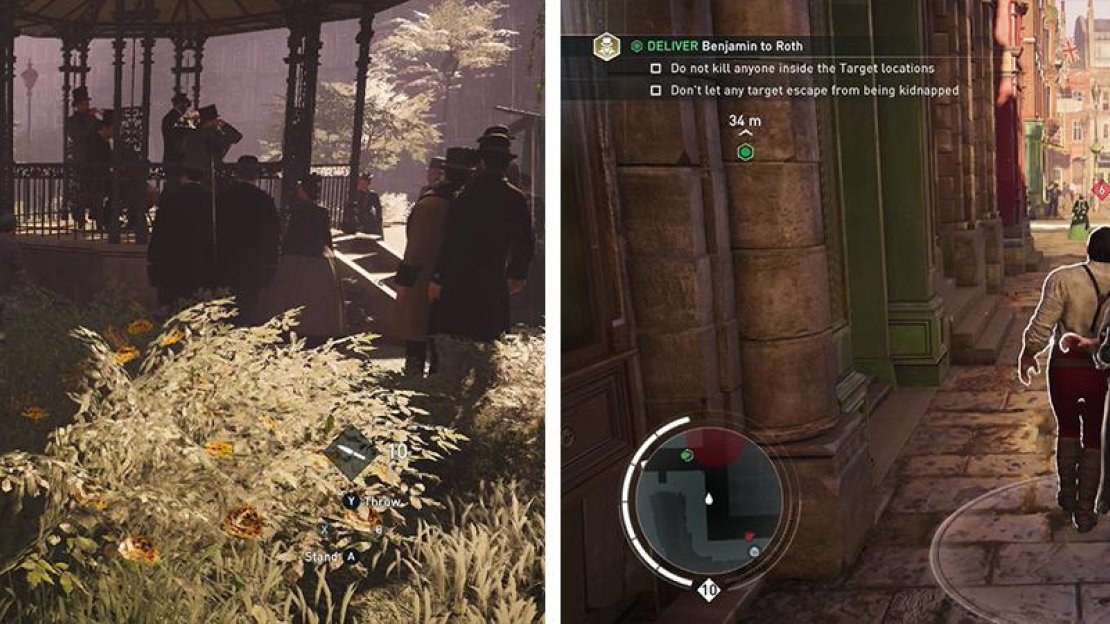
The target himself will be vulnerable and out of range of the other enemies when he approaches the band playing in the gazebo in the center of the park. Grab him when he stands in the crowd here.
We’ll then need to escort him back to the carriage. Again, it’s a good idea to move slowly to reduce your detection radius and use either the west or east exits to leave the park (the north is guarded) whilst giving a wide berth to any hostiles.
Kidnap the target when he approaches the gazebo (left). Escort him out of the park and along the road, avoiding the hostile carriages (right).
After leaving the park, return to our cart by walking along the footpaths lining the streets slowly to avoid detection by the enemy carriages and other patrolling enemies. Once you have reached the cart, place the target in the back and hop back on the reins.
Drive to the next target’s location.
Part 3: Kidnap the Third Target
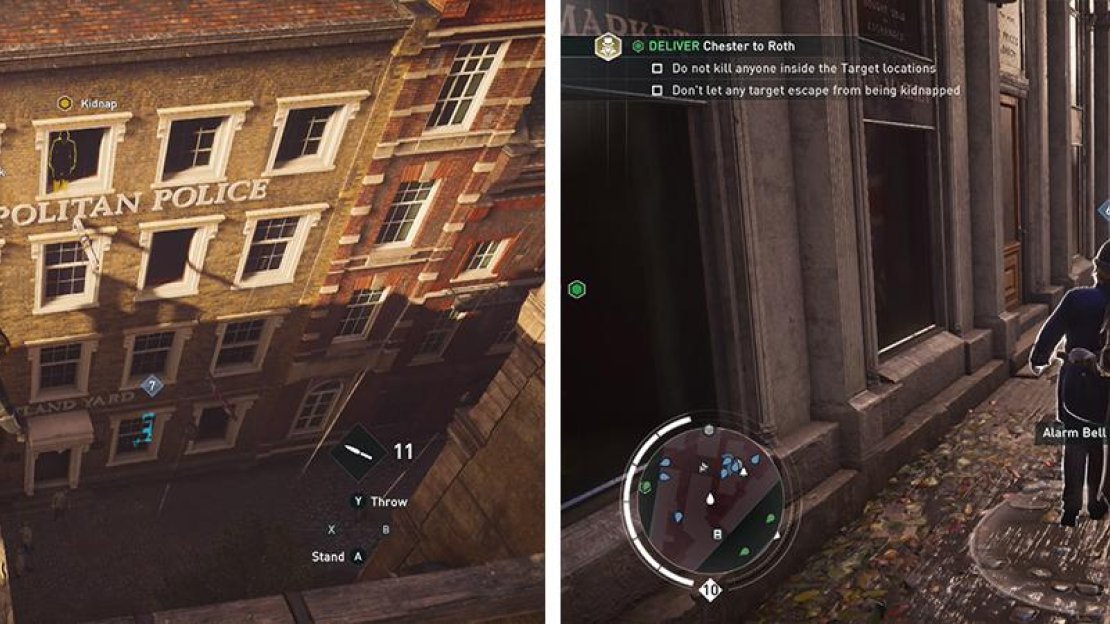
The final kidnapping target is located within one of the buildings inside of Scotland Yard. Excellent. Despite the location its actually not too difficult to grab this fellow. To do so, from the road you’ll want to use the Rope Launcher to reach the roof and make your way over towards the objective marker. Climb into the open window just above the ‘Metropolitan Police’ sign to find target inside.
Grab him and its time to escort him out. Use Eagle vision to tag the enemies in the building to make things a little easier for yourself. Move past the guard looking out the window and down the next few flights of stairs. As you descend, you’ll need to avoid the policemen on set movement patterns, but as long as you have an idea of where they are going and you continue to move slowly, it’s possible to walk right by them without them even looking at you.
When you reach the ground floor, ignore the doorway in front and instead turn to the right at the base of the stairs to locate an alternate exit.
The final target is on the top floor of the building pictured (left). Escort him to ground level and through the policemen (right) to the exit.
Upon leaving the building, turn to the right and follow the path here, moving slowly to avoid suspicion. At this point we simply need to make our way back to the cart whilst avoiding getting too close to the enemy patrols and as long as you are patient and keep Eagle Vision up to identify nearby threats you should have no real issues in doing so.
Once you have reached the cart, place the target in the back and hop back on the reins.
Drive to the next objective marker for a scene to end the memory.


No Comments