| Optional Objective/s |
|---|
| 1. Use the moving train to enter the station. |
| 2. Destroy all dynamite crates by igniting them (5 crates). |
| Reward/s | . | . | . |
|---|---|---|---|
| Money: | 1,160 £ | Bonus: | 250 £ |
| XP: | 500 XP | Bonus: | 250 XP |
| Gear: | Capes: Lady Cyrielle’s Shawl |
Part 1: Locate the Target
We’ll begin this mission within a small, green search area. From the starting location, follow the building to the left and whack on your Eagle Vision to locate a doorman here. Speak with him to enter the club.
Walk over and speak with the target for a scene.
After the scene, we’ll need to follow Roth outside and hop into a nearby cart. Steer it to the objective marker further to the north. When you arrive, exit the vehicle and again follow Roth until you reach a rooftop during which a conversation will take place to update your objectives.
Part 2: Infiltrate the Train Station
Our next goal is to infiltrate the train station ahead and find and blow up five crates of dynamite that are lying about inside. As the conversation with Roth goes on, he’ll inform you of a train approaching your position. Jump onto the moving train and use it to enter the station unseen.
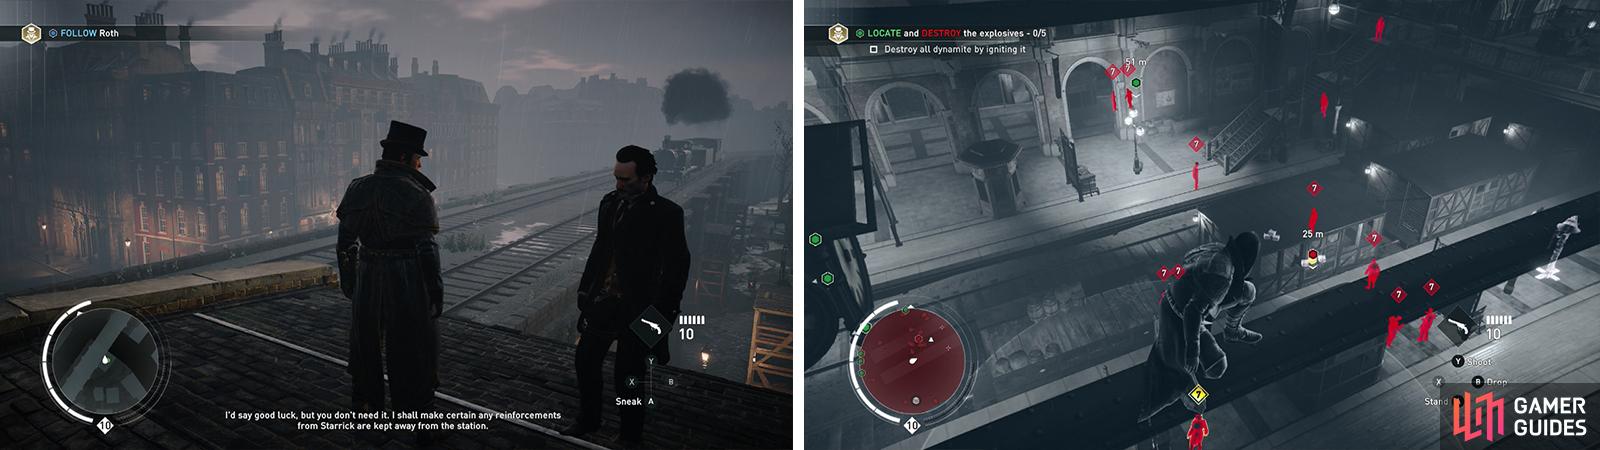
Hop onto the train as it goes past (left) to enter the station. Use Eagle Vision to tag the enemies in the station (right).
Once aboard the train, make your way to the car that we can enter and crouch down so that you’ll remain undetected. Activate your Eagle Vision as the train moves into the station and tag as many enemies as possible.
It should be noted that the station itself is absolutely teeming with level 7-8 enemies (there are in excess of 25). The restricted area here also has a number of alarm bells which the enemies will not be shy about ringing if you get detected. As this is the case, it’s a good idea to sabotage these if you get the opportunity.
As soon as the train stops, you’ll want to exit the passenger car towards the locomotive end of the train and hop onto the platform to the left (there are fewer enemies here to spot you). Use your Rope Launcher to reach the supports above running pretty much the entire length of the station. From here we can tag additional enemies with Eagle Vision, locate the five crates and plan our strategy to reach each of them.
Part 3: Destroy the Explosives
To be fair, it is probably easy enough to simply alert all of the enemies around each of the dynamite crate locations and take them on in melee combat before lighting the fuses and moving on. However, being sneaky is a lot more fun and absolutely necessary when playing under-levelled!
Let’s go for the most difficult first. In the very center of the station you’ll see a second train. The first crate of dynamite is inside one of the cars. Use the girders at the top of the room to move over to this location. Before acting, note the nearby alarm bell, as well as the pedestrian footbridge with the sniper overlooking the platform.
Use the girders to drop down and kill the sniper, and the other thug on the overpass before performing an air assassination on the fellow next to the alarm bell. Quickly sabotage it before returning to the roof. Just a little further along the platform from the alarm bell, you’ll see a pair of enemies standing together parallel with the train car holding the dynamite. Hang from the girder above them and perform a double air assassination on them.
At this point, we can sneak into the train car from the end closest to the footbridge. Ignite the first dynamite crate [Dynamite 1/5] before returning outside and quickly using the Rope Launcher to return to the girders above before it blows.
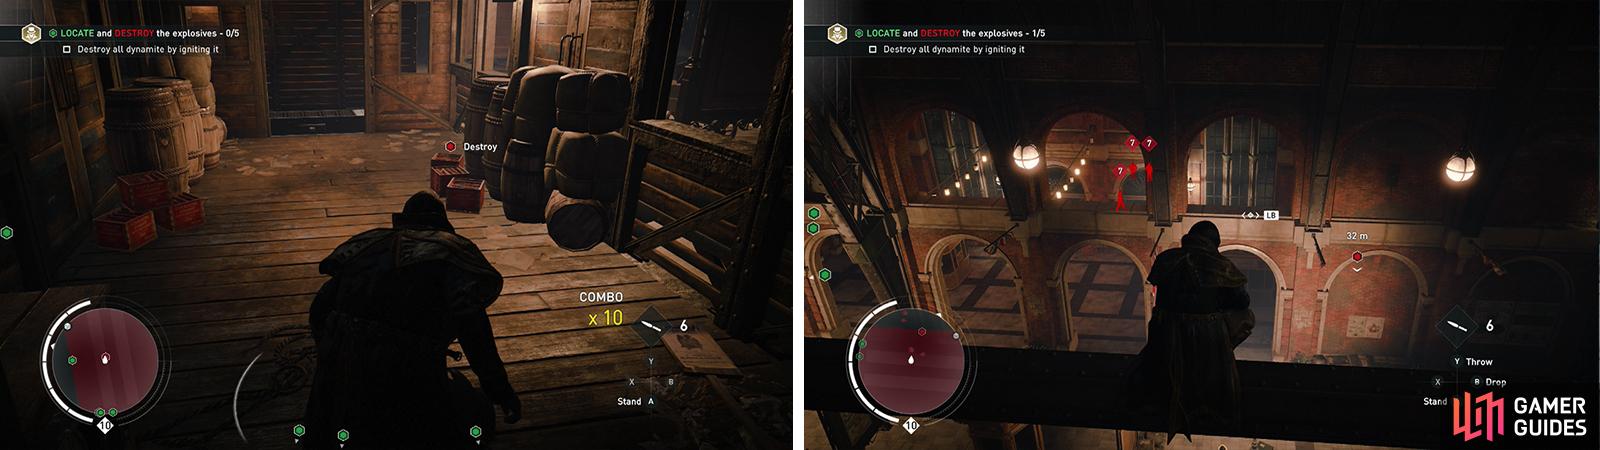
The first crate of dynamite is inside the train (left). The second can be found in the side area just north of the first (right).
The second crate of dynamite is just to the north in a side passage just opposite the location of the first crate. If you are quick enough, you can use the girders to reach the arched windows overlooking this area whilst the enemies are distracted by the other explosion and you can drop down to ignite the second crate [Dynamite 2/5] in the corner here before they return. If not, you’ll need to use your assassin-y skills to dispatch them before igniting the crate.
Either way you go about it, once the crate has been ignited, you’ll want to return to the main station room and to the girders overhead again.
The final three crates are all bunched in different locations at the western end of the station. At this point it’s a good idea to switch on your Eagle Vision and tag them all as well as any guards in the immediate area. You can find the crates in the following locations:
- At ground level behind a partition/desk area close to the far western wall of the building. There is a single enemy patrolling by this crate.
- On the northwestern part of the footbridge on the west side of the train station. This is guarded by a sniper and a thug.
- In a side room in the very north-west corner of the train station. This is guarded by a foreman/boss thug enemy.
We can take each of these out individually if you like, or you can try to take them out in quick succession so that the enemies will cease guarding their current position in favor of investigating explosions in other positions. The most efficient route is as follows:
From the girders at the top of the room, move as far as you can to the west. Position yourself above the crate of dynamite at ground level behind the partition area. Wait for the guard at ground level to patrol near the crates and air assassinate him. Ignite the dynamite crate [Dynamite 3/5] and quickly Rope Launch back up to the girders.
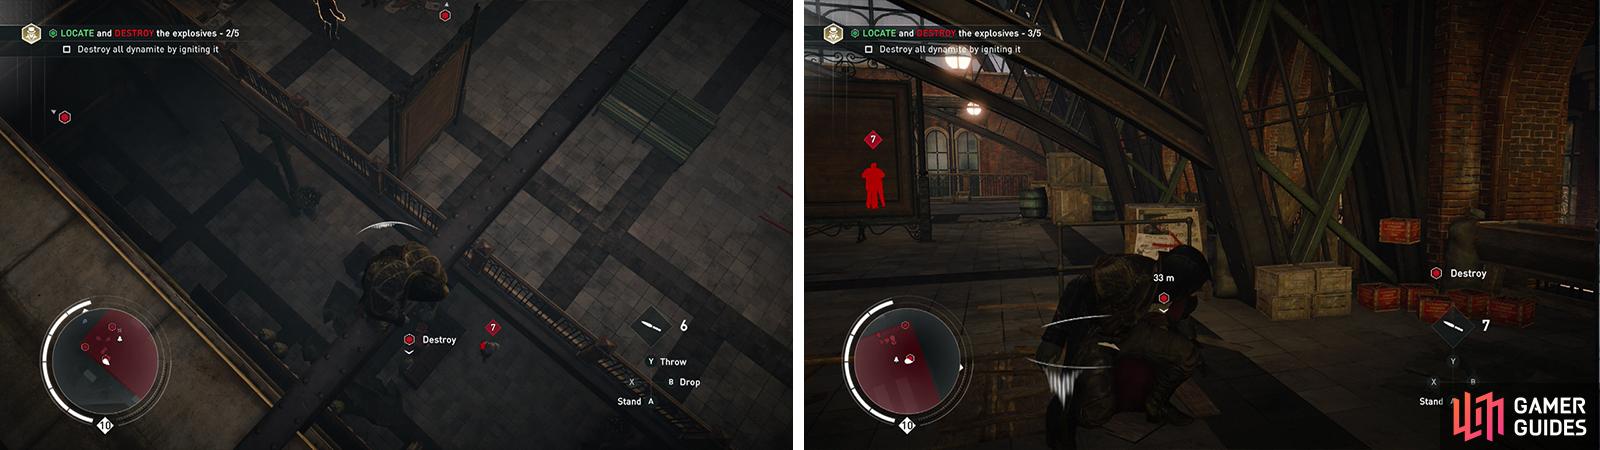
Air assassinate the guard by the third crate (left) before destroying it. Wait for the Sniper to investigate the explosion before approaching the fourth crate (right).
Make your way over to where the sniper and the thug were guarding the crate on the footbridge. They should have left to investigate the explosion. Drop down and ignite the crate [Dynamite 4/5] here. Move west a little bit and hop through the arched windows here to spot the final dynamite crate below. If the thug guarding it is present, air assassinate him, if he is not, simply drop down and ignite the crate [Dynamite 5/5] .
Quickly make your way back out to the main room and up to the girders at the top of the area. Now, having explodified all five crates of explosives, our objectives will then be updated once again.
Part 4: Kidnap the Train Driver
We’ll now need to kidnap a train driver. He is also located on the western side of the station, but in the southern part of the area near a second partition/desk type structure. It’s a good idea to identify him with Eagle vision to keep an eye on him and then wait for the guards in this area to return to their original positions (unless you killed them all that is!).
Drop down and grab the train driver. We will need to escort him through the station to the locomotive that is indicated by the green objective marker. To do so, you will want to work your way down the northernmost of the platforms in the station (along the northern wall of the main room).
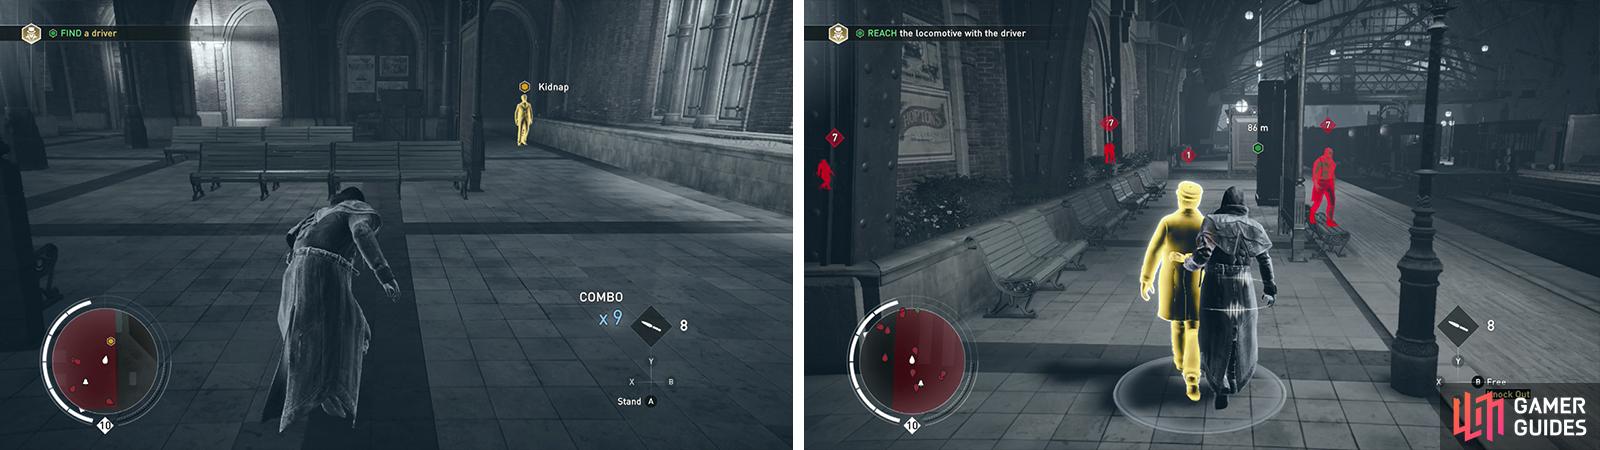
Kidnap the driver (left) and escort him to the front of the train past the Blighters (right).
Walk very slowly to reduce your detection radius and with the train driver in tow, you should be able to walk right by the enemies here without a second glance. Weave between the thugs here and alter your course slightly to avoid any patrolling guards that are likely to cross your path to avoid raising suspicions.
Perhaps the trickiest part of the escort walk is approaching the locomotive itself as there are a pair of guards patrolling the narrow platform. We can get around them by walking to the right and hiding out in the crates/beneath the stairs for a few moments whilst they pass, before continuing.
Once you have brought the driver to the locomotive, a scene will play to end the memory.
No Comments