| Optional Objective/s |
|---|
| N/A - There are no optional objective/s in this memory. |
| Reward/s | . | . | . |
|---|---|---|---|
| Money: | 3,000 £ | Bonus: | N/A. |
| XP: | 2,000 XP | Bonus: | N/A. |
| Gear: | Cane-Swords: Dove Cane-Sword |
Part 1: Queen’s Study Investigation
This memory begins by speaking with Abberline outside of the main gate to Buckingham palace in Westminster borough. After starting the memory, follow Abberline into the palace grounds and he’ll eventually lead you to a small office area – the Queen’s Study. In the search area here, propped up against a divider you’ll find the body. Inspect it.
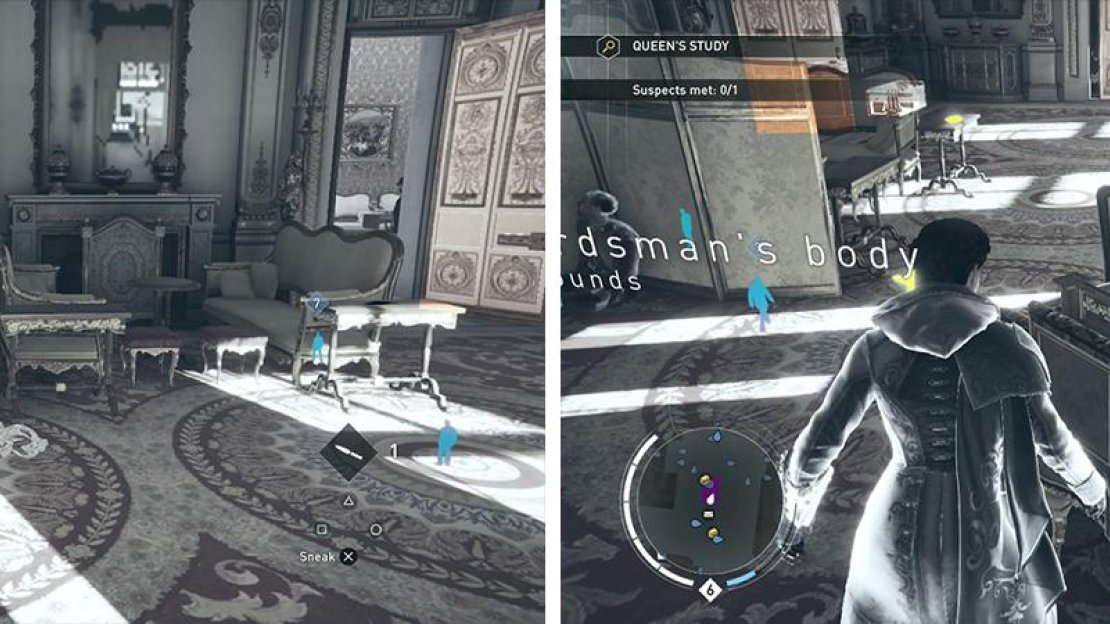
Checking out the body will result in five additional clues appearing in the Queen’s Study for us to find. Activate Eagle Vision to have them appear highlighted in gold to make things easier. You’ll want to inspect the following:
- Vault – Mounted on the wall to the left of the body.
- Vase – On the ground next to the body.
- Guest List – On the desk closest to the body.
- Window – The shards of glass on the floor by one of the windows.
- Letter from Scotland Yard – On a small table by the fireplace.
Inspect the body (left) and then the clues in the Queen’s Office search area (right).
After investigating the Vault clue, the Queen will enter the room and ask you to leave, find the rest of the clues and then move back outside to reach the green objective marker. After a few moments, the Queen will re-open the door to her study and you’ll be able to speak with her (ask about: Body, Vault, Event).
Following the conversation and clue finding shenaniganry a new investigation zone will be unlocked quite a distance away – Artie’s Yard which is located to the north near the train station in The Strand borough. Exit the palace and grab a cart to make getting there a little less painful.
Part 2: Artie’s Yard Investigation
The search area marked Artie’s Yard has a new pair of suspects, Buck and Dooley, whom we can speak with (after nabbing the clues of course) and also features another two clues which we’ll need to discover. Again, activate Eagle Vision to make this task easier. You’ll want to inspect the following:
- Evidence Wall – The series of photographs on the wooden fence on the north side of the area.
- Blank Paper – Mounted on the fence opposite the Evidence Wall clue.
Speak with the two suspects nearby and we’ll want to, as per usual, exhaust all possible conversation options. Speak with Buck first (we’ll want to ask him about: Artie, Evidence Wall) and then Dooley (ask him about: Artie, Henry Raymond, Evidence Wall and then Blank Paper). With that new hint in hand, head back to the Blank Paper clue and hit it with a smoke bomb. Inspect the clue again to get some updated information.
This will also unlock a new search area – Purlock Publishing which is located to the southwest (but thankfully still in The Strand this time!). head over there to continue your investigation.
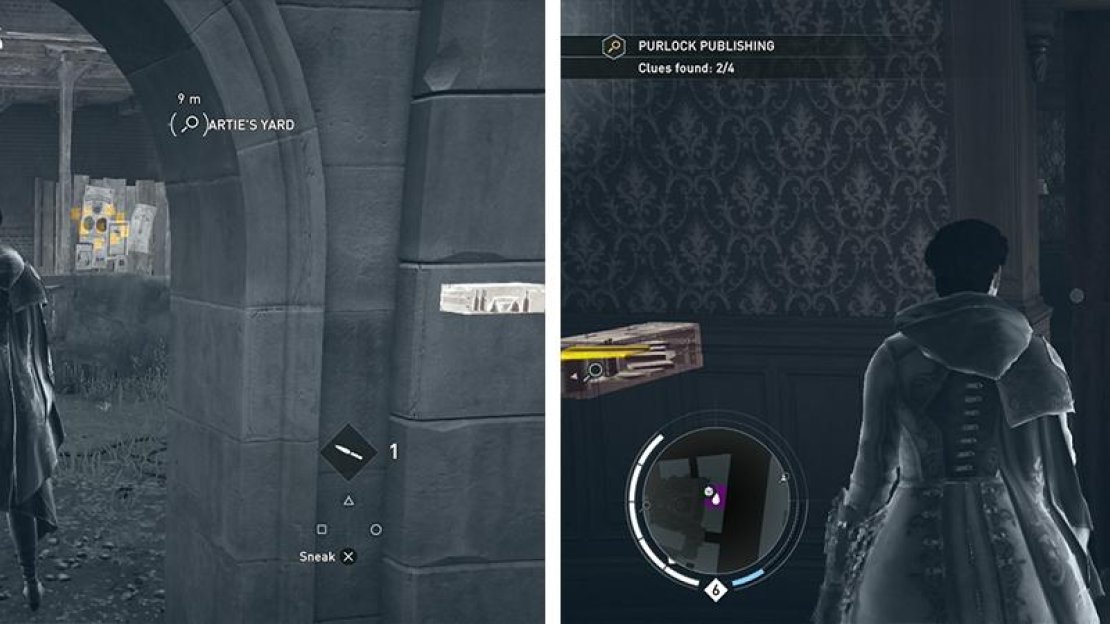
After completing the Artie’s Yard investigation (left) head to Purlock Publishing (right) and inspect the area.
Part 3: Purlock Publishing Investigation
The Purlock Publishing investigation zone has a number of clues to find – four in total. Again, we’ll want to activate Eagle Vision to make the task of tracking them all down much easier. You’ll want to inspect the following:
- Dynamite Crates – On the second floor along the left hand wall (with your back to the stairs).
- Map – On the third floor, mounted on the wall in the study room.
- Galley Proof – On the fourth floor on the base of the bookshelf in the office.
- Antiroyalist Pamphlets – On the fourth floor on the semi-circular table opposite the office entrance.
At this point, our objectives will update and we’ll be required to return to Buckingham Palace. Again, you’ll want to take a cart to cut down on your travel time.
Part 4: Buckingham Palace Rescue
As soon as you arrive at the palace, head over and speak with the guard who is indicated by the objective marker. As soon as you initiate a conversation a countdown timer will appear at the top of the screen – you’ll have 1 minute to evacuate three groups of guests and locate the Queen.
Run straight into the open doorway at the far end of the courtyard to find the first guest to the right [Guest 1/3]. Climb the stairs leading to the Queen’s Study and you’ll find the second set of guests [Guest 2/3] in the stairwell. The final set of guests [Guest 3/3] is in the hallway at the top of the stairs. The Queen can be found in the room through the open door at the end of this hallway.
At this point a scene will play after which you’ll be in what looks to be the Animus loading screen but is called – Memory Palace according to the clues there.
Part 5: The Memory Palace Investigation
In this Animus area we’ll be revisiting each of the crimes that we have solved to this point. You’ll have to either speak to an individual or investigate a clue at each location to glean a little more information about what’s going on. We’ll go through the following:
- At the first crime scene interrogate Artie (ask about: Why evacuate?).
- At the second crime scene interrogate Douglas (ask about: Why evacuate?).
- At the third crime scene investigate the Dynamite Crates.
- At the fourth crime scene investigate the Dynamite Crates.
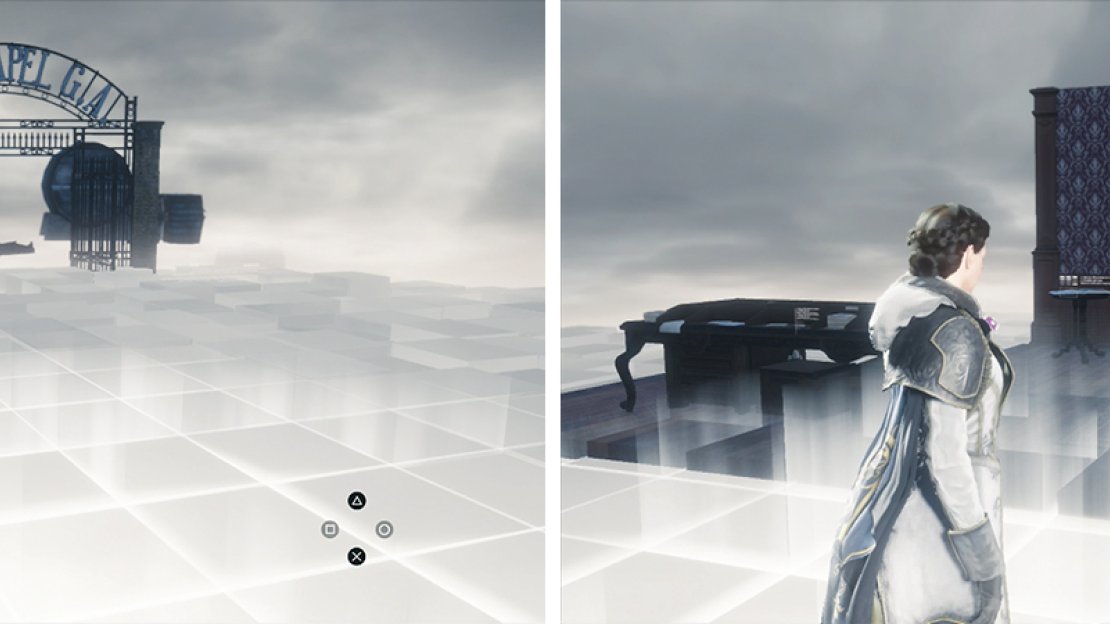
Interrogate the suspect (left) and the dynamite crates (right) in the Memory Palace.
After the fourth crime scene, three versions of Henry will appear. We’ll need to speak to all three of them and then accuse one of them to proceed. The correct answer is Henry the Diversion.
Once you have accused correctly, more of the crime scenes that we have previously solved will appear. Again, you’ll have to either speak to an individual or investigate a clue at each location to glean a little more information about what’s going on. We’ll go through the following:
At the first crime scene investigate the Scattered papers on the bench at the back of the area.
- At the second crime scene interrogate Mrs. Ashton (ask about: Diversion from what?).
- At the third crime scene investigate the newspaper on the desk next to the bed.
- At the fourth crime scene interrogate Colonel Asquith (ask about: Diversion from what?).
As with the previous set of crime scenes, after the fourth, three versions of Henry will appear. We’ll need to speak to all three of them and then accuse one of them to proceed. The correct answer is Henry the Master Thief.
Once you have accused correctly, more of the crime scenes that we have previously solved will appear. Again, one final time you’ll have to either speak to an individual or investigate a clue at each location to glean a little more information about what’s going on. We’ll go through the following:
- At the first crime scene interrogate Curtis (ask about: How was it stolen?).
- At the second crime scene investigate the Spider on the desk by the foot of the stairs.
- At the third crime scene interrogate Artie (ask about: How was it stolen?).
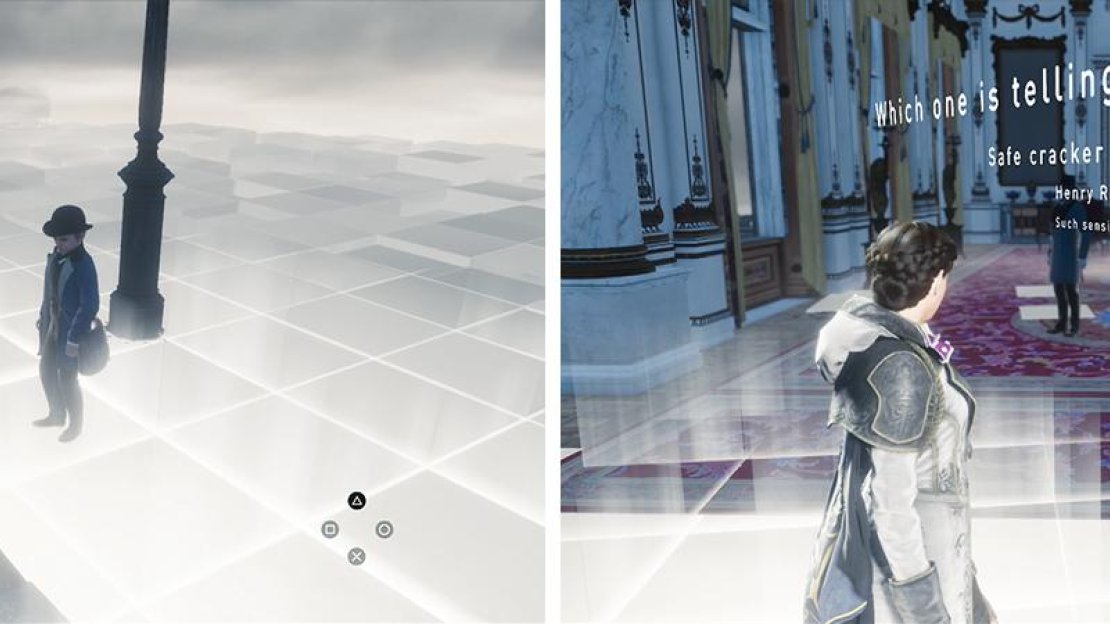
After investigating the crime scenes (left). Accuse one of the suspects (right).
After completing three sets of crime scenes, three versions of Henry will appear again. As with the previous two instances of this setup we’ll need to speak to all three of them and then accuse one of them to proceed. The correct answer is Henry and Observe.
After a brief scene, you’ll find yourself back in the ‘real’ world at Buckingham Palace.
Part 6: Assassinate the Target
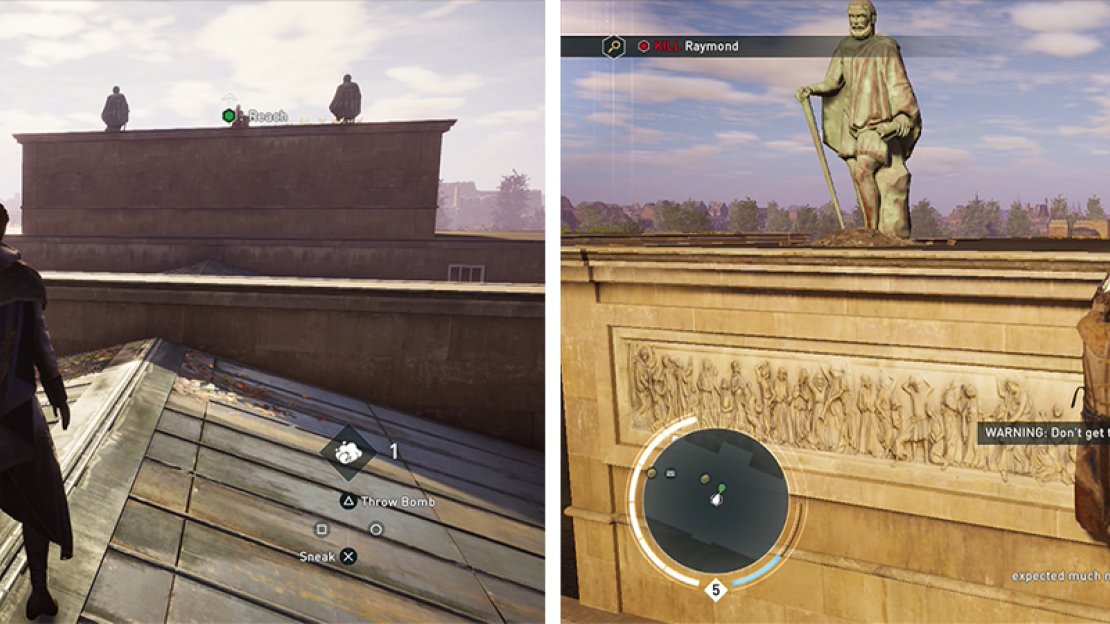
Make your way up to the rooftop and approach the objective marker. As you arrive, the game will switch you over to the alternate character (Evie or Jacob depending on who you had just been using). Climb up to the rooftop and you’ll see the other player character and the target aiming pistols at one another.
Run over, staying out of site and climb up the wall behind the target. From here you can perform an easy ledge assassination to kill him.
The target will retreat to the roof (left). Stay out of his line of sight, sneak up and kill him (right).
After the ensuing scene the memory and the Deadly crimes DLC pack will be completed.
No Comments