
Now you’re part way into the winter term, and you need to find out what is going on with Ranrok and his goblin patriots. Luckily, you’ve already met the king of all Hogwarts nerds, Amit, who just so happens to have a comprehensive understanding of the goblin language, Gobbledegook. So, it’s time to bring him over to your Goblin friends, and take him on an adventure to the Mine’s Eye. Inside, you will find some collection chests for the region, alongside some puzzles and other general battles to come. To aid you out, here is a walkthrough for Hogwarts Legacy’s It’s all Gobbledegook mission.
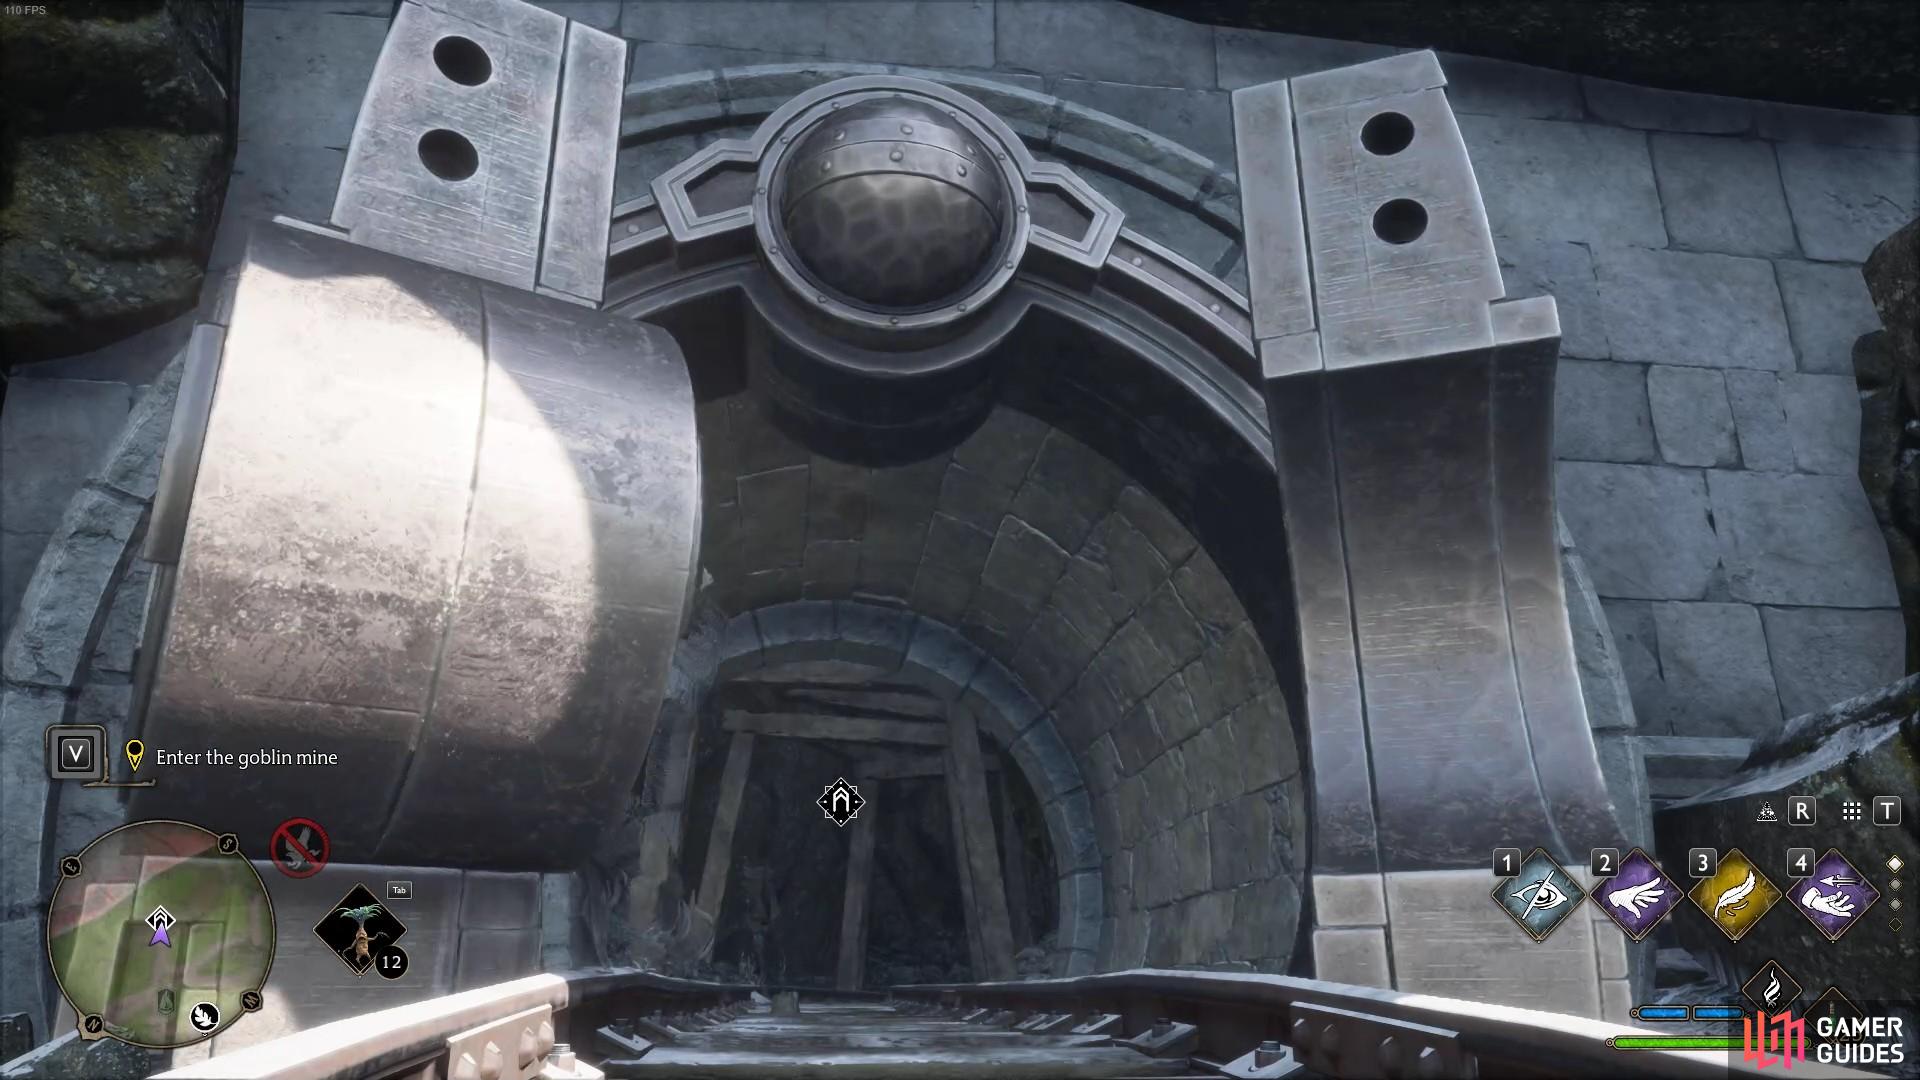
It is time to enter the mine’s eye for its all gobbledegook mission.
It’s All Gobbledegook Walkthrough for Hogwarts Legacy
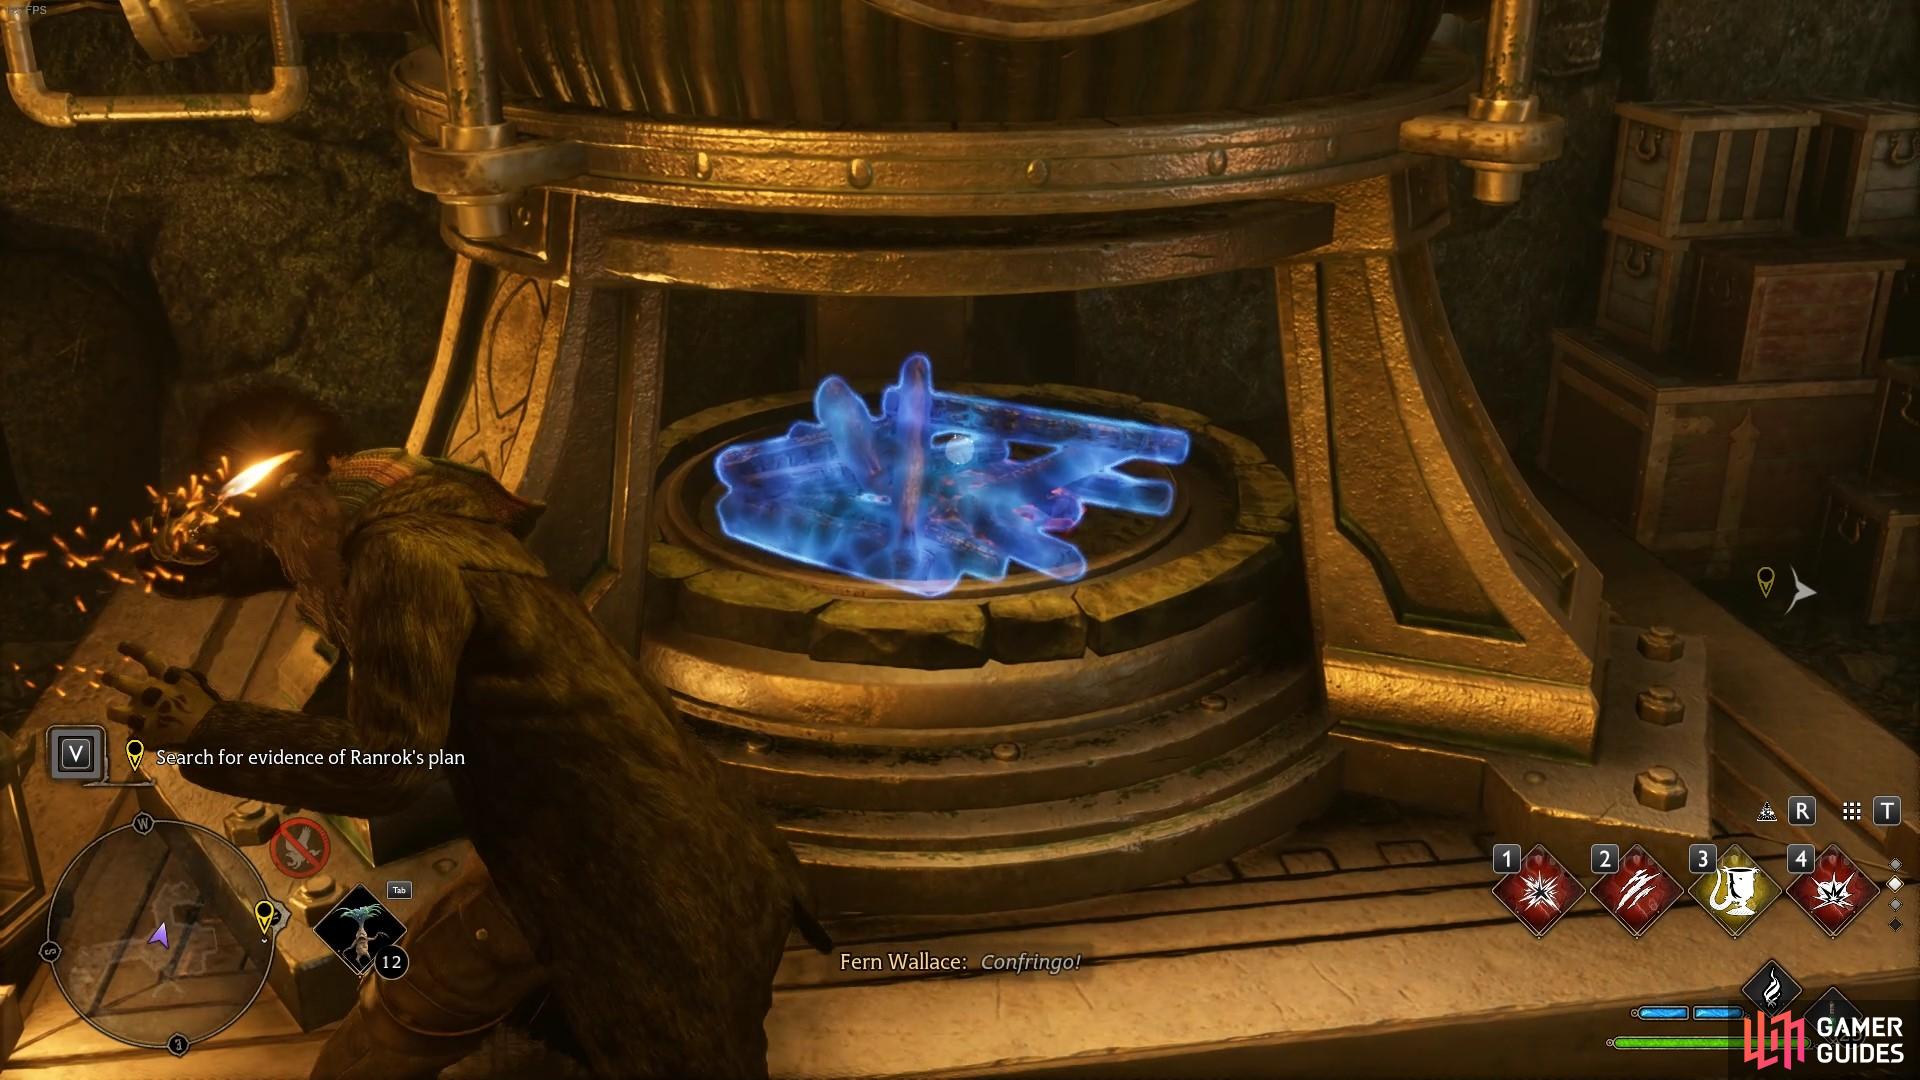
Activating these furnaces is an important part of progressing through the mine.
Once you’ve met Amit, got him to come and assist you, and then found Lodgok, it is time to enter the mine. To do so, cast ![]() Disillusionment, and then enter the mine that way. These magical doors operate very similar to that of the chests with eyes. You’ll need this spell through the level, so, make sure you have disillusionment somewhere in a spell group.
Disillusionment, and then enter the mine that way. These magical doors operate very similar to that of the chests with eyes. You’ll need this spell through the level, so, make sure you have disillusionment somewhere in a spell group.
Now you’re inside, you will get a teaser for the main puzzle mechanic in the It’s all Gobbledegook mission. You will find furnaces turned off throughout the mine, and you will need to reactive them to enable the machinery. To do so, aim at the furnace’s wood piles, and cast ![]() Confringo on them. Doing so will enable the furnace, and their associated machinery, This typically means you can move things out of the way, so you can get to where you need to go. You will do this fairly often, so once again, make sure Confringo is somewhere on your spell bar or spell groups. In this instance, it turns the elevator on for you to head into the mine.
Confringo on them. Doing so will enable the furnace, and their associated machinery, This typically means you can move things out of the way, so you can get to where you need to go. You will do this fairly often, so once again, make sure Confringo is somewhere on your spell bar or spell groups. In this instance, it turns the elevator on for you to head into the mine.
Now you’re down the elevator, follow the pathway around until you come across a gap in the path. You need to cast ![]() Accio to drag the platform to you, then cast it again to pull yourself to the other side of the gap. Disembark off the makeshift floating slab, and enter the world of Goblins.
Accio to drag the platform to you, then cast it again to pull yourself to the other side of the gap. Disembark off the makeshift floating slab, and enter the world of Goblins.
The next room is filled with Goblins, ranging from ![]() Loyalist Warriors,
Loyalist Warriors, ![]() Loyalist Assassins, and other baddies. Feel free to dunk on these enemies however you like. If you can group enemies up, feel free to use
Loyalist Assassins, and other baddies. Feel free to dunk on these enemies however you like. If you can group enemies up, feel free to use ![]() Bombarda, along with
Bombarda, along with ![]() Mandrakes. If you picked up
Mandrakes. If you picked up ![]() Transformation, and
Transformation, and ![]() Transformation Mastery, turn an enemy into an explosive barrel and blow them up for even more damage. Once the room is cleared, cast Disillusionment and open the door.
Transformation Mastery, turn an enemy into an explosive barrel and blow them up for even more damage. Once the room is cleared, cast Disillusionment and open the door.
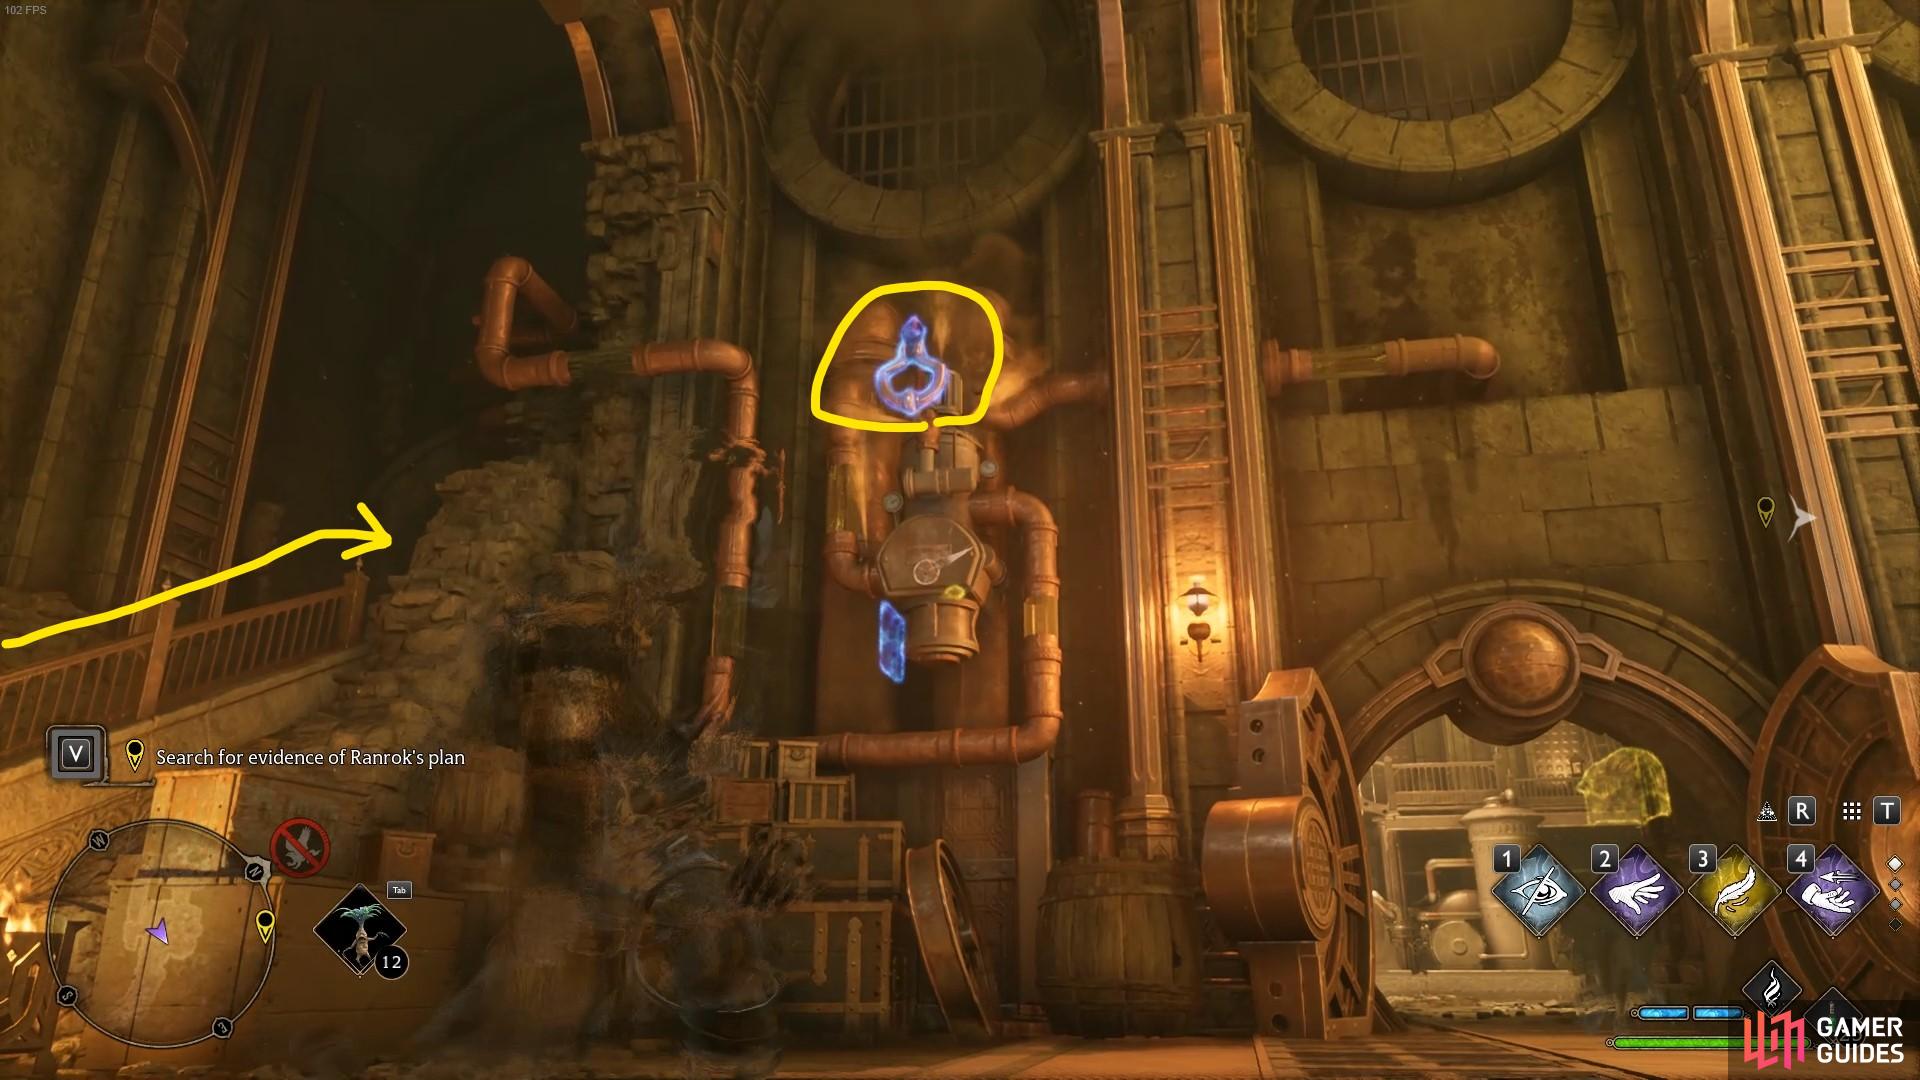
Activate the furnace in the other room, then pull this switch to progress into the mine. Don’t forget missable treasure by going up the waterway on the left of this image.
You can grab some extra rewards in the next room if you so wish. Enable the furnace, then walk back into the room you just had a fight with the goblins. You can now cast Accio on the handle above and to the left of the door. This open the tunnel to the next room. But, don’t enter via the door, use the water slope, as that leads to treasure. Go up and knock the vent panel out with ![]() Depulso to grab yourself some chests, with a drop down to carry on with your mission.
Depulso to grab yourself some chests, with a drop down to carry on with your mission.
Search for Evidence of Ranrok’s Plan
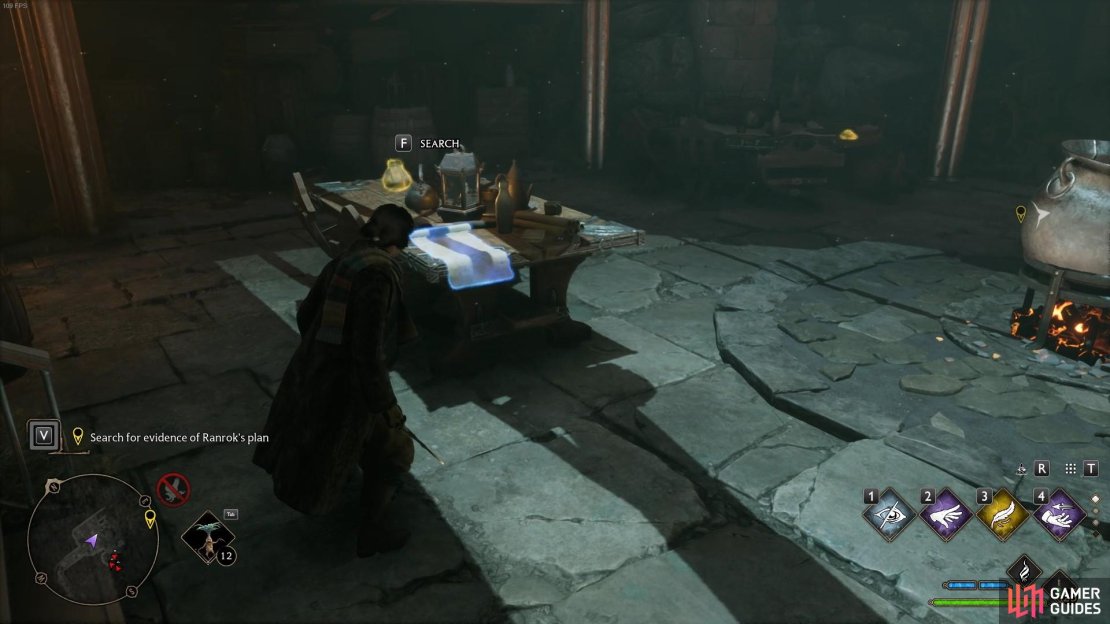
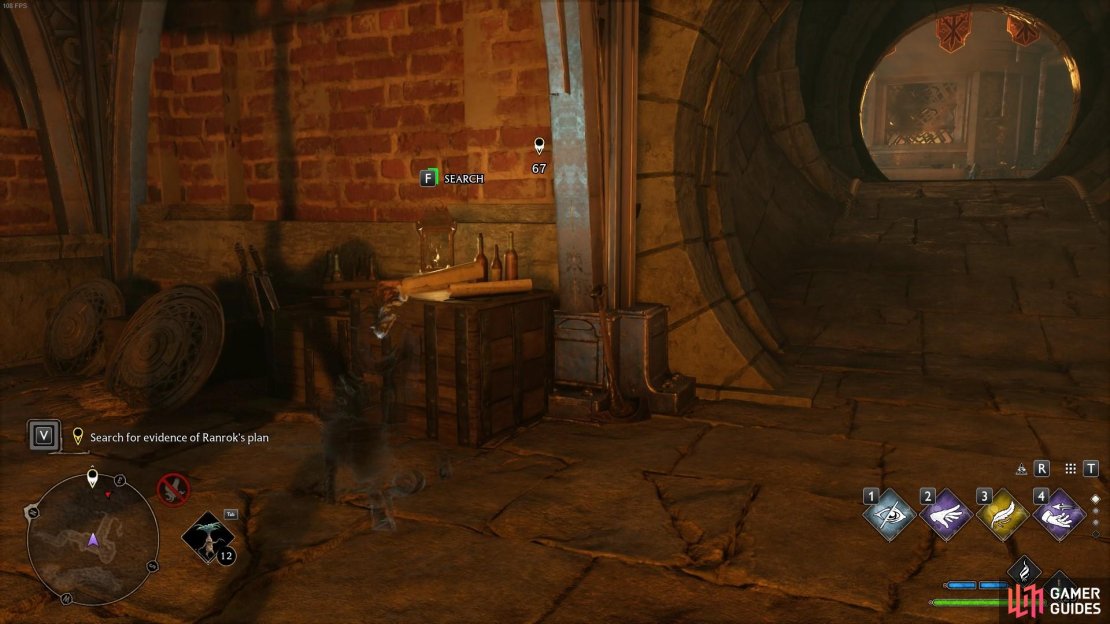
(1 of 3) One directly in front of you on a table.
Now we’re back on track, follow the tunnel down, until you reach a new room in the mine. You’ll now need to find the evidence of Ranrok’s Plan. There are five objects you need to pick up for Amit. The first one is dead ahead on a table on the bottom floor. There’s another one if you head south, through another tunnel, with more evidence in a box with some beer bottles.
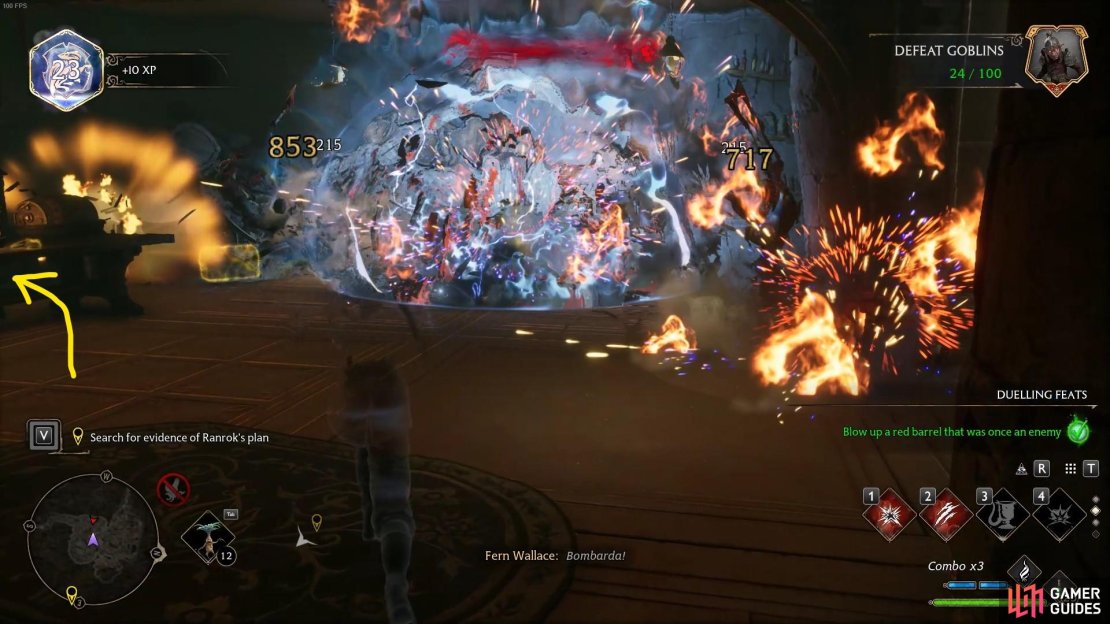
The next one will require you to go back to where you found the first one, and go up the stairs to where the three goblins are. Feel free to beat them up however you see fit, and then take the evidence. We turned the middle one into a red barrel, then cast Bombarda and killed all three goblins in one simple combo. Once that’s done, the third piece of evidence is on the table where the Goblins once stood.
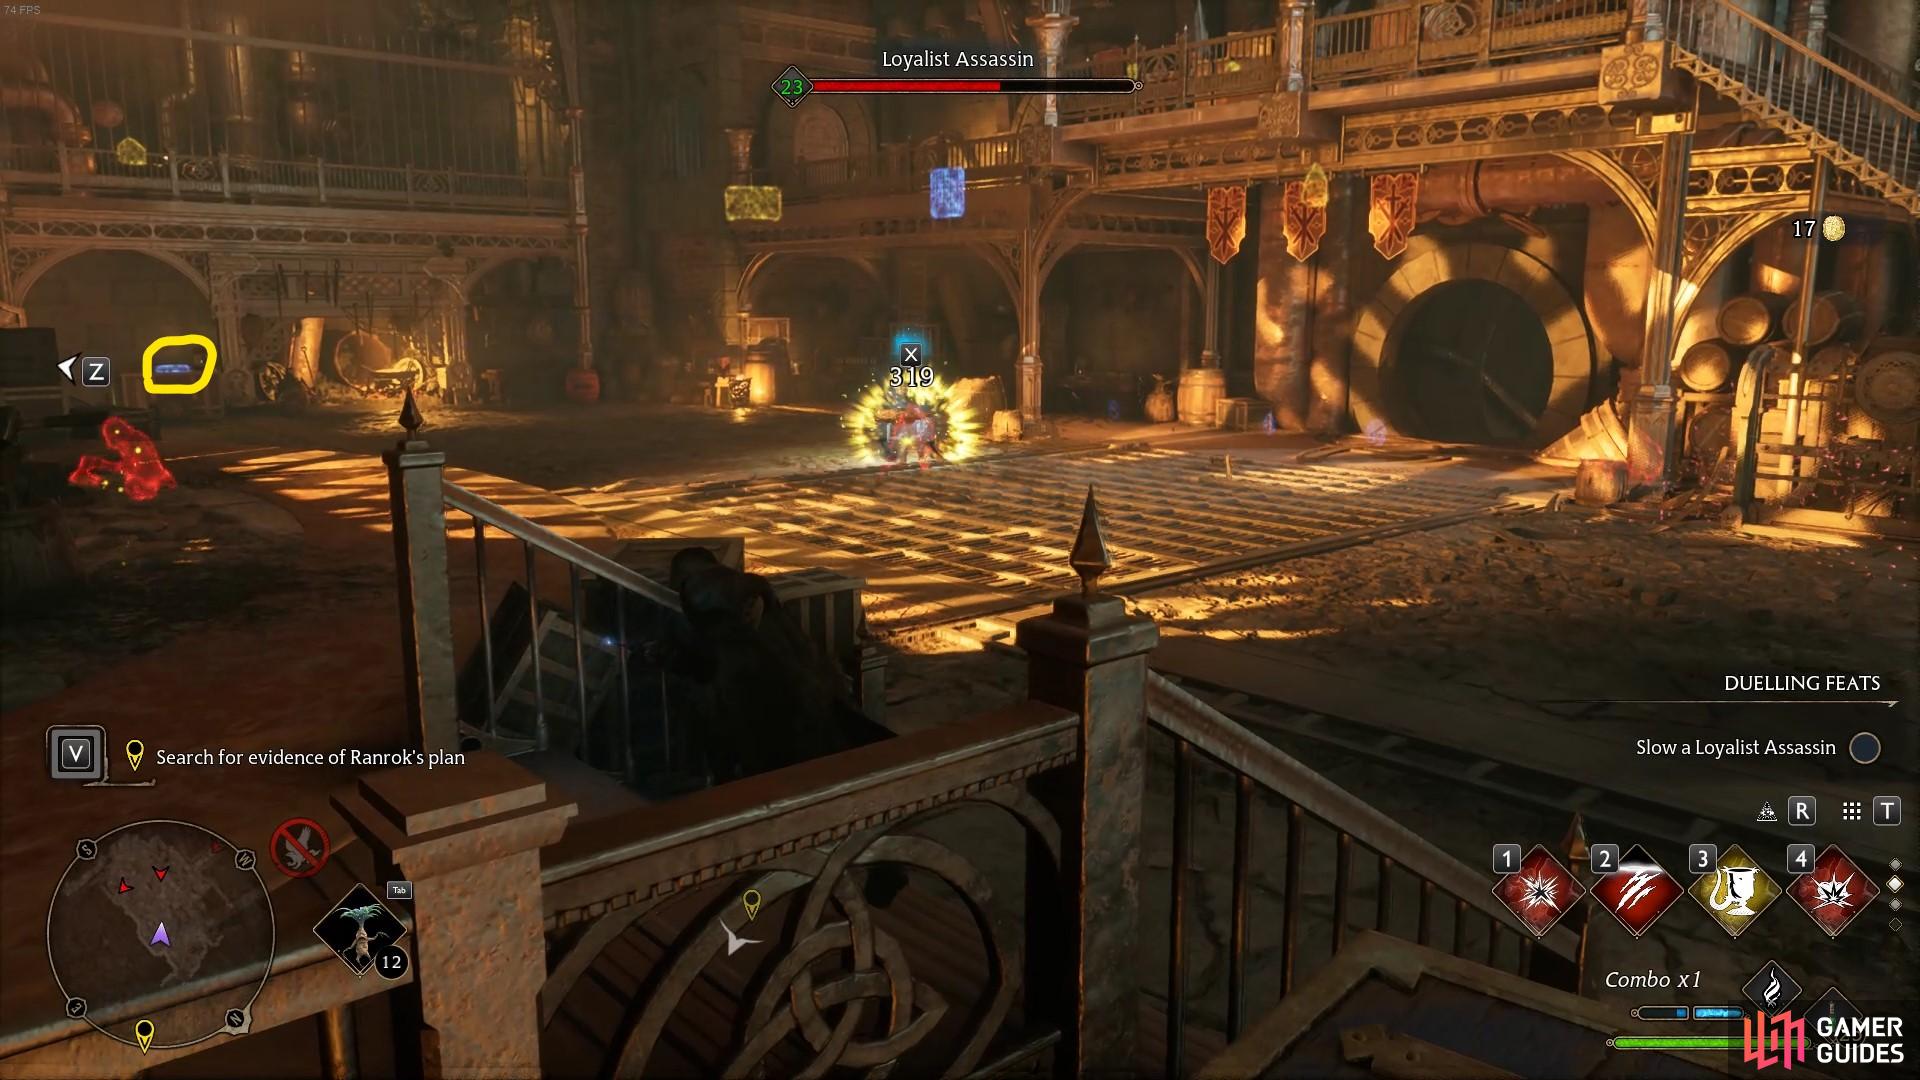
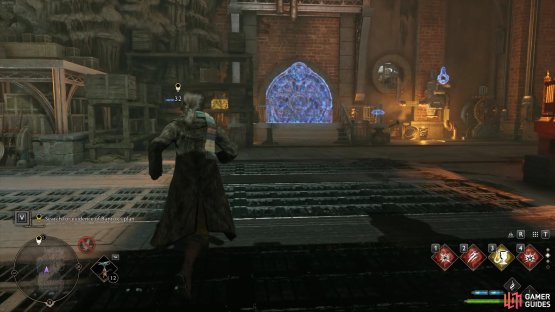
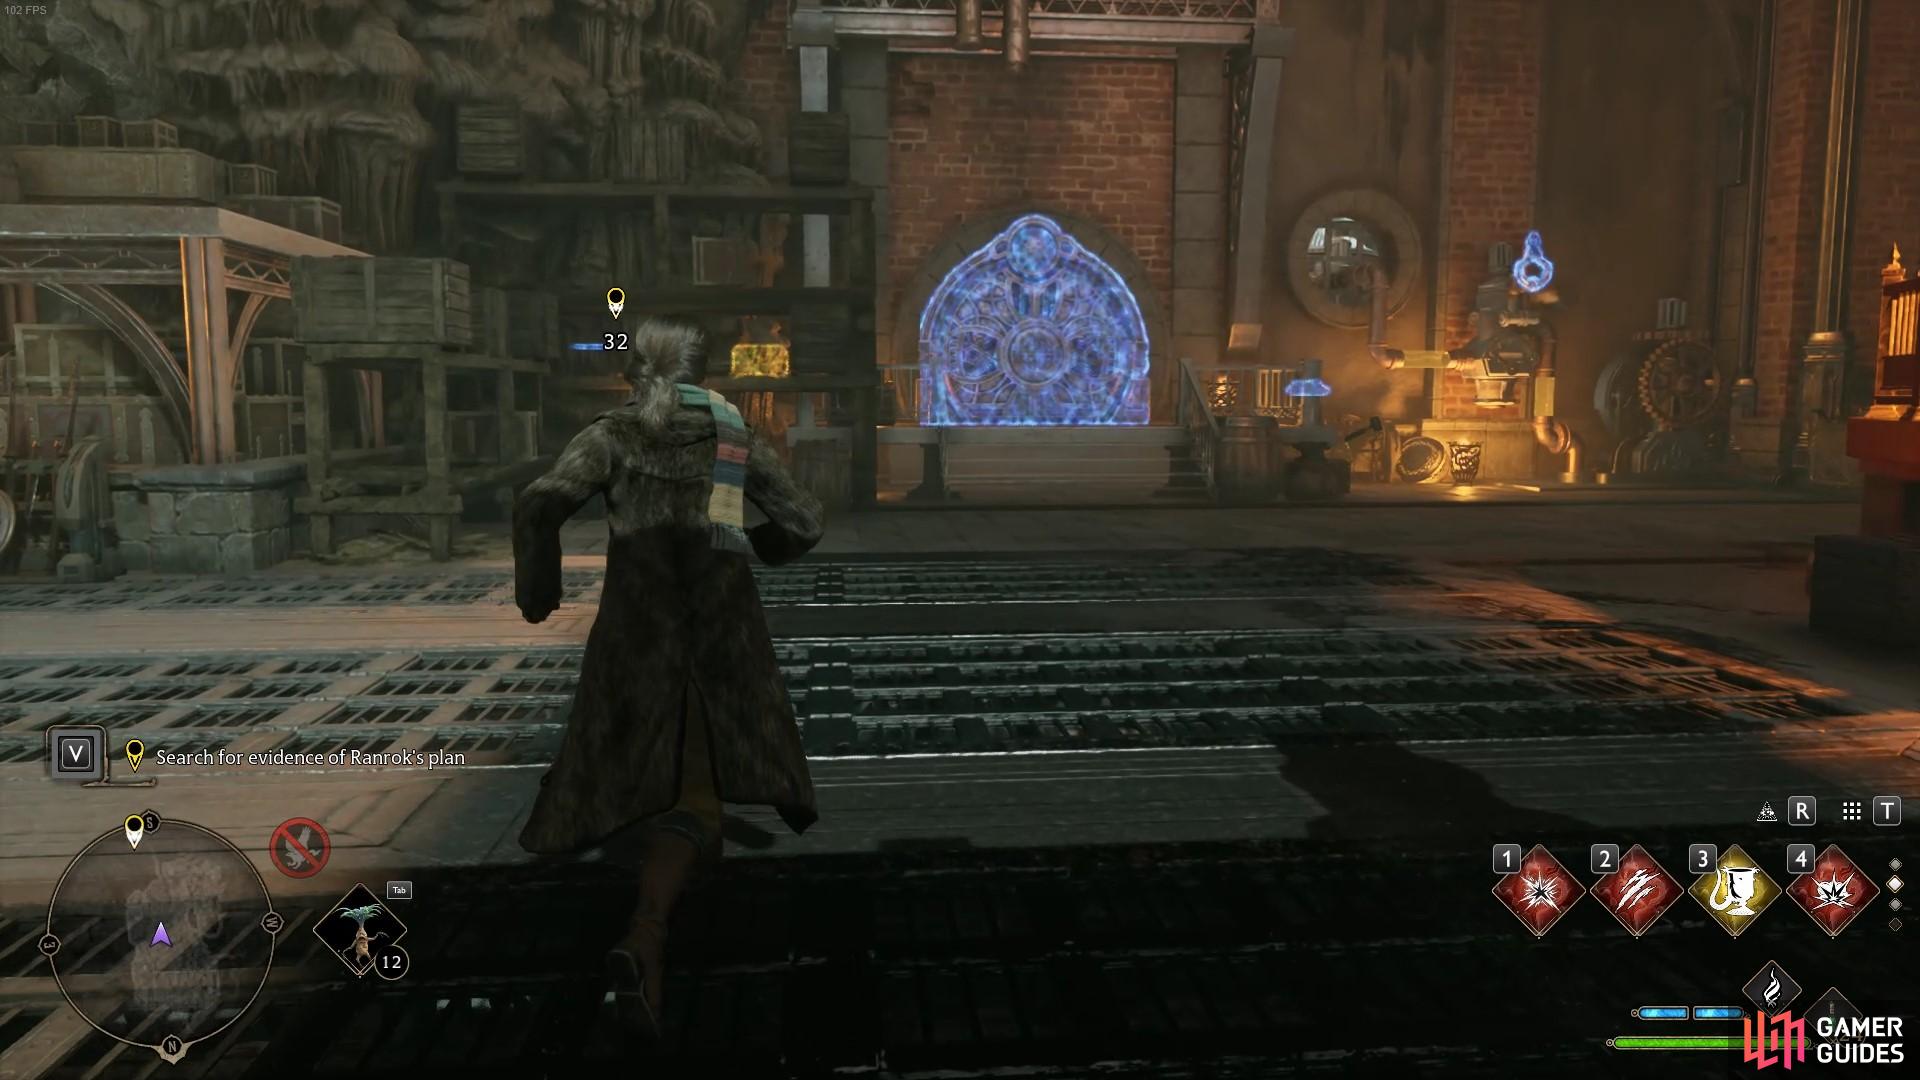
There’s one evidence piece on the south wall of the main furane workshop area.
Moving on, you need to continue through the Goblin living quarters, down the tunnel, and into a large furnace area. There are plenty of ![]() Loyalist Rangers, Loyalist Warriors, and Loyalist Assassins here, so get ready for a big fight. Sneak around and stealth take down if you want, use ancient magic on the rangers, and then cast spells against the rest till they are dealt with. Once it’s safe to loot, you can find a piece of evidence on the south side of the room.
Loyalist Rangers, Loyalist Warriors, and Loyalist Assassins here, so get ready for a big fight. Sneak around and stealth take down if you want, use ancient magic on the rangers, and then cast spells against the rest till they are dealt with. Once it’s safe to loot, you can find a piece of evidence on the south side of the room.
Mine’s Eye Collection Chests and more Evidence
Now you’ve got the loot, you need to reactivate the furnace and pull the lever. Doing so will open the next gate allowing you enter a cave. Keep following it around, until you reach another Goblin workshop. There will be more Loyalist Warriors, Assassins, and some ![]() Loyalist Sentinels too. Once again, fight the best you can, and proceed to the locked door with the eyeball. Inside is the final piece of evidence you need, and then you can get out of there.
Loyalist Sentinels too. Once again, fight the best you can, and proceed to the locked door with the eyeball. Inside is the final piece of evidence you need, and then you can get out of there.
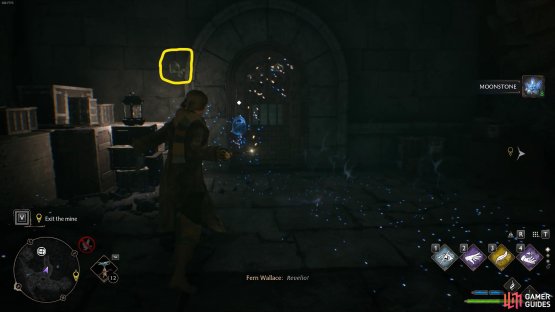
(1 of 2) There’s a locked room as you escape the mine with a Collection Chest inside.

There’s a locked room as you escape the mine with a Collection Chest inside. (left), The final piece of evidence is inside the final locked door. (right)
To escape, you need to activate the furnace in the final room you got the piece of evidence from. Then, you need to escape by pulling the lever in the large workshop you’ve just entered. Doing so will call down an elevator in the room for you to escape. Go into the elevator and then get off when you reach the stop.
The stop will lead to another tunnel, and more ![]() Moonstones to loot if you fancy it. There are also a few chests off the beaten path as well if you want to maximize your loot. Keep an eye on your minimap when you part way up the tunnel, as there’s a pathway leading southeast. This will lead you to a level 2 locked door. If you’ve been getting the Demiguise statues and returned them to Caretaker Moon, you can open this, and get the second Collection Chest in the Mine’s Eye. If you can’t get it yet, don’t worry, as you can always return to it later when you’ve got level 2
Moonstones to loot if you fancy it. There are also a few chests off the beaten path as well if you want to maximize your loot. Keep an eye on your minimap when you part way up the tunnel, as there’s a pathway leading southeast. This will lead you to a level 2 locked door. If you’ve been getting the Demiguise statues and returned them to Caretaker Moon, you can open this, and get the second Collection Chest in the Mine’s Eye. If you can’t get it yet, don’t worry, as you can always return to it later when you’ve got level 2 ![]() Alohomora.
Alohomora.
Simply follow the exit, and then you’re out of there. This concludes the It’s all Gobbledgook walkthrough for Hogwarts Legacy. Good luck ransacking the palace, getting collections, and completing the quest.
No Comments