
During the main quest Jackdaw’s Rest in Hogwarts Legacy you’ll be tasked with exploring a dungeon, and like the previous major story dungeon, The Athenaeum, there are numerous puzzles you’ll need to solve to advance… and to score some optional treasure. This page will cover all the puzzles and treasure found in Jackdaws Tomb.
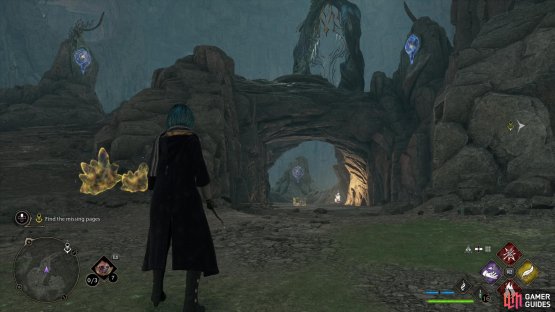
Rendezvous with Richard Jackdaw in the ![]() Forbidden Forest, then follow him until he loses his nerve, after which continue on until you reach the bird bath outside of Jackdaw’s Tomb. Whisper the password, defeat some loyalist goblins, then enter the portal leading to the tomb.
Forbidden Forest, then follow him until he loses his nerve, after which continue on until you reach the bird bath outside of Jackdaw’s Tomb. Whisper the password, defeat some loyalist goblins, then enter the portal leading to the tomb.
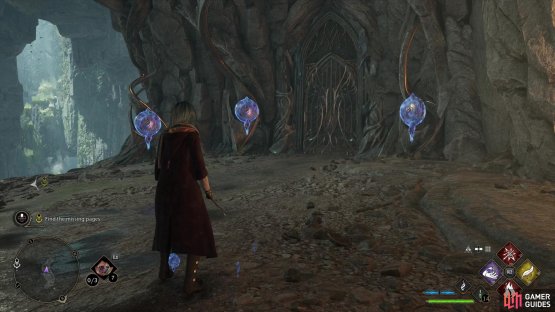
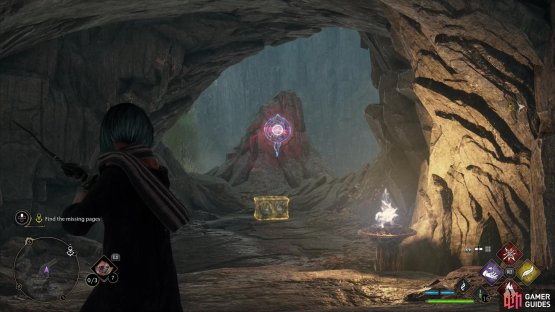
(1 of 2) Outside the first sealed door you’ll find three symbols.
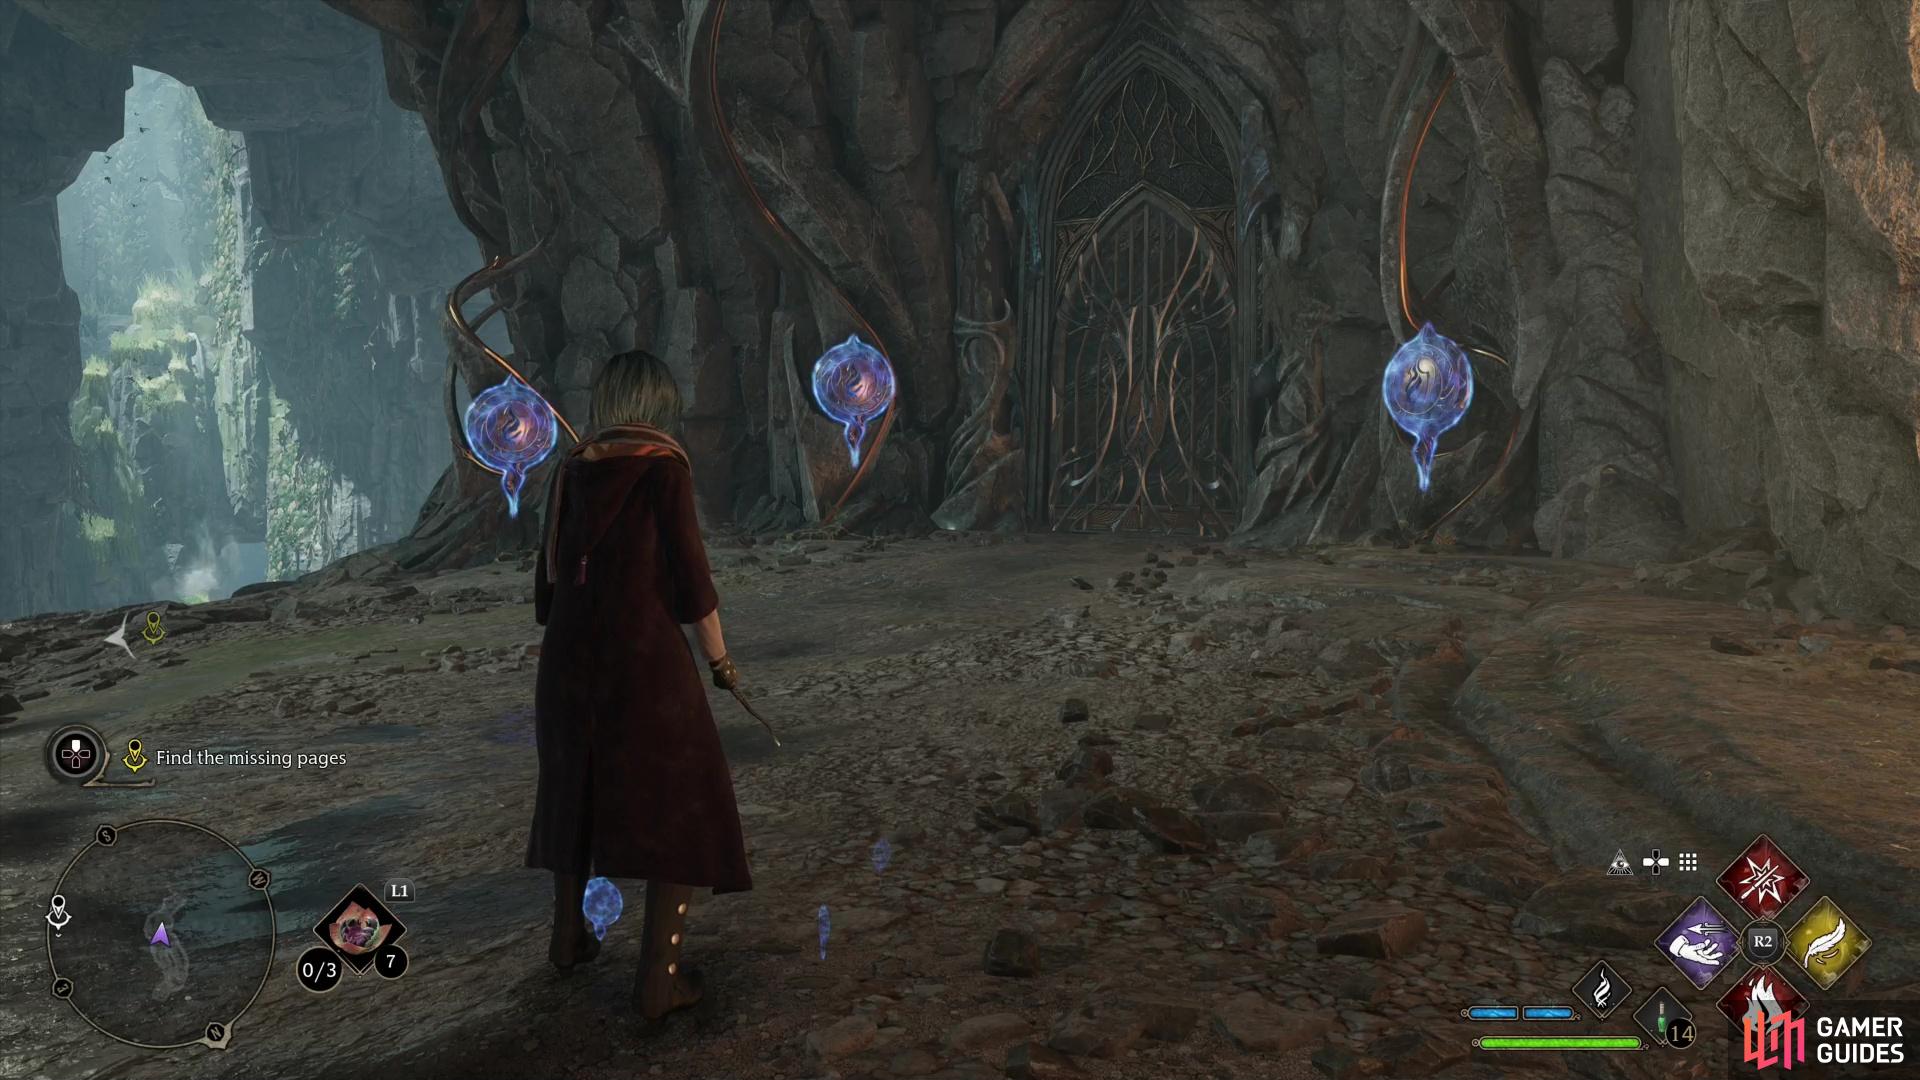
Outside the first sealed door you’ll find three symbols. (left), Strike them all in quick succession to open the door. (right)
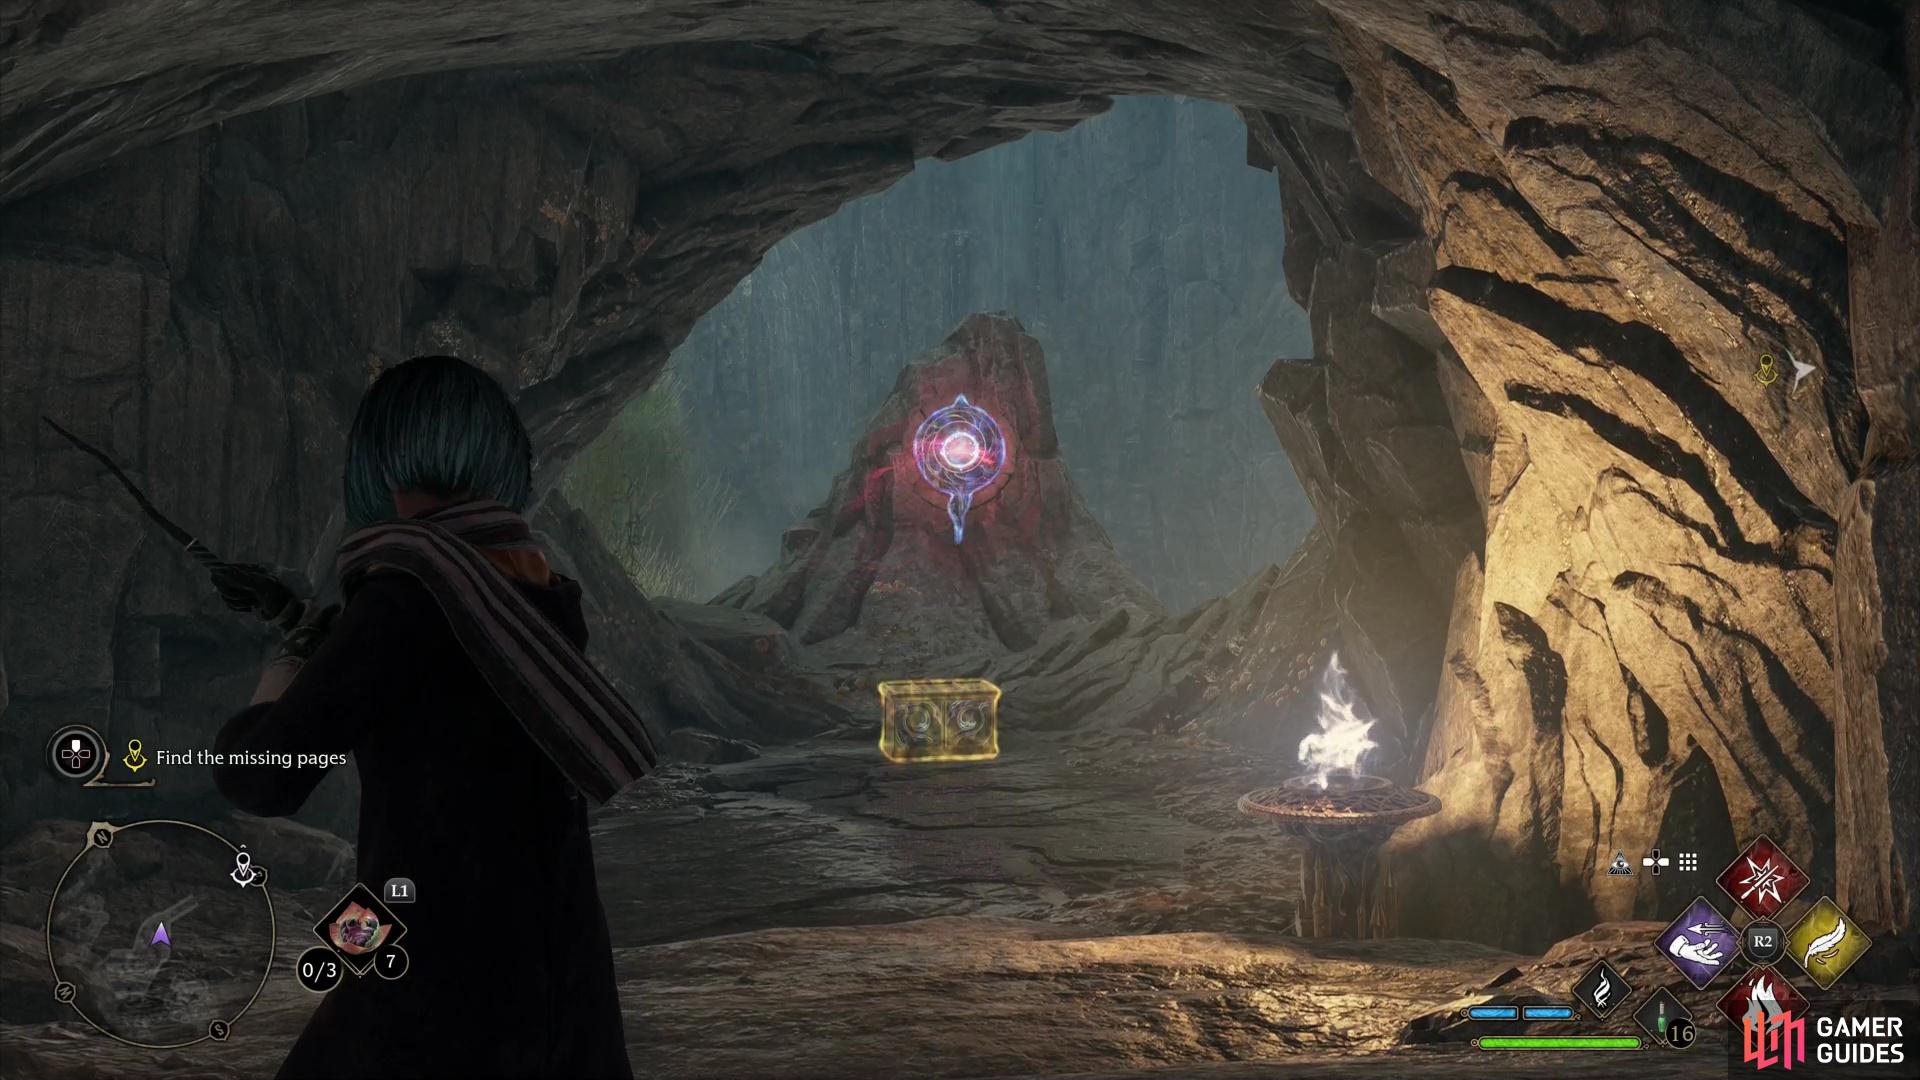
How to Solve the First Symbol Door in Jackdaw’s Tomb
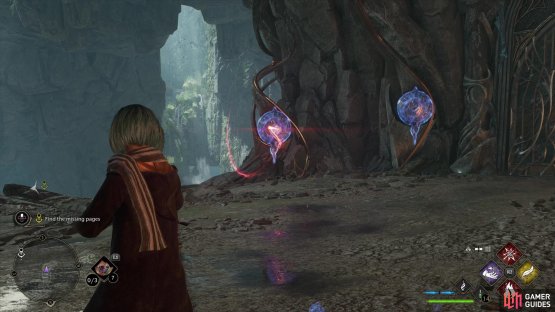
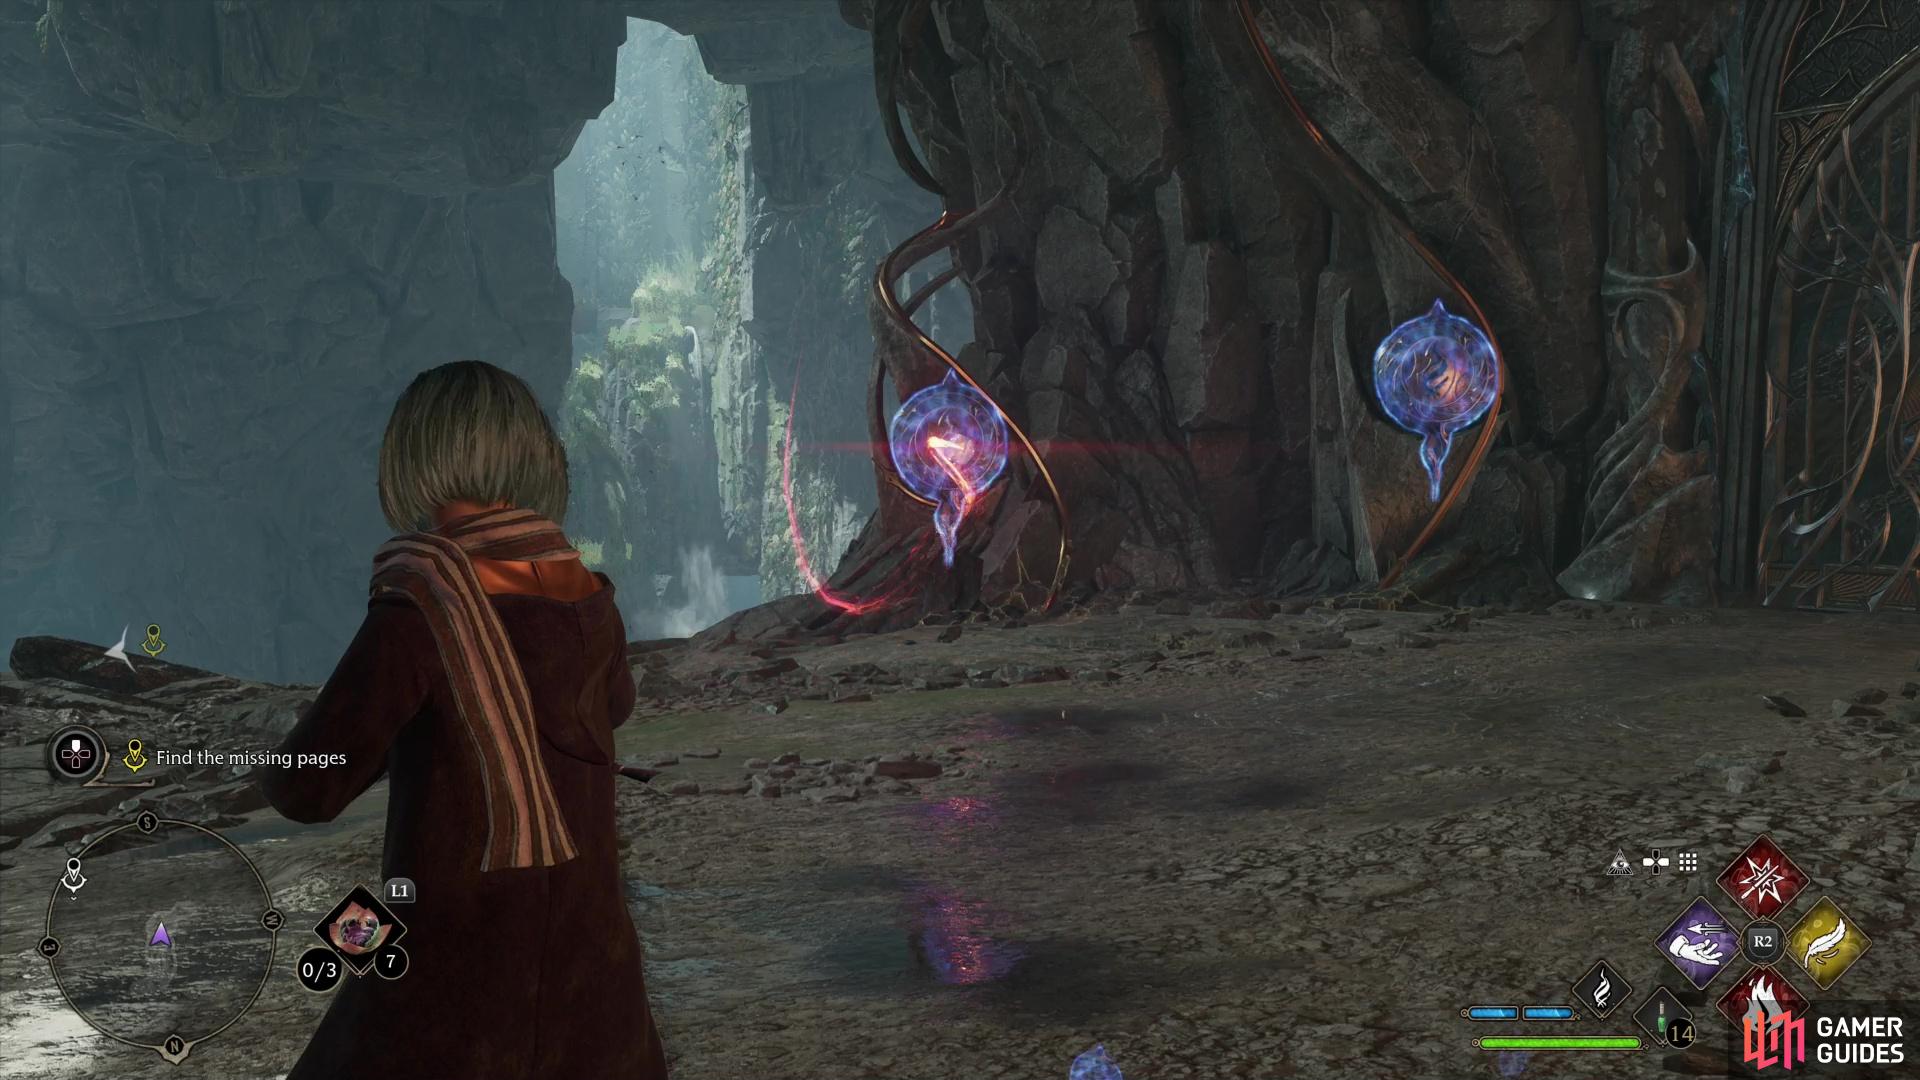
Follow the path ahead until you find a sealed door, near which are three symbols. To unlock the door you’ll need to strike each of the three symbols with standard attacks ( /
/  ), and to ensure you can target them in quick succession, you’ll need to manually aim by holding down
  /
/  . Strike all three symbols in quick succession and the door will open.
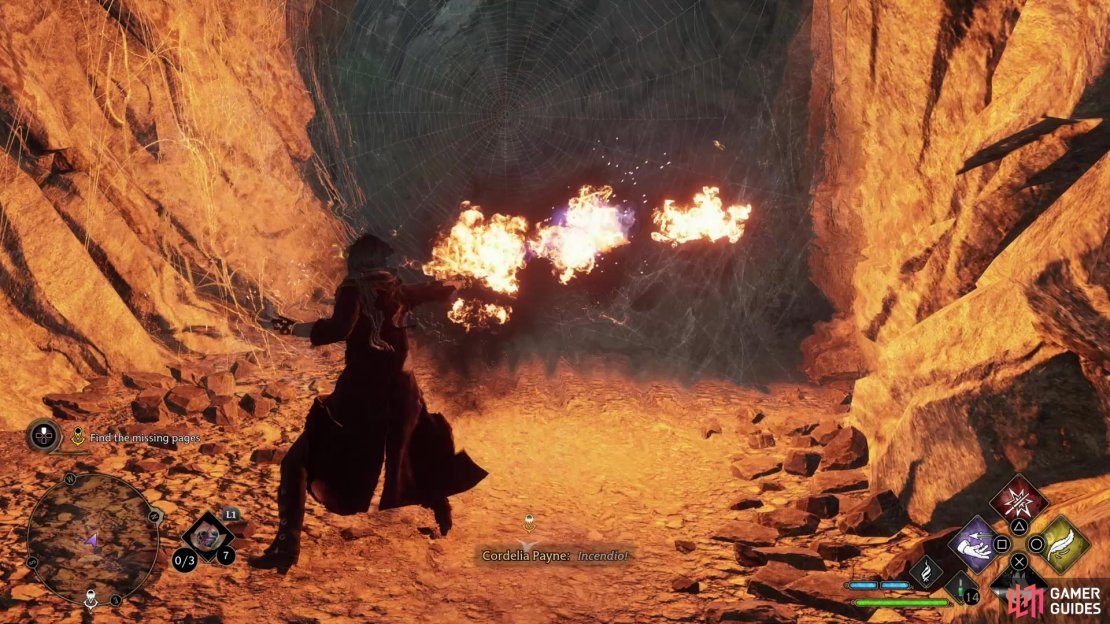
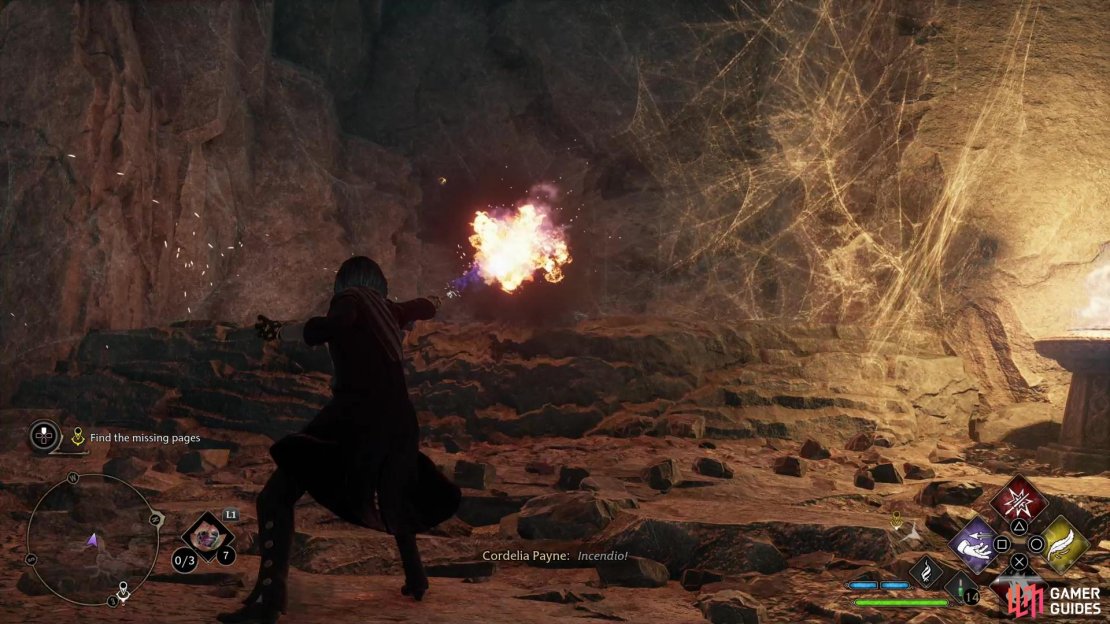
(1 of 4) Burn some webs with !Incenio,
How to Kill the Giant Spiders and Obtain the First Treasure Chest in Jackdaw’s Tomb
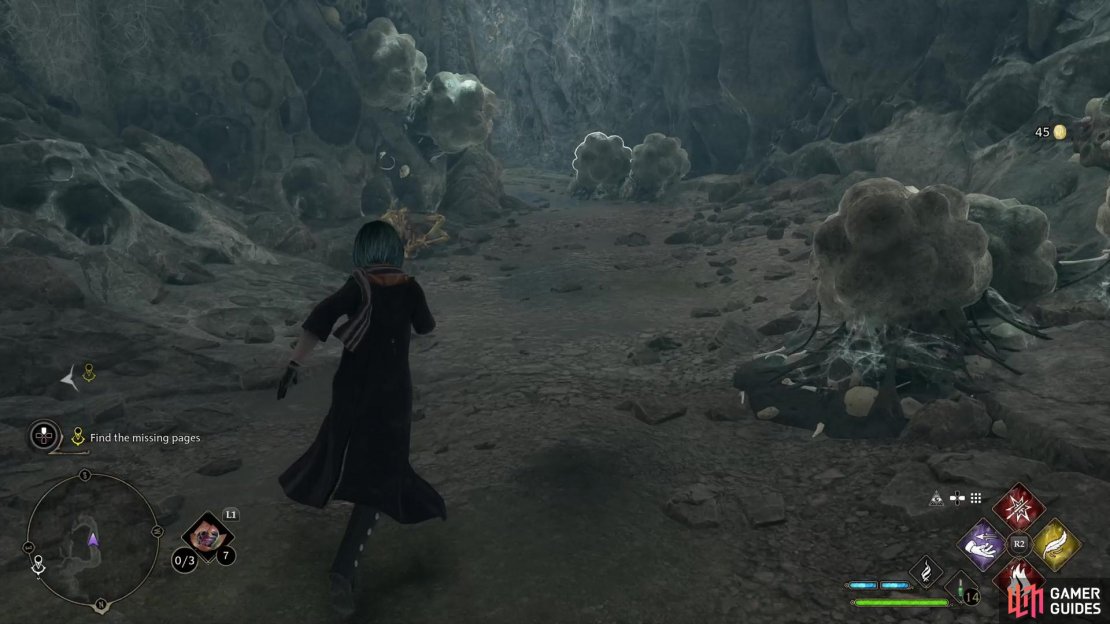
After the scene, go through the door and follow the linear path ahead until your path is blocked by a large web. Clear the path with ![]() Incendio, then continue on until you’re ambushed by several giatn spiders. Defeat these enemies and note you’re at a fork. Your objective lies down a ledge to the southwest, but if you want to score some treasure, go through a narrow passage to the north.
Incendio, then continue on until you’re ambushed by several giatn spiders. Defeat these enemies and note you’re at a fork. Your objective lies down a ledge to the southwest, but if you want to score some treasure, go through a narrow passage to the north.
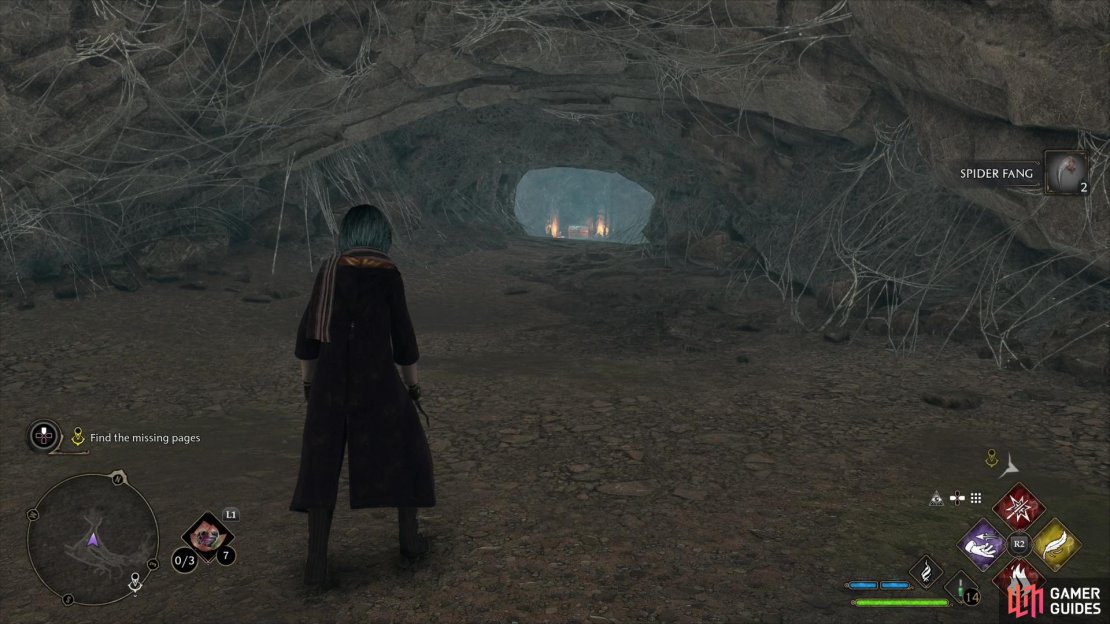
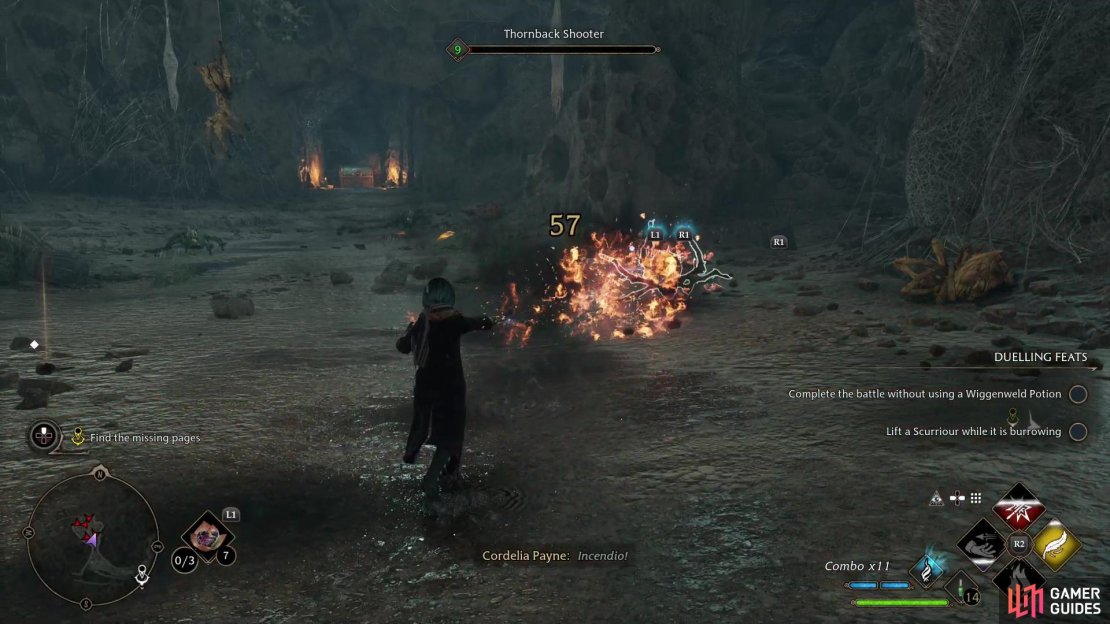
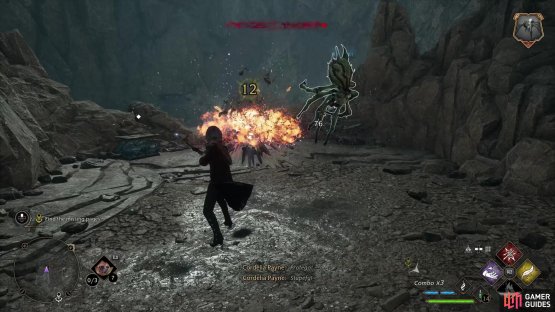
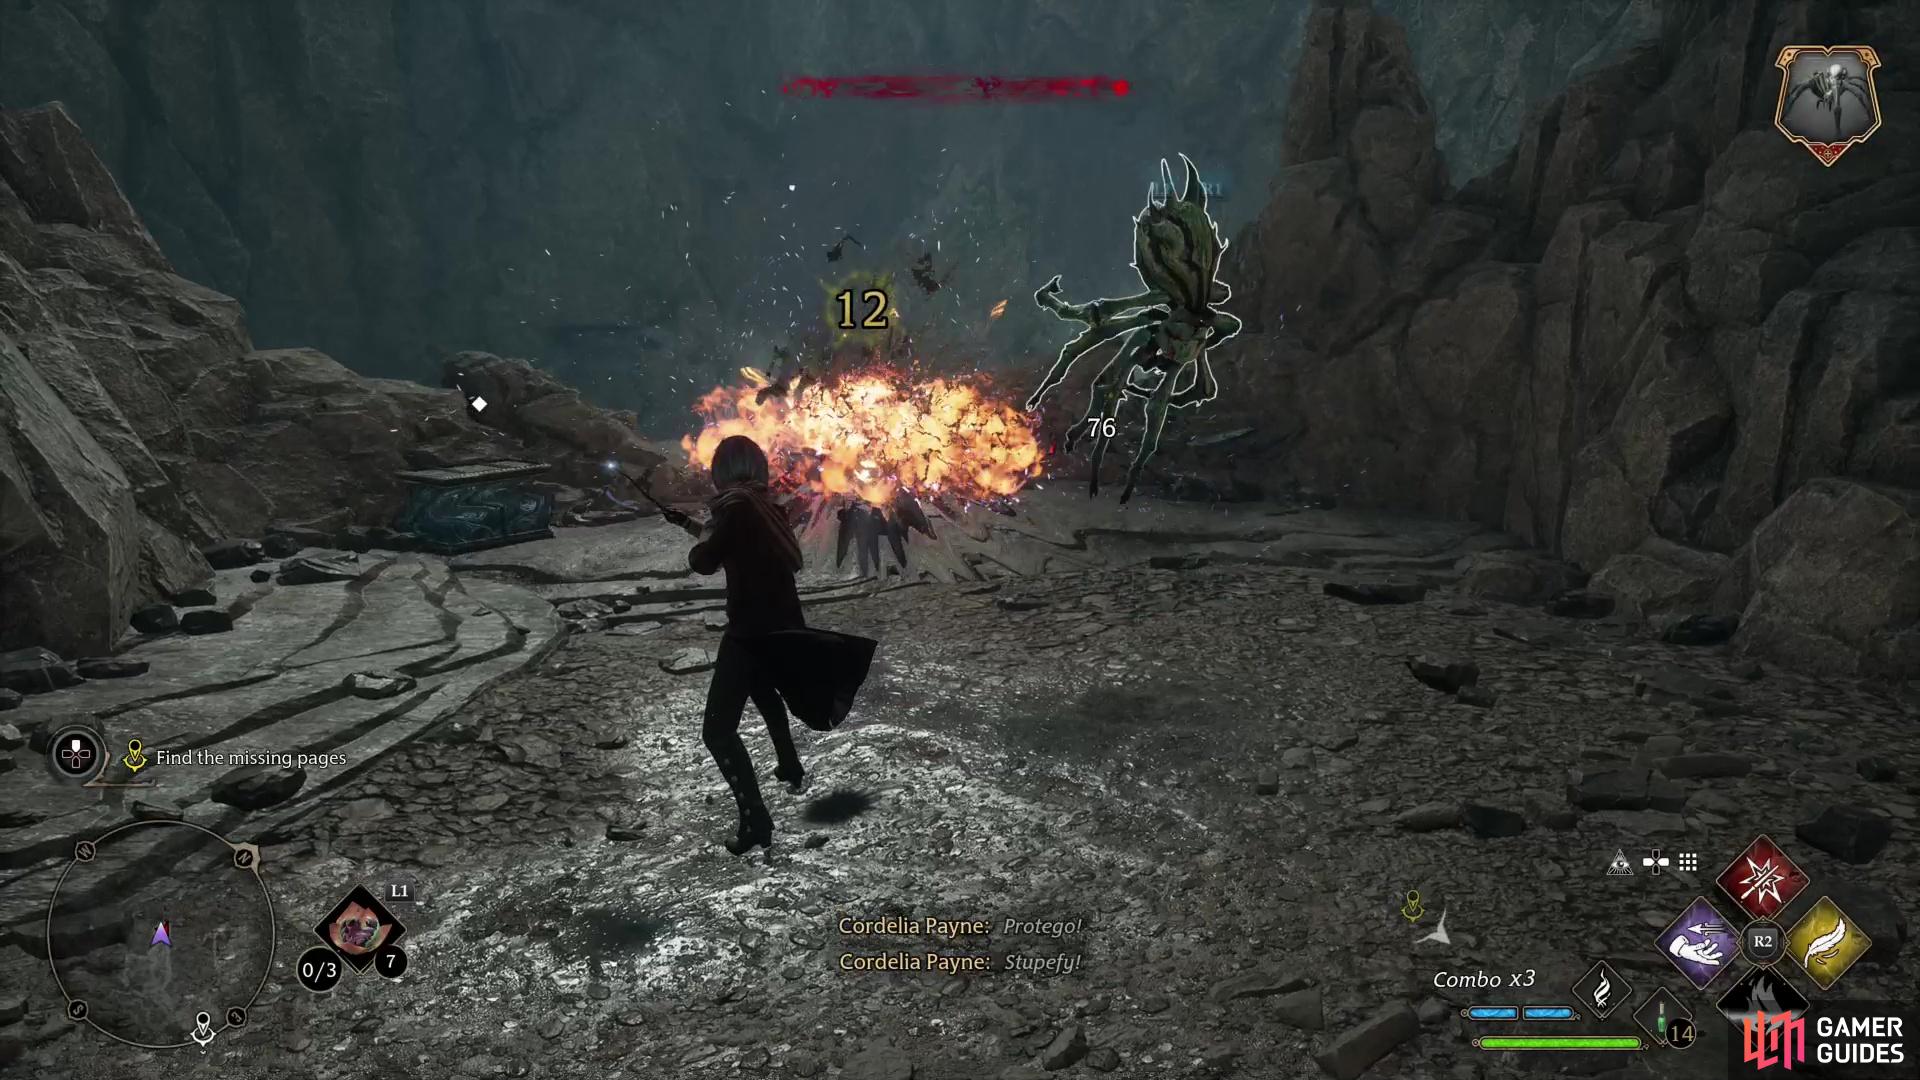
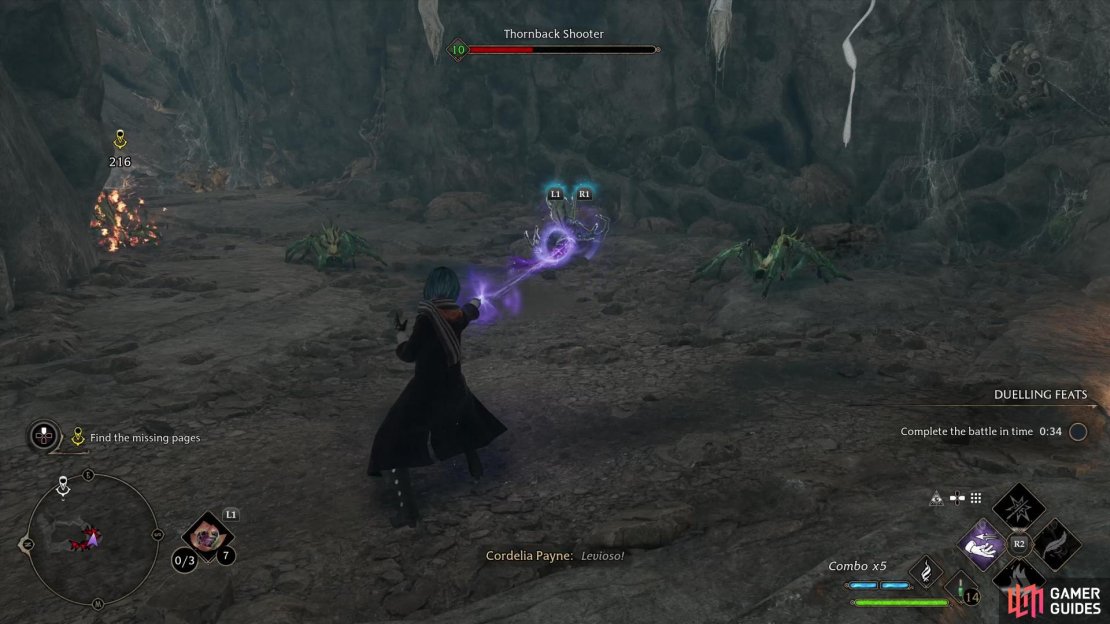
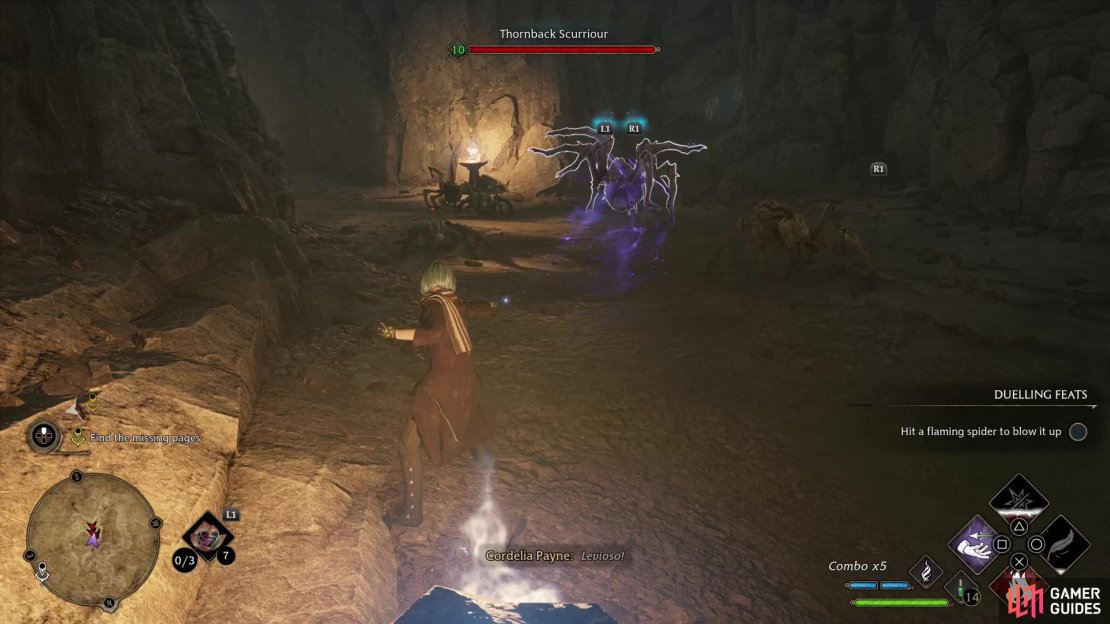
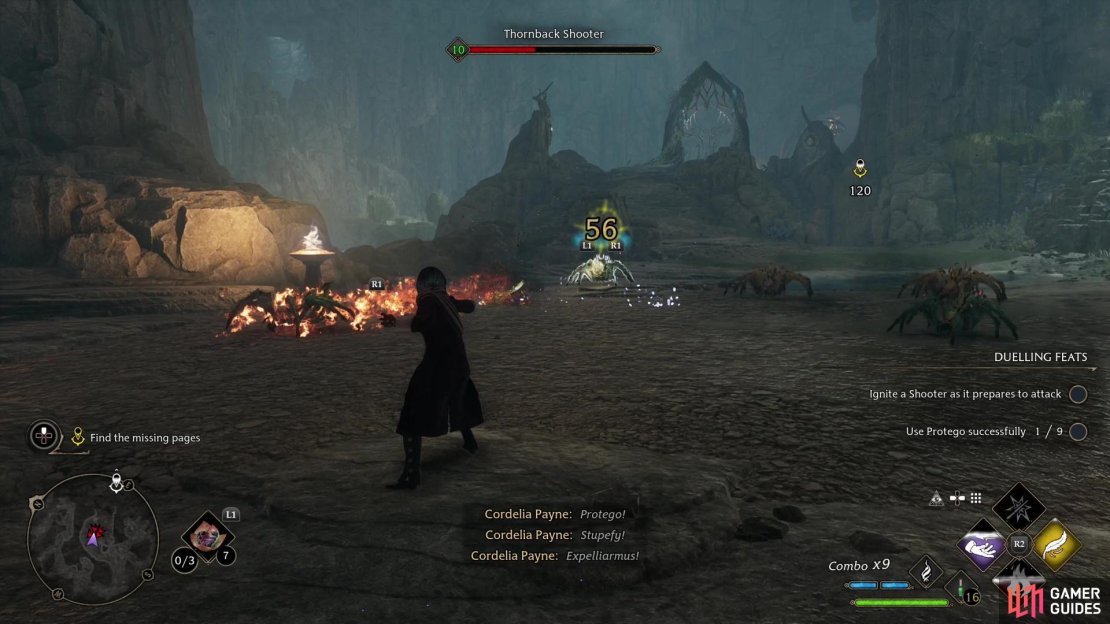
Beyond this passage you’ll find a large cavern, which is absolutely crawling with spiders. This is likely the second most difficult battle in this dungeon, and you’ll need to be wary to avoid incoming enemy attacks. ![]() Thornback Shooters will hassle you from a distance, but their attacks can be blocked with
Thornback Shooters will hassle you from a distance, but their attacks can be blocked with ![]() Protego, while the
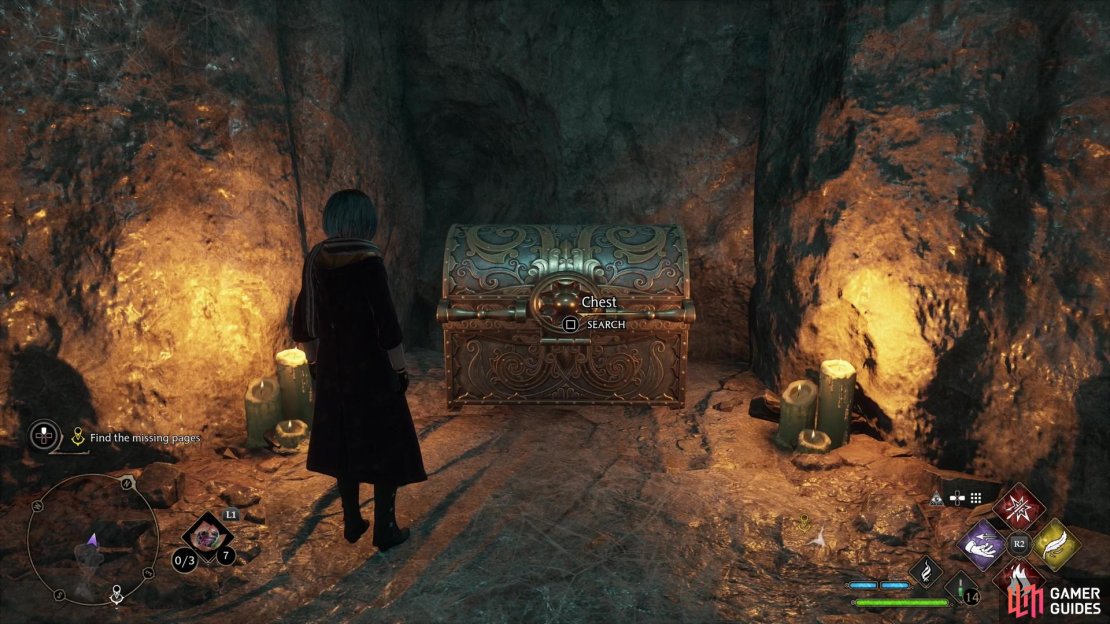
Protego, while the ![]() Thornback Scurriour will burrow into the ground and attempt to erupt from the earth underneath you. You won’t get a prompt to block the latter attack, so keep your eye on the ground for signs of an impending burrow attack and dodge out of the way. Kill all the spiders, then continue northwest to find a massive chest along the far end of the cavern.
Thornback Scurriour will burrow into the ground and attempt to erupt from the earth underneath you. You won’t get a prompt to block the latter attack, so keep your eye on the ground for signs of an impending burrow attack and dodge out of the way. Kill all the spiders, then continue northwest to find a massive chest along the far end of the cavern.
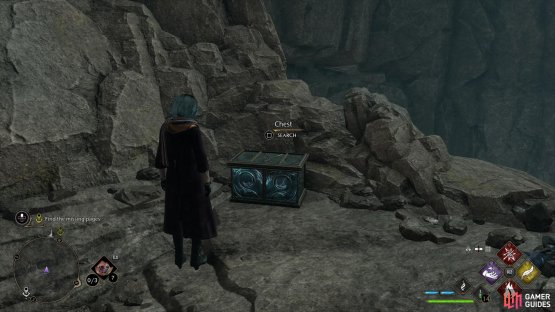
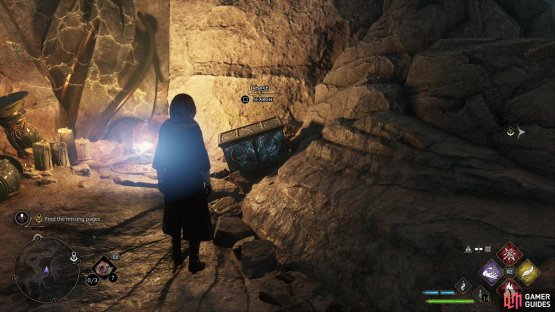
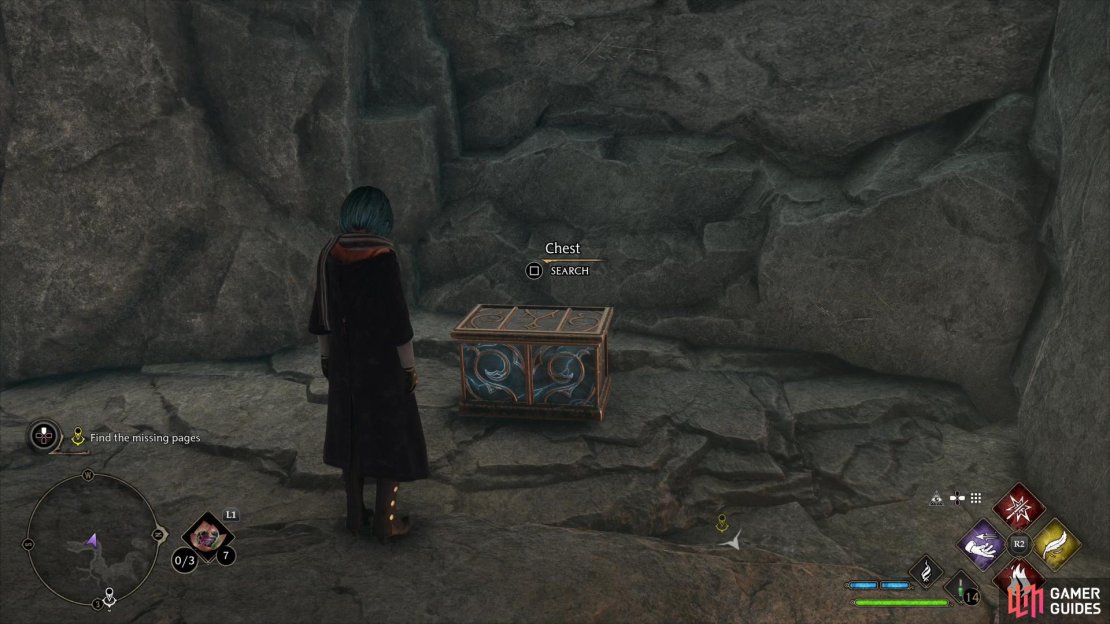
(1 of 2) Kill a pair of spiders,
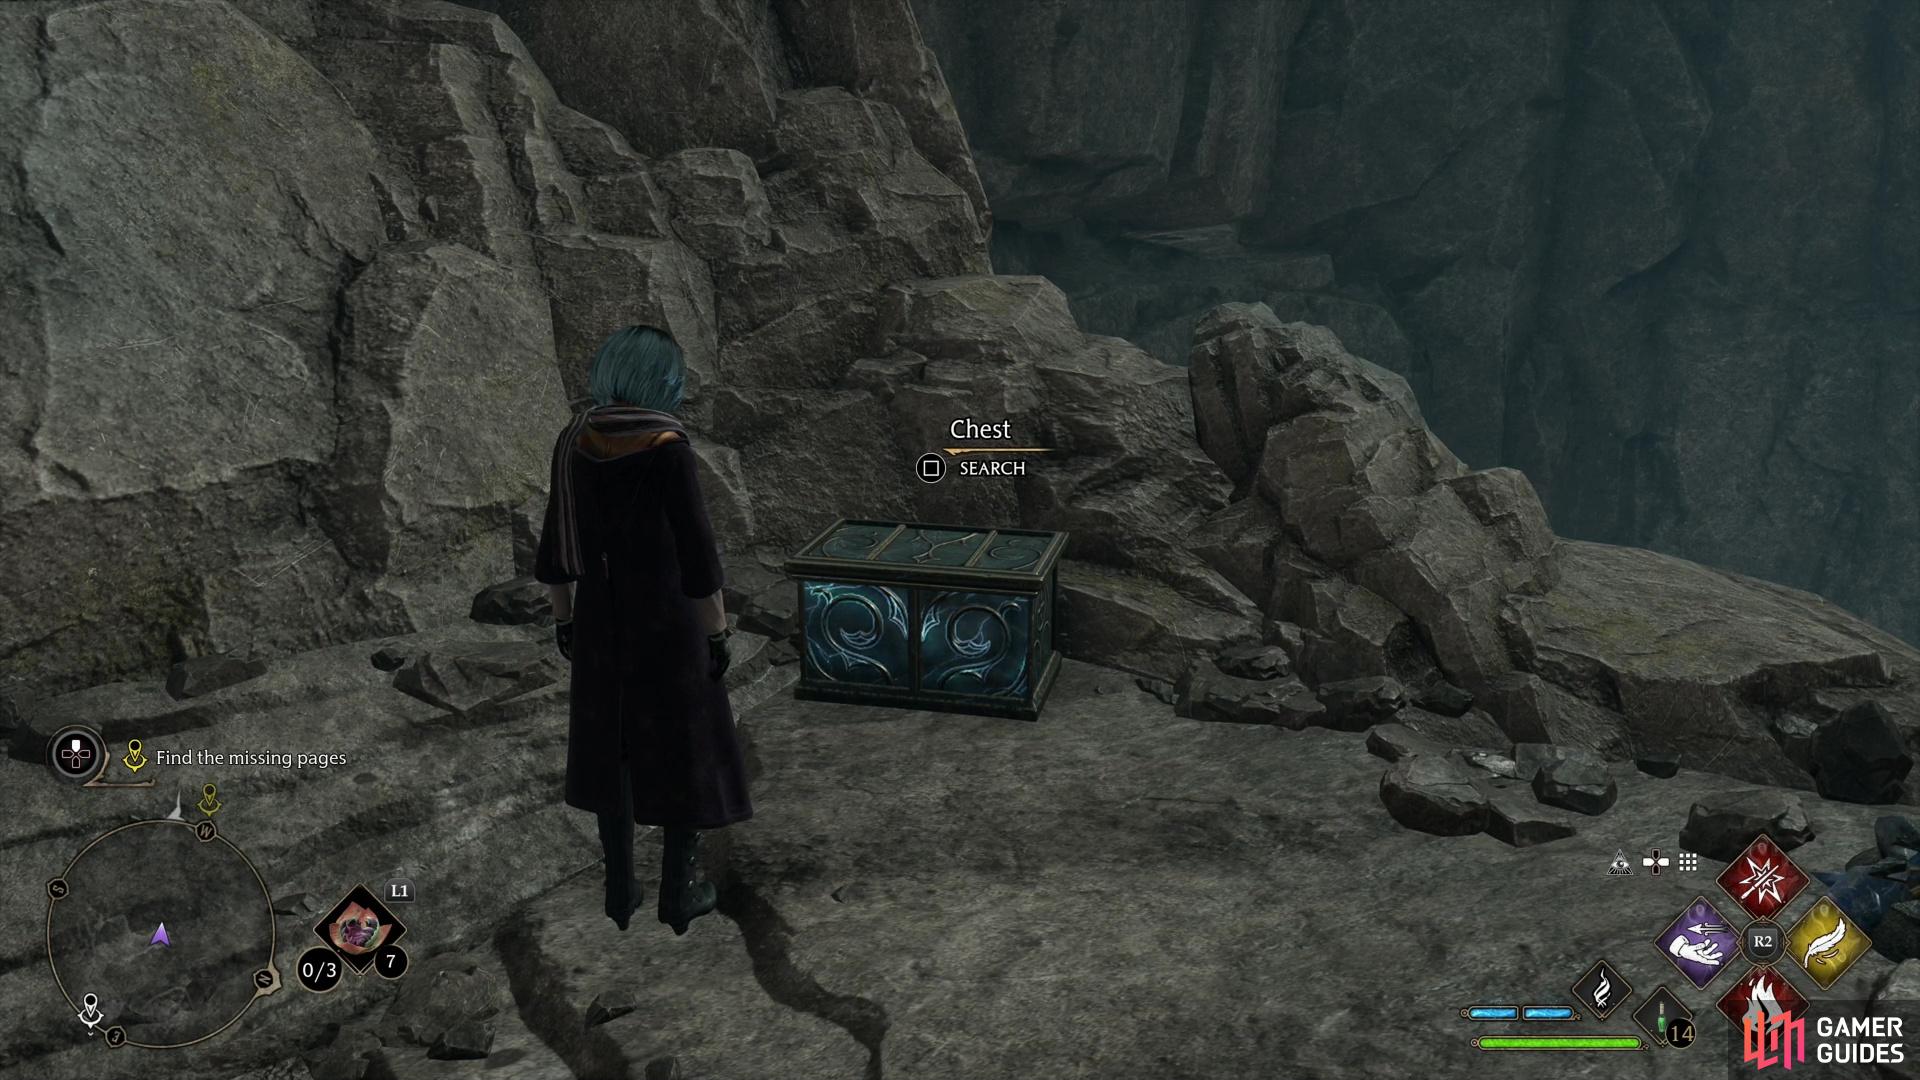
Kill a pair of spiders, (left), then loot the small chest they guarded. (right)
How to Solve the First Accio Platform Puzzle in Jackdaw’s Tomb
Backtrack to the fork outside the spider chamber, then drop down a series of ledges to the south to find yourself at another fork. Turn west and you’ll find a shallow, watery pit over which floats a magical platform. Head up a ramp to the right and continue northwest to a dead end where you’ll be attacked by two spiders. Kill them, then loot a small chest.

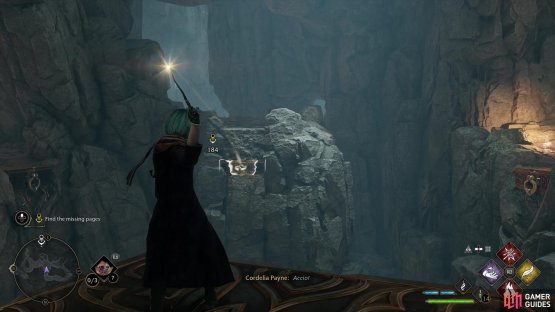
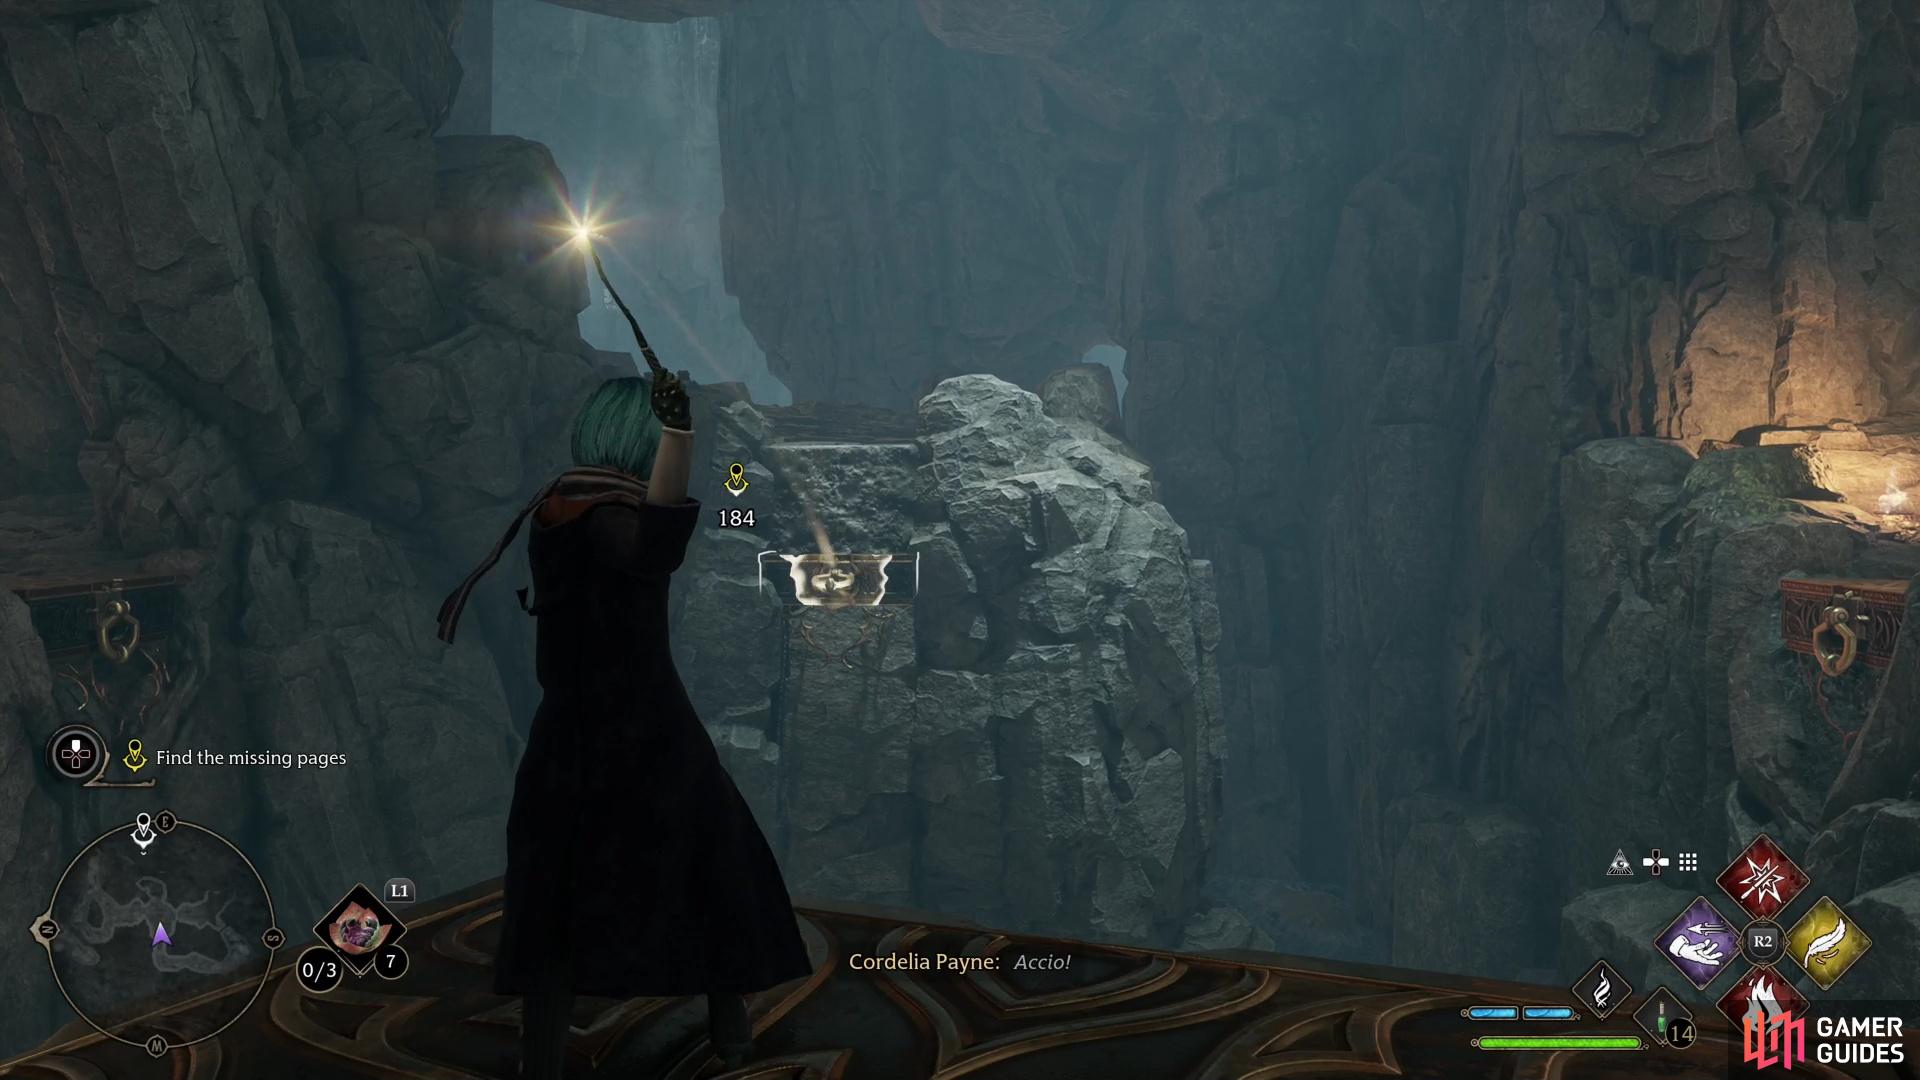
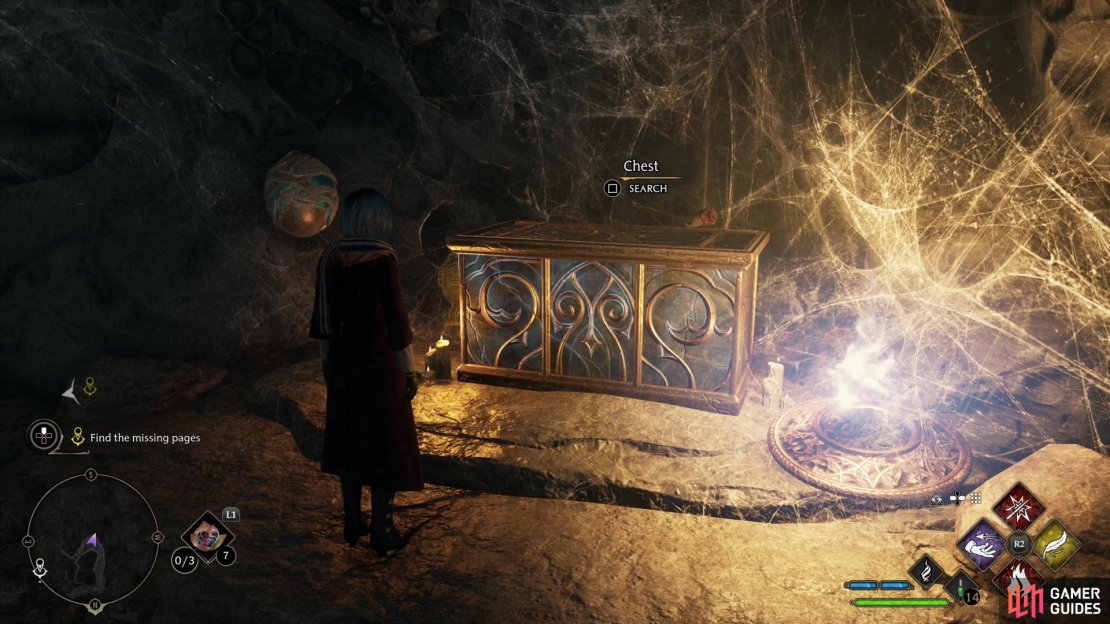
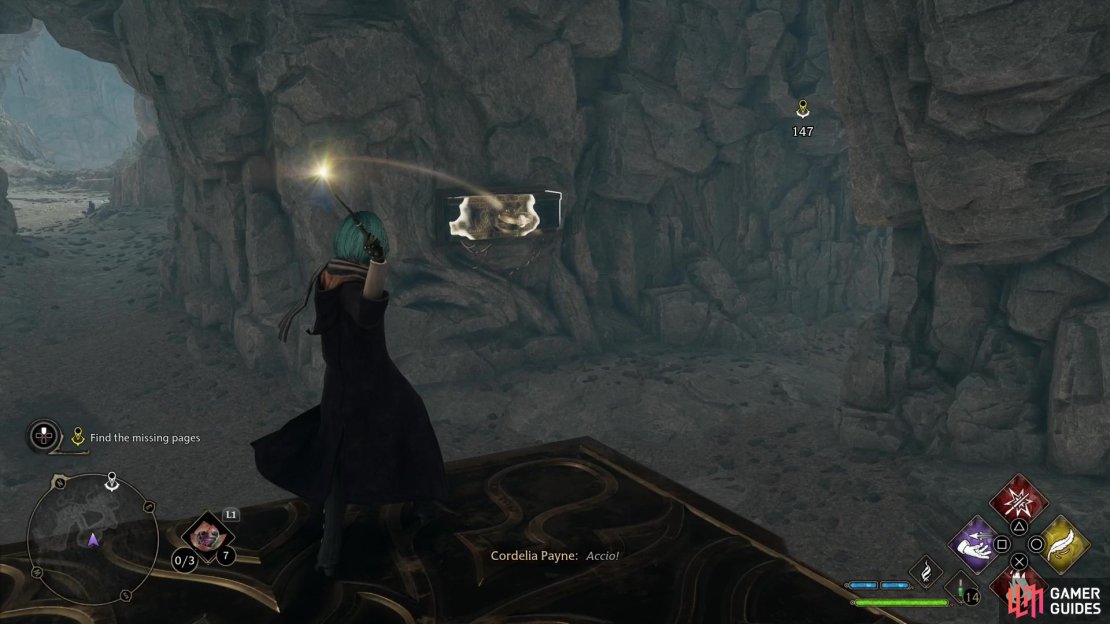
(1 of 2) Use Accio to guide a platform across a pit,
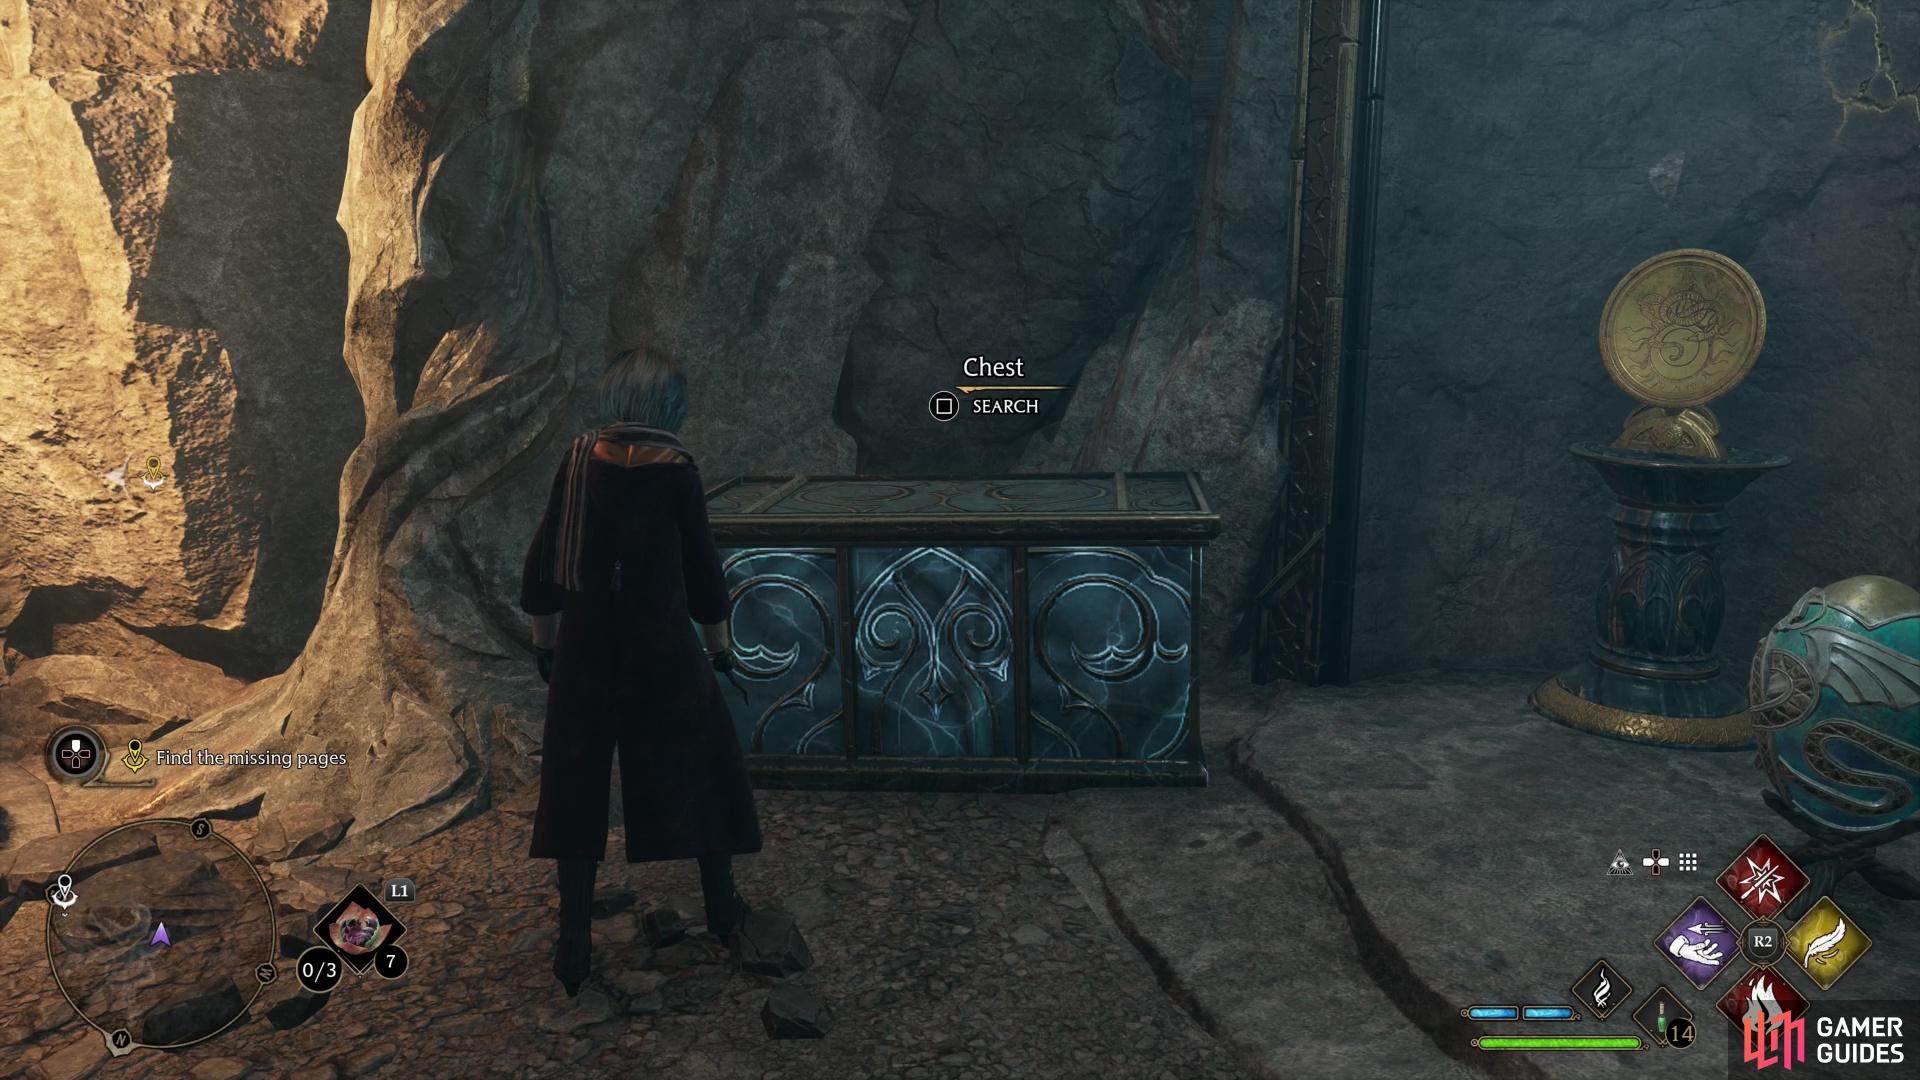
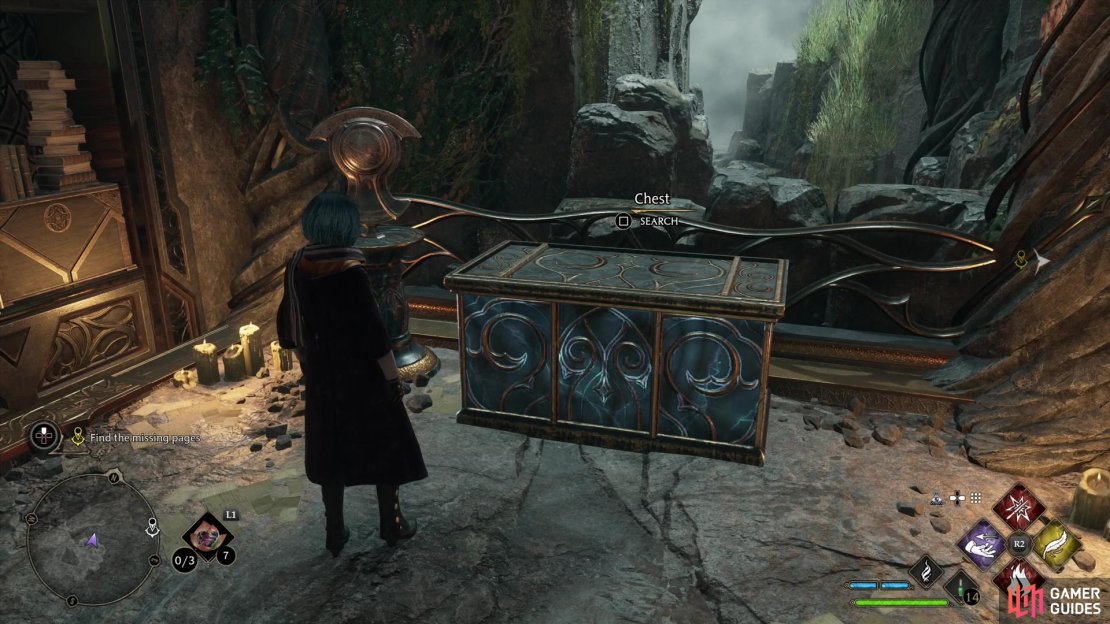
Use Accio to guide a platform across a pit, (left), beyond which you’ll find a large chest. (right)
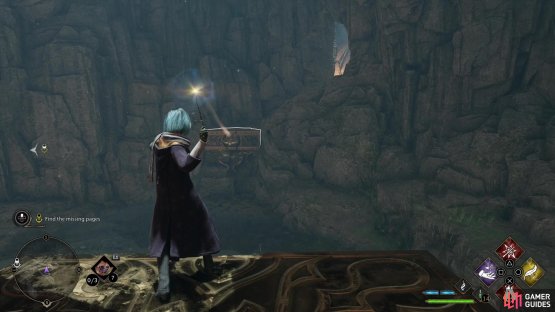
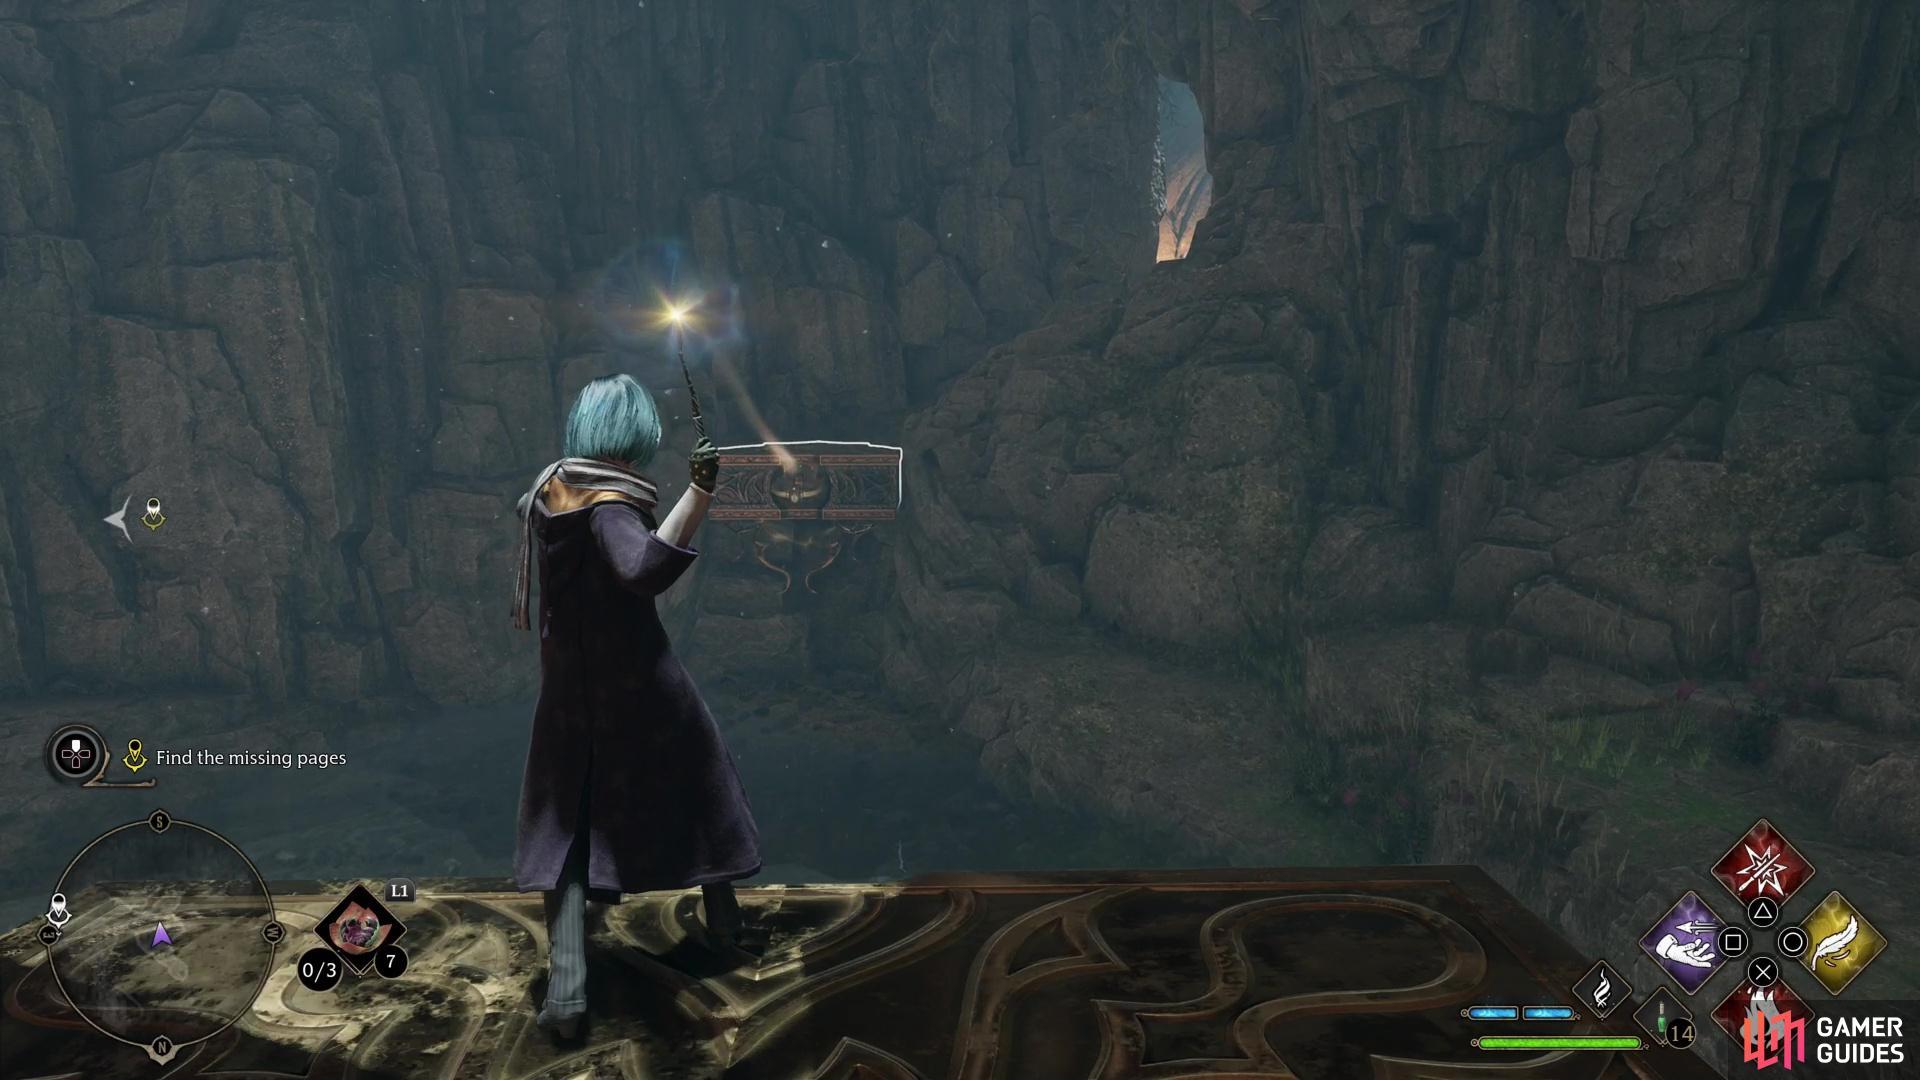
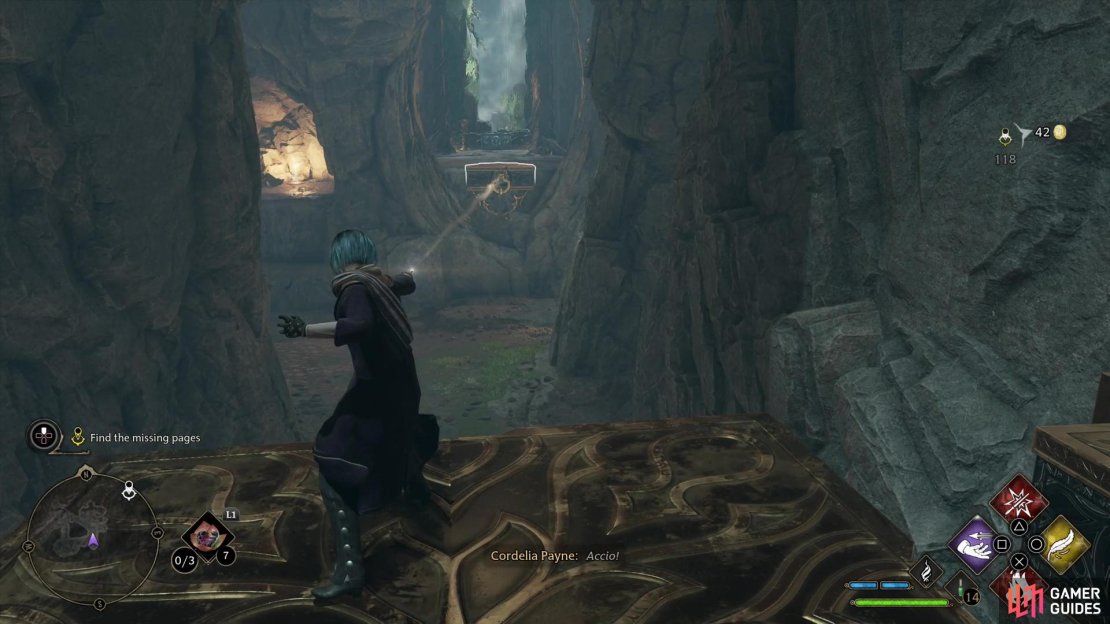
Backtrack southeast and you’ll find an ornate landing overlooking the pit below. Face the levitating platform and use ![]() Accio (hold the hotkey down to channel the spell) to pull the platform close, then jump onto it. Look south and you’ll find another landing you can pull yourself towards with Accio, and when the platform you’re on is close, jump over to find a small chamber housing a large chest.
Accio (hold the hotkey down to channel the spell) to pull the platform close, then jump onto it. Look south and you’ll find another landing you can pull yourself towards with Accio, and when the platform you’re on is close, jump over to find a small chamber housing a large chest.

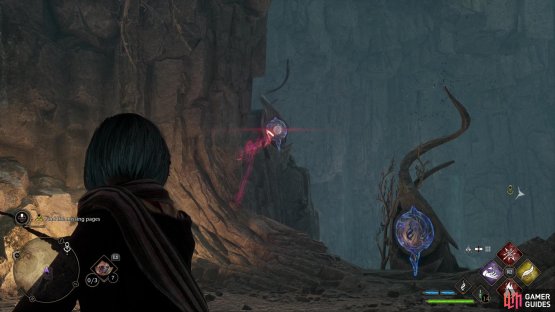
(1 of 2) The three symbols you’ll need to hit to unlock the second door are more spread out,
The three symbols you’ll need to hit to unlock the second door are more spread out, (left), mark their locations, then strike them in quick succession to unlock the door. (right)
How to Solve the Second Symbol Door in Jackdaw’s Tomb
Loot the optional chest, then backtrack to the last fork, at which continue east to find another sealed door. The solution is the same as the last door’s, but this time the symbols are a bit more scattered about. Use ![]() Revelio to highlight the symbols, if necessary - all three are to the east of the door, although one is further out in the cavern, near the top of an elevated rock to the southeast. Once you know where they all are and are in a position to hit them all quickly, do so to open the door.
Revelio to highlight the symbols, if necessary - all three are to the east of the door, although one is further out in the cavern, near the top of an elevated rock to the southeast. Once you know where they all are and are in a position to hit them all quickly, do so to open the door.

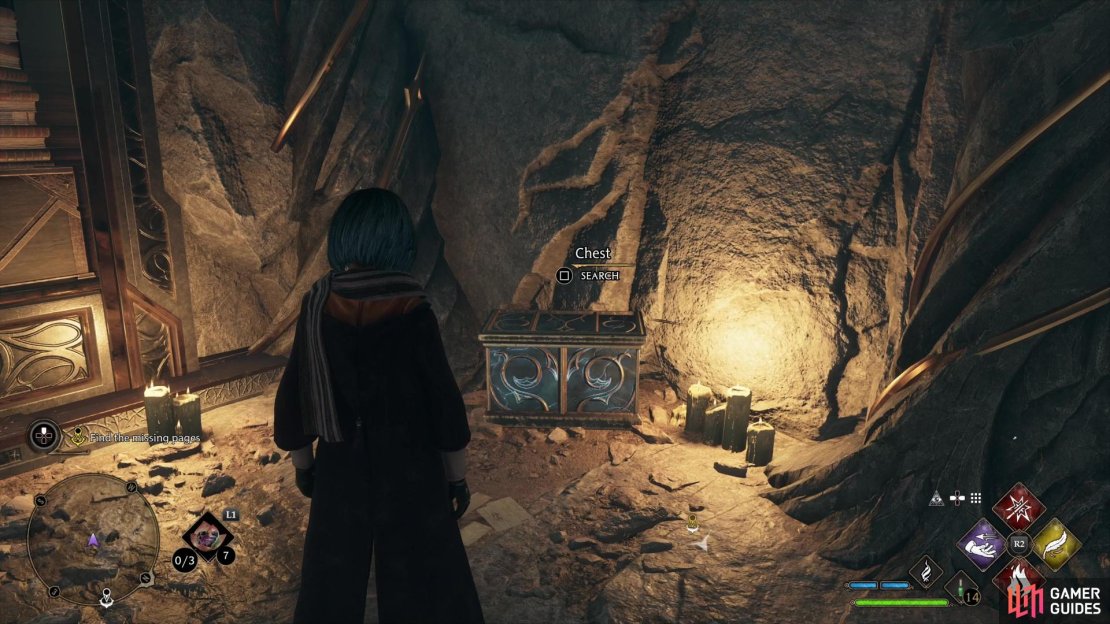
(1 of 2) Turn right at a fork and climb a ledge,

Turn right at a fork and climb a ledge, (left), beyond which you’ll find a small chest. (right)
How to Solve the Second Accio Platform Puzzle in Jackdaw’s Tomb
Go through the second (formerly) sealed door and turn right (west, southwest), crawl under a rock, then continue on until you reach a fork. At this fork, take a right (northwest), climb a ledge, then slip under another obstruction to find a small chest on a ledge. Loot it, then continue down the passage to find a ledge you can drop down, which will take you further down the left passage on the previous fork.
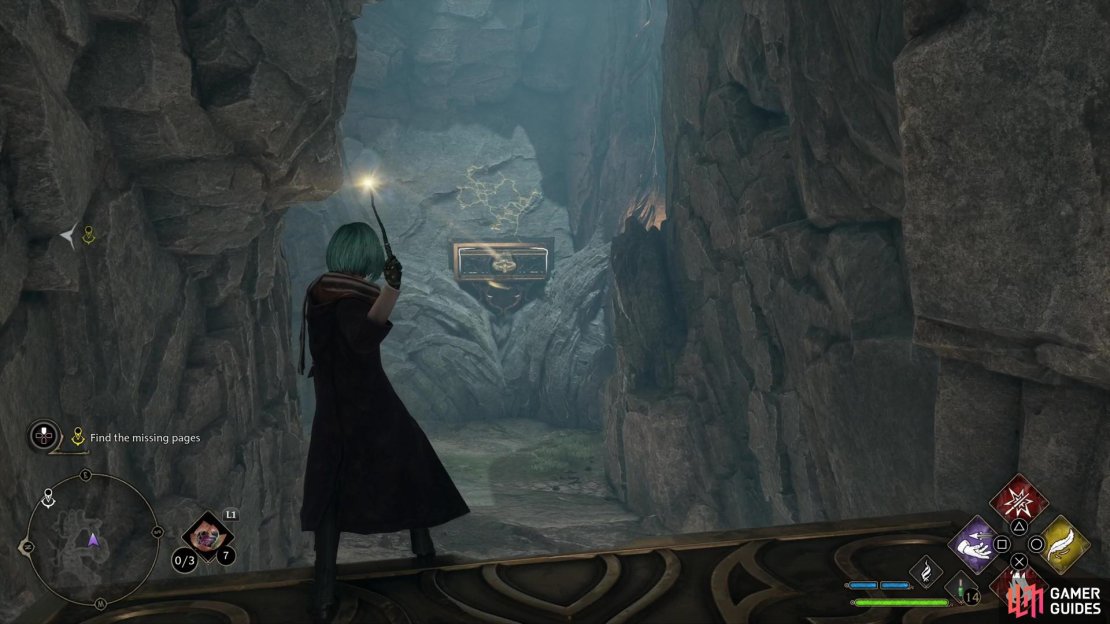
(1 of 2) Use Accio to pull yourself to the eastern landing,

Use Accio to pull yourself to the eastern landing, (left), where a second small chest awaits. (right)
Continue south and you’ll find a pit over which another platform floats - the pit may be deeper and larger this time, and there are more ornate landings to draw your attention, but the idea is more or less the same as last time. Summon the platform to you with Accio, jump on it, then use Accio to pull yourself to the east. Jump up onto the ledge here, where you can find a small chest. Loot it, then return to the platform.

Use Accio to pull yourself to the western edge of the pit and climb up another ledge. Continue west to find a short ledge obstructed by a web - burn it with Incendio, then loot the chest beyond. Turn south and you’ll soon see egg clutches, which will become agitated and eventually explode if you get too close. Trigger the eggs and kill the small spiders that spawn, then continue south and round a corner to find some more, larger spiders. Exterminate them, then loot a large chest to the south.


(1 of 3) Defeat another pack of spiders after advancing from the second Accio platform puzzle,
How to Solve the Third Accio Platform Puzzle in Jackdaw’s Tomb
Backtrack to the levitating platform and pull yourself to the southern landing. Once you jump off, be ready to fend off another pack of spiders, then continue southeast until you find a small chest on a ledge. Jump up and grab it, then turn left (northeast) and descend into a largeish cavern, making sure to look up a cubby to the west to find yet another small chest before continuing into the aforementioned cavern. Many forks branch off from here, southwest being the way you came, north leading to the end of the dungeon, and east and south looping around and connecting.
(1 of 3) Pull yourself northeast with Accio,
Head down the tunnel to the south and you should see a third and final floating platform in the distance. When you can, take a right up a ramp and jump onto the platform, then northeast and use Accio to pull yourself towards an ornate landing. Turn east and repeat the process at another landing, at which point turn south and jump into an alcove where you can plunder another small chest.


(1 of 4) Pull yourself north, but stop halfway,
Jump back onto the platform and Accio your way to the north, but keep your eye to the east and stop halfway towards the northern landing, as there’s a ledge you can jump on to the east where you’ll find a large chest and a small chest. Loot them, return to the platform, then finish pulling yourself north with Accio to reach another ledge, where you’ll find another large chest and, on the shelf to the west, some ![]() Wiggenweld Potions. Drop off some ledges to the west and south, then continue west to return to the chamber with four forks. Only way to go now is down a ledge to the northwest, but make sure you’re ready for a fight, first.
Wiggenweld Potions. Drop off some ledges to the west and south, then continue west to return to the chamber with four forks. Only way to go now is down a ledge to the northwest, but make sure you’re ready for a fight, first.

(1 of 3) Defeat lesser spiders until the matriarchs arrive.
How to Defeat the Thorn Back Matriarchs in Jackdaw’s Tomb
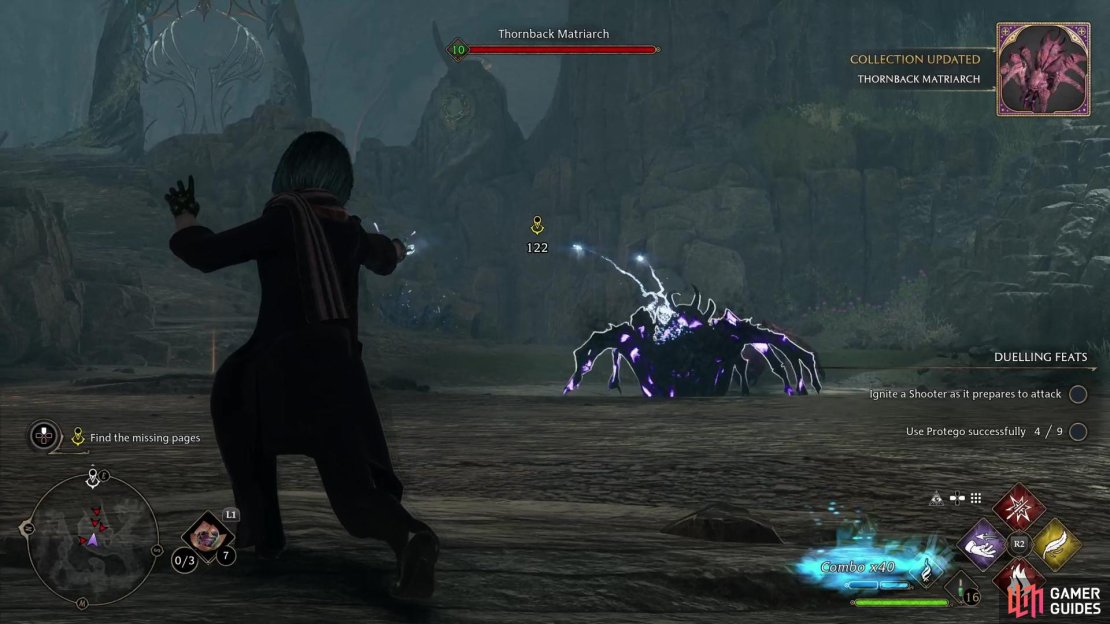
When you’re ready, drop off the ledge and proceed east until you’re attacked by - no points for guessing - spiders! The fight starts out pretty routine, with the common combination of Thornback Scurriours and Thornback Shooters. Keep moving and watch out for incoming attacks - Incendio is your finisher here, most everything else is just chip damage, by comparison. Defeat enough of the lesser spiders and two larger specimens will appear - ![]() Thornback Matriarchs.
Thornback Matriarchs.
The big red ladies can deal tons of damage with their lunge attack, and lesser spiders will spawn constantly while they’re alive, so the key here is target prioritization. If you have your ![]() Ancient Magic meter filled, use Ancient Magic (
Ancient Magic meter filled, use Ancient Magic ( +
+  /
/  +
+  ) to finish one off quickly. As for the other one, ignore the lesser spiders as best you’re able and use Accio to very temporarily knock the Thornback Matriarch off balance, giving you enough time to run up and hit her with Incendio. Two or three of these blasts should be enough to put her down, especially if you can pepper her with normal attacks while you wait for your cooldowns to recharge. If you’re especially adept, you may even recharge your Ancient Magic meter, which will be helpful for another upcoming encounter.
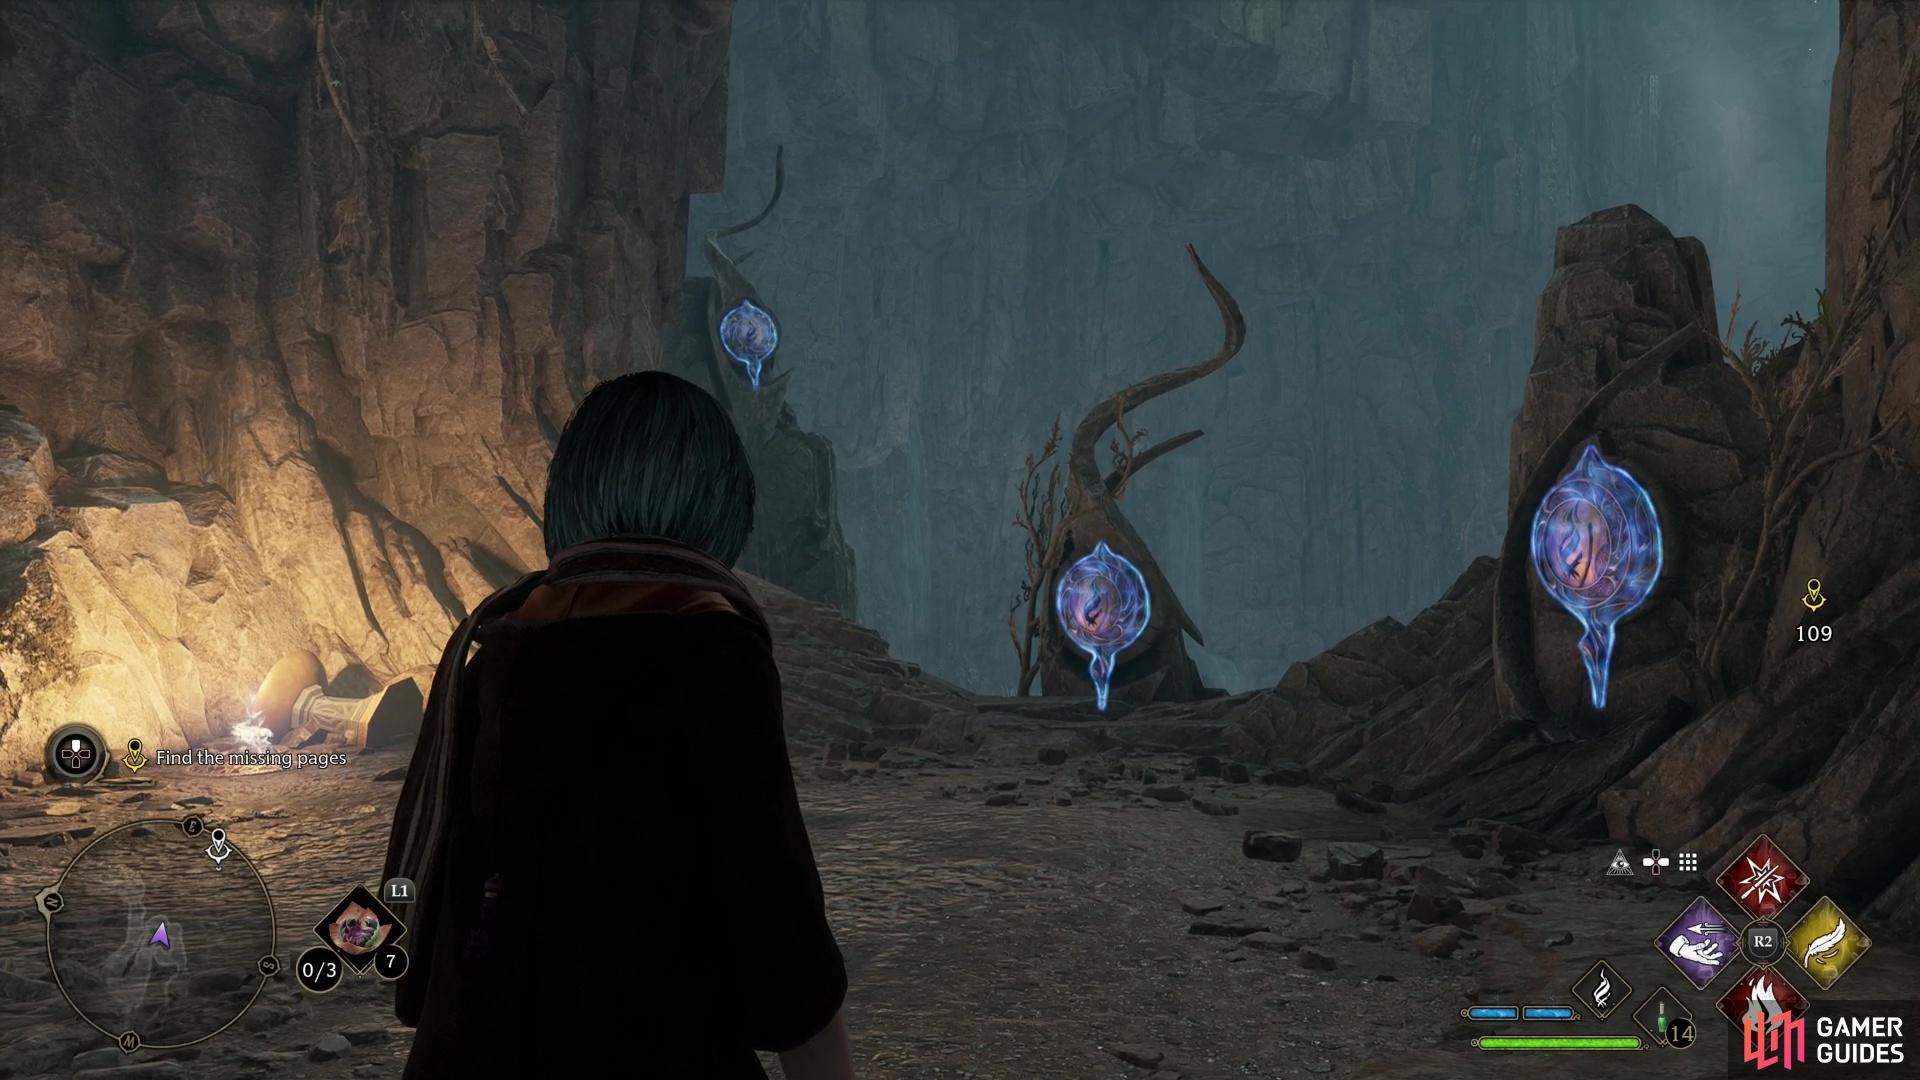
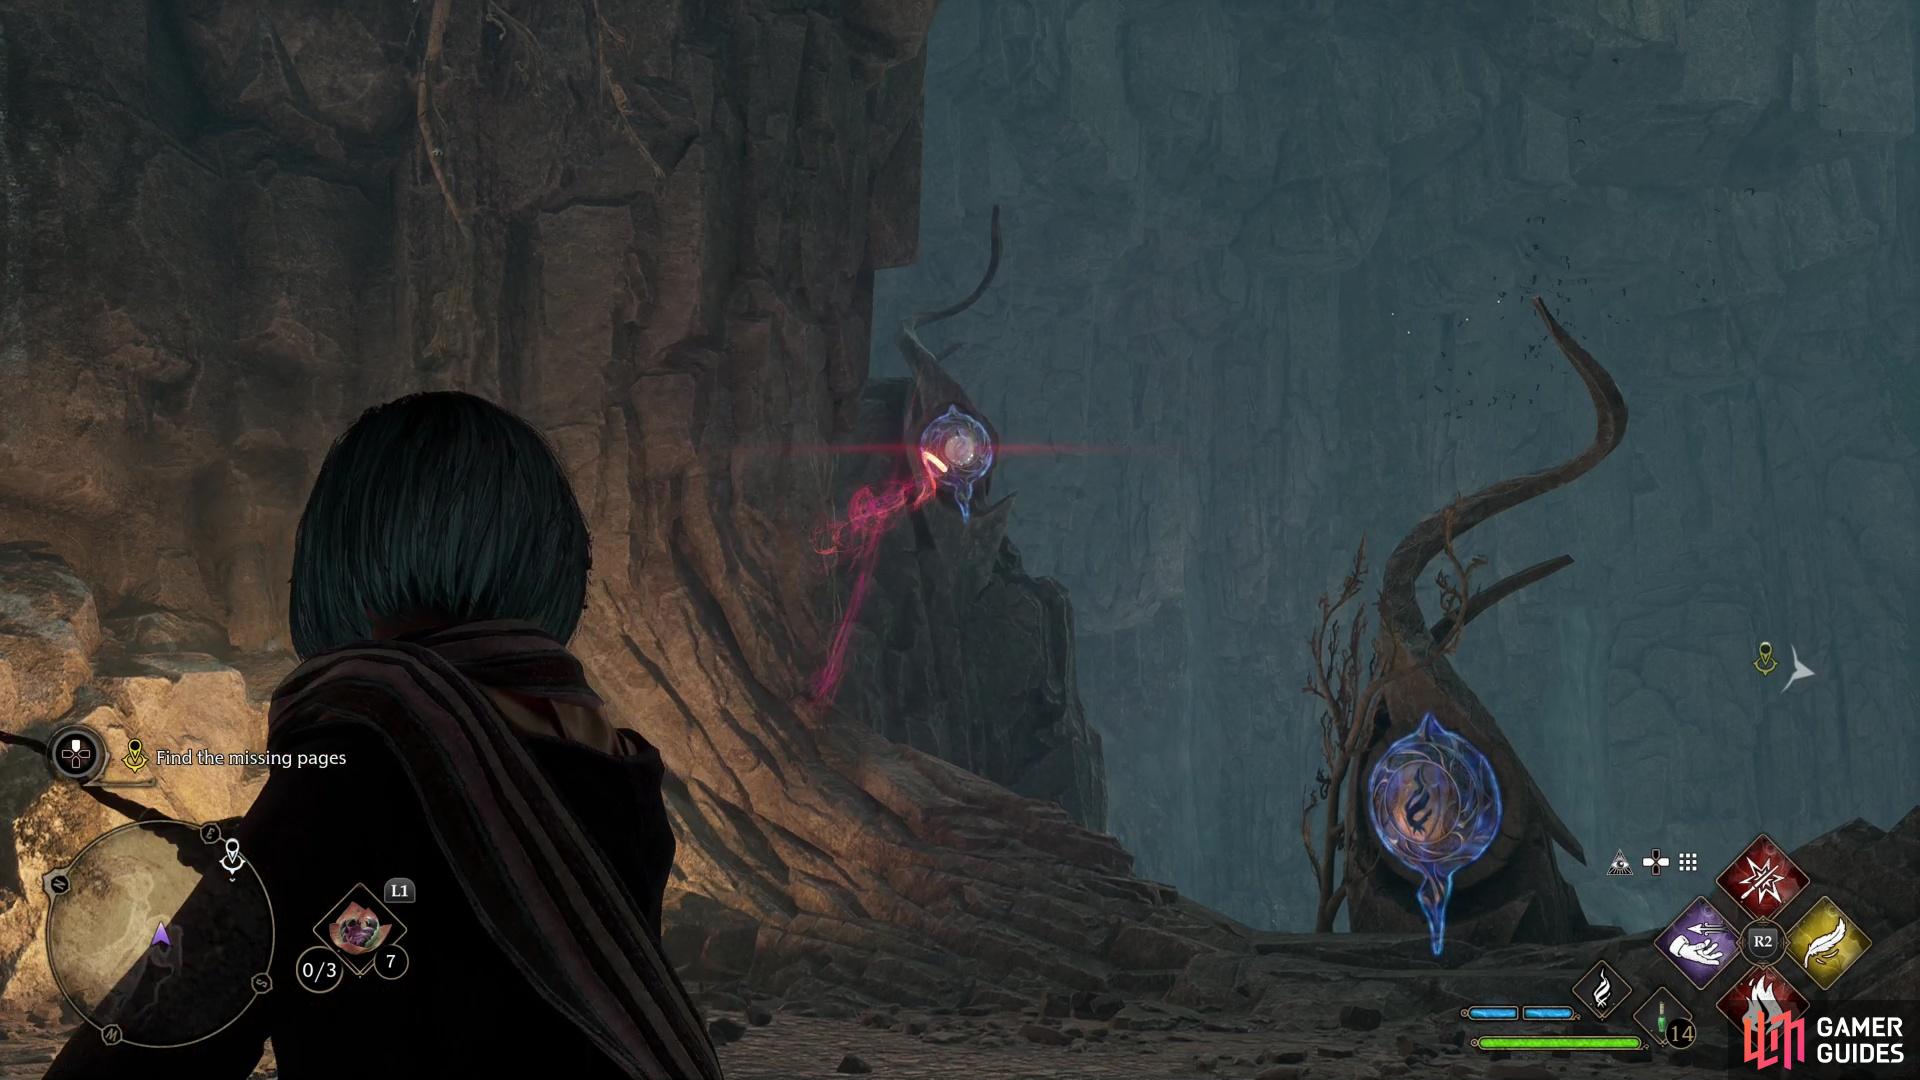
(1 of 2) The symbols in the third symbol puzzle are far more spread out.

The symbols in the third symbol puzzle are far more spread out. (left), Run down and hit the symbol near the chest, then back up and hit the other two. (right)
How to Solve the Third Symbol Door in Jackdaw’s Tomb
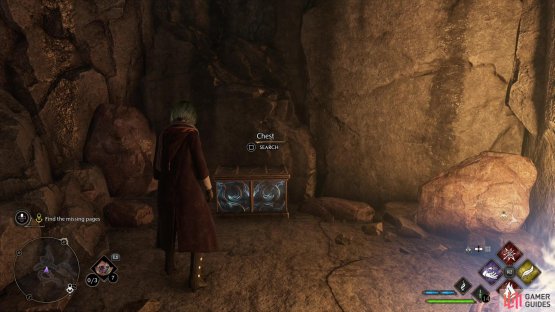
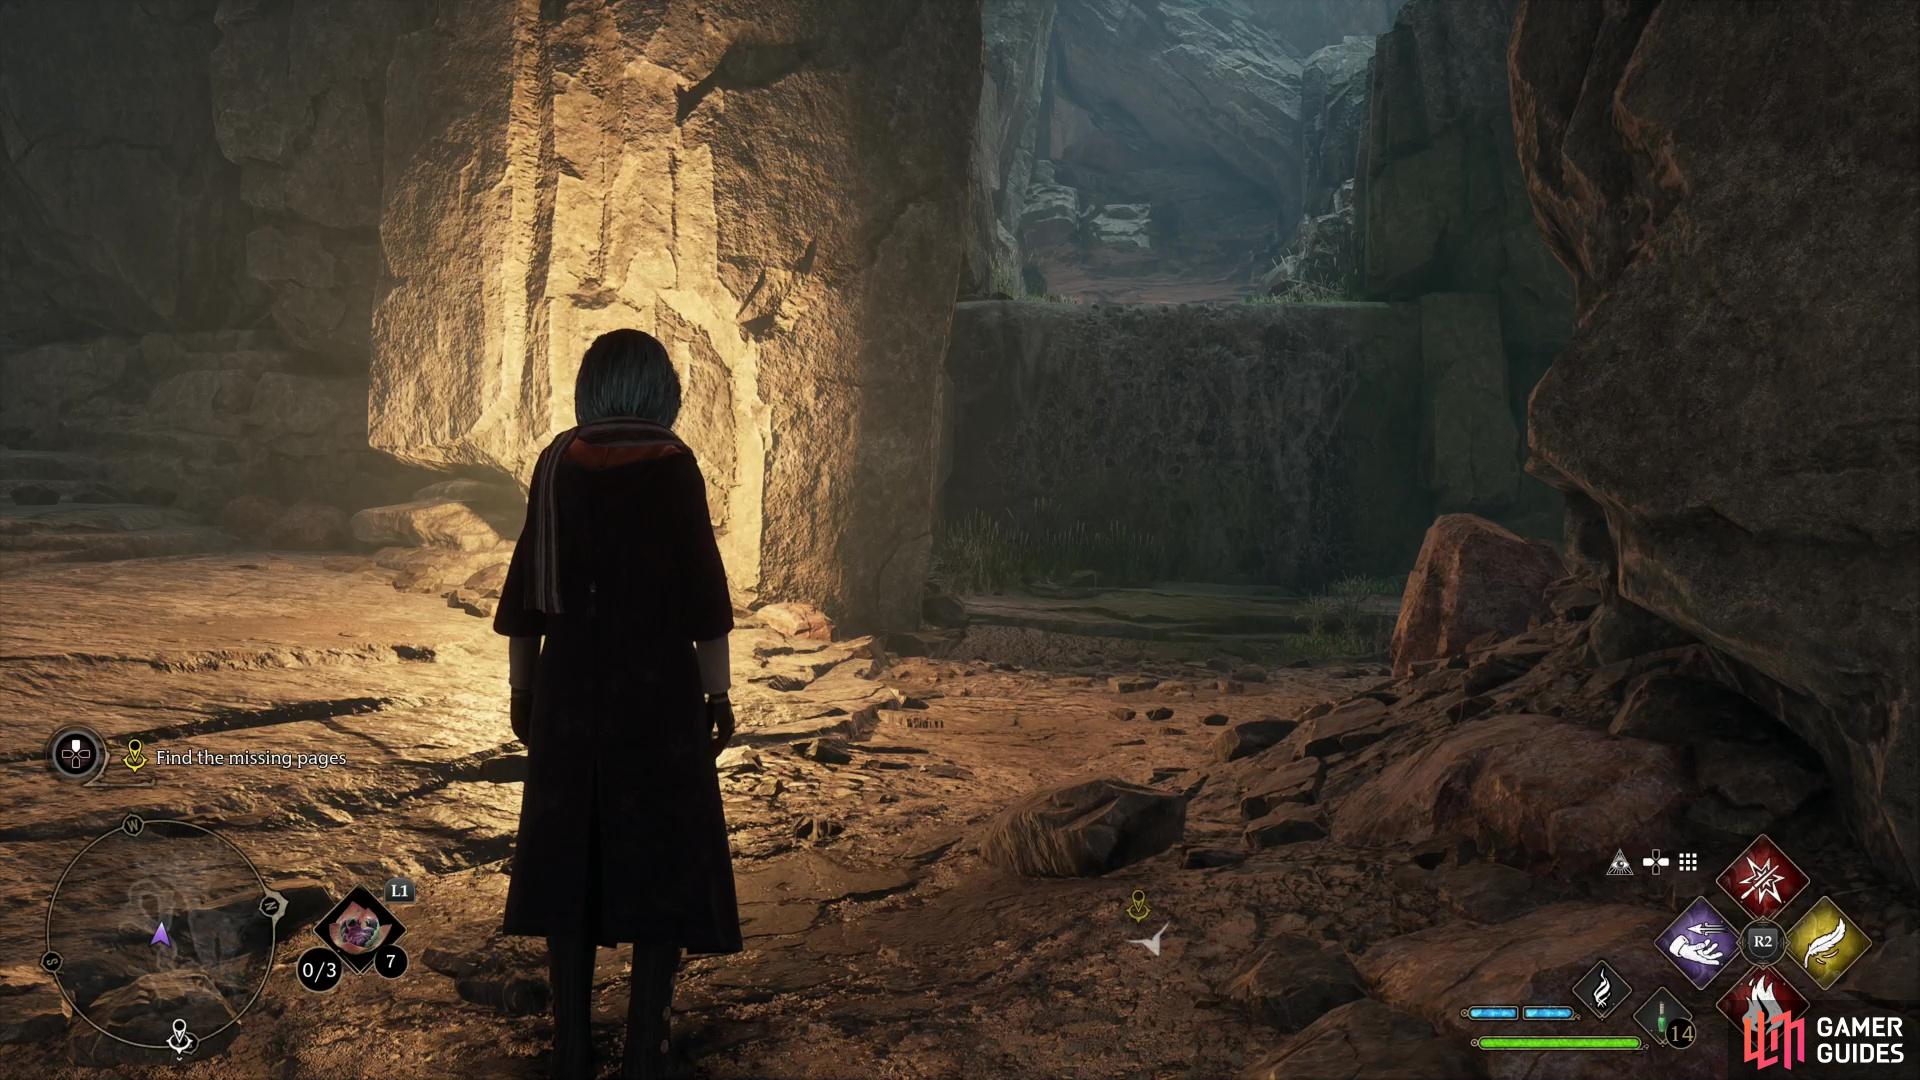
After the spiders have been defeated, continue east to find a ramp up, and a ramp down. The former leads to an impassible bridge, while the latter leads to a small chest and a symbol. The third and final symbol puzzle in this dungeon is trickier than the previous two, but it still isn’t too hard. Stand a ways back from the top of the ramp and you should spot the other two symbols above and flanking the one by the chest. The only tricky bit is that you can’t stand where you can see all three symbols, as you can’t hit them from this vantage. Fortunately, the symbols have a long timer, so you should be able to run down to hit the one at the bottom of the ramp, then run back up and hit the other two without much fuss.
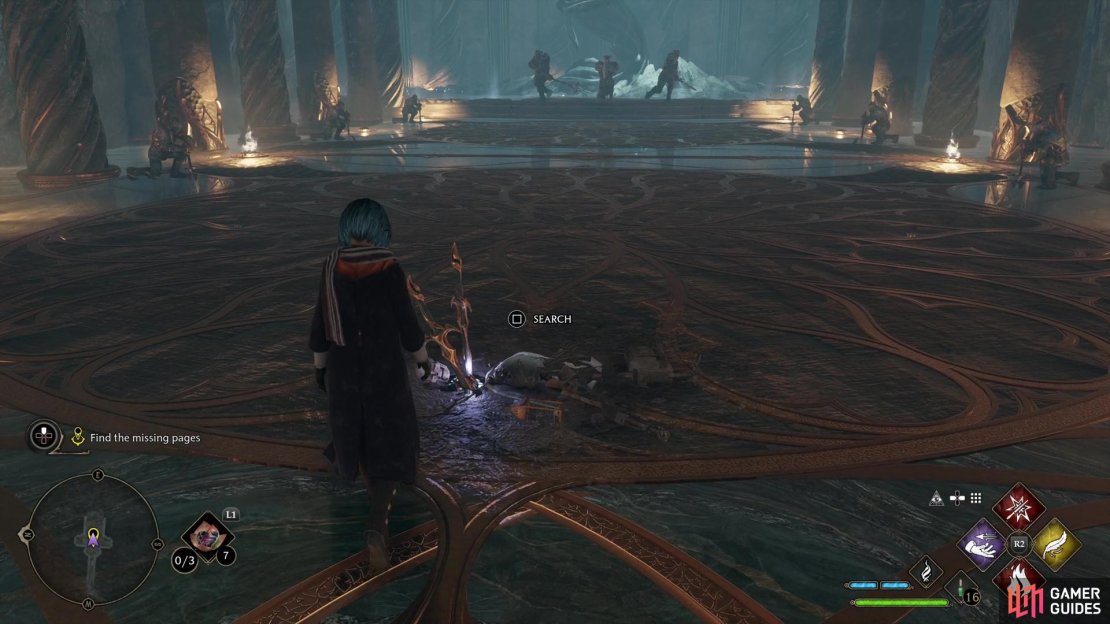
(1 of 3) Search Jackdaw’s body,
How to Defeat the Pensieve Protectors in Jackdaw’s Tomb
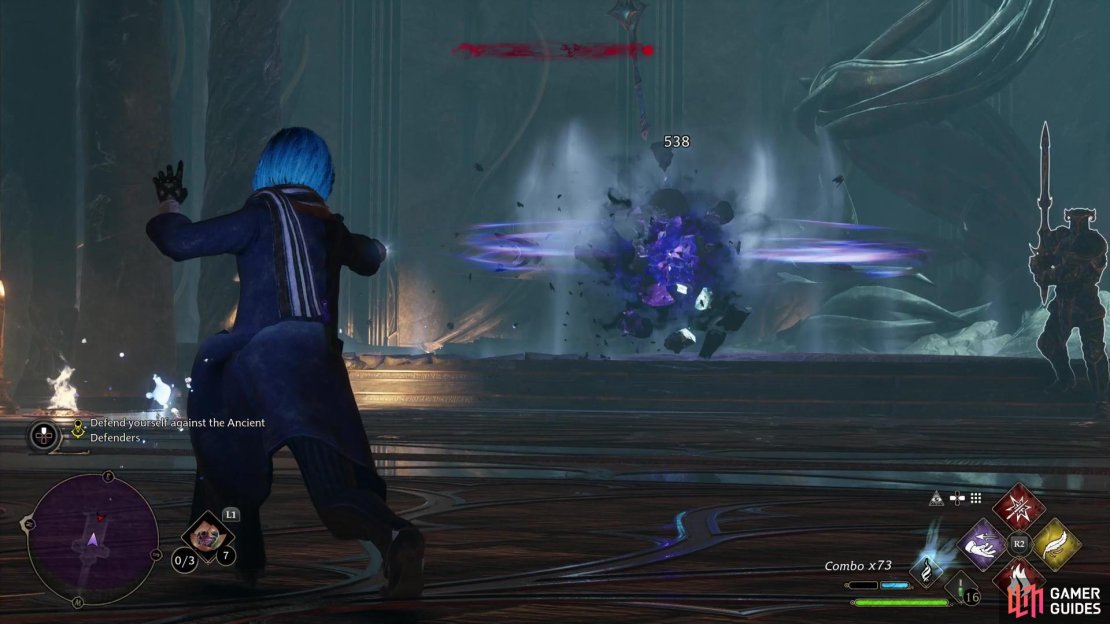
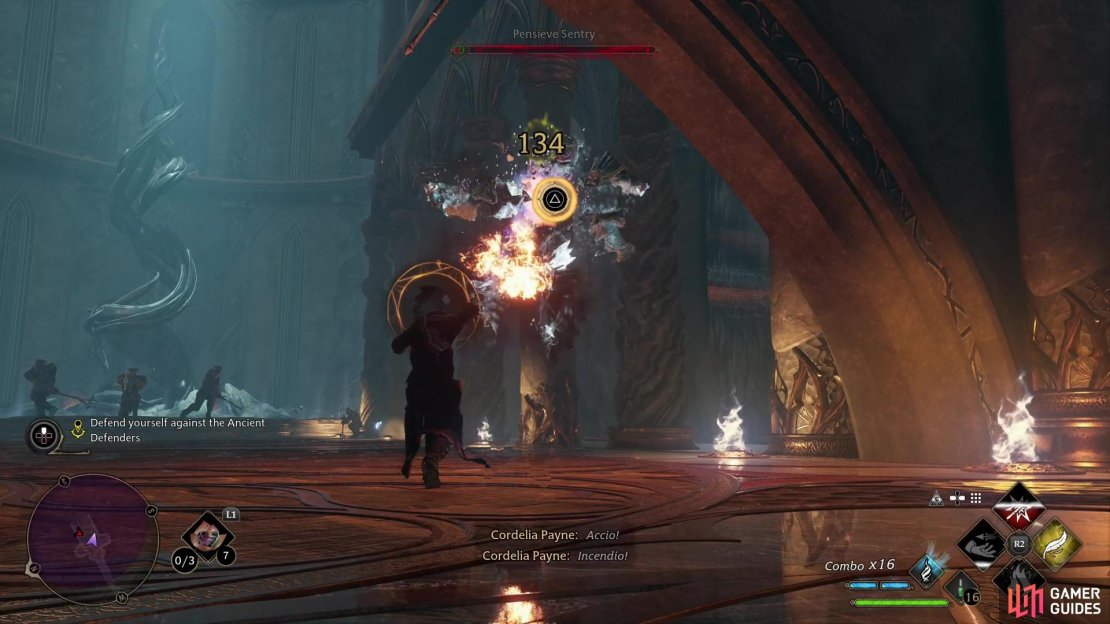
Cross the bridge and you’ll find the remains of one quite beheaded Richard Jackdaw. Examine the remains, and afterwards you’ll have to fend off groups of Pensieve Sentries and ![]() Pensieve Sentinels, first a group of four, then a pair. Once they’re defeated, their bigger, tankier brother automatons will awaken - a trio of
Pensieve Sentinels, first a group of four, then a pair. Once they’re defeated, their bigger, tankier brother automatons will awaken - a trio of ![]() Pensieve Protectors. Fortunately only one starts out, and once that golem is defeated, the final two will attack. You’ll make your life much easier if you take one out with Ancient Magic, as it’ll effectively reduce this to two one-on-one fights, and on their own these enemies aren’t hard to dodge. They’re also super tanky, making them fine foes to pick on if you want to rack up high combo counts.
Pensieve Protectors. Fortunately only one starts out, and once that golem is defeated, the final two will attack. You’ll make your life much easier if you take one out with Ancient Magic, as it’ll effectively reduce this to two one-on-one fights, and on their own these enemies aren’t hard to dodge. They’re also super tanky, making them fine foes to pick on if you want to rack up high combo counts.
After the Pensieve Protectors are dead, continue to the end of the chamber and interact with another font of ancient magic. After some chatter and some scenes you’ll be done with this quest.
No Comments