
Helldivers 2 may seem like a bit of mindless fun on the surface, and although it has plenty of that to offer, it doesn’t hold your hand when it comes to fighting the relentless swarms of bugs. The gameplay can often be challenging and unforgiving, especially on the harder difficulties, which you’ll naturally want to progress through to get the best rewards. To help you on that journey, we’ve listed some of the best starting tips and tricks that can help to keep you alive, be more aware of your surroundings, and generally be more useful to your allies as you take on the Terminid hordes.
The best tips and tricks for the early game in Helldivers 2.
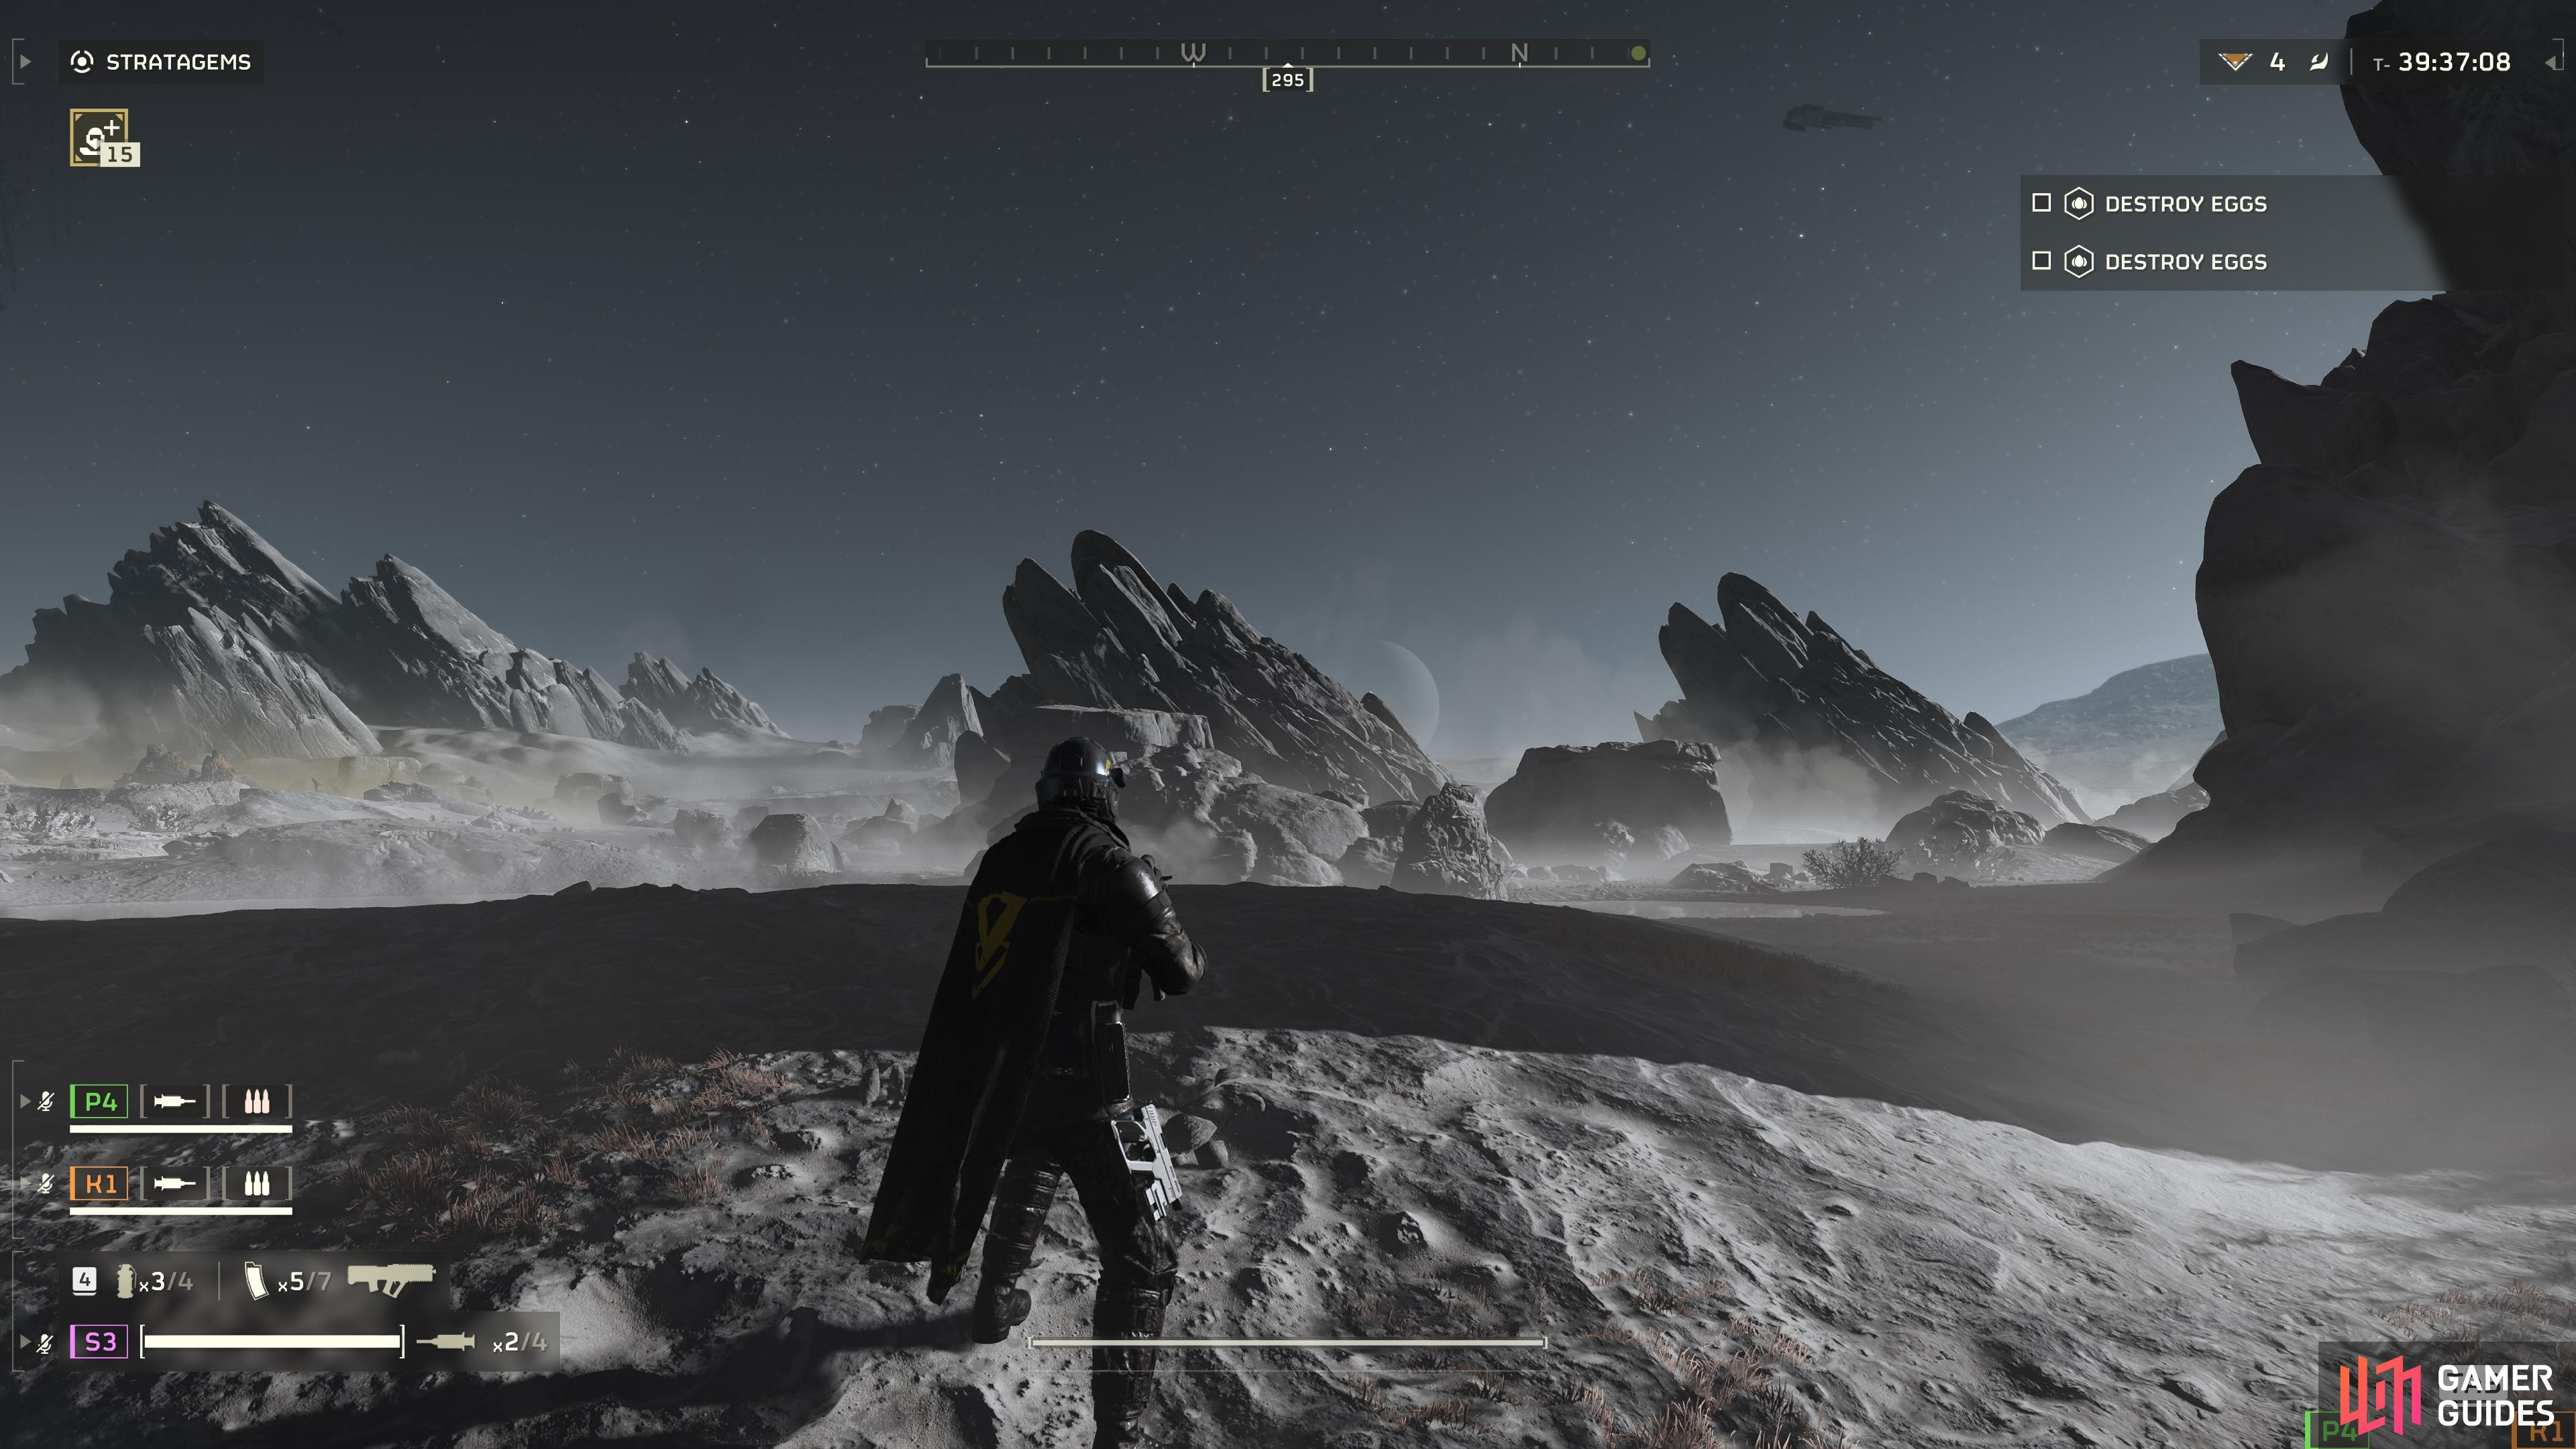
Use the Minimap to Mark POIs
The minimap isn’t visible by default in Helldivers 2, but it’s an important part of the toolkit that you’ll want to keep using as you play through objectives on any given planet. You’ll always have the ability to view the minimap when you’re on a planet, and you can see the button it’s bound to (TAB by default on PC) in the bottom right of your screen. Clicking this once will bring the map up, and you’ll be able to see where your allies are if you’re playing in co-op, but more importantly, you can see where all the current objectives are.
If you’re playing in a group with strangers, finding ways to communicate with them effectively is key to success. As a new player, you’ll most likely find yourself in a group with someone who already has a decent amount of experience in the game. In this case, it’s wise to let them take the lead as they navigate between optional objectives and, eventually, the main objective. As you do this, you should notice that they use the minimap to mark specific POIs (Points of Interest) which may come in the form of mission objectives, enemies, or defensible positions.
You should take note of this practice and incorporate it into your own gameplay. The more you highlight POIs on the minimap with markers, the more you’ll find that other players follow you to them, and you should be able to complete objectives more efficiently.
Ping Enemies and Objectives
The process of pinging enemies and objectives is similar to marking them on the map, but you use different keys/buttons to do this, and the ping will only last for about 6 seconds before it disappears (unless you’ve pinged an enemy!). This is a great way of tagging nearby enemies that are likely to become a threat soon, alerting your fellow Helldivers to their presence and allowing you to prepare to fight them. Terminid enemies often come in groups, so once you trigger an encounter with one, you can expect many others to follow. The more prepared you are by being aware of the directions they’re coming from, the better.
If you want to learn the details about how to mark and ping locations, be sure to check our How to Mark and Ping Map Locations page.
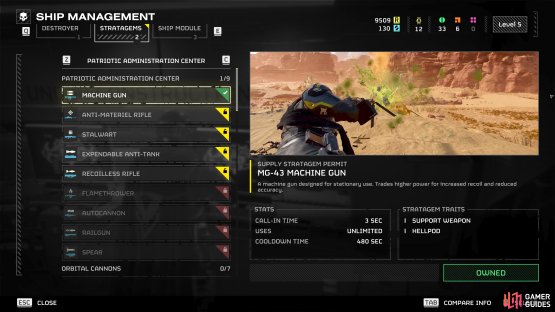
Get Support Weapons Early
One of the best things you can do to make yourself more effective in combat early on is to invest in support weapon stratagems. There aren’t many of these available by default, most of them requiring specific levels or currency to purchase from the stratagems menu in your ship management inventory (which you can access while you’re on your starship), but they’re well worth investing in as soon as possible. Each can be useful in specific scenarios, but there are some that stand out from the rest as being particularly powerful.
Luckily for you, one of these is the basic Machine Gun, available to purchase as soon as you start playing missions. If you use this gun properly by either crouching or laying prone when firing, you’ll reduce its recoil and increase its accuracy, while still benefiting from the much higher rate of fire than the regular automatic rifles that you have access to. This is an excellent gun to use when you’re in a pinch since it will tear through most groups of enemies far quicker than other guns in the early game.
In terms of other useful support weapons that you can get reasonably early, the Grenade Launcher and Autocannon are worth considering. Both of these will inflict massive amounts of damage to the tougher enemies that you’ll encounter, against which you’ll find their explosive power particularly effective.
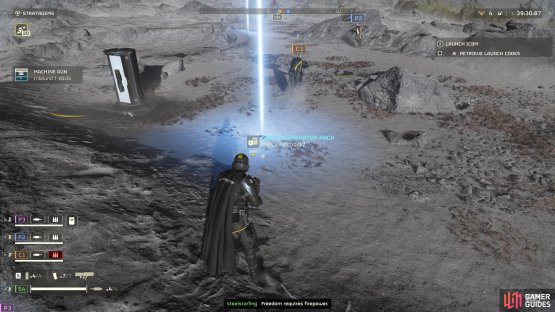
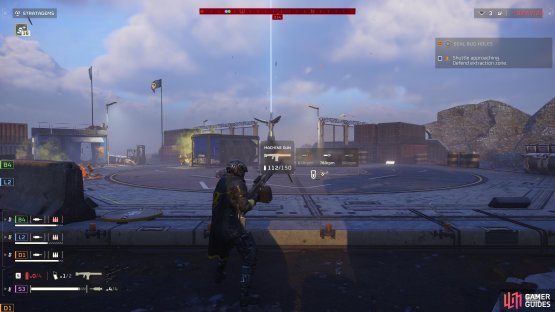
(1 of 2) It’s a good idea to spawn support weapons at the beginning of a mission.


It’s a good idea to spawn support weapons at the beginning of a mission. (left), You can purchase more support weapons as you earn more currency. (right)
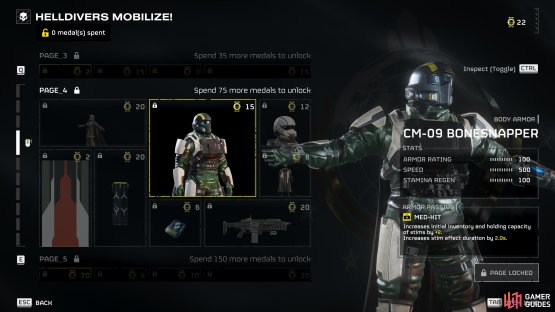
Upgrade Armor for Useful Passive Abilities
In addition to choosing the best weapons, you should also consider which armor is worth investing in. There aren’t as many options here since most armor in Helldivers 2 only has cosmetic value. However, if you check the Acquisitions Center from your starship, you’ll find plenty of armor sets that you can gradually invest in with medals as the main currency. The main body of armor is the item that will sometimes have passive abilities on it, and you can check these for any that you think will fit your playstyle best.
A good example of an early armor passive that is worth getting is the Med-Kit. This one increases the initial inventory and holding capacity of stims (which heal you) by +2, while also increasing their duration by 2 seconds. The value of this in terms of keeping you alive for longer can’t be overstated, especially during the longer missions which can last between 30 – 50 minutes at times. Your stims will reset upon each death, but if you can limit the amount of times you die you’ll increase the chances of success for both you and your allies, especially since there’s a limit to the amount of times that you can respawn.
Another good armor passive is the Engineering Kit. This will reduce recoil when crouching or prone by 30%, but that’s not the best part. In addition, it will increase the initial inventory and holding capacity of grenades by +2, and this is more useful than you might at first expect. There are a few different grenade types that you can unlock as you progress, but even the most basic default one is good for killing multiple bugs with one throw. You’ll also be able to close more bug holes before you need to resupply, something which is an objective for one of the most ubiquitous side objectives in the game.

(1 of 2) The Med Kit passive is a good passive for anyone in the early game.


The Med Kit passive is a good passive for anyone in the early game. (left), The Engineering Kit passive can be useful for completing the bug nest objective. (right)
Shoot at Limbs and Weak Points
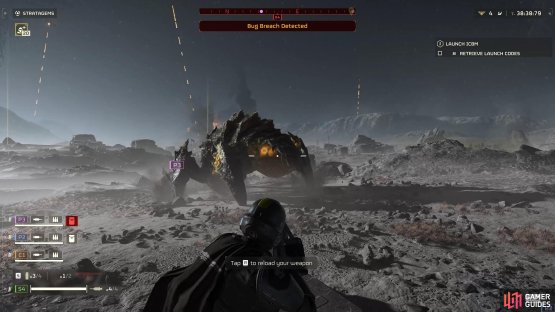
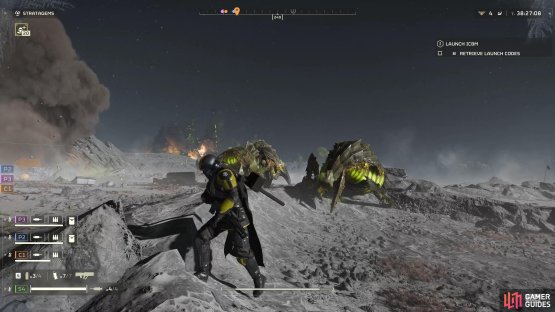
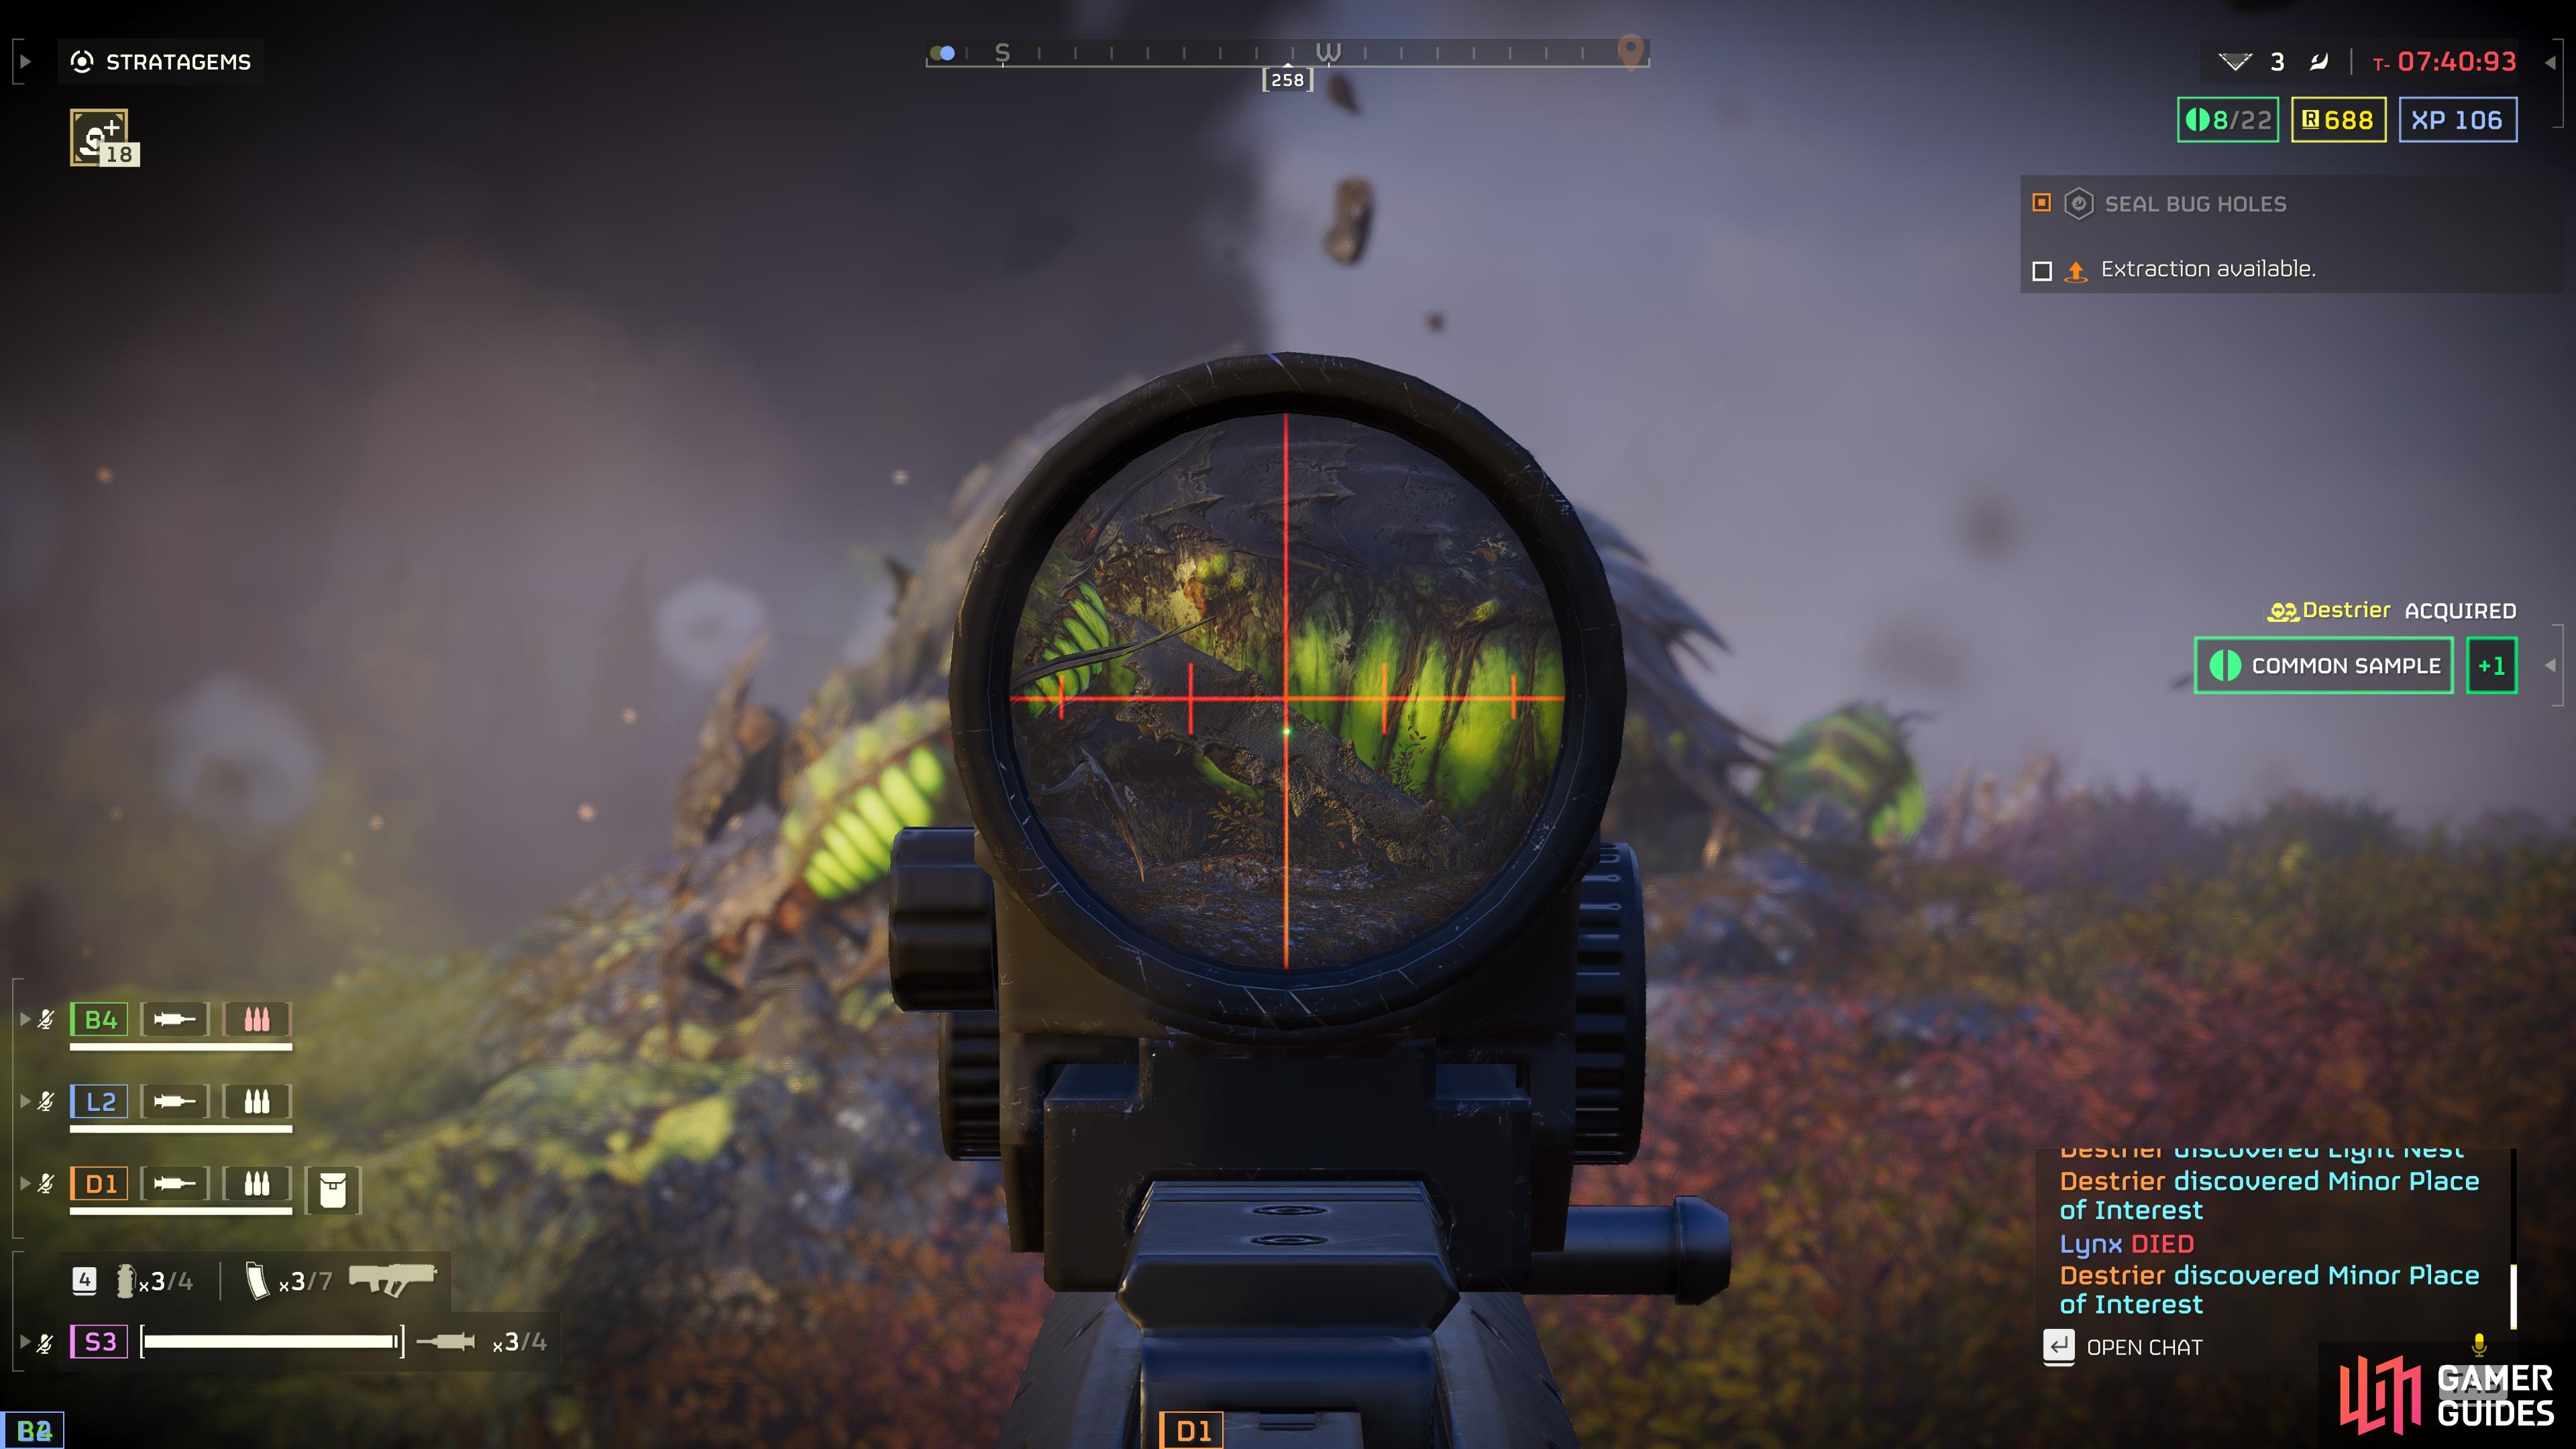
When it comes to actually aiming and shooting at different bug types, you don’t need to worry too much about the smaller ones. Most of these will die within just a few regular hits of any gun, but the larger ones will take much more punishment before you can bring them down. One way to kill the tougher bugs quicker is to aim for their limbs. This will not only cripple and therefore slow them, but it actually inflicts more damage than aiming at other parts of their body.
The only exception to this is when a tougher bug has a weak point. These generally come in the form of poison or bile sacs, and they’re clearly visible in either bright green or orange, for the most part. If you see these, they’re particularly weak to explosive damage, so a well-timed (and aimed) grenade can sometimes kill them in one hit. Failing that, you should focus all your firepower from whatever gun you have available at these weak points to kill the bugs quickly.
(1 of 2) Look for weak points, often glowing in orange or green, on armored bugs.
Look for weak points, often glowing in orange or green, on armored bugs. (left), The back or underside of a bug is where you’ll often find the most weak points. (right)
Make Use of Stratagems
At the heart of gameplay for the original Helldivers were stratagems. These are powerful special abilities that can change the course of battle in an instant. Many of them come in the form of different types of high-impact damage, such as Eagle Cluster Bomb or Orbital Precision Strike, but others are more focused on support or utility functions, as with the Jump Pack (effectively a limited jetpack that allows you to evade enemies by jumping over them at a higher distance) or the Supply Pack, which allows you to give boxes of ammunition to allies.
The stratagems that you’ll end up making the most use of will depend on your playstyle, so it’s worth taking a good look at them from your starship before you begin spending your hard-earned currency. Some of the stratagems are best used at the beginning of a mission to save yourself time and maximize the number of uses without waiting for cooldowns, while others are more suited for specific scenarios when you need them the most.
It’s important to note that the cooldowns for some stratagems of the same type are shared, and the easiest way to check their type is by their color code. You’ll find that green, blue, and red stratagems are usually only associated with a cooldown for yourself, whereas yellow stratagems are shared – so if you use a resupply (yellow) stratagem, everyone else’s resupply stratagem will go on cooldown, and everyone can take from that same resupply. For this reason, you should consider carefully when stratagems with shared cooldowns are best used, and ideally coordinate this with your allies.
Tweak Your Rate of Fire and Zoom Level
One of the simplest and easiest ways to make yourself more effective in combat is by tweaking the fire rate and zoom level of specific weapons. For example, if you have a sniper rifle that you want to use at the longest range possible, you can increase the zoom level when you need it. On the other hand, if you still want to use the rifle at a closer range, you can reduce the zoom level.
The same principle applies to automatic rifles and other guns with high recoil. To increase their accuracy at range, it’s best to fire them in burst rounds rather than continuous automatic rates of fire. You can do this manually in most cases, but changing the rate of fire by restricting it will help you to maintain a consistent pattern. You can then change the rate of fire for any bugs that get too close and keep this rotation as part of your practiced combat moves.
The way to change your rate of fire or zoom level is simple; just hold the reload key/button (R by default on PC) to see the option and use the mouse wheel (or joystick on a controller) to scroll between the different zoom or rate of fire types. You can change this at any time in the same way, so it’s easy to experiment with. You’ll also find a way to manually turn the torch on or off for most guns in the same menu, or you can keep it at auto for the most convenience.

(1 of 2) You can adjust the zoom level for different guns by holding in the reload key/button.
You can adjust the zoom level for different guns by holding in the reload key/button. (left), The rate of fire can also be adjusted on some weapons. (right)
First Person View
This one also relates to preference, and it arguably mostly applies to PC users who might be more familiar with first-person perspectives in shooters. If you’re not a fan of the third-person camera angle, you can easily change this by clicking the middle mouse button when you’re aiming, or by holding L2 and R3 with controllers. If you do it this way, the camera will only remain in first-person mode for as long as you hold it, or until you hit the button combo again.
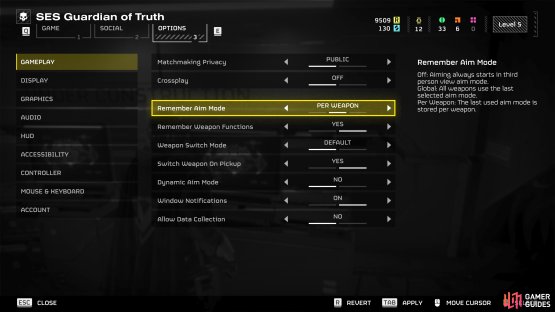
Switching to first-person can be useful when you’re trying to focus on a boss, for example, but if you’d rather stick to the first-person perspective in general, you can do this via the “Remember Aim Mode” setting in the gameplay menu, where you’ll have the option to switch from “Off”, “Per Weapon”, or “Global”, so you can even set whether you prefer first-person or third-person for a specific weapon type.
Outside of personal preference, there’s a good argument for third-person in Helldivers 2. This is partly because it just gives you a better view of your surroundings, helping you to stay aware of bugs coming at you from different directions, but it also allows you to shoot behind you while running away (with one-handed weapons only!), something which is more difficult to do in first-person mode. Aside from that, you may want to stick with first-person for the extra thrill of not being able to see as much.
Complete Optional Objectives
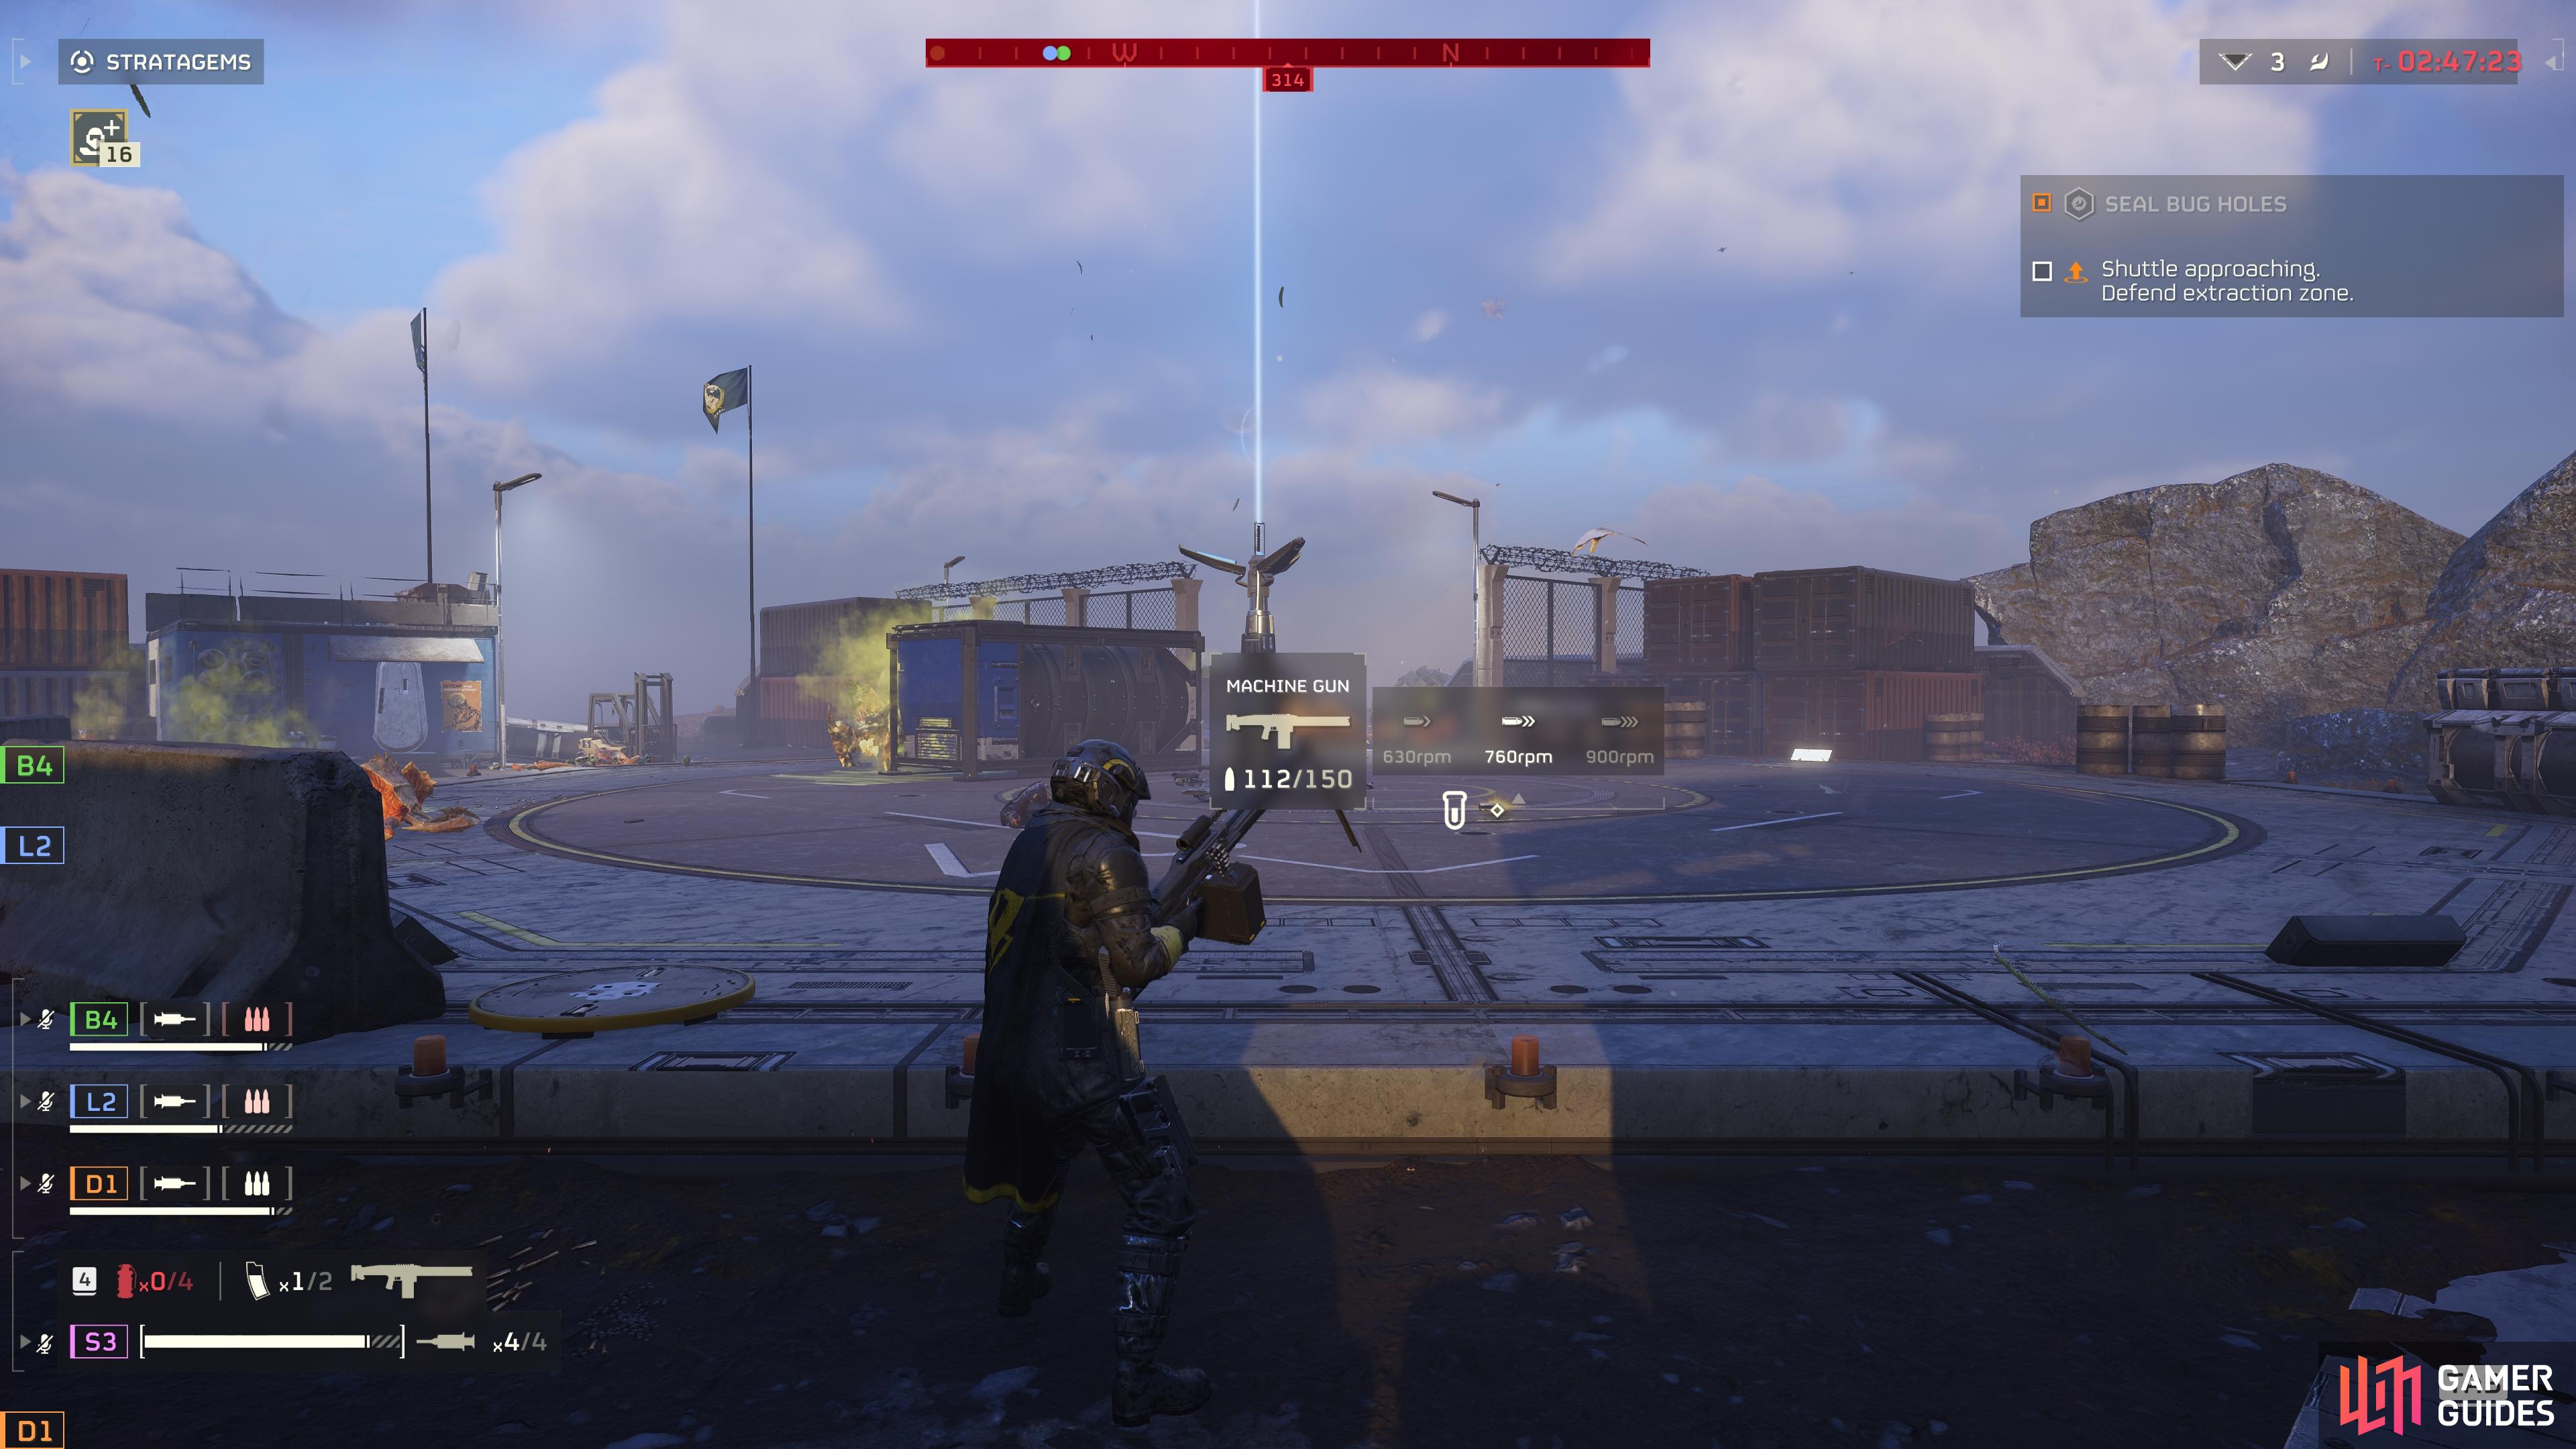
If you want to maximize the rewards you get from missions, you should always focus on completing optional objectives before tackling the main objective. There will almost always be at least a handful of these available on every map, and they range from things like closing bug holes, destroying facilities, and realigning radar towers. The easiest way to see where the objectives are is by checking your minimap, where they’ll be highlighted in red.
If you do happen to complete the main objective before you’ve had the chance to complete any side objectives, you needn’t worry. So long as you don’t call for the extraction ship, you can spend as much time as you want (within the timeframe given for the mission) to complete the side objectives. If you notice the timer for the mission going below 5 or so minutes, it’s probably time to call for the extraction ship. Stay focused on completing all objectives before you leave, and you’ll get bonus rewards in the form of medals and currency.
(1 of 2) The difficulty for a specific mission can be adjusted from the bottom of the screen here.

The difficulty for a specific mission can be adjusted from the bottom of the screen here. (left), You can set your desired aim mode in the gameplay options. (right)
Play the Harder Difficulties for Better Rewards
A similar tip to the above optional objectives, it’s important to remember that if you play on the harder difficulties, you’ll get more base rewards in general. There are nine main difficulty levels that you can play any mission on, ranging from Trivial, Easy, Medium, Challenging, Hard, Extreme, Suicide Mission, Impossible, all the way to Helldive. The difficulty levels beyond Hard are much easier to handle in a group, so it’s worth considering playing in multiplayer where possible.
If you do play solo on the harder difficulties, you may find that you’re spending more time just trying to survive or get through the hordes of bugs than you are completing objectives, so it can actually be counterproductive to try soloing the harder difficulties outside of a group. You may find that you’ll get more currency and medals by completing solo missions on the easier difficulties, but as mentioned above, ultimately it’s best to play in multiplayer where you’ll benefit from the help of allies. You can then get the best of both worlds in terms of completing mission objectives more quickly, while also getting the increased rewards.
Complete Daily Missions
A final tip worth mentioning in terms of maximizing your rewards is to pay attention to daily missions. You can see these at any time while you’re on your starship by checking the bottom right of the screen and clicking the key/button (“Z” by default on PC) to bring up the daily mission objectives. These can range from completing a specific number of optional objectives on a mission, killing a certain number of a specific bug type (such as Chargers), or even just extracting from enough missions for the day. The exact rewards will vary from day to day, but you can expect to earn more medals, requisition slips, samples, and super credits by doing them, all of which can be invested into obtaining more starship/stratagem upgrades, or better armor and weapons.
No Comments