
The use of stratagems is at the heart of gameplay in Helldivers 2. There’s a total of 47 stratagems to choose from, but only a handful of these are unlocked by default. If you want to survive the Terminid hordes on the toughest difficulty settings, you’ll need to learn how to use stratagems effectively as you go through the motions of completing mission objectives and surviving bug onslaughts. The support weapon stratagems provide one of the best ways to increase your chances of survival, especially early on in the game, so on this page we’ll guide you through our recommendations for which of them you should invest in as soon as possible.
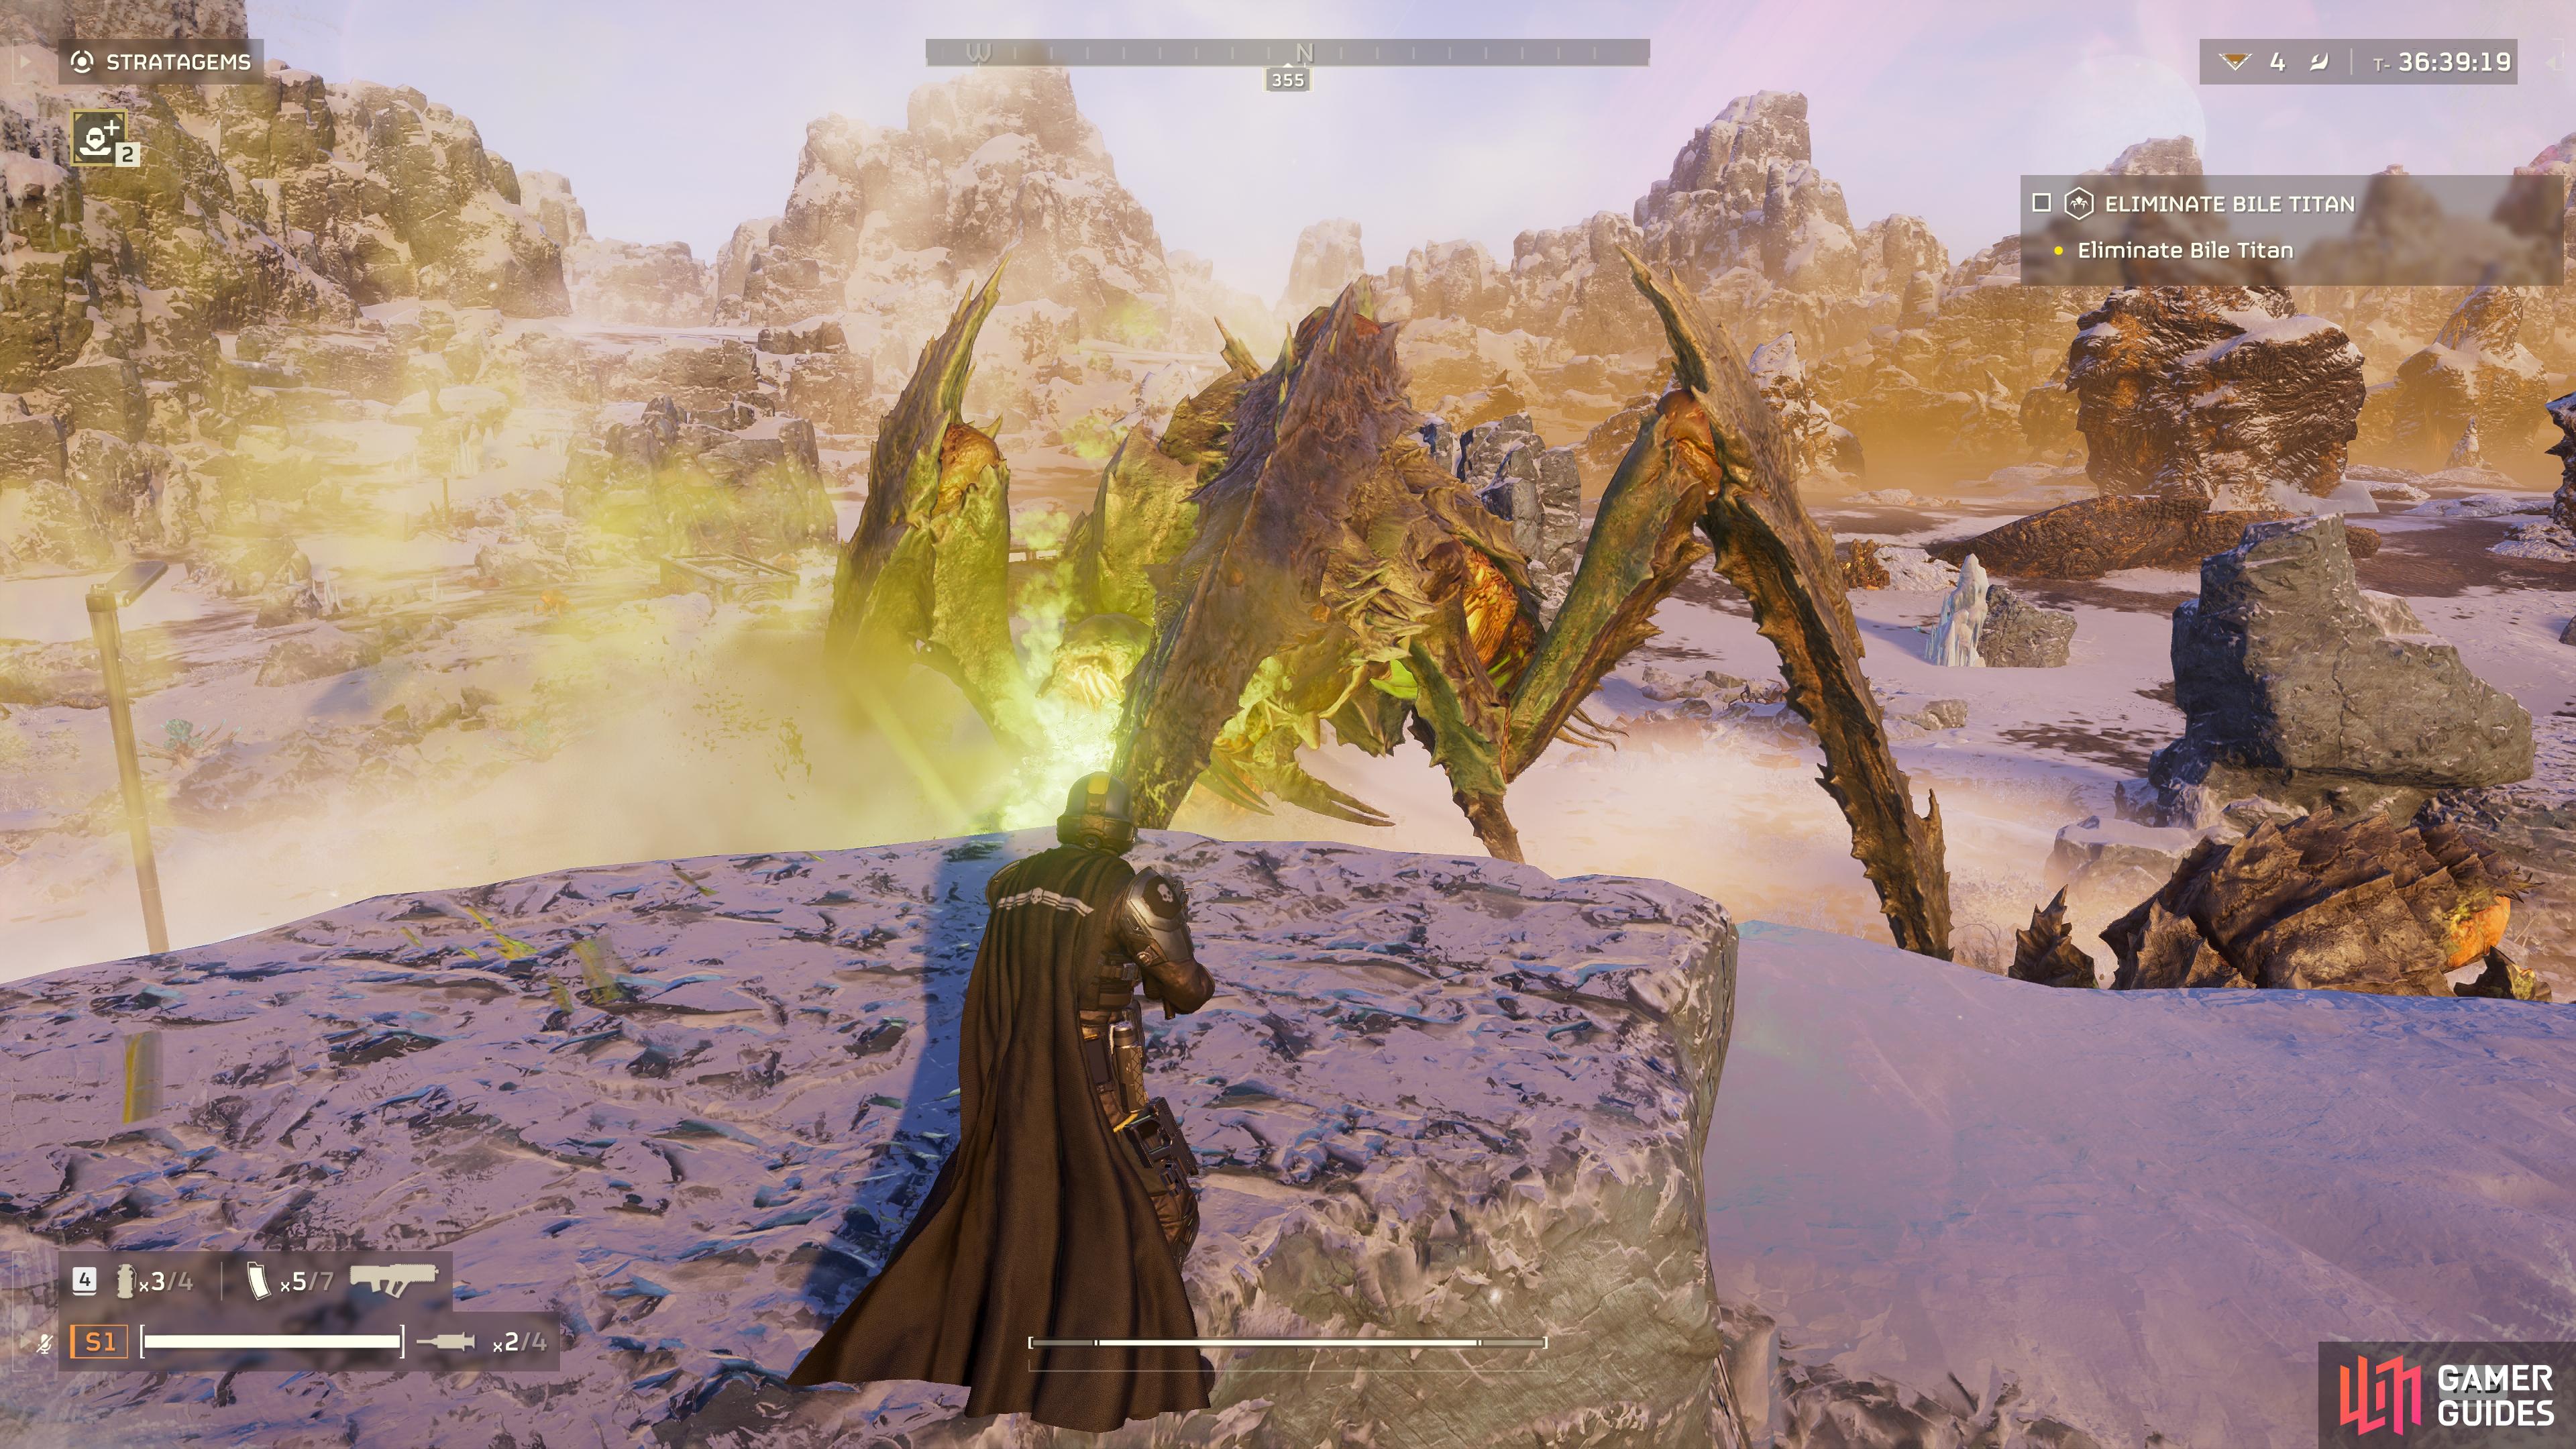
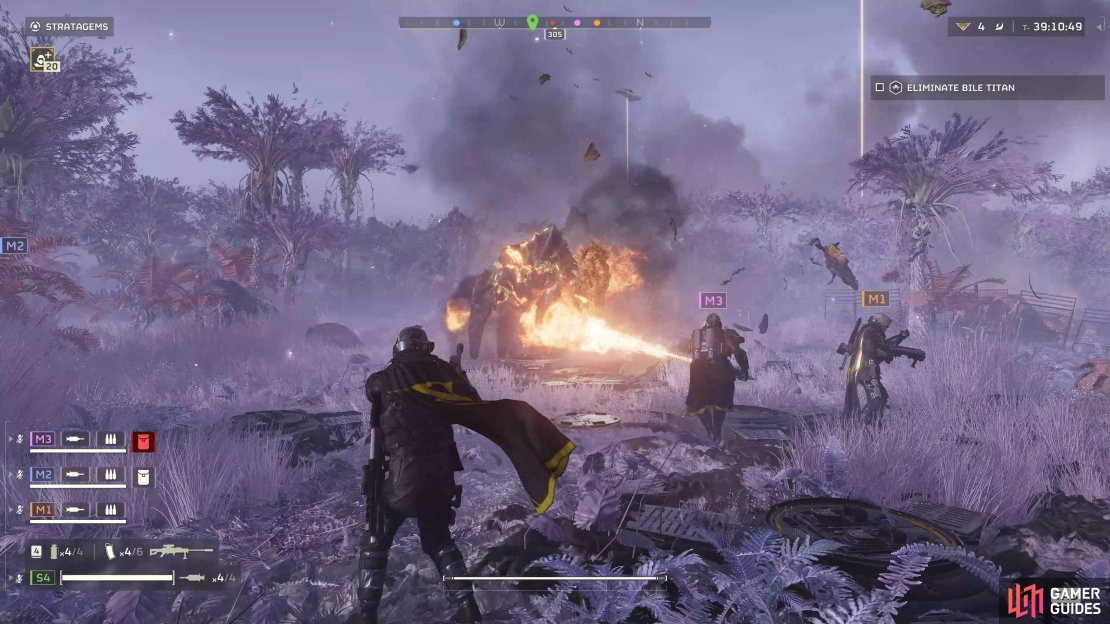
Support Weapons in Helldivers 2 can be great for taking down bosses such as the Bile Titan.
Support Weapons Against Different Enemies
There are several different support weapons that you can make use of in Helldivers 2, but some are better than others for specific situations, such as the Grenade Launcher for dispatching groups of weak bugs in a small space at the same time. Others, such as the Stalwart, are glorified versions of better weapons, but you may still want to try them if you have an affinity for the way they feel in combat. To narrow the list down, we’ll give our recommendations for the top six support weapons to be used in different scenarios.
If you want to learn more about how to unlock other stratagems, including all support weapons, be sure to check our How To Unlock All Stratagems in Helldivers 2 page. We’ve also got a handy list of their associated codes on the Helldivers 2 Stratagems Codes page, which you can use to help you memorize the sequences while in-game, or just use as a reference on a second monitor/external device while playing!
Machine Gun
The Machine Gun is one of the first support weapons that you can gain access to in Helldivers 2, and it also happens to be one of the best. You’ll find yourself using this even after you’ve gained access to other support weapons that become available at higher levels. The beauty of the Machine Gun is that it’s so incredibly simple to use, which makes it one of the most forgiving weapons to have in your arsenal. It’s great for short-range bug-splattering when you’re about to be overwhelmed, but it can also be used to snipe tougher bugs from a distance, so long as you use burst fire and either crouch or prone to reduce its recoil.
| Call-in Time | Uses | Cooldown Time | Unlock |
|---|---|---|---|
| 3 seconds | Unlimited | 480 seconds | N/A |
The cooldown time for the Machine Gun isn’t the shortest, but it shouldn’t matter too much if you use its ammo wisely. The idea is to not go crazy with putting more bullets than are necessary into bugs that are already dying. Instead, stick to burst fire and shoot only as much as you need to. This is especially important when you consider the relatively long reload time for the gun; it can take up to 5 seconds to do this, and you can’t do it while moving. The lack of mobility while reloading and the extra time it takes to replenish magazines is the greatest downside of this gun, but if you can wait to reload in a safe place or between fights, you should be fine.
Flamethrower
The Flamethrower is the most damaging support weapon available right now up close, it’s certainly one of the most fun to use too. If you like playing with fire, you can really light up a battlefield as you spray and pray into the incoming swarms. They’ll take a decent amount of damage, but it won’t be targeted. Instead, you’ll be relying on applying damage over time with the flames, as most enemies will remain wreathed in flames for a few seconds after being hit.
| Call-in Time | Uses | Cooldown Time | Unlock |
|---|---|---|---|
| 3 seconds | Unlimited | 480 seconds | Lvl 10 |
In addition to the damage over time effect, the Flamethrower will ignite any terrain that you use it on. This can provide a useful method of crowd control if you want to deter or damage any enemies that you’re expecting to come from a specific direction, such as when you’re awaiting extraction. The Flamethrower has the same call-in time and cooldown as the Machine Gun, so you’re not necessarily gaining anything there, and there is a potentially greater risk of hitting teammates as you adjust to the fire spray. It’s definitely one to use with caution, but you’ll feel like a truly crazed Helldiver as the unique voice lines kick in when using the Flamethrower for an extended period.
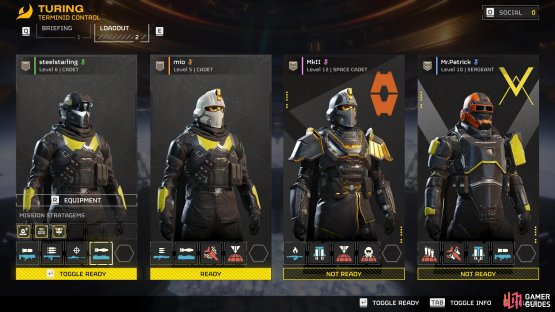
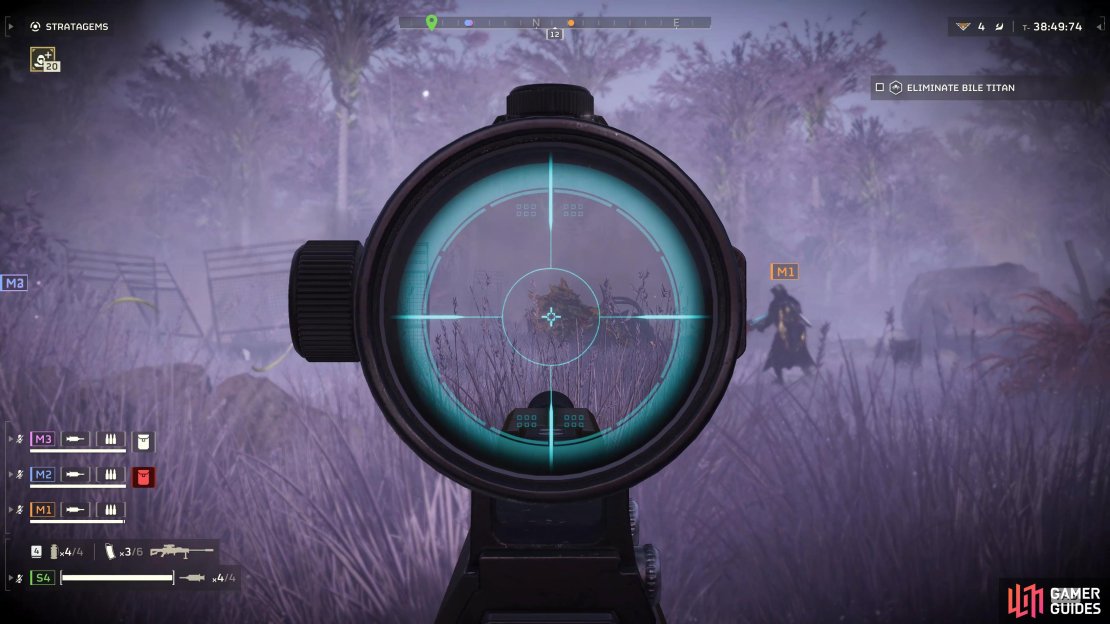
(1 of 2) It’s possible to have four support weapon stratagems available on the same map if you want to experiment with them.

It’s possible to have four support weapon stratagems available on the same map if you want to experiment with them. (left), You can access and unlock all support weapons from the ship management menu on your ship. (right)
Autocannon
The Autocannon is one of the more powerful support weapons that you can use to obliterate both weaker groups of enemies and the larger, more powerful variants. It fires massive rounds that can easily 2-3 shot most of the toughest bugs, especially if you hit them in their weak points. You can choose to use this weapon just for the odd cannon-like ammunition when required, but you can also chain up to eight shots in a row before you need to reload.
| Call-in Time | Uses | Cooldown Time | Unlock |
|---|---|---|---|
| 3 seconds | Unlimited | 480 seconds | Lvl 10 |
The reload animation is the Autocannon’s greatest drawback. It can take quite a long time, but you can speed this up with the help of an ally. It is possible to use solo but there’s a much greater risk of being overwhelmed by enemies while you’re stuck in the animation. With that said, if you can rely on a trusty friend to be there with you for reloading support, it’s difficult to beat the Autocannon for its raw power against most enemies. The only other potential limitation comes from short-range usage, since if you aim too close to an ally (or yourself) when hitting bugs at close-range, you can easily inflict friendly fire damage in a small radius.
Grenade Launcher
The Grenade Launcher functions in a similar way to the Autocannon. The main difference is that it has slightly more explosive power in a small radius, but it actually inflicts less overall damage to most enemy targets when compared with the Autocannon. Still, the reason it makes this list is for its versatility; you can wield and reload the Grenade Launcher much easier than the Autocannon, so you don’t need to rely on allies so much to make the most of it.
| Call-in Time | Uses | Cooldown Time | Unlock |
|---|---|---|---|
| 3 seconds | Unlimited | 480 seconds | 6000 Requisitions |
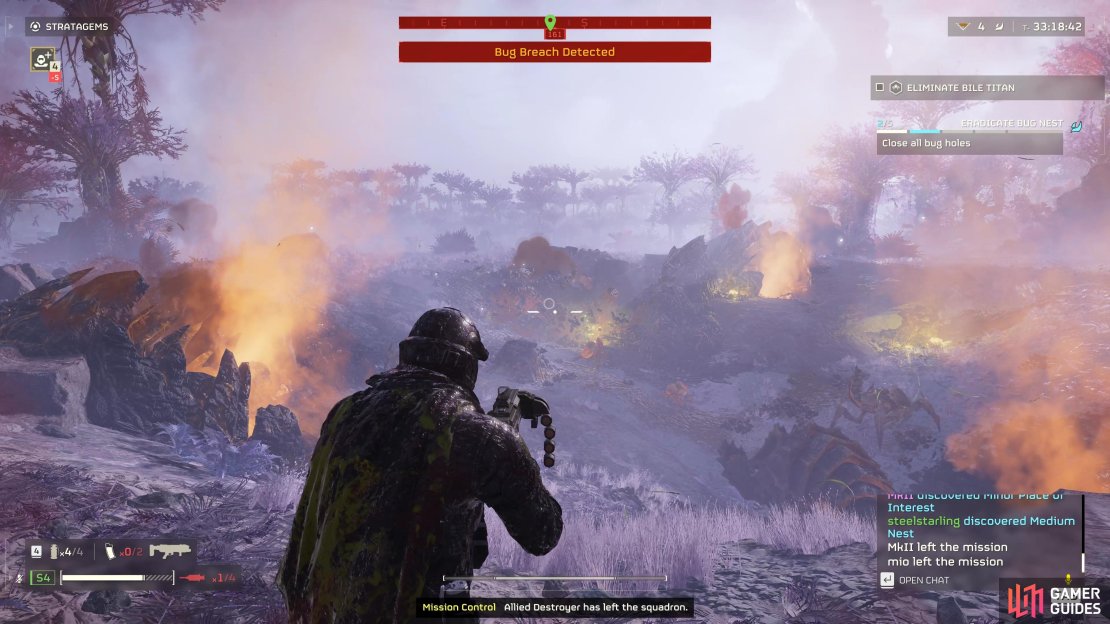
The launcher is perfect for dealing with small groups of bugs, but it will also inflict good explosive damage to the weak points of most larger enemies. It’s particularly useful for eating through the defenses of armored opponents, so perfect for Chargers and other tough enemies. In addition, you’ll be able to quickly clear any bug holes with the grenade launcher, so you don’t need to use your regular grenades or call in other stratagems that often feel a bit overkill against bug holes. The lightweight versatility of the grenade launcher allows you to fire multiple grenades into 6+ bug holes and complete the mission incredibly quickly.
(1 of 3) The Flamethrower is great for crowd control, but it’ll also apply damage over time to enemies.
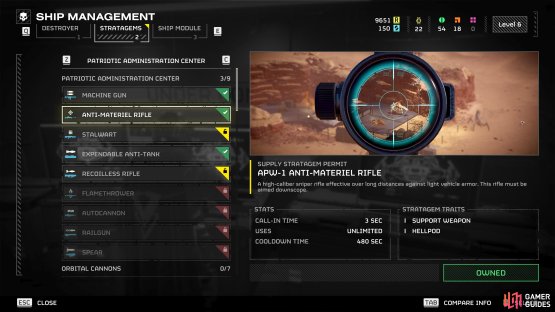
Anti-Material Rifle
The Anti-Material rifle is a sniper that is most effective from a distance, as you might expect. It allows you to kill bugs from a much greater distance than most other support weapons, so you don’t have to worry about them overwhelming you all at once. The only thing you need to keep in mind is that you’ll have to aim for weak spots on the tougher enemies if you want to bring them down in as few shots as possible. For this reason, it’s a good idea to get into a flanking position first, then aim for the largest bugs with exposed weak points before you focus on the smaller ones.
| Call-in Time | Uses | Cooldown Time | Unlock |
|---|---|---|---|
| 3 seconds | Unlimited | 480 seconds | 5000 Requisitions |
In an ideal scenario with the Anti-Material rifle, you’ll be in a group with players who have already engaged enemies at close-range. This allows you to keep your distance, but still provide support without putting yourself in harm’s way. There’s no aim reticle present for the gun when you’re unscoped, so it’s not as useful at close-range, but it can still be used in a pinch to no-scope weak points when necessary. Aside from long-range support, the sniper rifle is perfect for shooting mines and nukes at a safe distance, but you’ll want to inform your allies before you go shooting these since they have a massive explosion area!
Railgun
The Railgun is an incredibly powerful experimental weapon that prioritizes armor penetration. You can only gain access to it at level 20, so it’s not one to consider if you’re just starting. Still, it’s worth keeping this one in mind for your progression goals, especially since it’ll make short work of almost any heavily armored opponent, such as the Chargers. It’ll also inflict massive damage on boss-type enemies such as the Bile Titan, so it’s worth having for missions where you know you’ll encounter one.
| Call-in Time | Uses | Cooldown Time | Unlock |
|---|---|---|---|
| 3 seconds | Unlimited | 480 seconds | Lvl 20 |
The main downside to the Railgun is that you need to charge it between each shot. Not only that but there are also two different calibrations that you can use the Railgun in, summed up by turning its safe mode either on or off. If you have the safe mode on, you’ll inflict less damage, armor penetration won’t be as high, but you can recharge the gun indefinitely, ready to use at just the right moment as an enemy approaches. If you turn the safe mode off, the gun will inflict significantly more damage, but the catch here is that if you overcharge the gun by holding the charge button (right mouse button on PC or R2 for PS5) for too long, the gun will explode, instantly killing yourself and any allies in the vicinity.
You can definitely benefit from turning the safe mode off, especially when fighting bosses where you need the extra damage, but you’ll need to practice and become familiar with the timing between charges to make the most of it. It’s a good idea to start with safe mode turned on, then switch it off when you’re ready to risk death for a much greater reward!
If you want to learn more about other types of weapons and armor in Helldivers 2, be sure to check the pages linked below.
No Comments