Arlington Library is fairly far south on the map, just a ways south of the Citadel. Since we haven’t ‘officially’ explored down there, we might as well do so on our way to the Arlington Library. Start out by traveling to the Sewer Waystation, which we should have discovered during the Rivet City Run.
1) Car Dealership
Book - U.S. Army: 30 Handy Flamethrower Recipes
From the door to the Sewer Waystation turn west, climb over a collapsed fence, and follow the road beyond… more or less to the south. Over the road you’ll see a bridge with a chain fence around it. Get up to that bridge by scaling the hill to the west of the road, and once you’re up there follow this smaller, elevated road to the west. Turn south down another road past the first building and follow this road uphill. It’ll curve south-west, and bisect another road where a blue car and a green car sit. Follow this new road to the west-you should see a water tower in the distance. Across the street from this water tower is a car dealership-which is our destination.
Head inside the dealership and jump on the car to the east, then jump on the raised platform east of this. On a generator you’ll find a copy of U.S. Army: 30 Handy Flamethrower Recipes next to an Empty Soda Bottle. Yeah, that’s a lot of directions for one book, eh?
2) Three-Book Scavenger Bridge
Book - Chinese Army: Spec. Ops. Training Manual
Book - Duck and Cover!
Book - Grognak the Barbarian
Leave the dealership and follow the road back east until you end up back at the intersection with the two cars we passed earlier. No point in going back to the north-east, right? Follow the road east beyond the two cars and it’ll shortly lead to another bridge with a chain fence around it, upon which dwells a Scavenger and their dogs. They’ll barter and repair items, as usual, but their shack it more interesting… or rather, its contents. On one of the shelves in the Scavenger’s shack you’ll find three books; a Chinese Army: Spec. Ops. Training Manual , a copy of Duck and Cover! , and an issue Grognak the Barbarian . Be sure to steal them all, head across the bridge to the east.
3) Red Racer Factory
Book - Grognak the Barbarian
Immediately off the bridge turn south, crawl over some rubble and walk along a sidewalk between a building and the highway below. Keep going south until a road materializes out of the rubble and soon enough you’ll see the Red Racer Factory to the west. Identify it by the big red tricycle sign on the front. Head up to the building, but don’t enter just yet. Along the southern side of the building you’ll find an over-turned truck bed, in which you can find a copy of Grognak the Barbarian , along with some radioactive barrels. Catching some Rads is worth a skill book, though. Continue on into the factory.
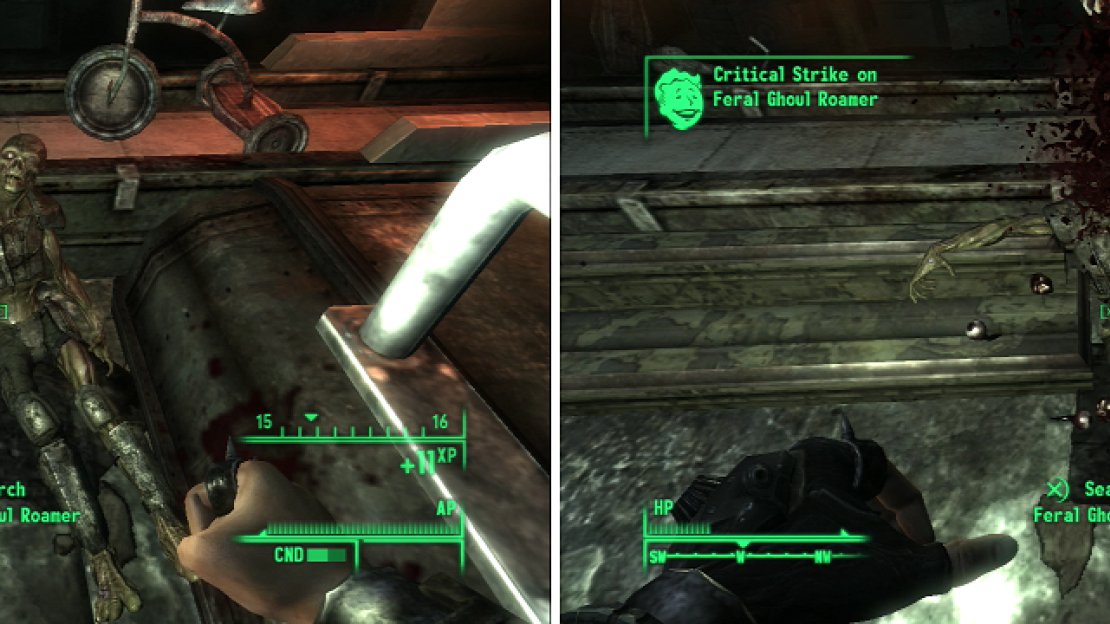
While they appear like ordinary Ghouls (left), fallen foes in the Red Racer Factory tend to lose their heads (right). It certainly bears investigating further.
4) Feral Ghouls in the Factory
Book - D.C. Journal of Internal Medicine
Book - Dean’s Electronics
Go through the door to the north to find a room with a conveyor belt, above which is a large tricycle with a Teddy Bear on top. Go around the conveyor belt machine to the west to find some metal drums. Jump on them and use them to get up on top of the conveyor belt machine housing. You’ll find a copy of Dean’s Electronics near a tool box.
In the eastern part of the factory, in a room north of the room that protrudes furthest to the east you can find a D.C. Journal of Internal Medicine . It’s against the eastern-most wall, and the only way to reach the ledge it’s on is to jump down from the railing above. There’s a Sledgehammer, a Wrench, a Hammer, and a step ladder on the ledge you need to reach, so you should recognize it when you see it. The book is hidden under a bucket between two pieces of machinery, near a tool box. Get to the upper levels and head to the CEO Offices.
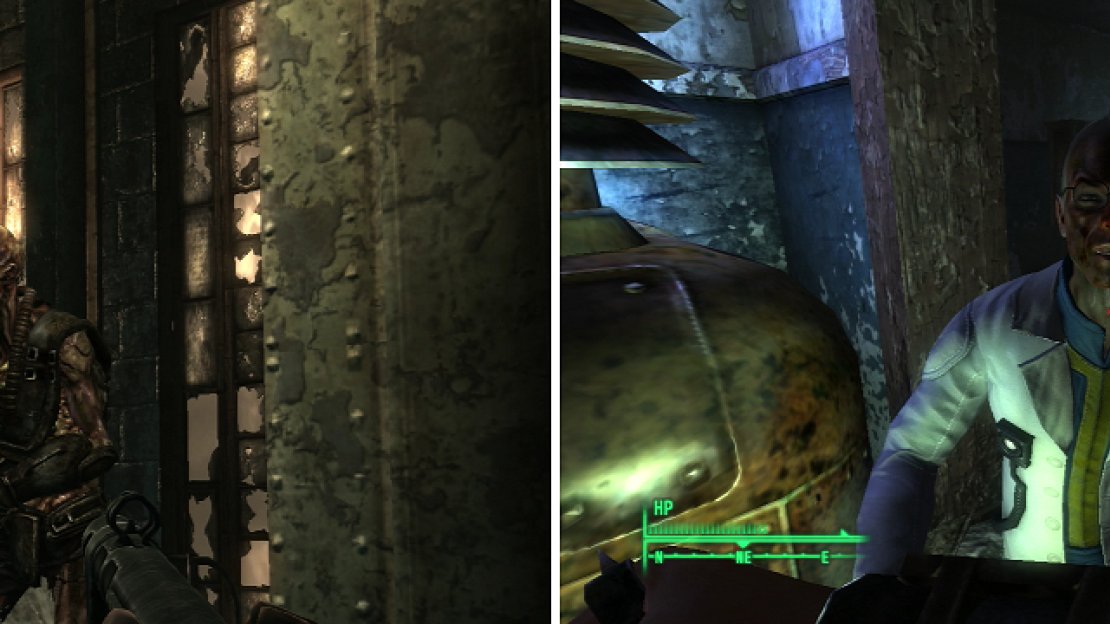
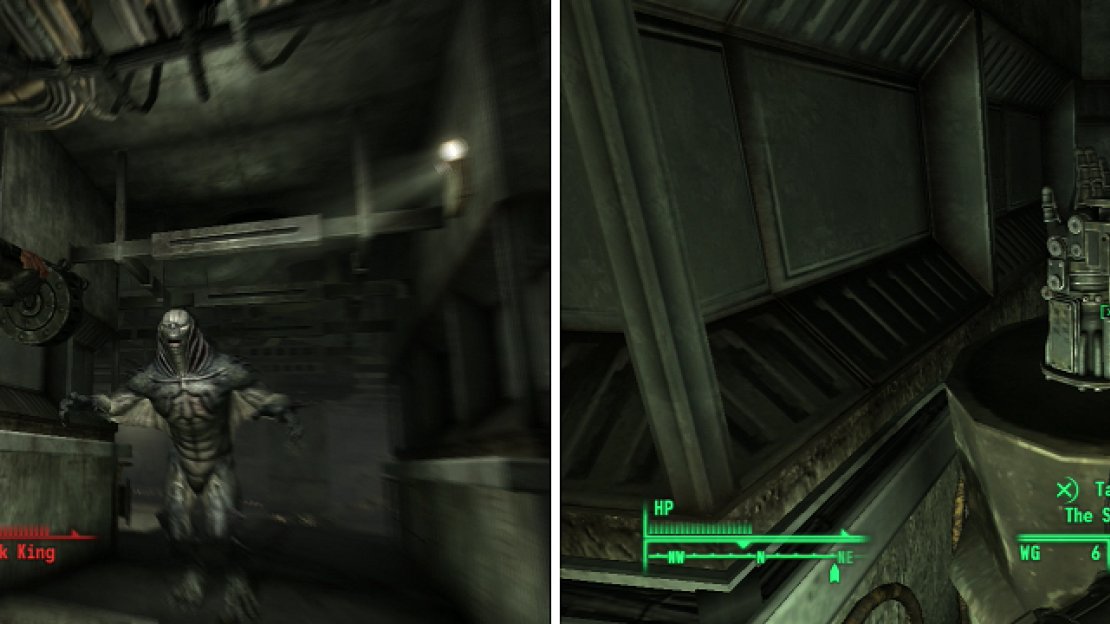
Feral Ghoul Reavers (left) are some of the most powerful creatures prowling the Wasteland. Many times something is amiss in Fallout 3, a person in a lab coat will be the cause (right).
5) Surgeon Slaying
Book - Nikola Tesla and You
In the first room to your right you’ll find a Chip Broadcast Terminal [Average] which you can use to find out why everything’s head exploded. Across the hallway you’ll find another door [Average] with some ammo boxes behind it and a copy of Nikola Tesla and You on a shelf. Continue west and kill whatever Super Mutants you find. To the south you’ll find some uninteresting bathrooms, and to the north you’ll find a storage room with a computer [Average]. Read the notes to find out that some wacky Surgeon character has been capturing Ghouls and Super Mutants to experiment on. Well, that explains the exploding heads.
Go back to the room with the stairs and head up to find the Surgeon. Kill the Surgeon and take the Surgeon’s key and The Surgeon’s Lab Coat . You’ll find another one of the Surgeon’s terminals [Average], which talks about Stefan like he’s something special. Use the Surgeon’s Key to unlock the wall safe and the safe on the floor for some goodies. In Stefan’s cell you’ll find a Nuka-Cola Quantum.
6) A Raider, His Dogs, and His Heavy Weapons
Book - Guns and Bullets
Book - U.S. Army: 30 Handy Flamethrower Recipes
Exit the Red Racer Factory and head east up a ramp. Keep going east between two buildings to find a Raider camp, where a lone Raider and its Raider Guard Dogs will be waiting. Kill them and loot. Near some ammo boxes by the bed you’ll find a copy of U.S. Army: 30 Handy Flamethrower Recipes . On a counter nearby you’ll find a copy of Gun and Bullets as well.
7) The Truck…
Book - Dean’s Electronics
Head back west to reach a four-way intersection near the Red Racer Factory and follow a road south. It’ll curve quite a bit before ultimately rising up into an overpass. Keep going west until you spot a truck, in the back of which you’ll find a bunch of metal boxes. More interesting, however, is the copy of Dean’s Electronics on a footlocker in the back.
8) The Scavenger Shack…
Book - Tales of a Junktown Jerky Vendor
Now we’re getting awfully close to Andale, and hence, off track… but not too off track to grab one more book. Head north, north-west from the truck to find a ruined building behind a fence. Use the term “building” and “fence” loosely. Up a ramp in a blue shelter you’ll find a copy of Tales of a Junktown Jerky Vendor near a bed.
9) …And the Diner
Book - U.S. Army: 30 Handy Flamethrower Recipes
Grab the book, return to the truck and follow the road back east until you come across a small parking lot with a few cars in it just in front of the first building along the road. Cross the parking lot to the north and ascend some stairs to reach a Diner, inside of which you can score a copy of U.S. Army: 30 Handy Flamethrower Recipes , which is on a table behind the counter.
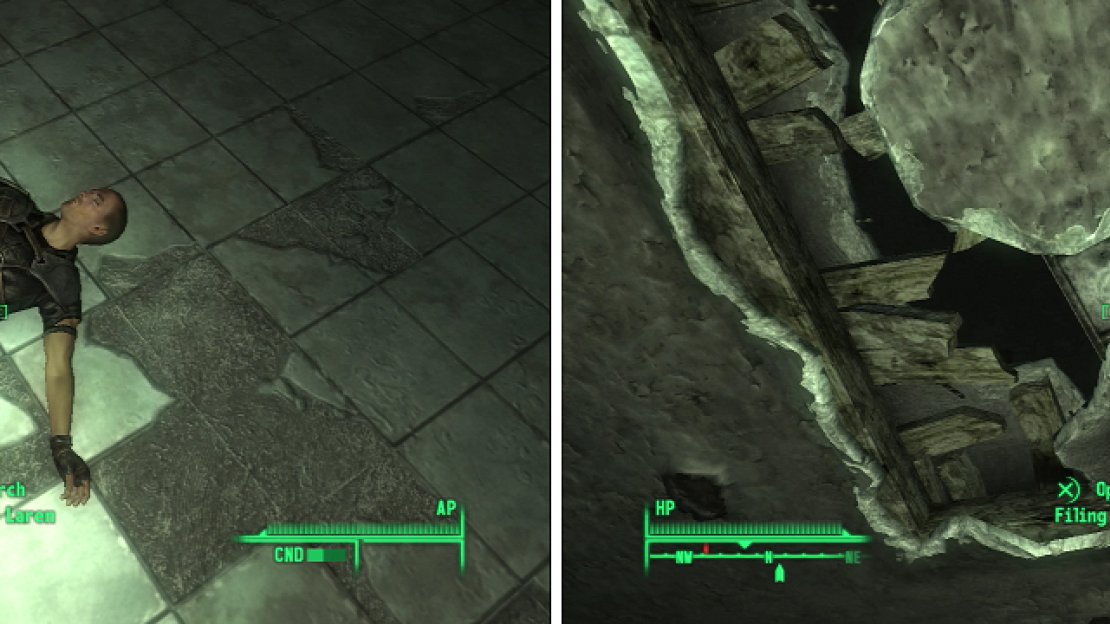
Even if he survives the journey, Ronald Laren won’t make it out of the Nuka-Cola Plant alive (left). A Chinese Army: Spec. Ops. Training Manual can be found in this filing cabinet (right), peeking through a hole in the ceiling.
10) Nuka-Cola Plant
Whew. That was a roundabout little route, but it scored us three books, so… worth it. From the Diner head east adn get on the highway, which just so happens to run under the overpass we were on earlier. Follow this highway south until you find the Nuka-Cola Plant, our next goal. It’s a pretty nondescript building, but the Nuka-Cola fountain out front should clearly identify the building for what it is.
11) Nukalurk!
Book - Chinese Army: Spec. Ops. Training Manual
Book - Dean’s Electronics
Go over by the counter in the middle of the first room and look up. You’ll see a hole in the ceiling with a filing cabinet stretching the gap. Search the filing cabinet to obtain a copy of Chinese Army: Spec. Ops. Training Manual . How sneaky! Head to the east to find a room with a number of refrigerators. On the L-shaped counter in the middle of the room you’ll find a copy of Dean’s Electronics . To the north of the room you entered into you’ll find a very enticing door [Very Hard], as well as less locked routes to the east and west. Head west to find a small mostly looted room, then head east. You’ll find a number of intact research terminals that catalogue the creation of Nuka-Cola Quantum. Guess they never heard of test monkeys? There’s a safe on the wall we can’t open yet, so head north into a factory room. Head north through another door to find a Nukalurk!… Odd. Continue on to find a door leading to the Storage and Mixing Vats.
12) Through the Glowing Blue Water…
Go around a corner and dispatch some Nukalurks. On a counter you’ll find a Laser Pistol, some Energy Cells, and a terminal [Very Easy] that you can use to activate a Protectron. It doesn’t seem very worthwhile, though, since the Protectron won’t last very long against a Nukalurk. There are also some Pulse Grenades on a metal shelf. Continue down some stairs into some awfully bright blue water. You’ll enter into a large room with plenty of Nukalurks. Bear in mind that even though they are all called Nukalurks, some are stronger than others. Go up the second flight of stairs you find and jump down to an area to the north. Head east up some stairs to reach the Offices.
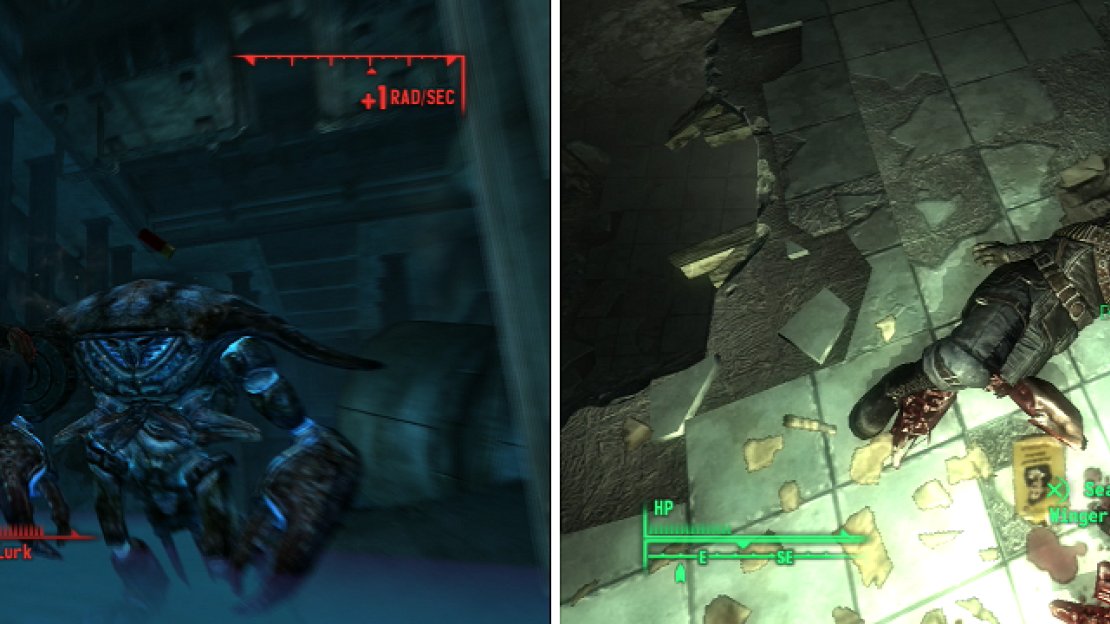
Considering what happens to Mirelurks who nest in Nuka-Cola contaminated waters (left), the stuff probably isn’t safe to drink. Winger Mercier clearly failed in his mission (right).
13) Winger Mercier’s Mission
Book - Big Book of Science
Book - Lying, Congressional Style
There are plenty of Radroaches about, who do what they do best-show up as red threat markers and distract you from the real enemies. On the eastern edge of the level, above the staircase leading up to the second floor you’ll find a locked door [Hard]. The most interesting thing in this room is the note “Help Me”, which is preposterous in its absurdity.
Head upstairs, turning around the corner to the north, then taking the first door on the right. Once inside this room take the door leading north to find a safe near a working terminal. Loot the safe and grab a copy of Lying, Congressional Style on top of the safe. Head back out into the hallway and go west until you find a door on your left. Inside will be a room with a large hole in the floor… another room with a large hole in the floor. Go around the hole to find the body of Winger Mercier, on him he has the note “Finding the Formula”, which talks about finding the formula for Quantum at this plant, then reporting to the Red Rocket Tricycle Factory (Red Racer). Head into the room to the north and grab a Big Book of Science off the desk. Now head back to the stairs and head up through a door to the Factory Floor.
14) Obtaining the Formula
Book - Tumblers Today
Go east and Head down the stairs to find a robot named Milo, Shipping Foreman. He’ll ask for some information you don’t have. You can use Robotics Expert to turn off his security programming, or succeed at a Speech check to lie. Ask him for the shipping manifest to get a computer passcode, and ask for the key to the Research Safe to get into that safe we found near the beginning of our exploration. Go into the room Milo was in and access the terminal to find out where all that Nuka-Cola Quantum was shipped. We’ve already hit Paradise Falls and the Super Duper Mart, that only leaves the Old Olney Grocery, which is crawling with Deathclaws.
Open the door in the room to find a closet with a safe [Easy] and a copy of Tumblers Today on a bookshelf. Among the loot in the safe is a Stealth Boy. Head back up the stairs and continue along the walkways to find a bottling room to the east, which is significant only in its lack of loot. Follow the walkway south to find another uninteresting bottling room. Head downstairs and through a door to the west to come into the room that connects to the lobby, so long as you can pick the locked door [Very Hard].. that or hit the electrical switch near it. Now go to the room west of the lobby and open the previously unaccessible safe to get the Nuka-Cola Clear Formula.
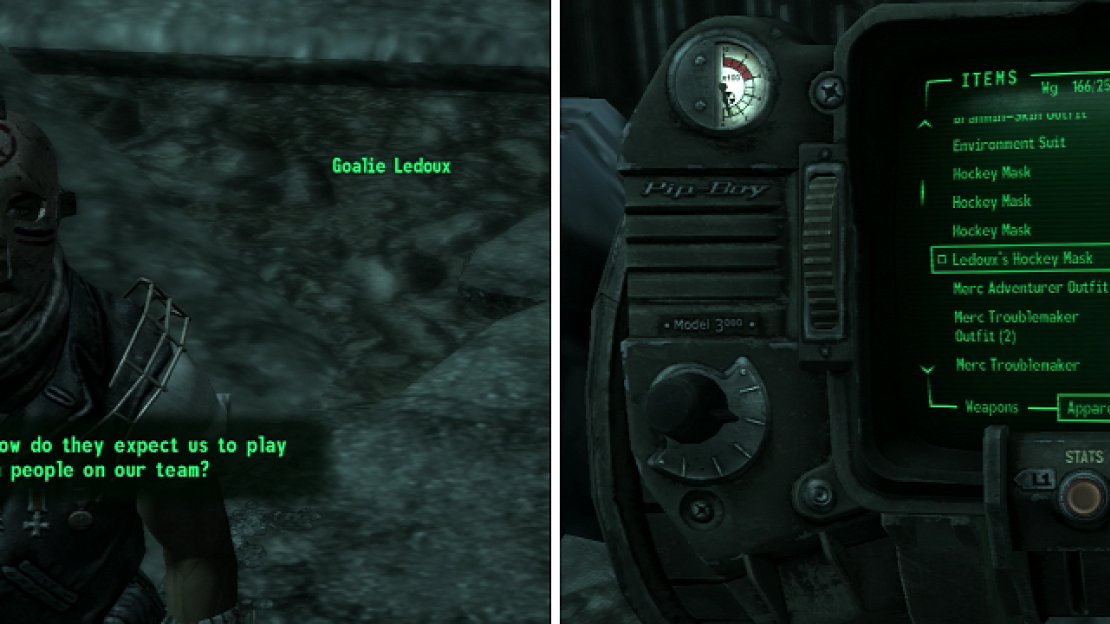
You can strike a lucrative deal with Goalie Ledoux for the Nuka-Cola Clear Formula (left), but be sure to kill him for Ledoux’s Hockey Mask (right) which is an excellent piece of equipment.
15) Goalie Ledoux and the Formula Face-Off
If you travel back to the Red Racer factory you’ll be bothered by Goalie Ledoux and his gang. You can either get into a fight, or sell the Nuka-Cola Clear Formula for 250 Caps… or 400 if you succeed at a Speech challenge. Of course, we all know what the best option is, don’t we? Sell them the formula, get their Caps, then kill them. On the Goalie you’ll find Ledoux’s Hockey Mask , which gives you a bonus 25 Action Points while you wear it… which is pretty awesome, really.
16) Pulowski Preservation Prizes
Book - Chinese Army: Spec. Ops. Training Manual
From the Nuka-Cola Plant head east along the highway. You’ll likely have to fight Raiders along the way, but by now Raiders should be nothing. Keep going until you find the Flooded Metro, outside of which you’ll find a random encounter. More importantly there’s a Pulowski Preservation Shelter with a few Stimpaks, a Pulse Grenade, and a Chinese Army: Spec. Ops. Training Manual inside. Once you’ve collected them head into the Flooded Metro.
17) Flooded Metro
Book - Guns and Bullets
Head east from the entrance, then turn north, go through a door and down some stairs, through another door, beyond which lies a sewer crawling with Mirelurks. Go east up a slope and kill whatever Mirerlurks you have to before heading through a doorway to the north. To the west, past some stairs you’ll see a pillar. Follow the blood trail around it to find a skeleton with a Scoped .44 Magnum, some Jet, some .44 Magnum ammo, and a copy of Guns and Bullets .
18) Mirelurks and Stairs
We got the most useful loot out of the Flooded Metro, but there’s still some more to be had, if you don’t mind killing about a dozen Mirelurks and catching some Rads, that is. Go down the stairs we just passed to explore the Flooded Metro in greater detail. Take the first east and go down another flight of stairs. Continue west down a short tunnel and up another flight of stairs, then… go down more stairs. Keep going until you hit the flooded room with Mirelurk eggs all around. If you go east you’ll find quite a few more eggs and a small room with a bit of loot in it-but nothing worth mentioning. To the west you’ll find another sewer… eventually, anyways. Once in the sewer turn west and head uphill until you run out of west, then turn south and keep going uphill. When you reach the chamber at the end of the sewer tunnel you’ll be confronted by more Mirelurks and stairs. Surprise, surprise. If you go upstairs you’ll eventually find an exit to the Mason District, which is worth visiting briefly just to discover the location, for fast travel purposes. If you go down the stairs you’ll find a pit filled with irradiated water. Instead, go through a door to the east.
Mirelurks infest the Flooded Metro (left), but if you want to obtain The Shocker (right) you’ll split a few shells.
19) The Shocker
Behold, another sewer! At least it’s not more stairs, though. Continue downhill to the east, turning north when you must. Be watchful for landmines as you traverse the rubble behind, and head through a doorway to the west to find the abode of some unfortunate sewer-dweller. Disarm the tripwire (rigged to a Combat Shotgun) at the doorway and loot the room. There’s a Nuka-Cola Quantum on a gun cabinet, an ammo box and a mine box on a metal shelf, a refrigerator full of yummies, even a bed to sleep on, with a safe [Average] built into the bottom of it. Nice pad, except for all the irradiated water. And Mirelurks. What we’re here for, though, is the unique Power Fist, The Shocker , which can be found on a metal drum near the bed. There’s also the note “Shocker Glove” near it. Once The Shocker is in hand, return to the surface.
20) Raid the Raider Fort!
Book - Pugilism Illustrated
Book - Tumblers Today
Head south-east of the Flooded Metro to find a rather large Raider fort. One Raider has a Missile Launcher. Don’t get shot at while you’re on the highway, as the numerous cars nearby will detonate, and make you sad. The Raiders even have a turret defense system consisting of a Mark V Turret, which overlooks a fenced-in bridge. If you can reach the Turret Control System terminal [Average], you can turn this turret against them. In their fortress you’ll find quite a haul of treasure: On a counter in the fort you’ll find a copy of Pugilism Illustrated , and in a wooden crate you’ll find a Nuka-Cola Quantum. Up by where the Raider with the Missile Launcher was you’ll find its pad, a bed, some ammo boxes, a first aid box, and a copy of Tumblers Today . There’s also plenty of less interesting (but still valuable) items on some wooden shelves, including ammo, drugs and ammo boxes.
21) The Paranoid Raider
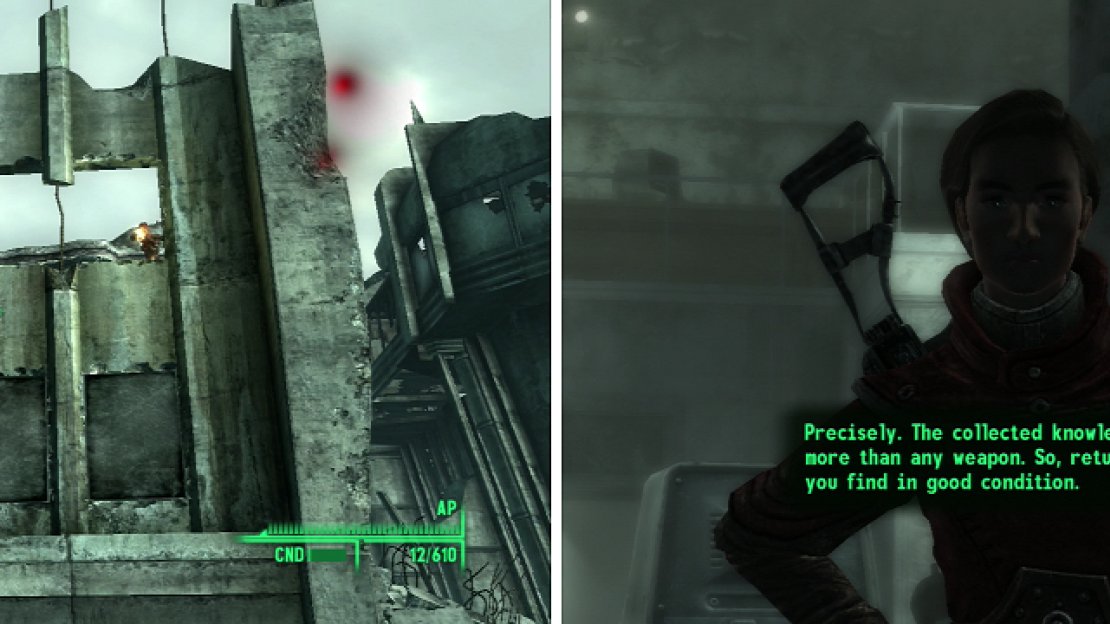
Continue east along the road to find Arlington Library. You’d think that by finding the place, our trip would be nearing completion… yeah. Go across the highway to the west, north-west until you find a Raider hiding in a bombed-out building. There are numerous landmines around the front of his building, and the fun doesn’t stop there-in the hole in the side of his building (which serves as a door) you’ll find a trip-wire, in front of the stairs is a bear trap, on the first landing you’ll find a Frag Mine trap under a wooden box, another trip wire is on the second flight of stairs (connected to a rigged Combat Shotgun), on the second story sits another bear trap, yet another trip wire awaits you as you go up more stairs, and a third and final bear traps sits at the top of the stairs. That’s not all, though! Once you get through all that, a Mark VI Turret is waiting (unlike most turrets, there’s no terminal for this one). Finally, beyond that is another trip wire rigged to a pitching machine. The Raider himself isn’t above shooting at you, either. Once he’s dead, loot his room: he’s got a number of safes to loot ([Very Easy], [Easy], [Average] and [Hard], a gun cabinet, an ammo box, a refrigerator and a personal footloocker [Very Easy]. If you get banged up, rest in his bed before continuing on.
22) Alexandria Arms
Book - Duck and Cover!
Book - Guns and Bullets
North, north-east of the paranoid Raider’s house you’ll find Alexandria Arms. Inside are a bunch of Raiders, which you can easily dispose of. In a room in the southern edge of the Local Map you’ll find a copy of Duck and Cover! on a bookshelf. You’ll also find a copy of Guns and Bullets in the upstairs portion of the Alexandria Arms, just east of the middle of the map. The book is on a counter near some ammo boxes. Use the terminal [Average] or pick the lock [Average] to get into a small storeroom. Among its many treasures you’ll find a Nuka-Cola Quantum.
23) Talon Company Camp
Book - Nikola Tesla and You
Go to the Arlington Library and from the entrance head south until you find a road heading east between the library and another devastated building. You should come across some Talon Company Mercenaries. Kill them and keep heading south-east. You’ll eventually come across a Talon Company camp, with a Mark V turret and Sentry Bot included. You’ll also have the pleasure of coming across a merc with a Missile Launcher and a Sniper Rifle, so it can be quite a fight. Once they’re all dead loot the camp. On the top level you’ll find a copy of Nikola Tesla and You and a Stealth Boy on a small table. If you follow the road east from the Talon Company camp you’ll find a door leading down to a Sewer. Inside are several Raiders, and you can score a few ammo boxes and other loot while down here, if you’re so inclined. Now it’s time to head back to Arlington Library.
This paranoid Raider stands secure (left) protected by a building full of traps. Scribe Yearling (right) seeks whatever remnants of knowledge this library might still contain.
24) Yearling’s Preservation Project
Book - Guns and Bullets
Go around the western side of the building until you find a Pulowski Preservation Shelter. Inside will be a copy of Guns and Bullets for your looting pleasure. Now head inside. You’ll immediately be bothered by Scribe Yearling from the Brotherhood of Steel. She’ll ask you to find and bring her Pre-War Books, for which she’ll pay you very generously. You have been holding onto them, right? She’ll also give you the note “Arlington Library Password”. Activate the computer and access the card catalogue to complete one of Moira’s objectives. Now it’s time to hunt for the archives.
25) Follow the Brotherhood
Book - Big Book of Science
Head upstairs and grab the Stealth Boy off the counter. In a room in the north-western corner of the level you’ll find a Big Book of Science on a desk. When you’re done exploring upstairs… besides the large room full of books to the west.. head back to the lobby and explore the ground floor. Go through the door opposite the entrance to find some bathrooms. Follow the hallway to see a pair of Brotherhood soldiers sneaking about. They’ll go into the large western room and get into a fight with some Raiders. After they’re done they head into the Arlington Library Children’s Wing. Loot the room for some ammo boxes and Pre-War Books and head through the door to the Arlington Library Media Archive, the door to which can be found through a doorway to the north.
26) Arlington Library Media Archives
Book - Tales of a Junktown Jerky Vendor
Go up some stairs to find two Brotherhood Paladins fighting some Raiders. They should clean up pretty well. Follow them south past the pitching machine, around a corner, through a door and up some stairs. At the top of the staircase head east, then north to get to the north-western corner of the level. Inside the room is a turret, a Pre-War book on a printing press, a box of “Restoration Supplies”, and some Frag Grenades on a table. Wee. Let the Brotherhood guys lead the way. If they kill everything, just as well. If they die, then we’ll get to steal their juicy Power Armor. It’s a win-win.
Once the fighting is over loot the lower levels, we aren’t skipping all that loot, just keeping up with the Brotherhood long enough for them to absorb most of the punishment down here. Make sure to explore the room to the west of the stairs we came up (it’s a room with a pool table and a Nuka-Cola Vending Machine.) In this room you’ll find a copy of Tales of a Junktown Jerky Vendor on a table in the north-west corner.
27) The Archive
Book - Tumblers Today
When you’re done looting the downstairs head upstairs and keep searching until you reach the south-western corner of the map. You’ll find a large room with several Raiders inside, with the middle roped off with barbed wire like in the turret room downstairs. Search one of the desks on the perimeter of the room to find a copy of Tumblers Today . Also on the perimter you’ll find a small round table with a wooden crate and two skulls on it. Behind the crate is a Nuka-Cola Quantum. And most importantly, search the middle of the room to find a desk with a Pre-War book on it, and the terminal “Arlington Public Library Public Terminal”. Select the “Transfer Library Archives” options, and you’re done with this quest. First, however, head through the door nearby that leads to the Children’s Wing.
28) Arlington Library Children’s Wing
Book - Guns and Bullets
Book - Lying, Congressional Style
Sheet Music Book
Head south and grab an ammo box, then go west over a collapsed bookshelf to find another, more vertical bookshelf. On it you’ll find a copy of Guns and Bullets , three Pre-War Books, some Shotgun Ammo, Stimpaks, and a Sawed-Off Shotgun. Now drop to the floor below and loot the safe [Average], before dropping down to the next, and lowest level. Kill the Raiders and loot. Head north out of the room and turn east or west, depending on the door you went through to find an eating area, replete with coffee machines, a Nuka-Cola vending machine, and an Eat’o’tronic. On the counter between two coffee machines you’ll find a copy of Lying, Congressional Style . In one of the rooms to the west you’ll find a booby-trapped terminal and a Pre-War Book. In the same room you’ll find a Sheet Music Book lying on the floor next to a music stand.
29) Sharing the Knowledge
Book - Lying, Congressional Style
Now head back to Megaton. Moira will give you 450 Caps and a copy of Lying, Congressional Style . Nice. For the next part of the Wasteland Survival Guide Moira wants you to head over to the RobCo Factory and connect a widget to the mainframe to get control of the factory’s robots. Don’t be smart and use Robotics Expert to answer the section yourself, as it’ll kill your quest reward… just go and do it.
No Comments