
1) Tracks, Turrets, and Sentry Bots
Head west, then north, then west again and go down some stairs. Turn north and go through a doorway to reach a nicer metro area. Continue through a door to the south (dealing with some Sentry Bots along the way) and go down two flights of stairs, then head north down a hallway past a bunch of mostly destroyed statues. Destroy another Sentry Bot and a leveled turret, then go north through the room with some subway tracks running east, through some double doors, and into another room with tracks. Follow the tracks east and be wary of Sentry Bots who will use the tracks to get around quickly.
2) Sniping the Senate Employee ID
When these tracks end in debris, go south through a doorway and into a utility room, down some stairs, and into another metro tunnel. Turn west and search the ruined subway train to find a “Senate Employee ID” on top of a suitcase near a skeleton, then follow the tunnel down to the east. Expect to run into some trouble in the form of Sentry Bots and a Turret as you go. Near the end of the tunnel you find a room to your left, inside of which you can find M.A.R.Go.T.

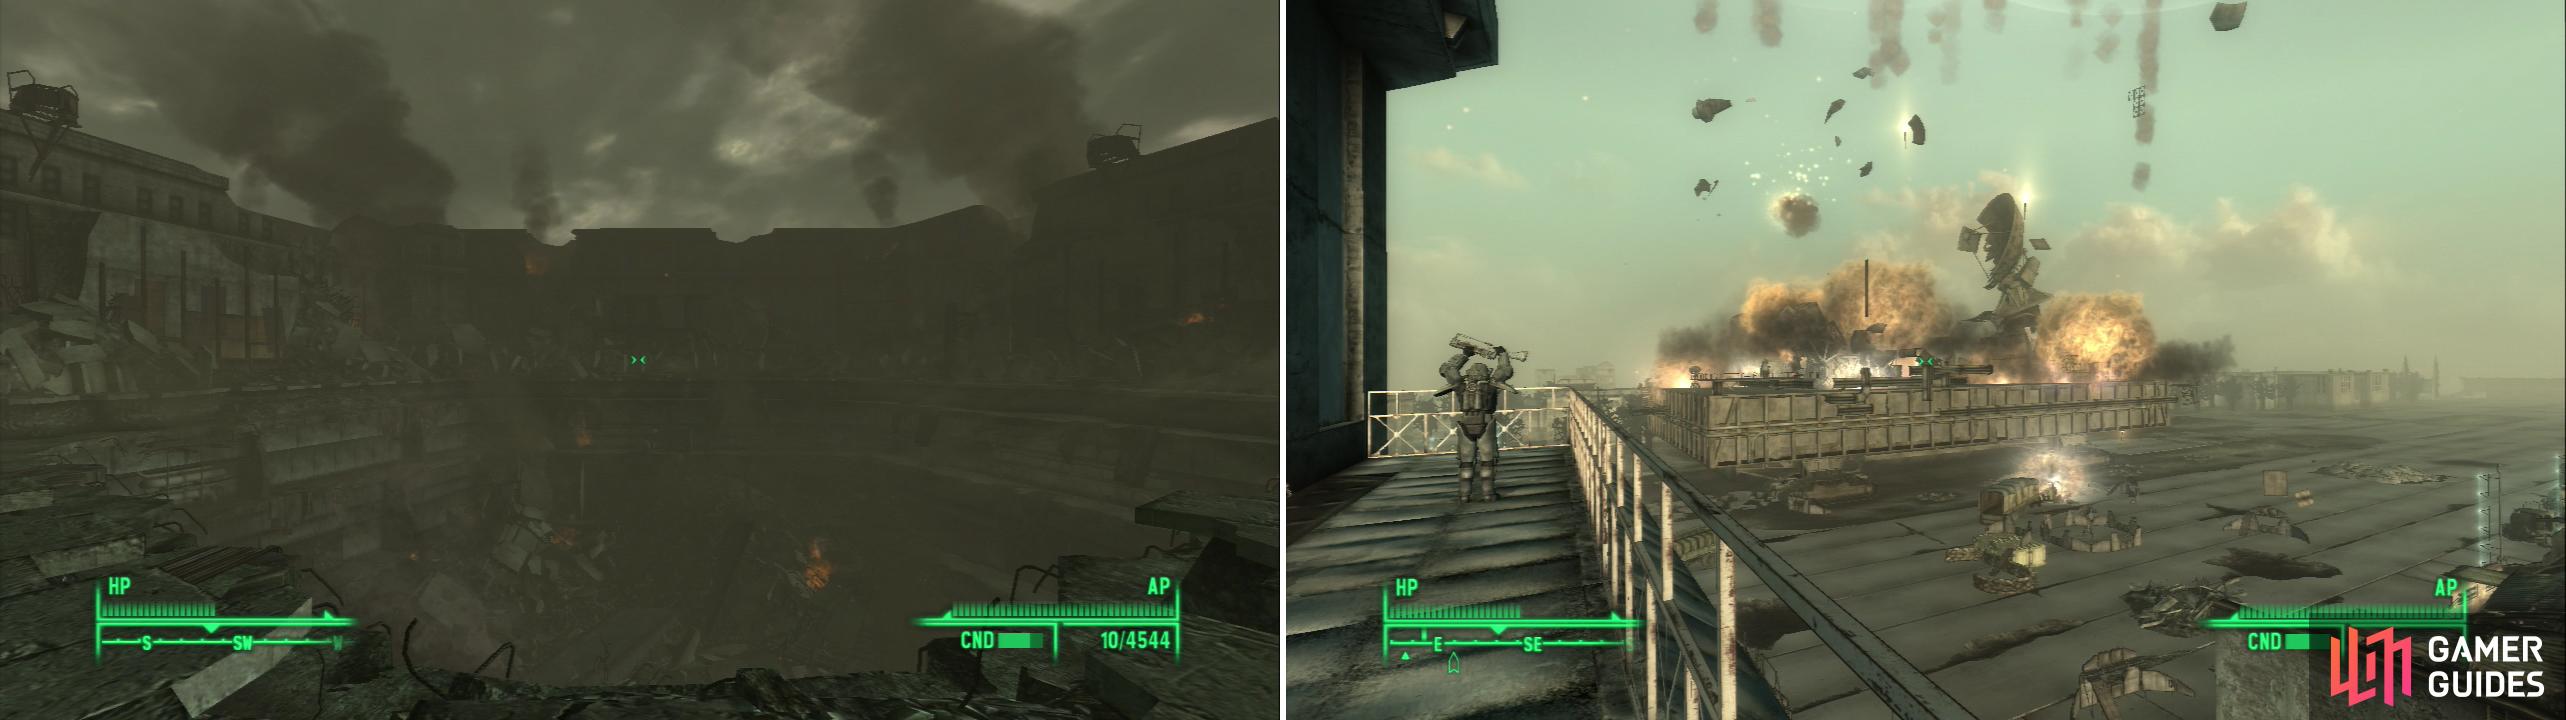
These intact metro tunnels are patrolled by powerful robots and turrets… (left) probably a large reason why they’re still intact. M.A.R.Go.T., the computer in charge of these tunnels (right), will tell you about a breach that must be cleared before normal operations can be restored.
3) M.A.R.Go.T.
You can just ignore M.A.R.Go.T. and go through the door to the Presidential Metro [Hard]. If you talk to M.A.R.Go.T. you’ll be asked for identification, and if you fail to provide a satisfactory response, you’ll be attacked by the Turrets in the room (a Mark VII Turret and a Mark V Turret). You can show your filched Senate Employee ID, succeed at a fairly hard Speech challenge, or make a Science check to get the machine to play nice. Ask about the security breach and you’ll find that the tunnels ahead have been infested by Ghouls. On the plus side, however, your dialogue with M.A.R.Go.T has marked you as friendly, so you should no longer have to deal with security. Head on east into the Presidental Metro when you’re done with M.A.R.Go.T.
4) Bots and Brain-Eaters Battle
Venture east than south into a metro tunnel to find a triangular junction in the metro, where a fairly large fight will occur. A number of Ghouls-both weak and leveled varieties will assault this area. The Sentry Bots and Turret are strong, but they might not hold all the enemies at bay. Yes, this means Feral Ghoul Reavers, so be in good form and ready to fight-or use Chinese Stealth Armor and kill them all with a Deathclaw Gauntlet unobserved.
5) Securing the Breach
Either way, once the carnage is over head down the tunnel to the south, where you’ll witness some Ghouls in a parallel track to the west get clobbered by a train. Weren’t those supposed to be non-operational? Go through a door to your left labeled as the “Equipment Room” and continue through it-grabbing a Nuka-Cola Quantum off a metal shelf on your way-and into another metro tunnel to the east. Follow this tunnel south until you reach an area with red lights around. You should have secured the security breach by now.
Head through a doorway to the east, past a train, and through another doorway, then south down a hallway to reach an office where you can score a bit of loot. Return west past the train and turn south to reach another small office. On the wall to the south you’ll find the “Power Box” activate it to turn the power back on, which will get the trains working and open the door to the west that leads to the Capitol Building. If you want to go back home and stash loot, heal, or whatever, head through the door leading to the Capitol Building East Entrance, which is just a quicker source of egress. Grab the note “Sorry, My Darling” off the bench as you go, while you’re at it. If you’re ready to continue on, board the head train and activate the “Metro Console”.
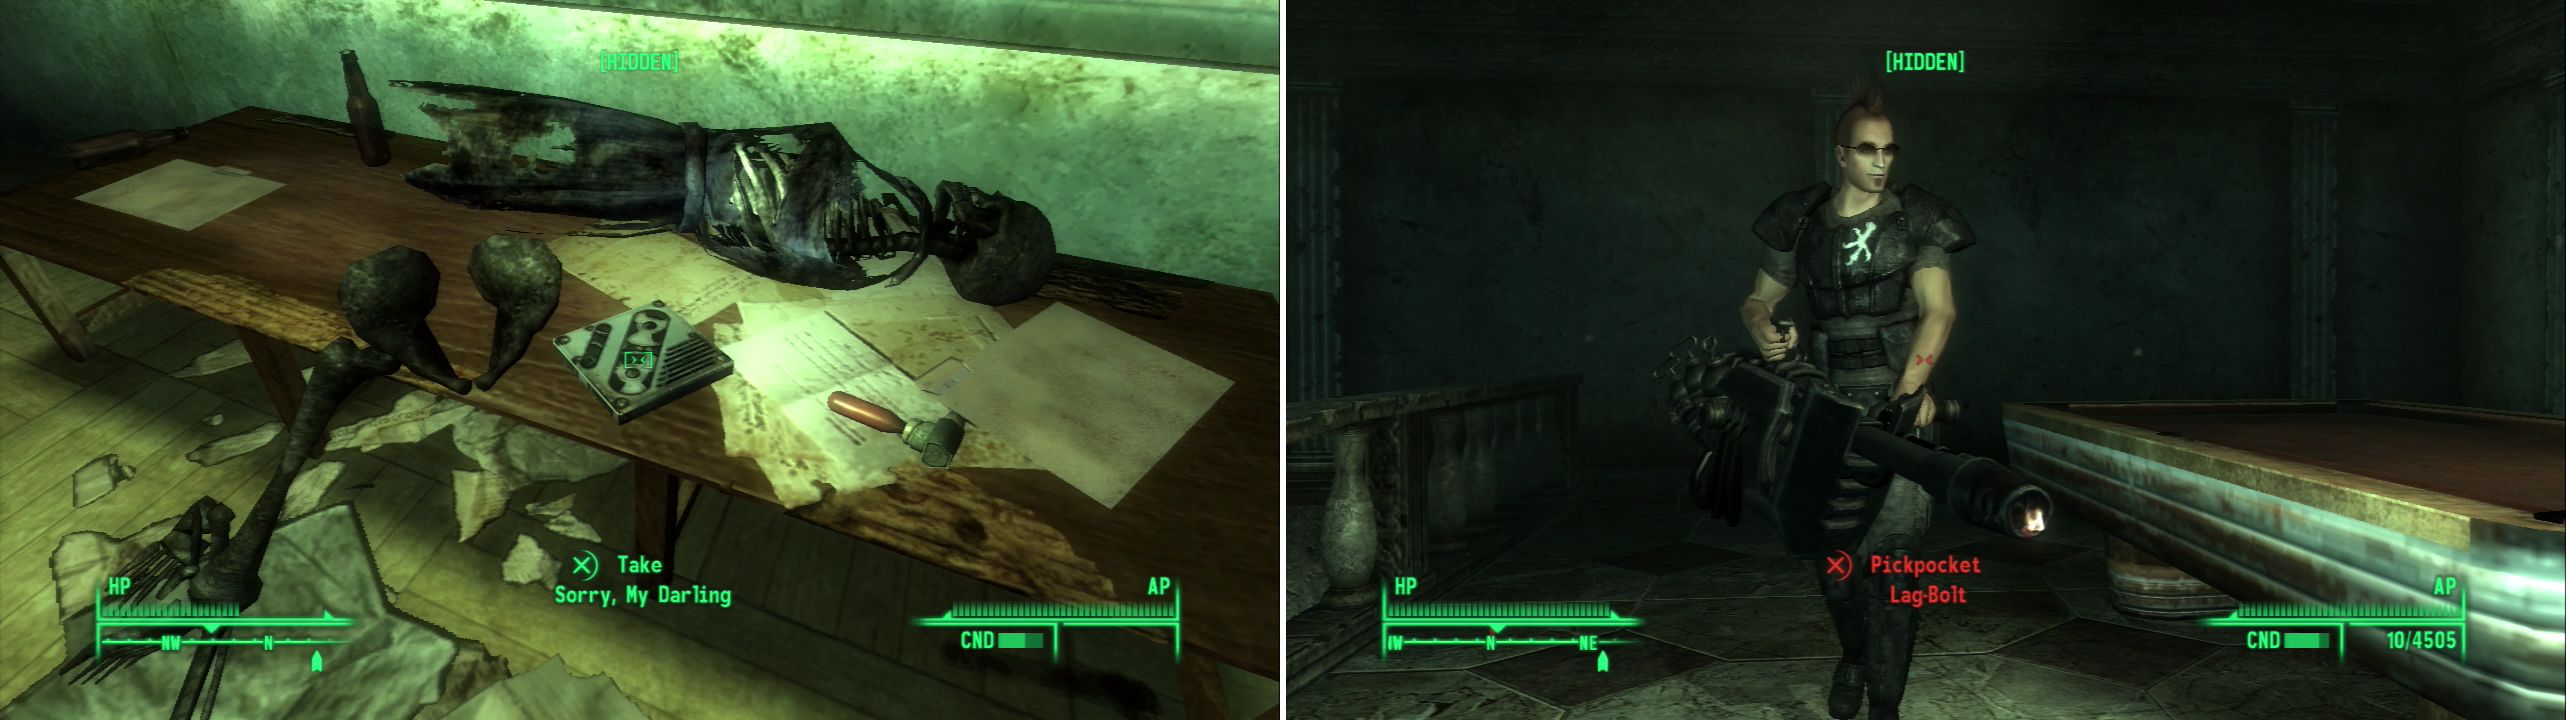
Pick up the note “Sorry, My Darlin” (left) then head to the La Maison Beauregard Lobby to find Lag-Bolt (right).
6) Adams AFB Metro Exit
Watch the wonderful fighting between the Ghouls and ‘bots as you speed off towards your destination. These metros are like sinking ships, once breached, it’s inevitable they’re going down. Ah well. You’ll arrive in the Adams AFB Metro Exit. Don’t worry, it’s not a one-way trip. Head east up some stairs to find some tunnels running north. If you want to be sneaky, pick the locked door [Average] and hack the “Turret Control System” terminal [Average] to set the Mark VII Turret on the Enclave. Or just force you way through. Either way, get past the barricade and go upstairs to reach Adams Air Force Base.
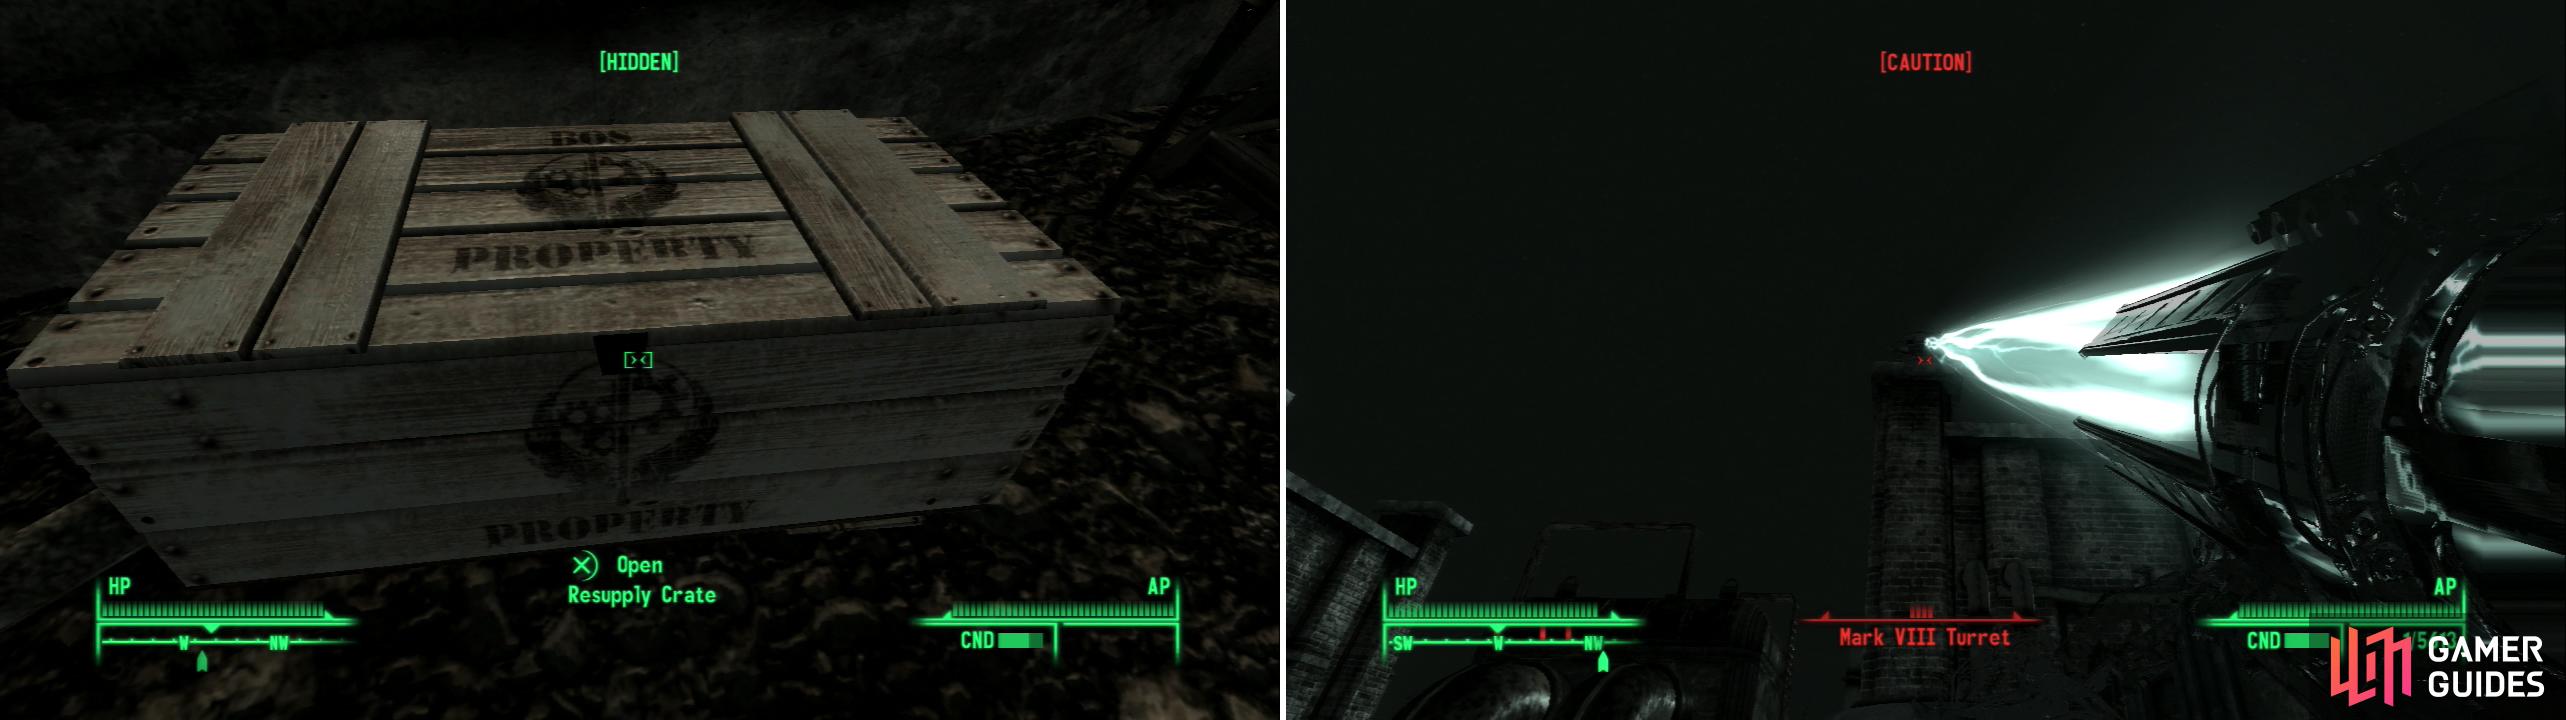
Loot the supply crate (left) to score the Tesla Cannon (right), a mighty, but slow weapon.
7) Adams Air Force Base Entrance
Head up the stairs to the north to discover this location, then immediately turn west to find a box behind a metal shack marked with the Brotherhood of Steel standard. Open the “Resupply Crate” to get the note “Orders”, an Electron Charge Pack x50, 50 Microfusion Cells, and the Tesla Cannon . Oh, but we’re going to have some fun with this. Why not try it out against the turrets on the building up ahead? It’s a great long-ranged weapon, especially if you mark the target with V.A.T.S. before firing.
8) Calling Down the Thunder
Head between the buildings to the north-east, behind some Enclave barriers you can find a metal shack with a “Turret Control System” terminal in it [Average], and nearby are some stairs leading up to the roof of the building. If you head to the north-eastern edge of the roof you can find an awning of an adjacent building to the east, upon which lies a first aid box, some MF Cells, and a Mini Nuke. Head down some stairs on the northern edge of the building and cross to another set of stairs to the north (the fenced-in stairs, obviously not the ones that are collapsed.) Upon this roof you can find some first aid boxes, some .308 Caliber Rounds, the note “Sector 1 Artillery Note”, and of course an “Artillery Switch” you can use to call down the thunder-just head up some stairs and follow a metal walkway to the north to find the goodies. Once you’re done abusing the Enclave defenses, head down the stairs to the east and enter the airfield adjacent to the hangers.
9) Hitting the Hangers
You can score some Enclave crates and kill some Enclave Soldiers in the defensive works along the airstrip. When done, enter the first hanger and, if you want to have some fun, hack the “Deathclaw Pen Door” terminals [Hard] and sick the Deathclaws on the Enclave soldiers. Search the hanger to the east, where you’ll find some Enclave Scientists. One of them has the note “Flamer Fuel Stash Holotape” and the “Fuel Stash Container Key”. In the hanger to the north-east the most interesting thing is the Deathclaw you can release from captivity. Search the western wall of the hanger directly north from the one where you released all the Deathclaws to find your way in (ignoring the stairs up for now). Along the eastern edge of the interior of the hanger you can find a pair of Mini Nukes, one under a desk, and the other behind some filing cabinets.
10) Rooftop Ripper
Now exit this hanger by leaving out the way you entered. Go up the stairs to the north and continue north until you find a communications tower on the roof a building to the north. Yeah, in general we’re looking to go north. Kill the Enclave soldiers and Turrets you find (in a metal shack to the west you can find a “Turret Control System” terminal [Average], then search the table to find the note “Sector 2 Artillery Note” and another “Artillery Switch.” Go down the stairs on the northern side of the building and head into an alley to the west. Turn left, then right and go up some stairs to find a cache of goodies on top of a roof, which includes a Ripper, two Psycho, an ammunition box, and three first aid boxes.
11) To the Air Traffic Control Tower
Head east back to the hangers, following the road. When you come to a four-way intersection, turn north to run between two destroyed hangers. Finally, we’re nearing the Adams Air Traffic Control Tower. To the east the Brotherhood and Enclave clash beyond some force barriers. Continue north over some debris and turn north-east at a jack-knifed truck (in the back of which are two Enclave crates) to spot the Adams Air Traffic Control Tower. Disable the Turrets on the roof and kill whatever Enclave Soldiers are still lurking around.
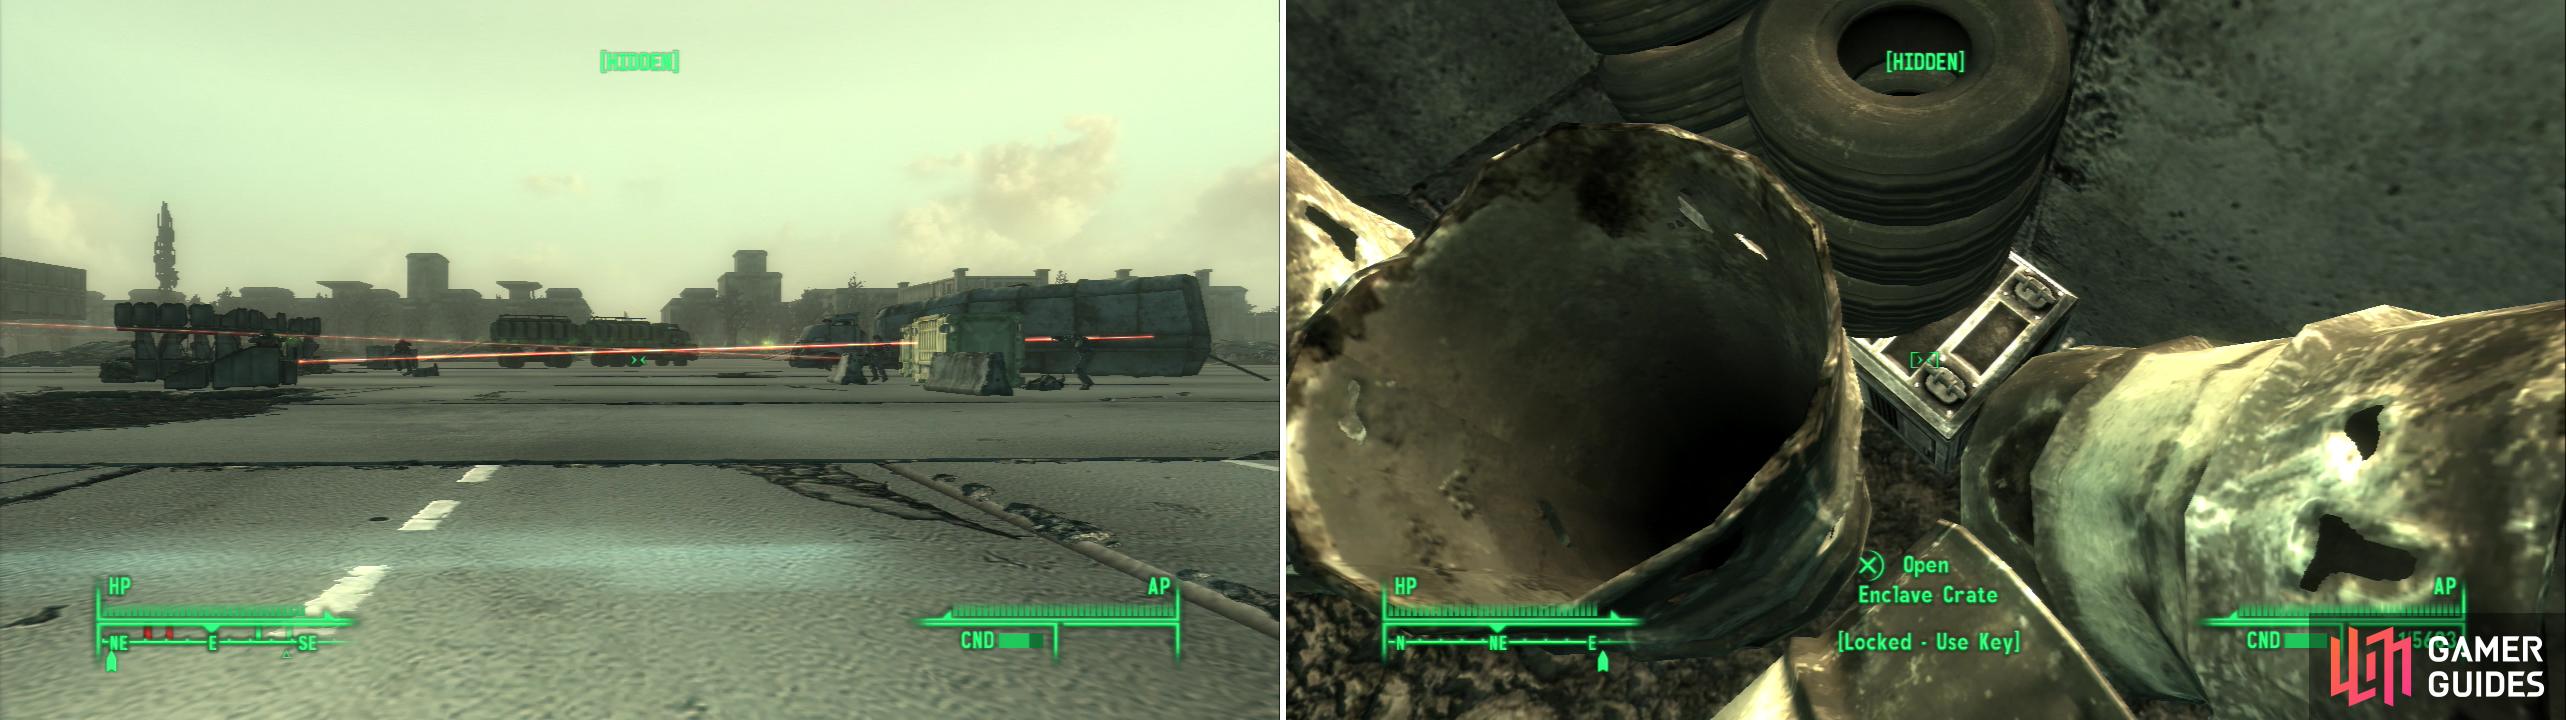
The Brotherhood will show up to lend a hand (left)… for what little good they do. Find this stash hidden under some metal drums (right)
12) The Flamer Fuel Stash
First things first though. Head west of the Adams Air Traffic Control Tower. On the western end of the building complext that’s part of the Air Traffic Control Tower you can find a “Turret Control System” terminal [Average]. Keep going west past the end of the building, then turn north-west and head between two buildings, turning north when you hit a wall and circling behind the smaller of the two buildings. Under some barrels and tires you’ll find and Enclave Crate, which you can open thanks to your key. Inside is Fuel x400. Continue north, then turn east, head up a road, find a truck, and loot the back of it to score two Enclave crates. When you’re done fooling around head into the Adams Air Traffic Control Tower, which can be achieved by heading up some stairs along the eastern end of the building.
13) Adams Air Traffic Control Tower
From the entrance head north-west and score a first aid box on a bookshelf, then continue west to and search under the desks to find a Nuka-Cola Quantum, along with another first aid box on the wall of this cubicle. Backtrack to the beginning, then head west up some stairs and exit to Adams Air Force Base (scoring another first aid box along the way). Continue going upstairs until you reach the top of the tower, where some Vertibirds will appear and fire missiles at you. No, they don’t need to see you, they’re just going to shoot into the tower. Take out your Tesla Cannon and deal with them. Once they’re dead, activate the “Enclave Field Research” terminal and select the option “Open Mobile Platform Loading Ramp”. Once done, exit the Adams Air Traffic Control Tower.
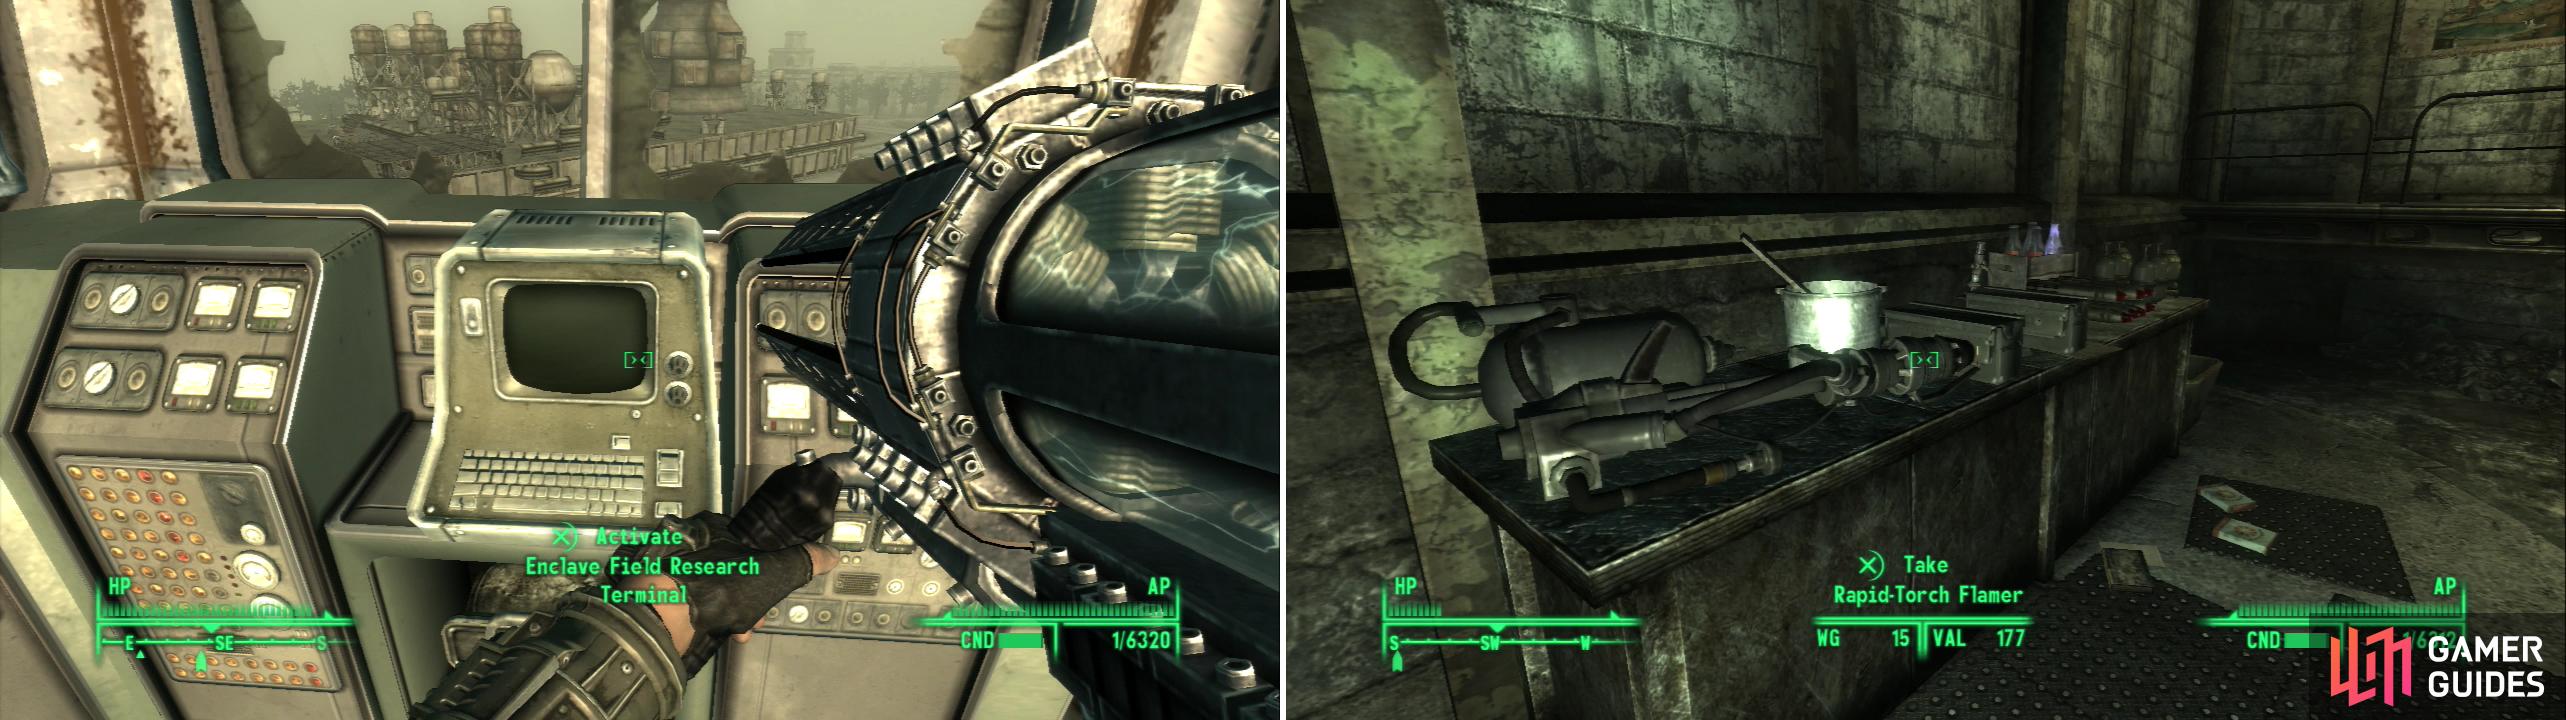
Ascend to the top of the Adams Air Traffic Control Tower to open the way to the Mobile Base Crawler (left). Be sure to hit a storage facility in order to score the Rapid-Torch Flamer (right).
14) Looting the Air Field
Head over to the east to find the main runway of the Adams Air Force Base. This is where the Brotherhood and the Enclave were duking it out while we were exploring hangers and whatnot, so needless to say there’s a bunch of loot strewn about. So, before we head over to the Mobile Base Crawler, let’s search our way down the runway to the south. There are dead bodies to loot, and truck beds to explore, as well as the Adams Storage Facility. The exterior of this area is guarded by a quartet of leveled turrets, and it even has its own map marker! Inside of the Adams Storage Facility you can find the Rapid-Torch Flamer on a counter, along with ammo, Mini Nukes, and a Nuka-Cola Quantum, so it’s worth checking out. Once you’ve sacked this building, it’s time to head over to the Mobile Base Crawler.
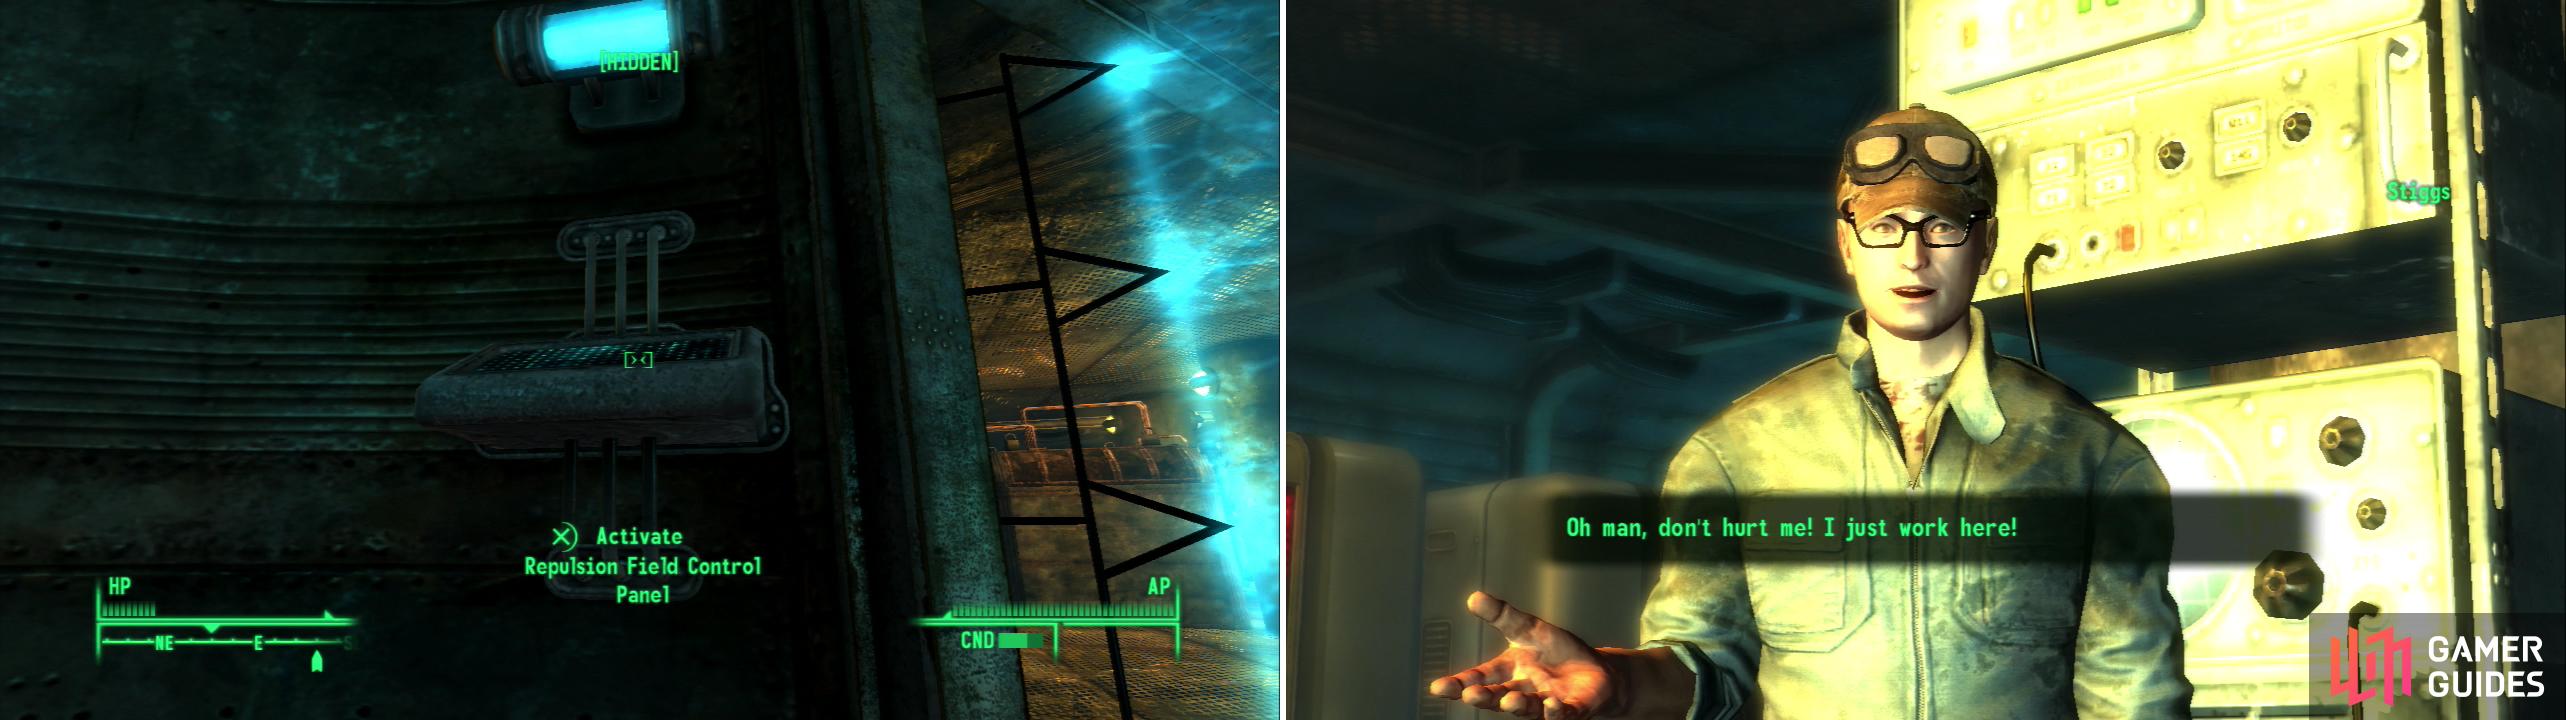
Navigating the Mobile Crawler will be easier if you have a high Science score, thanks to the Repulsion fields scattered about (left). Stiggs works for the Enclave against his will-if you have the Robotics Expert perk, he’ll pass on some useful information (right).
15) Repulsion Field Control Panels
Activate the “Repulsion Field Control Panel” where you’ll get several options. You can turn off the repulsion field if you have a Science score of 80, which is pretty self explanatory. You can set a timed charged if you have an Explosives score of 50 and make the panel explode, but this is not advised as it leaves the repulsion field quasi-functioning, allowing you to pass through, but damaging you every time you do. Smashing the control panel is like the option above, but less elegant. The panel will immediately explode-injuring you-and you’ll have to deal with a quasi-transparent repulsion field. By now you should be able to just turn the damn thing off.
16) Scaring Stiggs
To the south is the “Repair Station” where you’ll find Stiggs, a mechanic who’ll ask you not to hurt him. If you say you’re going to hurt him, he’ll run away and his robots will attack you. If you’re nice, you can pump him for information about the upper levels. Also, if you have the Robotics Expert perk you can chat with him about the robots, and he’ll tell you that you could take control of all the robots in the facility by hacking into the mainframe. He’s a nice guy, and there’s no harm in letting him go. He’ll take his robots, “Sparky” and “Hoover” with him. Once he’s gone, loot the Enclave crates lying around. Through a force barrier to the west you’ll be able to score four first aid boxes and some drugs, just mess with the “Repulsion Field Control Panel” to deal with the barrier. If you go into a tunnel to the south you’ll find a ladder leading to the “Launch Platform Base” area… but there are other, more interesting ways to progress through this place.
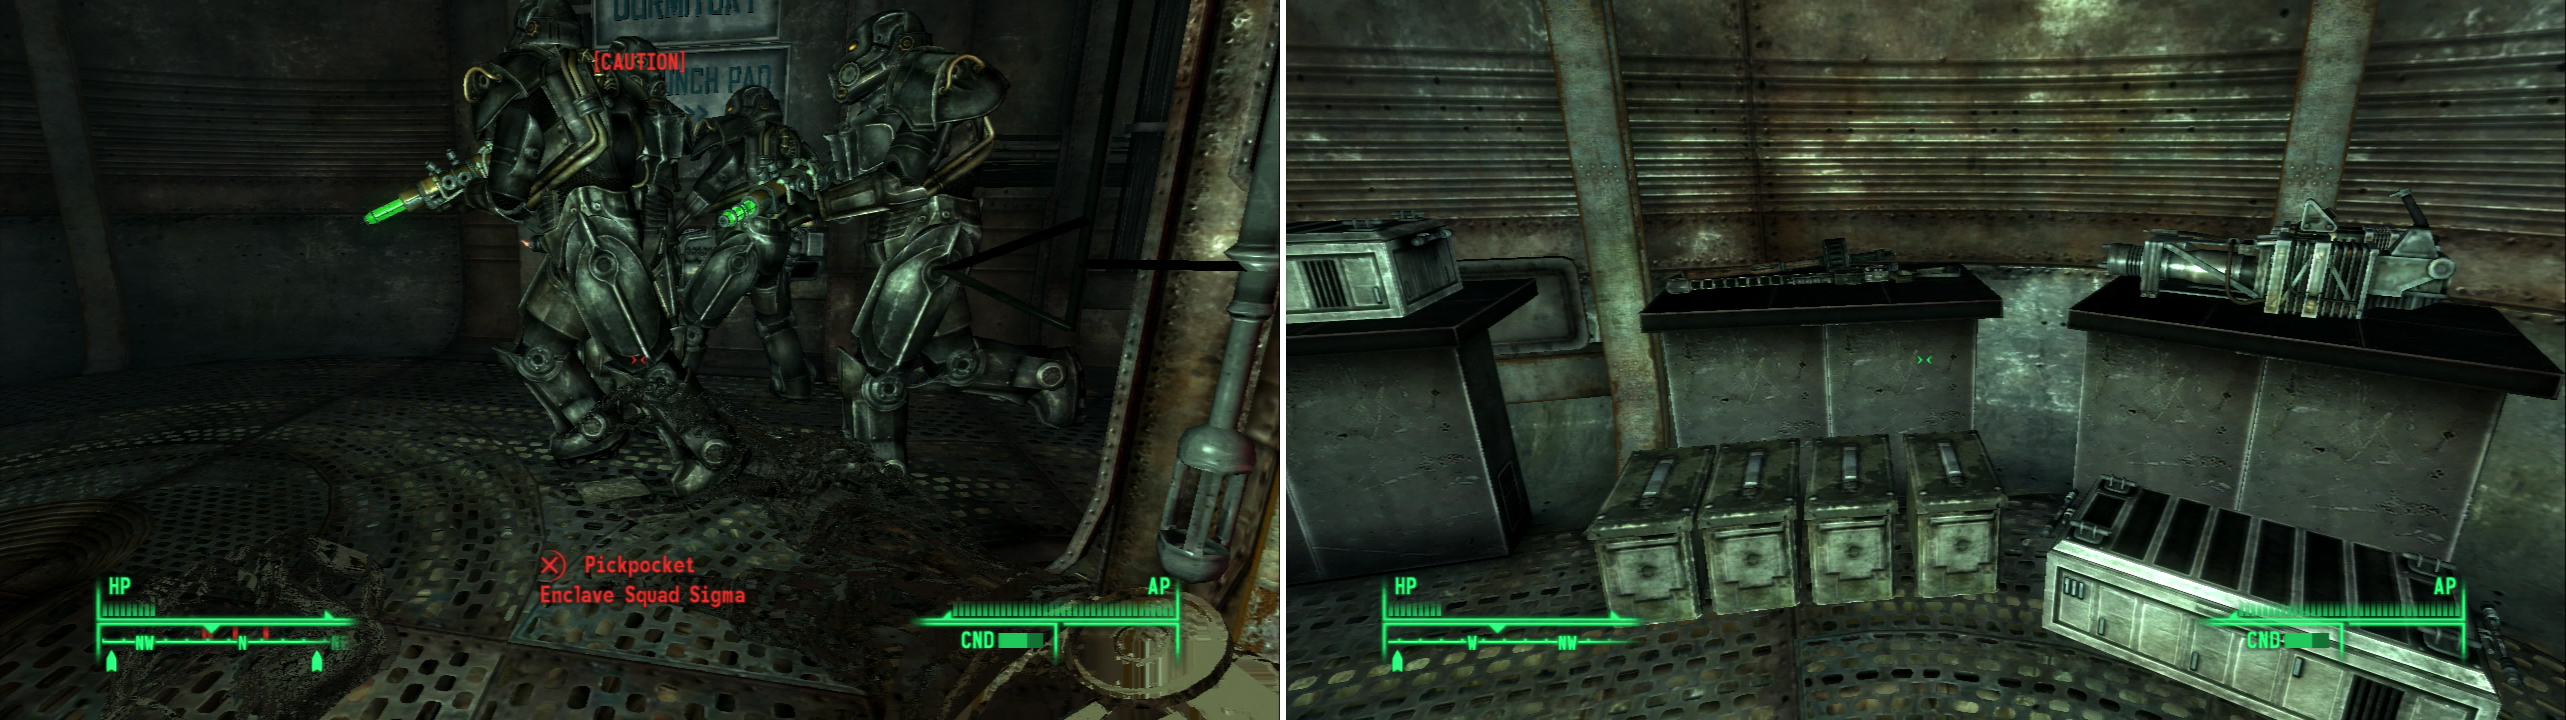
Sigma Squad will arrive to thwart your progress (left). Loot the armor for an assortment of welcome treasure (right).
17) Smiting Sigma Squad
Backtrack to the north, staying on the eastern side of the level, where you’ll spot another force barrier you can take down by manipulation a “Repulsion Field Control Panel”. The junk behind the barrier doesn’t really warrant the effort, little as it may be. Continue north to find a “high security clearance” area sign. If you go too far some Enclave Squad Sigma soldiers will show up. They’re more durable than normal Enclave Soldiers, but they still shouldn’t be a match for you. Through a barrier to the north-east you’ll find an “Armory” which is worth checking out, as you can score five Plasma Grenades, five Pulse Grenades, five bottles of Buffout, five packs of Psycho, a Super Sledge, a Laser Rifle, a Sniper Rifle, a Combat Shotgun, a Gatling Laser, and no less than seven ammo boxes (although some are cross-dressing as Enclave crates.) Other than this stash you can find plenty of components and other loot strewn about that you really shouldn’t need anymore. Through a barrier to the north-west you’ll find some stairs leading to the “Launch Platform Base”. The difference between the door here and the ladder to the south is that this door leads to the “Dormitory” part of the next level while the latter takes us to the “Live Deathclaw” area. Let’s explore the Dormitory first.
18) Death in the Dorm
From the door head west to find a Security Officer-who possesses a “High Clearance Keycard”. Continue west a bit and enter a room to the south marked “Restrooms” and kill “Enclave Doctor” therein. Kill her and take her Lab Coat. Now turn around and head back to where you entered the level-you can loot the individual dormitories for their meager loot, but a mighty haul is calling us back east.
19) Another Armory
From the entrance head down the hallway to the east and follow the tunnel as it heads south until you reach another Armory. Inside you’ll find the Armory Master and several leveled Turrets. Kill them and claim the Armory Master’s Precision Gatling Laser and his Composite Recon Helmet , then pick the locked door [Hard] if you want to loot the Armory, where you’ll find more loot than you probably know what to do with. At least loot the ammunition boxes [Average], as they contain Alien Power Cells. The locked gun case [Hard] contains another Alien Blaster , identical to the one we found earlier. Some of the lockers also contain Stealth Boys, which are always handy.
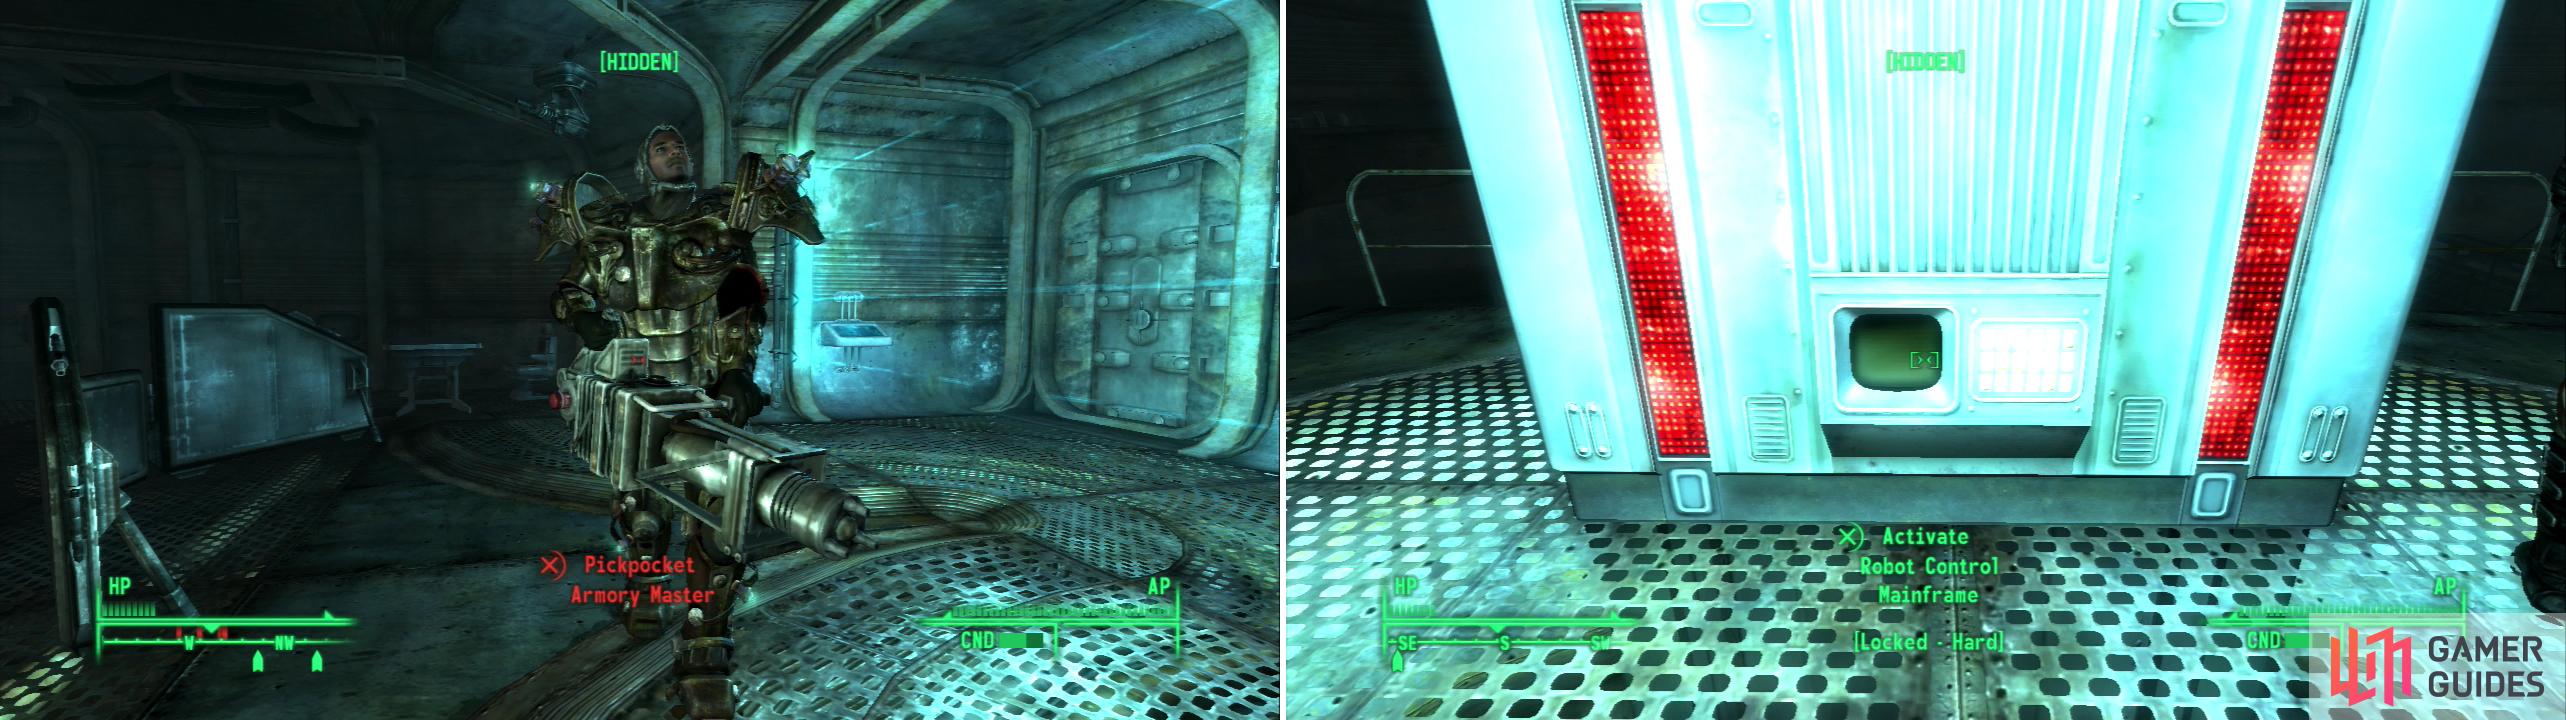
Kill the Armory Master for some choice loot (left) and be sure to loot the armory he guards! If you hack the Mainframe, you’ll turn all the robots on the base into allies (right).
20) Hacking the Mainframe
Turn west to spot a locked door [Easy] you should pick and head through, as it leads to the Mainframe. Circle around to the south-western corner of the room to find some stairs. Go up the stairs and take a right, passing under a sign helpfully labeling the mainframe. Activate the “Security Terminal” to unlock all the exterior and interior doors, as well as the door to the Armory-which is moot to you if you’re following this guide word-for-word. You can also hack the “Robot Control Mainframe” [Hard] to either shut down the robots, turn off their targeting perameters, or, if you’ve got the Robotics Expert perk you can specifically set them to target the Enclave.
21) Deathclaw Research
Head back west to reach the stairs you came up and continue west past them into a room with a terminal [Average] which you can use to open the door to the west, if you didn’t already unlock all the doors with the Security Terminal. Go through the door to the west, where you will probably find another Security Officer with another-now useless-“High Clearance Card”. From the door take two lefts, heading east until you find an opportunity to go down a corridor to the south, where you’ll reach a platform with a Deathclaw in stasis, and a “Deathclaw Research Terminal” [Average], where you can open (or close) the repulsion fields around the Deathclaws and the “Protection Station”.
22) Slo-Burn Flamer
Head back north and take a right and head east a short ways until you get a chance to take another right. Head under a sign that says “Sensative Electronics” and into the “Protection Station”. Here you’ll find another Deathclaw in stasis, the unique Slo-Burn Flamer , and the “Deathclaw Control Terminal” [Hard], which serves no purpose but to raise and lower the repulsion fields the earlier terminal affected. We’ve killed most of what there is to kill and looted most of the significant loot, so it’s time to move on… there are two ways to proceed-head north past the Mainframe and follow the signs to a ladder that leads to the Launch Pad, or you can head to the far northern part of the level, where another door leading to the Launch Pad awaits you, near the Dormitories.
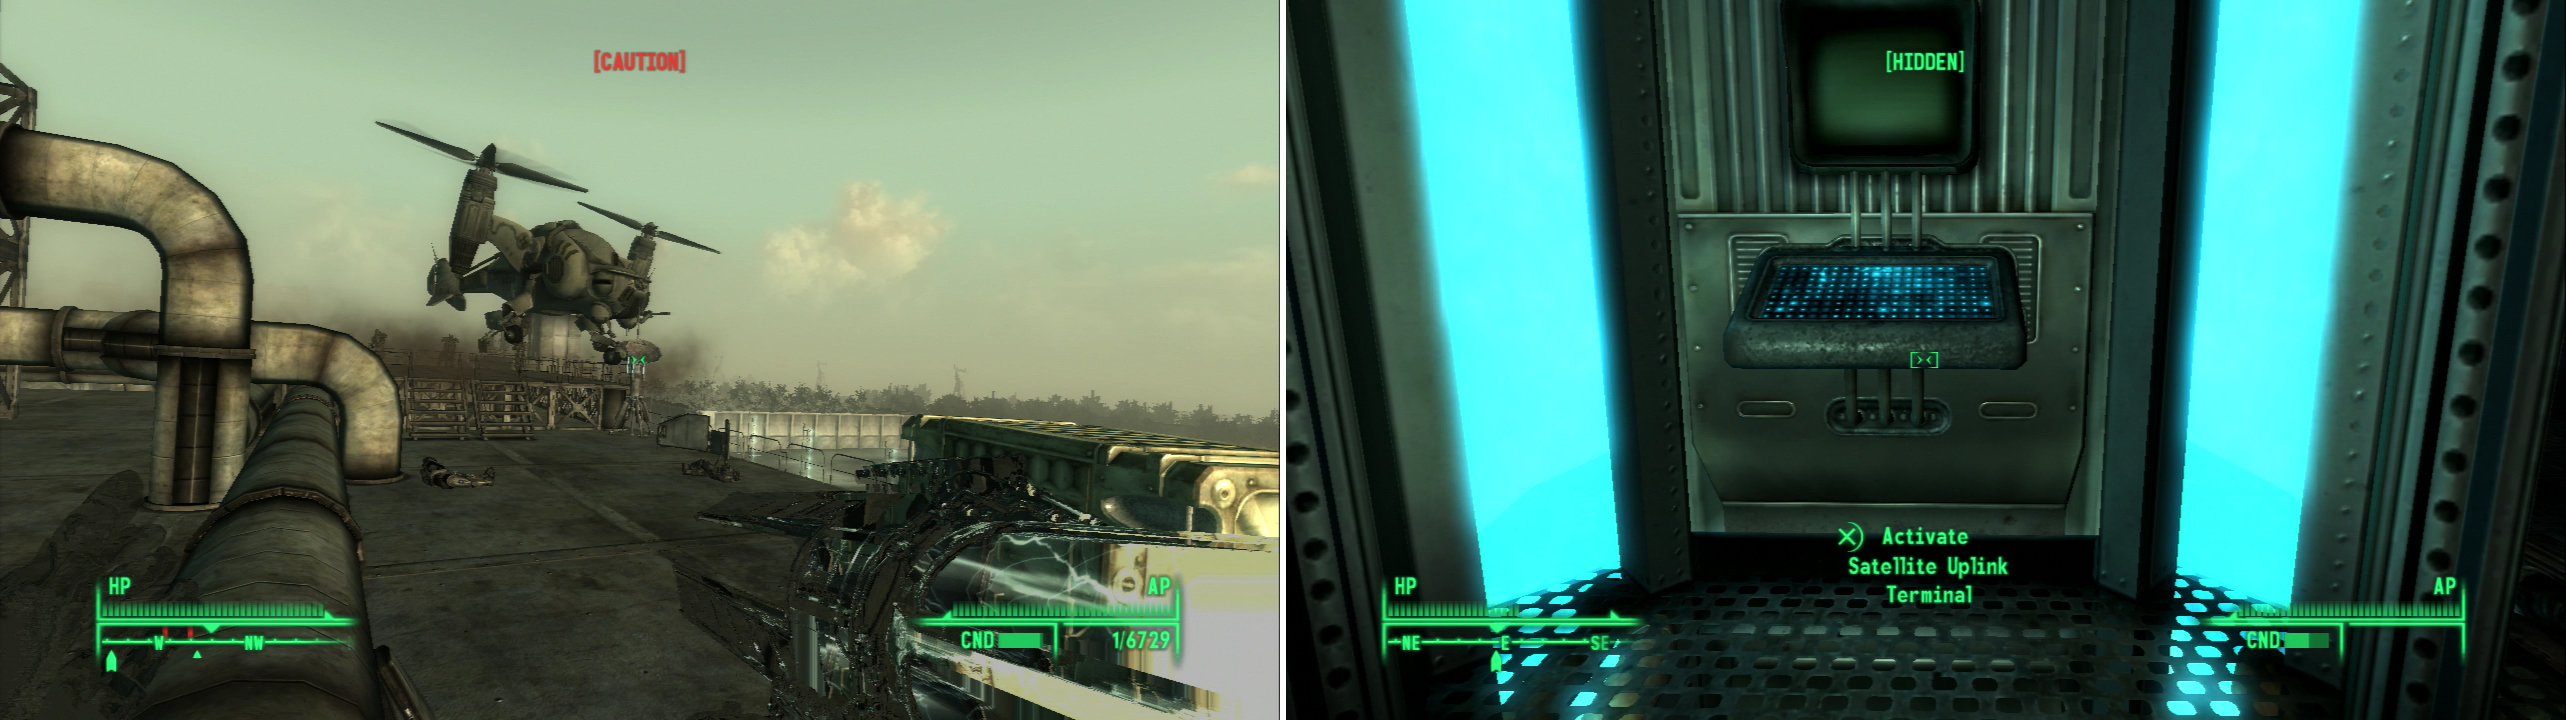
Vertibirds will drop Enclave reinforcements on the roof in a last-ditch effort to stop you (left). Access the Satellite Uplink Terminal and choose your target… (right)
23) The Launch Pad
You’re now on the roof of the Mobile Base. If you surfaced by using the ladder near the Mainframe you’ll be in a small metal room with some Enclave crates inside. If you went through the Dormitory door you’ll arrive on some metal railing along the northern end of the Mobile Base. Point is, it doesn’t really matter where you surface. There will be Sentry Bots and Turrets around… unless you turned them against the Enclave earlier. Don’t get too cocky, though, several Vertibirds will fly in and drop off some Enclave reinforcements, who are more than a match for any friendly machines that might still be around. Fight your way to the south to reach the Satellite Control Tower, your ultimate goal.
24) Satellite Control Tower
From the entrance head north-east-you can find a metal shelf to score some Combat Knives, Missiles, and Frag Mines, as well as a first aid box and an ammo box. Continue into a room to the east to find another lootable metal shelf, and further east, a door [Average]. There are two ways to reach the top of this area-either go through the locked door and head around the hallways encircling the central room, going up stairs, looting metal shelves, and killing Enclave Soldiers along the way. You’ll have to unlock another door [Average] to get into the central chamber eventually. Another way to get to your definition it to go up the stairs in the central chamber, which will take you more or less straight to your destination. The latter path is quicker, but less lucrative. It should also be pointed out that any robots on this level will be friendly if you hacked them, earlier.
Loot the ruins of the Citadel after demolishing it (left) or witness the destruction of the Enclave’s Mobile Platform (right).
25) Rescued by a Flyin’ Lyon
Fight your way to the top to reach the “Satellite Uplink Terminal”. Select the option “Fire Payload” where you’ll be prompted to select from one of five preset payloads: the Citadel, Project Purity, Megaton, Rivet City, and the Adams AFB Platform. Of them, only the first and last location can be destroyed. If you decide to blow up the Citadel you’ll get a lot of bad karma, but you’ll also get access to some pretty nice loot ( see Step #27 ). If you blow up the Adams AFB Platform, the Brotherhood will be happy chums and everybody will rejoice. Yay! ( see Step #26 ). Pick what to destroy, then head through the door to the south to reach a Vertibird landing pad.
Sarah and some members of the Pride will show up and rescue you before carting you off to the Citadel (or what’s left of it.) If you decided to blow up the Citadel, they will not be very happy, obviously, and you’ll have to put what’s left of the Brotherhood down when you land. If you just blew up the Adams AFB Platform, you’ll land
by the Adams Traffic Control Tower and watch the demise of the Enclave before returning to the Citadel.


26) Odd-Jobs After Victory
Once you return to the Citadel, Elder Lyons will talk to you and thank you for your fights against the Enclave. Talk to Scribe Rothchild and he’ll ask you to bring him Sensor Modules and Cameras. Talk to Paladin Tristan and he’ll ask you to bring him some Super Mutant Blood samples, which you can obtain by looting every Super Mutant you kill from now. If you blew up the Citadel, read Step #27 , in which case you’ve got a little bit of looting left you can do, otherwise this game is over.
27) Traitor’s Treasure
If you destroy the Citadel, there will be a large crater where the Courtyard used to be. Head inside and down the crater to find a door to the Armory. Inside you can find Callahan’s Terminal [Hard] which unlocks Callahan’s Safe [Hard], inside of which you can find the gun Callahan’s Magnum . There’s also plenty of other loot around, such as a pair of Tesla Cannons , Alien Power Cells, three Mini Nukes and numerous more mundane arms and ammo. There’s also a dead Brotherhood Initiate with the “Armory Key” on him that’ll open a locked door, allowing you to reach some more loot, including four first aid boxes and some Nuka-Grenades .
No Comments