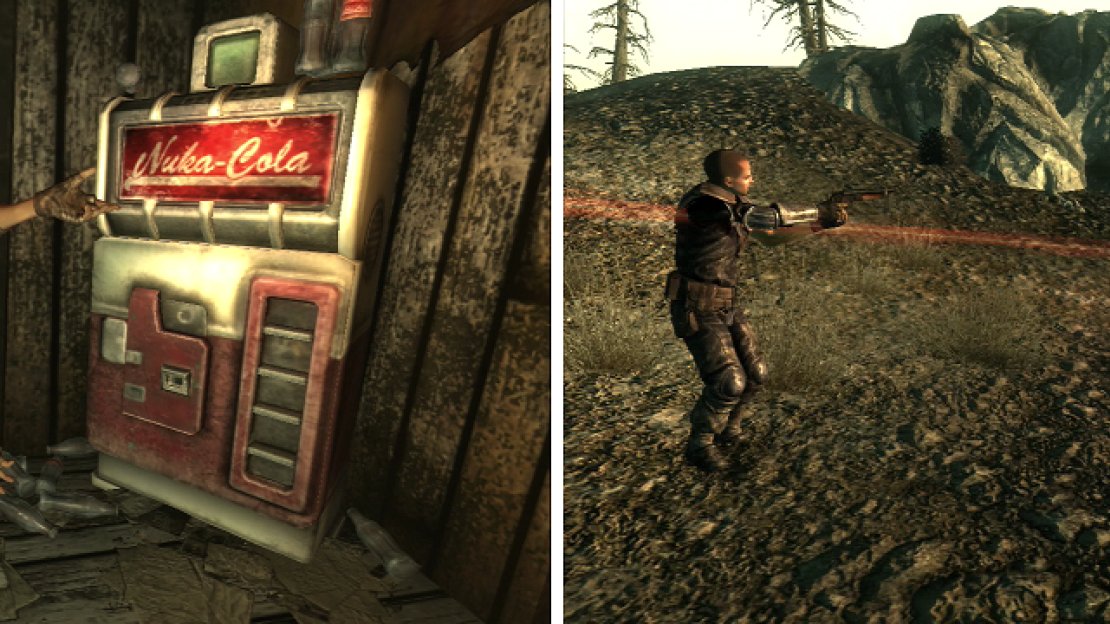
Sierra definitely likes her Nuka-Cola (left). Ronald Laren, despite how tough he acts, isn’t up to the challenges the Wasteland presents (right)
1) Sierra’s Nuka-Addiction
From Rockopolis head south until you find Girdershade. This lovely ‘town’ conists of two homes. Head into Ronald Laren’s Home and loot it while he’s not around, then go to Sierra Petrovita’s Home. Talk to her and play nice to take the Nuka Cola tour, at the end of which you’ll get an Ice-Cold Nuka Cola. She’ll ask you to get her some Nuka-Cola Quantum, 30 in all. If you succeed at a Speech challenge she’ll tell you about the special prize for getting her all the Quantum she needs: a Schematic - Nuka-Grenade . Ask her about the surrounding area and you’ll get the map marker for Evergreen Mills. You’ll also get the map marker for the Nuka-Cola Plant, where you’ll need to look to find the shipping manifest to find where all that Quantum went. If you want, you can go on a Nuka-Cola stealing spree in this house and get quite a few bottles.
2) Possessive Ronald
When you leave Sierra’s house you’ll be confronted by Ronald Laren, who will not so kindly ask what you were doing with “his woman”. He’ll ask you to bring the Nuka-Cola Quantum to him instead of her so he can reap the rewards for bringing it all to her. If you succeed at a Speech check he’ll pay you double for each bottle. If you have the Black Widow perk you can convince him to go looking for the Quantum for you. It’s not a journey he’s likely to return from, however, as his Sawed-Off Shotgun will fail to impress any Giant Radscorpions and Yao Guai he happens to come across. Hell, a Protectron is almost enough to kill him!
Anyways, whatever your answer, we’ll continue collecting Quantums throughout the game, so don’t pay this quest any mind yet. Note that Ronald Laren carries the unique Sawed-Off Shotgun, The Kneecapper , if you want to kill him to obtain it, in all its useless glory. Also note that if you use Black Widow on Ronald and he runs off into the wastes, you can fast travel to the Nuka-Cola Plant, where you’ll find his body inside, near the doors. Ah, poor guy… kinda feel sorry for him. All he wanted was to get laid… Anyways, moral of the story, don’t expect a horndog with a small shotgun to provide for you. He just won’t get the job done.
3) The Nuka-Cola Challenge
We’ll finish up this quest as we explore other places and complete other quests. There are a few select areas where you can score several bottles of Nuka-Cola Quantum at once, but many of them will be obtained singly. Nuka-Cola Quantums can also randomly be found in Nuka-Cola vending machines, so there’s no way to exactly determine when you’ll accumulate 30 of them. When you’ve got enough, bring them to Sierra or Ronald, depending on how you want to complete this quest.
If you give Ronald the Nuka-Cola Quantums he’ll pay you and you’ll lose karma. You can now go watch Ronald give the Quantums to Sierra and watch him strike out. Ouch. Frankly, however, it’s more worthwhile to give the Quantums directly to Sierra; we can always get more Caps, but Schematics are unique.
4) Jocko’s Pop & Gas Stop
Book - Nikola Tesla and You
Schematic - Bottlecap Mine
Okay, enough sexual puns, time to continue explore the wasteland. From Girdershade head east and slightly south to find Jocko’s Pop & Gas Stop. There’s a Nuka-Cola Vending Machine outside, and minor food items and Tin Cans inside. In a metal bucket near the counter is a Stimpak, and on the counter is a copy of Nikola Tesla and You . If that’s not enough, there’s a Schematic - Bottlecap Mine on the work bench, and a Nuka-Cola Quantum on a shelf behind the counter.
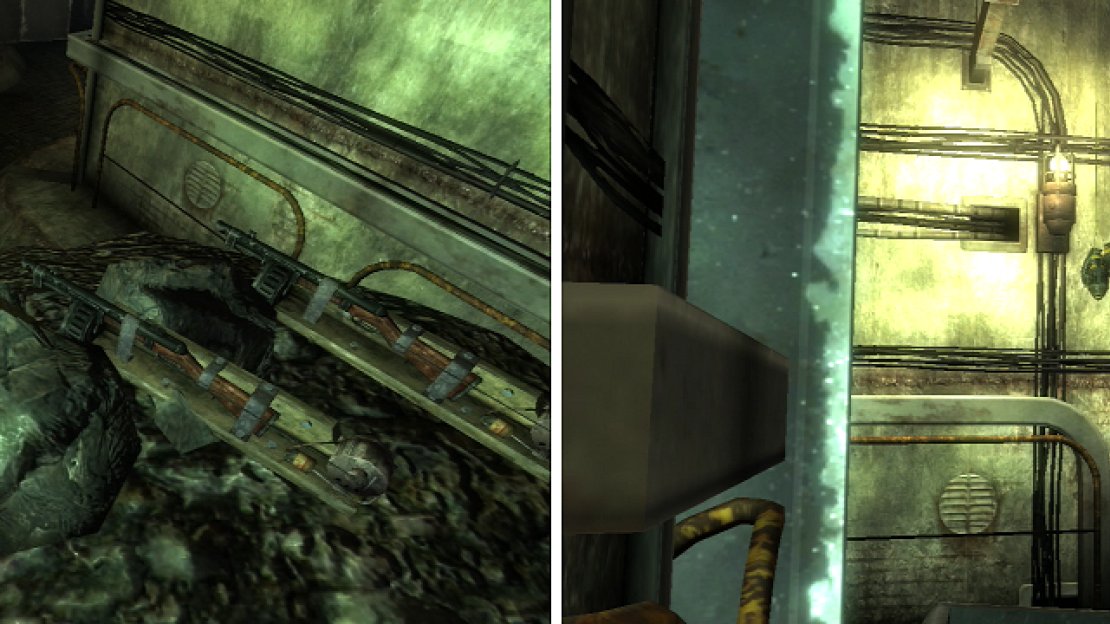
Pressure plates rigged to Combat Shotguns (left) are one of many traps you’ll find here. Carefully move the metal barrel to find the grenade bouquet that awaits the unwary (right).
5) Radio Tower Sierra Victor Drainage Chamber
Book - Duck and Cover!
Leave Jocko’s Pop & Gas Stop and look east, south-east to see some radio towers in the distance, over some rocky terrain. Pick your way to the closest of them and activate an electrical switch to recieve the Radio Signal Sierra Victor. Go south-east over a collapsed metal tower to find the entrance to a Drainage Chamber. Head south and deactivate two pressure plates, then jump over some metal cabinets. Be VERY careful, as there is a tricky grenade bouquet right behind the metal barrel, and if you push the barrel into the grenades… well, you’ll wish you hadn’t. Head south through a door. There’s a rigged computer you can disarm, and a whole bunch of loot. You’ll see the remains of the occupant, who was apparently working on another trap that went awry. Serves them right. Grab the copy of Duck and Cover! off the table.
6) VAPL-66 Power Station
Book - Dean’s Eelctronics
Head west (and slightly south) to find the VAPL-66 Power Station. Enter the Power Substation to find some minor loot. On one desk you’ll find a good haul of drugs, a copy of Dean’s Electronics , and some Sugar Bombs. Next to the table you’ll find a Mini Nuke. When you leave you’ll get attacked by some Raiders. No big deal.
7) F.Scott Key Trail & Campground
Book - Duck and Cover!
Schematic - Deathclaw Gauntlet
Travel west, south-west until you find the F.Scott Key Trail & Campground. Be careful, as there is often a Deathclaw nearby. In one of the campers you’ll find a Schematic - Deathclaw Gauntlet . On a picnic table outside you’ll find a copy of Duck and Cover! .
8) A Matter of Convenience
Head south, south-east until you find the Dunwich Building at the far south western edge of the Capital Wasteland. Of all the Bobbleheads we’re after, this is the least useful one, but it’s more a matter of future convenience that we get it now. Right now the most powerful thing you’ll likely have to face are Glowing Ones, which aren’t all that bad… at least, not compared to Feral Ghoul Reavers.
9) Into the Darkness of Dunwich… - (Dunwich Building)
Enter the building. To you left will be a room with a table, upon which are five portions of Jaime’s Journal. On the wall there’s an Eat’o’Tronic with three Stimpaks inside. Ahead of the door are ammo boxes with some 5.56mm Rounds and five Frag Grenades. Already a somewhat worthy trip, eh? Go down the hallway and take the door to the left. There will be some Ghouls in here, and on a desk in the south-west corner is Jaime’s Personal Journal Entry 06. Make your way back to the main hallway.
10) Last Stand Loot and Spooky Doors
Go to the room across the hallway to the east now and take a left instead of going up the stairs to the right. You’ll come to a poor little barricade. Take the Assault Rifle, the ammo, the Nuka-Cola Quantum and loot the Ammunition Box [Easy]. You’ll also find plenty of Frag Mines in the mine boxes. Score. Now backtrack to the stairs we just skipped and ascend them. The upstairs area is less interesting and lucrative than the downstairs areas… there are plenty of Ghouls to take your frustrations out on, a pair of computers are rigged to explode, and some spooky doors will open on their own. Find some stairs down in the north-eastern part of the level, descend them, and head through a pair of doors to find Jaime’s Personal Journal Entry 07 on a desk. Once collected, continue on into the Forsaken Dunwich Ruins.
11) Flashbacks to a Less Forsaken Time - Forsaken Dunwich Ruins
Book - Dean’s Electronics
Climb some stairs to the north then go through a door to the left and you’ll get a flashback of when the building was more… lively… You’ll also probably provoke a number of Ghouls in and near this room. When they’re dead, pick up Jaime’s Personal Journal Entry 08 next to the computer [Easy]. If you read the logs on the computer you’ll get some text recordings of some… well, something unwholesome. Go south and head up the stairs, following the only path you can until you find a door to the right. Go inside and loot, particularly the Dean’s Electronics on the metal shelf. On the top level, in the room with the broken floor head to the north east corner and pick the locked [Average] door. You’ll come into a small room with some ammo boxes, a Chinese Assault Rifle on the floor, and a computer [Very Easy]. You might also see a fan and a coffee pot do their best haunted routine.
12) To the Virulent Underchambers
Head to the north-western corner of the room to find your way to the next area. Follow the hallways and you’ll find yourself in another room that has a less that ideal floor situation and plenty of Ghouls. If you can jump your way into the bathroom in the north-western corner of the room you can score some Jet in the toilet, and if necessary heal yourself from the sink, which has a low Health-to-Rad ratio. Go to the bottom level and head south through a door to the Virulent Underchambers.
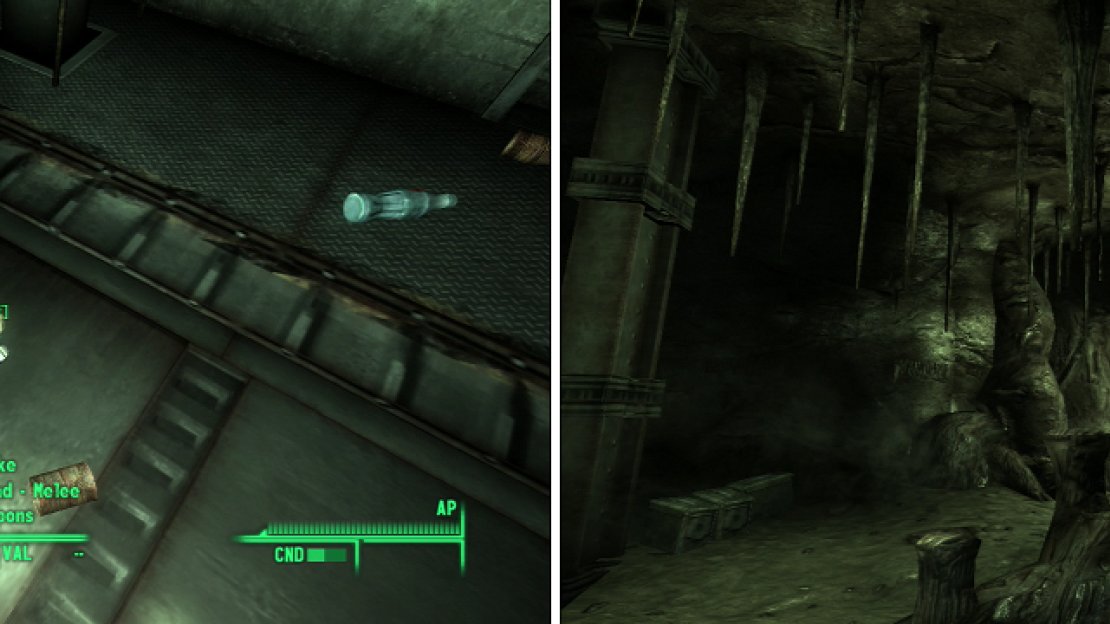
In the depths of the Dunwich Building awaits the Bobblehead - Melee Weapons (left). If I were a betting man, I’d guess that this macabre obelisk (right) had something to do with the evil that permeates this place…
13) Descending the Depths of Dunwich - (Virulent Underchambers)
On a desk right in front of you you’ll find Jaime’s Personal Journal Entry 09. Your task now is to descend down the levels of the Dunwich Building while scoring as much loot as possible as you do. Also use the fact that the Ghouls lack ranged weapons against them by unmercifully blasting them. On the bottom floor head through the door to the south and down some stairs until you find a staircase leading up. Instead of going up the stairs, go through the door under the staircase to the north until you find a natural rock cavern. Head down inside until you find Jaime and a number of Ghouls nearby. Jaime isn’t too tough, but he does have a Chinese Assault Rifle. Get the drop on them in a big way with a sneak attack from a Combat Shotgun.
14) Sunlight and Bobbleheads
Bobblehead - Melee Weapons
Now go back to the south and take the stairs up we neglected earlier. You’ll come across a room with Tins Cans and Empty Soda Bottles on the floor. The Bobblehead - Melee Weapons is standing innocently in the midst of the debris. Take the door to the Dunwich Building. You’ll be in an area above where you could previously reach. Drop down and leave the Dunwich Building. When you’re ready to continue the great Bobblehead hunt head back to SatCom Array NW-07c.


No Comments