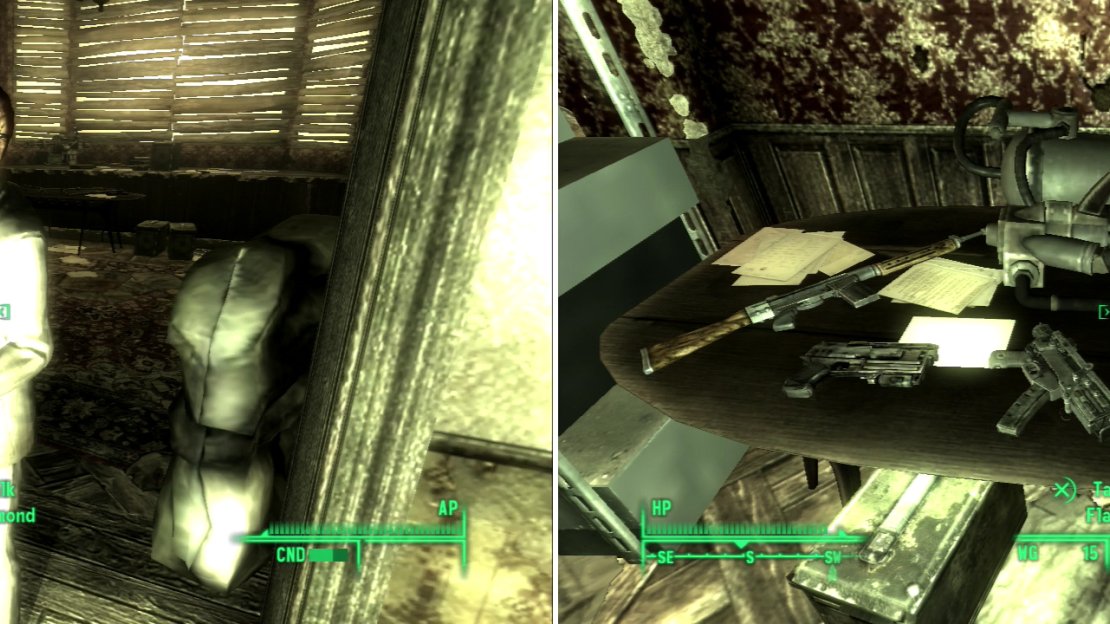
Desmond might not be particularly nice… in fact, he might be one of the rudest characters in the game (left). Be sure to help yourself to his stash of weapons and ammo (right). You will be doing most of the work, after all.
1) Desmond Under Siege
When you get near the door, a friendly voice will pop up over the intercom and demand that you help fight off some Tribals. Well, when somebody asks nicely… Head inside and you’ll find a Ghoul named Desmond fighting off a small horde of Tribals. They can be fairly tough… considering they’re armed in what amounts to rags. After the first group dies, follow Desmond south through a doorway to find him worrying over some monitors. Loot two tables covered with weapons and grab various ammo boxes (most of which are under each weapon table) then loot another table in the north-western corner of the room which holds some chem. If you want to score more loot, head outside this room and up some stairs, where you’ll find a first aid box, a Sniper Rifle, two ammo boxes, and some .308 Caliber Rounds on and around two small desks. Whomever this Desmond is, he’s well-prepared to deal with unwanted guests. Speaking of which, talk to Desmond and he’ll tell you that he thinks the tribals are about to breach the inner wall. Follow him to the west and a wall will promptly explode, and a vanguard of Tribals will pour forth. Again, they’ve got a good bit of Hit Points, but unless they’re armed with Lever-Action Rifles or Double-Barrel Shotguns, they can’t do much damage.
2) Bravely Watching Cameras
Once those Tribals are dead, Desmond will respond to more Tribals coming from upstairs. Follow him to the north and he’ll tell you that you’re on your own, and that he’ll bravely watch the cameras. What did you expect? Go north into a dining room, where a Tribal will wisely fall from the ceiling, break the table, and proceed to attack you. Again, high Hit Points, low armor, but if they have a Double-Barrel Shotgun they’re capable of doing damage to you-even in V.A.T.S.
3) Sealing the West Wing
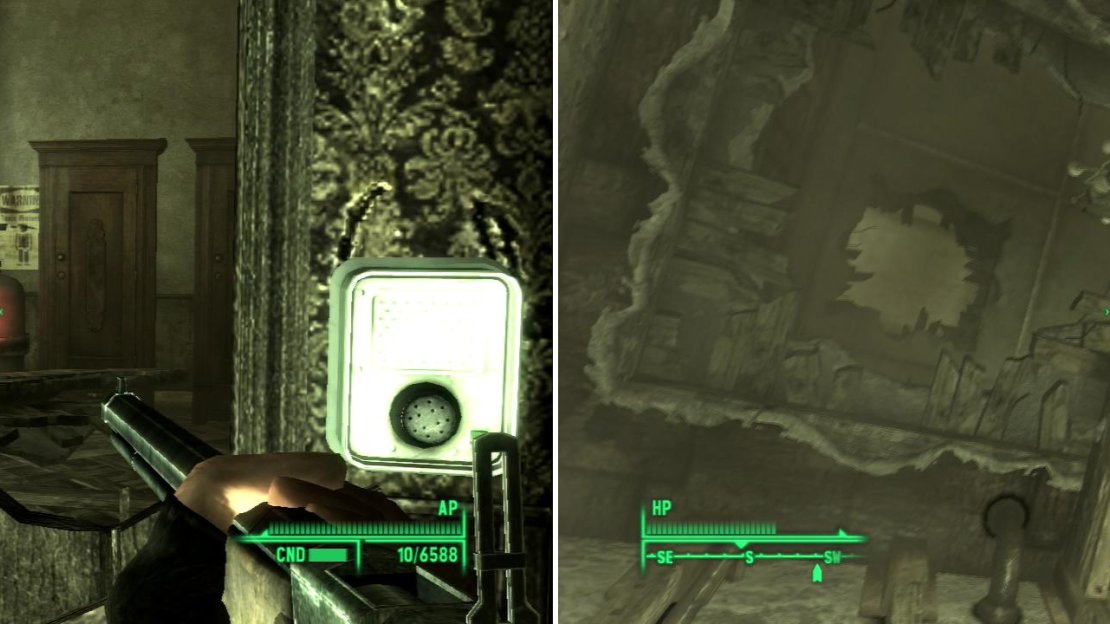
Once they’re dead, head through some doors to the west and turn north, going up some stairs. Continue east into a room, where some Tribals will break through the wall. Kill them and go south through the breach, loot the open trunk, which has two ammo boxes and five Stimpaks inside, then head through a door to the west. Continue south, ignoring the room on your right, turn east, and continue up a hallway to the south, killing some more Tribals when they come. Enter a large room to the west head to a half-destroyed door with an intercom near it. Activate the intercom and Desmond will inform you that you’ve found the breach, beyond the half-destroyed door on the western side of the room. Equip a gun and shoot the red metal object beyond the door to cause an explosion that conveniently seals the west wing. Loot two ammo boxes and a first aid box to the south before moving on.
Shoot the explosive tank to seal the passage, and prevent the Tribals from entering (left). Time makes fools of us all. And gravity (right).
4) The Quick Way Down
Head east into the hallway, where Desmond will show up just in time to be useless. He’ll tell you to follow him… we sealed off the west wing, now we have to seal off the east wing. Kill the Tribals near the door leading to the east wing. Desmond will run off again, leaving you to do all the work. Head east through a doorway and continue until you hit a desk barricade, then turn south and walk until the floor falls out from under you. You’ll regain composure in the basement. Loot the metal shelves to your right to claim two ammo boxes and a first aid box, then continue east, around a corner, then south.
5) Through the Wine Cellar
You’ll reach a wine cellar with plenty of wine lying around. Behind the wine racks you can find some chems. Head to the east and some Tribals will bash open the door just in time for you to slay them. Continue up the stairs to the north and when you reach the top turn west, go through a doorway, and then south. In the room ahead of you, some Tribals will again burst through a door, giving you something to kill, and a clear indication of where you’re supposed to head next.
6) Sealing the East Wing
Go through the door the Tribals kindly opened for you and into a rather nice office. Loot the first aid box on the desk and turn north until more Tribals show up. Kill them and continue north into the kitchen. Loot the storeroom to the north, which has two ammo boxes and a first aid box inside, then return to the kitchen and continue through a door to the east. Follow the hallway north, around a corner, then south up some stairs. Continue south into a room with a pool table in the middle and kill some more Tribals. In the pool table room you’ll find an ammo box, and if you head through a door to the west you’ll find another ammo box and a first aid box on a desk barricade. Through the door (or holes in the wall) to the west you’ll see another explosive tank. Shoot it and seal off the east wing. Desmond will show up again through a previously inaccessible door to the west and beckon you to follow him.
7) One Hell of a Fight
Desmond will tell you to brace yourself, as a horde of Tribals approaches. You might want to take him seriously. Nobody is going to blame you if you pop some Psycho, Jet, and Med-X here. Of course, if you use that Chinese Stealth Armor to stay hidden, you can pretty safely just assassinate Tribals in V.A.T.S. Just keep an eye on your health and try not to grab the attention of too many well-armed Tribals. Survive four waves of enemies, and you’re gold.
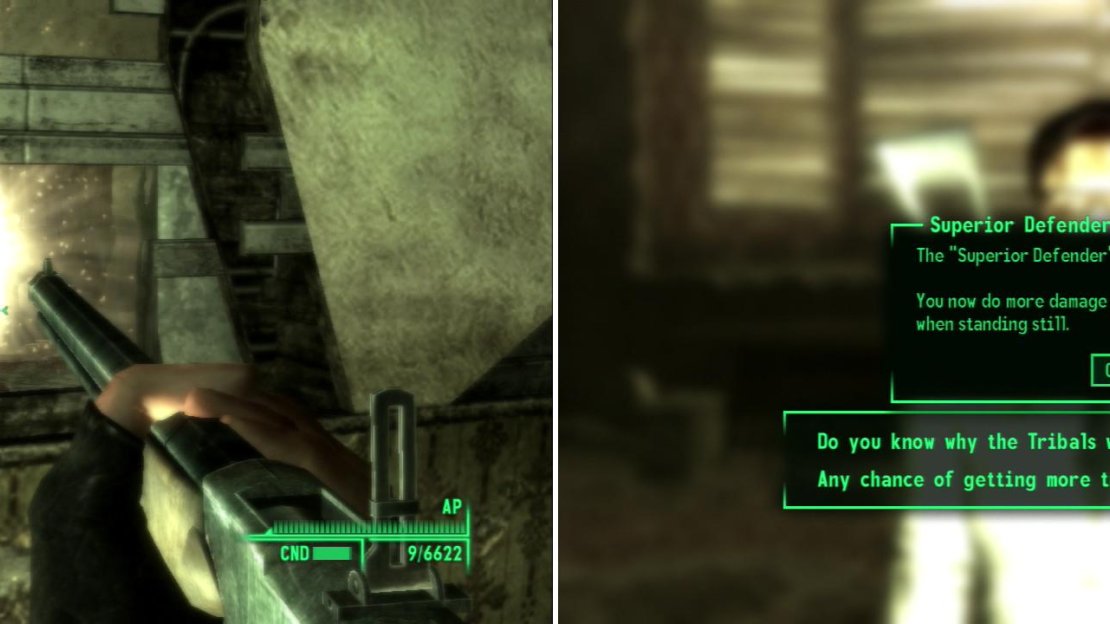
Destroy another explosive tank in the eastern wing to seal this approach (left), then return to Desmond and make a final stand at the entrance (right). Defeating the Tribals will earn you the Superior Defender Perk.
8) Superior Defender
After the last Tribal is dead talk to Desmond, who tells you he didn’t even really need your help. Typical. Still, talking to him gives you the Superior Defender perk, which pretty much increases your damage by five, and your damage resistance by 10, despite what the perk says it does. Anyways, agree to help Desmond find out why the Tribals want him dead. He’s a jackass, but it’s not like you have anything better to do, eh? This starts the quest “Walking with Spirits” and marks the end of “The Local Flavor” .
9) Coastal Grotto
We all want to march on gloriously onward and finish this expansion, but by now you should be prepared for detours in this guide, and so it is again. Fast travel to Haley’s Hardware and head north across a river. On the northern side of the river, follow the coast north-east, staying on the higher ground as you go. Quickly enough you’ll be running along the edge of some cliffs. Your goal: Discover the Coastal Grotto area and head on inside. Along the way, though, you’ll probably discover Herzog Mine, which… we might as well explore, since we’re here and all.
10) The Hazards of Hezrog
Head north from the entrance until you find a path to the west. There’s an ammo box to the north, off the cart track. Loot it, and head east, disarming a tripwire as you go, then continue east over a pile of creepy doll heads, pass some metal shelves with some Buffout and Dirty Water on it. Further east there’s an ammo box in a cart, and another one on the ground near another mine cart. Disarm some bear traps and turn north between some boulders. Don’t be too zealous, though, as a floodlight will blind you as you proceed, trigger a pitching machine and a grenade bouquet . When the explosions are over continue north to reach more mine track, which you should follow west, where you’ll get to see a Scrapper get blown away from the metal barrels. Better him than you.
11) Miner’s Rest
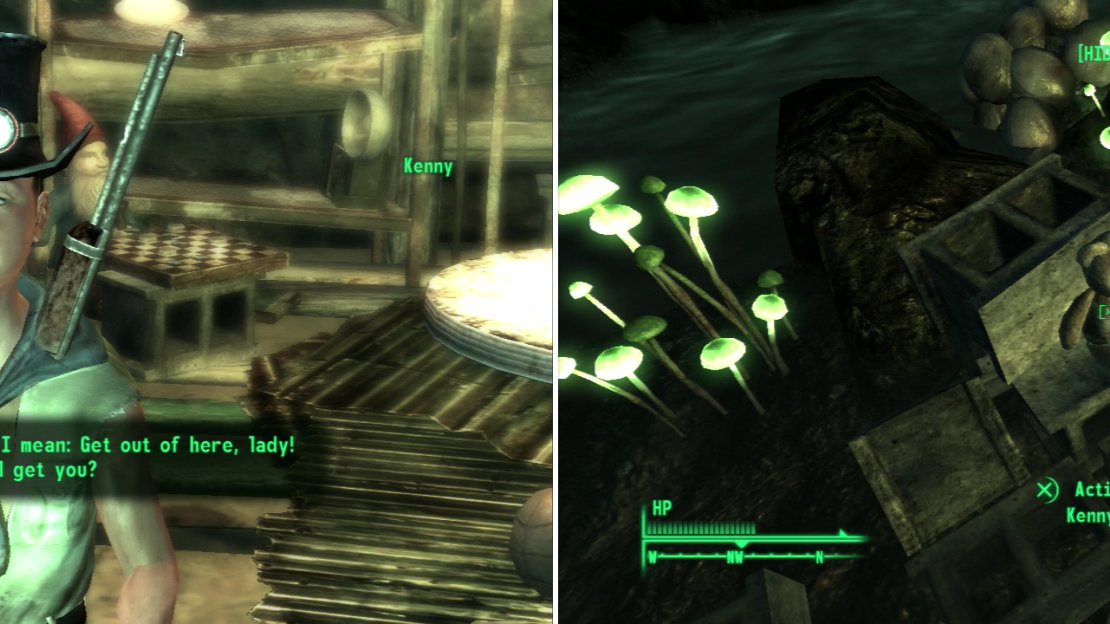
Follow the tracks west and turn north-west when you must, scoring another ammo box near the turn. You should shortly run across the door to the “Miner’s Rest” area. From the entrance head mostly west, through a doorway, until you reach a split path. Since a boring, shallow pool of irradiated water awaits you to the north-west, travel south, instead. Head up a ramp and into a shelter of sorts where you’ll find Kenny. Dammit, Kenny! Anywho, he’ll try to play the scary routine, but a kid in a stupid top hat isn’t going to be able to keep that up well. Play nice and he’ll tolerate your presence. Ask if you can use this place as a hideout, for resting and gear-stashing purposes, and he’ll make you prove your worth-either retrieve his “Kenny-Bear” or succeed at a Speech check. The latter option is obviously easier, but for the sake of argument, we’ll pretend you didn’t do that and agree to find his Kenny-Bear.
Make it through the traps to reach Kenny (left) who will tolerate your presence. If you go the extra mile and recover his “Kenny Bear” he’ll let you use this place as a hideout (right).
12) Rescuing Kenny-Bear
Backtrack to the north to reach the four-way split, this time taking the unexplored northern path, through a doorway to find the entrance to the Blackdamp Shaft. From the entrance head north along a track until it terminates. If you keep going north you’ll find a mine shaft you can drop down. If you’re that’s oh-so-rare combination of careful and adventurous, you can drop down this shaft (landing on strategically placed wood and rock ledges to segment your fall) safely. Search around where you land to find Kenny-Bear, patiently awaiting rescue on some cinder blocks.
13) Back Through the Blackdamp Shaft
Grab the toy and head east-we’ll be brief here, as this place is fairly uninteresting. It’s full of Swamplurks and their eggs, but little else. Killing everything along the way is implied, and of course you’ll catch some Rads for getting your feet wet. When you run out of east turn north, go up a ramp, then turn south-west when you must. You’ll spot a suicide… perhaps the remains of Old Man Hezrog? From here turn north-west and scramble on top of some rocks, then turn south-west and drop off these rocks and into some water. Dispatch some crabs and head up a ramp to the south-west, turning south-east, then east as you head up into some tunnels. Ta-daa. Back at the beginning of the level. Was that really brief? Eh. Whatever. Reuninte Kenny and Kenny-Bear, and the kid will be rightfully enthused. You can now use either of the cots here to rest, as well as loot his stuff and, of course, stash things. Take the ladder up to Point Lookout, where you’ll get the map marker to “Kenny’s Cave”. You now have a home base, for what that’s worth.
14) Ghoul Ecology
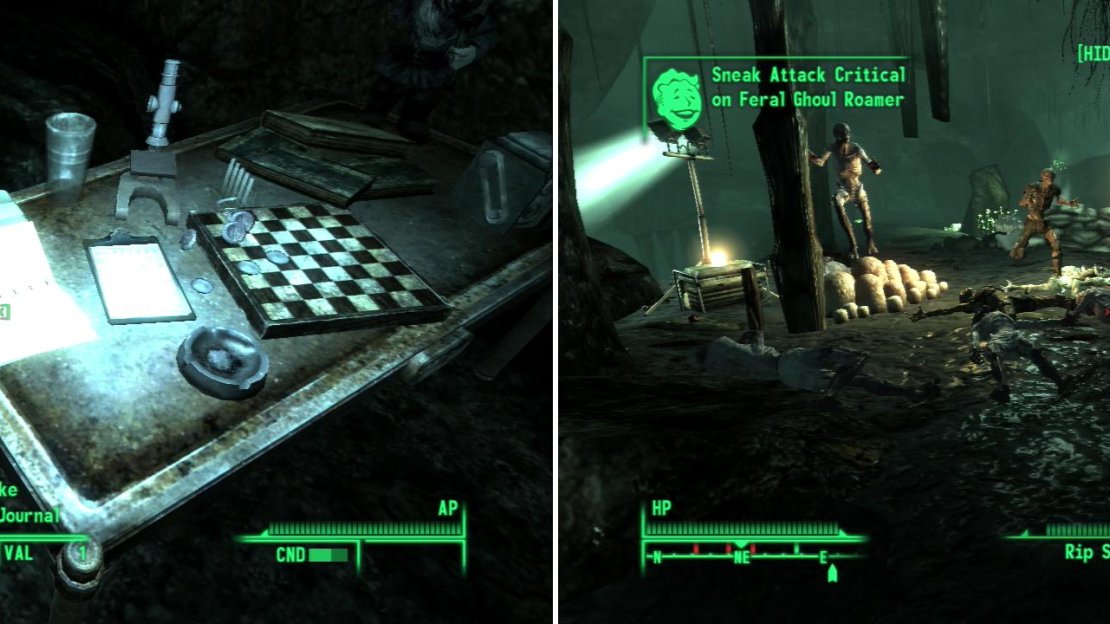
From here head east, north-east to find “The Ark & Dove Cathedral”. We’re not going to mess with this place yet, but we’ll be coming back her soon enough, so you might as well discover it, for fast-travel purposes. Travel west from the cathedral and pick your way down a cliff face to find the Coastal Grotto, which you should enter. Head west down the tunnel, then turn south when you must to find Plik. Before talking to the Ghoul, head through the door to the right to find a little room. Read Plik’s Journal on the table to get the Ghoul Ecology perk, which is supposed to increase your damage by five against all Ghouls. Instead, it gives that damage bonus to everything. Wonderful! Grab the Mini Nuke and whatever else catches your fancy and talk to Plik.
15) Talking to Plik
Chat with Plik, who runs a sort of Ghoul safari. It’s a bit of a mistatement, as it’s not really a safari as much as it is a death match. For a mere 1,000 Caps you’ll get the joy of fighting Ghouls. Fortunately, there are also prizes for winning, so we might as well give it a go. Pay the Ghoul, then head through to the south door to Plik’s Safari.
Read Plik’s Journal to gain some useful information about Ghouls-specifically how to kill them (left), then compete in his Safari (right).
16) Plik’s Safari
Head south-west to find a cage full of Ghouls, then turn north-west and ho across a bridge to find some other esteemed hunters. Odds are, they aren’t getting out of here alive, but they will draw fire for a while. Activate the switch on the concrete pedestal in the central area to start the Ghoul onslaught. Feral Ghoul Roamers, Glowing Ones, and Swamp Ghouls will come out several at a time. If you’ve got Chinese Stealth Armor , just stay hidden and kill them all with your Deathclaw Gauntlet for one hell of an easy win. When they’re all dead your quest will update. Talk to Plik and you’ll receieve the unique Axe The Dismemberer .
17) Ritual of the Mother Seed
Well, that was a fun little diversion, but now it’s time to head west and discover the Ark & Dove Cathedral. You can pick your way up the cliffs with some clever jumping, or you can fast-travel there, if you found it already like you were supposed to. Activate the intercom and some fruitloop will tell you that you need to complete the Ritual of the Mother Seed. Wonderful. Time to head off to find the mother of the Punga Plants, which is, of course, on the other side of the map. Make industrious use of your time and discover as many locations as possible as you head west, south-west, following the quest marker.
18) Flooded Sinkhole
If you’re being diligent, you should find the Flooded Sinkhole area, which is west of Marguerite’s Shack. This area is, in itself, of little consequence, but you can score some loot by heading west off the nearby dock and swimming down into the sinkhole, which contains three Safes [Average], [Very Easy], and [Very Easy], and a First Aid Box… as well as a whole lot of loose items that will float up as you get near… including a Nuka-Cola Quantum.
19) Excavated Muck Hole
If you head north from the Flooded Sinkhole area you’ll find the Trapper’s Shack. There’s no real reason to go here save to discover the map location, disarm some traps, and kill some swampfolk, but we’re going to be exploring every other area in the north-western corner of the map, so it’s at least worth a mention. Where you really want to go, however is south-east of the Flooded Sinkhole, where you can find the “Excavated Muck Hole” (this is just east of Lil’ Tyke Playhouse, which you also might want to discover for the sake of completionism). Inside the Excavated Muck Hole, on a table you’ll find the note “Soil Survey Tape #2.” This will start the quest “An Antiquated Land” , which provides us with another diversion. Huzzah!
20) Jet Crash Site
Head north past the Trash Heap to find another Excavated Sinkhole. You’ll know you’re close when you start to find puddles of bubbling goo. Yum. Head down the ladder to find the note “Soil Survey Tape #1.” Return to the surface and continue west to find the Jet Crash Site. Here you’ll find… well, a crashed jet. A derelict sub, a truck wreckage, and now a jet crash. This place just isn’t good for any means of transportation. Loot around the jet to score two first aid boxes, an ammo box in the cockpit, a personal footlocker [Average], and a “Blackbox Recorder” containing… the “Blackbox Recording” note. Give it a listen if you want to hear some military aviation jargon.
21) The Final Soil Survey
Now continue west past the Jet Crash Site to find a third Excavated Sinkhole. Again, look for bubbling muck and Ghouls, wihch indicate you’re near. What will we find down here? Why, the note “Soil Survey Tape #3”, of course! Once you find this final piece of information, you’ll get an update to the quest, directing you to travel to the USS Ozymandias. Well, sure, it’s on the other side of the map, but what have you got to lose? Just think of it as an opportunity to discover more areas… or fast travel somewhere nearby. The USS Ozymandias is just north-east of the Coastal Grotto.
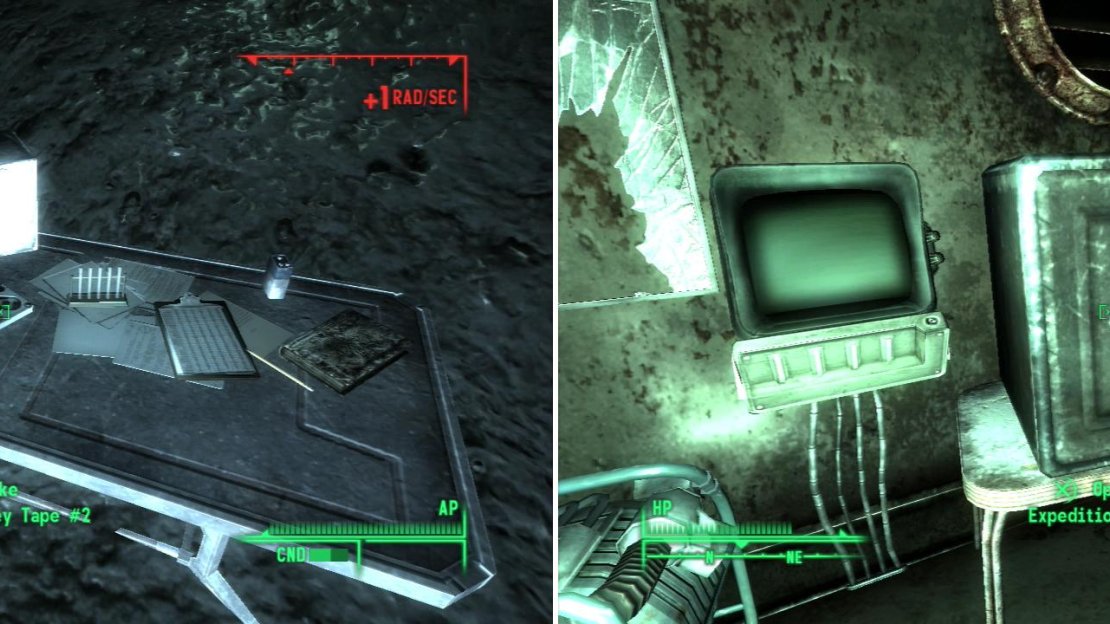
Explore underground to obtain the Soil Survey Tapes (left) then visit the USS Ozymandias, where you can score some long-abandoned “Expedition Supplies” (right).
22) USS Ozymandias
Cross the little islands and water to reach the half-submerged USS Ozymandias and go down the “Hatch to Belowdecks.” Once there, activate the “Bysshe Co. Terminal” and enter the Authorization Codes, learn about the unsavoy business practices of Bysshe Energy, then select the option to retrieve the expedition supplies. Exit the terminal and access the “Expedition Supplies” safe near it for some loot and-more importantly-the completion of the quest. Now it’s time to head over to the Sacred Bog. No, seriously!


No Comments