1) Missile Launcher Merc Murder
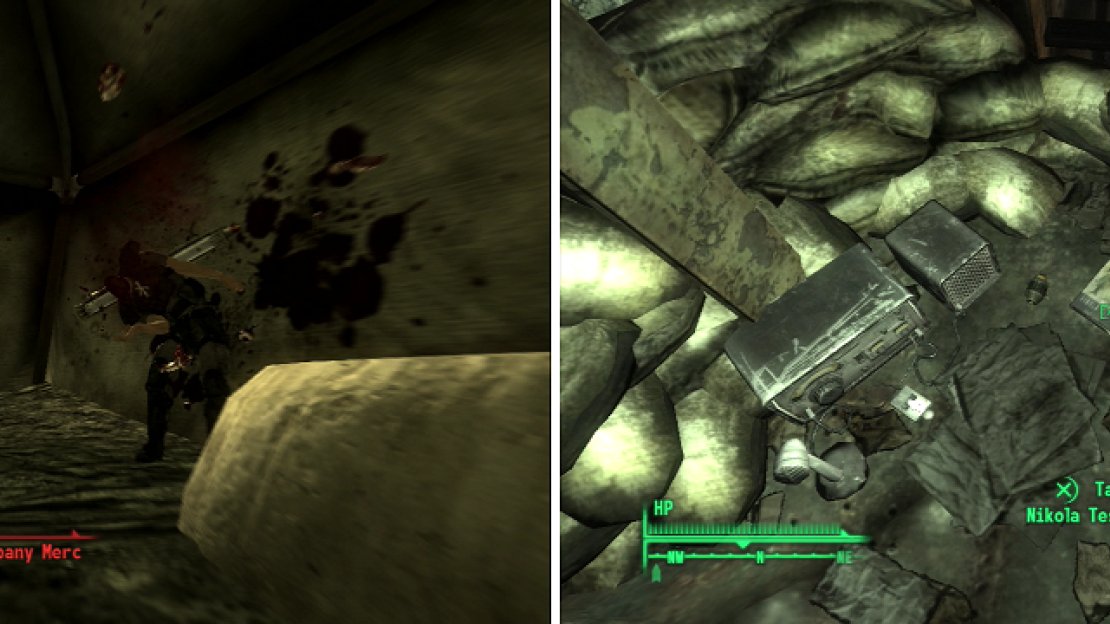
Time to make another lengthy-but profitable-diversion head west and slightly north from Jury Street Metro until you find Fort Bannister. Approach from the north and enter through a hole in the fence. Storming the well guarded southern and eastern sides is not recommended. Head west along the fence until you spy a tent. If you’re quick, you can pop in there and smite a Talon Company Mercenary with a Missile Launcher before he even knows what hit him.
2) Another Missile Launcher Merc
Continue sneaking west by the fence until you find some rocks, then turn south. You’ll pass a door [Very Easy] leading to Fort Bannister Main. Keep going south past some tents and past another door [Very Easy] to Fort Bannister Main, and head east to a turned over truck. Immediately east of you is a stand with another Missile-Launcher carrying Talon Company Mercenary. If you exterminate him, you rid yourself of a considerably headache. Attacking from the east allows him to stand up in his little tower and blast you with that Missile Launcher.
3) Clearing Bannister Above Ground
The surviving garrison outside of Fort Bannister are more your usual fare of Talon Company Mercenaries. It is entirely possible to sneak attack kill every Talon Company Mercenary outside of Fort Bannister with very little bother with this approach. Now for the looting. In the south eastern corner you’ll find some mine boxes, a first aid box, and a Sniper Rifle. West, past the door leading to the Fort Bannister Bunker [Very Hard] you’ll find a Chinese Assault Rifle, a Stimpak, and two ammo boxes under the tower where the Missile Launcher bearing mercenary was. By the barricade near the tents you’ll find two footlockers, an ammo box, a first aid box, and a Combat Shotgun. There are also some goodies in the tents. In the tent where we popped our first mercenary you’ll find a manhole leading down to the Commanding Officer’s Quarters.
Sneak attacks with Combat Shotguns are the best way to deal with just about everything, including Talon Company Mercs with Missile Launchers (left). Drop down onto a metal shelter to obtain this copy of Nikola Tesla and You (right).
4) Third Time’s the Charm
Book - Nikola Tesla and You
Right around the corner you’ll find a turret, and down the tunnel from the turret will be a Talon Company Mercenary with a Missile Launcher. If you can get a sneak attack critical on the turret you can lure the mercenary around the corner and kill him at close range. Continue down through a door and down some stairs, killing turrets and Talon Company Mercenaries as you go. At the bottom of the stairwell you’ll find a door leading south. First, however, you need to get up to the roof over the staircase directly above the door, which you can do by climbing the stairs and dropping down onto the roof. Once there, you’ll find a copy of Nikola Tesla and You sitting in plain sight.
5) Barracks and Med Bay
Go through the door to the south, then head down a tunnel to the east a short distance, heading south through another doorway when you ge the chance. In the room to the south you’ll find the barracks, with plenty of beds, should you need to rest. Search the footlockers and cabinets for some laser weapons and a couple of Stealth Boys. There are also several ammo boxes waiting to enrich your life. There’s also some minor loot in the bathroom nearby. Leave the room and head back into the hallway and head up some stairs to the north. There’s a shelf you can loot at the top of the staircase, and to the east is a medical room. Loot the corpses on the gurneys for some loot and loot the safe [Easy] under the table.
6) Three Paths
Now go back to the barracks and head down the stairs north to reach a room with two turrets in it. You’ll probably provoke some Talon Company Mercenaries while you’re destroying the turrets. Head west through a doorway to find another tunnel. There’s a room to the west with some minor loot inside, but where you really want to go is up some stairs to the south. You’ll find three different paths you can take, one to the north, one to the west, and one to the south. To the north you’ll find a storage room, you just need to hack the computer [Average] or unlock the door [Hard]. You’ll find two lockers, two first aid boxes, and several ammo boxes, as well as some Jet on the floor. The door to the west leads to the bunker, so head south.
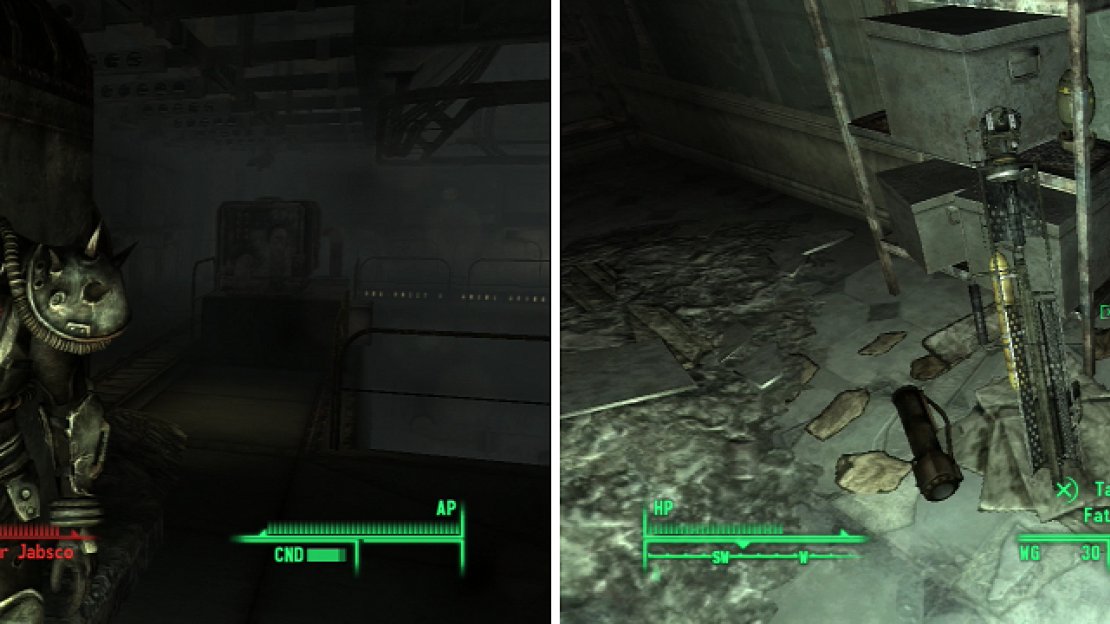
Commander Jabsco is the leader of the Talon Company Mercs in Fort Bannister (left). Your reward for clearing out Fort Bannister Main includes a Fat Man and a Big Book of Science (right).
7) Commander Jabsco
There’s a terminal [Average] that can disable the turrets ahead, which you might as well use, or better yet, turn on the Talon Company Mercenaries within. In the room ahead you’ll find Commander Jabsco, who is armed with a Missile Launcher for ranged combat, has a high damage resistance, and a lot of health. He’s a bit of a fight, unless you nab him with a Paralyzing Palm . when he dies, loot him for Jabsco’s Key and a unique Combat Knife, Occam’s Razor . He also has the only Talon Combat Helmet you’ll see in the game.
In the room where Jabsco was you’ll find some stairs leading down. Loot around for some goodies. In the south eastern corner you’ll find a safe [Hard], and to the west you’ll find a footlocker [Hard] with a Stealth Boy inside, and a Nuka-Cola Quantum behind it. Now head back and enter the bunker.
8) Fort Bannister Bunker
Book - Guns and Bullets
Disarm the two pressure plates in front of either door and grab the rigged shotguns. Head either way you want, the level just loops around, and both paths are characterized by similar features: plenty of Talon Company Mercenaries and precious little loot. You’ll get a good amount of loot and experience just wasting the Mercenaries. In the eastern-most room search the gun cabinent along the southern wall, on top of which is a copy of Guns and Bullets . When you’re done take the exit to the Capital Wasteland, which has several traps near it. When you’re back on the surface head west into Fort Bannister Main.
9) Fort Bannister Main
Book - Big Book of Science
Guess what? More Talon Company Mercenaries. At least killing them is lucrative, eh? Loot the metal boxes to the west and head up the stairs. At the top you’ll find a path to the east and a path to the north. Go east into a room, which has a few items lying about, and two locked safes [Average]. Head back and go north down some stairs until you come to a door [Average]. Beyond is a storage room with a Fat Man, a Mini Nuke, a Big Book of Science , some ammo boxes, metal boxes, and other toys strewn about.
10) Charnel House
Book - Duck and Cover!
Now that we’re done with Fort Bannister head west and slightly south to find a house with a Scavenger inside. You’ll find a wooden crate with some Nuka-Cola’s and a Nuka-Cola Quantum. There are also two Pre-War books on a table. Now head south to find Charnel House, which has a few Raiders around it, and landmines galore. Kill them and loot the place. On the top floor there are some ammo boxes by a chair, and a copy of Duck and Cover! on the floor.
11) Radio Signal Papa November
Book - Pugilism Illustrated
From Charnel House head west up a hill towards a radio tower, you’ll cross a road when you’re close, and two gates enclose the radio tower, although you don’t need to open them to get to it. Activate the electrical switch to pick up Radio Signal Papa November. From the tower head north through the gate and over a cliff to find a Drainage Chamber. On the floor right by the ladder you’ll find a Pre-War Book and a copy of Pugilism Illustrated . You’ll also find some food around. Yum.
12) Trucks and Tents
Go back up the cliff to the road running by the radio tower and follow it south (crossing around a radioactive pond) until you find a tent, a barricade, and two military trucks along the road. You’ll find some goodies in the metal boxes and ammo boxes around, and a Laser Rifle on a table inside the tent. Continue south along the road to find Smith Casey’s Garage.
13) Smith Casey’s Garage
Book - Tumblers Today
Clear out the Radroaches and Mole Rats so you can loot in peace. Once done there’s a Nuka-Cola Quantum in the north-eastern corner of the first room on the floor by a bin full of Tin Cans, bent and otherwise. Behind the counter is an opened safe, inside of which is a copy of Tumbler’s Today . Go into the back room and flip and electrical switch near a metal shelf to open up some stairs. Go down some stairs and kill Mole Rats until you reach a door leading to Vault 112. This one must not have needed a huge cog-like wheel door… Perhaps they thought being hidden under a garage was proof against atomic bombs?
14) 202.3 Years Late
Go down some stairs until you find the formely absent Vault Door. Now that’s more like it. Go through the find that the Vault is, astonishingly, intact. Head through a pair of doors to the east until you meet a Robobrain. It’ll tell you that you’re 202.3 years late, and give you a Vault 112 suit. Might as well put it on and go through the door to the south. Go down some stairs and take a right, going through the first door on your left. You’ll reach a large open room with the “tranquility loungers” below you.
15) Looting Vault 112
Keep going south until you find some rooms to your right which have some minor loot inside. On the floor with the tranquility loungers you’ll find a terminal [Hard]. Hack it and select the “Open Vault-Tec Access Hatch” option to open the door to the right. Inside you’ll find some drugs, a first aid box, three Frag Grenades, three Pulse Grenades, an Assault Rifle and some 5.56 Rounds, a Laser Rifle and Microfusion Cells, and the note “Overseer’s Room Password.” To get to the Overseer’s Room exit the tranquility lounger room to the south, follow a tunnel, go up some stairs and and go left when you get a chance to find a terminal near a door. Access it and select the “Open Vault-Tec Access Hatch” option to get into the Overseer’s Room. Inside you’ll find a locked safe [Easy], with some minor loot inside, not nearly as good as the room we hit downstairs. When that’s done go back to the room with the tranquility loungers and get in one of them.
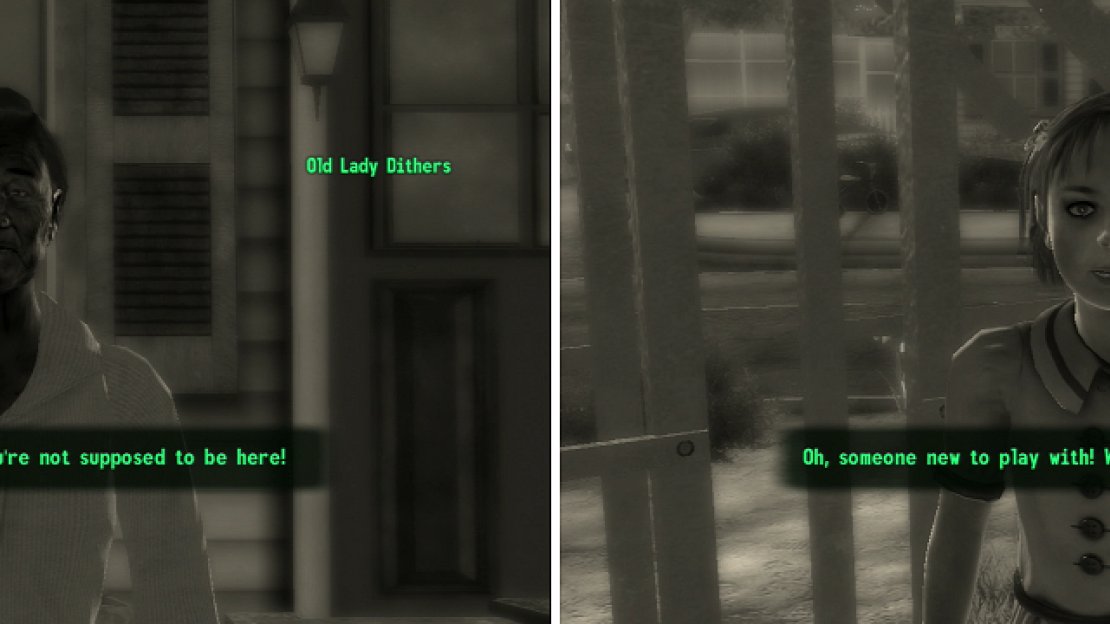
Our choices are simple, either we find the failsafe and end Braun’s game, as Old Lady Dithers suggests (left), or we “play” with Betty and help Braun torment his fellow dreamers (right).
14) Tranquility Lane
You’ll find yourself in Tranquility Lane, a virtual reality world of yesteryear! You can go around and talk to people, but they’ll mostly just refer you to Betty, and talk about crazy old lady Dithers. If you find Old Lady Dithers talk to her. She’s the only one who seems to realise this is a simulation, and she’ll tell you about “Betty”, who is really a scientist named Braun who is manipulating the virtual world for his own amusement and playing God. She’ll tell you to find the failsafe, which is in the abandoned house. Well, lets give Betty a try, first.
15) Playing With Betty/Braun
Head to the playground in the middle of town and talk to Betty. She’s… a rather mean little girl, who will give you a variety of tasks, all of them are.. well, they’re not nice. The first thing he asks you to do is to make Timmy Neusbaum cry. Now you have to decide whether you’re going to ‘play’ with Betty and do her… his… its bidding, or find the failsafe. Karma is the only big difference between the two. Oh, and attacking Betty is not a good idea, unless you like dying. To follow Braun follow S teps #15-19 , to be nice, go to Step #20 .
Making Timmy cry (left) and ruining the Rockwell’s marriage (right) are both simple goals that can be achieved through a successful Speech check… although more complicated options are available.
16) Torturing Timmy
The best place to find Timmy is in his house, or in front of it. Firstly, you can succeed at a Speech challenge to tell him his parents are getting a divorce. Another thing you can do is grab the Military School Brochure from the kitchen table and give it to him. Or, if you’re feeling violent you can simply hit him. What a freakin’ cry baby. Now go talk to Betty/Braun, who will let his facade slip and answer a single question of yours. If you ask him where your father is, he’ll make a pun that gives it away… if you’re clever enough to put two and two together. Before he tells you anything else he’ll ask you to put an end to the Rockwell’s marriage.
17) Ruining Rockwell’s Rocky Relationship
The easiest way to do this is to simply succeed at a Speech challenge with Janet. If you talk to Mabel, she’ll tell you that there was some tension over Martha Simpson a year ago. After this you can go talk to Martha and-if you succeed at a Speech challenege-get her to talk about her and Roger. Now if you go into the Simpson Residence you’ll find some Lacy Underwear on the bed upstairs. Go to the Rockwell Residence and head down to the basement. In the north-west corner you’ll find Roger’s desk. Activate it to plant the Lacy Underwear there, then go find Janet and tell her that there’s something she needs to see in the basement… Lead her down there and show her the underwear, then talk to her and say whatever you wish. She’ll confront Roger about his… uh…
indulgence, and then run off to the Henderson Residence.
Go report back to Betty, this time he asks you to kill Mabel Henderson. If you ask about Dad again he’ll be a little more revealing. Anyways, it’s time to find a creative way to kill Mabel… head over to the Henderson Residence.
Disposing of Mable is a bit more tricky than Betty’s first two tasks-a Speech challenge won’t get you anywhere, this time. Hacking her robot and making it do the messy work for you (left) or tampering with the pilot light in her stove (right) are two ways to kill her without getting your hands dirty.
18) Murdering Mabel
By talking to people around town you’ll find out that Mabel likes to bake, and you’ll hear about her robot. Go to her house. One thing you can do is activate the Mr. Handy terminal in the kitchen and select the option “Disable Security Screening” followed by “Initiate Security Program”… but keep in mind, this makes the Mr. Handy just as dangerous to you as it is to Mabel. You can also sabotage the pilot light fixture on the oven. Lastly, you can turn on the radio in her living room, and when she gets near it drop the chandellier on her. Either way, as long as Mabel dies without you hitting her, it’s gold. Return to Betty, who will be quite pleased with you. Complete one more task, and Braun’ll grant you whatever you wish. He’ll tell you to go into the dog house by the Abandoned House and become the Pint-Sized Slasher.
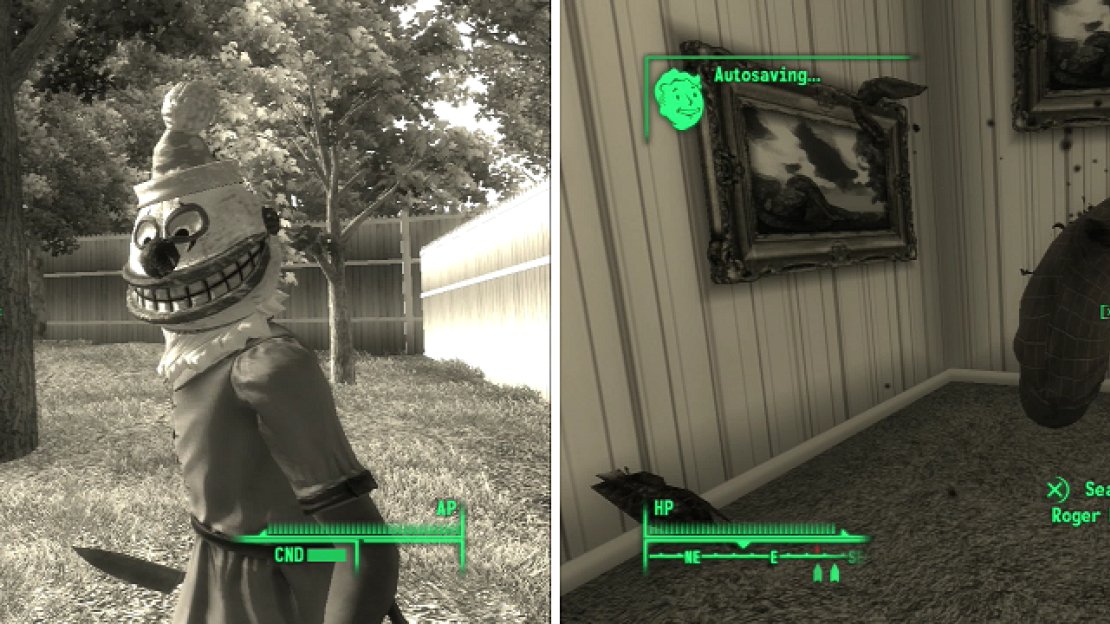
Braun’s last game is simple, yet brutal. Become the Pint-Sized Slasher (left) and treat the inhabitants of Tranquility Lane as if they were all teenage camp councilers in a 1980s slasher flick (right).
19) The Pint-Sized Slasher!
This is pretty straight forward, just go activate the doghouse to get a knife and a crazy hat, then go kill verybody in town. For some stupid reason, this does not include Timmy… but Mabel was back alive, at least briefly. When they’re all dead go talk to Betty one last time. He’ll activate the exit to Tranquility Lane, and a large door will show up in the middle of the playground. Neat.
While this house might look like it’s full of useless junk, these objects are more than meets the eye… (left). Touch them all in the right sequence and you’ll open a terminal that’ll allow you to override Braun (right).
20) The Failsafe
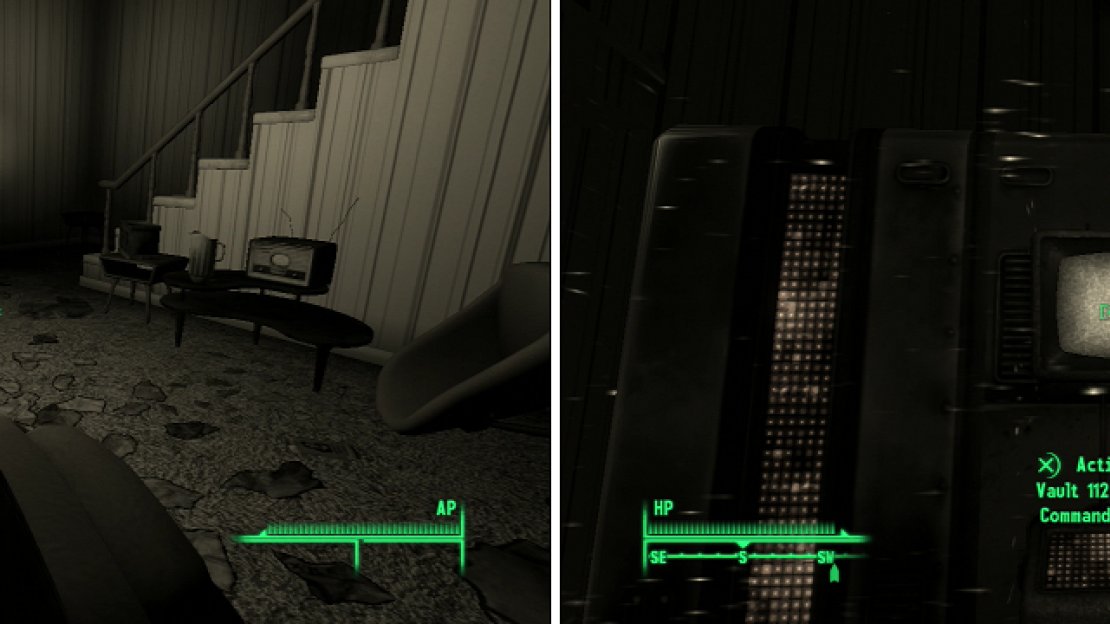
If you want to stop Braun in his game and let the residents of Vault 112 finally die after 200 years of virtual torture, go into the Abandoned Home. In the living room you’ll see several objects you can activate, a Broken Radio, a Glass Pitcher, a Cinder Block, a Garden Gnome, and an Empty Nuka-Cola Bottle.
Active them in this order:
#1: Broken Radio, #2: Glass Pitcher, #3 Garden Gnome, #4 Glass Pitcher, #5 Cinder Block, #6 Garden Gnome, #7 Empty Nuka-Cola Bottle.
On the southern wall the “Vault 112 Auxiliary Command Terminal” will appear. Activate it to read up on what Braun has been putting these people through. To put an end to Braun’s game click the “Access “Chinese Invasion” Program” and then select “Initiate “Chinese Program” Failsafe”. Braun will be somewhat upset when a mob of Chinese Commandos appear and kill all his playmates, leaving him trapped in his virtual reality world alone for all time.
21) Reunited
When you leave the simulation, your dad will come talk to you. He’ll tell you about the G.E.C.K., or G(arden of) E(den) C(reation) K(it) for those of you unfamiliar with Fallout 2. His goal is to return to Rivet City and enlist Madison to help him restart Project Purity. You should get a huge amount of experience for finishing both “Scientific Pursuits” and “Tranquility Lane” .
Another quest “The Waters of Life” will start up. You could follow Dad to Rivet City… or just fast travel there and wait for him to arrive. Dad’ll convince Madison to come work on Project Purity with them, and they’ll set off to get the laboratory in the Jefferson Memorial up and running again. Good thing we cleared it out already, eh?





No Comments