1) Well, That Was Easy…
Bobblehead - Strength
Let the great Bobblehead hunt begin… Again! First things first, lets grab the Bobblehead - Strength from Lucas Simms’ house, the door to which is locked [Average]. The Bobblehead is upstairs on a desk in a room in the south-eastern corner of the house. Well, that wasn’t so hard, now was it?
If you want to live in Tenpenny Tower, you can now safely blow up Megaton. If you already got the Bobblehead and blew up Megaton, just go complete the quest “Those!” and get Lesko to give you the Ant Might perk. Either way, we now have the Strength and Intelligence Bobbleheads.
2) Future Plans
We can complete almost everything left in the main game with one arching sweep through the neglected northern part of the Capital Wasteland, grabbing the Endurance and Big Guns Bobbleheads, completing the quests “You Gotta Shoot ’Em in the Head , **” “Oasis”** , **** and “Agatha’s Song” , then grabbing the Perception,
Agility, Charisma, and Luck Bobbleheads.
First, however, lets complete a little quest that should have popped up about now. When you return to the Megaton area after “The Waters of Life” you’ll get a new radio frequency, a “Vault 101 Emergency Frequency”. We worked too hard clearing this area out to have new quests pop up behind us! Head over to Vault 101 to see what’s up.
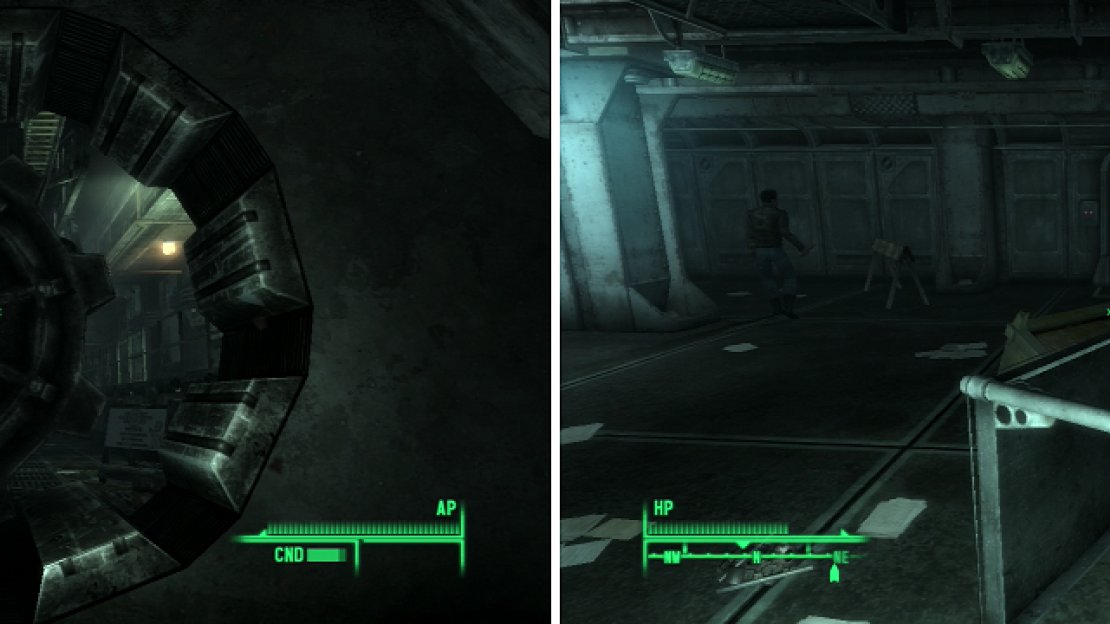
A lot has happened since you left Vault 101 (left), but when you return, it’s clear that all has not been quiet under the ground, either (right).
3) Returning Home
Turn on the radio on your Pip-Boy 3000 and listen to the “Vault 101 Emergency Frequency”. Amata will say that her dad went mad with power. After you’ve listend to the message you’ll get the password to the door and the quest “Trouble on the Homefront” will begin. Open the Vault door to get back into the place you used to call home. Inside you’ll see proof that things have definitely made a turn for the worse. You’ll find the bodies of Jim Wilkins and Steve Armstrong, on the latter of which is a Stealth Boy. Head through the door to the west to find Officer Gomez.
4) The Overseer’s Feeble Iron Fist
He’ll tell you that people thought James had the right idea when he left the Vault, and the Overseer, naturally, didn’t like any thought of an option that effectively took away his precious Overseer position. Officer Gomez is smart, as usual, and doesn’t try to get in your way, but he does present you with some options. We need to go see Amata, but we can also go visit the rebels who want to open the Vault. Of course, we can always just leave and let them sort things out for themselves, but what fun would that be? Head to the west down some stairs to reach the Vault 101 Atrium/Upper Level.
5) Threat to the Rebellion
You’ll come across Freddie, a Tunnel Snake, and the elderly Officer Taylor in a confrontation. Officer Taylor shoots at Freddie, who runs off. Officer Taylor will then talk to you. Go through a door to the south to get up to the upper level and head west through another door through the red-lit room. You might get attacked by an Officer Wilkins on your way. Eventually you’ll come to the Jail. Search the lockers to find the note “Jail Cell Password” and check out the terminal to find out just how serious things are getting in Vault 101. Unlock the cell door [Average] to find your old teacher, Mr. Brotch. He’ll tell you that the guards are indeed planning to attack the rebels.
6) Confront the Overseer… Again!
Continue west and go through the door on your right to find the room where Jonas was killed and keep going until you find the Overseer’s Office. The Overseer will chat with you, and he’s just as unpleasant as he ever was. You can either side with him and go chat with the rebels, or succeed at a Speech challenge to convince him you can’t remain in the Vaults forever. This is the good route, and he’ll run off to tell Amata that she’s the new Overseer. Before we settle on a decision though, we should talk to the rebels. Head back out to the hallway to find the door to the Vault 101 Living Quarters.
7) Through the Living Quarters
Follow the stairs to the bottom until you get two tunnels you can follow. Ignore the northern tunnel that leads to the Vault 101 Sub-Level for now and continue east until the path splits again. To the south you’ll find the cafeteria and plenty of neutral vault residents to talk to, such as Ellen DeLoria, Pepper Gomez, and Wally Mack. Where you really want to go is up the stairs to the north.
8) Sabotaging the Vault
NPC - Butch
You’ll be confronted by your old pal Butch. He generally agrees that getting out the Vault is better than staying inside. He probably wouldn’t feel the same while he was getting mauled by Super Mutants? Butch wants to force the issue for both sides by sabotaging the Vault’s reactor. If you want to do this, head down to the Vault 101 Sub-Level and access the Vault 101 Maintenance Terminal [Hard]. To sabotage the vault select the “Begin Water Chip Service” option, then the “Begin Manual Service” option, and lastly the “Run Systems Purge” option.
The Overseer will show up, rather upset. You can convince him that a rebel sabotaged the reactor with a Speech challenge, and he’ll decide to go down with the ship, as it were. Head up to the Vault Entrance and Amata will talk to you. You can convince her it was the Overseer’s fault with a successful Speech challenge. You can now leave the Vault, knowing that most of the people your age are doomed out in the Wasteland, and those who aren’t can no longer really make a go of it out in the Vault.
9) Amata’s Capitulation
Head east over to your Dad’s old clinic to find Amata, who has made her rebel headquarters here, fittingly enough. She’ll come talk to you when you get near and ask for your help with resolving the situation in the Vault. If you succeed at a Speech challenge (a much easier one than with the Overseer) she’ll capitulate and tell you to tell the Overseer that the rebels will stop trying to get out of the Vault. Don’t make up your mind yet, though-there’s looting to be done!
10) Mutilator Andy
Schematic - Rock-It Launcher
In the room south of the clinic you’ll find your Dad’s old office. Inside is a very bloody Andy, and a very dead Beatrice. Talk to the malfunctioning robot to find out what happened to Beatrice. Creepy… He couldn’t even cut a cake right, why would anybody think he’d make a good surgeon? Oh well… While you’re here, search the framed quote on the wall [Average], good old Dad’s favorite Revelation 21:6. Inside you’ll find 300 Caps, the note “Home Sweet Home” and the Schematic - Rock-It Launcher .
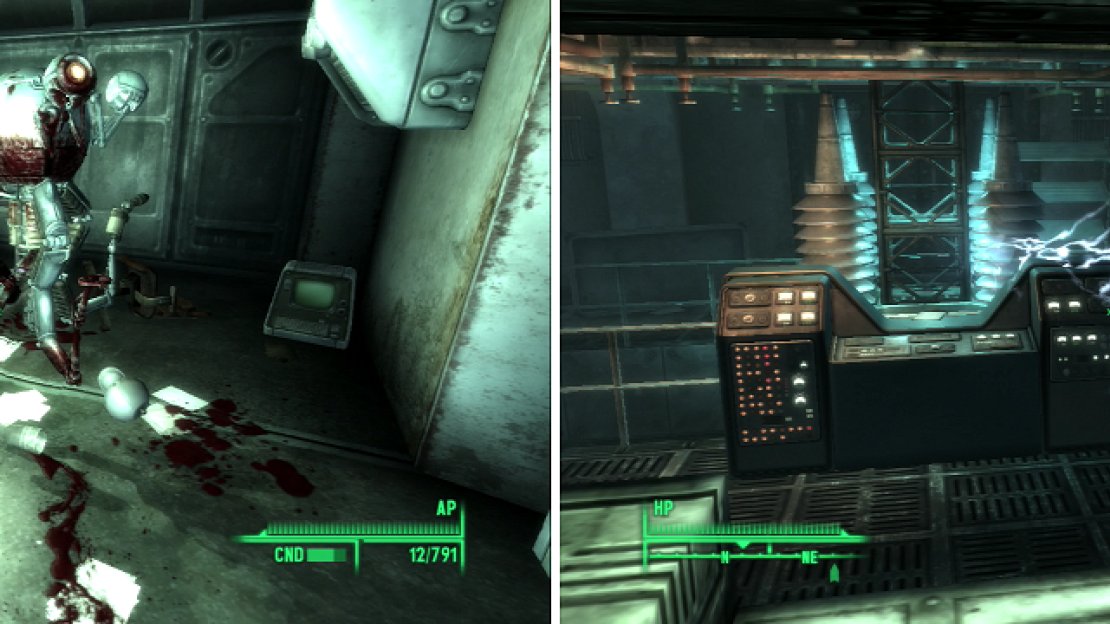
Andy couldn’t even cut a cake without destroying it, so it’s no surprise he wouldn’t excel as a surgeon (left). You can side with Amata or the Overseer… or you can sabotage the Vault (right).
11) The Future of the Vault
Now it’s time to make a choice. If you convince the Overseer to open the Vault you’ll get a Mo dified Utility Jumpsuit from Amata. If you convince Amata to give up the rebellion, the Overseer will give you a different reward depending what you ask for. Ask for food and ammo and you’ll get 15 Cram and 355 5mm Rounds, or the Modified Utility Jumpsuit if you ask for technology. If you sabotage the reactor everybody will disperse and leave the Vault. You won’t get a reward, but you can now find Butch at the Muddy Rudder bar in Rivet City, recruitable as an NPC, if you have neutral karma. No matter what you do, you won’t be able to stay in the Vault… as if we’d want to play a game that took place soley in here anyways. Time to say good-bye to Vault 101 again. We met some old… uh, people, and got a trinket or two, but at least it’s done with.
Oh, and one more important note. Before you leave Vault 101, be absolutely certain to have everything you want from it. If you do not get the Bobblehead - Medicine now, you’re never going to. And make sure to get that Schematic if you need it!


No Comments