Now for a quick Bobblehead grab. Not everything has to be incredibly long, complicated, and riddled with detours. Just most things. Our destination is Vault 108, which is north-east of the Corvega Factory.
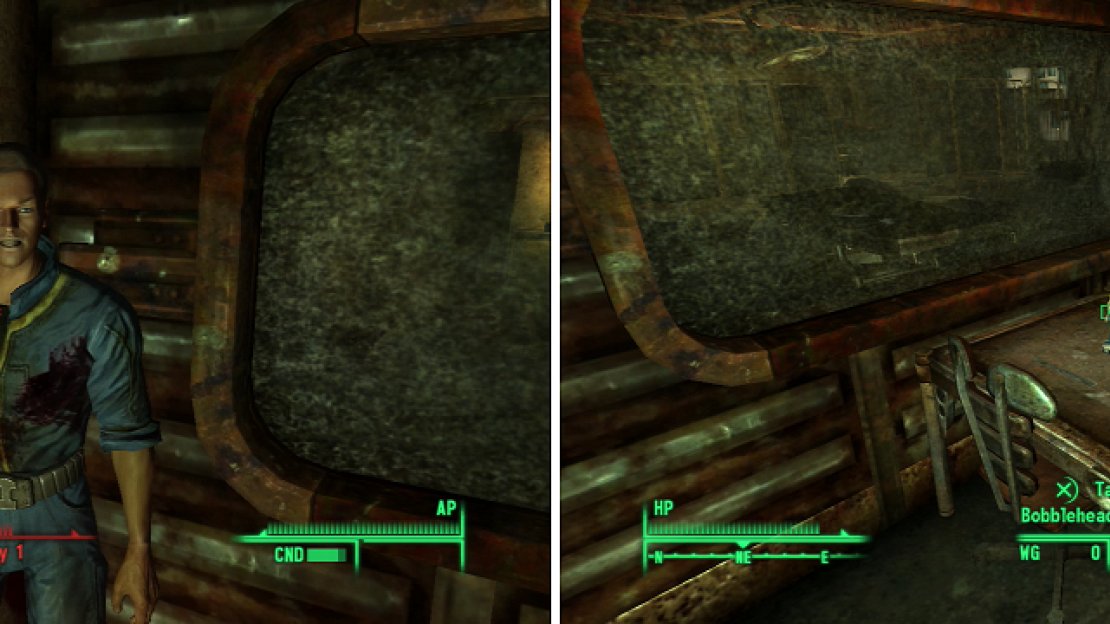
This Tumblers Today taunts us from beneath these steps (left). Gary #42, eh? That’s… odd… Wonder where the rest of them are? (right).
1) Entombed Tumblers Today
Book - Tumblers Today
The first level is really just to get you introduced to this Vault. As you’ll see, it’s opened to the world, and doesn’t look any better than Vault 106 did. Go west then south to reach a room with a door to Vault 108 Living Quarters. In the north-western corner of this room you’ll find a Stealth Boy on a table in front of two computers. South of this room you’ll find Gary 42. Huh. Keep going east and you’ll find the reactor room, which has a door leading to Vault 108 Cloning Labs. Go in the room to the east and jump on the yellow crates to reach a hidden Nuka-Cola Quantum on a step ladder in the southern end of the room. Sneaky. There’s also a copy of Tumblers Today entombed under a step ladder, which… you can’t reach it without using a console cheat on the PC. Some people swear by explosives to dislodge this, but if you’re not successful… well, you’re in good company.
You can go into either door, the Cloning Lab is where the good stuff is, and the Living Quarters are mostly just there for bonus looting. If you’ve been following this guide at any length, you know where we’re going to go first.
2) A Gaggle of Garys
Book - Pugilism Illustrated
Go west down some stairs and into a large, two-storied room, just like the Vault 101 Atrium. There’s minor loot in the four rooms, in the room to the north-west you’ll find a copy of Pugilism Illustrated on the edge of the counter. If you go up the stairs to the west you’ll reach the upper level of the atrium, with three more rooms to loot. One of which has a locked safe [Easy]. Now go down the stairs on the ground floor of the atrium to reach a room with a locked safe [Easy] and some lockers to loot. Beyond this is just another entrance to the Vault 108 Cloning Lab.
The first Gary (or the first clone of Gary?) lurks at the bottom of Vault 108 (left), as does the Bobblehead - Charisma (right).
3) The Genesis of Gary
Bobblehead - Charisma
Lying, Congressional Style
More Vault 108, more Gary. You know, out of all the Vaults we’ve been in, Vault 101 might have just been the most sane. Now that’s scary. Go south, then east to find a medical room with a partition closing part of the room off, inside of which you’ll find a Gary messing with a dead Wastelander. Head west, then south around a corner to find another pair of rooms. Go into the door to the north to find a room with beds and more Gary clones. On a table to the south you’ll find a copy of Lying, Congressional Style , and on a table to the north you’ll find the Bobblehead - Charisma .
4) Cleaning Up
Now go through the room to the south and into a hallway. If you backtrack to the west you’ll find some poor loot, and a note “Cloning Log” on the floor by a skeleton in the room with the locked safe [Very Easy]. If you go east you’ll find some slightly less poor loot, and the exit to the Vault 108 - Entrance we neglected earlier.
We’re now done with Vault 108, so head back home and drop off whatever you don’t need. It’s time to get the Bobblehead - Luck, and end our great Bobblehead hunt. We have to get to Arlington National Cemetery, which can be done pretty expediently by going through the Flooded Metro south of Wilhelm’s Wharf.


No Comments