1) Flood Control Pumps
Head to the Memorial Rotunda, if you Dad is too slow, wait until he catches up. Talk to him to get the note “Revelation 21:6”. He’ll also ask you to get to the Flood Control Pumps to pump out water that has seeped in over the years. Head through the Jefferson Museum and Gift Shop and reach the Memorial Sub-basement. Once there head to the southern-most part of the level to find the Flood Control Power Switch on a wall near an intercom. Remember, you can always use your map markers to find out where to go. Activate the switch and Dad’ll tell you to come back and get some fuses. Enjoy being a monkey much?
2) Fuses and the Mainframe
Return to the Rotunda and talk to Dad to get your fuses. Head back to the Sub-basement and head to the north-western corner of the level to find the Auxiliary Power Fuse Box on the wall. Activate it and Dad’ll tell you to go to the Mainframe. Head back to the first room you enter in this level when you come from the Jefferson Museum and Gift Shop. To the west you’ll find the door to the Mainframe. Go in the room and activate the Mainframe Power Switch. Head over to the Intercom on the wall and talk to Dad, and he’ll tell you to drain the intake pipes. Sigh
3) The Enclave Arrives
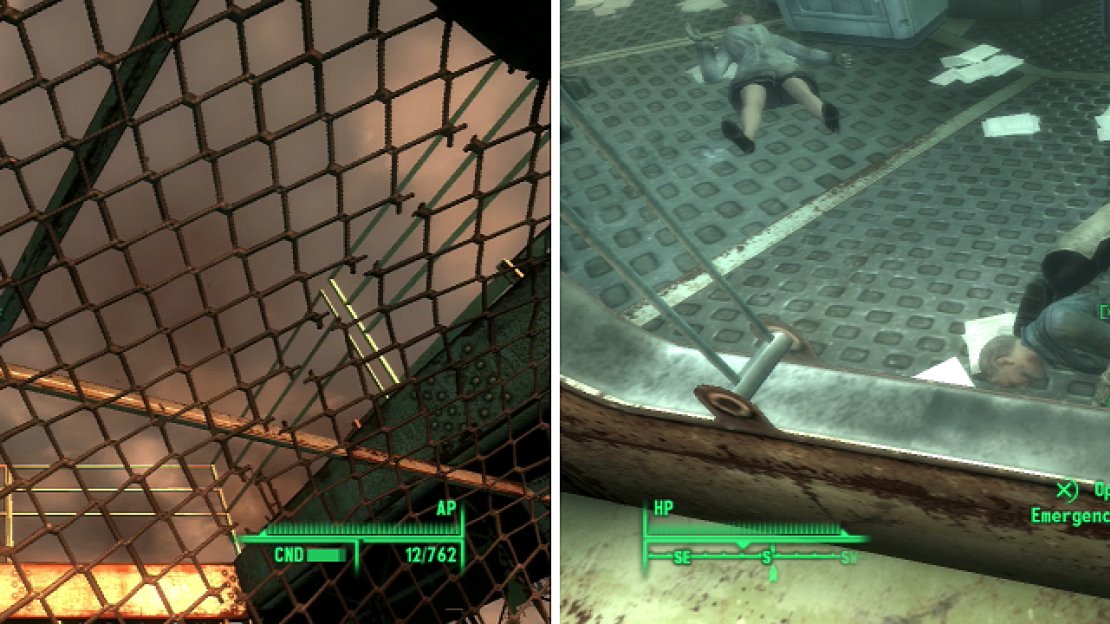
So head back to the Jefferson Museum and Gift Shop and go to the north eastern part of the level to find a grate leading to the Pump Control. Kinda smokey and ominous, huh? Head down the pipe until you find a door leading to the Capital Wasteland. Go through and continue on until you find the Pipe Controls, which you should activate. Stay a moment and look up through the fence and you’ll see a Vertibird land on the railing outside of the Memorial. The Enclave has arrived. Head through the door to the Sift Pump, which is now unlocked. Go down the pipe until you reach a door leading back to the Memorial Sub-basement.
4) Back to the Rotunda
Note that there are now Enclave Soldiers wandering about. Despite the fact that they have shiney power armor, it doesn’t save them from a sneak attack critical with a combat shotgun. Head through the level until you reach the Jefferson Museum and Gift Shop, which is also occupied. Kill as many as you please and take their neat armor and valuable weapons, they sure as hell aren’t your friends. Make your way to the Jefferson Memorial Rotunda and be sure to pick up everything you want out of the Memorial.
5) Defiance
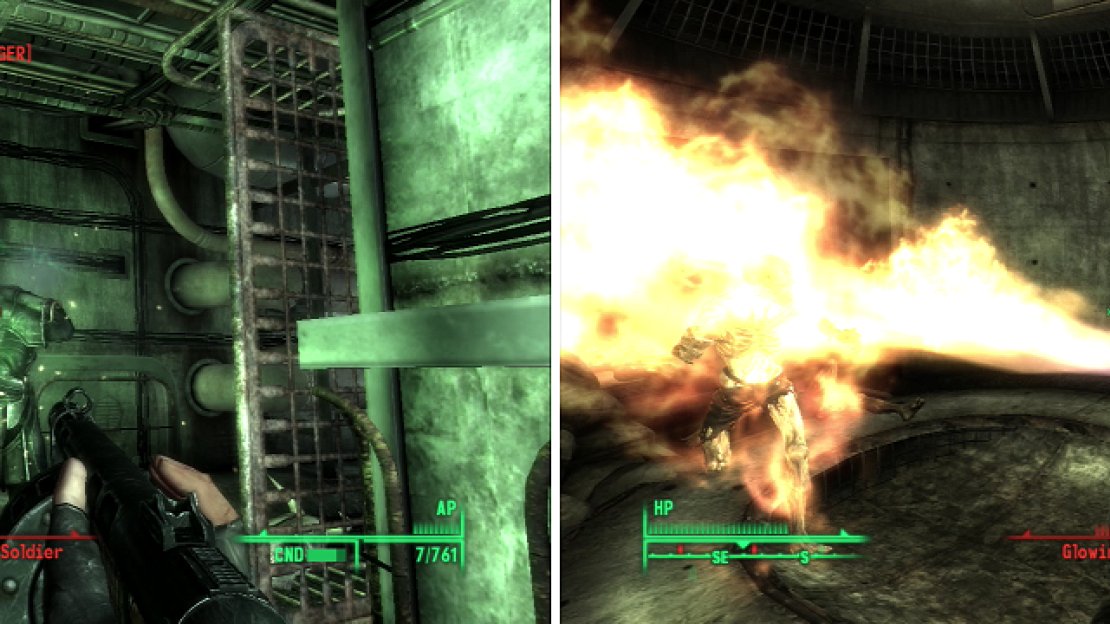
In the Rotunda you’ll find Dad talking to some man in a trench coat, who is referred to as a “Colonel”. When your Dad doesn’t comply the Colonel will shoot Anna Holt, one of Doctor Li’s researchers. Your Dad will seem to comply before there’s an explosion near the control console. The room floods with radiation and your Dad tells you to run. Talk to Doctor Li, who will explain what happened. She’ll also tell you that you can escape through some abandoned tunnels. Follow Doctor Li back to the Jefferson Museum and Gift Shop to find a manhole to the Taft Tunnels.
The Enclave’s arrival interrupts your work at a most inopportune time (left). Dad sacrifices his life rather than let his research be perverted by the Enclave (right)
6) Into the Taft Tunnels
It would be a good idea to talking to Doctor Li and getting her to wait while you go on ahead, clearing any Enclave Soldiers you find. They’ll just get themselves killed and blow your cover if they’re nearby. Head down the tunnel to the west and destroy an Enclave Eyebot nearby. Go down the tunnel to the north-west, as the south-west is simply full of rads. You’ll come across a door to the south which leads to a room with a bed in the southern corner. It’s as good a place as any to leave your followers for now.
7) The Long Way is More Rewarding
Book - Chinese Army: Spec. Ops. Training Manual
Head through two doors to the west to reach more sewers, where an Enclave Eyebot will be roving about. Head through a doorway to the north and follow the tunnel beyond to the west until you find a room to the south near a terminal [Very Hard]. We could use the terminal to take a short-cut, but it’s more fun-and rewarding-to kill Enclave guys. Note that unless you splatter the Enclave guys in the room to the south you won’t be able grab their loot. In the south-western corner you’ll find a bunch of Chinese gear on a desk, including a Chinese Spec. Ops. Training Manual . When you’ve dealt with the Enclave in the room the door to the west will open.
8) Yay… Ghouls
Go west down a slope and kill some Ghouls. Ghouls. Wonderful. At an intersection you’ll have two new paths you can take: to the west you’ll find an irradiated room with a workbench… not very interesting, so go north to find a door leading to the Taft Tunnel. Not the Taft Tunnel(s), just the Taft Tunnel. Guess they couldn’t come up with a better name.
9) Garza’s Heart
Doctor Li will bother you now and tell you about Garza, who apparently has a heart condition. Wonderful. Ever get the feeling that some people just aren’t supposed to be alive? You can either fork over some Stimpaks to Doctor Li, succeed at a Speech challenge to give him Buffout, or succeed at a Speech challenge to convince Li to leave Garza behind.
10) Enclave on Higher Ground
Go west, then through a door to the north. You’ll eventually come to a door leading west, which opens into a room with metal platforms, in the center of which is a couch. How cozy. Unfortunately there are Enclave Soldiers on another metal platform above the door, and like the ones earlier if you don’t get at least a piece of them to ground level you won’t be getting their loot. When they’re dead continue through the room to the west, going up stairs, through a room, and up more stairs until you come to a tunnel, one path leading south, and the other to the north.
11) Looting Through the Taft Tunnel
Book - Nikola Tesla and You
To the south you’ll find a room with some desks and a medical table. You can find some drugs about, and Turpentine. Head to the north, up some stairs, and then to the west until you find another sewer running north and south. To the south you’ll find a Nuka-Cola Quantum on a table, and on the same table behind the generator you’ll find a copy of Nikola Tesla and You . Now head up north. You can loot a small room to the west, and past it go west again to find a door which can be opened by flipping an electrical switch on the wall. Before we go there, we might as well continue to the north and go through a door on the right.
12) Ghouls in the Side Tunnel
Continue down a passage to the east until you find another door to your right. You’ll find a room with stairs leading down. To the south are some metal supports with stuff on them… one has Beer and another has an Ammo Box, which you’ll have to jump to reach. Go downstairs and through a door to the south. You’ll have to kill some Ghouls, which at our level is never a fun thing to do. Head east until you find a locked safe [Average]. Once you’re done looting head back to the room with the door which can only be opened by activating an electrical switch.
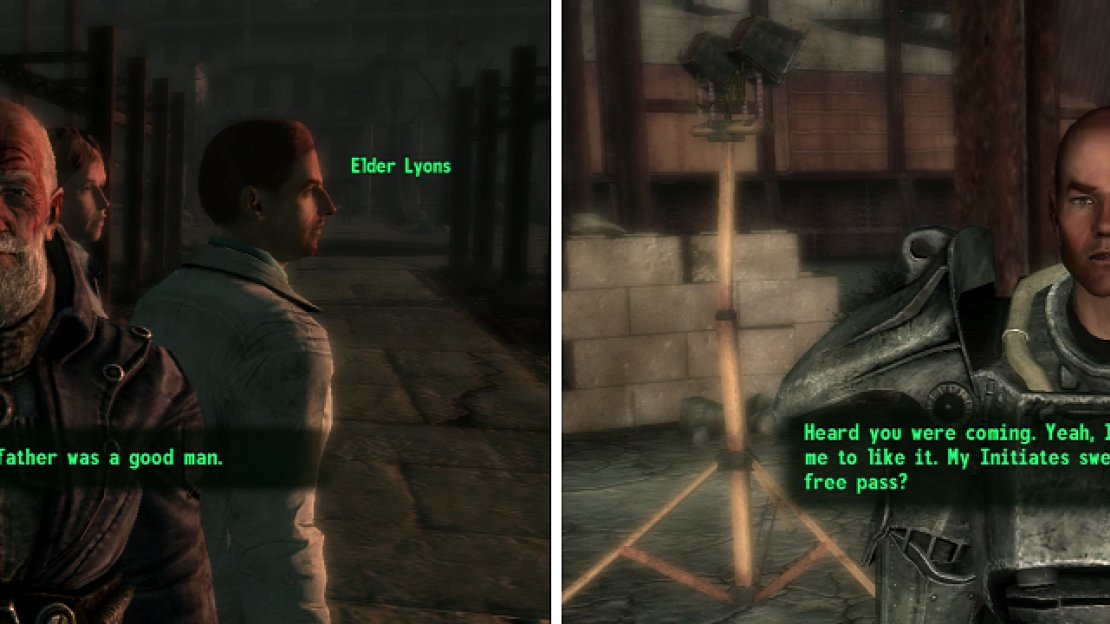
Although they have superior technology, the Enclave can be defeated with conventional weapons (left). Survive the Ghoul assault and escape the Taft Tunnel (right).
13) Ghoul Assault
Inside you’ll find a Brotherhood Paladin. Once you make progress into the room a host of Ghouls will attack. The Paladin probably won’t last long, but fortunately they have leveled turrets backing them up. It’s a good idea to attack any Reavers that arrive while they’re occupied with the turrets, as they’ll give them especial attention. Thier radioactive globs aren’t very damaging to the turrets, but give them time and they’ll win, and if you get a number of Feral Ghoul Reavers against you… It’s going to be a rough fight. When the Ghouls are gone, grab the ammo, guns, and drugs on the metal shelves and head up a tunnel to the north, then west and you’ll find a ladder leading to the Capital Wasteland.
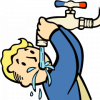
Elder Lyons leads the eastern chapter of the Brotherhood of Steel (left). Talk to Paladin Gunny to get some sweet, sweet Power Armor training (right).
14) Meeting with Elder Lyons
NPC - Star Paladin Cross
You’ll surface near the Citadel. Follow Doctor Li and she’ll use a little persuasion to get the Brotherhood to open the gate. Might as well follow her in and see what’s up. Doctor Li will talk to an old man named Elder Lyons. You’ll also see your old friend Sentinel Lyons, from your assault on Galaxy News Radio. Doctor Li will come talk to you when she’s done with Lyons. Now go talk to Elder Lyons yourself. You can ask him what to do with Brotherhood Holotags you find about, about the Outcasts, the Enclave, the Brotherhood of Steel, the Super Mutants, and most importantly, for permission to learn to use Power Armor. He’ll refer you to Paladin Gunny for Power Armor training. Go find Paladin Gunny walking around and talk to him, making sure to ask him to train you to use Power Armor.
Now that we’re here, we might as well explore the Citadel before moving on. Doctor Li will have mentioned someone named “Rothchild”, with whom you’re supposed to speak in order to gain access to pre-war computers, presumably to find out where a G.E.C.K. is. First things first though, we’ve got to explore the Citadel properly. Since there’s nothing out in the Couryard, head through a door to A Ring.
15) A Ring Terminals
To the south you’ll find two terminals. One, the Maxson Archive Terminal, talks about the founders of the Brotherhood of Steel, namely the Maxson family. In the John Maxson entry you’ll get one of the very few mentions of the “Vault Dweller”, the protagonist in the very first Fallout game. The Diaries of Roger Maxson are text straight from the first game as well. You can also look at a Vault-Tec Terminal, which has information on all the Vaults. In the Vault 87 entry you’ll find that it alone had been issued a G.E.C.K. You’ll also discover that many of the Vaults, particularly Valts 106 and 108 were decidedly NOT designed for preserving the lives of the inhabitants.
This bypasses the ‘talk to Rothchild’ part of the quest, we no longer need to ask him for computer access… we simply helped ourselves! When you talk to him later tell him what you’ve found. To the east you’ll find a Pentagon Library terminal, which talks about a UFO and the government’s plans to use FEV as a bio-weapon. If you go east some more you’ll eventually find B-Wing.
16) The Lyon’s Den
Book - Guns and Bullets
East of the courtyard entrace you’ll find the Lyon’s Den, where various members of the Lyon’S Pride’ll meet. Many of them have interesting, if not useful things to say. If you find Paladin Glade you can ask him about Gallows’ name. If you go back and find Gallows you can ask him what his name is. Succeed at a Speech challenge to get him to reveal it to you, then go tell Glade the name to claim the pool, a fat 1000 Caps. You can also find a copy of Guns and Bullets by one of the beds in the Den. Now head into B-Wing.
17) B Ring Terminals
Search the barracks. If you couldn’t find a certain Paladin or Knight earlier, they’re probably here. The footlockers have some ammo and other minor loot in them. Also be sure to check out the Citadel Personnel Terminal and the Citadel Information Terminals.
18) Robot Poetry?
North of the barracks you’ll find the hospital, run by one Mr. Handy named Sawbones. Activate the robot and it’ll damage you. You’ll now get the option to make a Science check to fix the stupid thing. It will now be able to heal you at will. There’s a terminal [Very Hard] and a safe [Very Hard] in this room, so pick your poison. The terminal has some… robot poetry? You can use the terminal to access the medical storage safe, which isn’t as well stocked as you might hope.
19) Scribe Jameson
You should be able to find Scribe Jameson wandering around, either in A Wing or B Wing. She’s pretty chatty about the Brotherhood, and if you talk to her about the Brotherhood Holotags you’ve been finding she will offer to take them off your hands for you. She’ll give you 100 Caps for each one, which… well, what else are you going to do with them?
20) Squire Maxson
East of the exit to A Ring you’ll find Squire Maxson’s room. Hack his terminal [Very Easy] and look at the entry “Guns and Bullets” to find out about a copy of the book hidden under Vargas’ bunk in the Lyons Den. In the A Ring, head to the room with the sign “The Den” outside of it and go into the room with four beds. The book is on the floor by the southern-most bed.
21) Elder Lyon’s Solar
South of Scribe Maxson’s room you’ll find a room marked “Solar”, which is the living quarters of Elder Lyons. Solar? What is he, the sun? Yeah, yeah… it’s a room. In his room in the back you’ll find the note “Elder Owyn Lyons – Personal Log 1”, as well as a terminal [Very Hard] and a safe [Very Hard]. In the safe you’ll find the note Elder Oywn Lyons – Personal Log 2“, 300 Caps, and the unique Laser Pistol Smuggler’s End . Now head back to A Ring and go down the stairs to the Laboratory.
22) Looting the Laboratory
Book - Duck and Cover!
Besides the random looting there is to do you can talk to Scribe Bowditch, who will chat you up and repair your gear. You’ll also find Doctor Li, Agincourt, Garza, and Dargon, if they all survived. They are thankful, if not helpful. In the bathroom to the east you’ll find a copy of Duck and Cover! in a wooden crate on the floor. There’s plenty of food in the Mess Hall and Citadel Lab Terminals worth glancing at. Upstairs in a room to the east you’ll find some Power Armor, and downstairs in a room to the north you’ll find a Plasma Rifle. Also you can find Knight Captain Durga, who will sell you stuff if you get permission to trade from Elder Lyons. And you can, of course, look at the Liberty Prime Operations terminal to find out about the giant freakin’ robot the Brotherhood has.
23) Vault 87
When you’re done messing around talk to Rothchild, who will help you locate Vault 87. Unfortunately it seems there’s a little radiation issue, and the only way through to Vault 87 would be through Lamplight. That’s where we’ll go to continue the main story… eventually. We have our goal… officially, but there’s still plenty to do before we rush off to Vault 87.
24) Almost Perfect
Before we continue with the main quest, let’s complete… oh… you know EVERYTHING else out there. That means all the other expansions and the remaining quests from the main game. That way the rest of our struggles with the Enclave will be contiguous. Before any of that though, it’s time to hit level 30 and get the Almost Perfect perk. Go back to your home and collect all the Scrap Metal and Pre-War Books you have and turn them in. This in addition to the quest reward for “The Waters of Life” and all those Enclave soldiers we killed should help.
If it’s still not enough… do some Bethesda Ruins runs will help, and it’ll boost your Big Guns score at the same time, too. If you find grinding tedious, just keep following the rest of the guide as normal and avoid picking up any Attribute Bobbleheads we come across. Obtaining these will be our immediate goal… that’s right, it’s another Great Bobblehead Hunt!
25) The Enclave Is In Town
One thing to note before we head off is the fact that the Enclave is now in town. They’ll have set up camps all over the Capital Wasteland. You may have met one Enclave Soldier here or there before their recent invasion, but now, you’ll be able to encounter them in numbers. So… we might as well talk about the weapons the Enclave will be bringing to bear on you.


No Comments