1) Enslaved by the Enclave, Emancipated by Eden
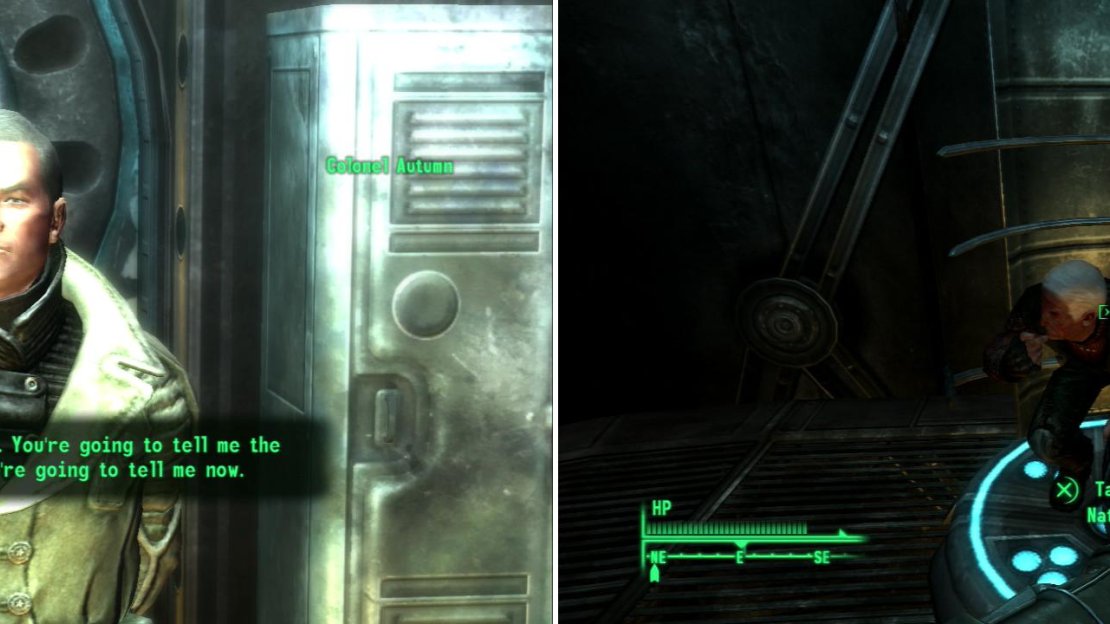
When you come to you’ll be bothered by Colonel Autumn, who wants to know the code to operate Project Purity. Do not give him this code-if you do, your usefulness will be at an end, and so will your life. In fact, feel free to be an insolent little jerk to him. After a few questions good old President Eden tugs the leash, requesting an interview with you. Well, at least he’s nicer than his gorilla. Grab your crap out of the locker nearby and bravely head out into the complex. As soon as you exit you’ll be bugged by an overly alert Enclave Officer. Either succeed at a Speech check, [Charisma] check, or [Strength] check to get him to bugger off. All seems good, but just a little further on you’ll hear Colonel Autumn override the President’s order and turn the Enclave soldiers hostile to you. Oh well, you’ll just have to fight your way out. By now you should be fairly familiar with what the Enclave is capable of, and frankly, we’re well out of their league. You may also be tempted to grab everything you see, but practice some restraint. You won’t be coming back to this place, so one inventory full of loot is all you’ll get-hence why you were told earlier to stash your crap before coming here.
When you come to, you’ll be interrogated by Colonel Autumn (left). Nathan, from Megaton, seems to have a different opinion of the Enclave now that he’s in their custody (right).
2) A Helpful Map
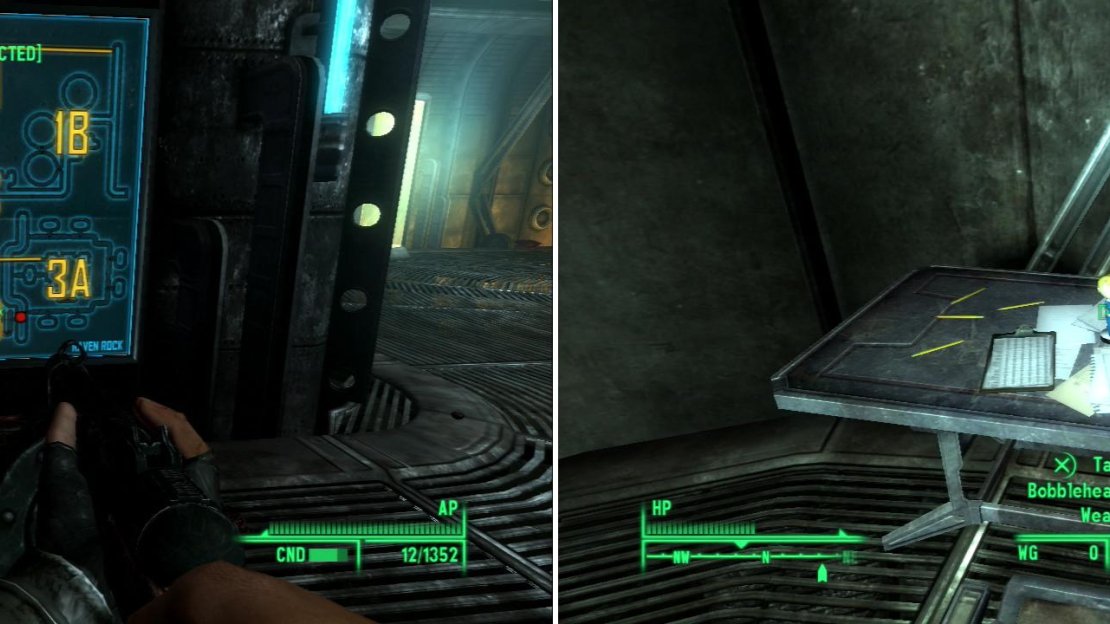
From your cell you can head either north or south, and either direction is just as good as the other, in terms of getting us to our destination. It’s more fun to head south, however, and enter the first cell you come across (to the east), wherein you’ll find Nathan: the beloved Enclave supporter from Megaton. His opinion of the Enclave seems to have changed due to his captivity. No surprises there. Continue south, then west down a tunnel, through a doorway, and into a larger hallway running more or less north/south. Across the hallway will be a map of the facility you’re currently in-the prison cells are listed as “3A”, you’re currently in “3B”. According to the map there are two ways to reach “2A”-the Tech Lab/Cyro Lab, and our ultimate destination is “1A”, the Control Room, where President Eden certainly lurks. Pretty handy map, all things considered.
3) Bio Lab
If you head south you’ll find some stairs down below the hallway floor grating. All you’ll find down here are Radroaches and some laser lines which, if disturbed, trigger some fire jets. Enclave pest control at its finest. So… stay on the upper level and head north until you find a door to the east. Go through it and head down a short hallway in that direction until you come to the Bio Lab, complete with various Wasteland critters in stasis tubes, some Enclave Soldiers, and Enclave Scientists. Kill everything not in stasis, then loot the small chambers on each corner, then go up some stairs to the north and repeat the process. On the ground floor, to the south, is a small storage chamber containing an Enclave crate, a footlocker, and some lockers. You’ll also find a few Enclave crates in the various small chambers. In the north-western chamber on the upper level is a door to Raven Rock Level 2, which is one of the ways to reach the “2A” area.
4) Mess Hall
Instead of heading through that door, however, leave the Bio Lab and return to the larger hallway in the west, then backtrack south to the map. To the west you’ll spot a door. Go through it and up some stairs to the south, then up another flight of stairs to the north, and through a door to the west, helpfully marked “3B” Mess Hall. Inside you’ll doubtlessly find a few Enclave Soldiers snacking. How do they eat through their Power Helmets? Your guess is as good as mine. But damned if that stops them from trying! To the north you’ll find a kitchen with some lockers to loot. There are also some stairs you can go down to reach the area below the grate, where you’ll find out that Enclave Soldiers are also clumsy with their silverware. Return to the Mess Hall and explore to the west to find another door. Go through it, up some stairs to the south, then up some more to the north, and through a door to the west, which leads to Raven Rock Level 2. Déjà vu much?
5) A Tale of Two Labs
Head north across a chamber broken up by support pylons to find another map. See the red dot? That’s you, you sexy beast! We’re in “2A” now, and we need to cross to “2B”, then “2C” to reach our destination. Right now, however, we’ve got two labs to explore. The Tech Lab is to the east, and the Cyro Lab is to the north. They both follow the same setup as the Bio Lab on the previous level-small chambers in each corner, two levels, a few Enclave Soldiers and Scientists to shoot, some Enclave crates to loot. Explore the Tech Lab first, then backtrack to the map room and explore the Cyro Lab.
6) Storage/Quarters
When you’re done with the Cyro Lab, exit through a door on the lower level to the west, head through a short tunnel, and into a large hallway. To the south will be some Deathclaw Cages, and past them, some stairs and a generous bounty of lockers lurk. If you go down the stairs, the lower level possesses the same hazards as before-Flamer traps, and not a lick of loot to make running through them worthwhile. So… head north down the large hallway until you find two rooms on either side of the hallway. In the western room you can score a first aid box, three footlockers, and two lockers, while in the eastern one you’ll find a “Security Barrier Terminal” [Average] which protects three Enclave crates. Even the inept can search four footlockers and three lockers. In one of these rooms you’ll likely find Anna Holt, previously a member of Doctor Li’s Rivet City Science Lab, then of the reborn Project Purity, now turned traitor, seduced by the technology of the Enclave. Handle her however you wish… Dad probably wouldn’t have approved of murder, but he’s dead now, so Wasteland justice can prevail.
If you ever get lost, there are plenty of handy-dandy maps about (left). Be sure to grab the Bobblehead - Energy Weapons (right). It’s one of the few Bobbleheads in the game that you can miss.
7) Colonel Autumn’s Quarters
Bobblehead - Energy Weapons
Continue north down the hallway until you reach a fork. We want to continue north through a large door. Wax a pair of Enclave Soldiers and continue north to reach two doors on either side of the hallway. The door to the east will lead you to the War Room, which is out destination, so naturally we want to go west, first, into what happens to be Colonel Autumn’s room. You can loot a cabinet, two lockers, a first aid box (which is on top of one of the lockers), a footlocker [Average] near the bed, and three Enclave crates behind a barrier that can be deactivated by hacking another “Security Barrier Terminal” [Average]. The real prize is the Bobblehead - Energy Weapons on the table opposite the bed, however. This should be our 20th-and final-Bobblehead.
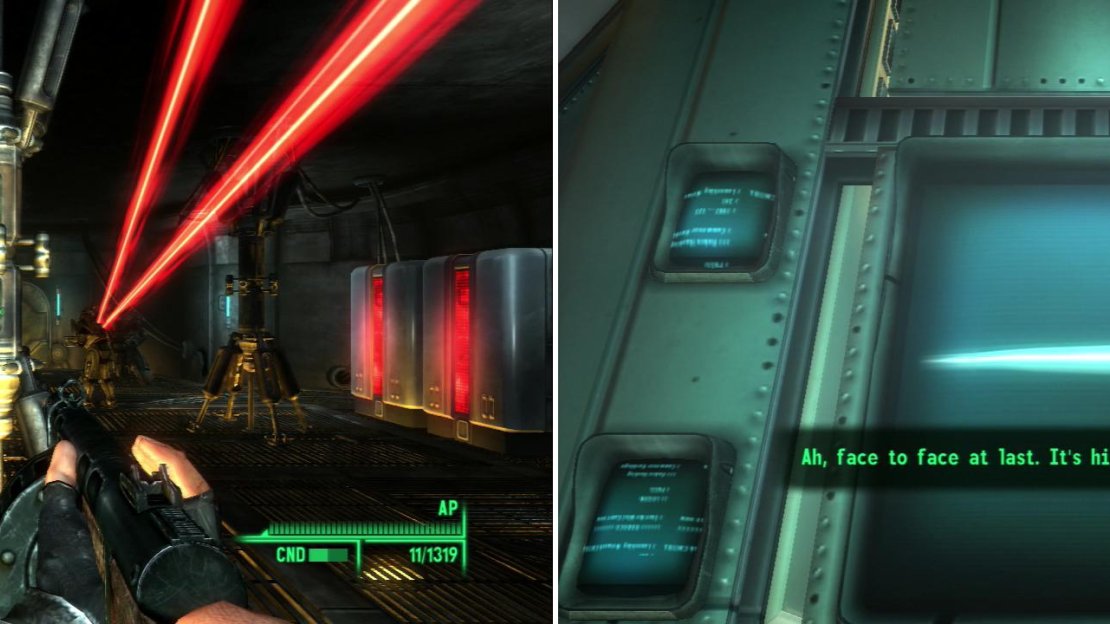
After Colonel Autumn becomes belligerent, President Eden will turn his robots on the Enclave to ensure you make it to him (left). Meeting President Eden face-to… screen? (right)
8) 01000101 01100100 01100101 01101110
Now head back into the large hallway and go through the door to the east, them up some stairs and through another doorway to the north to reach the War Room. Despite its macho name, there’s not really much going on here, nor is there any juicy intel to nab. Only the door leading to the Control Room. Get yourself all proper-looking, because it’s time to meet President Eden.
When you arrive on the level, two Sentry Bots will turn on-and take down-two Enclave Soldiers. Ah, power struggles. Continue through a door to the west and head up an inordinately long staircase until you come face-to-screen with President Eden. There’s a bit of chatter, but the skinny of it is that Eden wants you to start Project Purity and make sure it’s not so… pure. To him “Project Purity” means purifying the people who drink the water, not the water itself. At the end of the conversation you can convince Eden to self destruct with a [Science] or a Speech check, or failing that, you can just leave… after you take the vial of Modified FEV Virus. Eden can’t force you to use it, but he can force you to take it before letting you progress. And so he does.
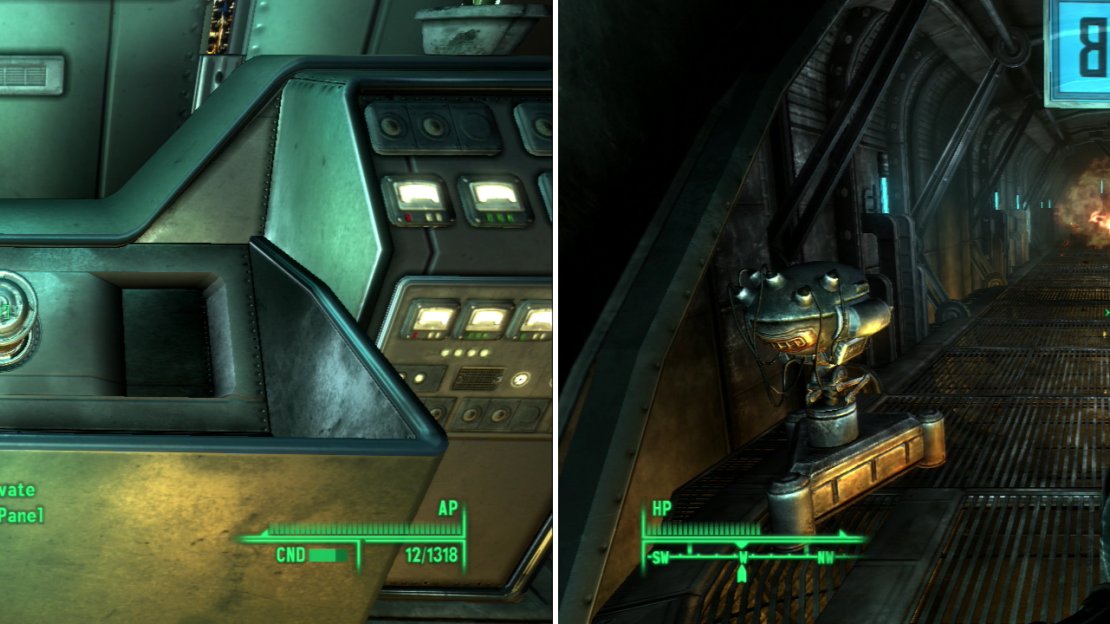
President Eden forces you to take the Modified F.E.V. before he allows you to leave (left). Make good your escape from Raven Rock as the Enclave’s civil war spirals out of control (right).
9) A Caged Deathclaw
This level is just a gauntlet you have to run, with Eden’s robots turning on Autumn’s Soldiers, things can be pretty hectic. At the least Eden’s robots aren’t hostile to you, though. From the entrance head south and through a door, where two high-level turrets (whopping Mark VIII’s!) will dust some Enclave losers. Continue past them and, when you hit a fork continue west, as the door to the south malfunctions. Go through a doorway and turn south when you must. When you reach another fork turn east to find a caged Deathclaw, which can be freed by activating a nearby “Delivery Terminal” [Average].
10) Escaping the Enclave
Continue south past another cubby to the east, which only contains a pair lockers. Continue south, then turn west and go through a door. Pass by another pair of turrets, which are busy shooting down more Enclave Soldiers, and go down some stairs to reach a stash of loot under the floor. It includes five Enclave crates (variously named to indicate the content within) and two first aid boxes. Return to the main level and keep going west until you spot a force barrier to the north, which can be deactivated by hacking another “Security Barrier Terminal” [Average], as usual. Your reward? Five Enclave boxes. Proceed west and go through a doorway to finally reach the door leading to the Capital Wasteland.
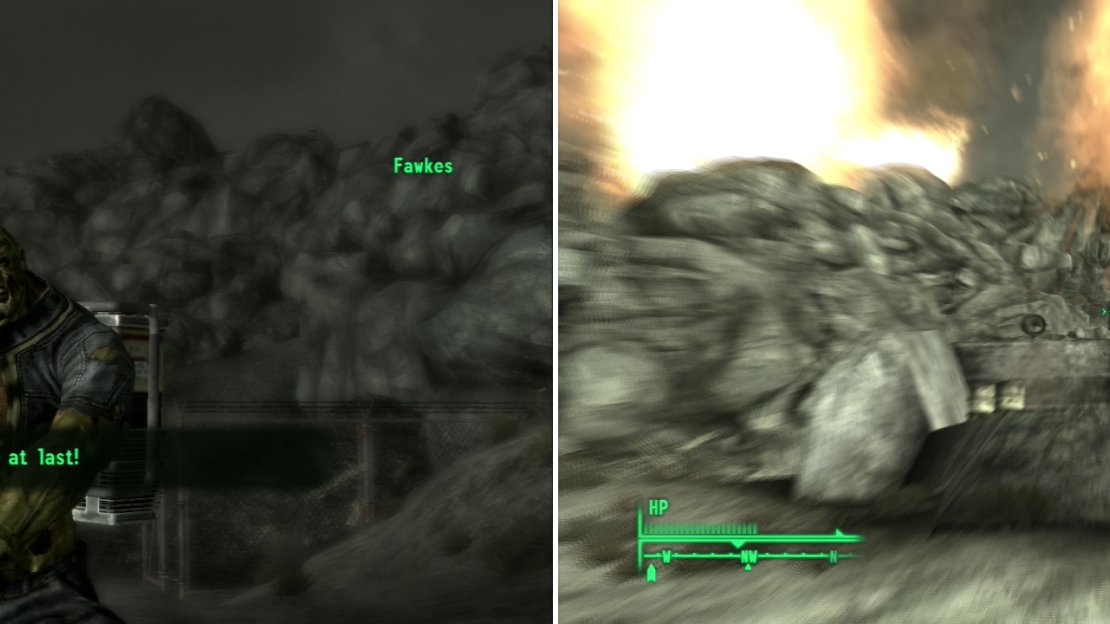
When you escape, you’ll be greeted by Fawkes (left), who has found a new toy in your absence. President Eden makes good on his promise to destroy Raven Rock (right).
11) Fresh Air and Fawkes
Once outside you’ll find your buddy Fawkes, who makes good use of a Gatling Laser to smite some Enclave Soldiers. If you’re virtuous enough, you can convince Fawkes to join up with you, if not, the Super Mutant will head off to the Museum of History. Either way, it’s time to report to Elder Lyons at the Citadel. Make sure you’re healed, free of Rads, and unencumbered before you go. It’s time for the final showdown with the Enclave.




No Comments