1) Our Lady of Hope Hospital
In this first room you’ll find a safe [Easy] a Turret Control Terminal [Average], and a rigged computer. You can activate the turret system here to harass the distant Super Mutants, but you can’t expect the turret to do much more than that. If you head through the door to the south you’ll be adjacent to a large open room with several Super Mutants within. Fortunately the Super Mutants in this part of the quest are mostly unleveled, and shouldn’t be difficult for anybody with a two-digit level. Once they’re dead loot the room. There are three ammo boxes on a desk in the south-east corner of the room, a Pre-War book on the wooden receptionists desk to the west, and a host of other goodies. Be wary of the gurney near a pillar by the windows, as it has a live Frag Mine on it, and the oxygen canisters nearby will detonate if the mine does. You can also find a Grenade Bouquet in the woman’s bathroom to the south.
2) Looting Our Lady of Hope
Book - D.C. Journal of Internal Medicine
Ignore the stairs to the west and instead explore the east, where you’ll shortly find the room containing the main entrance to Our Lady of Hope from Vernon Square. Head south down a hallway, disarming a rigged baby carriage as you go. Go through a locked door [Average] to the east to find a room with a non-hostile Mister Handy and four first aid boxes on the wall.
Head to the end of the hallway and turn west when it ends. Go into the first room on the left and search the table in the corner to find a D.C. Journal of Internal Medicine . The second room on the left contains a wall safe [Hard] which can also be opened by hacking the Nurse’s Station Terminal 01 [Average]. In the next room over (Maintenance and Surgery) you’ll find some stairs down which will eventually lead to a small cache of goodies, including two ammo boxes and a mine box. Continue around the corner to find another wall safe [Hard], which can be opened by hacking the Nurse’s Station Terminal 02 [Average]. The other rooms of this level have a bit of loot in them, and most all of them have a first aid box near the door, so loot at your leisure.
The hallway eventually leads back to the large northern room we cleared out earlier, leaving us with two options. We can go upstairs to find the door leading to Our Lady of Hope Hospital 2nd Lvl, or downstairs to explore the admittably ancillary Dry Sewer. Since the Dry Sewer has a fair bit of loot in it, it might be worth checking out. Let your greed (or lack thereof) guide you.
3) The Dry Sewer
Book - Dean’s Electronics
In this first room there are several Super Mutants. There’s also plenty of valuable (and often heavy) components strewn about. When done head through a door to the south to find a sewer where a group of Super Mutants and Talon Company Mercenaries are fighting it out.
Once dispatched you can explore to the east to find a bed with some trivial loot around it. The real fun is to the west, where you’ll find another fight between the two groups, or at least the remains of one side or another. Go through a door to the south to find a small maintenence room. Inside, on a metal shelf, is a copy of Dean’s Electronics . To the west you’ll find some minor loot strewn about, but the path is ultimately a dead end. Head north down a tunnel instead to find a door, behind which are more Talon Company Mercenaries. If you continue on you’ll reach the door leading back to Dupont Circle.
4) Our Lady of Hope Hospital 2nd Lvl
Book - D.C. Journal of Internal Medicine
Head down the hallway to the east, ignoring the door to the left for now. At the end of the hallway you’ll find another wall safe [Average], which can be unlocked by hacking the Nurse’s Station Terminal 03 [Average]. Now backtrack and head into the room we bypassed earlier, killing whatever Super Mutants you find milling about. On one of the tables in this room is a D.C. Journal of Internal Medicine .
Continue through the kitchen to the east, through another door to the east and up some stairs until you find a door leading to Vernon Square. Now you are outside on the second level of the Our Lady of Hope Hospital, and can safely traverse the railing to the east to reach the upper levels of the Statesman Hotel. Before you head off, however, now would be a good time to empty your inventory. There’s plenty of loot in the Statesman Hotel, and it would be a shame to have to backtrack all the way to the upper levels of the hotel to grab something you missed.
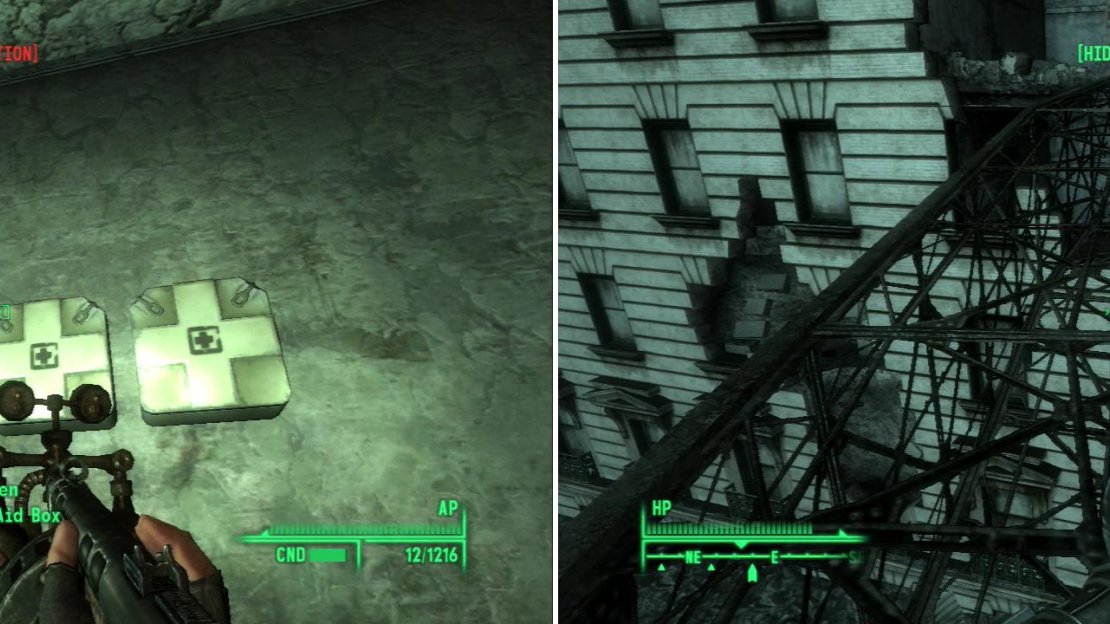
As you might expect, you can find all sorts of medical supplies in the Our Lady of Hope Hospital (left). To reach the upper levels of the Statesman Hotel, you’ll need to cross this precarious debris (right).
5) Statesman Hotel Mid Level
When ready cross from Our Lady of Hope Hospital to the Statesman Hotel, dropping down to the lower level to get access to the door leading the Statesman Hotel Mid Level. As soon as you enter you’ll find that a hole in the floor is the only way to proceed further… which means you’re commited to finishing this quest once dropping down. Head through a door and down a hallway to the north before turning east and disarming a trip wire. Grab the Grenade Bouquet and head through the door nearby.
6) Theo’s Ammo Box
Continue exploring this level, generally heading south until you find some stairs up. On the stairwell you’ll find the remains of poor Theo, as well as Theo’s Ammo box. Continue upstairs until you find another tripwire near a door. Head upstairs and grab the Grenade Bouquet waiting for you, then go through the door to the east. Go through a door to the south and head through the level, generally going east, killing Super Mutants along the way until you reach another flight of stairs up.
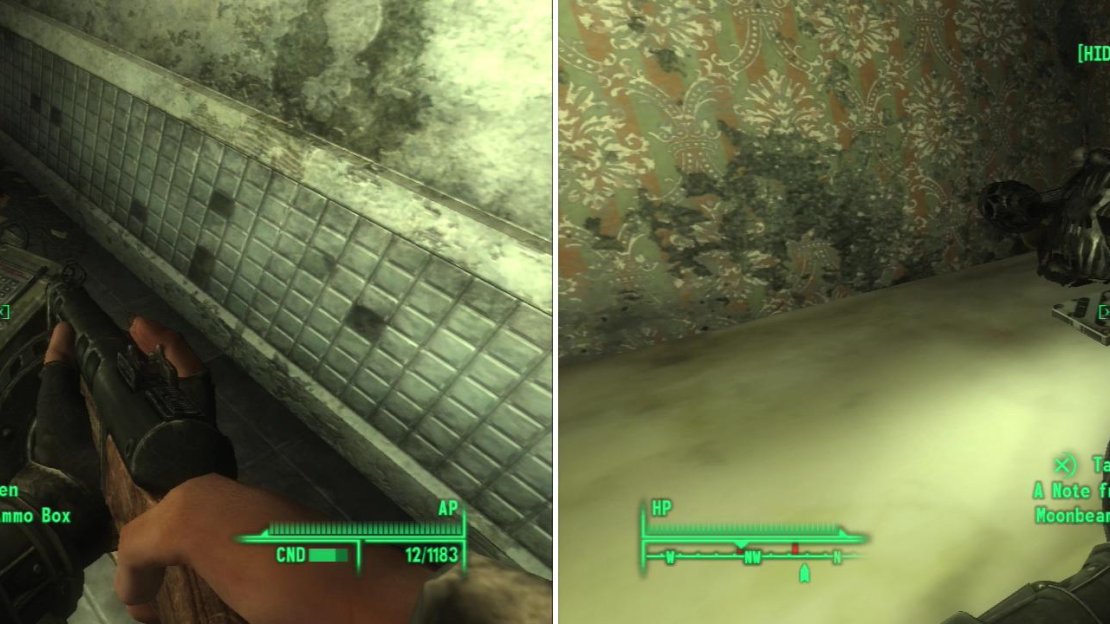
Loot Theo’s Ammo Box to score some supplies (left). In one of the hotel rooms you’ll find the remains of “Little Moonbeam’s Father” (right).
7) Little Moonbeam’s Father
Go up the stairs until you reach the next level. Head down a hallway to the north and go through the door to the right [Easy] to score some loot, including two ammo boxes and a first aid box. Explore the rooms across the hallway to the west. On a bed you’ll find a skeleton with the note “A Note from Little Moonbeam’s Father”, which you’ll need to get Sydney’s unique 10mm Submachine Gun.
8) To The Elevator
Continue down the hallway to the north until you find two doors leading west, the northernmost of which has a trip wire attached to a Grenade Bouquet in the doorway. Head to the west to find an elevator, which can be repaired by activating the “Destroyed Elevator Panel” and having a high enough Repair skill. This elevator will take you up to the Statesman Hotel Restaurant, and it’s a nice little shortcut. By now, however, you should know that this guide typically ignores shortcuts. The next step will cover the long route up to the Statesman Hotel Restaurant.
9) The Long Route
Book - Chinese Spec. Ops. Training Manual
Go west through a door, then north up a hallway until you find a staircase through a door on the left. When you reach the next level continue down a hallway to the east and go in the first door to the right, where you’ll find a Chinese Spec. Ops. Training Manual on a bookshelf. Go back out into the hallway and continue east to find another staircase leading up. If you go south instead and through a door to the right you’ll find a small room with two first aid boxes and an ammo box. Go up the stairs, being careful to avoid a trapwire rigged to a grenade bouquet on one of the landings along the way up. Up the next flight of stairs you’ll find a door leading to the Statesman Hotel Restaurant.
10) Statesman Hotel Restaurant
Book - Grognak the Barbarian
Head west and disarm the pressure plate in front of the Nuka-Cola vending machine and grab the grenade bouquet it was attached to. Continue west until the hallway ends, then turn west, going through a room until you reach another hallway, running east/west. If you go east you’ll find the elevator short-cut we bypassed earlier, and beyond that lies the Alfresco Lounge, the main room in this level. If you go west… well, you’ll get to the same place, you’ll just get to kill some more Super Mutants along the way.
There are plenty of Super Mutants lounging around the… uh… lounge, a number of which are leveled, too, so some caution is advised. Once they’re dead, loot the central bar for alcohol, two ammo boxes, a Nuka-Cola Quantum, a copy of Grognak the Barbarian and the various bits of ammo that the Super Mutants have left behind. Head under the staircase in the south-western corner of the room to find a disabled Protectron and loot it for a Fission Battery. You’re going to need this. Once obtained head up the stairs to the south east and from there head to the north, through a door, and onto the Statesman Hotel Roof.
11) Statesman Hotel Roof
Go around the corner and head south, following a trail of Super Mutants as you go. You’ll see and hear the sounds of fighting from the raised area to your west. Don’t worry, it’s scripted. When you approach a Ranger named Butcher will talk to you. Long story short, walking out is not going to happen, you’ll need to get the express elevator working. To do so, you’ll need a Fission Battery… good thing we grabbed it on our way up, right? Ignore his request for now so you can talk to the Rangers, who will tell you how they survived. If you got Theo’s ammo box you can give them some ammo, if you’re nice like that. Once you’re ready, repair the elevator with the Fission Battery, or talk to Donovan and let him do it. Either way, once that’s done enter the elevator and get ready to roll.
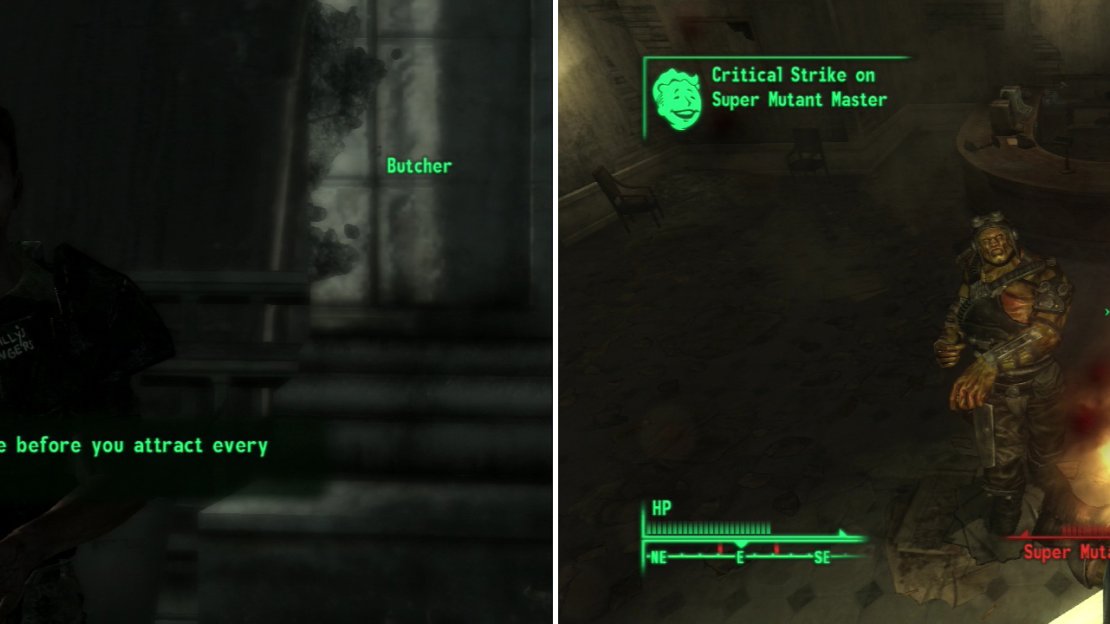
Reach the roof to find the remaining Reilly’s Rangers (left). After repairing the elevator, ride down and fight your way out of the Statesman Hotel (right).
12) Ranger Rampage
Book - Tales of a Junktown Jerky Vendor
You’ll ride the elevator down to the Statesman Hotel, where you’ll encounter a few Super Mutants… Unless you cleared the place out already, in which case there will be even fewer Super Mutants (some spawn even if you killed the static ones already.) Even if you didn’t, the Rangers should have no trouble decimating them, especially with your help. Kill them and head to the bottom floor, exiting out to Vernon Square. Once outside Reilly’s Rangers should be able to make it back on their own.. especially with Vernon Square cleared out. Take the time to loot this level once the Rangers are gone. There’s a locked safe [Average] behind the counter, and in an upstairs room in the north-eastern corner of the area map you’ll find a copy of Tales of a Junktown Jerky Vendor on a table. In the ajoining bathroom of the same room you’ll find a rather militant skeleton in the tub with an Assault Rifle, nearby. There’s also a pair of ammo boxes in this room.
13) Returning to Reilly
Go talk to Reilly, who will pay you for your success. She’ll offer you either a suit of Ranger Battle Armor , unique Combat Armor that gives bonuses to Luck, Action Points, and Small Guns , or Brick’s Minigun, Eugene . Miniguns aren’t that useful, so the armor is probably the better choice. It’s resilient stuff, if Power Armor isn’t quite your thing, Ranger Battle Armor works in a pinch.
Either way, the quest is over, but Reilly will offer you more work. They were scouting the D.C. ruins, and she’ll pay you for every location you discover, which she’ll download off your Pip-Boy. She’ll give you a “Geomapper Module”, which you supposedly need to keep on you while mapping. Really though, it just takes up space. Talk to Reilly again and she’ll pay you for what you’ve discovered thus far-which is quite a bit. You can expect to get a pretty huge amount of Caps for this.
When you’re done pestering Reilly it’s time to go and get ready to finally finish off “Agatha’s Song” … after we take care of some business with “Little Moonbeam”.
14) Sydney’s 10mm “Ultra” SMG
Head back to the Museum of History and head into Underworld. The 9th Circle is where you’ll find Sydney wasting her time. You’ll find out that she’s an ammunition vendor now, and she typically has a fairly good stock of ammo. Show her the note you found in the Statesman Hotel and she’ll have over her 10mm Ultra SMG. Not a bad trade, eh?


No Comments