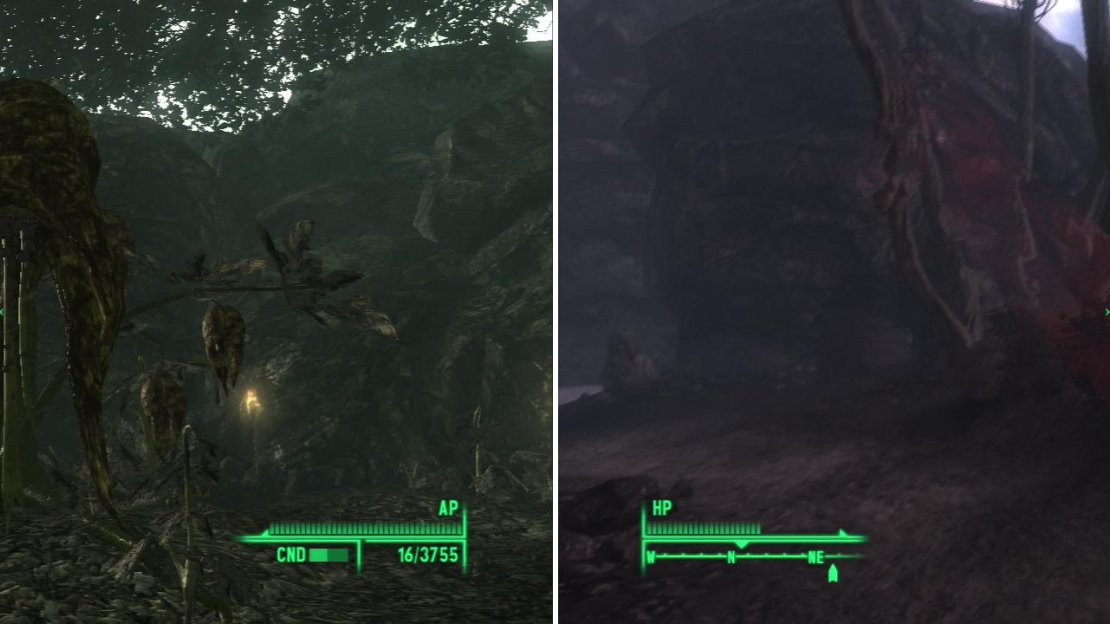
Make your way through the Sacred Bog to find the mother of all Punga Plants (left). Intoxicated by said plant, make your way back through the swamp as various illusions torment you (right).
1) Sacred Bog
Head through the door to the Bog Entrance and through another door to the Sacred Bog. Once inside you’ll find that this area is just a linear path through swamp water and small islands with the odd Mirelurk Hunter and Swamplurk along the way. At the end of your path you’ll find one bizarre looking Punga Plant. Activate the Punga Seed Pods and get ready for a ride. After you recover, head back through the swamp, where you’ll experience some weird stuff, including rude Schmault-Tec Bobbleheads, exploding Nuka-Cola Quantums, the corpses of significant characters lying dead in the swamp, and ghostly images of sawing and stitching. Of course, being Fallout 3, all your hallucinations end with a nuclear bang. Once you recover, you’ll notice that you have a rather… unsightly scar on your head. Hmm. Return to the Ark & Dove Cathedral.
2) Punga Power!
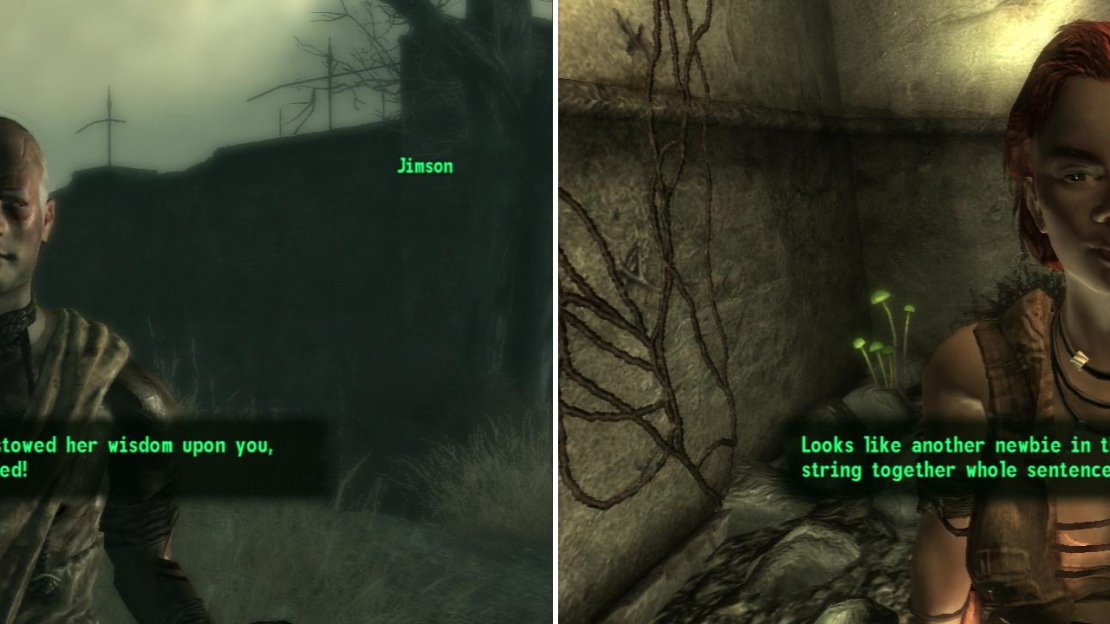
Once you arrive the gate will open and you’ll be met by Jimson. You will recieve the Punga Power perk and gain access to the full Cathedral. Talk to Jimson to learn about their leader-Jackson, who is in his “Cavern of Communion”, a hidden location. What are the odds that we’re going to have track this guy down, you think? Yeah… pretty good. Go find Croatoa outside, and succeed at a Speech check and he’ll hand over his unique Shovel, the Fertilizer Shovel . You’ll notice that all the Tribals seems to have head scars similar to yours, albeit in different stages of healing. Now head on inside the cathedral… after you pick as much Punga Fruit from the exterior as you wish, of course.
Meet Jimson to find out more about the Tribals (left), then head inside the cathedral to find the long lost Nadine (right).
3) Nadine
Inside you can find a woman named Woodrose, the self-proclaimed “tribe mother” More interestingly you can find Nadine, Catherine’s long-lost daughter. She’s sane, and more importantly-a somewhat new convert, so she’s not completely full of crap like everybody else. Ask about Jackson and she’ll tell you where he is, and give you a key that’ll let you reach him. Not directly, mind you, but by heading through some ship off the coast and reaching some caverns under the Cathedral. Wonderful. She’ll also fix your scar… provided you want to get rid of that unsightly gash on your character’s head and get your hair back. She’ll tell you to meet her by the riverboat in a day or two when she finds out more about who sliced you all up. Let’s do that first.
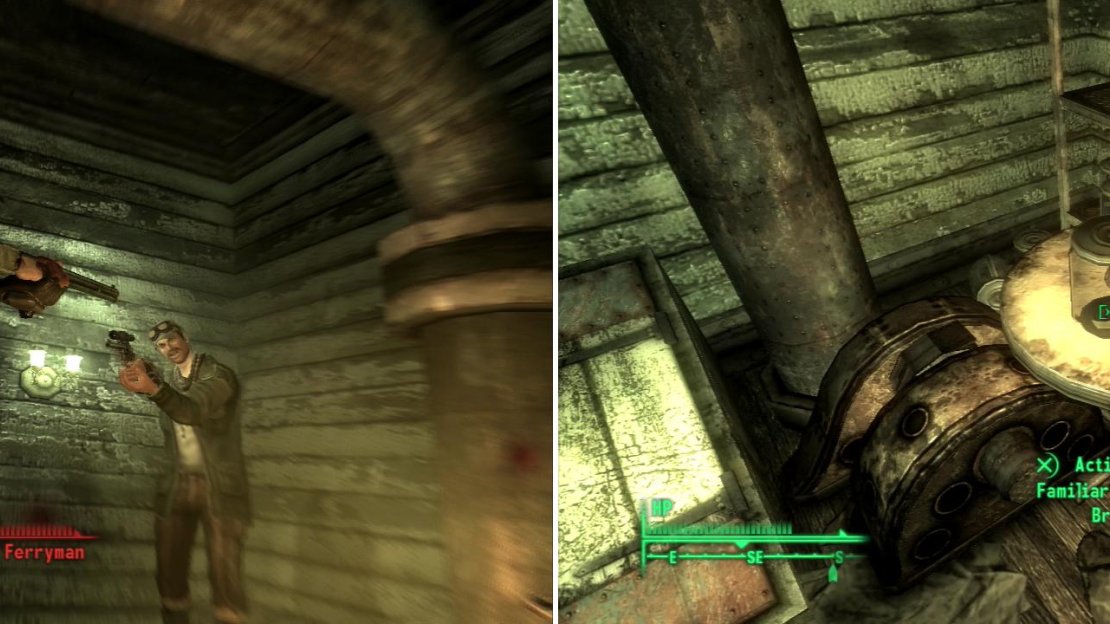
Confront Tobar on his ferry and give him a piece of your mind… (left) Despite what the Tribals said, it seems that your mind was anything but “expanded” (right).
4) Tobar’s Hobby
Return to the Riverboat, where Nadine will greet you and tell you that Tobar is the crazy slicer, and that she’s in charge of his boat now. She’ll tell you to go into the Engine Room (which, as you remember has been locked up until now) to deal with Tobar and to see the truth. Once inside, Tobar talks in a manner very unbefitting a man in his situation. Afterwards he’ll attack you, leaving you little doubt about what to do next. Kill and loot Tobar, then activate a “Familiar Piece of Brain” on the table. So, you lost a little grey matter, but at least you get your riverboat rides for free now, courtesy of Nadine. You’ll also score Tobar’s unique outfit, the Grifter’s Fit , for what that’s worth.
5) Checking In With Desmond
Now that we have more information about the Tribals, lets return to Desmond-seriously, follow the quest markers, folks. He’s pretty ungrateful (we’re surprised, really) and tells you to go find out more about the leader. So… head back to the Ark & Dove Cathedral and head north-east to find a Wrecked Seatub. As the name implies, you’ll have to pick your way down the cliffs to reach the water.
6) Wrecked Seatub
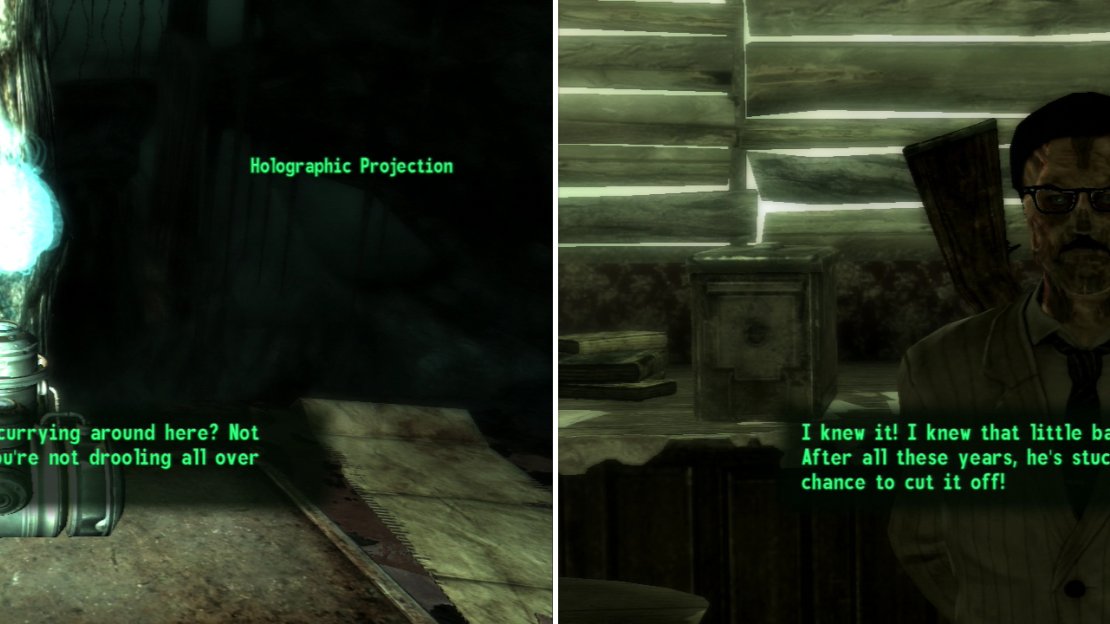
Kill whatever Mirelurks you see around and activate the “Hatch to Sea Cave.” Go through the sea cave, where you’ll see a lot of water and rocks… and a few Mirelurks. You don’t have to fight a single thing on your way, just stay on dry ground as much as possible and follow the torch-lit path and you’ll get there just fine. You’ll eventually reach a chamber with a number of coffins on the ground, wherein you’ll hear someone talking about defeating Desmond, a jamming device, and so forth. Loot around while the voice goes on, then when you’re done looting, head up a ramp to the north-east and talk to the “Holographic Projection”. The critter at the other end of the projection will talk about having a long-standing beef with Desmond, that Desmond caused him to lose his body, and that the Ghoul has a jamming device that’s limiting him. Once the conversation is over the quest “Thought Control” will start.
In the sea cave you’ll find a holographic projection (left) which commands the addled Tribals. Desmond will identify the source of the project as his arch-rival Calvert (right).
7) Jamming the Voices
Head back down the ramp and cross the coffin-littered chamber to the west, where you’ll find a ladder that survaces conveniently close to the Ark & Dove Cathedral. Head over to the Calvert Mansion and talk to Desmond, will spill the beans on his feud with Calvert. Of course, he needs your help to gain the upper hand in his centuries-old vendetta: In order to deal with his ancient rival he wants you to attach a Cogwave Jammer to the ferris wheel in Point Lookout. Easy, right?
8) Siding With Calvert
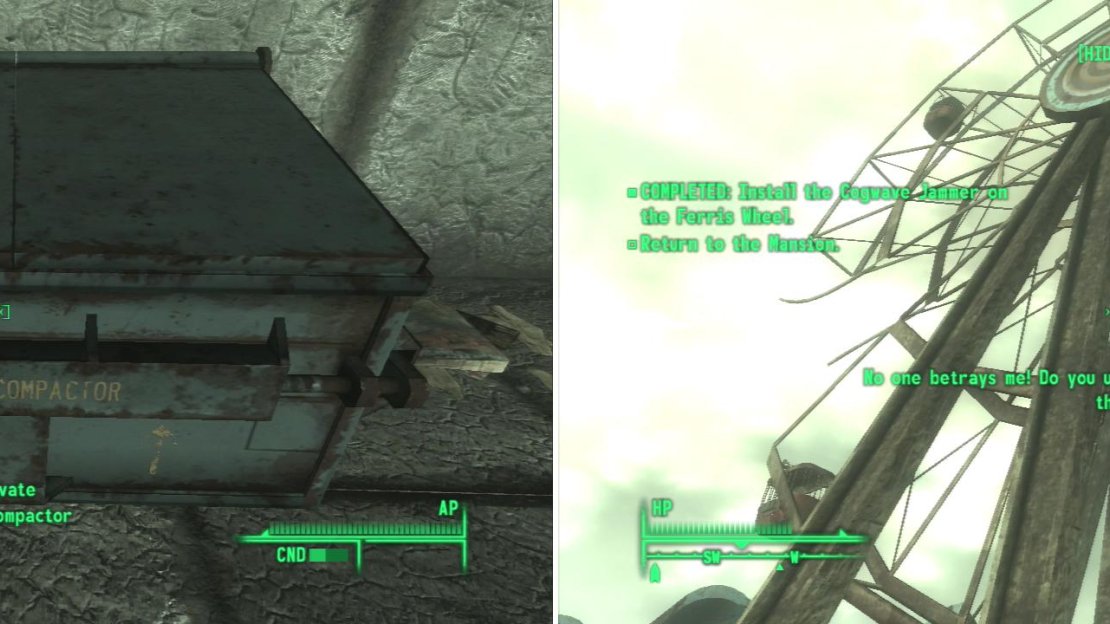
Fast travel back to Pilgrim’s Landing and go north. As you approach the ferris wheel, Calvert will intrude on your mind and tell you to put the jammer in the trash compactor instead. And here comes the choice: to help Calvert, or to held Desmond. Either way, you’ll end up doing mostly the same thing in the long run. If you decide to help Calvert, simply go chuck the Cogwave Jammer into the trash compacter, which is south-east of the ferris wheel, and looks… well, like a blue dumpster. Let him finish speaking, do not fast-travel anywhere until he’s done talking, and do not activate the ferris wheel after destroying the Cogwave Jammer. The guide will assume you side with Desmond, for various reasons (see below).
Either toss Desmond’s Cogwaver Jammer in the trash compactor to side with Calvert (left) or attach it to ferris wheel to disrupt Calvert’s control over the Tribals (right).
9) Siding With Desmond
If you stay true to Desmond (we just like abuse) go up to the ferris wheel (which is west of the House of Wares and install the Cogwave Jammer. Once the jammer is in place Calvert will again intrude into your mind and complain and threaten… until the jammer blocks him out. Tribals will show up to avenge their boss, including some assholes on the nearby roofs. Head back over to the Calvert Mansion once the Tribals are all dead.
10) Going Out With A Bang
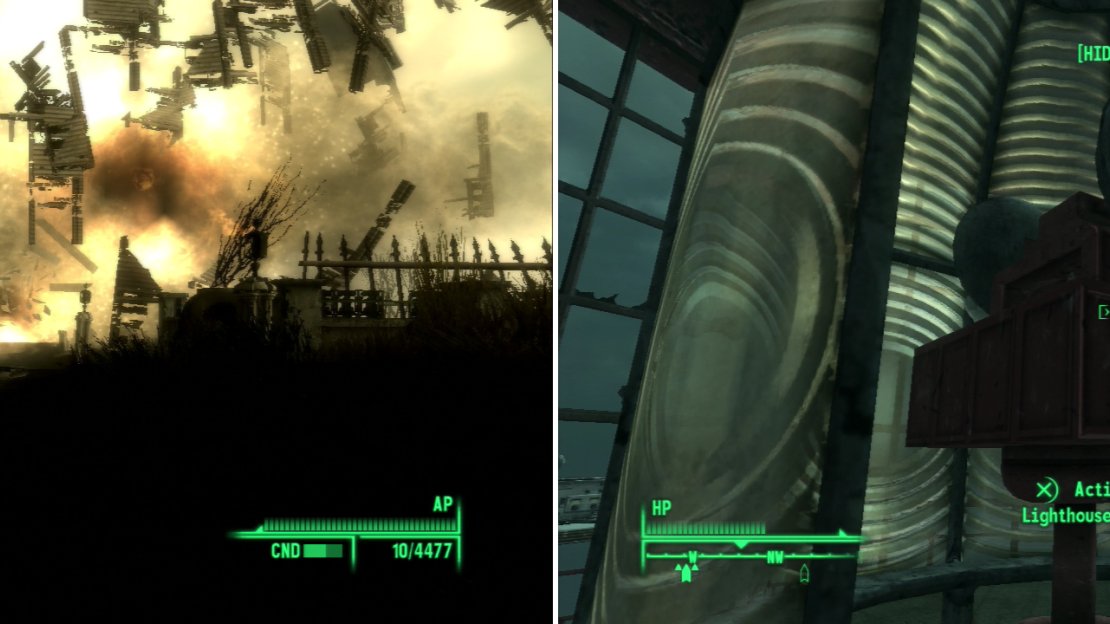
When you approach the mansion it’ll promptly explode and the quest “Thought Control” will end. Head into the ruins search around to find a metal hatch tha leads to a “Panic Room”. Inside is a rather angry Desmond, who will tell you that Calvert is hiding out at the Lighthouse. Loot the place and head south of the Calvert Mansion to find the Lighthouse… you can see it in the distance. Just try and keep Desmond from getting killed by Mirelurks and whatnot on your way. That’s right, you’ll be babysitting him for the rest of this quest.
The Desmond-Calvert feud intensifies explosively (left). On your way to Calvert’s hideout, be a good samaritan and replace the Lighthouse Bulb (right).
11) Point Lookout Lighthouse
Inside the lighthouse a door will open on the floor leading to the Underground Lab area, but first… lets install that stupid Lighthouse Bulb we’ve been carrying around. Climb up the stairs to the top and exit to the exterior of the lighthouse. Go up some more stairs and activate the “Lighthouse Mechanism” to install the bulb, then flip the “Beacon Switch.” What a good person you are.
12) Underground Lab
Return to the ground floor of the lighthouse and head down a staircase and continue north until you find a door to an “Underground Lab”. Travel down a winding tunnel until you find a room to your left. If you betrayed him earlier, Desmond will be here, and he’ll be none too happy that you betrayed him. Still, he’ll try to make peace with you… or you could just kill him. If you didn’t betray Desmond, then he’s obviously not going to be there, and your goal becomes keeping his dumb ass alive through the robots and turrets you’ll face throughout this area. Whatever the case, loot the room to find two ammo boxes and a Gatling Laser.
13) Past the Mark VIII Turrets
Venture down the tunnel until you come to a room with flashing lights and two Mark VIII Turrets inside. Hack the Turret Control Terminal [Average] or just destroy them, then loot around-you can find some Pulse Mines and Pulse Grenades on a wooden cabinet behind the counter, as well as some Microfusion Cells and a Laser Pistol. On the counter you’ll find some Mesmetron Power Cells and a rigged terminal. When you’re ready, flip a switch near the door to continue on.
14) Lootin’ the Lab
Continue down a hallway to the west, then north and smite a Robobrain Sentry you find-which is considerably tougher than a normal Robobrain. There are several side-rooms adorning this hallways, which contain variable goodies. The first door on the left contains a pair of ammo boxes (one locked [Easy]) and a bundle of pencils, not to mention Energy Weapon ammo on the floor and shelves. The second room on the left just contains some Microfusion Cells, while the room across from it houses an ammo box with a Laser Pistol on top, a safe [Average] and three Pre-War Books. As for the next two rooms, the western one just contains some Microfusion Cells, while the eastern one contains the same, plus some Mesmetron Power Cells and two ammo boxes [Easy] and [Very Easy].
15) Level Alpha Security Area
Travel north, then east to reach a circular room with another high-powered turret inside. When you enter the doors will lock [Very Hard]. No matter. Destroy the turret and activate the “Security Bypass Terminal” [Average] to open the locked doors. If you go into the room to the south, you can find the Level Alpha Security Badge on a table. Messing around in here will cause a Robobrain Sentry will pop out of a cubby to the west and attack. Just another way of accessing the “Security Bypass Terminal”… in case your Science isn’t high enough. Loot the room with the security badge in it to score some ammo, a Laser Pistol on a table, and two ammo boxes in the Robobrain’s lair. In the circular room you’ll find more ammo, a Laser Rifle, and two more ammo boxes… which are very hard to loot…
16) Level Beta Security Area
Continue through the door to the east, then south to reach a tunnel with another leveled turret. The door to the south requires you to either hack the “Security Bypass Terminal” [Average], kill another nearby Robobrain Sentry, which holds a Level Beta Security Badge, or simply grab a similar badge off a round desk in the southern of the two rooms to the west. This room is also worth looting for some chems and other medical equipment. However you do it, access the “Security Bypass Terminal” to open the door to the south.
17) The Brain Room
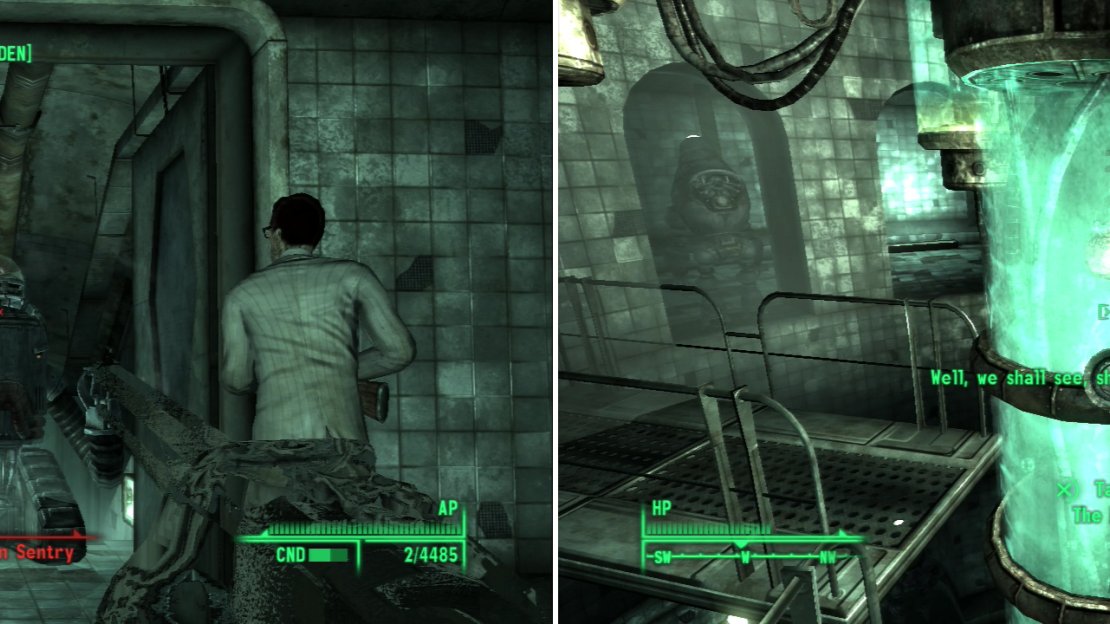
Go south into the room beyond the sealed door and loot a safe [Easy], then head around a corner to find a nice stash of loot between some lockers, mostly situated on and near some metal shelves. You score includes an ammo box, Pulse Mines, a Laser Rifle, a Gatling Laser and some ammo. When your greed is momentarily sated, continue on through a door to the west, smite a Robobrain Sentry and pass some doors as you make your way into another circular room, occupied by two leveled turrets. Dismantle them and go through one final door to find The Brain that is Calvert suspended in a jar in the center of a room.
Calvert’s underground laboratory is infested with high-powered robots and turrets (left). Make your way to the depths to come face-to-brain with Calvert (right).
18) A Meeting of the Minds
If you sided with Calvert, The Brain will be fairly happy to see you-of course, it won’t matter, as he’ll betray you and sic a group of… Protectrons… on you. Smite them, then destroy the container the Brain is in to complete “A Meeting of the Minds” . If you’re with Desmond, the two of them will talk and you’ll get the option to talk to Calvert, who will demand you kill Desmond. If you attack the Brain, Calvert’s Protectrons will activate and attack… which as you can see above is an inevitability. Attack the tube The Brain is in until is breaks. After it does, Desmond will celebrate and permit you to loot the place. A fine idea, that. You can also kill Desmond now, just to show that nobody messes with this Vault kid and lives… since he’s an irrelevant character from this point on, there’s no problem with disposing of him.
Loot the Lab, read the fun little terminals, and head back to Point Lookout. We’ve got one more pesky quest to do before this expansion is done. For a shortcut head west from The Brain’s room through two doors to find a small storage room. You can find the Microwave Emitter on a workbench in this room, as well as two ammo boxes, a safe [Average] and two first aid boxes (one of which is locked [Very Easy]) and a ladder to the outside for a quick egress.
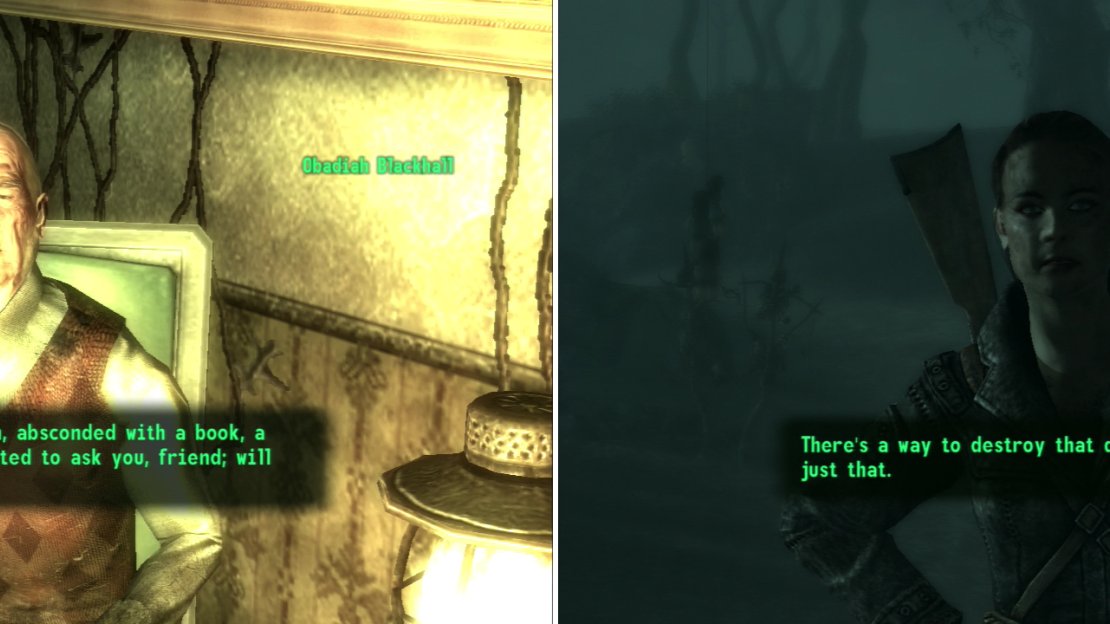
Odadiah wants you to retrieve a book-a harmless family heirloom, you see (left) while Marcella wants the book to settle a pissing contest between her book and Obadiah’s (right).
19) Blackhall Manor
Head back to Pilgrim’s Landing and travel north-west until you find Blackhall Manor near the western edge of the map. Enter it and talk to one Obadiah Blackhall. He’ll ask you to get a book for him in return for some cold hard cash. Who could refuse a cash quest like that? You can also loot his house-there’s not all that much of interest here, and what little there is can mostly be found upstairs, including a footlocker [Very Easy] and a safe [Average].
20) Religious Intolerance
Leave the Manor and some woman named Marcella will approach you and tell you that the book you’ve inadvertantly been sent after is none other than the Krivbeknih-an evil book. Maybe she’s afraid that the Krivbeknih has power her book doesn’t? Ah… but anyways, the Ritual Site is far to the east, south-east of Haley’s Hardware. At least this gives you another excuse to return there and boost his Repair score, right?
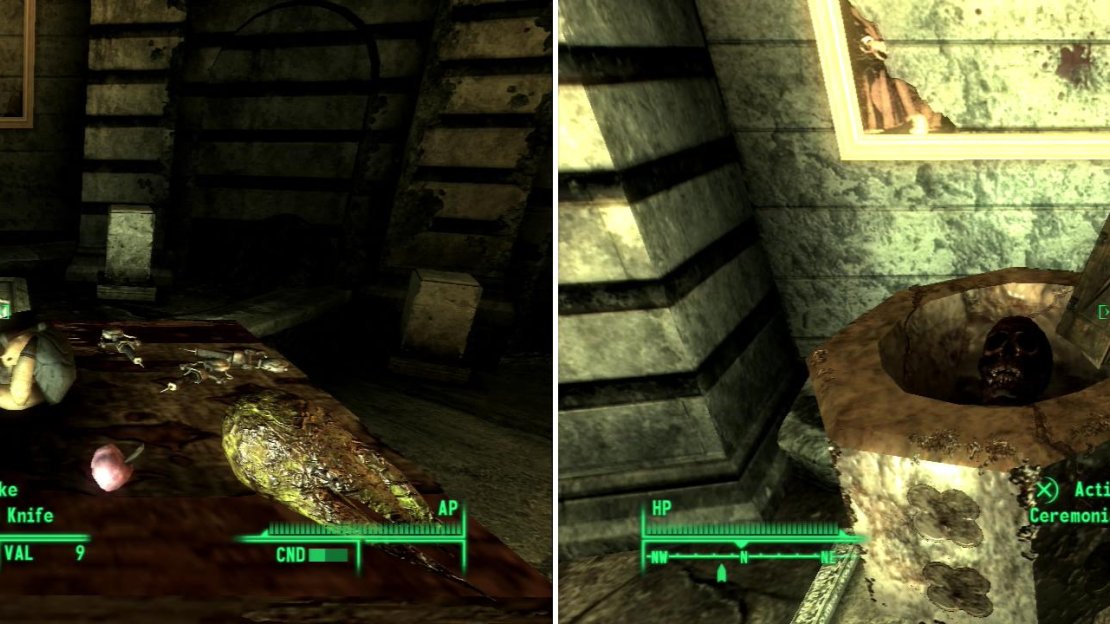
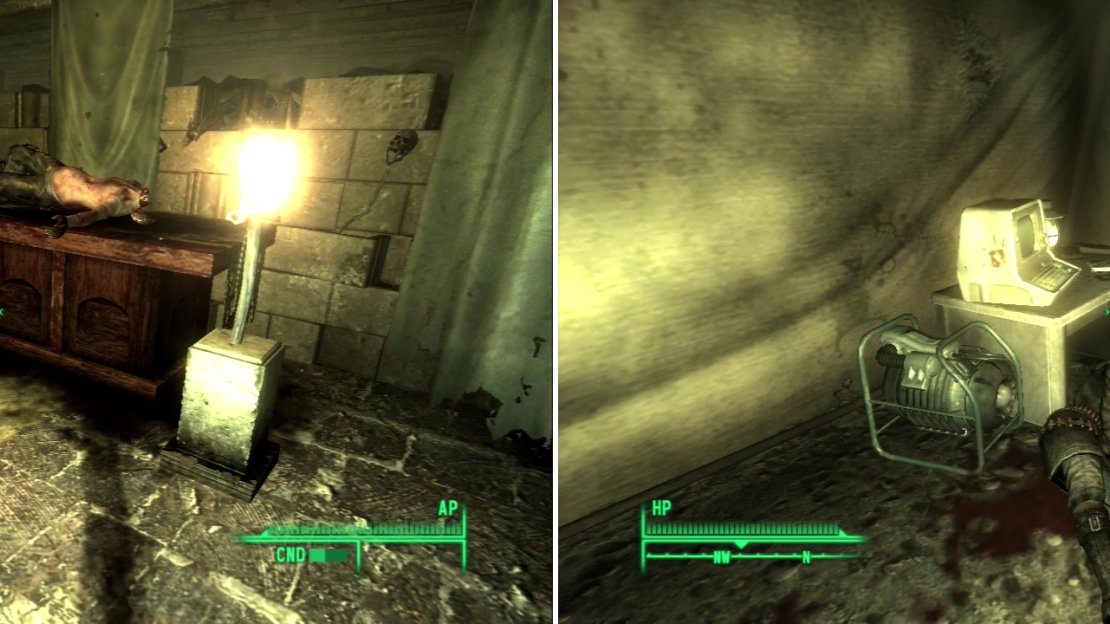
Grab the Ritual Knife from a grisly altar (left) then abscond with the Krivbeknih (right).
21) Ritual Site
From the entrance head east through a doorway and continue down a narrow hallway until the path turns north and down a slope. When you reach a fork continue north past a campfire to score some Shotgun Shells, then turn east. Proceed until you find a path to the south, at which point you should turn north climb some rubble, and loot a coffin containing a trio of Stimpaks and a Nuka-Cola Quantum. Return back west, past the campfire, and down a slop to the west, turning north when you must to reach the ritual chamber. On the sacrificial slab you’ll find a horribly mutilated corpse, some effigies, three Stimpaks, and shoved loving through the corpse’s head, the Ritual Knife . Activate the “Ceremonial Lectern” behind the altar and pick the option “Take the Krivbeknih” to… well, do just that. After your burglary numerous Swampfolk will spawn and run down to search for the thief. If you’ve got Chinese Stealth Armor , you can just sneak out-or stealth-kill all the bad guys on your way out.
If you give the Krivbeknih to Obadiah, he’ll immediately resort to perform evil rituals (left). Marcella, regardless of who you side with, ends up somewhat worse for wear (right).
22) Siding with Obadiah
If you head back to Obadiah Blackhall and give him the book you’ll get 1000 Caps. Everybody is happy, right? Obadiah heads down into his basement and starts doing occult rituals and sacrificing Swampfolk. If you want to side with Marcella, instead, head to the Disaster Relief Outpost.
23) Siding With Marcella
There are a number of tents here that can be looted, but for questage, head into Marcella’s Tent. The hostile Smugglers outside aren’t a good sign, and sure enough, Marcella is dead inside the tent. Check her computer for instructions on how to destroy the Krivbeknih, which requires you to head down to the Dunwich building in the Capital Wasteland. Your big reward? You get to loot the locked [Very Hard] safe in her tent for some minor loot. So… The preferable path is to give Obadiah the book for the 1000 Caps, and pick the locked safe in Marcella’s tent for the double reward.
That’s it for Point Lookout. Finish exploring and finding all the areas if you’re concerned about Achievements/Trophies, then head back to the Capital Wasteland.
25) Catherine’s Reward
Talk to Catherine when you arrive, who will reward you for finding her daughter. It’s not a huge reward, but five Refined Punga Fruit and 300 Caps is better than nothing. One more expansion to go before we get back to the Enclave.





No Comments