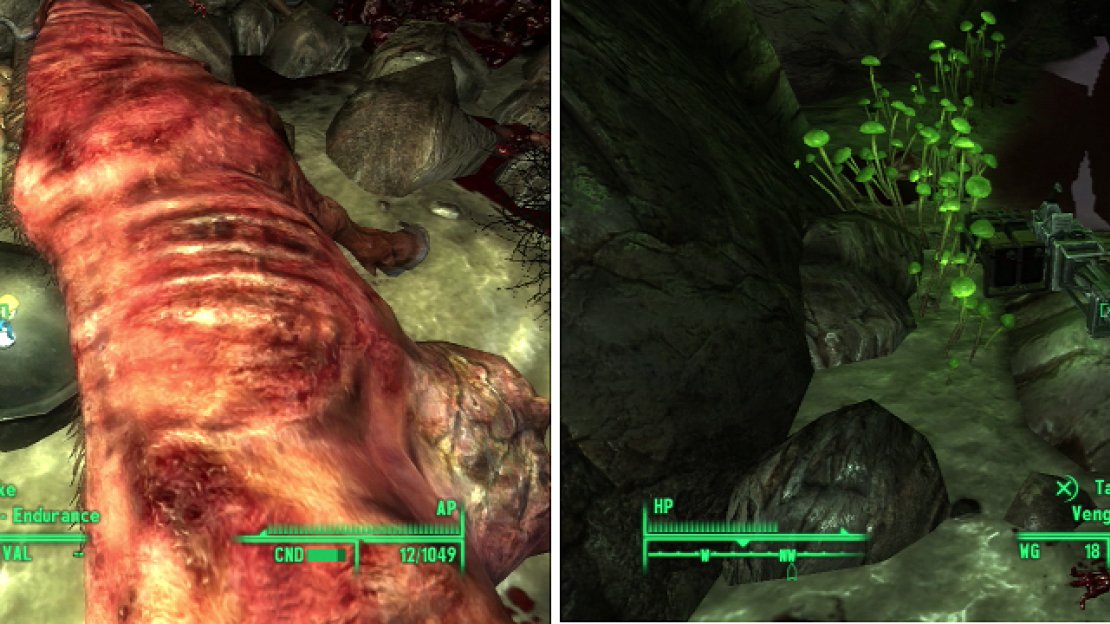
Grabbing the Bobblehead - Endurance doesn’t require you to venture too deep into the Deathclaw Sanctuary (left), but there are prizes in the depths worth obtaining (right).
1) Deathclaw Sanctuary
Book - Duck and Cover!
You may wish to fast travel to an area near the Deathclaw Sanctuary instead of fast-traveling right to it. . Broadcast Tower KB5 works just fine. If you fast-travel right to the Deathclaw Sanctuary you might just run into a group of Deathclaws you can’t fight your way out of. Also be wary of the Enclave camp to the east if you’re later on in the story. You’ll find a locked footlocker [Average] on the ground in front of the door with some treats inside, including a copy of Duck and Cover! . Note the numerous skeletons lying around. Thus is the price of failure.
2) Book and Bobblehead By the Brahmin
Bobblehead - Endurance
Book - Nikola Tesla and You
Inside the Sanctuary it’s dark and spooky, and despite the fact that there are numerous Deathclaws hiding in the shadows, don’t turn on your Pip-Boy light. The sneak-attack Combat Shotgun tactic works wonders here, and individually Deathclaws aren’t too terrible. Unfortunately they have an advantage here they tend not to have: numbers. Keep your wits about you and don’t start any fights you can’t finish.
Head south down a ramp and around a pillar, on the far side you’ll find the corpse of a Brahmin and a round metal object, on top of which is the Bobblehead - Endurance, a Mini-Nuke, and a copy of Nikola Tesla and You. We can technically run in here, grab the Bobblehead, and leave without any fuss. For those brave among us, however, we can press onwards to claim greater loot. There’s a pile of bodies nearby with some minor equipment and a Nuka-Cola Quantum on the floor.
3) Jack, the Ripper, and Vengeance
Work your way through the Deathclaw Sanctuary, sniping Deathclaws when you find them. Watch out for wrap-arounds and high ledges, as this place was designed in several areas to give Deathclaws high ground from which to spot you. You’ll find several more pile of corpses with loot appropriate for the deadite. This only gets better this late in the game, as an Enclave body is generally thrown into the mix, showing that for all their bluster, the Enclave doesn’t win against Deathclaws.To the south-east you’ll find a unique Ripper, Jack on a dead Enclave Officer. Further to the south east, in the far south easter corner of the level you’ll find a bloody pool filled with bodies and parts of bodies. Beyond the pool is the unique Gatling Laser, Vengeance . Once we have these weapons, we can leave the Deathclaw Sanctuary.
4) Mason Dixon Salvage
Book - D.C. Journal of Internal Medicine
Book - Nikola Tesla and You
Book - Tumblers Today
Head east until you find Mason Dixon Salvage, which is north of Drowned Devil’s Crossing. This place can be rough, as it has numerous Super Mutants in a very small area. At level 30 it included three Overlords, a Master, and a Brute. Just one more fight that should convince us that Paralyzing Palm is essential for survival in Broken Steel.
There are two Abandoned Shacks nearby, a northern one and a southern one. In the northern one you’ll find a copy of Nikola Tesla and You on a table near a first aid box, and a D.C. Journal of Internal Medicine on the floor on top of a Large Destroyed Book, near the metal shelf and a bucket. In the southern one you’ll find a locked footlocker [Average] with some loot inside, and a copy of Tumblers Today on the floor near it. There are also some ammo boxes in the corner worth looting. At least it was worth the trouble of killing all those Super Mutants, eh?
5) Abandoned Tent
Book - Nikola Tesla and You
Now head north-east until you find an Abandoned Tent south of SatCom Array NN-03d. Inside you’ll find some Nuka-Colas on a table, some ammo boxes, and a copy of Nikola Tesla and You on the metal shelf near an ammo box. On a table next to a ham radio you’ll also find a Nuka-Cola Quantum.
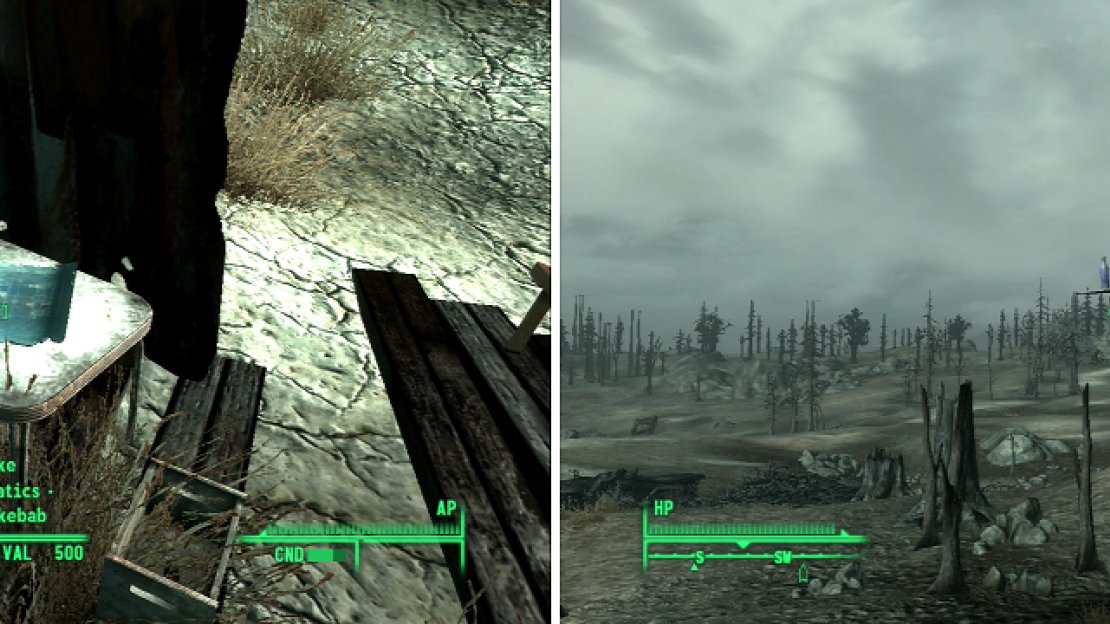
Grab the Schematic - Shishkebab off the Workbench (left) then shoot the Nuka-Cola Quantum off the roof (right).
6) Outcast Shack
Schematic - Shishkebab
Go north-west so you’re just west of SatCom Array NN-03d to discover a Brotherhood Outcast shack. It’s unexceptional, only notable because of the Brotherhood Outcasts that are typically nearby. On a table in one of the shacks you’ll find a Schematic - Shishkebab on the table, yours for the taking. Also note that on the corner of the roof is a Nuka-Cola Quantum. It’s a shame you can’t reach it… if you only had some sort of projectile you could use to knock it down…
7) SatCom Array NN-03d
Now head east to SatCom Array NN-03d, being mindful to stay out of the sight of the Raiders who have made it their home. No need to get into a range-war with enemies that have higher ground, cover, and who don’t pay for their ammo. There are several SatCom towers you can explore here, towers A, B, and C. Head inside SatCom Array NN-03d-A first.
8) SatCom Array NN-03d-A
Inside are about a half dozen Raiders, and by now, what chance do they really have? Staying in the entrance hallway and using the door to good effect (opening it, popping a Raider with, say, a Combat Shotgun, and closing it again) works quite well. Then when the next brave Raider opens the door shoot them in the face too. Repeat as needed for an amusing, if macabre game of peek-a-boo. In this tower you’ll find typical Raider loot, including plenty of drugs and ammo.
Head up to the top of the SatCom Array, where you’ll likely have to fight more Raiders along the exterior of the other SatCom towers. Continue up until you’re on the dish and head east, north-east to find some wooden planks leading over to booze-littered roof of SatCom Array NN-03d-B.
9) SatCom Array NN-03d-B
These Raiders are a little more soft and sophisticated than the others, as you can tell by their Teddy Bears. They even have their own chemisty set! There’s also a chessboard with miniature bottles of alcohol, garden gnomes, and ammo units serving as chess pieces. Very win. Head down the structure to the bottom to find a tunnel leading to SatCom Arraw NN-03d-C.
10) SatCom Array NN-03d-C
Book - Pugilism Illustrated
Again, there are about a half dozen Raiders inside. These Raiders are the real bad news, with plenty of alcohol lying around and a number of occupied coffins to hint at their professions. Behind the stairs leading up are a number of toilets, on one of which you’ll find a copy of Pugilism Illustrated . Continue up the SatCom Array, again with the goal of reaching the dish at the top. On the dish you’ll find a training dummy with Mini Nukes for hands. Grab your prize for trudging through the SatCom Arrays and make your way back down.
11) MDPL-21 Power Station
Book - Nikola Tesla and You
Head east from SatCom Array NN-03d-C to find the MPDL-21 Power Station. Enter the Power Substation to find some minor loot. In the north western corner you’ll find a Terminal [Hard] that opens a locked floor safe [Hard]. On the opposite side of the room is a Workbench with a copy of Nikola Tesla and You on it. You’ll probably be attacked by either Talon Company Mercenaries or Regulators when you leave.
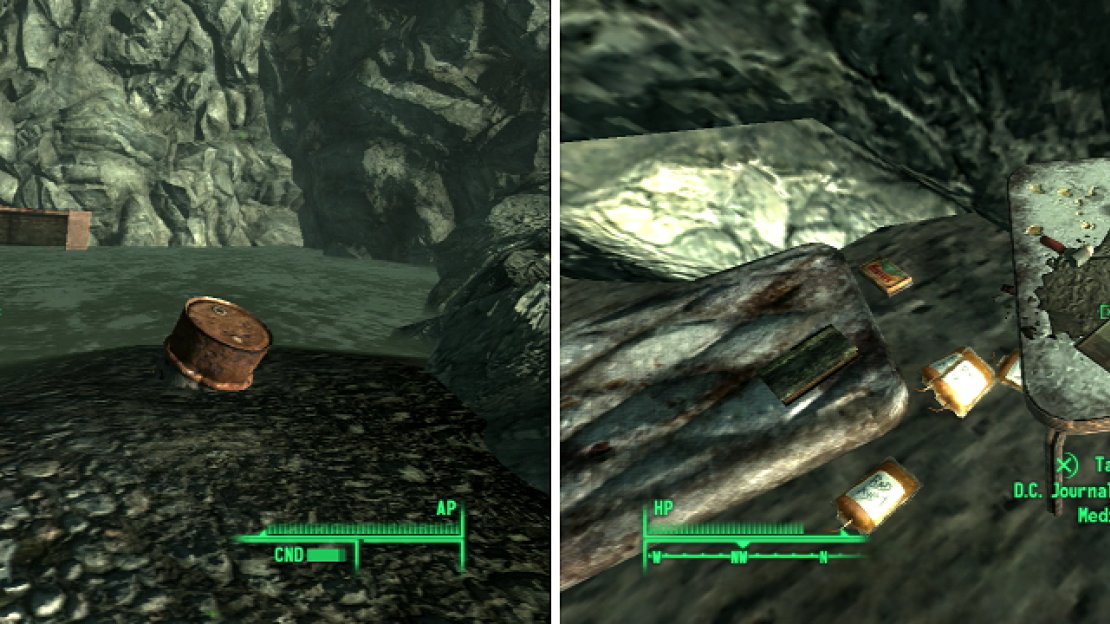
You’ll find this pond north, north-east of the MDPL-21 Power Station (left). Brave the Rads and swim behind the over-turned truck bed to find some loot (right).
12) The Northern Pond
Book- D.C. Journal of Internal Medicine
Now for some extra loot. Head north, north-east from the MDPL-21 Power Station… it might be easier to go east around the mountains until you can go north. Eventually you’ll come to a pond with radioactive barrels in and around it, and a half-submerged truck bed. Swim over to the truckbed and go behind it to find a cubby with a bed and a table. There’s plenty of RadAway lying around, as well as a D.C. Journal of Internal Medicine on the table. There’s also locked safe [Average].
13) Fort Constantine
Now backtrack to SatCom Array NN-03d and from there head west (and slightly north) to find Fort Constantine. Fort Constantine consists of several areas, including Bomb Storage, Personnel Offices, and CO Quarters. Kill off of the robots in the area, loot around, and enter the Personnel Offices.
14) Personnel Offices
This area is patrolled by robots, and is littered with the bodies of those who came before you and failed. In the men’s bathroom you’ll find an Assault Rifle and some 5.56 Rounds, and in the woman’s bathroom you’ll find a dead Raider. Go up the stairs to the west and into a room to the north-west to find a cafeteria with typical kitchen loot inside. South of this room will be a storage room with a dead Raider, who is kind enough to have left his 10mm Pistol and some 10mm Rounds for us. On the ground floor head through a door to the east, past some unremarkable offices, and go down a tunnel to the left when you get the chance.
15) To the Roof
Book - Grognak the Barbarian
Take another left to find some stairs and a locked door [Hard], behind which some real goodies lie. You’ll find various high-tech components and other lower-end loot, as well as a copy of Grognak the Barbarian on the counter. Head up the stairs and loot the shelves at the top. Take three lefts to find a door to the right with a pair of gun cabinets inside, one of which contains a Stealth Boy. You’ll also find the Turret Control System [Average] up here, which is useless, since by now you’ve already dealt the the turret downstairs. You can now loop around to the cafeteria, or go up some more stairs to reach the roof, and deal with the pesky robots thereoupon. On the roof you’ll find some loot on a metal shelf and some ammo boxes in the north-western corner. Head over to the CO Quarters, which is west of the Personnel Offices.
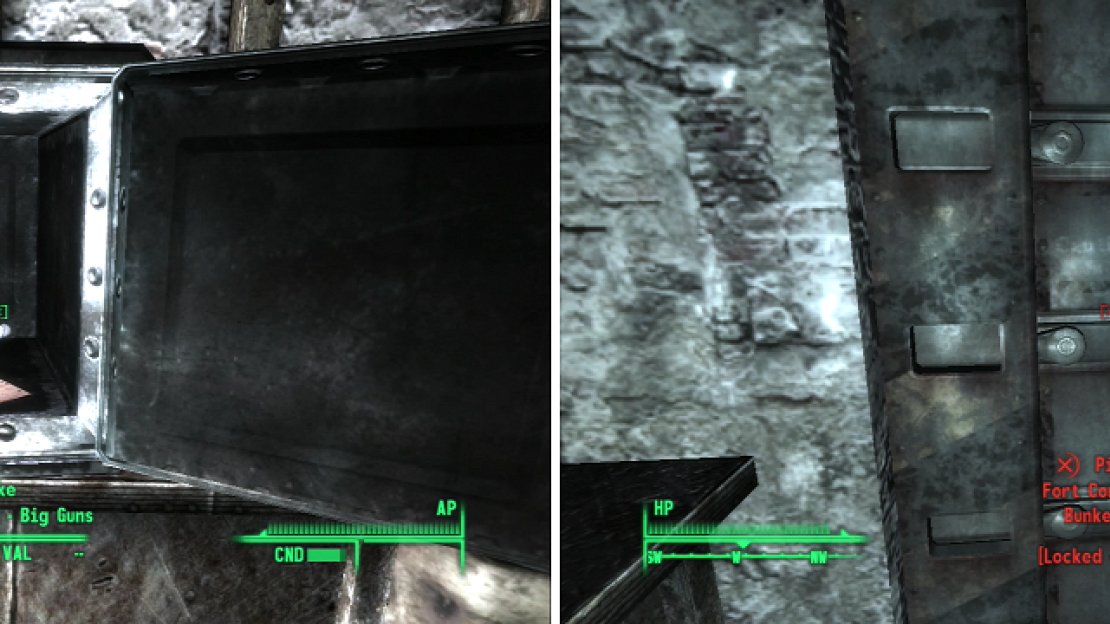
Grab the Bobblehead - Big Guns from inside an already unlocked safe (left). If you obtained all the keys Mister Crowley wanted, you’ll be able to access the bunker (right).
16) Fort Constantine CO Quarters
Bobblehead - Big Guns
Book - Chinese Army: Spec. Ops. Training Manual
Book - Guns and Bullets
Smash the robot and get to looting. On the bookshelf in front of you is a Pre-War book and in the kitchen you’ll find some Nuka-Colas in a wooden crate and a Nuka-Cola Quantum in what’s left of the fridge. On the mysteriously owned Queen-Sized Bed you’ll find a copy of Guns and Bullets and on the desk with a phone on it is another Pre-War Book. Head downstairs to find a dead Wastelander with plenty of Pre-War Money and Caps near him. On a cinder block nearby will be a Stealth Boy and a copy of Chinese Army: Spec. Ops. Training Manual . Best of all, in the already opened safe you’ll find a 10mm Pistol, some 10mm Rounds, some Caps, the Fort Constantine Launch Codes, and the Bobblehead - Big Guns .
Now if you have all of the keys you were supposed to steal for Mister Crowley (Dukov’s Key, Ted Strayer’s Key, and Dave’s Key) you can open the door to the Bunker. Don’t be shy, wondrous loot awaits!
17) Launch Control Bunker
Book - Big Book of Science
Book - Duck and Cover!
Go down some stairs and through a closed gate to find a desk with some ammo boxes, 5.56 Rounds, and an Assault Rifle on it. Head east down some stairs, loot the room you find, and head down some more stairs to the east until you reach a hallway with a locked door [Average] and a terminal [Average]. Once you’re done looting this room head south through a door to find an intact office with a copy of Duck and Cover! on a table near the Fort Constantine Launch Terminal. On another desk to the east you’ll find a Big Book of Science . Continue down some stairs to the… you guessed it… to the east to find a room with bunks in it. On a desk to the west you’ll find a Pre-War Book and a Stealth Boy. Go down some stairs.. you know the direction.. to find a door leading to the Bomb Storage.
18) Bomb Storage
Go through a door to the south to find a room with two doors to the west [Very Hard] along with two terminals [Very Hard], and to the east will be a door with the dead body of Tara outside, which can only be opened with one of your keys. Tara has the Warhead Storage Key on her, which will open the door you’ll find if you go up the stairs through the southern door.
19) The Western Rooms
Book - Guns and Bullets
Pick the lock/hack the terminal to get into the north-western room where you’ll find numerous guns on the metal shelves along the southern wall, as well as a 10mm Pistol, 10mm Rounds, and a copy of Guns and Bullets on a table in the middle of the room. The south-western room contains numerous ammo boxes.
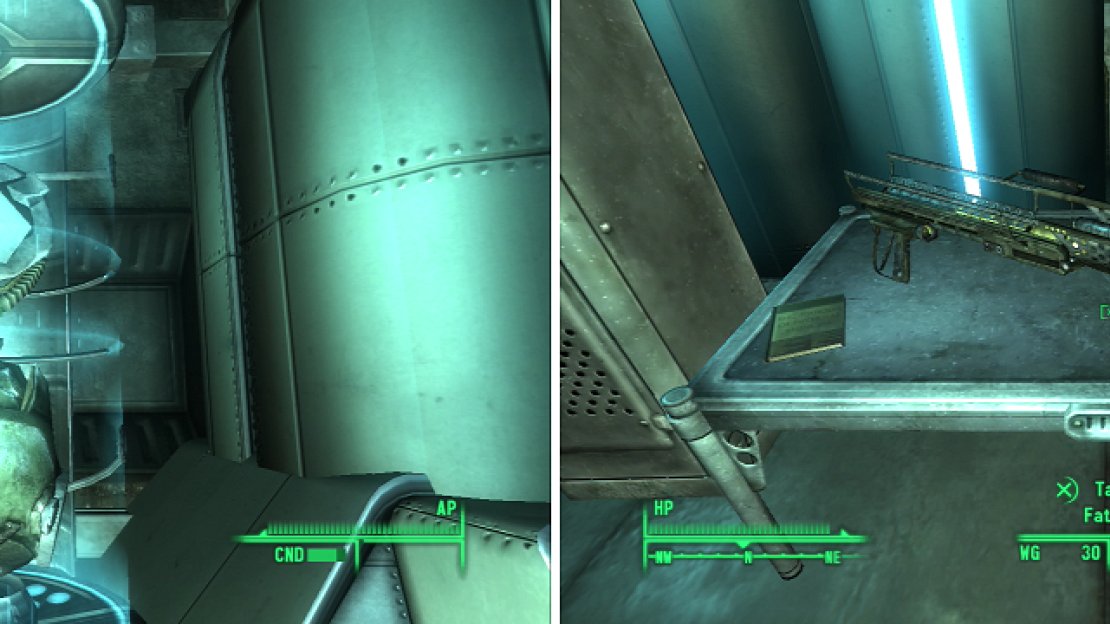
The T-51b Power Armor is the most valuable prize you’ll find in Fort Constantine… well, worth stealing a few keys for (left). A Fat Man, some Mini-Nukes, and a D.C. Journal of Internal Medicine aren’t a bad score, either (right).
20) T-51b Power Armor
Book - D.C. Journal of Internal Medicine
Loot Tara and go through the door she’s in front of to find a perfectly preserved room containing a Fat Man, two Mini-Nukes, and a D.C. Journal of Internal Medicine on a table, some lockers, and the Armor R&D Terminal. Activate the terminal to find the T-51b Power Armor , arguably the best suit of Power Armor in the game. And really, how do you beat damage resistance 50, rad resistance 25, with a helmet that has damage resistance 10, rad resistance 8, and +1 Charisma? Well, Enclave Hellfire Armor is pretty much as good as T-51b Power Armor. .. but… T-51b Power Armor is special because it’s unique, so there.
Head south up some stairs to reach the above ground portion of the Bomb storage area, where you’ll find more robots, and more minor loot, but besides a Mini Nuke it’s nothing too great. We are now done with Fort Constantine. Stash your loot and head over to Vault 108, where we can grab the Bobblehead - Charisma fairly quick-like. First lets discover the one last area in the north-western corner of the map… The Pitt expansion notwithstanding.
21) SatCom Array NW-05a
Book - Chinese Army: Spec. Ops. Training Manual
Now that Fort Constantine is done and looted head south-west to find SatCom Array NW-05a. Be sneaky to get inside without drawing the attention of the Talon Company Mercs outside. No need to get in a long-range fight with a guy with a Missile Launcher. Inside is a Talon Company Mercenary, a leveled turret, and a Ghoul Scientist who is up to no good. Read the terminal on the ground level to find out what our Ghoul friend was up to. On the desk nearby you’ll find a copy of Chinese Army: Spec. Ops. Training Manual . Search the Ghoul’s body for the following notes:
‘Highwater Trousers’ Activation Code, SatCom Array NN-03d Coordinates, and SatCom Array NW-07c Coordinates.
22) Raider Docks
Book - Nikola Tesla and You
Head west from SatCom Array NW-05a to the edge of a cliff, where you should see some docks in a distance. Pick your way down cliff face and turn south-west, where you may run afoul of an Enclave Camp if you’re late enough in the game. Kill the Enclave if they’re there, loot their camp, then head over to the docks, near which is a group of Raiders who’ve made themselves a home of sorts here. Kill them and loot their docks for some food, drugs, ammo, and a Mini-Nuke which is on a shelf. South-west of the Raider docks is a blue boat that is partially submerged. Go to the cliffs nearby and jump on the boat to score a copy of Nikola Tesla and You which is on the roof.
No Comments