
Defeated enemies in CRISIS CORE -FINAL FANTASY VII- REUNION have a chance of dropping items, either a common item or a rare item. Drop rates for enemies varies by foe (rates include 1-in-32, 1-in-20, 1-in-16, 1-in-8, 1-in-5, 1-in-4, 1-in-3, 1-in-2 or 1-in-1), but are generally good enough that if you’re fighting a group of weak enemies you can usually expect something to drop sooner or later. On the other hand if you’re fighting an enemy that’s not mere fodder and are gunning for a specific rare drop, you might be in for a bit of a grind.
Generally rare items are going to be more valuable than common items, but sometimes the two drops are the same, or just a matter of quantity, not the actual item dropped. To ensure you only get rare drops, equip a ![]() Mog’s Amulet, while donning a
Mog’s Amulet, while donning a ![]() Jeweled Ring will double the items enemies drop. Together the two will drastically increase the rate at which you can stock up on some of the best items enemies in the game can drop.
Jeweled Ring will double the items enemies drop. Together the two will drastically increase the rate at which you can stock up on some of the best items enemies in the game can drop.
In some Final Fantasy games, stealing an item would preclude you from securing an item drop. Not so in CRISIS CORE -FINAL FANTASY VII- REUNION - you can steal an item and get an item drop from the same enemy, and since there’s a good bit of crossover between gear (a Mog’s ![]() Amulet guarantees rare drops and steals) it’s not a bad idea to go around smacking enemies with
Amulet guarantees rare drops and steals) it’s not a bad idea to go around smacking enemies with ![]() Mug until you get what you want… one way or another. Just keep in mind that the items you can steal and the items an enemy can drop are often not the same.
Mug until you get what you want… one way or another. Just keep in mind that the items you can steal and the items an enemy can drop are often not the same.
For more information about stealing, check out the following pages:
- Best Materia in Crisis Core: Steal
- Best Materia in Crisis Core: Mug
- Best Items You Can Steal in Crisis Core
Best Enemy Drops in Crisis Core
Below you’ll find a list of some of the best items enemies can drop in Crisis Core. Since most of these are high-end accessories, materia, or materia fusion items, you should expect them to be found in some of the most difficult missions in the game, held by the most dangerous enemies… which, ironically, doesn’t necessarily mean you’ll need to wait all that long before you can attempt to farm them. You can access some 9-star and 10-star missions surprisingly early in the game, if you can fight your way through to them. Realistically you’ll be better equipped and have access to more tools if you want until Chapter 4, but that’s still ridiculously early given how weak main story enemies will be in comparison.
| Item | Enemy | Rarity | Mission |
|---|---|---|---|
| Rare | 3-5-6, 7-6-4 or 9-4-1 | ||
| Adamantite | Common | 9-3-4 | |
| Adamantite x2 | Common | 9-6-5 | |
| Adamantite x2 | Common | 9-3-4 | |
| Adamantite x4 | Common | 9-6-5 | |
| Common, Rare | 7-6-5 | ||
| Dark Matter | Common | 9-6-2, 9-3-6 | |
| Dark Matter | Rare | 6-6-2, 6-6-3 or 7-6-6 | |
| Common | 6-6-6 | ||
| Fat Chocobo Feather x2 | Rare | 6-6-6 | |
| Fat Chocobo Feather | Rare | 2-4-4, 9-2-6 | |
| Rare | 9-4-3 | ||
| Gysahl Greens | Rare | 9-6-1 | |
| Rare | 9-6-3 | ||
| Common, Rare | 3-4-3, 3-4-4 | ||
| Lunar Harp | Rare | 9-6-4 | |
| Common | 2-2-6, 2-3-1 | ||
| Mythril | Common | 2-5-6 or 6-6-5 | |
| Mythril | Common, Rare | 3-5-3, 3-5-5 | |
| Mythril | Rare | 3-4-6, 8-6-6 | |
| Mythril | Common | 9-6-2 | |
| Mythril | Rare | 9-5-3 | |
| Mythril x2 | Rare | 2-5-6 or 6-6-5 | |
| Mythril x2 | Rare | 9-6-2 | |
| Rare | 3-5-6, 9-4-1 | ||
| Zeio Nut | Common, Rare | 9-2-4, 9-2-5 or 9-2-6 |

The !Goliath at the end of 9-5-6 will drop 2x or 4x !Adamantite. While a somewhat difficult mission, if you can power through with a !Mog’s Amulet and a !Jeweled Ring you’ll score 8x !Adamantite!
Adamantite
A fusion item, ![]() Adamantite will add VIT+1 when used in Materia Fusion. The
Adamantite will add VIT+1 when used in Materia Fusion. The ![]() Goliath can drop up to 4x !Adamantine per kill, but this is a somewhat lengthy fight against powerful foes, and there’s only one Goliath per run, so it’ll take a few minutes each time you take one down. The
Goliath can drop up to 4x !Adamantine per kill, but this is a somewhat lengthy fight against powerful foes, and there’s only one Goliath per run, so it’ll take a few minutes each time you take one down. The ![]() Crazy Sword spawns more regularly, but it’s not exactly a pushover, possessing an attack that’ll reduce your HP to 1. Worse, while the Crazy Sword has a 1-in-3 drop chance, the Goliath has a 1-in-1 drop chance. All in all, Adamantite isn’t the best fusion item to farm, but if you can tough out Mission 9-6-5 while wearing a Jeweled Ring and a Mog’s Amulet, you’ll score 8x Adamantite. Not bad for a single, albeit time consuming, run.
Crazy Sword spawns more regularly, but it’s not exactly a pushover, possessing an attack that’ll reduce your HP to 1. Worse, while the Crazy Sword has a 1-in-3 drop chance, the Goliath has a 1-in-1 drop chance. All in all, Adamantite isn’t the best fusion item to farm, but if you can tough out Mission 9-6-5 while wearing a Jeweled Ring and a Mog’s Amulet, you’ll score 8x Adamantite. Not bad for a single, albeit time consuming, run.

Squash !Lesser Worms for a chance to score Dark matter.
Dark Matter
A fusion item, ![]() Dark Matter will add MAG+1 when used in Materia Fusion. There are numerous sources of this, but the
Dark Matter will add MAG+1 when used in Materia Fusion. There are numerous sources of this, but the ![]() Lesser Worm in Missions 6-6-2, 6-6-3 or 7-6-6 are numerous, relatively easy to kill, and have a 1-in-8 chance of dropping Dark Matter whenever they’re killed (assuming you’re wearing a Mog’s Amulet). With a Jeweled Ring you’ve got a good chance of scoring 2x Dark Matter every fight, which is a pretty good rate of return for enemies who can usually be one-shotted with
Lesser Worm in Missions 6-6-2, 6-6-3 or 7-6-6 are numerous, relatively easy to kill, and have a 1-in-8 chance of dropping Dark Matter whenever they’re killed (assuming you’re wearing a Mog’s Amulet). With a Jeweled Ring you’ve got a good chance of scoring 2x Dark Matter every fight, which is a pretty good rate of return for enemies who can usually be one-shotted with ![]() Aerial Drain or
Aerial Drain or ![]() Darkness.
Darkness.
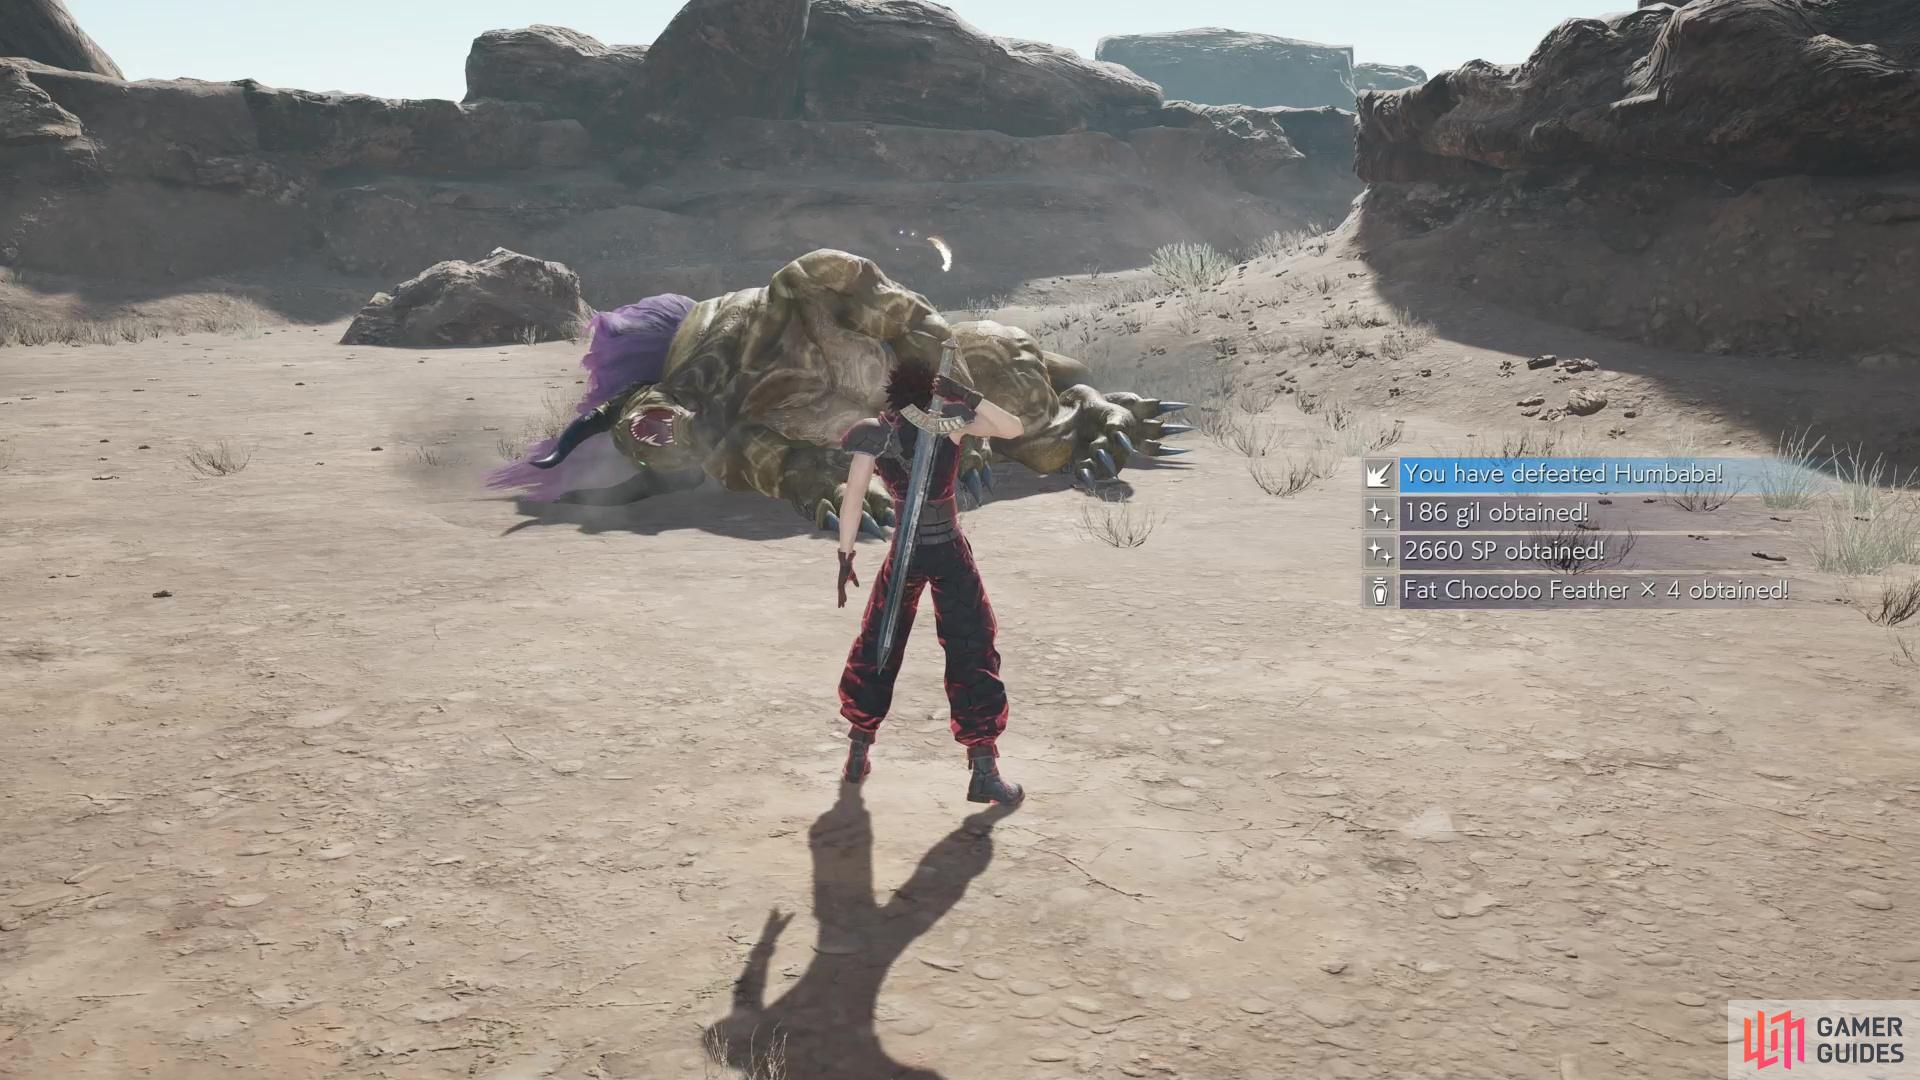
Defeat the !Humbaba to score 1x or 2x !Fat Chocobo Feathers, or double that amount with a !Jeweled Ring equipped.
Fat Chocobo Feather
A fusion item, ![]() Fat Chocobo Feathers will add HP+10% when used in Materia Fusion. Elite
Fat Chocobo Feathers will add HP+10% when used in Materia Fusion. Elite ![]() Behemoth-type enemies like the
Behemoth-type enemies like the ![]() Jabberwock (Missions 2-4-4 and 9-2-6) and the
Jabberwock (Missions 2-4-4 and 9-2-6) and the ![]() Humbaba (6-6-6) are fine sources of these items, particularly the Humbaba, who will drop 1x or 2x Fat Chocobo Feathers (4x guaranteed if you have a Mog’s Amulet and a Jeweled Ring equipped). Considering you can also steal 3x Fat Chocobo Feathers from this enemy in the same fight, that’s 7x Fat Chocobo Feathers every run, and while Humbaba will take a few hits to kill, he’s far easier to farm than, say, Goliath.
Humbaba (6-6-6) are fine sources of these items, particularly the Humbaba, who will drop 1x or 2x Fat Chocobo Feathers (4x guaranteed if you have a Mog’s Amulet and a Jeweled Ring equipped). Considering you can also steal 3x Fat Chocobo Feathers from this enemy in the same fight, that’s 7x Fat Chocobo Feathers every run, and while Humbaba will take a few hits to kill, he’s far easier to farm than, say, Goliath.
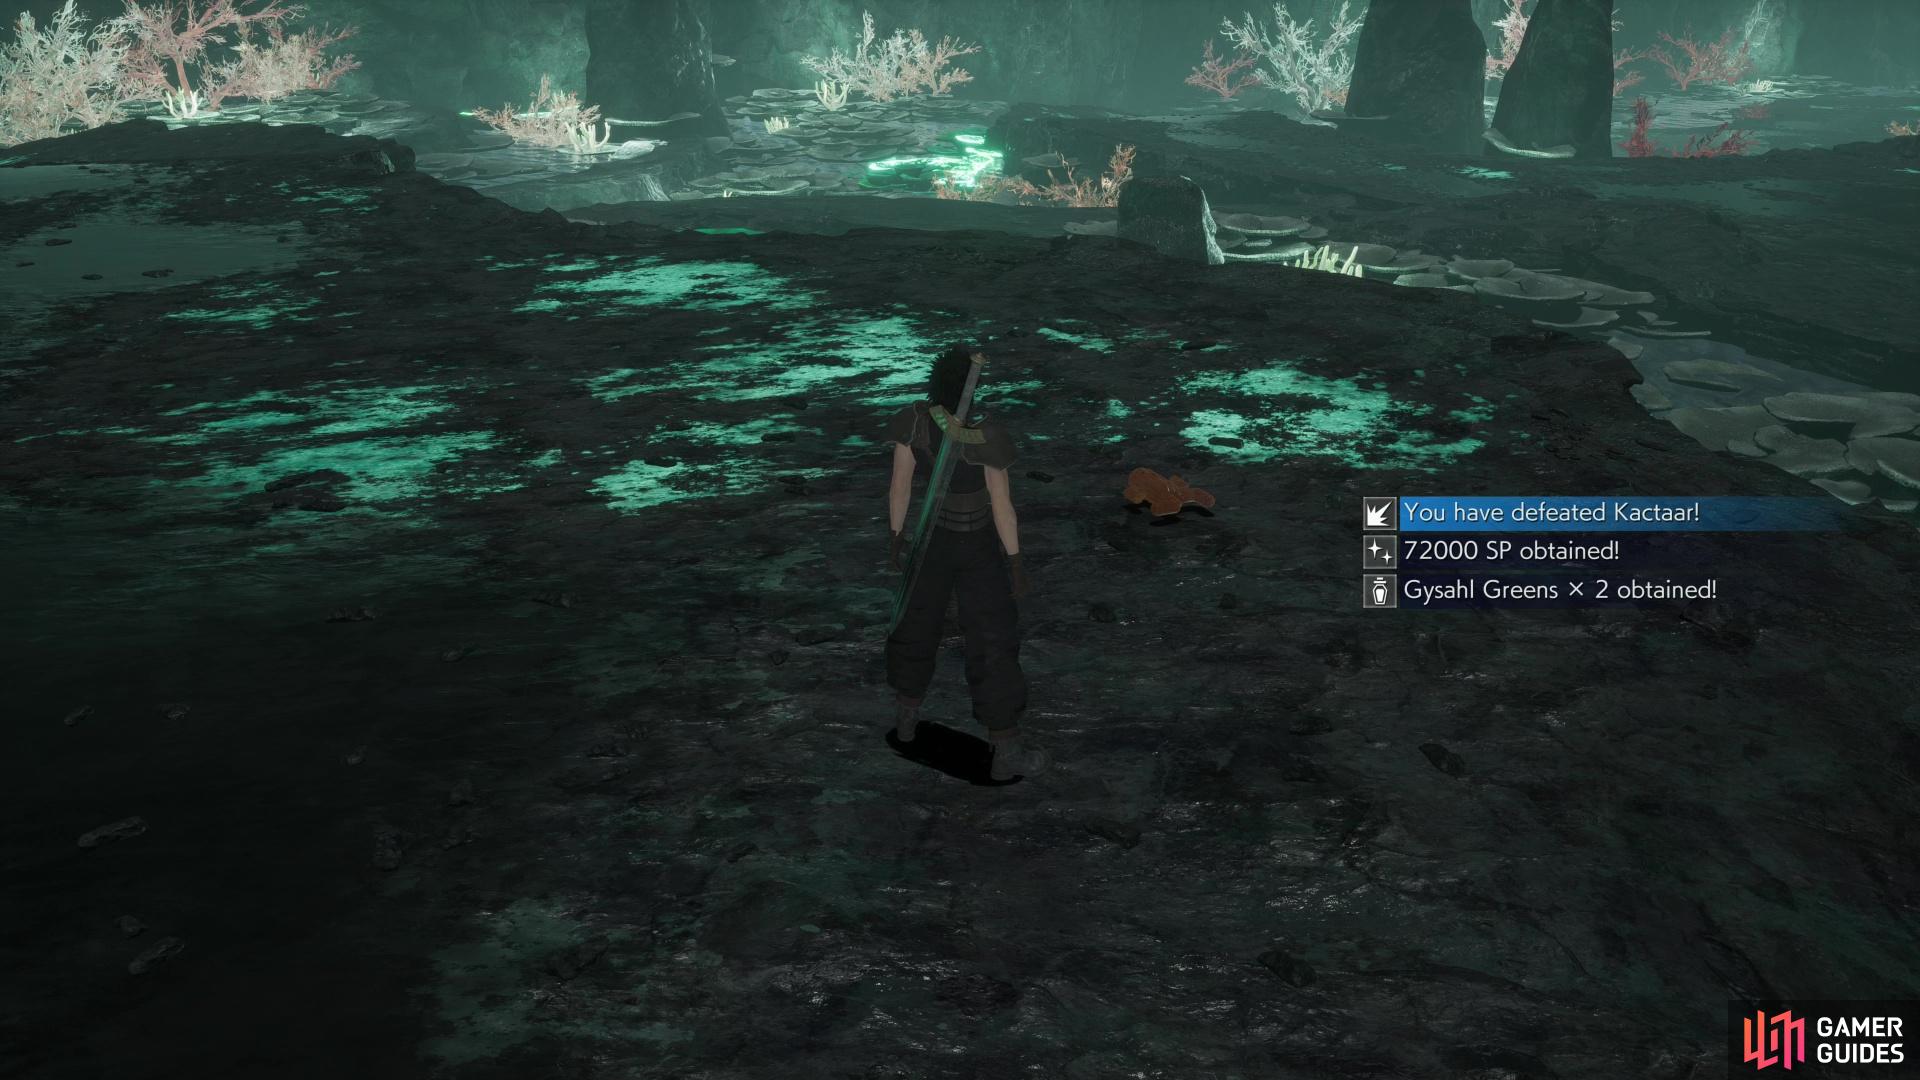
Obnoxious foes with a lethal final attack, !Kactaar and !Kactuare can both be farmed for !Gysahl Greens, if you can endure the tedium.
Gysahl Greens
A fusion item, ![]() Gysahl Greens will add LCK+1 when used in Materia Fusion. LCK isn’t the most sought-after stat when it comes to Materia Fusion, but it has its uses. Gysahl Greens are dropped by both the
Gysahl Greens will add LCK+1 when used in Materia Fusion. LCK isn’t the most sought-after stat when it comes to Materia Fusion, but it has its uses. Gysahl Greens are dropped by both the ![]() Kactaar and
Kactaar and ![]() Kactuare enemies who spawn in Missions 9-4-3 and 9-6-1, respectively. They’re rather annoying enemies to fight, although spamming Darkness can have some success. Ultimately, however their 1-in-4 drop rate, the abundance of other farming options, the lack of desirability of LCK as a stat and the constant annoyance of trying to sneak in damage through 1,000 Needles and 10,000 Needles attacks makes this a farming run you’ll probably want to skip.
Kactuare enemies who spawn in Missions 9-4-3 and 9-6-1, respectively. They’re rather annoying enemies to fight, although spamming Darkness can have some success. Ultimately, however their 1-in-4 drop rate, the abundance of other farming options, the lack of desirability of LCK as a stat and the constant annoyance of trying to sneak in damage through 1,000 Needles and 10,000 Needles attacks makes this a farming run you’ll probably want to skip.
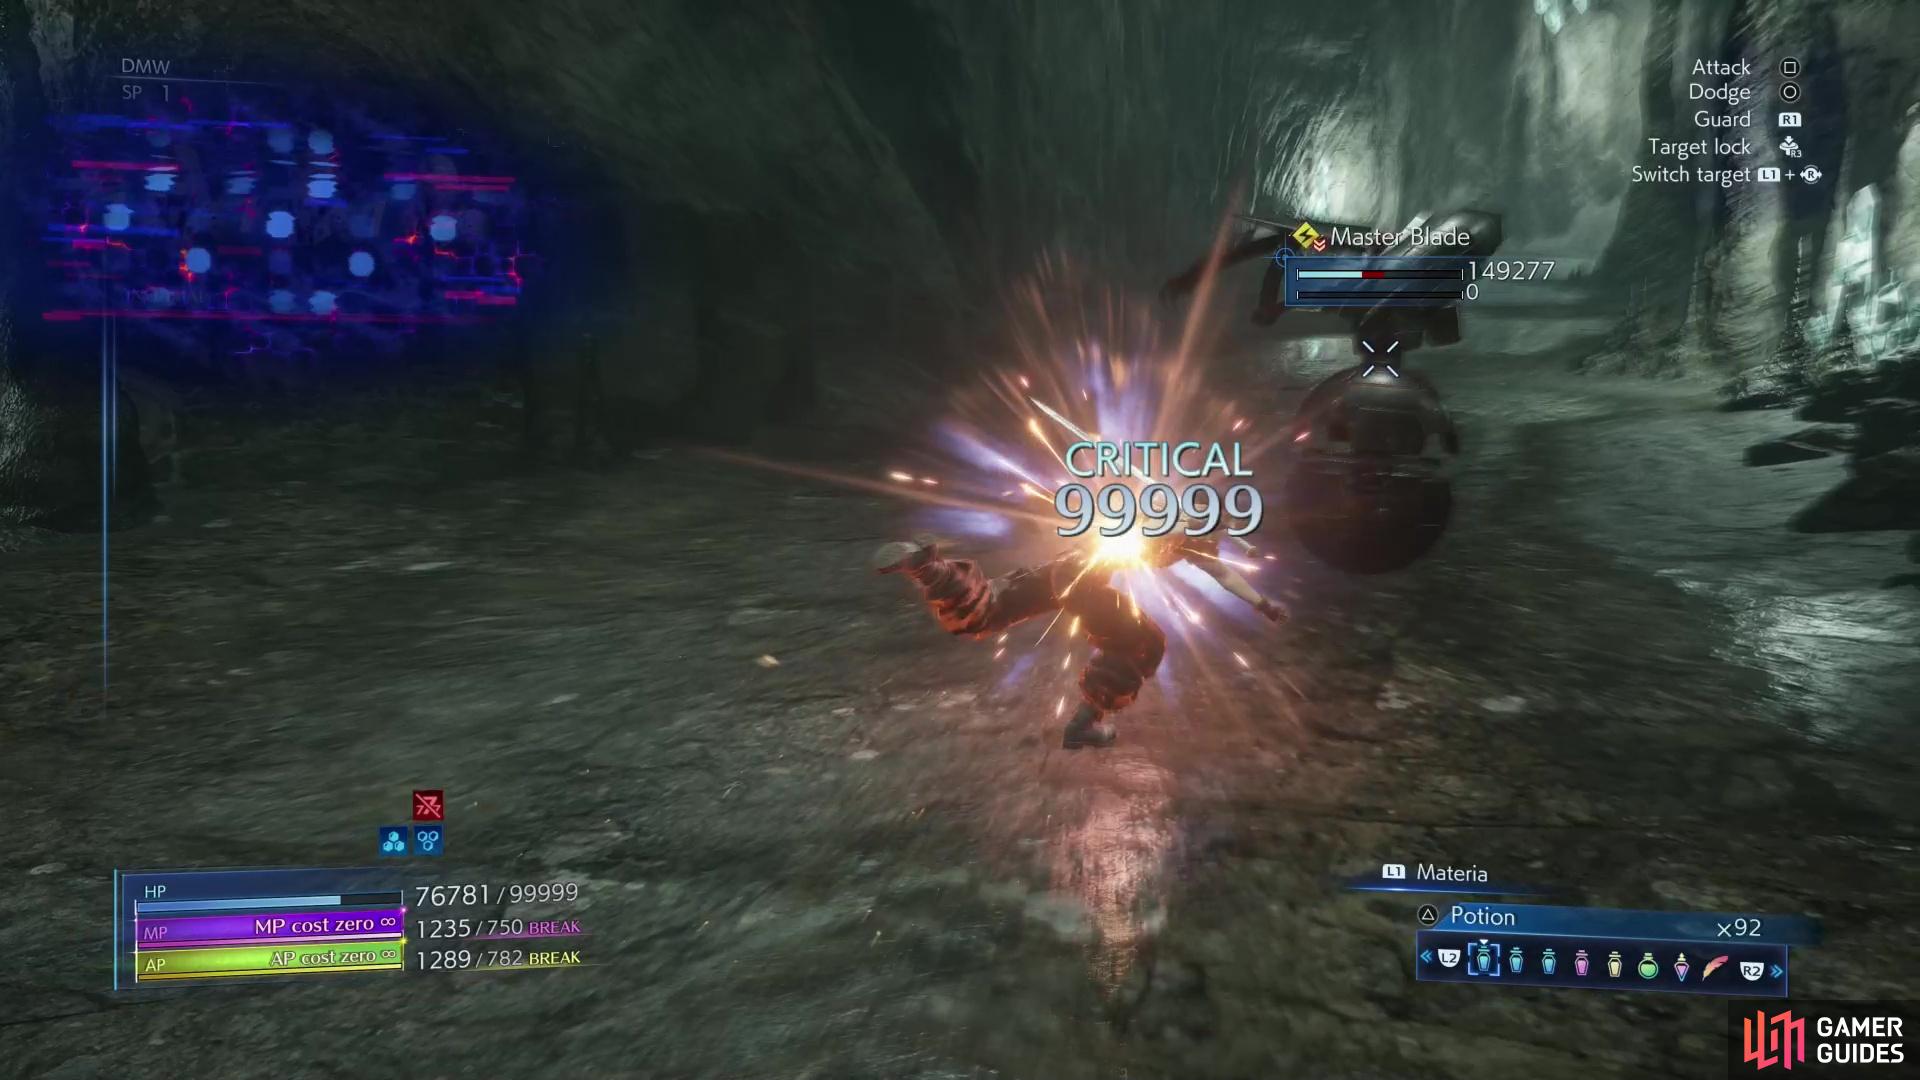
The !Master Blade can drop !Hero Drinks, but it’s an obnoxious foe to farm.
Hero Drink
Another fusion item, the ![]() Hero Drink will grant ATK+1 when used in Materia Fusion, boosting the physical damage you deal. It’s pretty useful for Aerial
Hero Drink will grant ATK+1 when used in Materia Fusion, boosting the physical damage you deal. It’s pretty useful for Aerial ![]() Drain and, to a lesser degree,
Drain and, to a lesser degree, ![]() Costly Punch. The
Costly Punch. The ![]() Master Blade enemies on Mission 9-6-3 are the only enemies who drop these, and their durability and penchant for using an attack that drops you down to 1 HP make them foes you probably don’t want to fight more than necessary. Their 1-in-8 chance to drop a Hero Drink (2x Hero Drinks if you have a Jeweled Ring equipped) also isn’t attractive, but you can also steal 2x of them (rare), potentially earning you 4x Hero Drinks per Master Blade if you have a Mog’s Amulet and Jeweled Ring equipped, and you’re lucky. It’s not a bad rate of return, just be prepared to deal with a fairly cheap foe.
Master Blade enemies on Mission 9-6-3 are the only enemies who drop these, and their durability and penchant for using an attack that drops you down to 1 HP make them foes you probably don’t want to fight more than necessary. Their 1-in-8 chance to drop a Hero Drink (2x Hero Drinks if you have a Jeweled Ring equipped) also isn’t attractive, but you can also steal 2x of them (rare), potentially earning you 4x Hero Drinks per Master Blade if you have a Mog’s Amulet and Jeweled Ring equipped, and you’re lucky. It’s not a bad rate of return, just be prepared to deal with a fairly cheap foe.

!Lesser Demons have a chance to drop !Lunar Harps when exorcized.
Lunar Harp
A fusion item, ![]() Lunar Harps will add MP+10% when used in Materia Fusion. Whether you actually need MP boosts in this game is debatable, but if you want it, the
Lunar Harps will add MP+10% when used in Materia Fusion. Whether you actually need MP boosts in this game is debatable, but if you want it, the ![]() G General in Missions 3-4-3 and 3-4-4 always drop one (2x if you have a Jeweled Ring). The
G General in Missions 3-4-3 and 3-4-4 always drop one (2x if you have a Jeweled Ring). The ![]() Lesser Demons on Mission 9-6-4 also have a 1-in-16 chance of dropping one (rare).
Lesser Demons on Mission 9-6-4 also have a 1-in-16 chance of dropping one (rare).

The !Holy Tonberry will drop 1x or 2x !Mythril when defeated (2x or 4x with a !Jeweled Ring equipped).
Mythril
A fusion item, ![]() Mythril will add SPR+1 when used in Materia Fusion. You want maxed out SPR for the game’s most difficult encounters, and fortunately you have some options. The
Mythril will add SPR+1 when used in Materia Fusion. You want maxed out SPR for the game’s most difficult encounters, and fortunately you have some options. The ![]() Diceratops enemy in Missions 2-2-6 and 2-3-1 will usually drop one (common), and they’re pretty weak. The
Diceratops enemy in Missions 2-2-6 and 2-3-1 will usually drop one (common), and they’re pretty weak. The ![]() G Purgatorio will always drop one if you have a Mog’s Amulet equipped (2x with a Jeweled Ring) and you can steal 1x or 2x Mythril from each one, for a potential total of 4x Mythril per kill - you’ll find this enemy on Mission 3-4-6 and 8-6-6. Finally, the
G Purgatorio will always drop one if you have a Mog’s Amulet equipped (2x with a Jeweled Ring) and you can steal 1x or 2x Mythril from each one, for a potential total of 4x Mythril per kill - you’ll find this enemy on Mission 3-4-6 and 8-6-6. Finally, the ![]() Holy Tonberry who presides over Mission 9-6-2 will drop 1x Mythril or 2x Mythril (4x guaranteed with a Mog’s Amulet and a Jeweled Ring equipped). You can also steal one from the Holy Tonberry, but this is a common steal, so you’d actually be sacrificing a chunk of Mythril if you weren’t wearing the Mog’s Amulet (or extremely lucky). Settling for stealing 4x
Holy Tonberry who presides over Mission 9-6-2 will drop 1x Mythril or 2x Mythril (4x guaranteed with a Mog’s Amulet and a Jeweled Ring equipped). You can also steal one from the Holy Tonberry, but this is a common steal, so you’d actually be sacrificing a chunk of Mythril if you weren’t wearing the Mog’s Amulet (or extremely lucky). Settling for stealing 4x ![]() Gold Rolling Pins isn’t a bad consolation prize, however.
Gold Rolling Pins isn’t a bad consolation prize, however.

You can fumigate !Killer Bees with !Darkness, and they have a chance to drop !Zeio Nuts when defeated.
Zeio Nut
A fusion item, ![]() Zeio Nuts will add AP+10% when used in Materia Fusion. Whether you need more AP is another matter, but if you feel like you do, you have options. Two options, anyways. Zeio Nuts are dropped by the
Zeio Nuts will add AP+10% when used in Materia Fusion. Whether you need more AP is another matter, but if you feel like you do, you have options. Two options, anyways. Zeio Nuts are dropped by the ![]() G Renegade on Mission 3-5-6 and 9-4-1, a fairly sturdy, high-level (if not all that dangerous) Genesis Clone and by
G Renegade on Mission 3-5-6 and 9-4-1, a fairly sturdy, high-level (if not all that dangerous) Genesis Clone and by ![]() Killer Bees, who populate Missions 9-2-4, 9-2-5 or 9-2-6. In the case of the G Renegade, he’ll always drop something when defeated, and with a Mog’s Amulet and Jeweled Ring you’ll get x2 Zeio Nuts, guaranteed. The Killer Bees, on the other hand, have a 1-in-4 chance to drop a Zeio Nut (common or rare). All in all, it’s probably easier to farm the more numerous and less robust Killer Bees with a Jeweled Ring equipped - use attacks like Darkness to one-shot them to bulk farm.
Killer Bees, who populate Missions 9-2-4, 9-2-5 or 9-2-6. In the case of the G Renegade, he’ll always drop something when defeated, and with a Mog’s Amulet and Jeweled Ring you’ll get x2 Zeio Nuts, guaranteed. The Killer Bees, on the other hand, have a 1-in-4 chance to drop a Zeio Nut (common or rare). All in all, it’s probably easier to farm the more numerous and less robust Killer Bees with a Jeweled Ring equipped - use attacks like Darkness to one-shot them to bulk farm.
No Comments