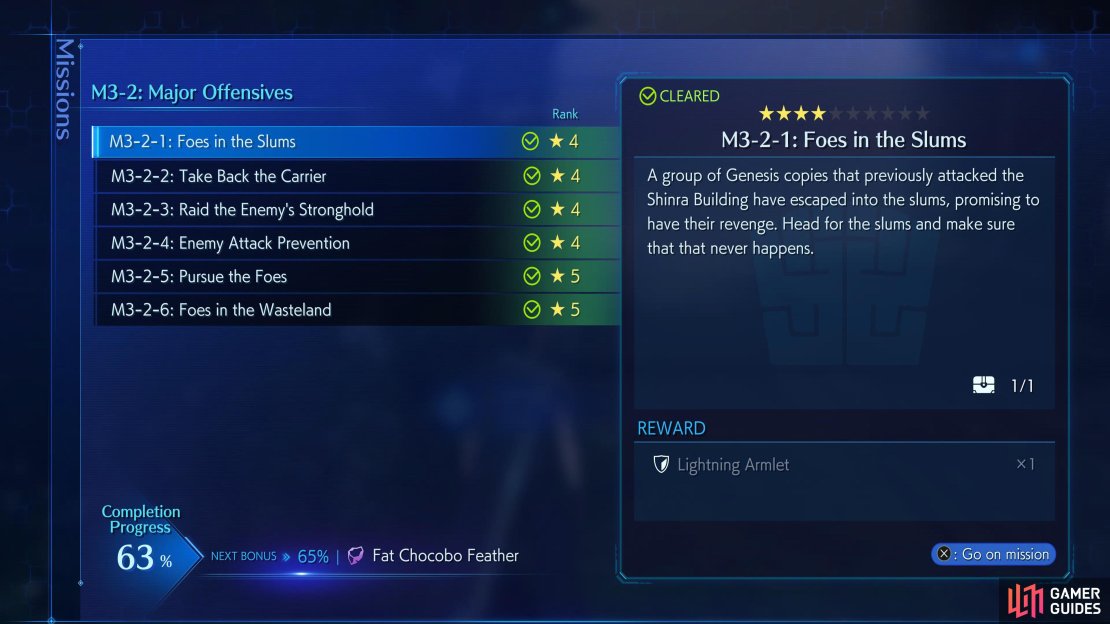
There are 300 optional missions in Crisis Core Final Fantasy VII: Reunion. Major Offensives (M3-2) can be found in the Genesis’s Forces Category.
You can start the M3-2 series of missions at the start of Chapter 6.
How to Unlock the Major Offensives Missions in Crisis Core Reunion
This set of missions starts a bit later in the game at the start of Chapter 6. Like the bulk of the Genesis Forces categories, most of the enemies you’ll encounter will be a variation of clones of Genesis.
| Mission | Unlock | Enemies | Reward |
|---|---|---|---|
| 3-2-1: Foes in the Slums (4★) | Automatically Unlocked at the start of Chapter 6 | ||
| 3-2-2: Take Back the Carrier (4★) | Automatically Unlocked at the start of Chapter 7 | ||
| 3-2-3: Raid the Enemy’s Stronghold (4★) | Complete the previous mission M3-2-2 | ||
| 3-2-4: Enemy Attack Prevention (4★) | Complete the previous mission M3-2-3 | ||
| 3-2-5: Pursue the Foes (5★) | Automatically Unlocked at the start of Chapter 9 | ||
| 3-2-6: Foes in the Wasteland (5★) | Automatically Unlocked at the start of Chapter 10 |
Most of the rewards in this category are lackluster, and the only real reason to complete the missions is for the Mission Completionist trophy/achievement. All the other rewards you can get elsewhere with little effort.
Mission 3-2-1: Foes in the Slums
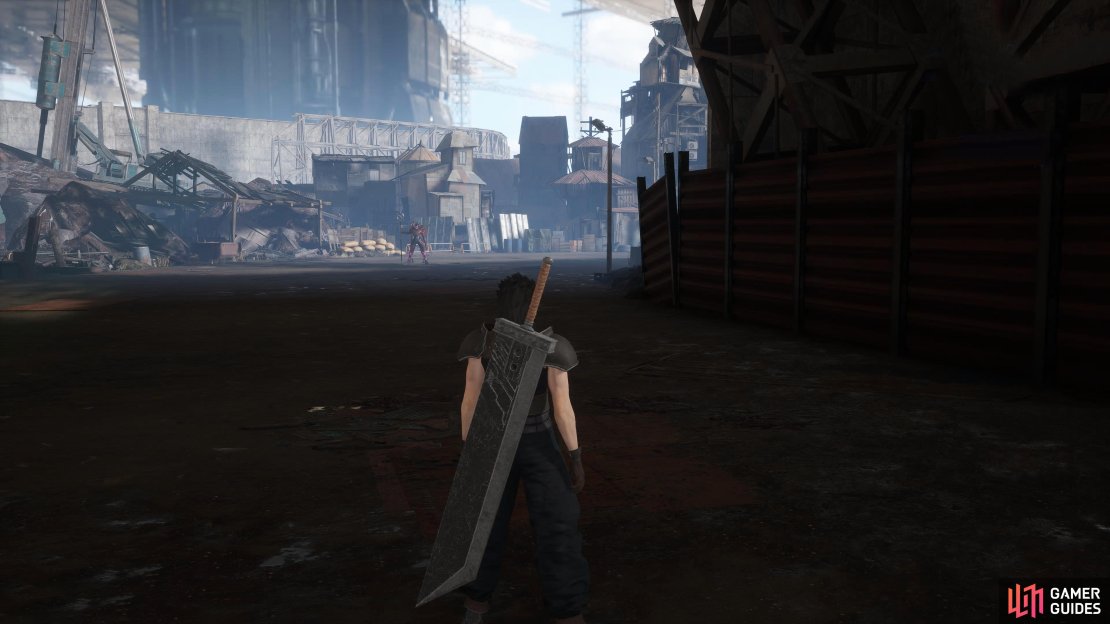
Mission 3-2-1 boss.
Unlocked at the start of Chapter 6, this mission only has a small map containing just the one chest that’ll contain a ![]() Soma. You can find the chest on your right after you go under the bridge towards the boss. Open the chest, and progress forward towards the boss. The boss is a
Soma. You can find the chest on your right after you go under the bridge towards the boss. Open the chest, and progress forward towards the boss. The boss is a ![]() G Battler who’ll be accompanied by a
G Battler who’ll be accompanied by a ![]() G Smasher. It will predominantly cast either
G Smasher. It will predominantly cast either ![]() Stop or
Stop or ![]() Thundara with some normal attacks thrown in for good measure. Either equip
Thundara with some normal attacks thrown in for good measure. Either equip ![]() Sprint Shoes, and one of the
Sprint Shoes, and one of the ![]() Thunder Armlets or
Thunder Armlets or ![]() Guard against them both. Other enemies that you’ll encounter on this map are the
Guard against them both. Other enemies that you’ll encounter on this map are the ![]() G Attackers, and G Smashers.
G Attackers, and G Smashers.
Mission 3-2-2: Take Back the Carrier
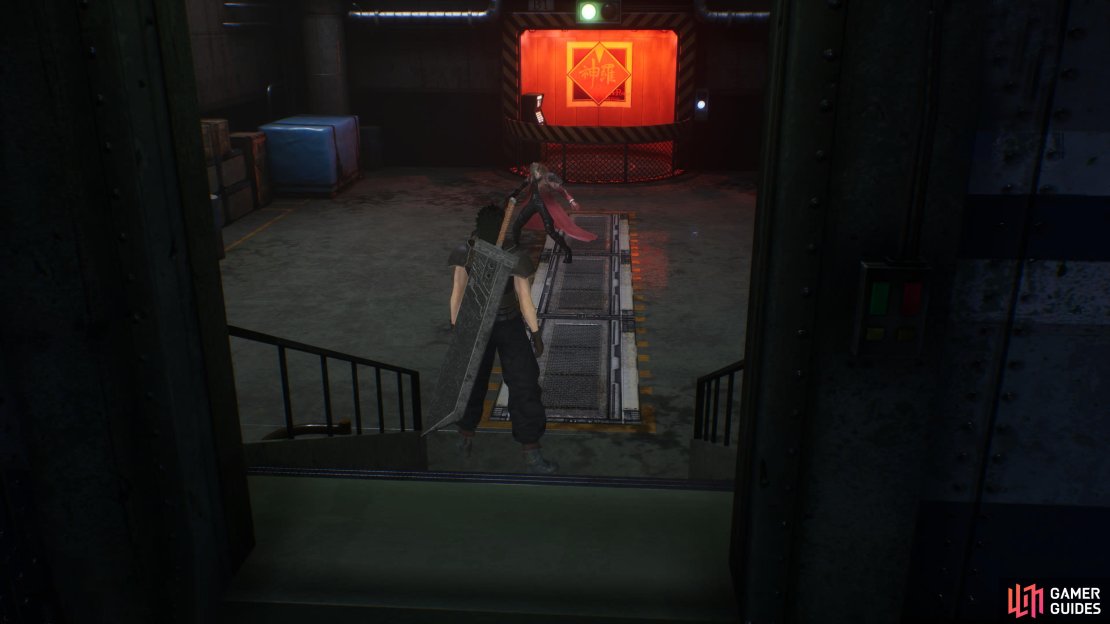
Mission 3-2-2 boss.
Unlocked at the start of Chapter 7, this big map has six chests to open. These will reward you with the following items: ![]() Assault Twister,
Assault Twister, ![]() Hi-Potion,
Hi-Potion, ![]() Pearl Necklace,
Pearl Necklace, ![]() Phoenix Down,
Phoenix Down, ![]() Zeio Nut, and 20,000 SP! Starting the mission in the northwest, head south and east to open the first chest. Climb the stairs and head to the far northeast corner to find the second chest. Just below the previous chest is the third chest which contains 20,000 SP. Now turn around and go through the door to your west which will take you to a different area of the ship.
Zeio Nut, and 20,000 SP! Starting the mission in the northwest, head south and east to open the first chest. Climb the stairs and head to the far northeast corner to find the second chest. Just below the previous chest is the third chest which contains 20,000 SP. Now turn around and go through the door to your west which will take you to a different area of the ship.
Head north and take the stairs to your east, and go through the door into the bar area. Search to the left of the bar for the fourth chest. Now head back up the stairs, and instead open the door to your west for the fifth chest. Follow the path down the stairs to the end of the corridor for the sixth, and final chest then open the door. As soon as you enter the room the boss will be in front of you. This encounter will have you battle two ![]() G Bladers. For the most part, this isn’t too difficult, but make sure you avoid the Gunblade attack as it can knock you down. Other than that, they will cast
G Bladers. For the most part, this isn’t too difficult, but make sure you avoid the Gunblade attack as it can knock you down. Other than that, they will cast ![]() Fira at you which can be negated by any of the
Fira at you which can be negated by any of the ![]() Fire Armlets. Other enemies to expect on this map are
Fire Armlets. Other enemies to expect on this map are ![]() G Divers, and
G Divers, and ![]() Metal Saucer I.
Metal Saucer I.
3-2-3: Raid the Enemy’s Stronghold
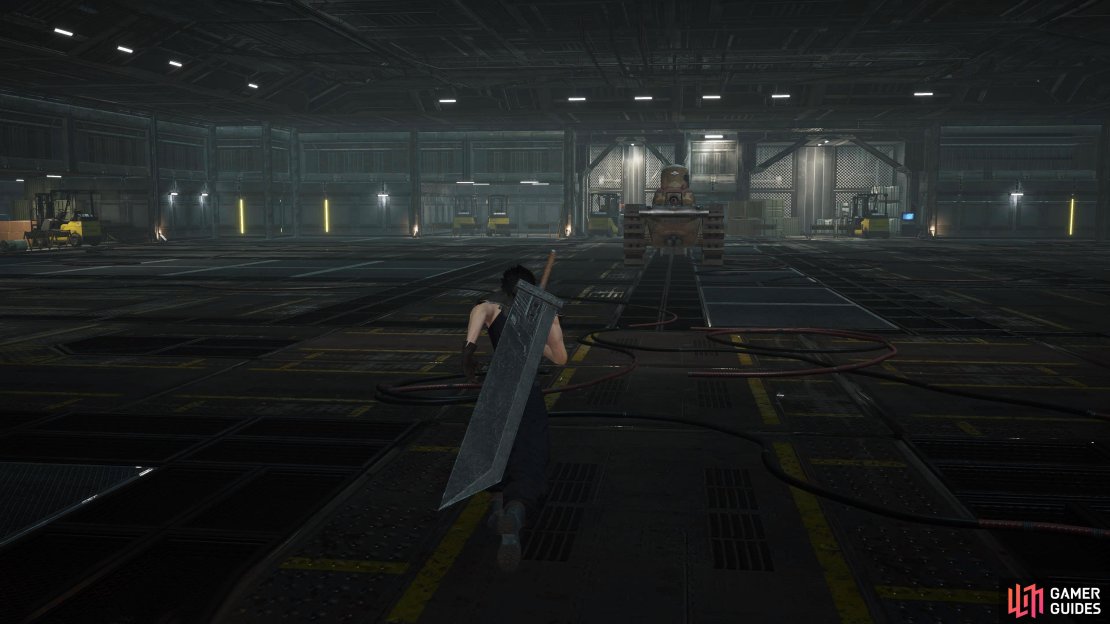
Mission 3-2-3 boss.
Complete the previous mission M3-2-2 to unlock this mission. There are three chests to open here, and these will contain the following items: Thundara, ![]() X-Potion, and an
X-Potion, and an ![]() Elixir. You’ll commence the mission in the central room to the south. Progress south, and take the western corridor until you can enter a room to the west. Turn left as soon as you enter the room for the first chest.
Elixir. You’ll commence the mission in the central room to the south. Progress south, and take the western corridor until you can enter a room to the west. Turn left as soon as you enter the room for the first chest.
Make your way back to the corridor, and follow it north, east, and north again. This will take you to a large room containing the last two chests, and the boss who is in the center. The second chest can be found in the southwest corner of the room, and the last chest will be on the opposite side about halfway up the room. When you’re ready, initiate the boss fight to encounter a ![]() General’s Tank and several
General’s Tank and several ![]() Support Machines. This heap of metal can deal some significant damage, especially if it hits you with its deadly 203mm Cannon attack.
Support Machines. This heap of metal can deal some significant damage, especially if it hits you with its deadly 203mm Cannon attack.
Thankfully, a simple roll of Guard will avoid it/reduce damage from it. You’ll want to defeat the Support Machines first as they’ll just keep interrupting your casting with shock attacks. With the Support Machines down, head to the rear end of the tank, and slash away for guaranteed Critical Hits. Whenever the tank turns around to fire a shot at you, keep running around it until you reach its rear again. Other enemies to expect on this map are ![]() G Troopers, and G Bladers.
G Troopers, and G Bladers.
3-2-4: Enemy Attack Preparation
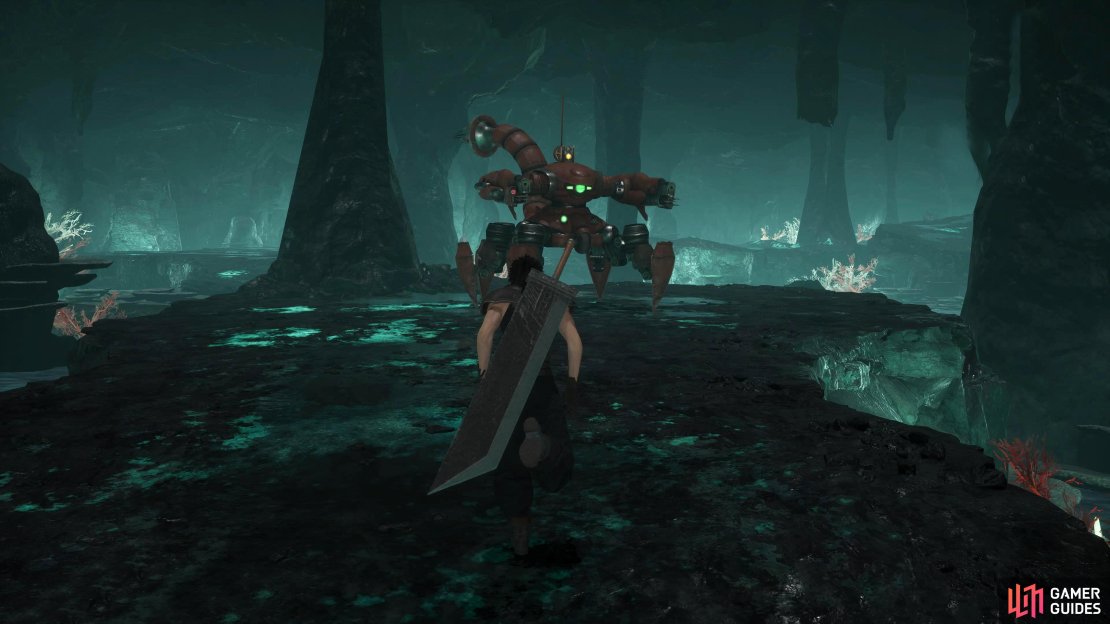
Mission 3-2-4 boss.
Unlocked by completing the previous mission, M3-2-3. This is a small map with just one chest that contains a ![]() Bronze Armlet. Starting the mission in the west, head east until the end where you can go south. As soon as you clear the corner there will be the only chest to your right. Progress south, and you’ll see the boss at the end. This boss will be a Prototype
Bronze Armlet. Starting the mission in the west, head east until the end where you can go south. As soon as you clear the corner there will be the only chest to your right. Progress south, and you’ll see the boss at the end. This boss will be a Prototype ![]() Guard Scorpion.
Guard Scorpion.
It only has a couple of attacks that can cause you some trouble, and these are the Type 98 - Cannon which can hit you up to 5 times, and the EM Field which it’ll cast in a circle around itself. The cannon can be Guarded or avoided, but for the EM Field, you’ll want to run away from the boss. Similar to the last boss in the previous mission, run behind the boss, and attack its rear for Critical Hits. Other enemies to expect on this map are Metal Saucer I and ![]() Crazy Saw.
Crazy Saw.
3-2-5: Pursue the Foes
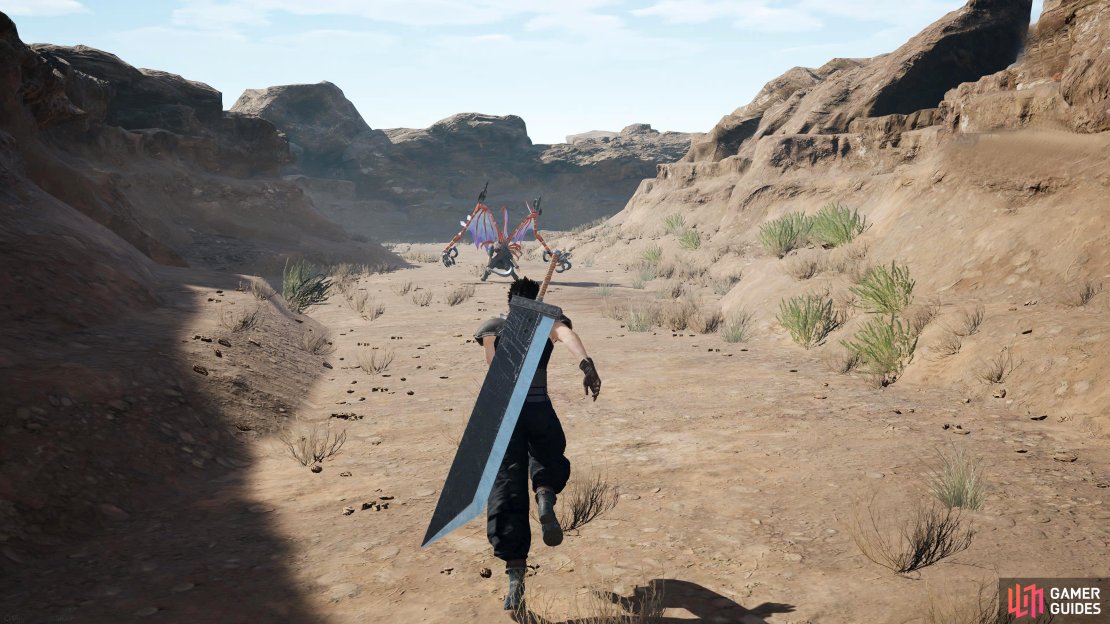
Mission 3-2-5 boss.
This mission won’t be unlocked until you start Chapter 9. It’s another small map with just the two chests, with one containing three ![]() Mind Stones, and the other a Phoenix Down. Starting the mission in the center of the map, head north a little, and the first chest will be on your left. Follow the path east where you’ll find the final chest to your left. Now take the path south where you’ll find the boss. This boss will be a
Mind Stones, and the other a Phoenix Down. Starting the mission in the center of the map, head north a little, and the first chest will be on your left. Follow the path east where you’ll find the final chest to your left. Now take the path south where you’ll find the boss. This boss will be a ![]() G Deleter who is accompanied by two
G Deleter who is accompanied by two ![]() G Legions.
G Legions.
The G Deleter can be rather difficult unless you’re overpowered as it has the ![]() Death Scythe attack which will restore HP to it based on the damage it does to you. Another strong move it has in its arsenal is the Ability Charge attack Whirlwind. If you don’t deplete its gauge quickly, you’ll end up taking significant damage. Apart from the attacks mentioned, it’ll either cast
Death Scythe attack which will restore HP to it based on the damage it does to you. Another strong move it has in its arsenal is the Ability Charge attack Whirlwind. If you don’t deplete its gauge quickly, you’ll end up taking significant damage. Apart from the attacks mentioned, it’ll either cast ![]() Drain,
Drain, ![]() Gravity or hit you with regular attacks. It doesn’t have any true weaknesses, but it is susceptible to Gravity. Another enemy you can expect on the map is G Legions.
Gravity or hit you with regular attacks. It doesn’t have any true weaknesses, but it is susceptible to Gravity. Another enemy you can expect on the map is G Legions.
3-2-6: Midgar Defense Operations
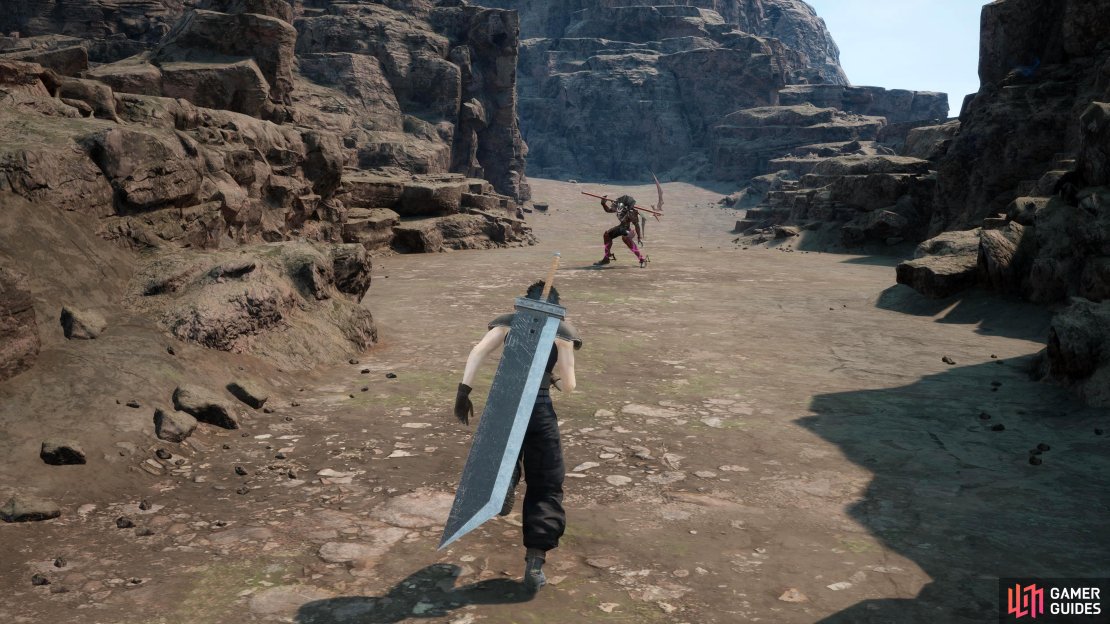
Mission 3-2-6 boss.
The final mission of the sub-category will be unlocked once you reach Chapter 10. Another relatively small map that contains two chests with one containing a Stop materia, and the other an Elixir. You’ll start the mission on the west side of the map and without moving, you should be able to see both chests, one in front of you, and the other to your right. Open them both up, and head to the boss in the east. This will pit you against a ![]() G Eliminator.
G Eliminator.
It has a lot of HP sitting at 65,300 (normal mode), and it will cast either ![]() Firaga or
Firaga or ![]() Thundaga almost instantly. On top of that, it has an Ability Charge attack called Stranglehold which can deal significant damage if left alone. With no real weakness to speak of, you’re better off attacking its rear for Critical Hits. At this stage of the game, you should have attacks like
Thundaga almost instantly. On top of that, it has an Ability Charge attack called Stranglehold which can deal significant damage if left alone. With no real weakness to speak of, you’re better off attacking its rear for Critical Hits. At this stage of the game, you should have attacks like ![]() Costly Punch, and with the right setup, you can one-shot the boss. Other enemies to expect on this map are
Costly Punch, and with the right setup, you can one-shot the boss. Other enemies to expect on this map are ![]() G Predators,
G Predators, ![]() G Slayers, and
G Slayers, and ![]() Sky Gunners.
Sky Gunners.


No Comments