
There are 300 optional missions in Crisis Core Final Fantasy VII: Reunion. Invitation to the Underground (M9-1) can be found in the Great Cavern of Wonders Category.
You’ll need to reach Chapter 3 to unlock Mission 8-4-1, and complete the long series of missions to access M9-1.
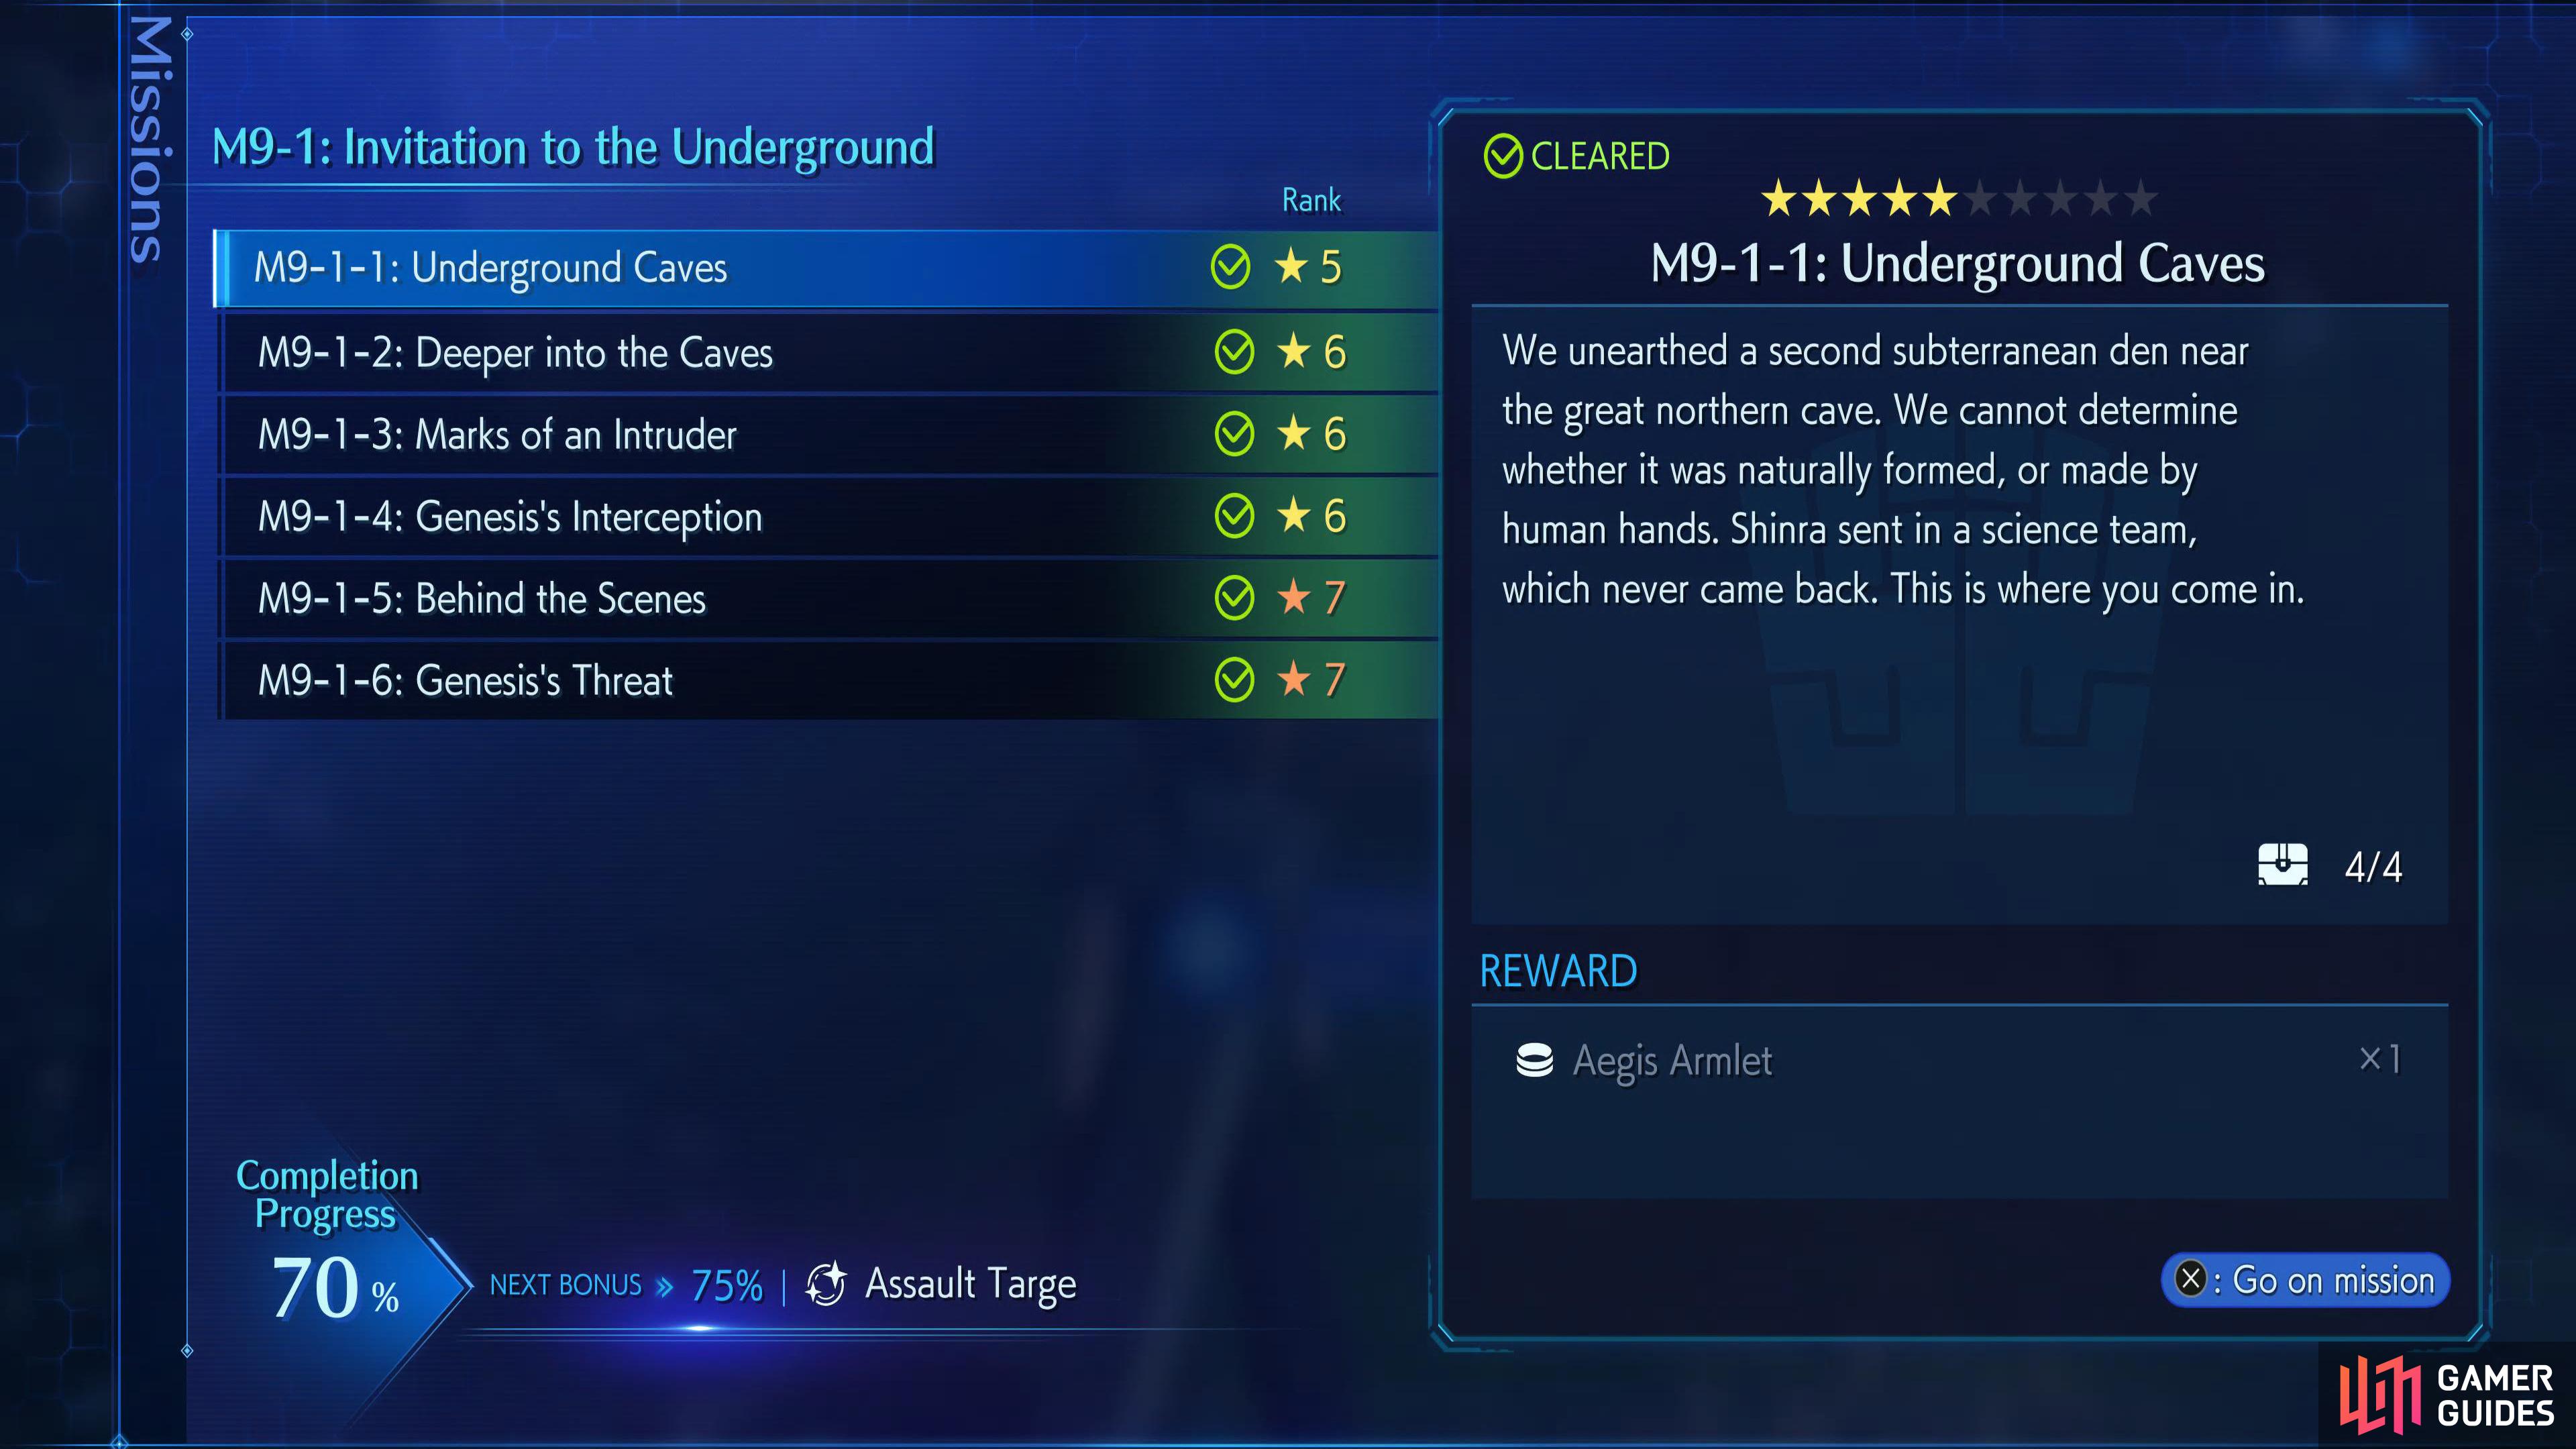
How to Unlock the Invitation to the Underground Missions in Crisis Core Reunion
This category of missions is available as early as Chapter 3, although you’ll have to reach the Mako Reactor scene with Sephiroth to unlock Mission 8-4-1: Suspicious Mail 1 which can be found by approaching the nearby ladder. From there you’ll need to complete a long series of missions until you reach the Great Cavern of Wonders category.
| Mission | Unlock | Enemies | Reward |
|---|---|---|---|
| 9-1-1: Underground Caves (5★) | Complete M8-4-1 and all the subsequent missions (Available Chapter 3) | ||
| 9-1-2: Deeper into the Caves (6★) | Complete the previous mission M9-1-1 | ||
| 9-1-3: Marks of an Intruder (6★) | Complete the previous mission M9-1-2 | ||
| 9-1-4: Genesis’s Interception (6★) | Complete the previous mission M9-1-3 | ||
| 9-1-5: Behind the Scenes (7★) | Complete the previous mission M9-1-4 | ||
| 9-1-6: Genesis’s Threat (7★) | Complete the previous mission M9-1-5 |
The mission rewards here are either great or bad depending on how early you do them. Either way, you’ll still need to complete these missions if you want the Mission Completionist trophy/achievement.


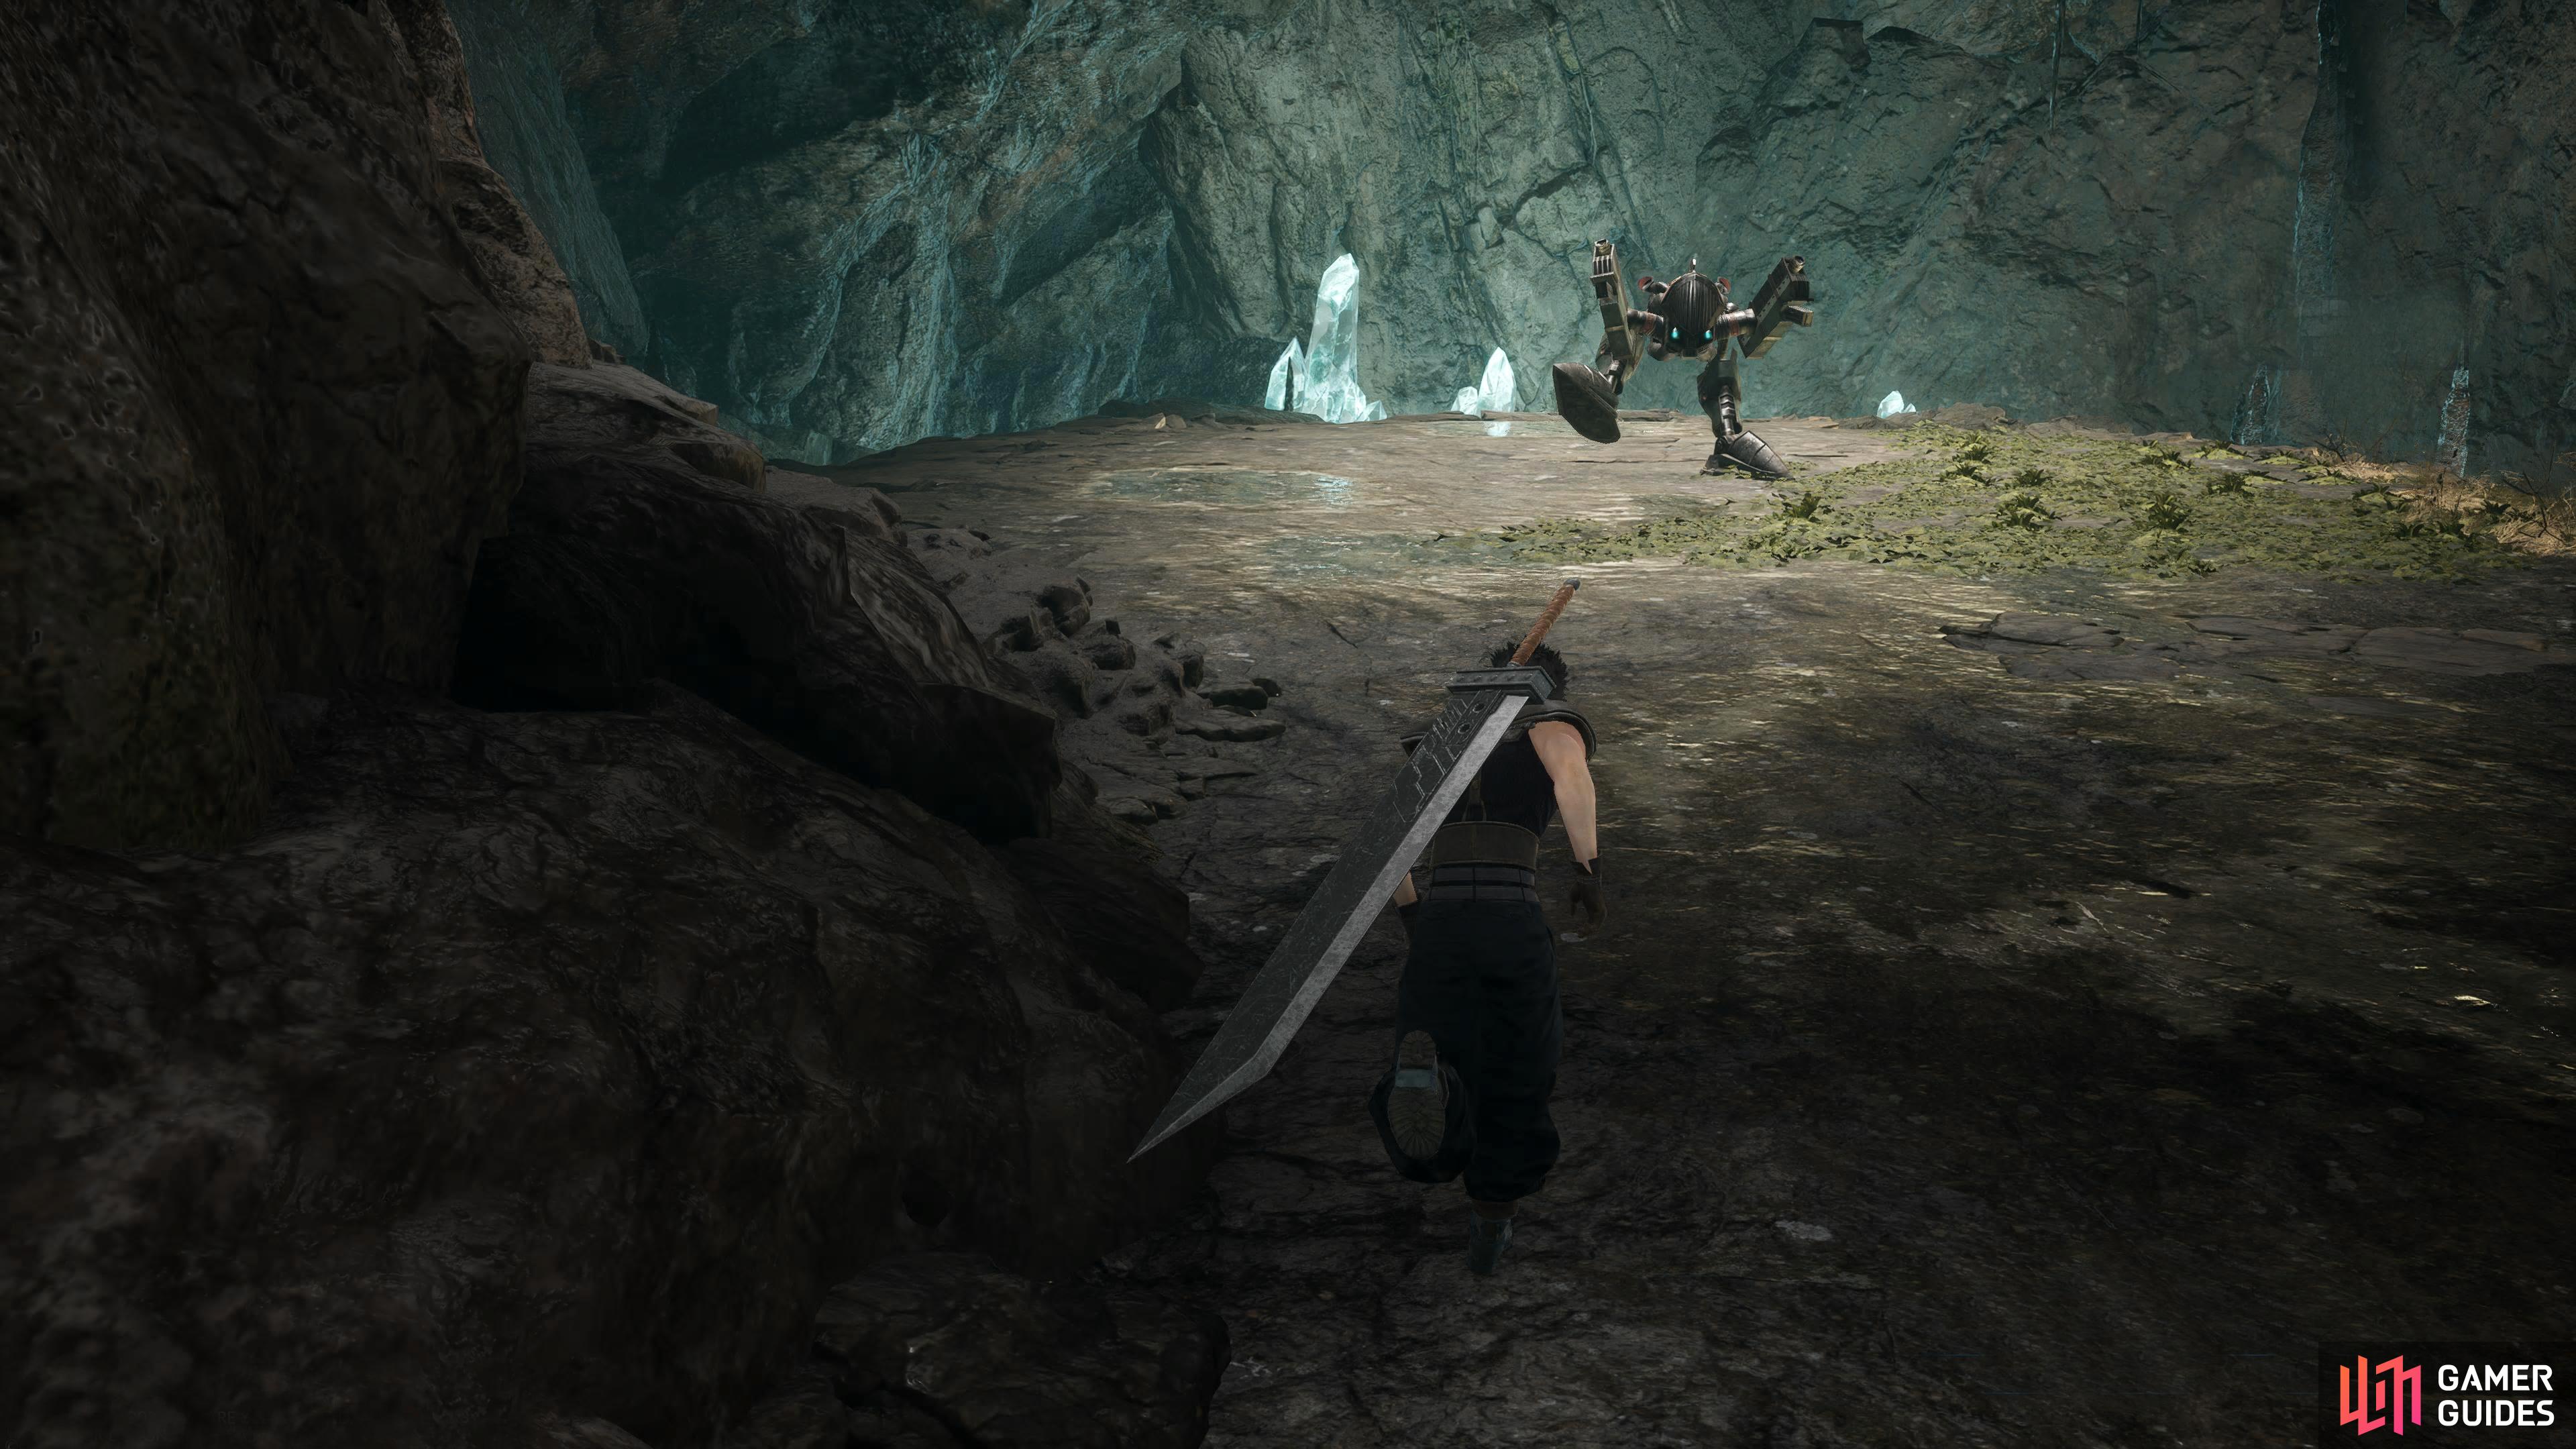
Mission 9-1-1: Underground Caves
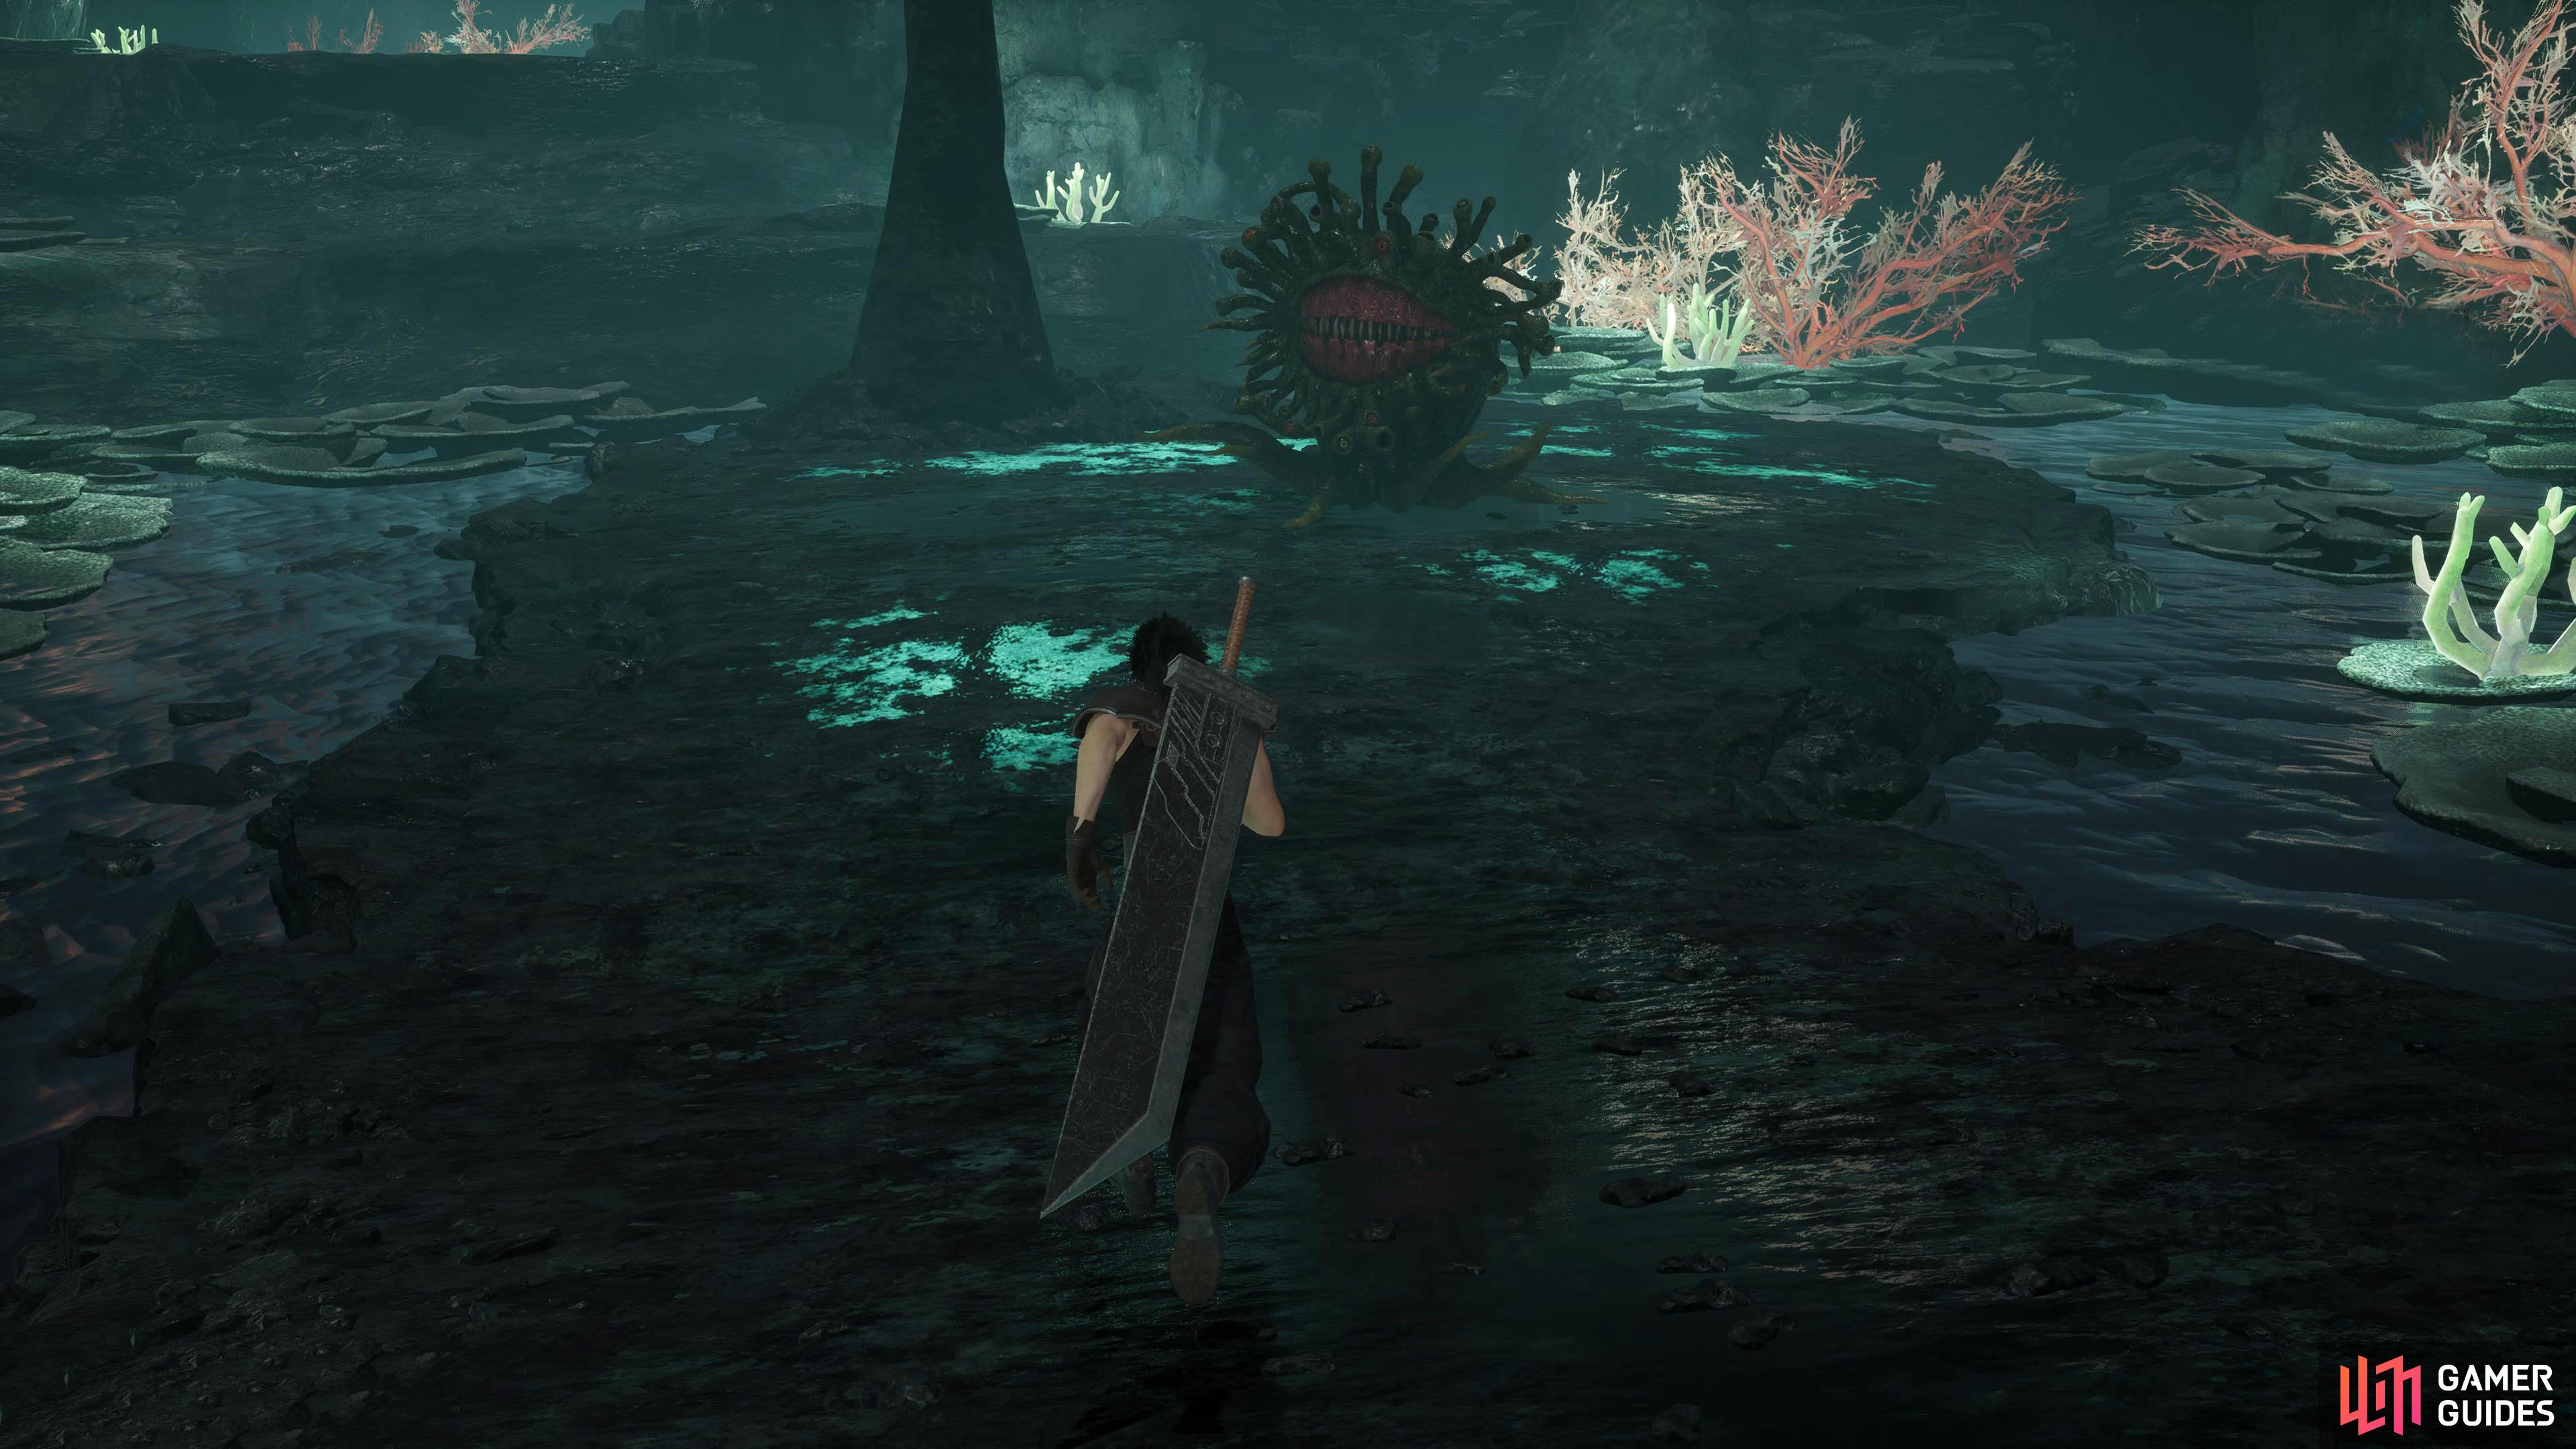
Mission 9-1-1 Boss.
As mentioned above, you’ll need to complete the Yuffie series of missions starting with mission M8-4-1 Suspicious Mail which is available after the Mako Reactor scene with Sephiroth during Chapter 3. If you want to tackle these early, you’ll need to grind some materia, and accessories first as these will most likely be too difficult at that stage of the game.
On to the mission, the map is a modest size with four chests that contain the following items: ![]() Bronze Armlet,
Bronze Armlet, ![]() Fire Ring,
Fire Ring, ![]() Graviga, and a
Graviga, and a ![]() Hypno Crown. Thankfully, all of these are on the way toward the boss. Starting at the southwest section of the map, follow the path to the end and pick up the first chest on the way. Progress towards the intersection, and quickly grab the chest north before heading south. There’s another chest just around the corner to your right, open it up and continue south. As you head around the corner, open up the final chest before you reach the boss. Throughout the area expect to battle against the following enemies:
Hypno Crown. Thankfully, all of these are on the way toward the boss. Starting at the southwest section of the map, follow the path to the end and pick up the first chest on the way. Progress towards the intersection, and quickly grab the chest north before heading south. There’s another chest just around the corner to your right, open it up and continue south. As you head around the corner, open up the final chest before you reach the boss. Throughout the area expect to battle against the following enemies: ![]() Demon,
Demon, ![]() Mine, and
Mine, and ![]() Pachyornis.
Pachyornis.
The boss of the area is the dreaded ![]() Malboro, and it’s a staple Final Fantasy monster that has been around since the dawn of time. This monster is notorious for its horrifying “Bad Breath” attack which will place every status effect under the sun on you including
Malboro, and it’s a staple Final Fantasy monster that has been around since the dawn of time. This monster is notorious for its horrifying “Bad Breath” attack which will place every status effect under the sun on you including ![]() Poison,
Poison, ![]() Silence, Stun, and Curse. This attack is used directly in front of the Malboro, so whenever you see “Bad Breath” appear on the screen, make sure you’re not in front of it. In terms of dealing damage to this grotesque monster, it is exceedingly weak to any, and all
Silence, Stun, and Curse. This attack is used directly in front of the Malboro, so whenever you see “Bad Breath” appear on the screen, make sure you’re not in front of it. In terms of dealing damage to this grotesque monster, it is exceedingly weak to any, and all ![]() Fire magic, so use your highest tier Fire spell to obliterate the fiend.
Fire magic, so use your highest tier Fire spell to obliterate the fiend.
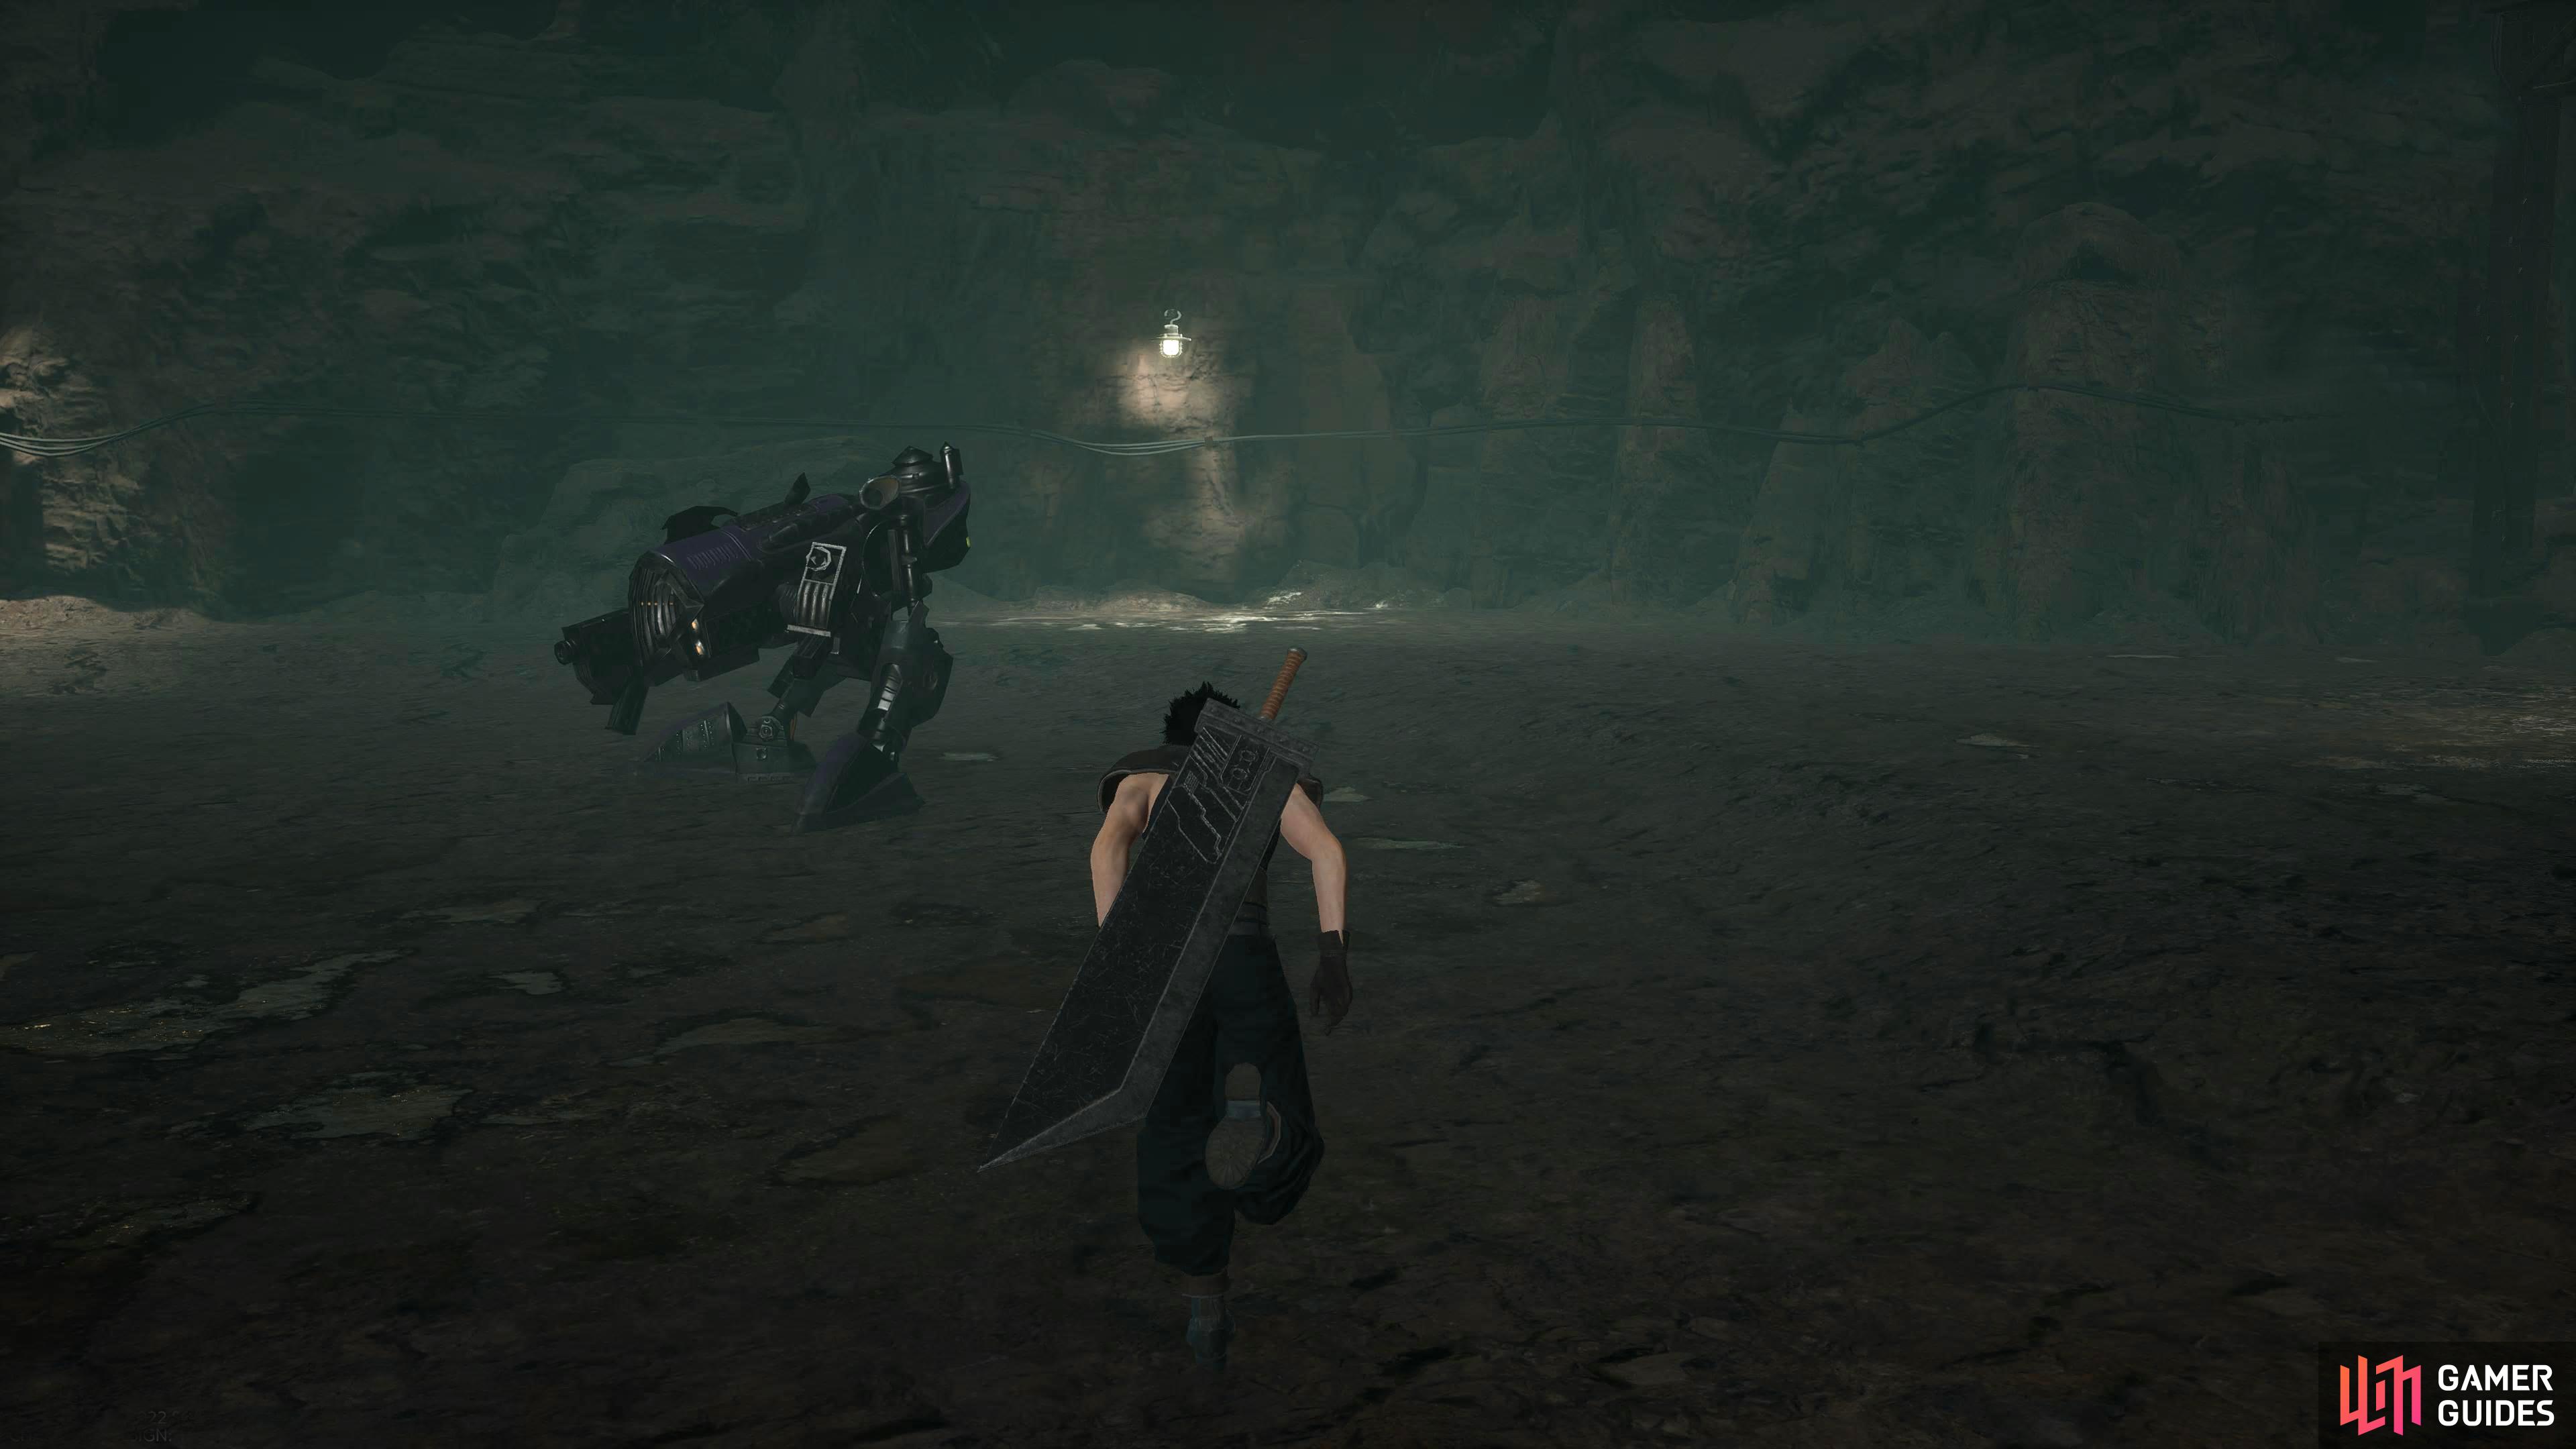
Mission 9-1-2: Deeper into the Caves

Mission 9-1-2 Boss.
Complete M9-1-1 to start this mission. Another modest map, that once again has four chests that contain the following items: ![]() Diamond Gloves,
Diamond Gloves, ![]() Fat Chocobo Feather,
Fat Chocobo Feather, ![]() Gysahl Greens, and a
Gysahl Greens, and a ![]() MBarrier Materia. You’ll start this mission in the center-west of the map. Start heading the only way you can for now, and pick up the chest before you turn the corner. Continue forward heading east where you’ll find the second chest to your right. Open it up, and continue east until you reach the first intersection.
MBarrier Materia. You’ll start this mission in the center-west of the map. Start heading the only way you can for now, and pick up the chest before you turn the corner. Continue forward heading east where you’ll find the second chest to your right. Open it up, and continue east until you reach the first intersection.
The boss will be to your west, but the final two chests will be to your east, so head east, and follow the path south collecting the chest along the way before you reach the small eastern room containing the final chest. Now, head back to the intersection, and head west to fight the boss of the area. Throughout the area, you’ll encounter the following enemies: ![]() Dark Nation,
Dark Nation, ![]() Hellhound, and
Hellhound, and ![]() Sky Armor.
Sky Armor.
The boss of the area will be two Hellhounds and two Dark Nations, all dog-type enemies. Depending on what stage of the game you fight this battle, this can be easy or hard. The reason it can be difficult is that all the enemies can inflict instant death with their aptly named “![]() Death Fangs” attack. The easiest way to manage this battle is by casting one of the jump attacks (with
Death Fangs” attack. The easiest way to manage this battle is by casting one of the jump attacks (with ![]() Aerial Drain being the best) and rolling immediately after. Repeat this until all of them are defeated.
Aerial Drain being the best) and rolling immediately after. Repeat this until all of them are defeated.
9-1-3: Marks of an Intruder
Mission 9-1-3 Boss.
Complete M9-1-2 to start this mission. This map is on the larger side and has five chests for you to open which contain the following items: ![]() Assault Twister,
Assault Twister, ![]() Barrier,
Barrier, ![]() Drainga,
Drainga, ![]() Lightning Ring, and a
Lightning Ring, and a ![]() Mountain Chocobo Armlet. Thankfully all these chests are on the way to the boss. Throughout this map, you’ll be encountering the following enemies: Dark Nation,
Mountain Chocobo Armlet. Thankfully all these chests are on the way to the boss. Throughout this map, you’ll be encountering the following enemies: Dark Nation, ![]() G Baldor, and
G Baldor, and ![]() G Spartan. We recommend you equip a death-guarding accessory like
G Spartan. We recommend you equip a death-guarding accessory like ![]() Safety Bit to stop the chance of getting instantly killed.
Safety Bit to stop the chance of getting instantly killed.
Starting the mission in the southeast, follow the path north, west, then south where you’ll find the first chest at the back of the small area. Continue west where you’ll find the second chest to your right, just before the intersection. At the intersection, head north, and collect the chest to your right before turning the corner. Keep following the path, and you’ll find the final two chests near the next intersection, one before it, and one after it before the boss.
The boss will be north of the intersection, and you’ll be fighting two G Spartans and one G Baldor. The idea of this battle is for the Spartans to cast ![]() Stop on you, and the G Baldor will perform its multi-hit Combo Attack for significant damage. Equip the
Stop on you, and the G Baldor will perform its multi-hit Combo Attack for significant damage. Equip the ![]() Sprint Shoes if you have them, and immediately focus on the G Spartans. Once they’re down, take out the G Baldor. This enemy has a couple of knockdown attacks, the first being from its “Gunblade” attack, and the second being at the end of the Combo Attack.
Sprint Shoes if you have them, and immediately focus on the G Spartans. Once they’re down, take out the G Baldor. This enemy has a couple of knockdown attacks, the first being from its “Gunblade” attack, and the second being at the end of the Combo Attack.
Keep rolling to avoid getting knocked down while you approach its rear to make your attacks become Critical Hits. When its health gets low, it’ll cast ![]() Curaga, so make sure you interrupt this by attacking it. If you have access to
Curaga, so make sure you interrupt this by attacking it. If you have access to ![]() Costly Punch, one of these will most likely one-shot the boss.
Costly Punch, one of these will most likely one-shot the boss.
9-1-4: Genesis’s Interception
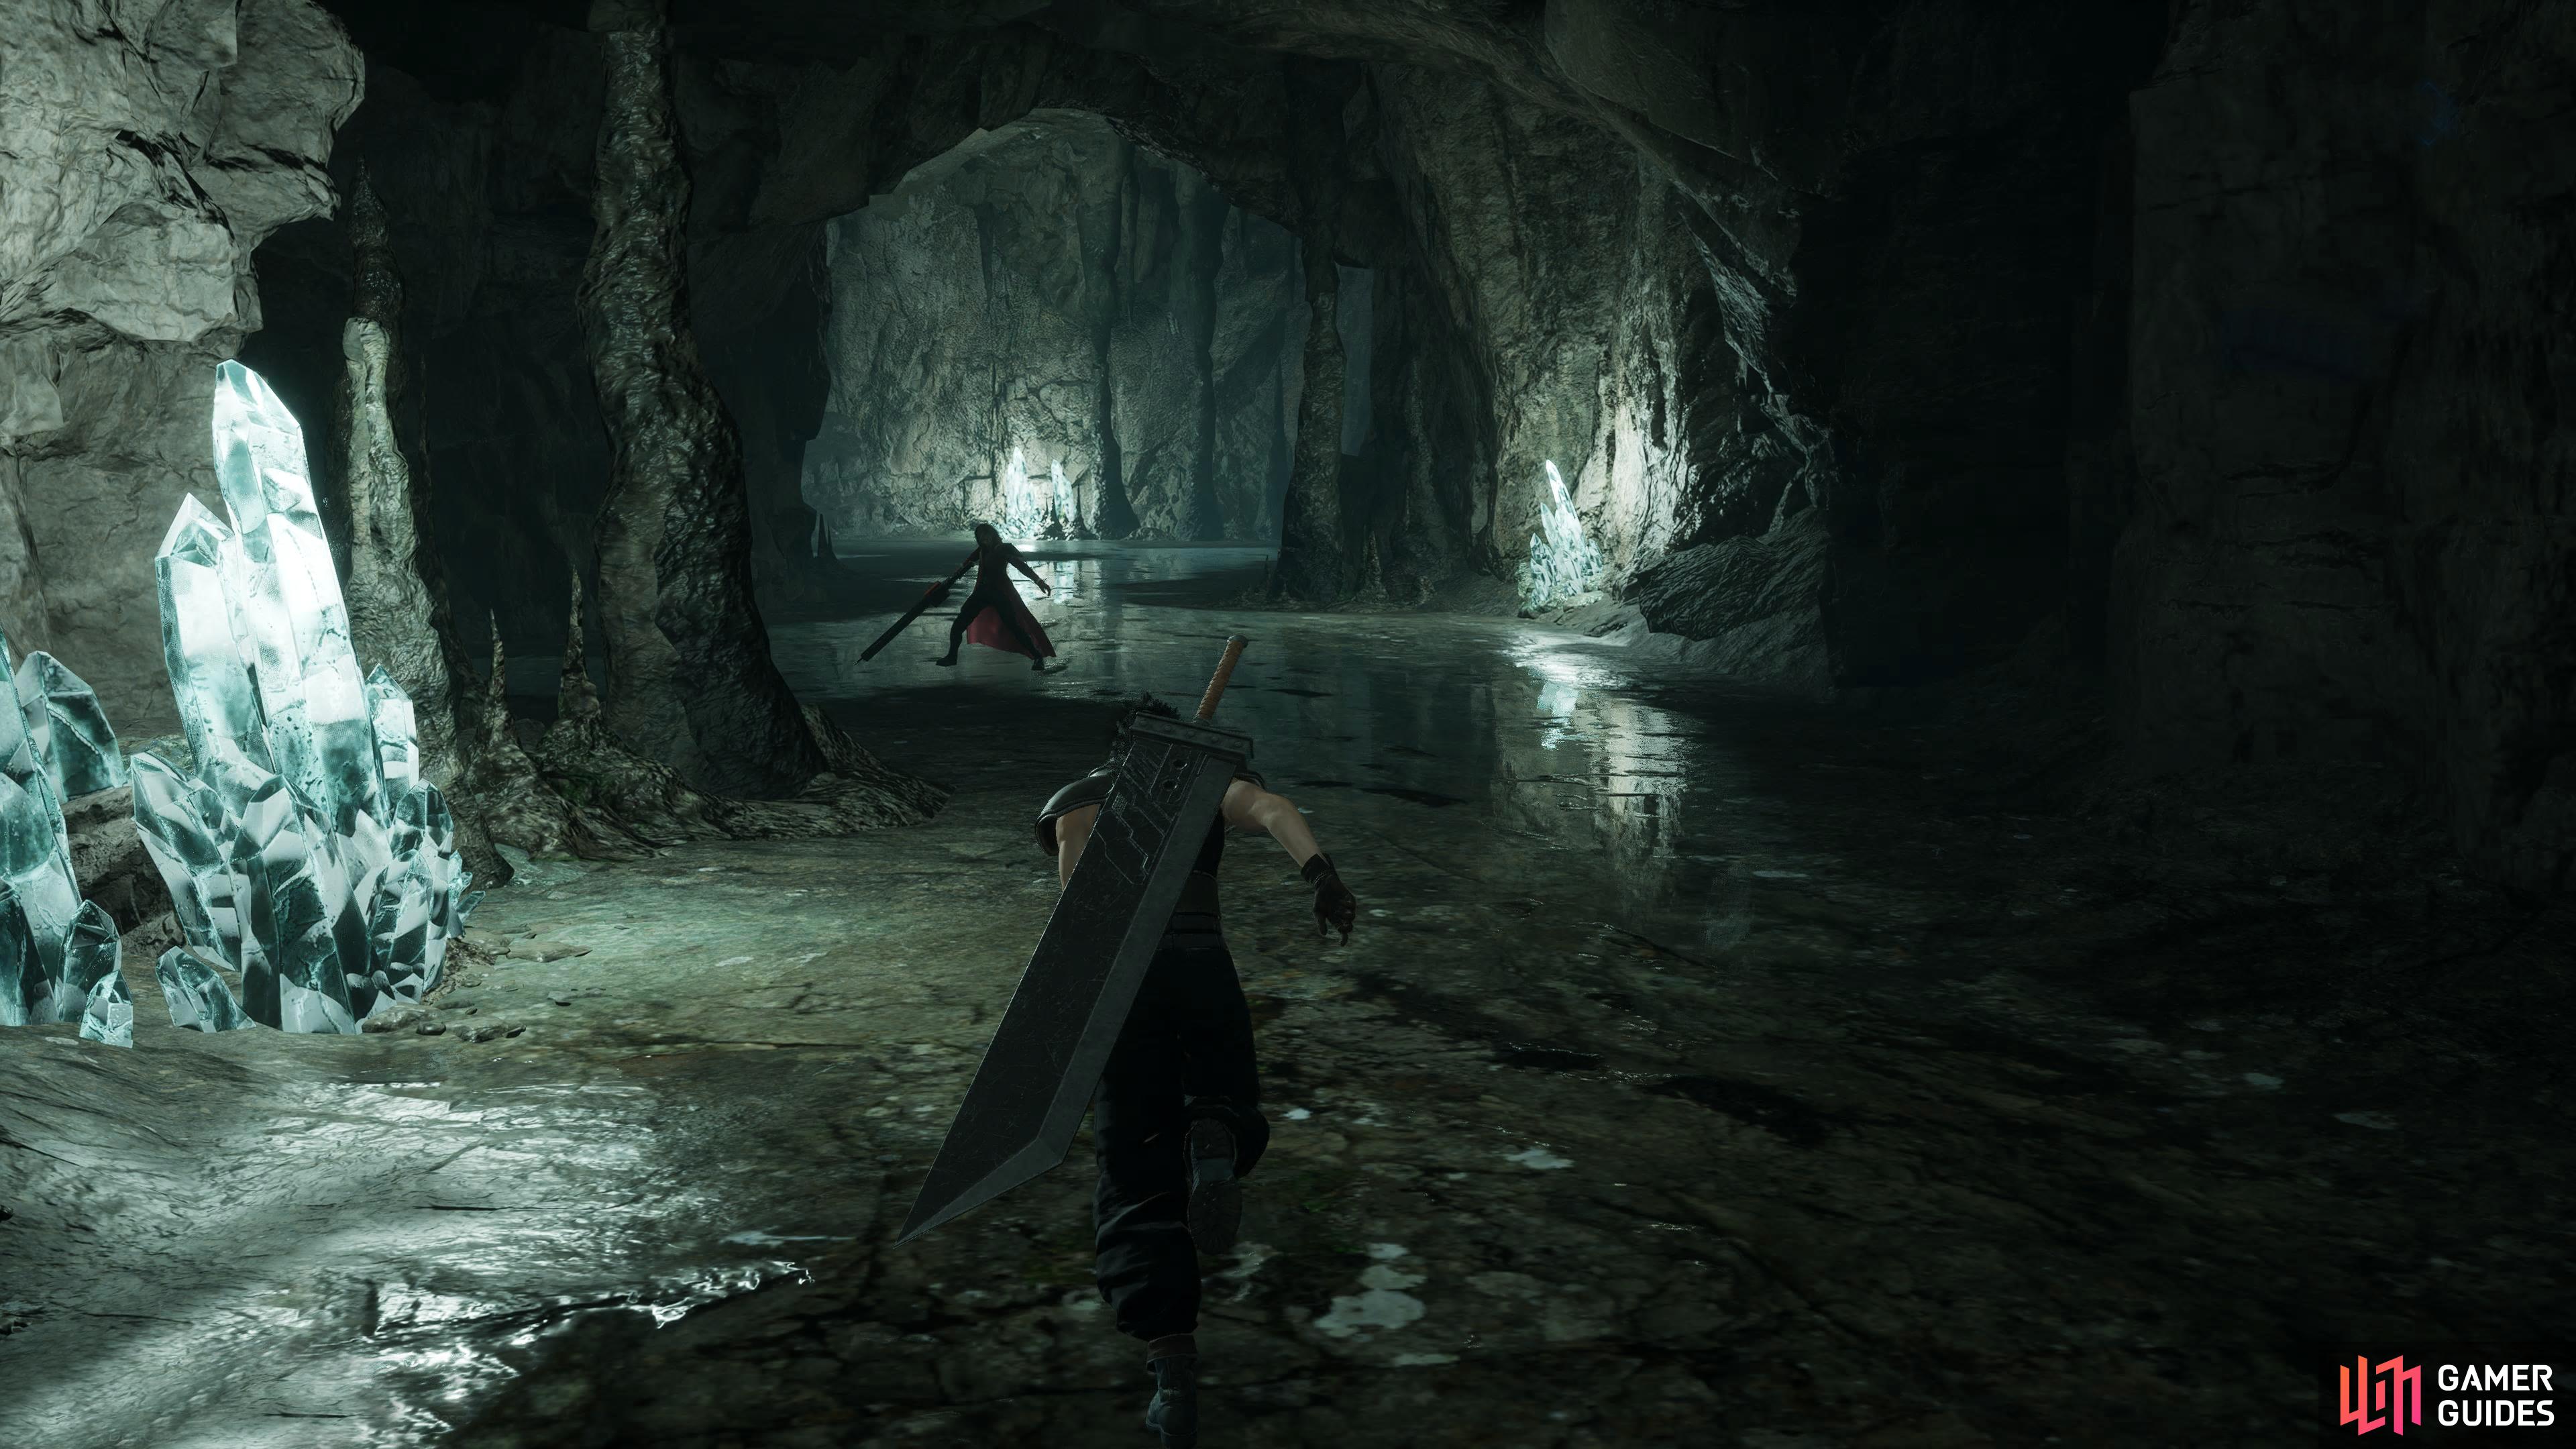
Mission 9-1-4 Boss.
Unlocked by completing M9-1-3. Most of this map is cut off from you, but there are still five chests to find containing the following items: ![]() Adamantite,
Adamantite, ![]() Crystal Bracelet,
Crystal Bracelet, ![]() Mythril,
Mythril, ![]() Phoenix Down, and a
Phoenix Down, and a ![]() Shinra Beta. You’ll start the mission in the southwest of the map. Before you move forwards, turn around and open the first chest. Progress east, past the intersection briefly to collect the second chest on your right.
Shinra Beta. You’ll start the mission in the southwest of the map. Before you move forwards, turn around and open the first chest. Progress east, past the intersection briefly to collect the second chest on your right.
Now, go back to the intersection, and take the northern path until you get towards the corner. Open the third chest on your left before you turn the corner, and continue east around the next corner. Just after the corner, you can find the final chest. Continue along the path where the area boss will be waiting for you. Throughout the area, you’ll encounter the following enemies: Dark Nation, and G Spartan.
The boss battle will contain two ![]() G Paladins. These have all the same attacks as the G Baldor, but they’re more magic-orientated. They have access to
G Paladins. These have all the same attacks as the G Baldor, but they’re more magic-orientated. They have access to ![]() Wall and
Wall and ![]() Energy which they’ll use frequently. Attack them from behind for Critical Hits or Costly Punch them to death if you have it.
Energy which they’ll use frequently. Attack them from behind for Critical Hits or Costly Punch them to death if you have it.
9-1-5: Behind the Scenes
Mission 9-1-5 Boss.
Unlocked by completing M9-1-4. This map is on the larger side, and it has an extraordinary amount of chests scattered around the area. There are eight in total, and they contain the following items: Barrier, Drainga, ![]() Frost Armlet, MBarrier,
Frost Armlet, MBarrier, ![]() Osmoga,
Osmoga, ![]() Quake x2, and a
Quake x2, and a ![]() River Chocobo Armlet. Starting the mission in the southwest corner of the map, open the first chest to your left, and follow the path east and then north until you reach the intersection.
River Chocobo Armlet. Starting the mission in the southwest corner of the map, open the first chest to your left, and follow the path east and then north until you reach the intersection.
Take the east path, and immediately open the second chest to your left before you continue following the path east. When you turn the corner to go south, open the next two chests along the path with the first on your left, and the second on your right a bit further down. Follow the path to the end and collect the next chest at the back of the room before you head back to the intersection. Now, follow the path west, north then east until you get near the next intersection.
Unlock the chest to your left then take the eastern path around the corner to go south. In the next area, the last two chests will be on your left of the large room. Finally, continue south then east to find the boss. Throughout the area, you’ll encounter the following enemies: G Spartan, G Paladin, and ![]() Sweeper++.
Sweeper++.
This battle will consist of two G Spartans and a ![]() Sweeper++. Take out the spartans first, so they can’t cast stop on you and then take out the
Sweeper++. Take out the spartans first, so they can’t cast stop on you and then take out the ![]() Sweeper++. The Sweeper++ can deal significant damage depending on where you are in the game. The main attack to watch out for is their “Smoke Vent” attack as it can inflict multiple status effects similar to the Malboro’s Bad Breath, thankfully it’s easily avoided by moving away from its front. If you head to their rear and stay there, you’ll avoid most of their attacks while also guaranteeing Critical Hits for yourself.
Sweeper++. The Sweeper++ can deal significant damage depending on where you are in the game. The main attack to watch out for is their “Smoke Vent” attack as it can inflict multiple status effects similar to the Malboro’s Bad Breath, thankfully it’s easily avoided by moving away from its front. If you head to their rear and stay there, you’ll avoid most of their attacks while also guaranteeing Critical Hits for yourself.
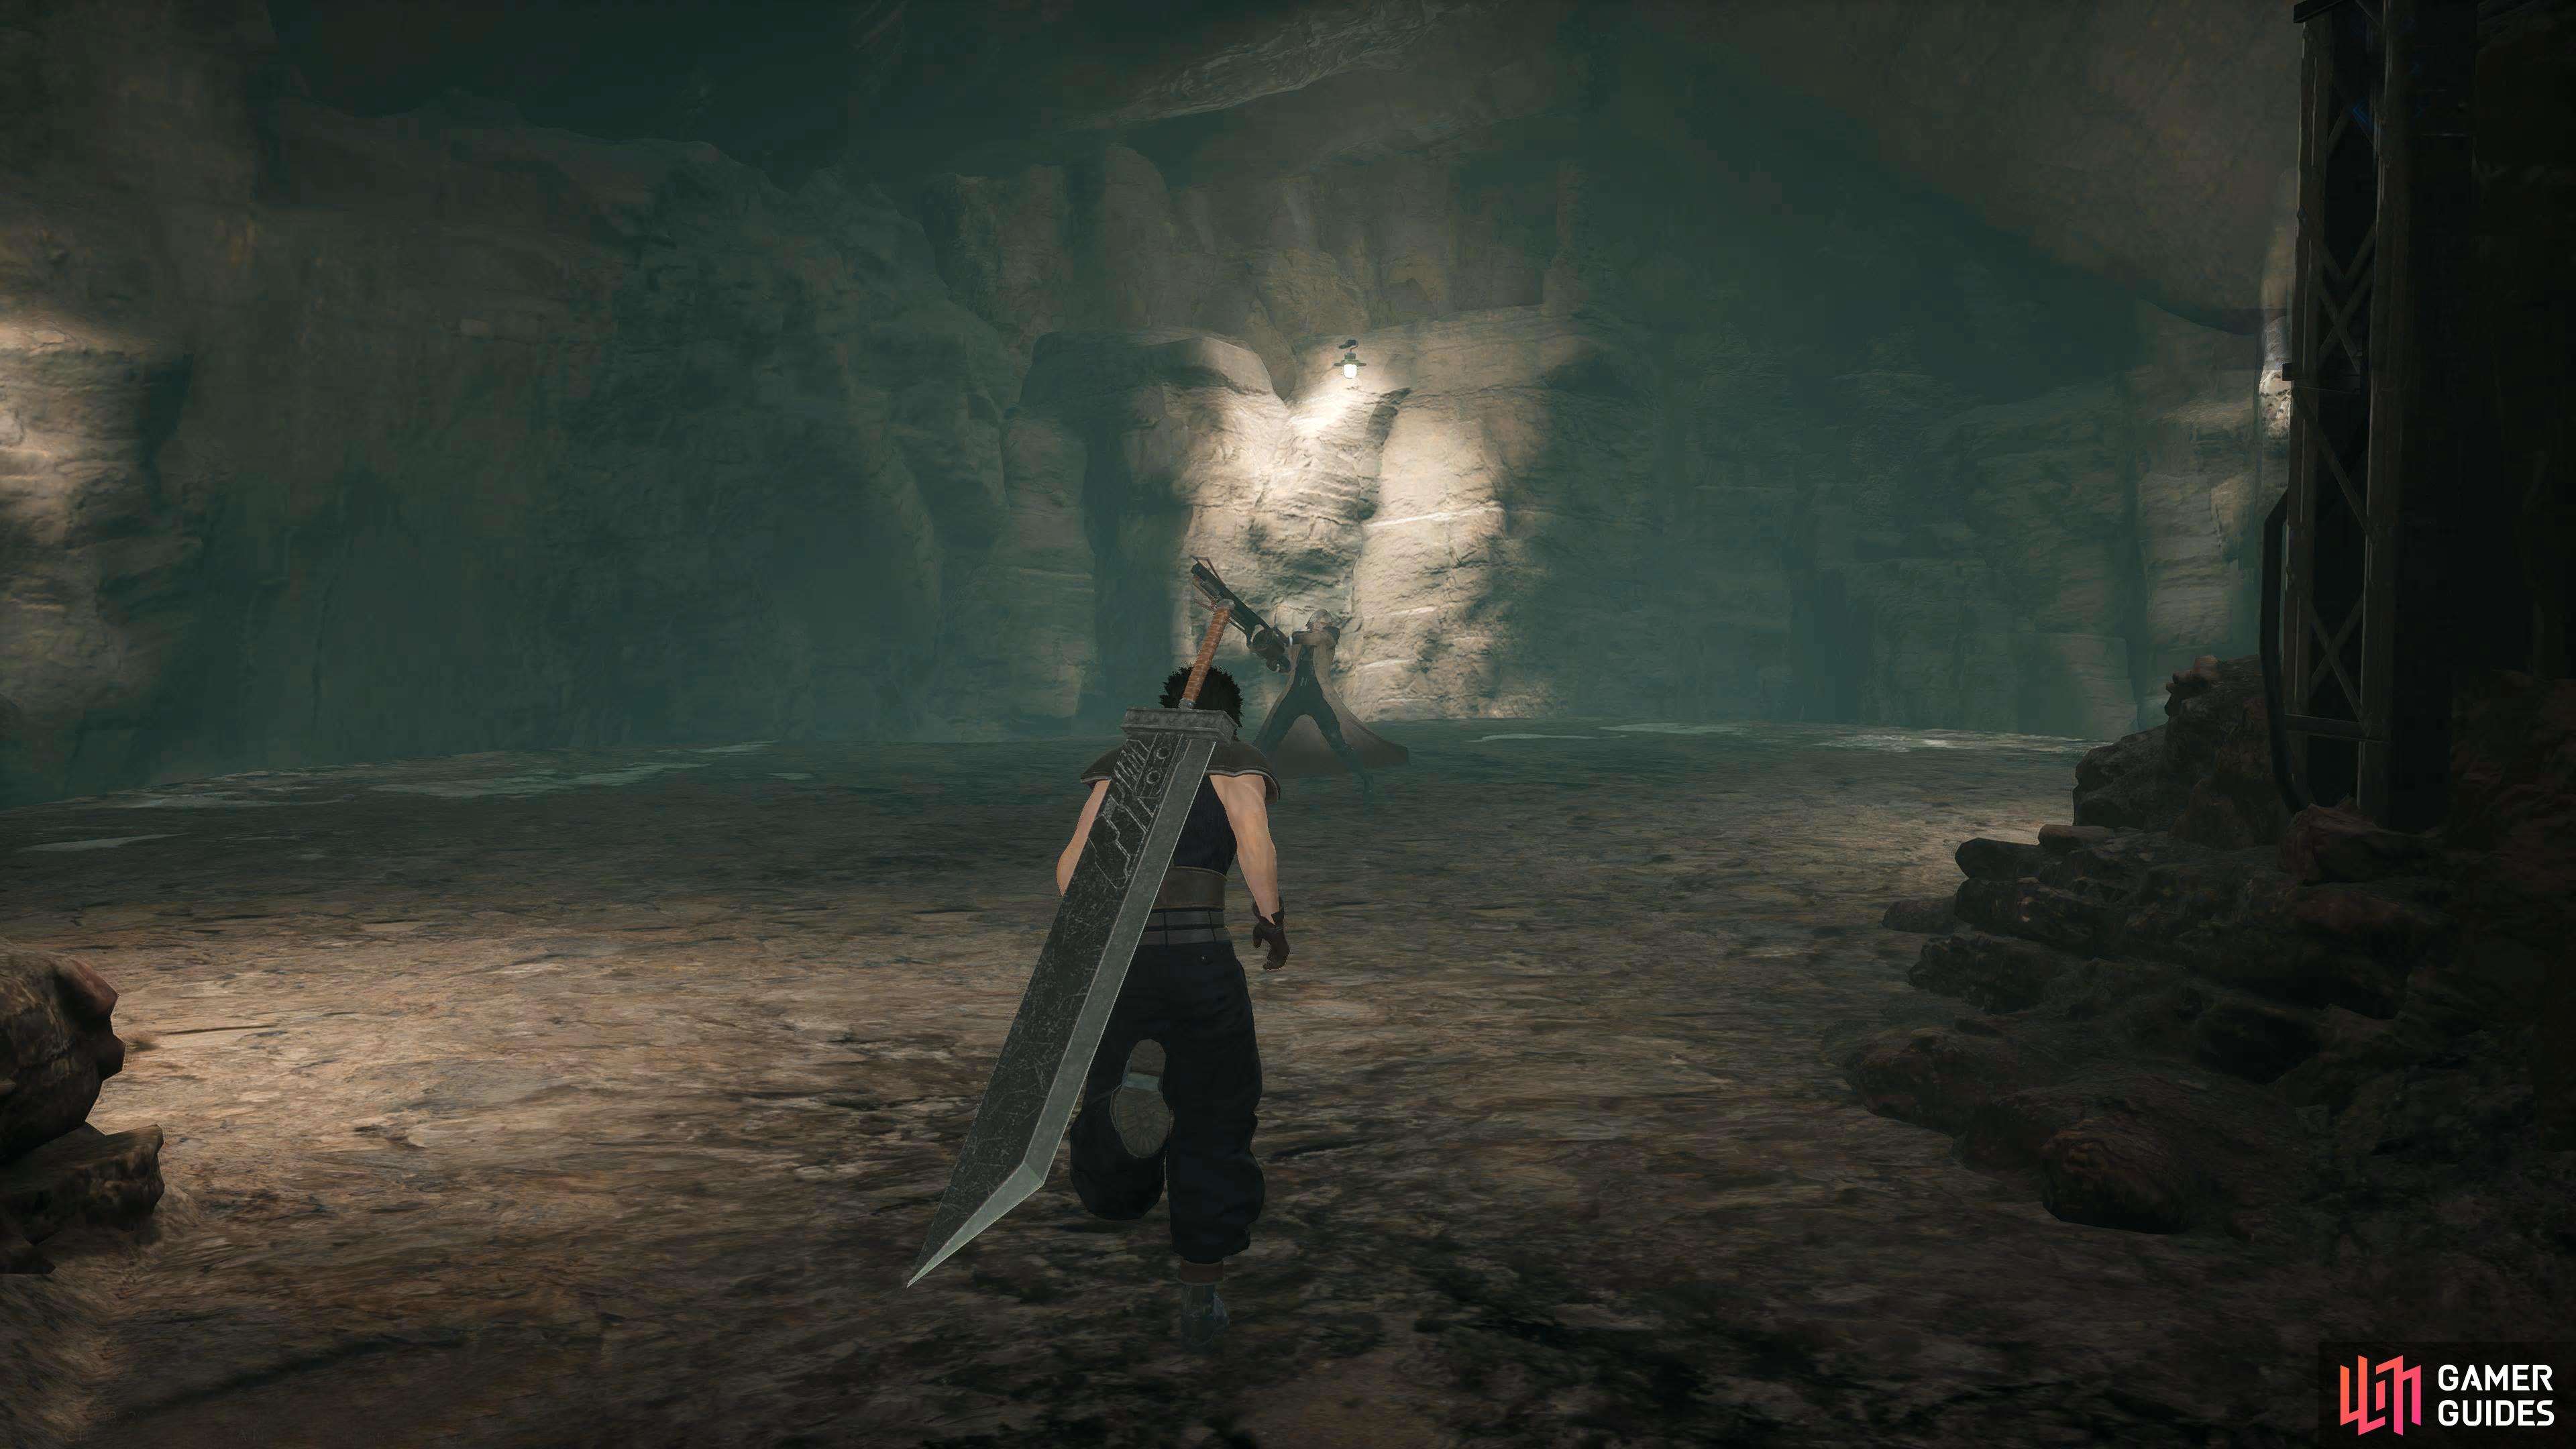
9-1-6: Genesis’s Threat
Mission 9-1-6 Boss.
The final mission of the sub-category will be unlocked when you complete M9-1-5. The map is on the smaller side and it only has three chests to open which will reward you with the following items: ![]() Dark Matter,
Dark Matter, ![]() Lunar Harp, and
Lunar Harp, and ![]() Stop Blade. Starting the mission in the southern center of the map, head west, and open the first chest to the left of the room. Continue west then north, and you’ll end up in a large room. First, hug the left wall to find the second chest. Now go back on yourself and head north around the central pillar where you’ll find the boss. Ignore that for now, and go behind it to find the final chest. Now, head back to the boss to initiate the fight. The following enemies will be encountered: G Spartan, and Sweeper++.
Stop Blade. Starting the mission in the southern center of the map, head west, and open the first chest to the left of the room. Continue west then north, and you’ll end up in a large room. First, hug the left wall to find the second chest. Now go back on yourself and head north around the central pillar where you’ll find the boss. Ignore that for now, and go behind it to find the final chest. Now, head back to the boss to initiate the fight. The following enemies will be encountered: G Spartan, and Sweeper++.
This boss battle is unique as you’ll fight a ![]() Barrier Machine,
Barrier Machine, ![]() MBarrier Machine, and a
MBarrier Machine, and a ![]() Crit Machine. All of these machines have different traits. The Barrier Machine will come with a permanent Barrier buff which will increase its defense, the Mbarrier will come equipped with a permanent MBarrier which will increase its magic defense. Finally, you have the Crit Machine, and can you guess what permanent buff it comes with? You guessed it! Critical Hits.
Crit Machine. All of these machines have different traits. The Barrier Machine will come with a permanent Barrier buff which will increase its defense, the Mbarrier will come equipped with a permanent MBarrier which will increase its magic defense. Finally, you have the Crit Machine, and can you guess what permanent buff it comes with? You guessed it! Critical Hits.
They all have access to the same attacks which are Gun Launcher, Scatter Shoot, and Smoke Vent with the latter two being the most dangerous. Gun Launcher will attack your MP, but it shouldn’t affect you too much. The toughest part of the fight is when all of them use Scatter Shoot at the same time as you’ll find yourself taking a lot of damage. The easiest way to deal with them is to repeatedly cast Aerial ![]() Drain, not only is this an area-of-effect attack, but it’ll also keep replenishing your health while still dealing good damage to enemies. Not only that, the jumping animation will avoid a lot of their attacks. Another good strategy is to cast Graviga first as they’re all susceptible to it or if you have it, any of the Punch attacks, more specifically Costly Punch as they will shorten the battle considerably.
Drain, not only is this an area-of-effect attack, but it’ll also keep replenishing your health while still dealing good damage to enemies. Not only that, the jumping animation will avoid a lot of their attacks. Another good strategy is to cast Graviga first as they’re all susceptible to it or if you have it, any of the Punch attacks, more specifically Costly Punch as they will shorten the battle considerably.
No Comments