
There are 300 optional missions in Crisis Core Final Fantasy VII: Reunion. Genesis Evolution (M3-4) can be found in the Genesis’s Forces Category.
You’ll have to complete the previous category of mission to access the Genesis Evolution set.
How to Unlock the Genesis Evolution Missions in Crisis Core Reunion
This category of missions won’t be available until at least Chapter 10 after you’ve completed mission M3-2-6 in the previous category.
| Mission | Unlock | Enemies | Reward |
|---|---|---|---|
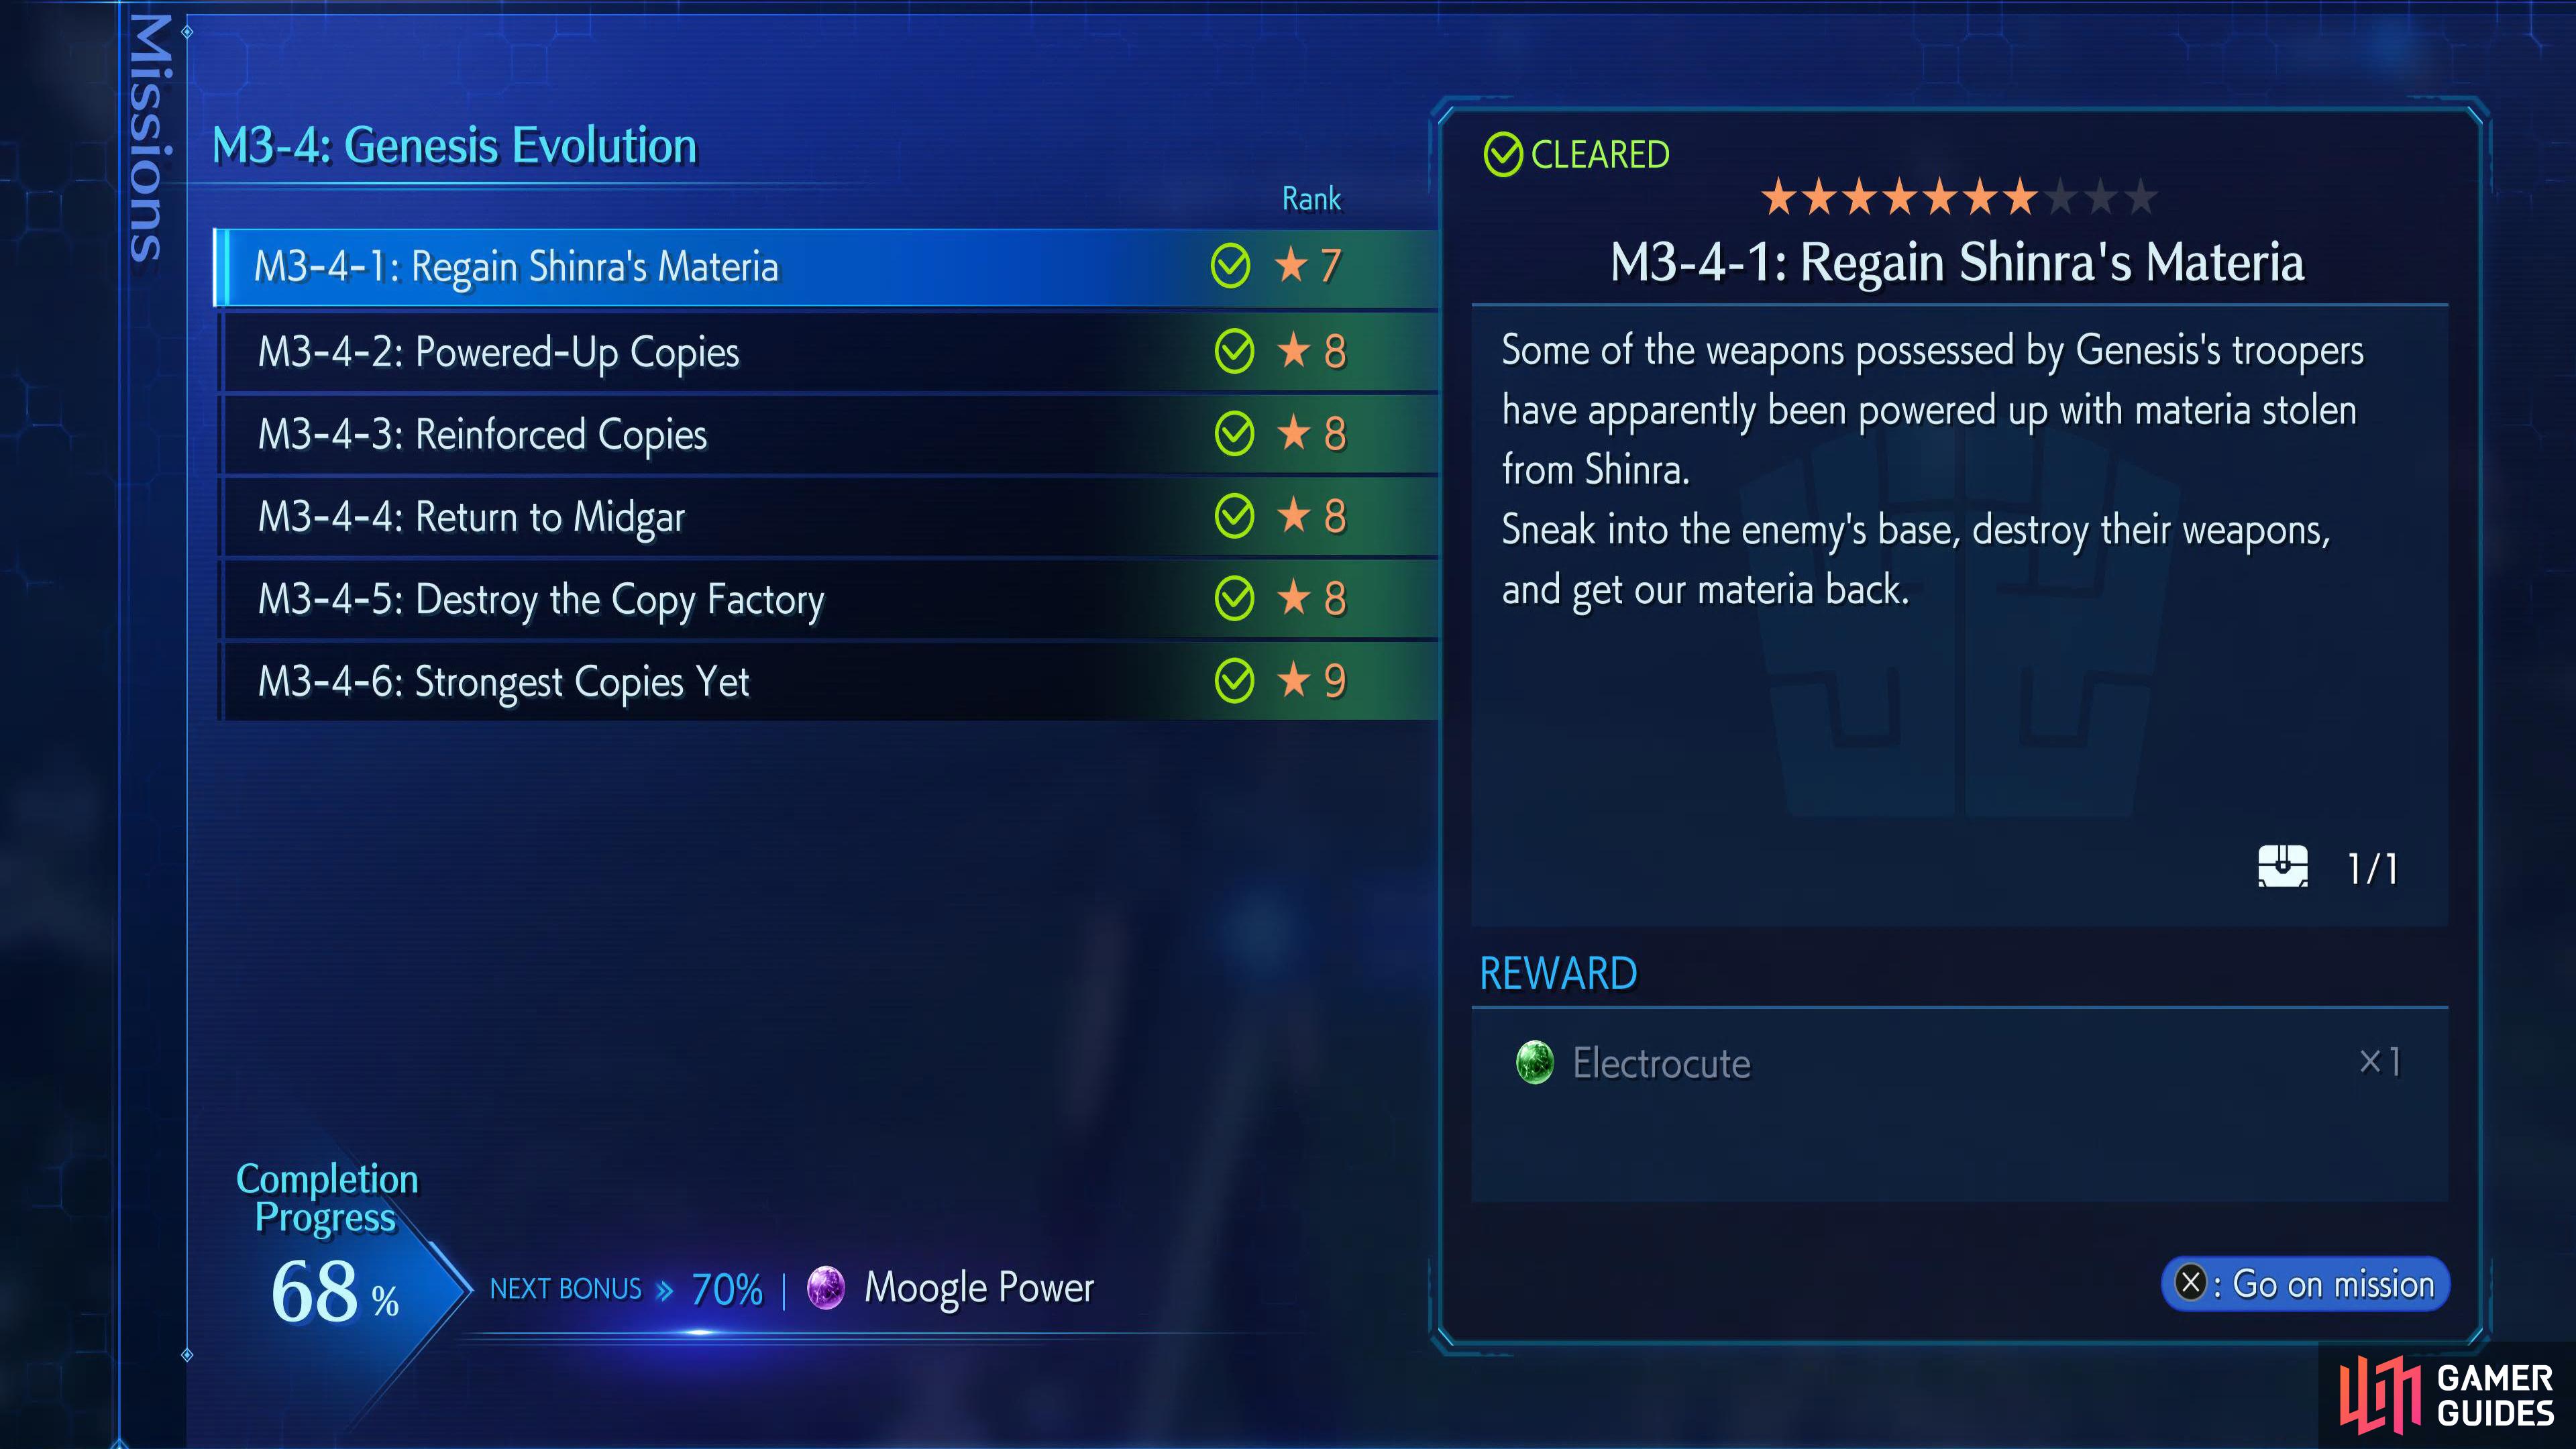
| 3-4-1: Regain Shinra’s Materia (7★) | Complete the previous mission M3-3-6 | ||
| 3-4-2: Powered-Up Copies (8★) | Complete the previous mission M3-4-1 | ||
| 3-4-3: Reinforced Copies (8★) | Complete the previous mission M3-4-2 | ||
| 3-4-4: Return to Midgar (8★) | Complete the previous mission M3-4-3 | ||
| 3-4-5: Destroy the Copy Factory (8★) | Complete the previous mission M3-4-4 | ||
| 3-4-6: Strongest Copies Yet (9★) | Complete the previous mission M3-4-5 |
There are a few mission rewards worth having like the ![]() Electrocute,
Electrocute, ![]() Flare, or
Flare, or ![]() SP Turbo Magic Materias, although you may already have them at this stage of the game. Even so, you’ll still need to complete these missions if you want the Mission Completionist trophy/achievement.
SP Turbo Magic Materias, although you may already have them at this stage of the game. Even so, you’ll still need to complete these missions if you want the Mission Completionist trophy/achievement.


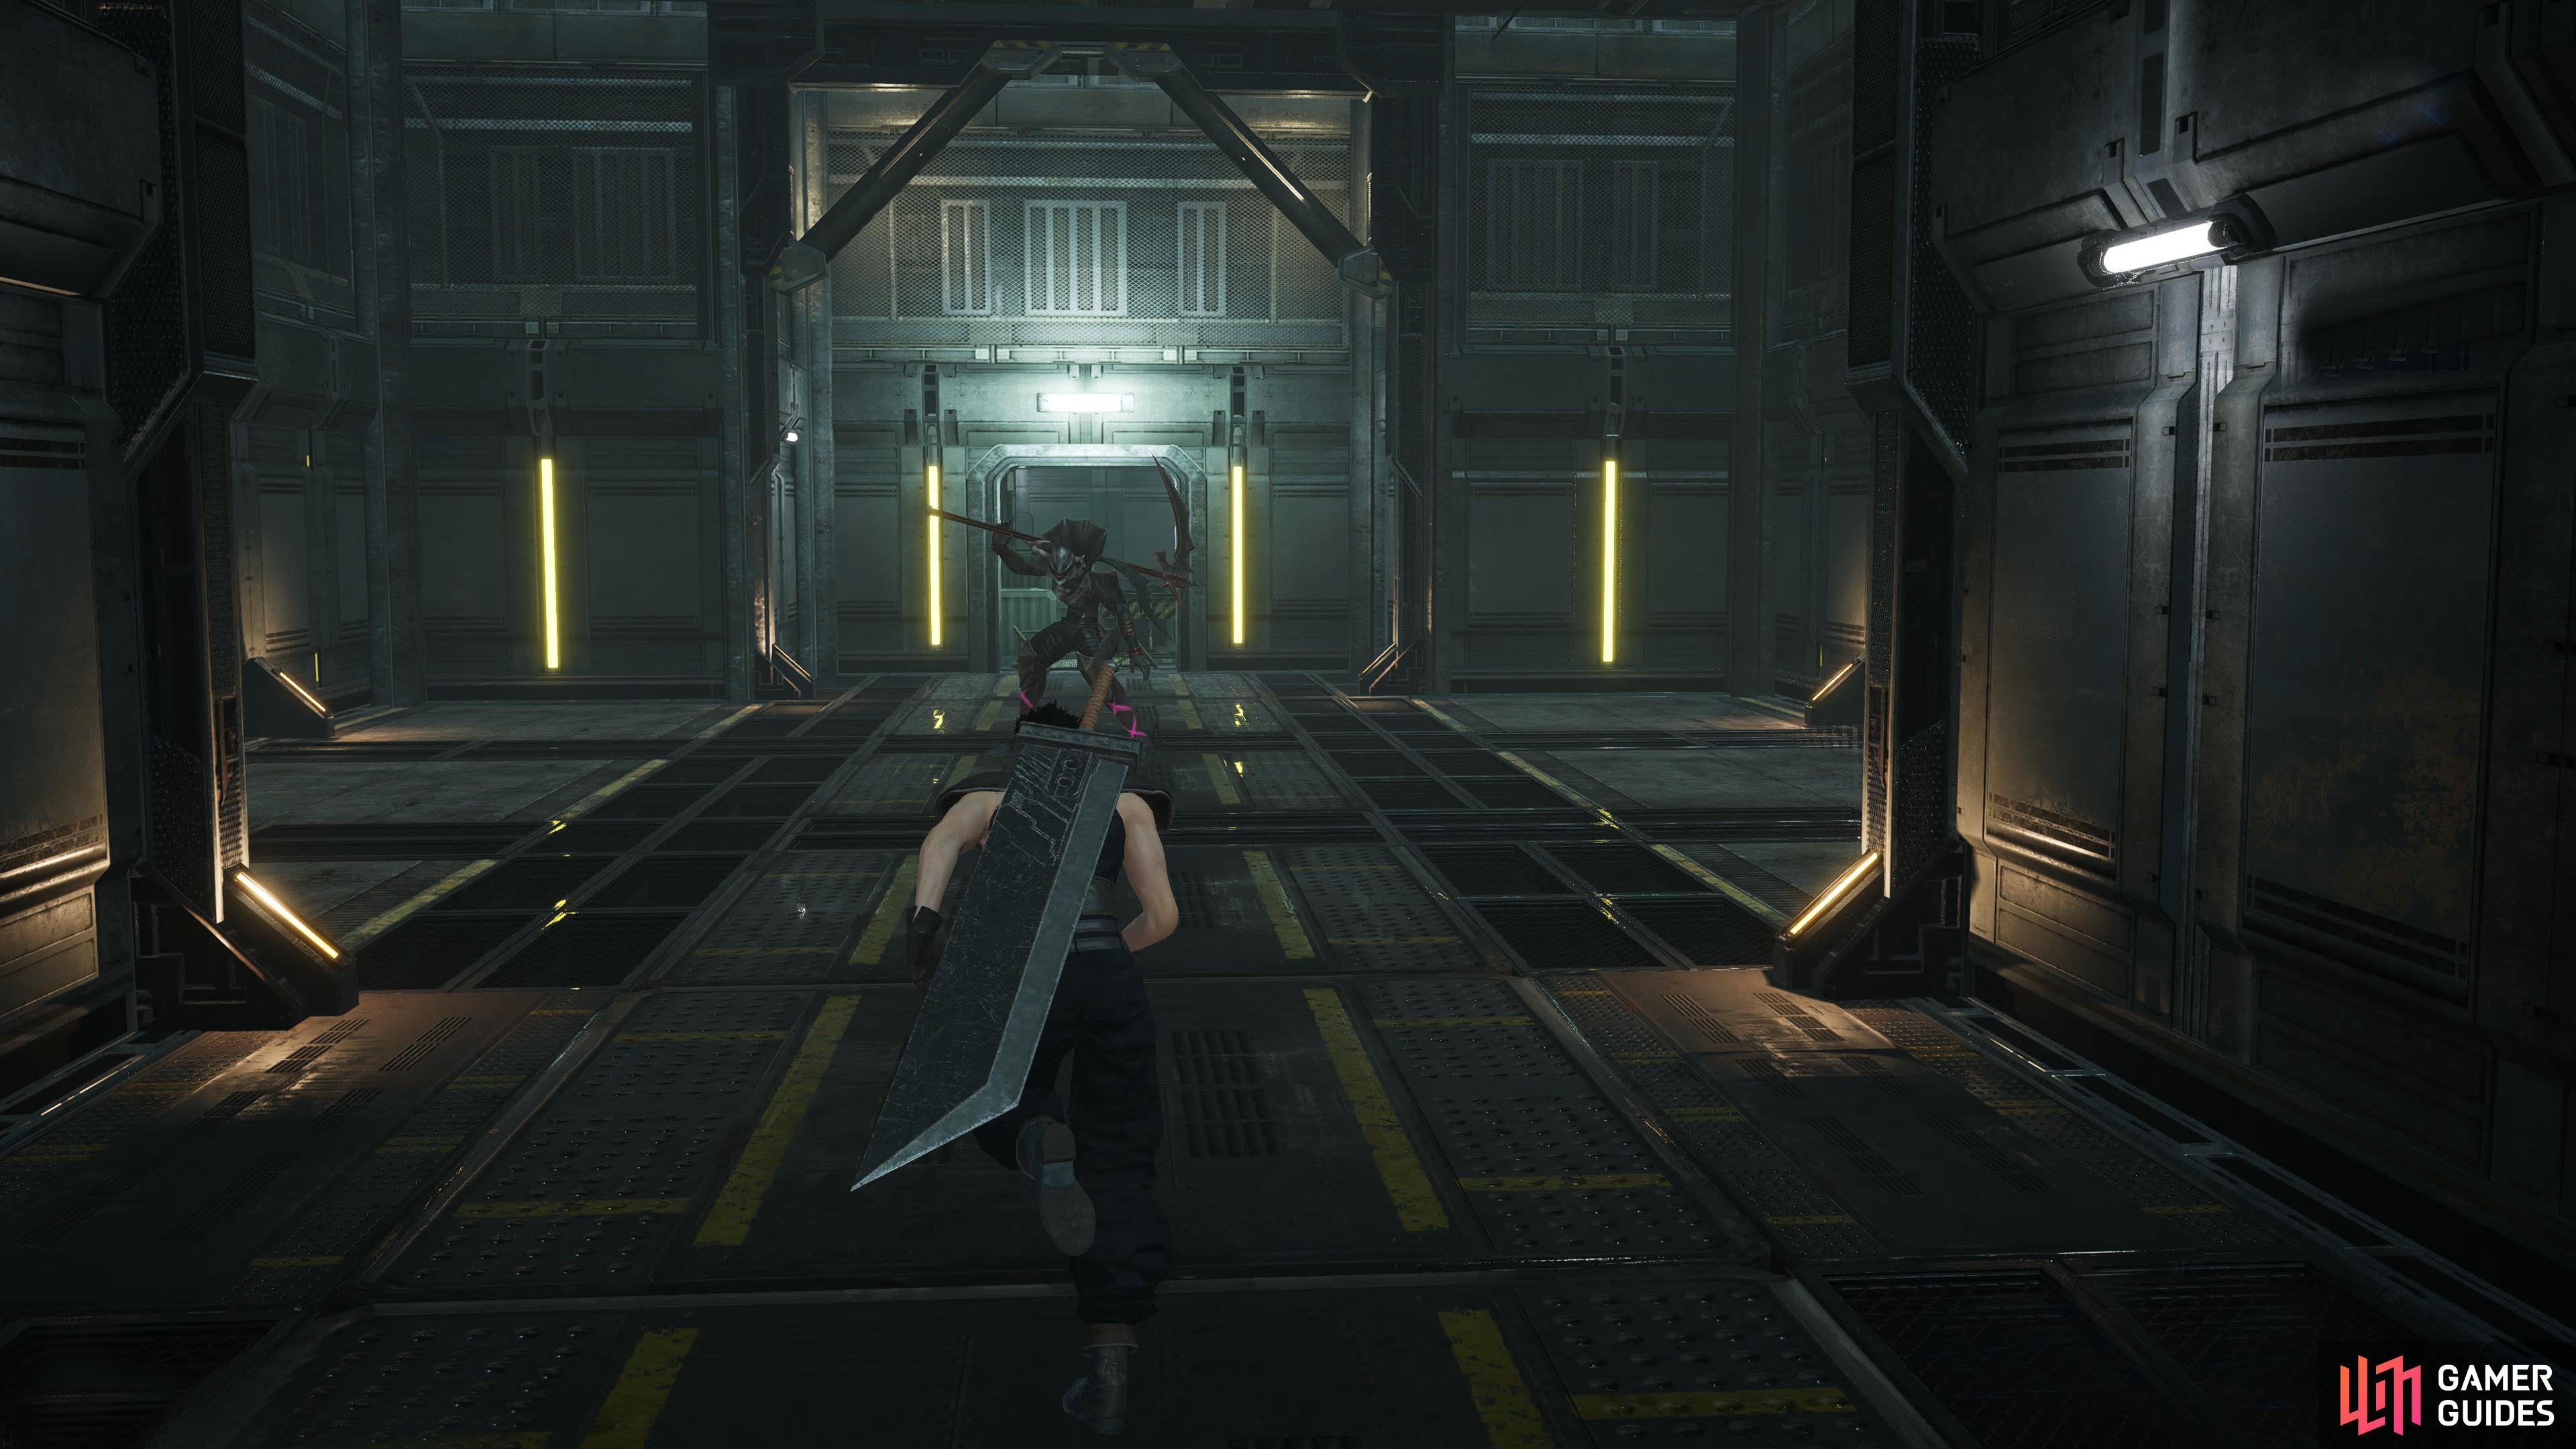
Mission 3-4-1: Regain Shinra’s Materia
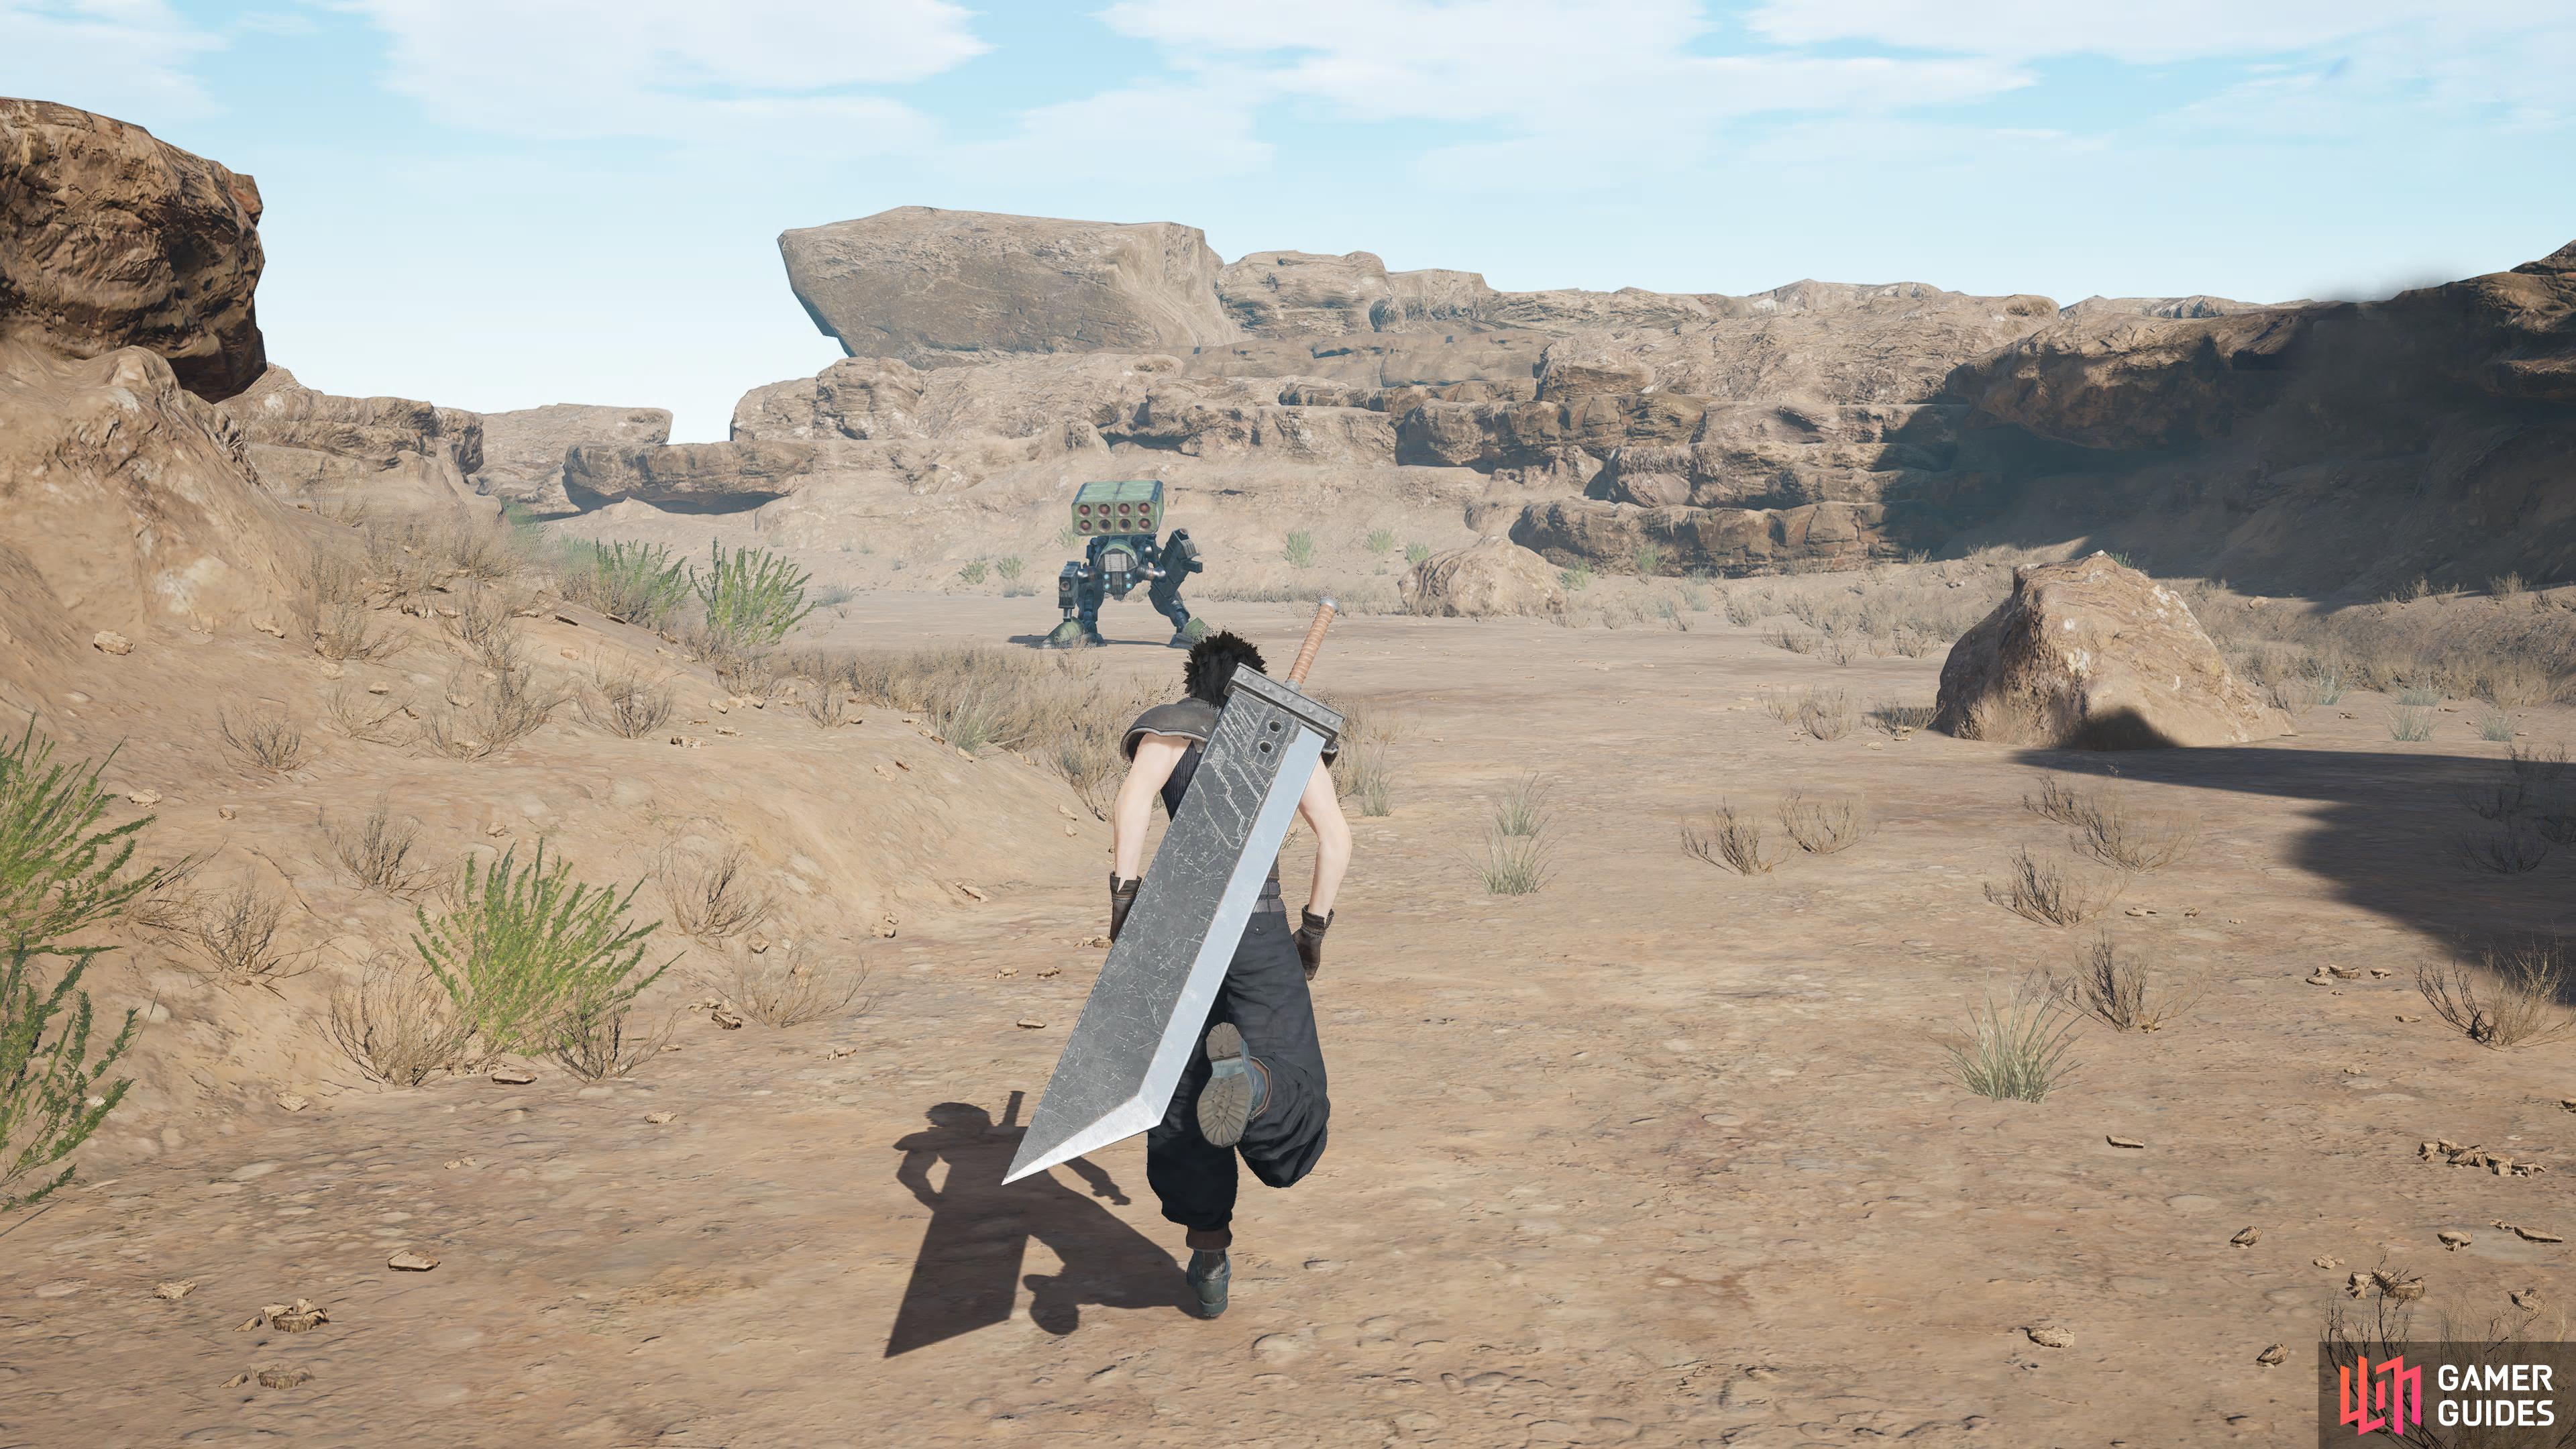
Mission 3-4-1 Boss.
Complete M3-3-6 to start this mission. This mission only has a small map containing just one chest which contains an ![]() Elixir. Starting the mission in the east, hug the left wall until you find the chest, then head to the boss. This battle will have three enemies, two
Elixir. Starting the mission in the east, hug the left wall until you find the chest, then head to the boss. This battle will have three enemies, two ![]() Shooter Machines, and one
Shooter Machines, and one ![]() Belzecue. Take out the Belzecue first as it can instantly kill you with its
Belzecue. Take out the Belzecue first as it can instantly kill you with its ![]() Death Fangs attack.
Death Fangs attack.
The Shooter Machines can prove problematic if you can’t take them down quickly as they’ll constantly barrage you with bullets which makes you flinch. Try to get behind them to avoid their attacks, and inflict Critical hits of your own. As always, ![]() Costly Punch is king, and
Costly Punch is king, and ![]() Aerial Drain is great for replenishing your health.
Aerial Drain is great for replenishing your health.
Mission 3-4-2: Powered-Up Copies
Mission 3-4-2 Boss.
Complete M3-4-1 to start this mission. Another small map, that has ![]() G Prowlers,
G Prowlers, ![]() Metal Saucer IIIs, and Shooter Machine in its random encounters. There are only two chests to find here which contain a
Metal Saucer IIIs, and Shooter Machine in its random encounters. There are only two chests to find here which contain a ![]() Hyper Wrist accessory, and
Hyper Wrist accessory, and ![]() Dark Matter. Starting in the north, follow the path south, and turn east at the intersection for the first chest.
Dark Matter. Starting in the north, follow the path south, and turn east at the intersection for the first chest.
Follow the path south then west until you reach another intersection. Take the north path for the final chest at the back of the room then make your way to the far west room for the boss. This battle will consist of four G Prowlers. Although they do attack quickly, and the damage they deal can add up, a couple of Aerial ![]() Drains should be enough to take them down.
Drains should be enough to take them down.
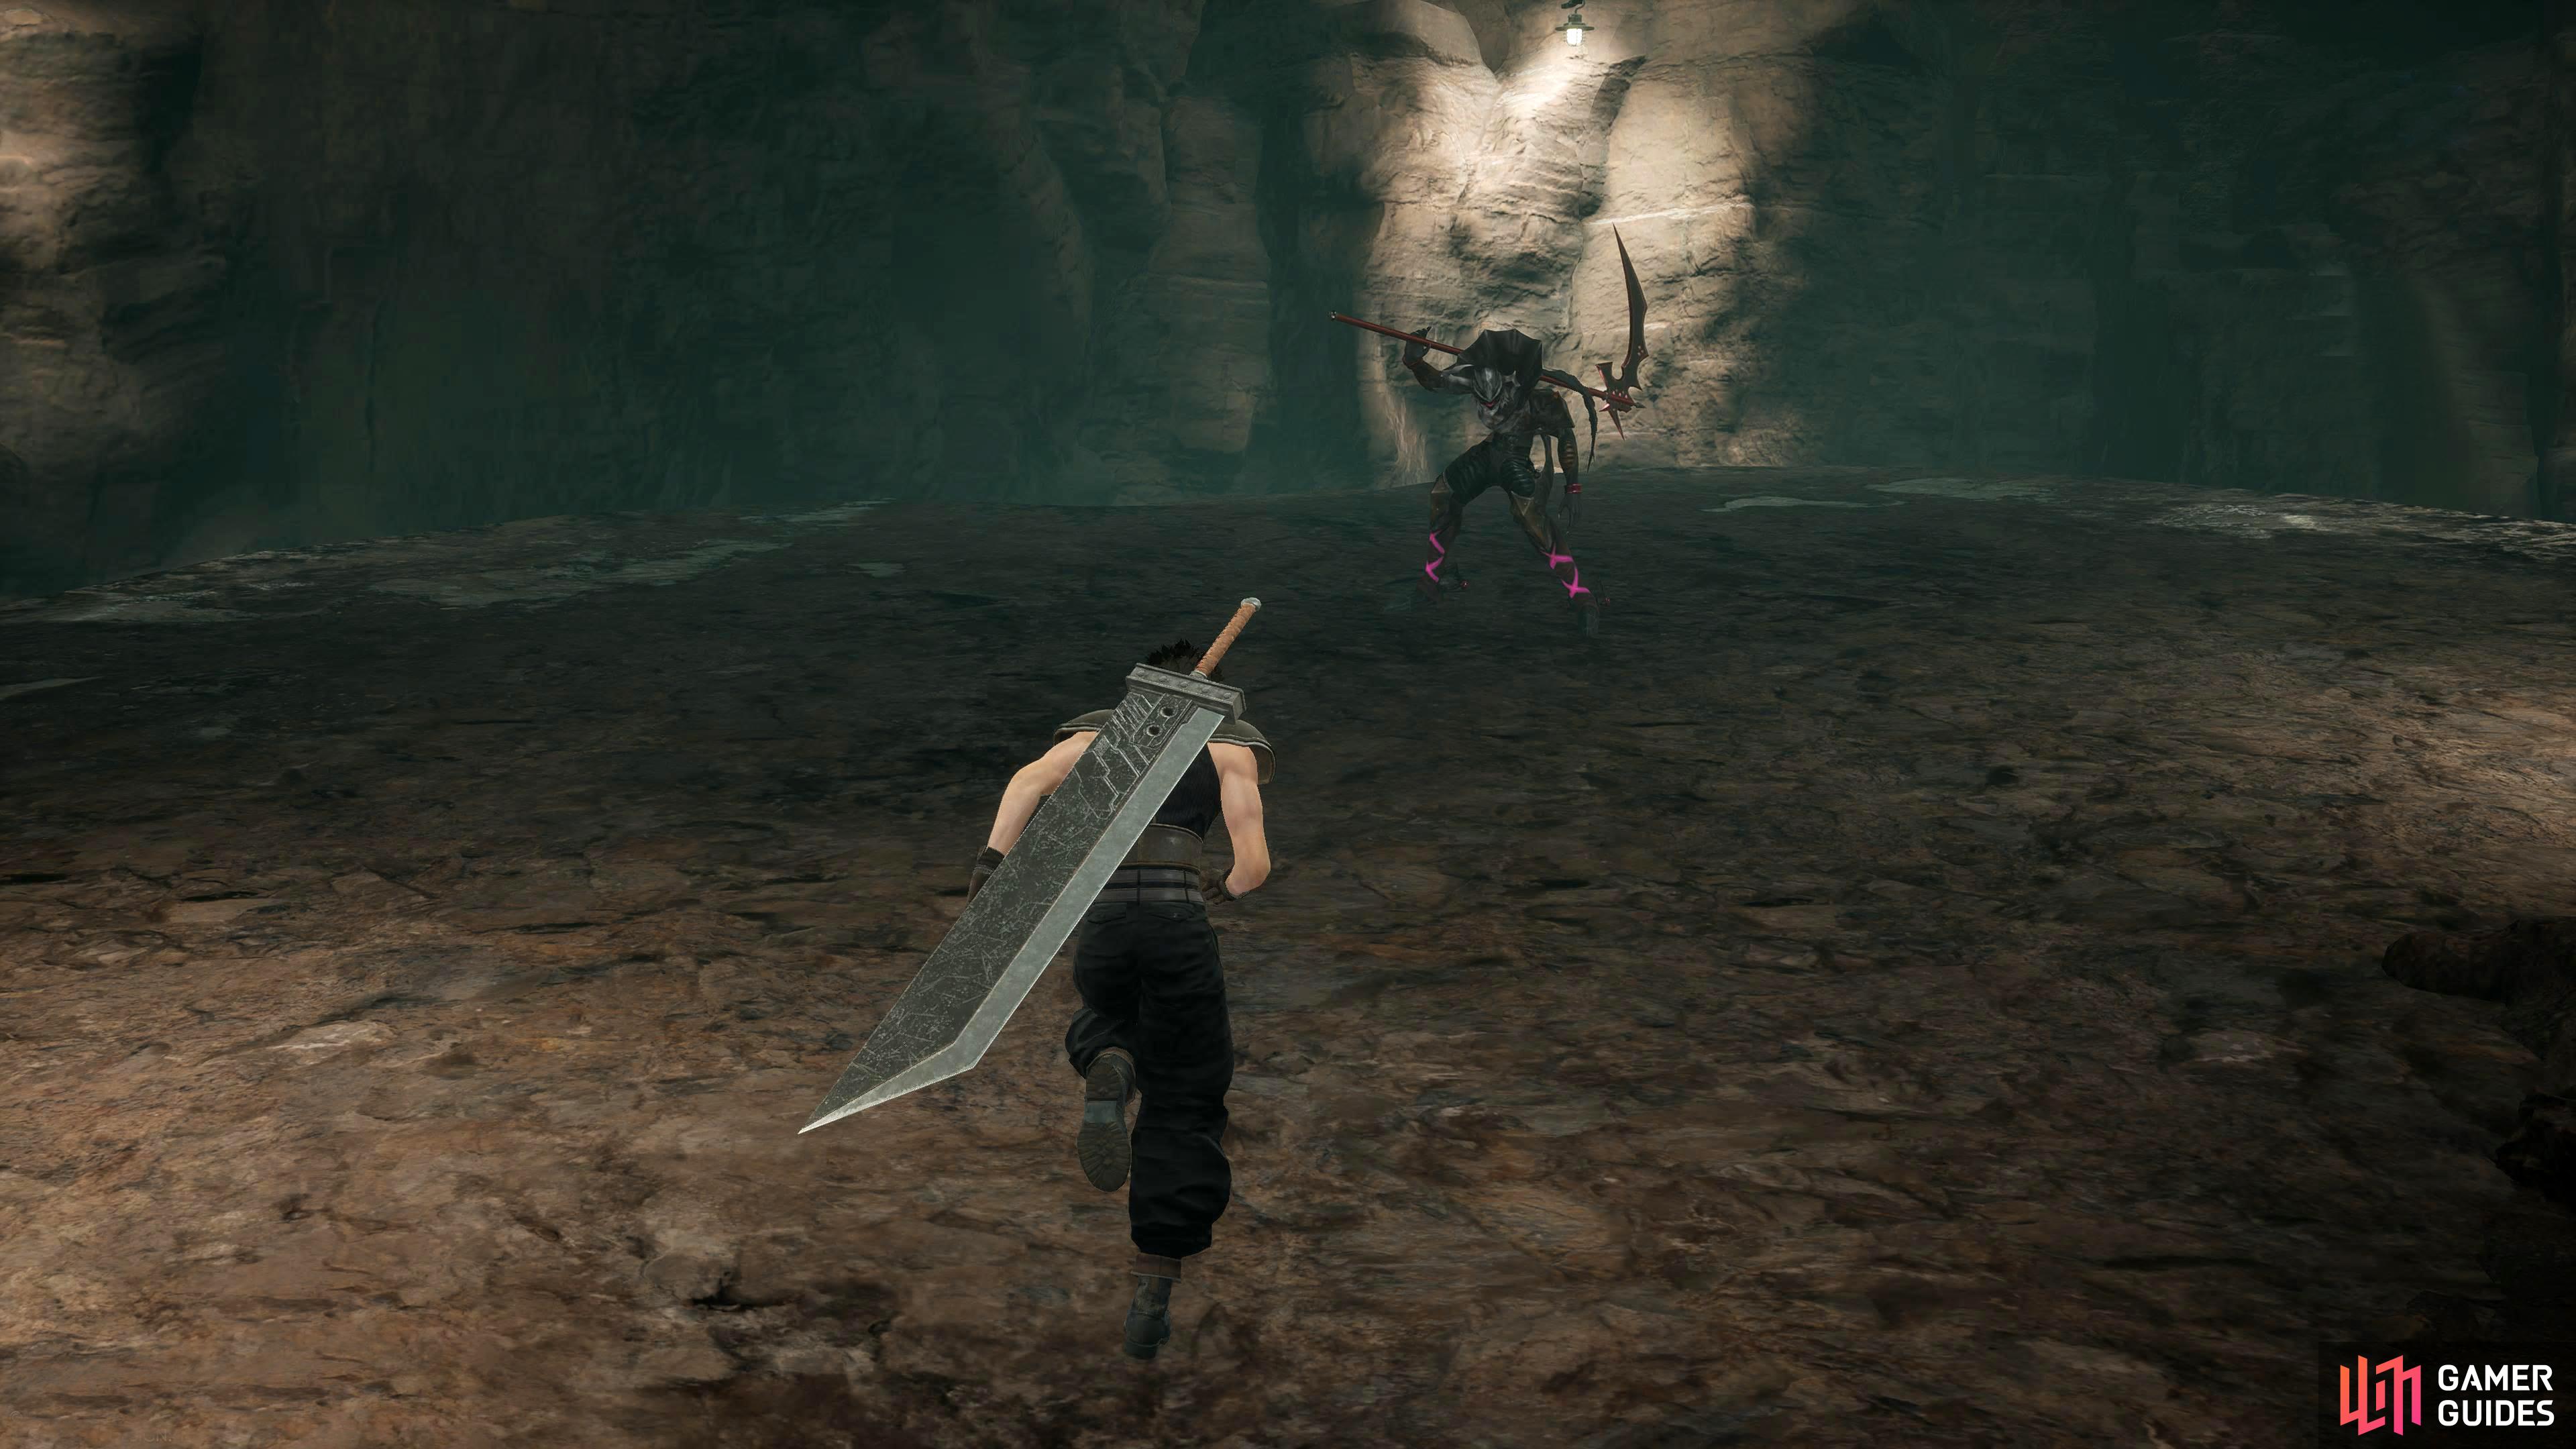
3-4-3: Reinforced Copies
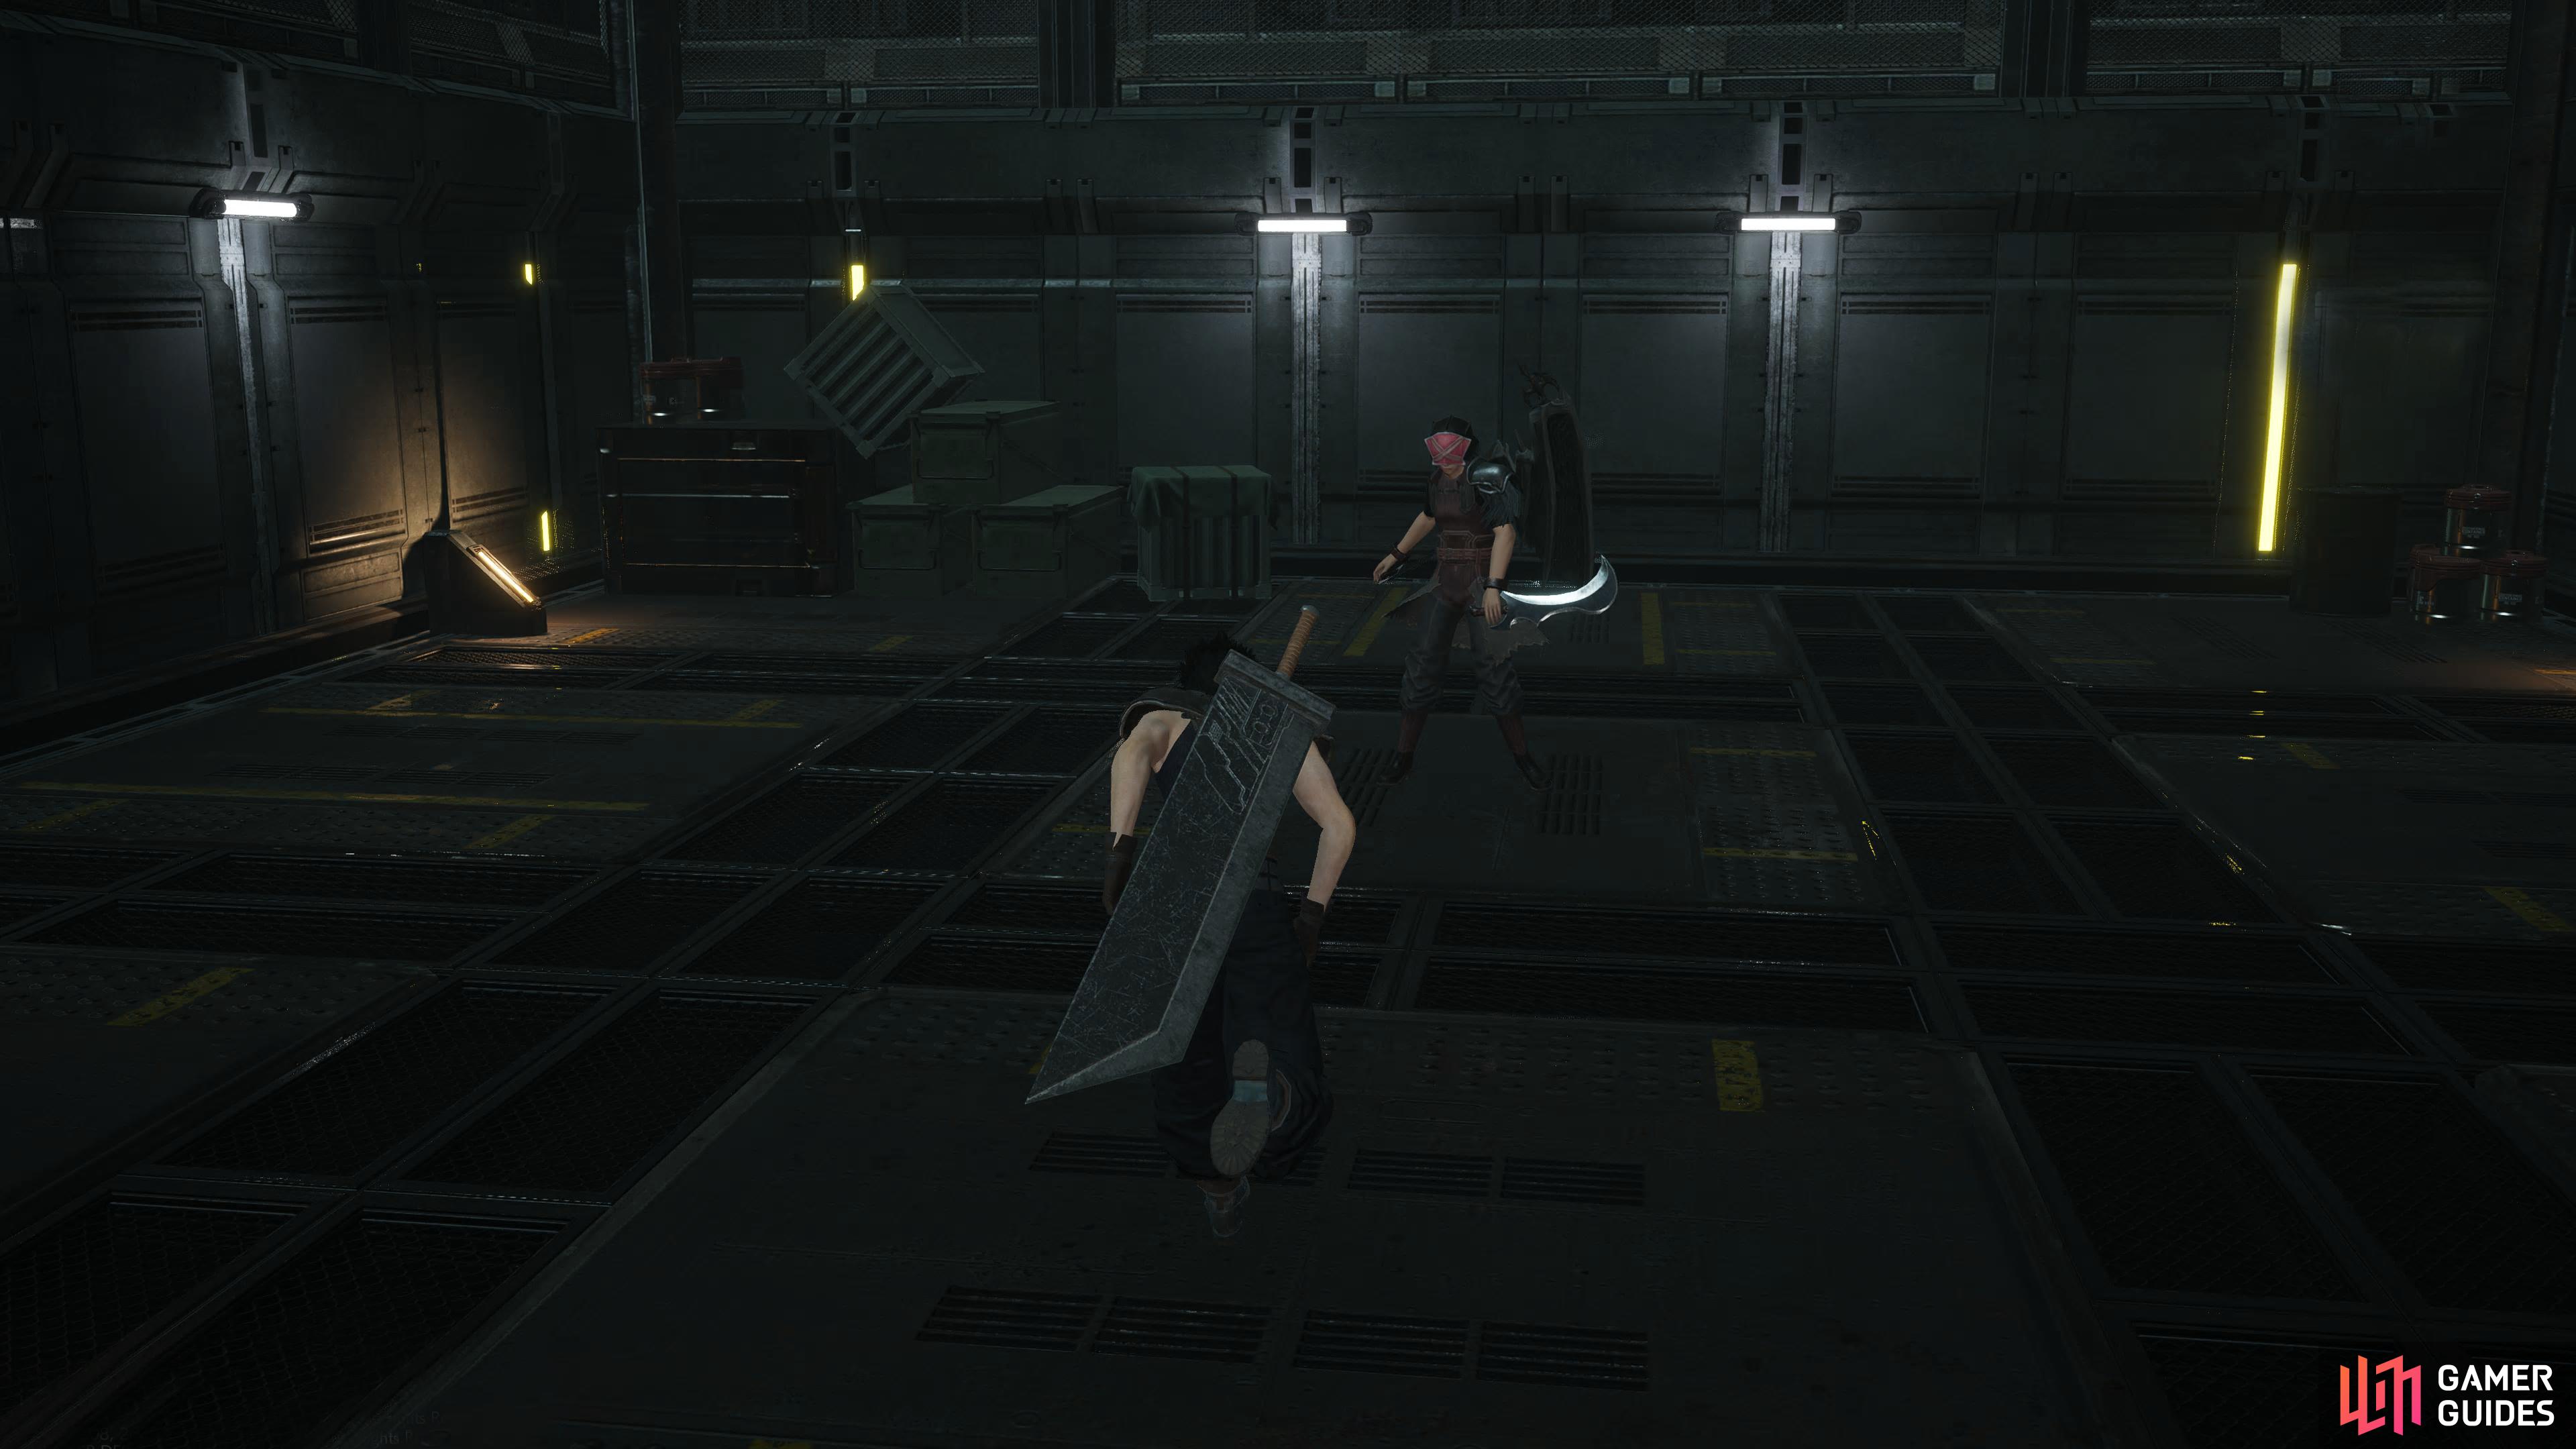
Mission 3-4-3 Boss.
Complete M3-4-2 to start this mission. This small map only has two chests to open which contain a ![]() Tri-Fire, and an
Tri-Fire, and an ![]() Elemental Strike Materia. Starting in the east, follow the path west then north, and the first chest will be on your left. After opening the chest, take the west path at the intersection and follow it until the end for the final chest. Make your way back to the intersection, and head north then west until you can go south at the last intersection. At the end of this path will be the boss. Throughout the map, you’ll get into encounters with the following enemies: G Prowler, Metal Saucer III, and a
Elemental Strike Materia. Starting in the east, follow the path west then north, and the first chest will be on your left. After opening the chest, take the west path at the intersection and follow it until the end for the final chest. Make your way back to the intersection, and head north then west until you can go south at the last intersection. At the end of this path will be the boss. Throughout the map, you’ll get into encounters with the following enemies: G Prowler, Metal Saucer III, and a ![]() Spitfire. The boss battle will consist of one
Spitfire. The boss battle will consist of one ![]() G General, and a Spitfire.
G General, and a Spitfire.
This can be a difficult battle if you’re not properly prepared. The G General will keep buffing itself with Defense every time it runs out, and then it’ll either cast Blitz (![]() Tri-Thundaga type spell) or it’ll repeatedly stun you with its Gunblade attack. This gives the Spitfire enough time to deal significant damage with its Spin attack. To make the battle more manageable, equip an anti-stun accessory, and a high-tier
Tri-Thundaga type spell) or it’ll repeatedly stun you with its Gunblade attack. This gives the Spitfire enough time to deal significant damage with its Spin attack. To make the battle more manageable, equip an anti-stun accessory, and a high-tier ![]() Thunder Spell. The Stun accessory will negate the Gunblade attacks Stun, and the Thunder Spell will make short work out of the Spitfire. With just the G General left, chip away at its health until you defeat it. Once again, Costly Punch will cut the time down fighting it significantly. Be aware that the G General can also cast
Thunder Spell. The Stun accessory will negate the Gunblade attacks Stun, and the Thunder Spell will make short work out of the Spitfire. With just the G General left, chip away at its health until you defeat it. Once again, Costly Punch will cut the time down fighting it significantly. Be aware that the G General can also cast ![]() Curaga.
Curaga.
3-4-4: Return to Midgar
Mission 3-4-4 Boss.
Unlocked by completing M3-4-3. This mission will only have two chests, and these will contain an ![]() X-Potion and a
X-Potion and a ![]() Vital Slash Materia. Starting the mission in the center of the map head south to find the first chest at the back of the small room. Now head east then north, and follow it until you get three-quarters of the way into the long room. To your left will be the final chest of the area before you can continue north to where the boss will be. While you’re navigating this map expect to see the following enemies during your encounters: G Prowler,
Vital Slash Materia. Starting the mission in the center of the map head south to find the first chest at the back of the small room. Now head east then north, and follow it until you get three-quarters of the way into the long room. To your left will be the final chest of the area before you can continue north to where the boss will be. While you’re navigating this map expect to see the following enemies during your encounters: G Prowler, ![]() Hell Slasher, and Metal Saucer III.
Hell Slasher, and Metal Saucer III.
The boss battle will be against a ![]() G Guardian who’ll be accompanied by a G General. Take out the G General first as it can heal with Curaga as well as stun you with Gunblade. The G Guardian has a few tricks up its sleeves with the first being Lifeshaver, This attack will hit you for a lot of damage while also healing the boss for the same amount. Make sure you don’t get hit by this. Its second dangerous attack is Death Scythe which works similarly to Lifeshaver. Finally, it has an Ability Charge attack called Tempest which will also deal significant damage if left alone.
G Guardian who’ll be accompanied by a G General. Take out the G General first as it can heal with Curaga as well as stun you with Gunblade. The G Guardian has a few tricks up its sleeves with the first being Lifeshaver, This attack will hit you for a lot of damage while also healing the boss for the same amount. Make sure you don’t get hit by this. Its second dangerous attack is Death Scythe which works similarly to Lifeshaver. Finally, it has an Ability Charge attack called Tempest which will also deal significant damage if left alone.
3-4-5: Destroy the Copy Factory
Mission 3-4-5 Boss.
Unlocked by completing M3-4-4. This map isn’t the biggest, and you can cut the time spent on it rather short by just going for the boss who is just to the north of the intersection. If you want the chests of which there are two that contain a Dark Matter, and a ![]() Mythril, you’ll need to head south at the intersection. The first chest can be found on the corner as you’re heading west, and the last chest will be at the end of the path on the bridge.
Mythril, you’ll need to head south at the intersection. The first chest can be found on the corner as you’re heading west, and the last chest will be at the end of the path on the bridge.
Either way, the enemies you’ll face along the way will be ![]() G Centurion, Hell Slasher, and
G Centurion, Hell Slasher, and ![]() Hellhound with both the Hell enemies capable of inflicting death. The boss will be the G Guardian again, but this time it’ll be accompanied by a few G Centurions. Take out the G Centurions first as they don’t have a lot of health then defeat the G Guardian the same way you conquered the previous one…which was most likely Costly Punch.
Hellhound with both the Hell enemies capable of inflicting death. The boss will be the G Guardian again, but this time it’ll be accompanied by a few G Centurions. Take out the G Centurions first as they don’t have a lot of health then defeat the G Guardian the same way you conquered the previous one…which was most likely Costly Punch.
3-4-6: Strongest Copies Yet
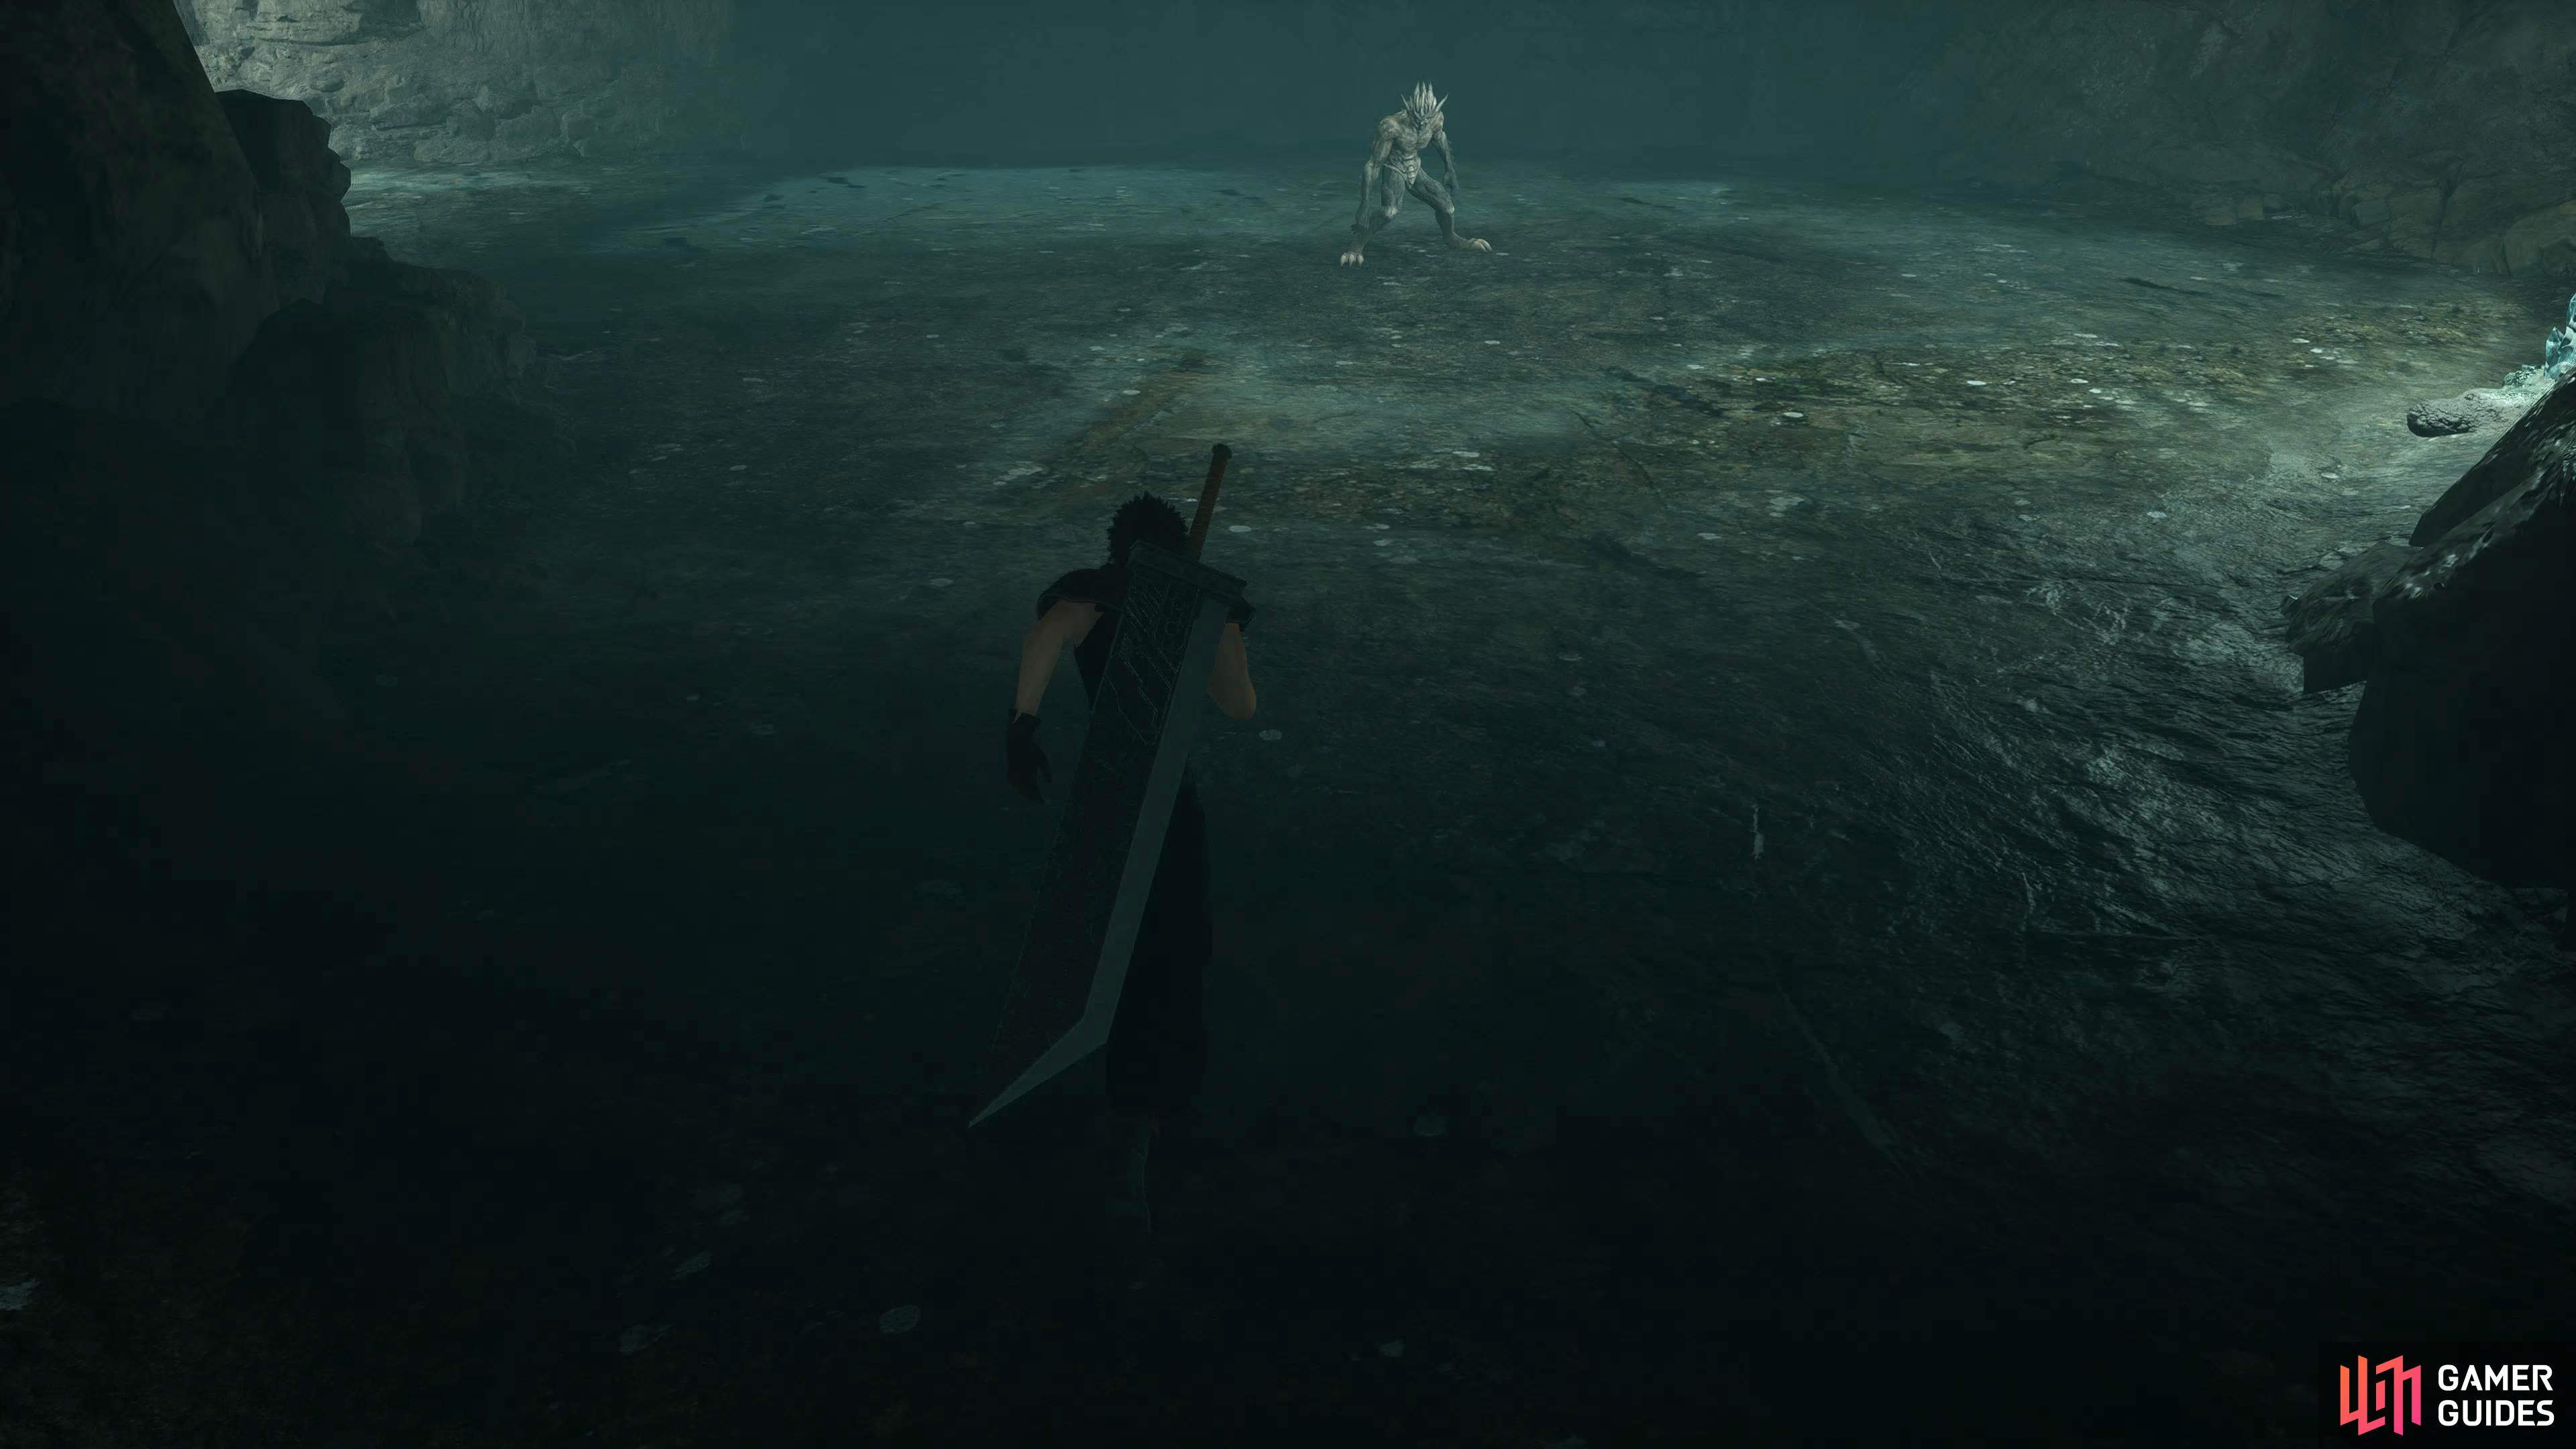
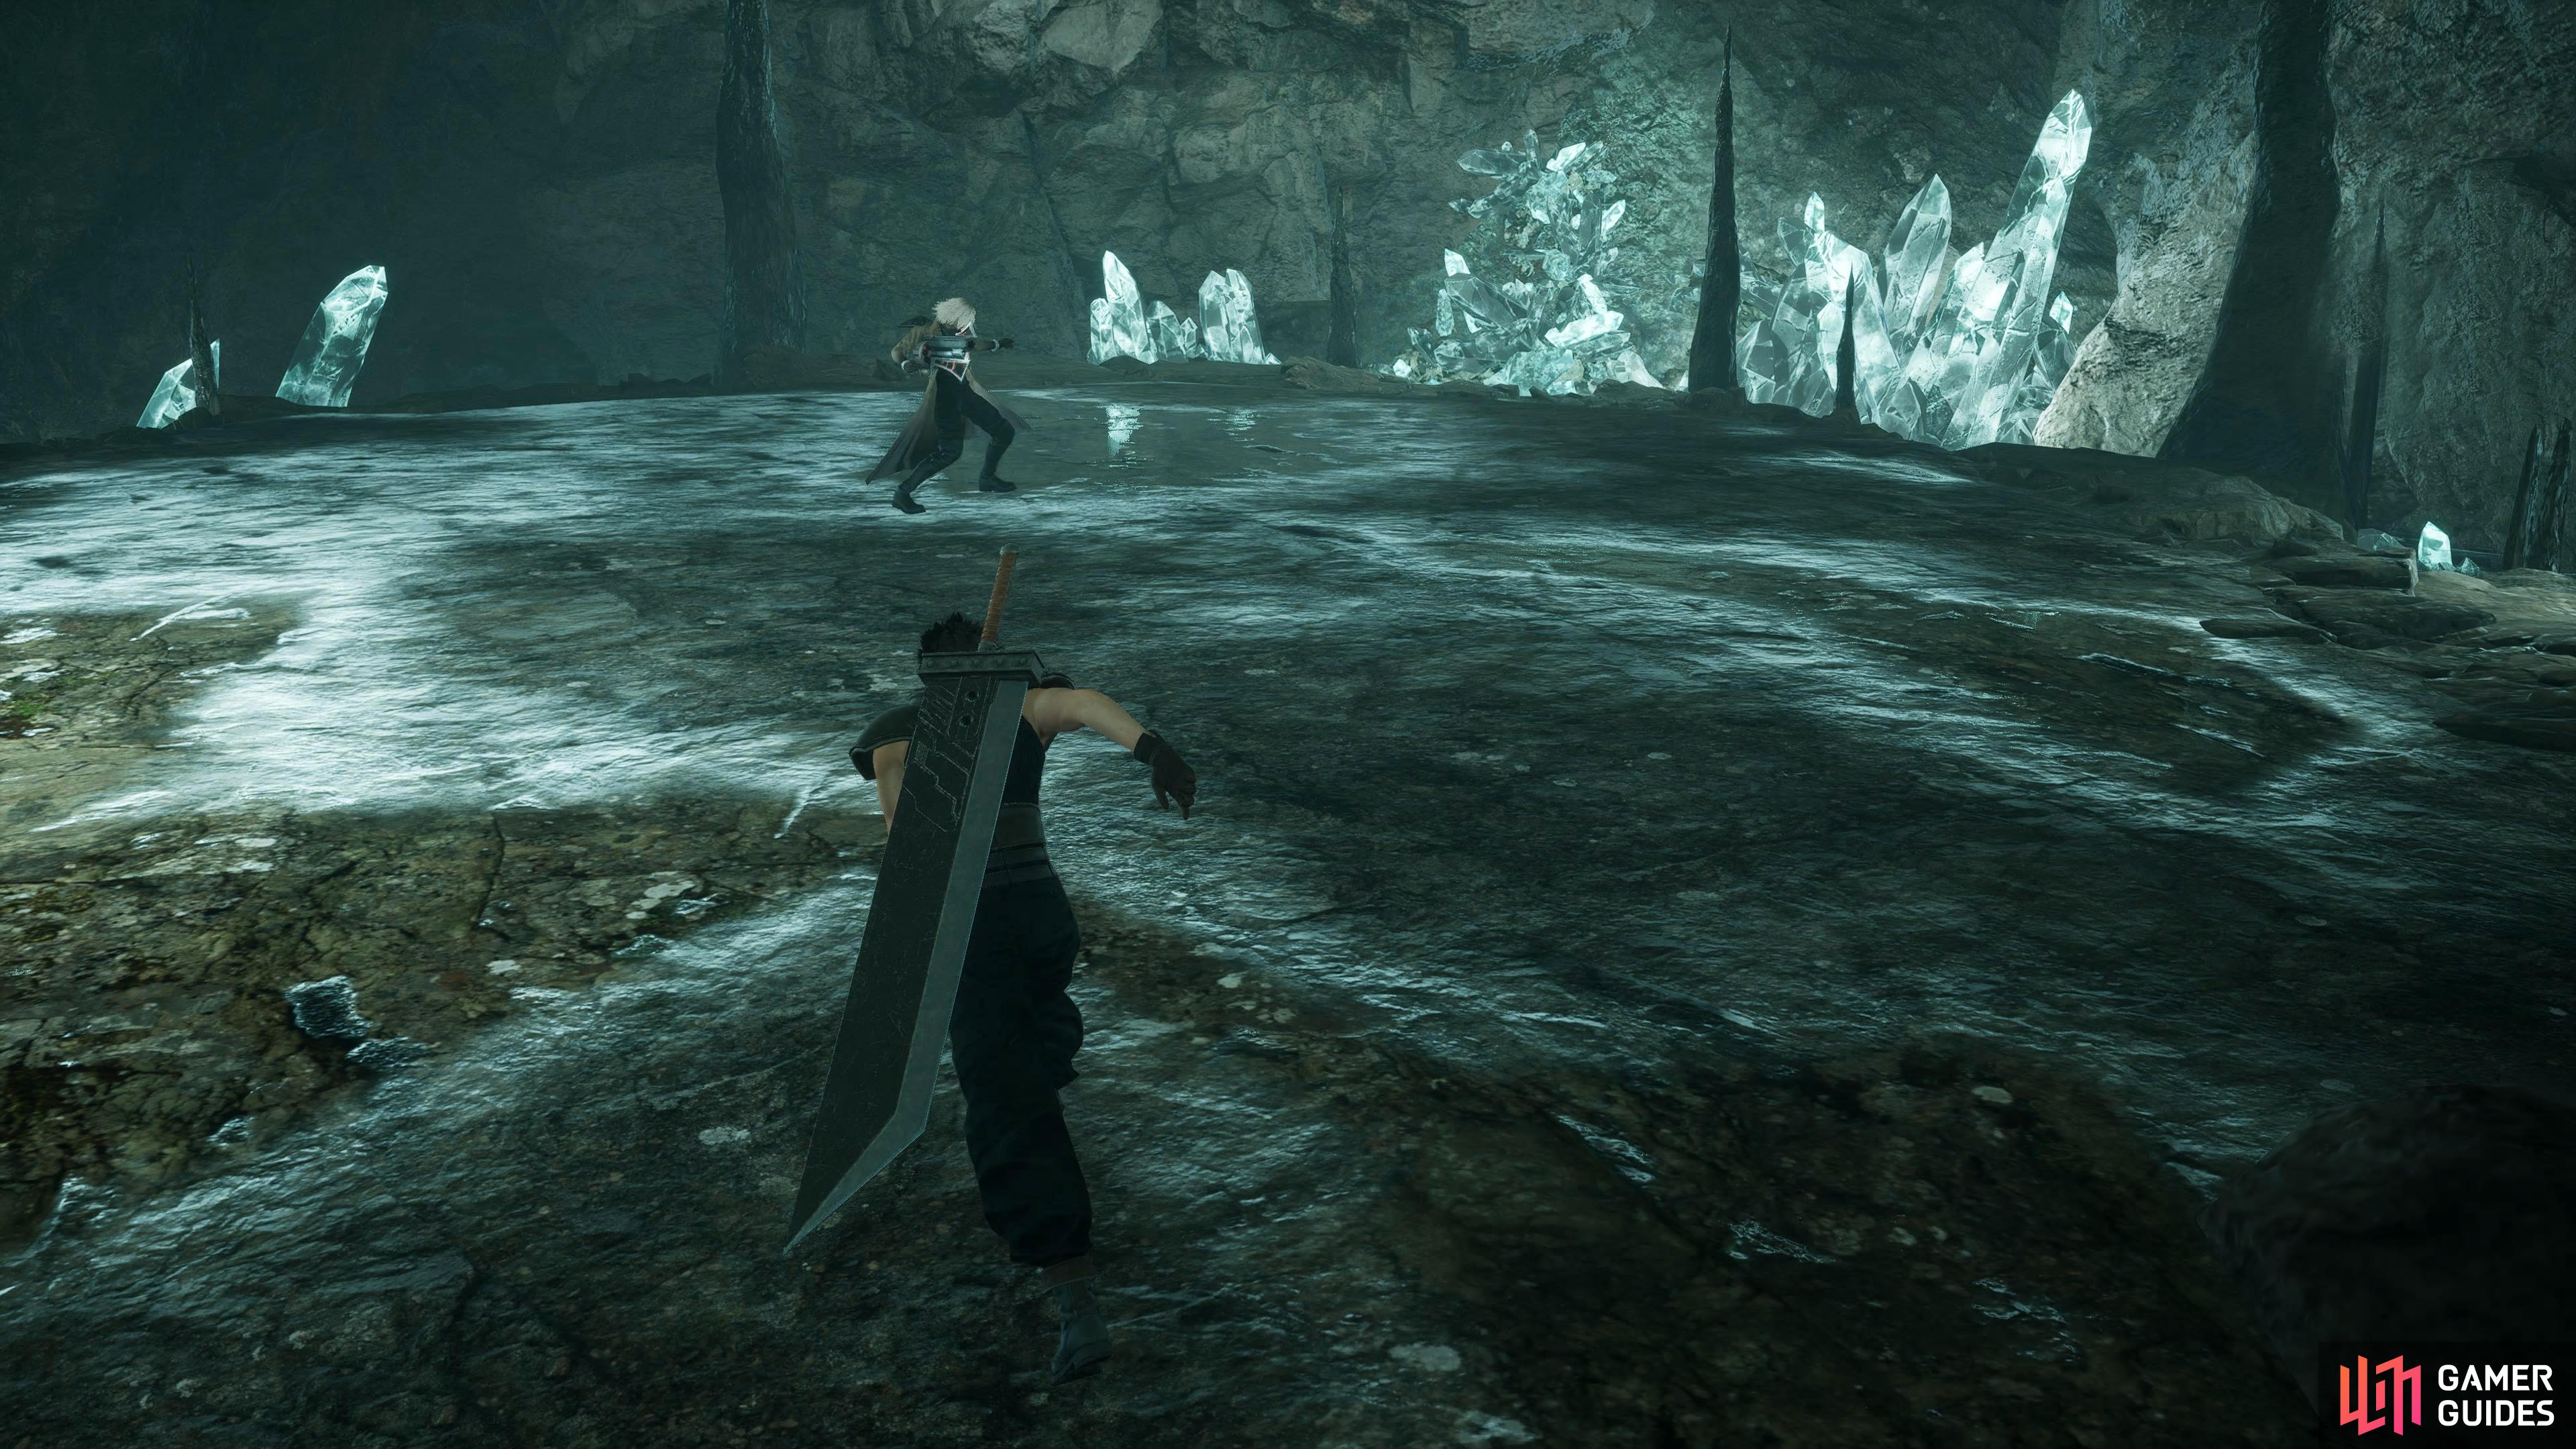
Mission 3-4-6 Boss.
The final mission of the sub-category will be unlocked when you complete M3-4-5. Although the map itself isn’t the largest, five chests in this mission will reward you with the following items: Elixir, ![]() Lunar Harp,
Lunar Harp, ![]() Sea Chocobo Armlet,
Sea Chocobo Armlet, ![]() Phoenix Down, and a
Phoenix Down, and a ![]() Zeio Nut. Starting the mission in the southwest corner, follow the northern path, and open the first chest to your right on the way. Continue north until you reach the intersection, and choose to go west for the second chest.
Zeio Nut. Starting the mission in the southwest corner, follow the northern path, and open the first chest to your right on the way. Continue north until you reach the intersection, and choose to go west for the second chest.
Make your way back to the intersection, and head east where the third chest will be on your left. Finally, follow the path east, south then east again to find the final two chests in the southwest corner. Head back to the intersection and go west where you’ll find the boss. Throughout the map expect to fight against the following enemies: G Centurion, G Guardian, and Hellhounds. The final battle will be against a singular ![]() G Purgatorio.
G Purgatorio.
They can deal plenty of damage with either their multi-hit combo Rip or the fast-casting ![]() Energy spell. On top of that, it’ll regularly use its Drain attack on you to replenish its health. It doesn’t have any real weaknesses, but it is susceptible to
Energy spell. On top of that, it’ll regularly use its Drain attack on you to replenish its health. It doesn’t have any real weaknesses, but it is susceptible to ![]() Gravity magic, and if you’re lucky enough to see
Gravity magic, and if you’re lucky enough to see ![]() Zantetsuken show up in the DMW, it can be insta-killed. Other than that, Costly Punch away!
Zantetsuken show up in the DMW, it can be insta-killed. Other than that, Costly Punch away!
No Comments