
There are 300 optional missions in Crisis Core Final Fantasy VII: Reunion. Clash with Genesis’s Forces (M3-3) can be found in the Genesis’s Forces Category.
You can’t start the M3-3 missions until you complete mission M3-2-6 in Chapter 10.
How to Unlock the Clash with Genesis’s Forces Missions in Crisis Core Reunion
Thankfully, most of the Clash with Genesis’s Forces set of missions are obtained by completing the previous missions in the previous categories, which means that you’ll need to be at Chapter 10 to access them as that is when mission M3-2-6 unlocks, and you’ll need to complete it to unlock this category of missions.
| Mission | Unlock | Enemies | Reward |
|---|---|---|---|
| 3-3-1: Red Alert! (5★) | Complete the previous mission M3-2-6 | ||
| 3-3-2: Base in the Caverns (6★) | Complete the previous mission M3-3-1 | ||
| 3-3-3: Surprise Attack on Midgar (6★) | Complete the previous mission M3-3-2 | ||
| 3-3-4: One Base at a Time (6★) | Complete the previous mission M3-3-3 | ||
| 3-3-5: Rumble in Midgar (7★) | Complete the previous mission M3-3-4 | ||
| 3-3-6: Regain the Mako Facility (7★) | Complete the previous mission M3-3-5 |
Most of the rewards in this category are lackluster, and the only real reason to complete the missions is for the Mission Completionist trophy/achievement. As you can’t unlock these missions until Chapter 10, you’ll have most if not all the rewards here.


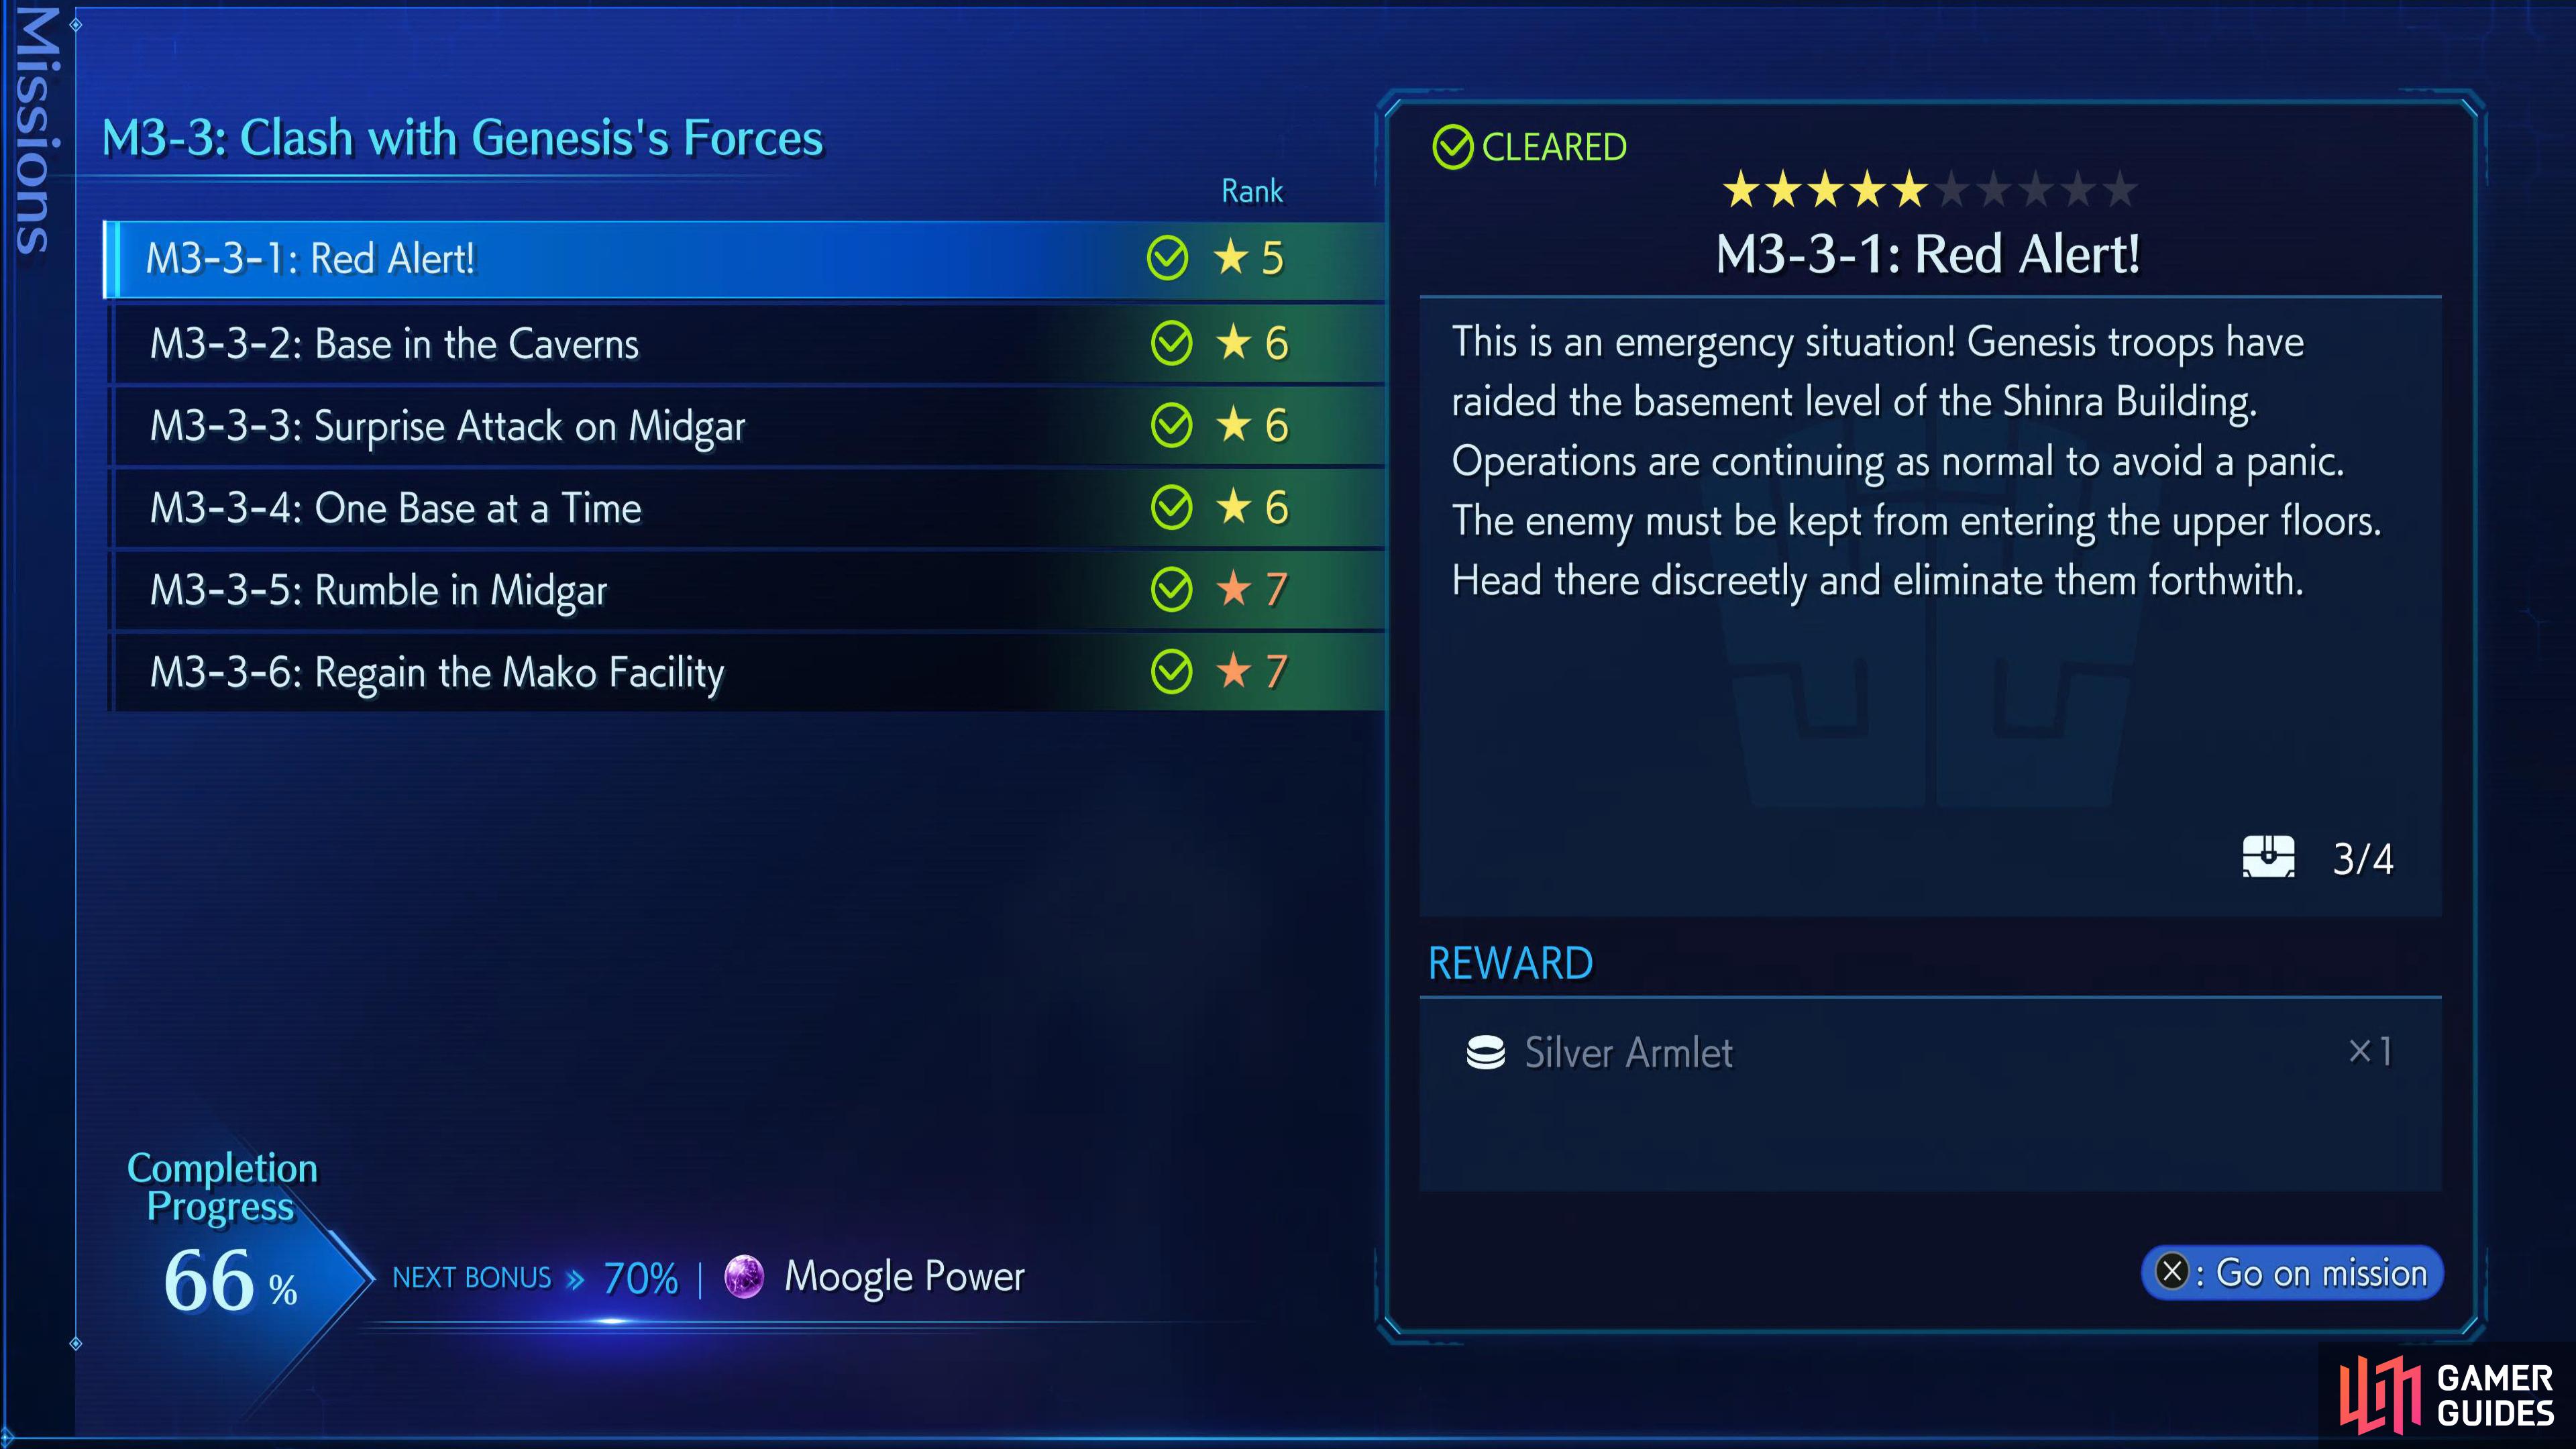
Mission 3-3-1: Red Alert!
Mission 3-3-1 Boss.
Unlocked by completing mission M3-2-6 in Chapter 10. This is a big map, which has four chests containing the following items: ![]() ATK Up++,
ATK Up++, ![]() Four Slots,
Four Slots, ![]() Titanium Bangle, and an
Titanium Bangle, and an ![]() X-Potion. You’ll start the mission in the northeast of the map. Follow the path south until you get into a small room and pick up the chest to your right. Continue south around the corner, and head immediately north to get the second chest.
X-Potion. You’ll start the mission in the northeast of the map. Follow the path south until you get into a small room and pick up the chest to your right. Continue south around the corner, and head immediately north to get the second chest.
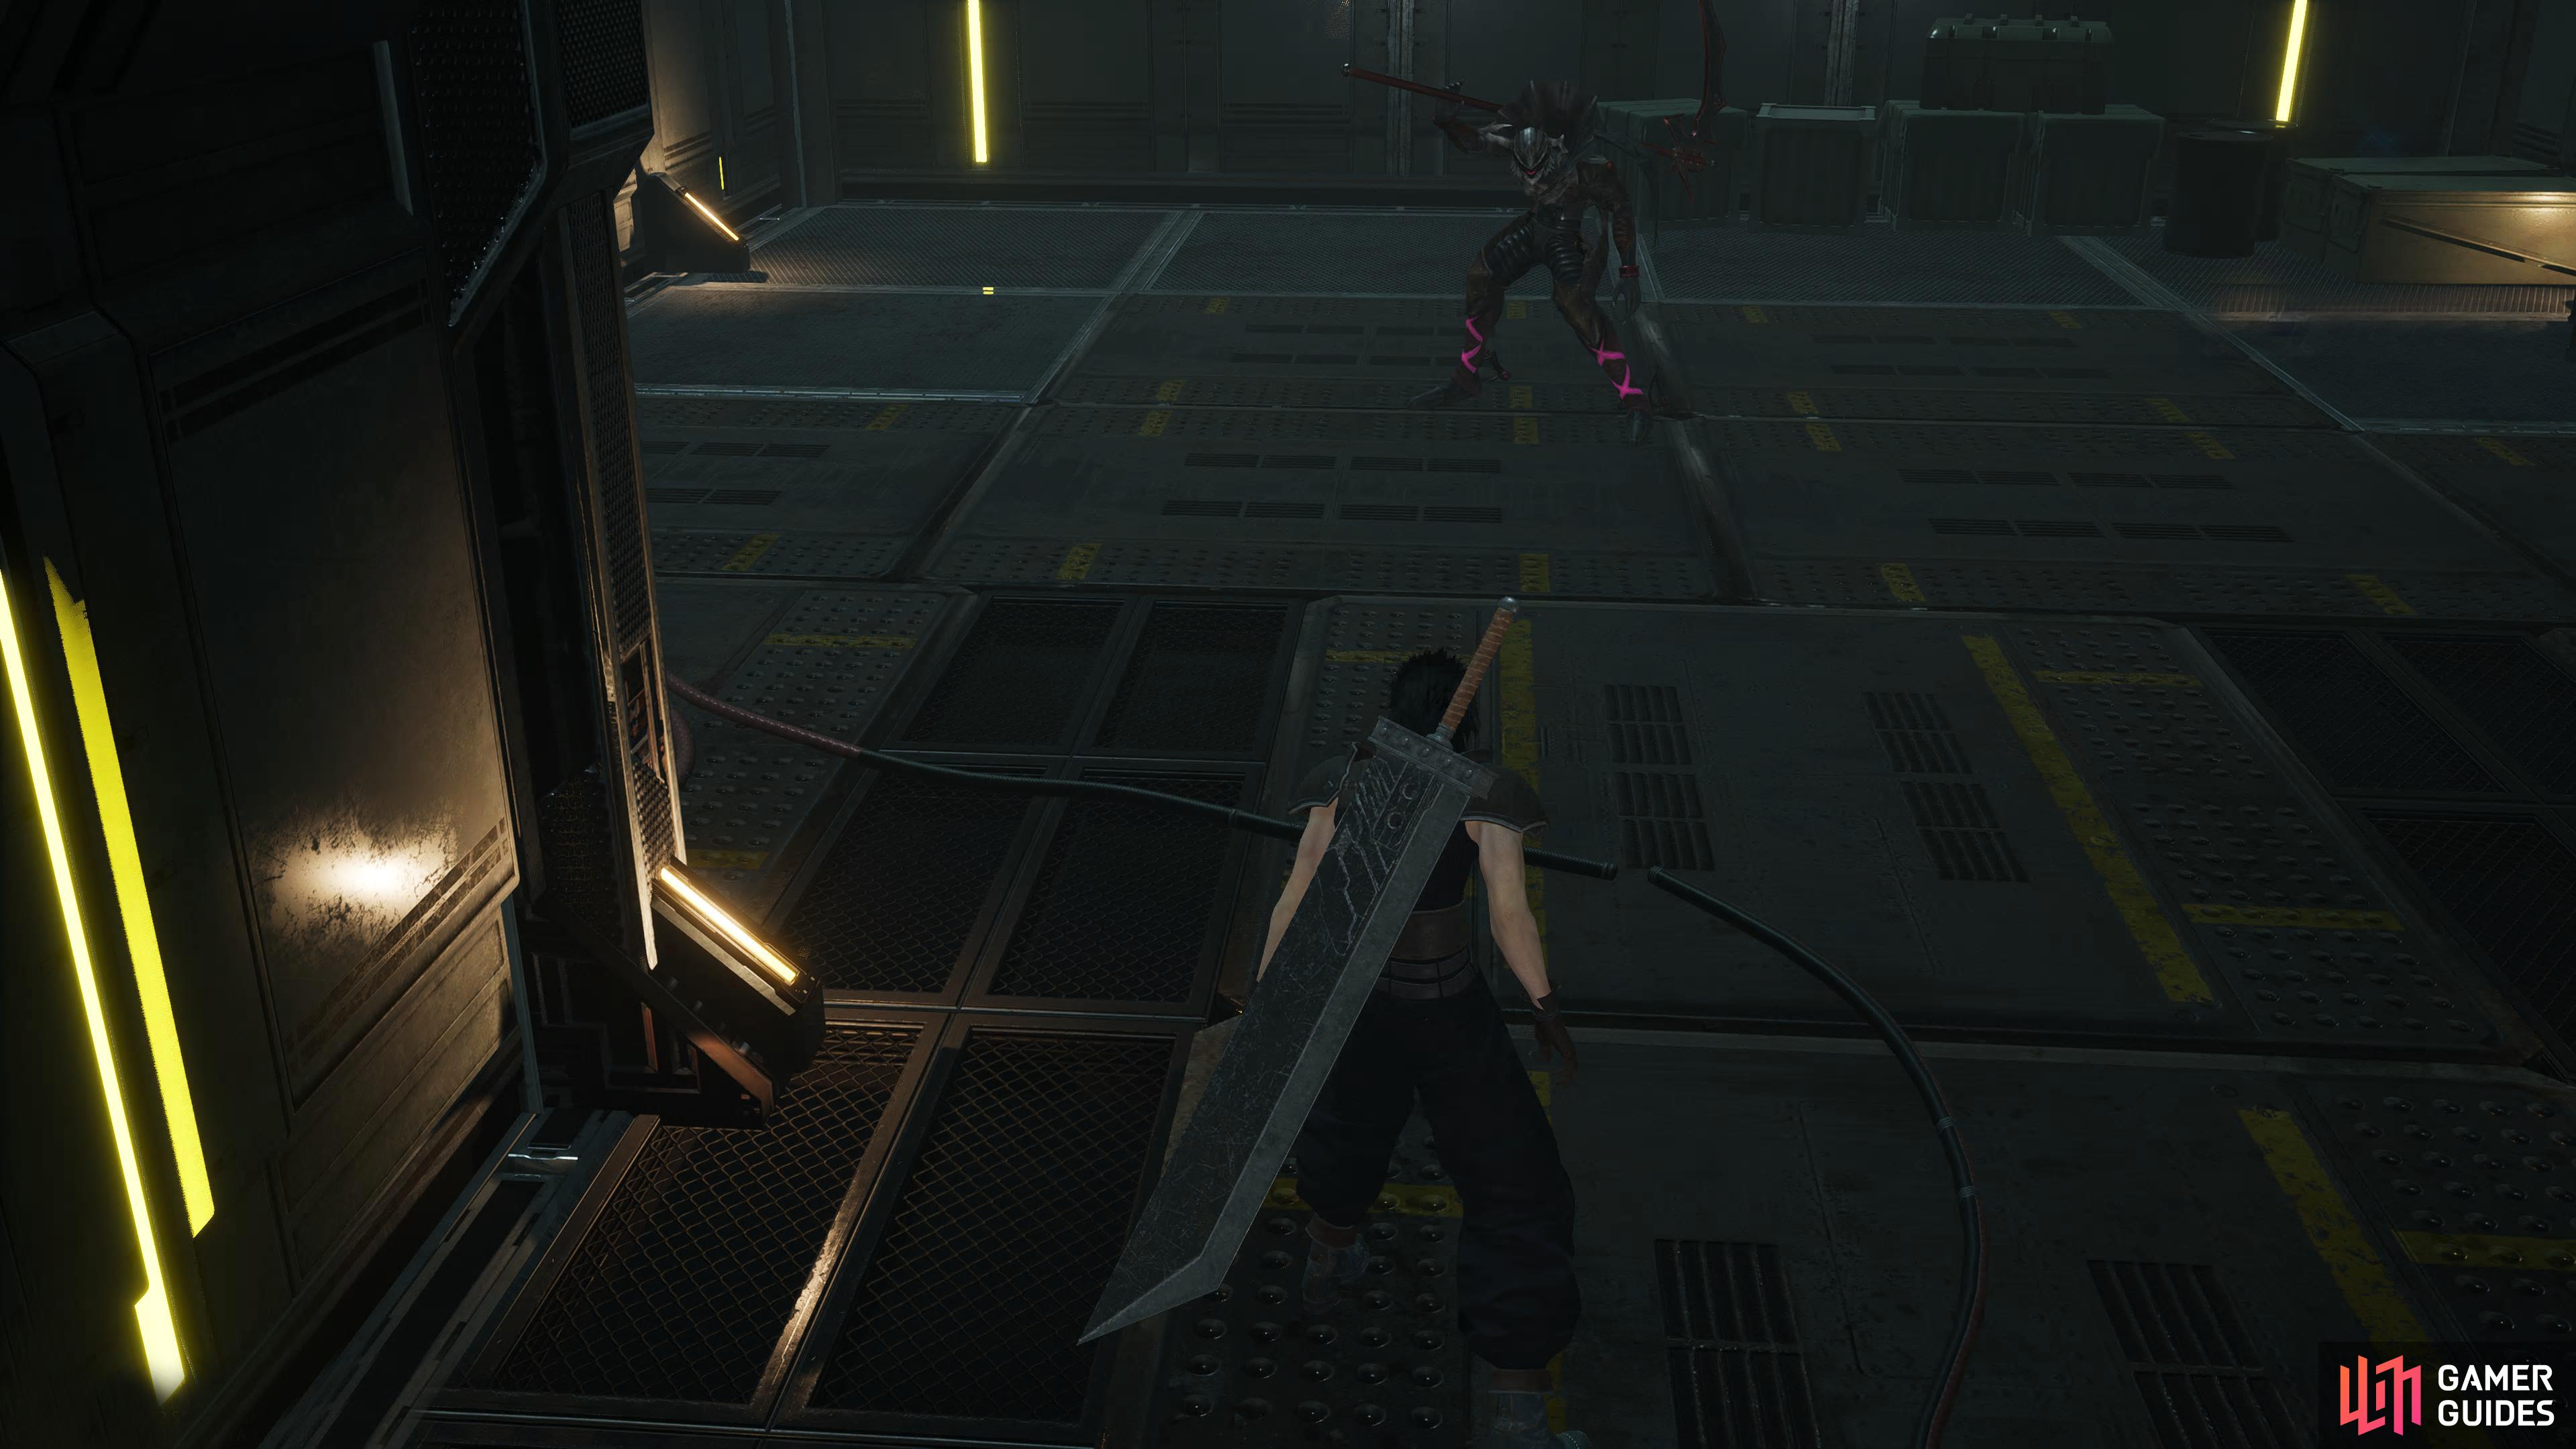
Go back and head west until you can go south, then follow it to the small room at the bottom where you’ll find the third chest to your right. Once again, go back on yourself, and head all the way west then north to find the final chest to your right. Finally, go south, east, and south again to find the boss. Throughout the area, you’ll be fighting a mixture of ![]() G Valiant,
G Valiant, ![]() G Slayer,
G Slayer, ![]() G Predator, and some
G Predator, and some ![]() Hunting Hounds.
Hunting Hounds.
The boss will contain a battle against one G Slayer, and one ![]() G Devastator. You’ve most likely fought both of these enemies quite a few times by now, so there isn’t much else to say other than be careful of the G Devastator’s
G Devastator. You’ve most likely fought both of these enemies quite a few times by now, so there isn’t much else to say other than be careful of the G Devastator’s ![]() Death Scythe attack which can hit hard while also healing itself from the attack. The G Slayer will spend most of the time buffing or healing, so you should make that your priority.
Death Scythe attack which can hit hard while also healing itself from the attack. The G Slayer will spend most of the time buffing or healing, so you should make that your priority.
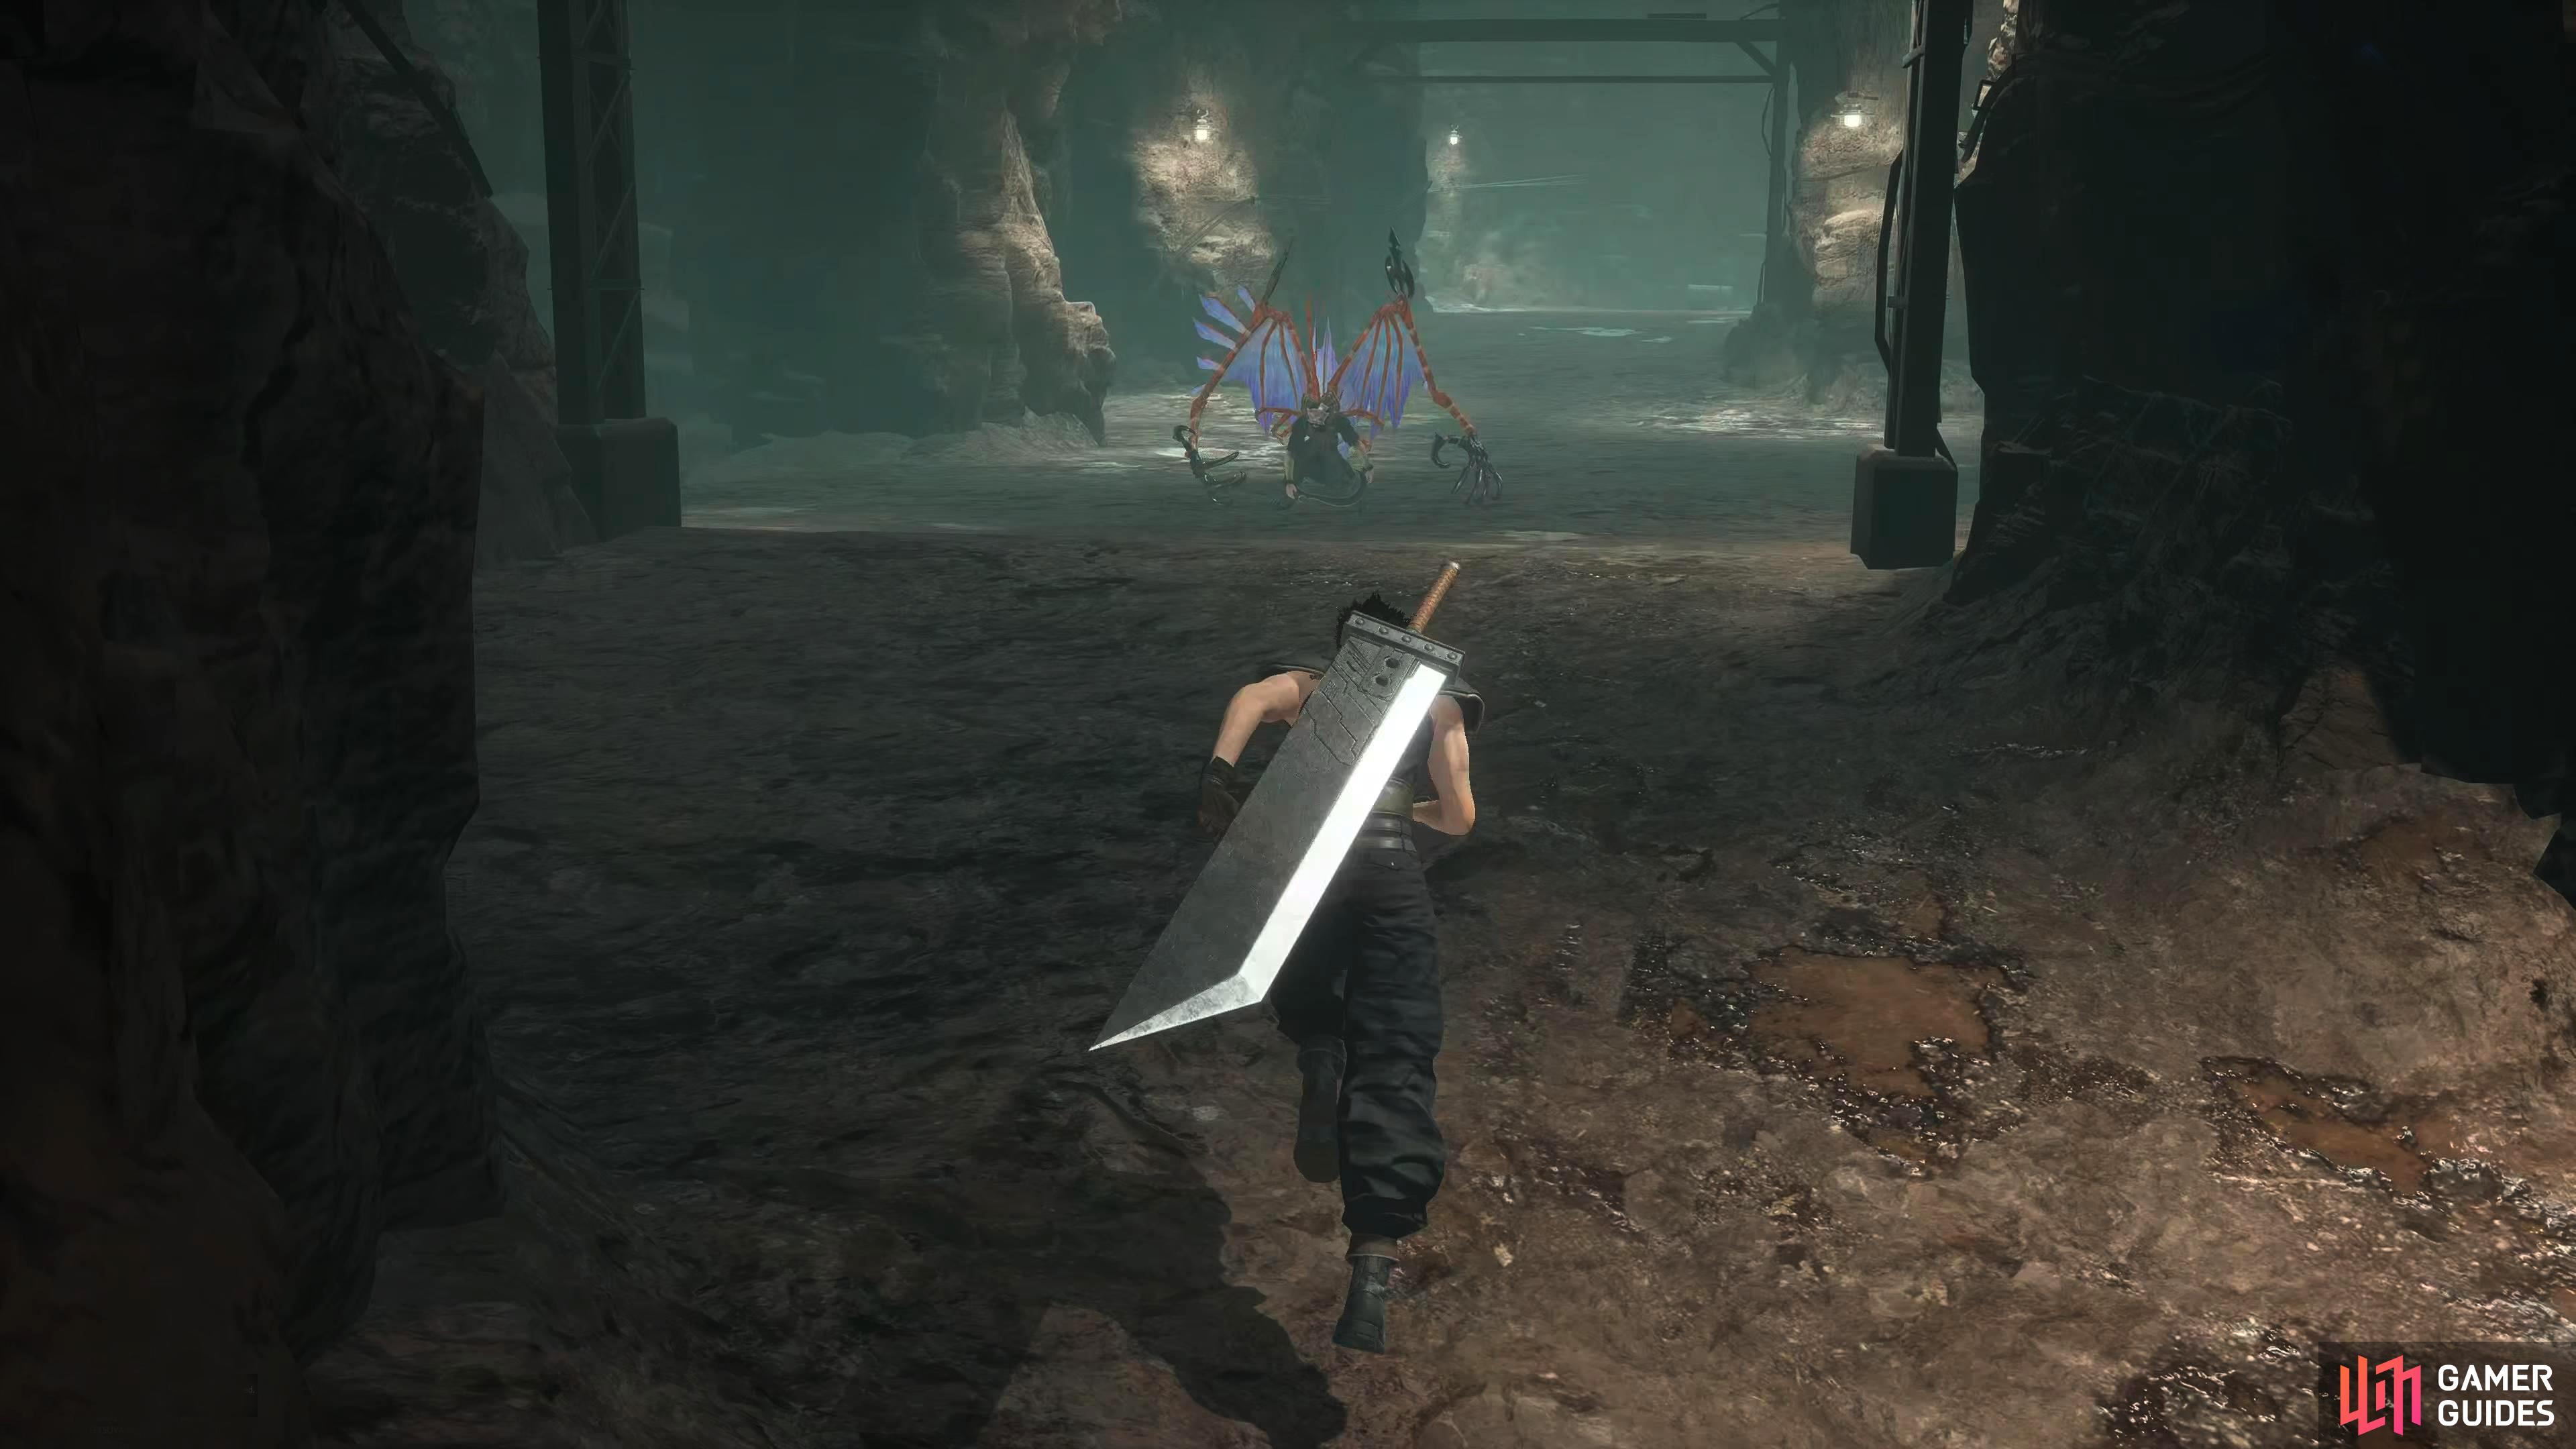
Mission 3-3-2: Base in the Caverns
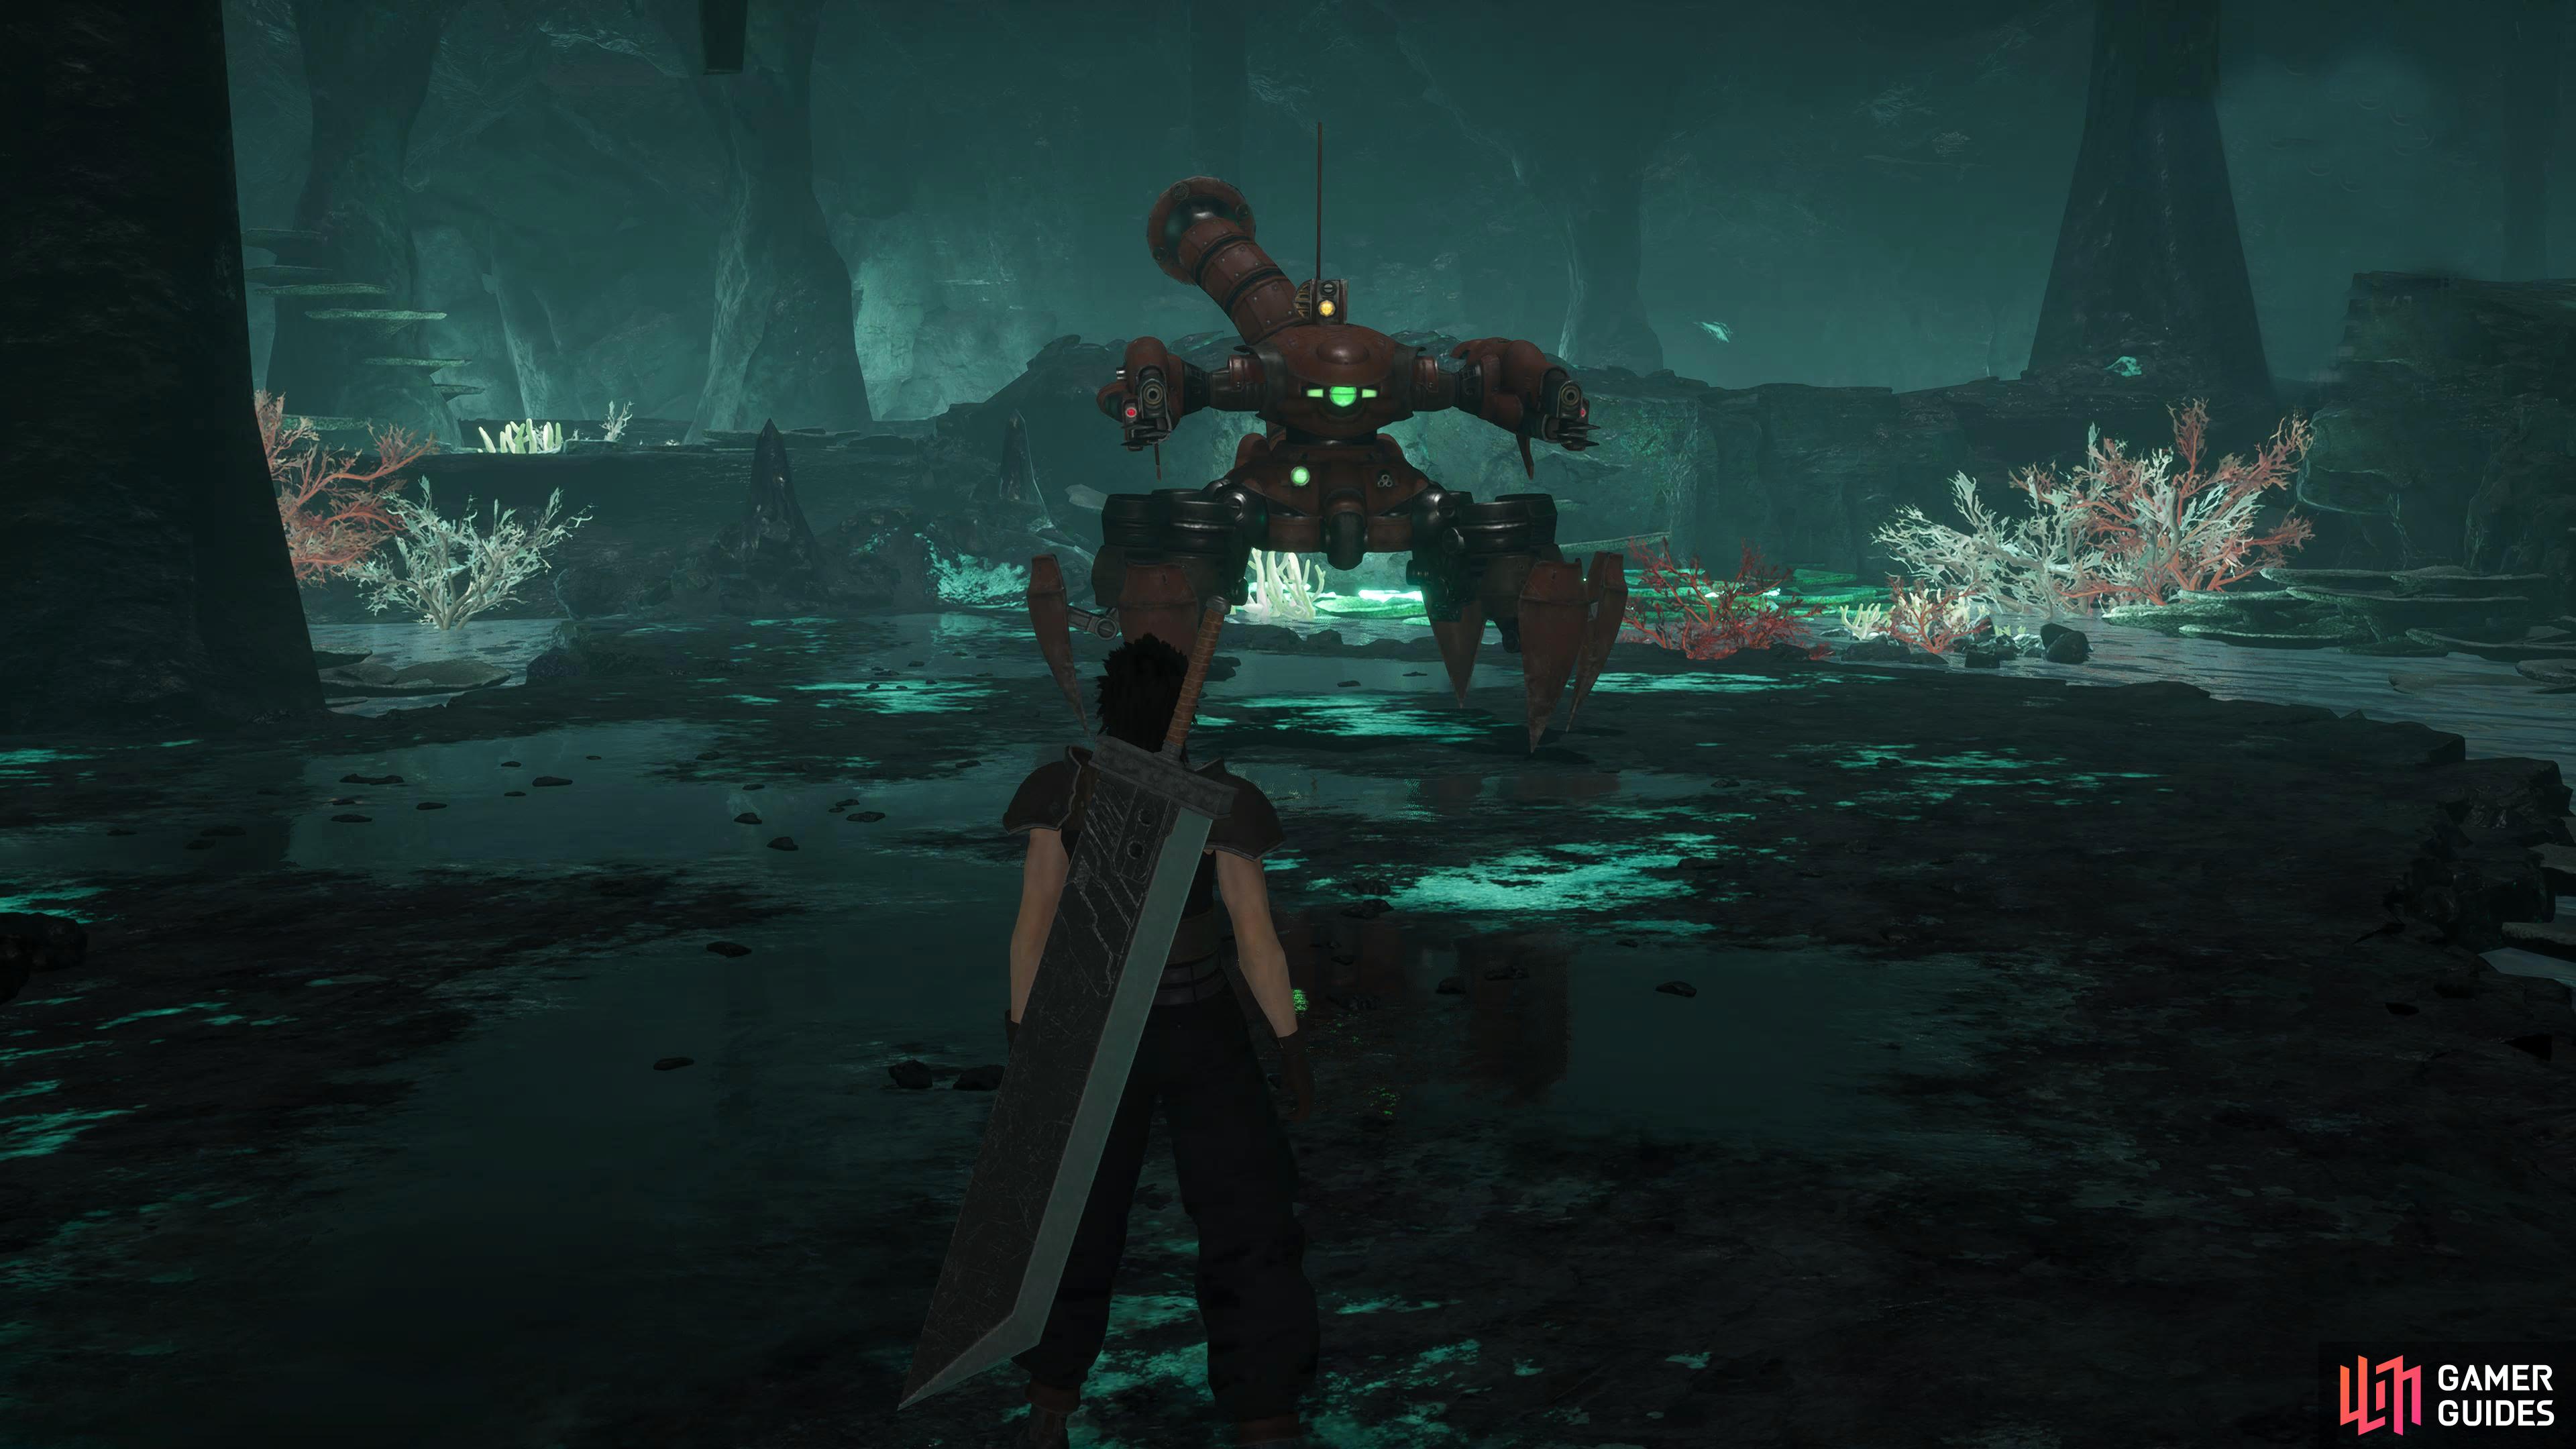
Mission 3-3-2 Boss.
Complete M3-3-1 to start this mission. This is a small map with only one chest which contains an ![]() Elixir. For this map, you’ll start on the west side. Go around the corner, and head east until the first intersection. Take the southern path towards the boss, and you’ll find the chest on your left just before it. Throughout the map expect to encounter G Valiant,
Elixir. For this map, you’ll start on the west side. Go around the corner, and head east until the first intersection. Take the southern path towards the boss, and you’ll find the chest on your left just before it. Throughout the map expect to encounter G Valiant, ![]() Crazy Dagger, and some Hunting Hounds. The boss of the area will be against the
Crazy Dagger, and some Hunting Hounds. The boss of the area will be against the ![]() Red Scorpion of the
Red Scorpion of the ![]() Guard Spider enemy-type. Although it has just shy of 100,000 HP, it’s nothing a
Guard Spider enemy-type. Although it has just shy of 100,000 HP, it’s nothing a ![]() Costly Punch with the break damage limit accessory can’t take care of with one hit. Also, you can steal a
Costly Punch with the break damage limit accessory can’t take care of with one hit. Also, you can steal a ![]() Shinra Beta+ from it if you want one for some reason.
Shinra Beta+ from it if you want one for some reason.
3-3-3: Surprise Attack on Midgar
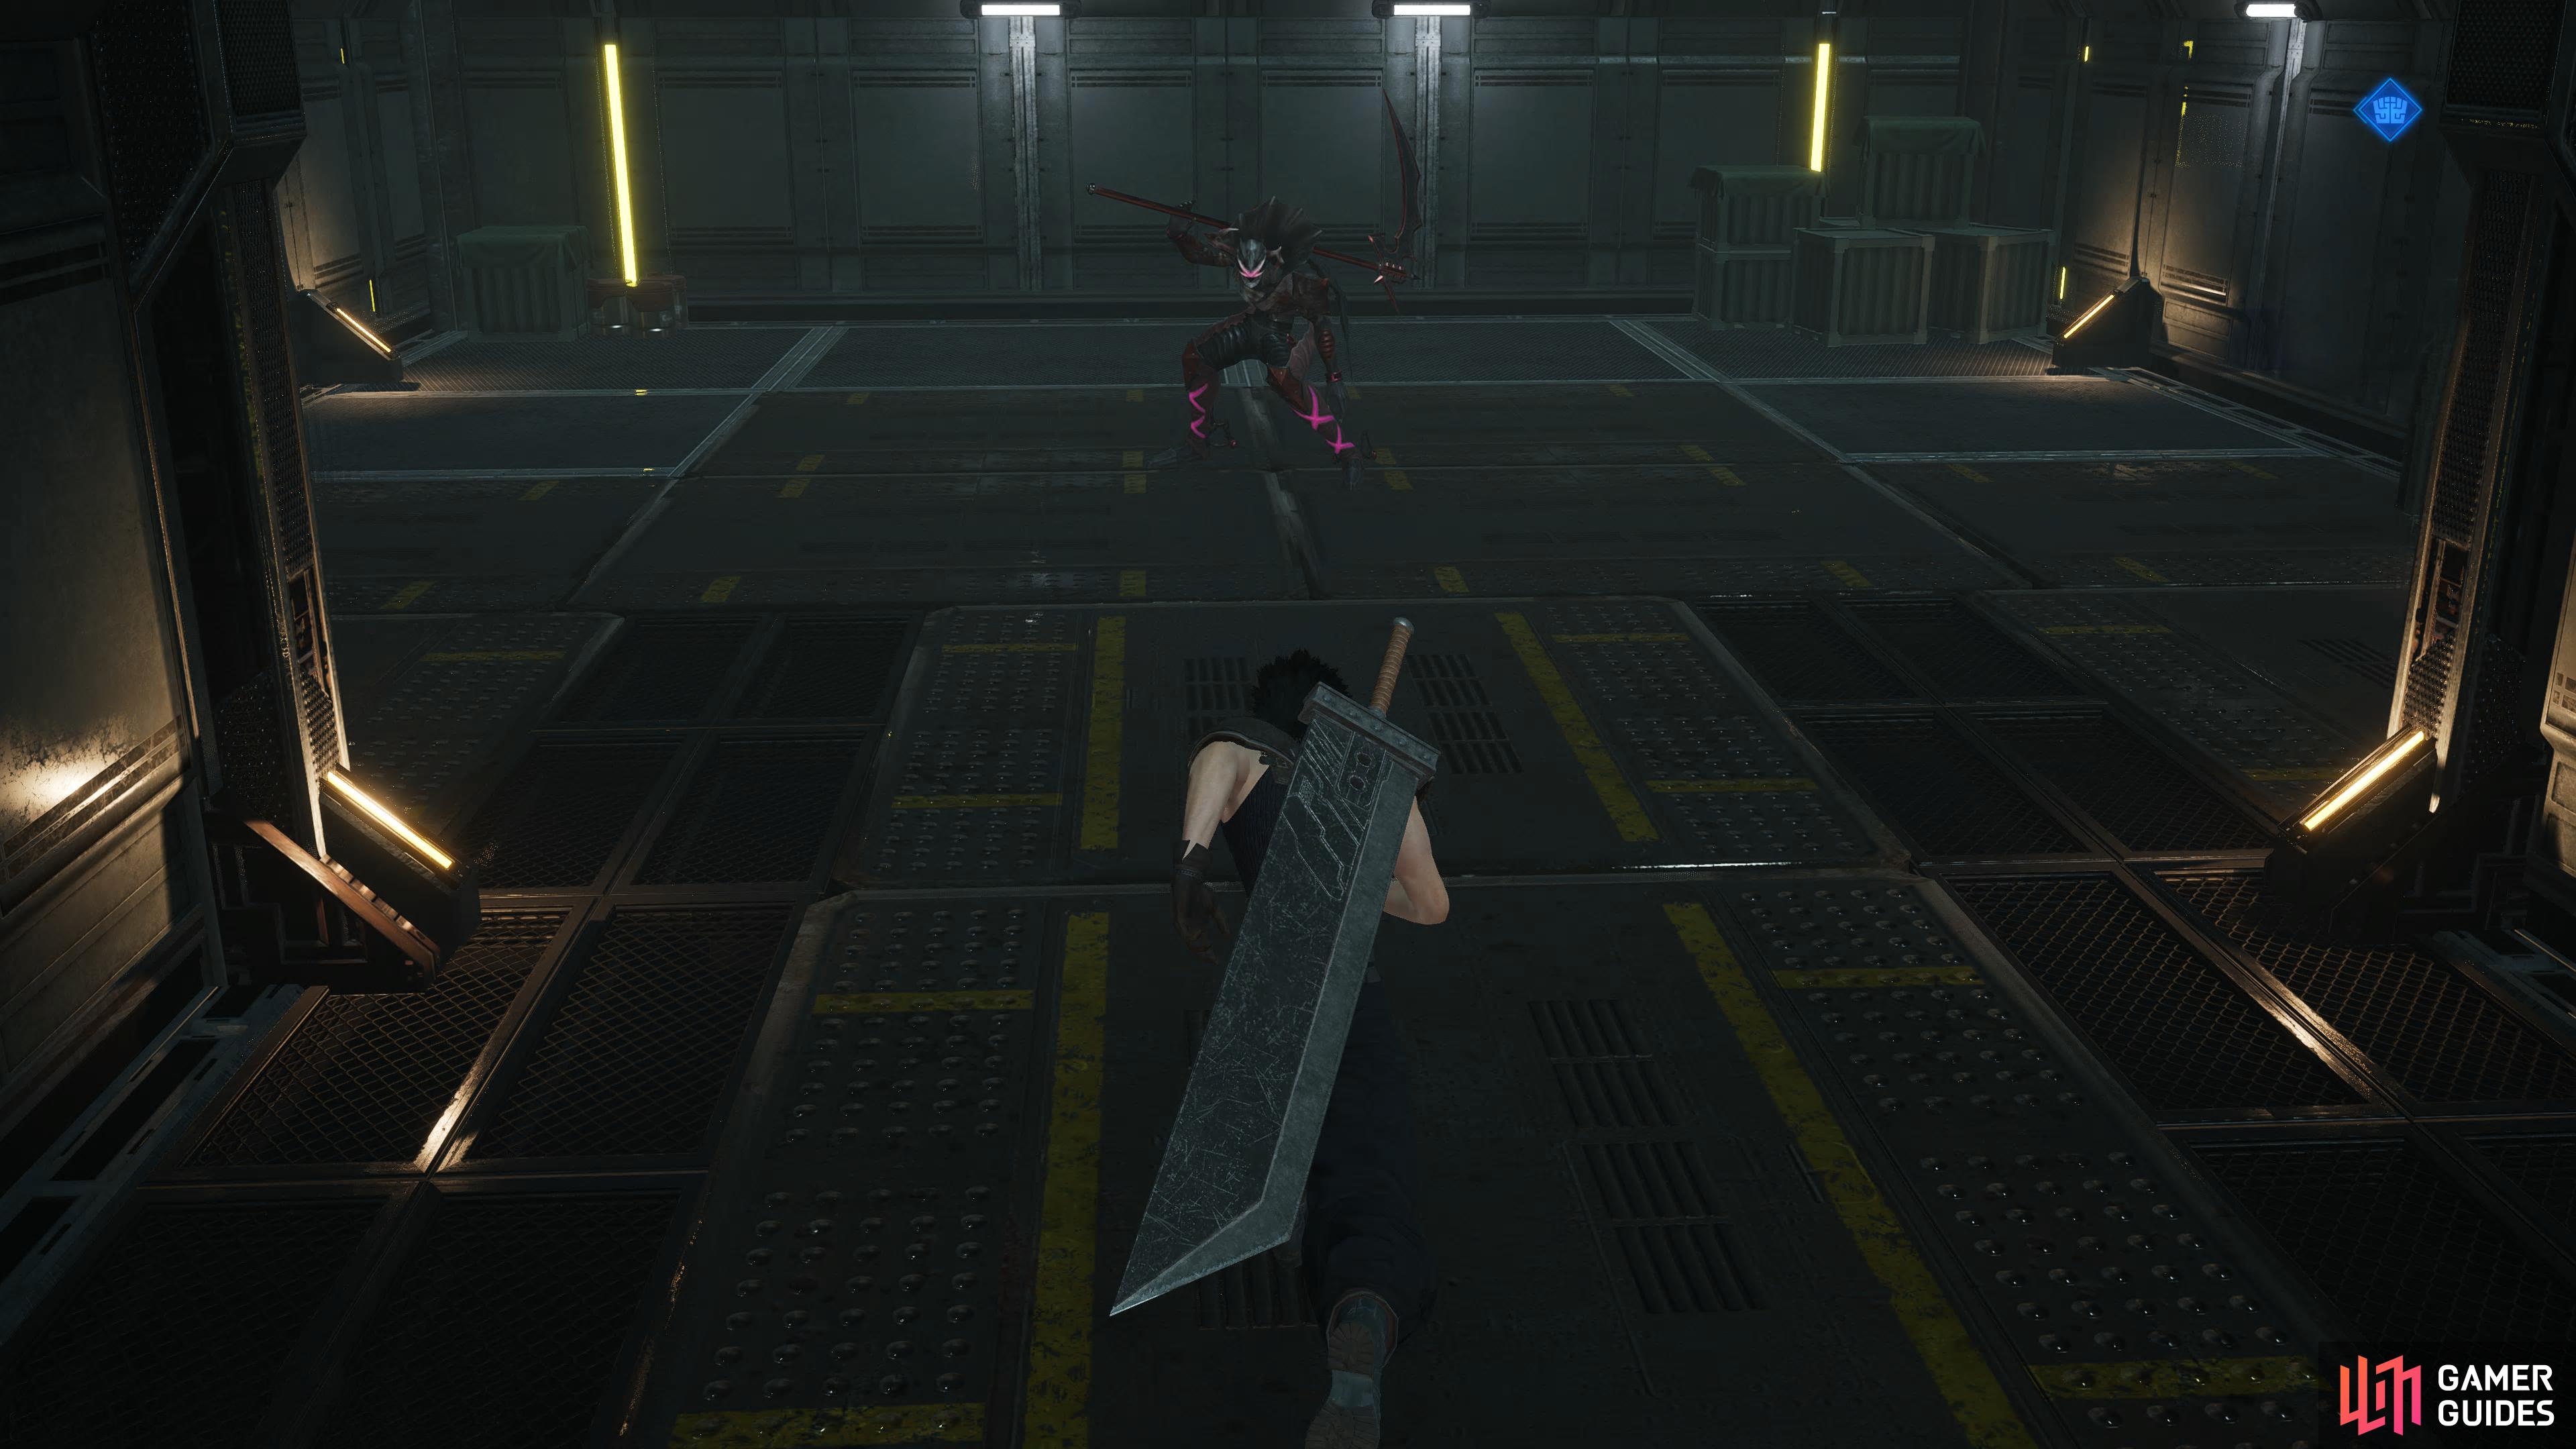
Mission 3-3-3 Boss.
Complete M3-3-2 to start this mission. A relatively big map, but it’ll only have two chests to open. These chests will contain the ![]() MBarrier materia, and a
MBarrier materia, and a ![]() Silver Armlet (which you got as a reward from the first mission…). Anyway, you’ll start on the east side of the map, near the center, and both of the chests can be found in the southwest. Head west ignoring the first intersection, and take the southern path at the next.
Silver Armlet (which you got as a reward from the first mission…). Anyway, you’ll start on the east side of the map, near the center, and both of the chests can be found in the southwest. Head west ignoring the first intersection, and take the southern path at the next.
You’ll find the first chest in the room at the bottom to your right. Go back the way you came, and take the west-then south path for the last chest which will be on your left in the room at the bottom. Once again go back on yourself, and then head east, north, east, and finally, north again to find the boss. Throughout this area expect to fight a lot of ![]() G Veritas, and
G Veritas, and ![]() Bee Saucer IIIs. The boss of the area will be another G Devastator. Avoid its Death Scythe attack, and Costly Punch it to death.
Bee Saucer IIIs. The boss of the area will be another G Devastator. Avoid its Death Scythe attack, and Costly Punch it to death.
3-3-4: One Base at a Time

Mission 3-3-4 Boss.
Unlocked by completing M3-3-3. Another relatively big map that has three chests to open. These chests will contain an ![]() Aegis Armlet,
Aegis Armlet, ![]() Gysahl Greens, and a
Gysahl Greens, and a ![]() Hi-Potion… Starting in the southeast corner, follow the one-way path until you reach the first intersection. Take the northern path to get the first two chests, one will be on your right, just after the bridge while the second will be around the corner near the barrier.
Hi-Potion… Starting in the southeast corner, follow the one-way path until you reach the first intersection. Take the northern path to get the first two chests, one will be on your right, just after the bridge while the second will be around the corner near the barrier.
Head back to the intersection, and take the west path. Hug the right wall until you reach the end of the path where you’ll find the chest to your right before you pass the wooden platform. Continue on, and initiate the fight with the boss. Throughout the area expect to fight the following enemies: G Veritas, G Devastators, and ![]() Sky Armor. The boss of the area will be a
Sky Armor. The boss of the area will be a ![]() G Baldor who’ll be accompanied by a G Devastator. These enemies shouldn’t cause you any problems at this stage of the game, but an
G Baldor who’ll be accompanied by a G Devastator. These enemies shouldn’t cause you any problems at this stage of the game, but an ![]() Aerial Drain combined with a Costly Punch can make short work of them.
Aerial Drain combined with a Costly Punch can make short work of them.
3-3-5: Rumble in Midgar
Mission 3-3-5 Boss.
Unlocked by completing M3-3-4. Although the map is large, there is only one chest containing an ![]() Adamantite, and you’ll get this at the beginning. Starting in the southeast, head north to open the chest on the left once you enter the next room. From here on it doesn’t matter what way you go as there is nothing else here other than the boss which can be found in the far room in the west. Throughout this map, you’ll encounter
Adamantite, and you’ll get this at the beginning. Starting in the southeast, head north to open the chest on the left once you enter the next room. From here on it doesn’t matter what way you go as there is nothing else here other than the boss which can be found in the far room in the west. Throughout this map, you’ll encounter ![]() G Spartans, G Baldors, and Sky Armor. The boss will consist of two
G Spartans, G Baldors, and Sky Armor. The boss will consist of two ![]() Sweeper++’s, and one G Devastator. The only thing to worry about here is the Smoke Vent attack from the
Sweeper++’s, and one G Devastator. The only thing to worry about here is the Smoke Vent attack from the ![]() Sweeper++‘s as it’ll place curse, silence, and poison on you although a
Sweeper++‘s as it’ll place curse, silence, and poison on you although a ![]() Ribbon or
Ribbon or ![]() Super Ribbon will prevent this.
Super Ribbon will prevent this.
3-3-6: Regain the Mako Facility
Mission 3-3-6 Boss.
The final mission of the sub-category will be unlocked after you complete the previous mission. There are two chests in this mission which contain a ![]() Hell Thundaga Materia, and a
Hell Thundaga Materia, and a ![]() Diamond Bracelet. Starting in the center of the map, the first chest can be found almost where you start. Ignore the northern path and head west, and you’ll find the chest on your right. Follow the long path west, south then east where you’ll find the final chest to your right, opposite the intersection. Continue east, and follow the path south where you’ll find the boss. Throughout the area, expect to fight the following enemies:
Diamond Bracelet. Starting in the center of the map, the first chest can be found almost where you start. Ignore the northern path and head west, and you’ll find the chest on your right. Follow the long path west, south then east where you’ll find the final chest to your right, opposite the intersection. Continue east, and follow the path south where you’ll find the boss. Throughout the area, expect to fight the following enemies: ![]() Belzecues, G Baldors, G Spartans, and
Belzecues, G Baldors, G Spartans, and ![]() Sweeper++’s. The boss of the area will be a
Sweeper++’s. The boss of the area will be a ![]() G Dominator.
G Dominator.
Although you shouldn’t have much trouble at this stage of the game, this enemy has a boatload of health sitting at 485,200 HP, and it does have a couple of attacks to watch out for. The Claw attack can deal significant damage, and it will use it a lot. Thankfully, you can roll away from it. Then it has an Ability Charge attack called Stranglehold where it can deal a massive amount of damage if left alone. Use Costly Punch during this phase to make short work of its charge, and render the attack harmless.
No Comments