If you want to get 100% in Crisis Core Final Fantasy VII Reunion, you’ll need to get all the collectibles. Unfortunately, a lot of these can be missed, and some of them will require you to think outside the box. Thankfully, this page will list every missable collectible in Chapter 4 including items that are still considered useful, but are not needed to get the 100%.
Zack taking a walk with Aerith in the Sector 5 Slums.
Every Missable Collectible in Chapter 4 List
This will show you everything that you can miss in Chapter 4 in a chronological order.
| Collectible | Location | Notes |
|---|---|---|
| DMW Image - |
Chapter 4 Start | Automatically obtained at the beginning of Chapter 4. |
| Mission - 3-1-3 (Eliminate the Copies) | Chapter 4 Start | Automatically obtained at the beginning of Chapter 4. |
| Mission - 5-1-3 (Experiments No. 103) | Chapter 4 Start | Automatically obtained at the beginning of Chapter 4. |
| Mission - 7-2-1 (Search and Destroy) | Chapter 4 Start | Automatically obtained at the beginning of Chapter 4. |
| Mail: Shinra News – Personnel Announcement 0104 | Chapter 4 Start | Automatically obtained after leaving the Church. |
| Mail: Keepers of Honor – Angeal Fan Club Newsletter 314 | Chapter 4 Start | Automatically obtained when you head to the Sector 5 market area. |
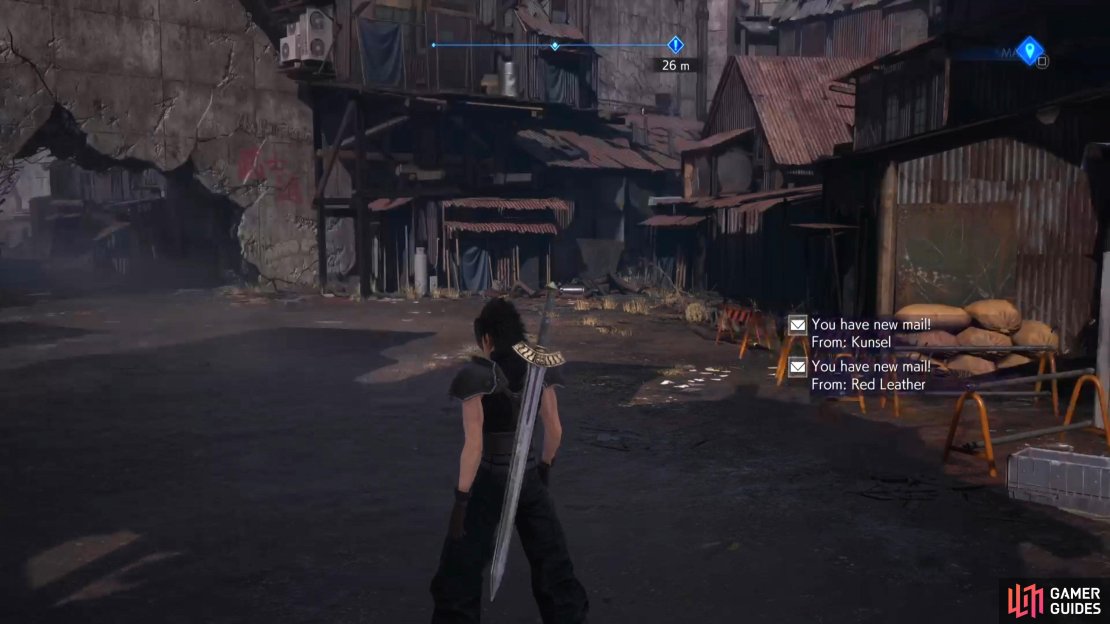
| Mail: Kunsel – |
Chapter 4 Start | Automatically obtained when you head halfway down the Sector 5 Slums - Street area. |
| Mail: Red Leather – Genesis Fan Club Newsletter 668 | Chapter 4 Start | Automatically obtained when you head halfway down the Sector 5 Slums - Street area. |
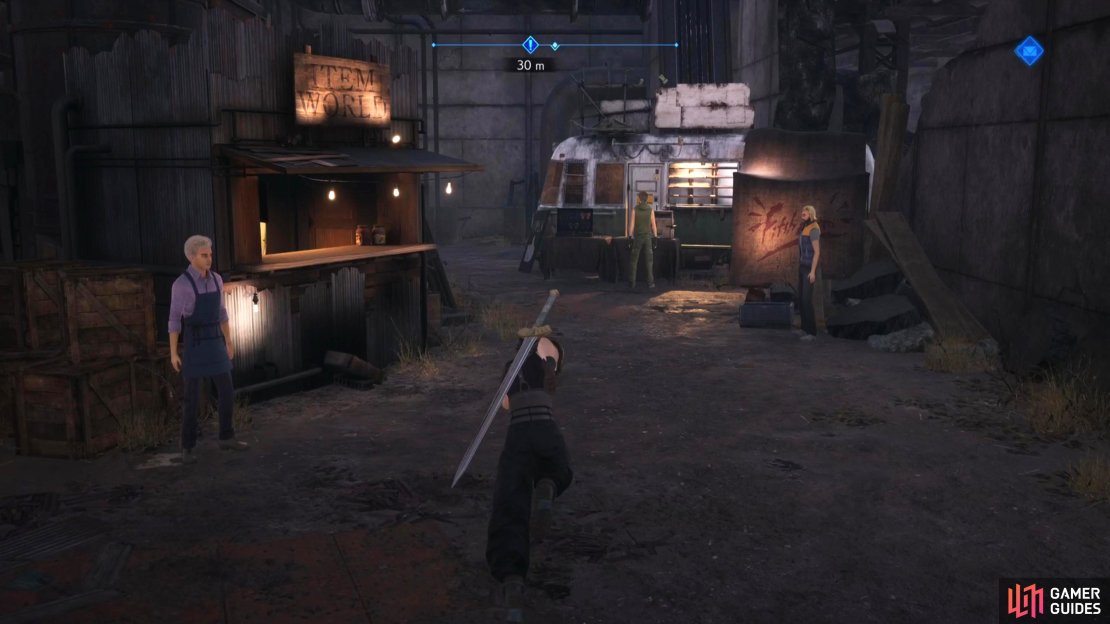
| Mail: Lazard – Children in the slums | Chapter 4 Start | Automatically obtained when you enter the Sector 5 market area. |
| Mail: Study Group – Message to members | Chapter 4 Start | Automatically obtained when you enter the Sector 5 market area. |
| Master Blender | Sector 5 Slums - Market | In the market while looking for the boy who stole your wallet. This is also a part of the trophy below. |
| Good Match For Aerith | Sector 5 Slums - Market | You’ll need to complete various tasks to raise Aerith’s affection during the period your wallet is stolen by the boy. |
| Godlike* | Sector 5 Slums - Market | Complete the delivery minigame in under 14 seconds from the shopkeeper in the market. |
| Bingo!* | Sector 5 Slums - Market | Complete the number-guessing game from the small boy in the market area. |
| Mission - 2-1-3 (Sightings in Sector 5) * | Sector 5 Slums - Market | Speak to the small girl in the market area (the one who made you wait) after getting your wallet back. |
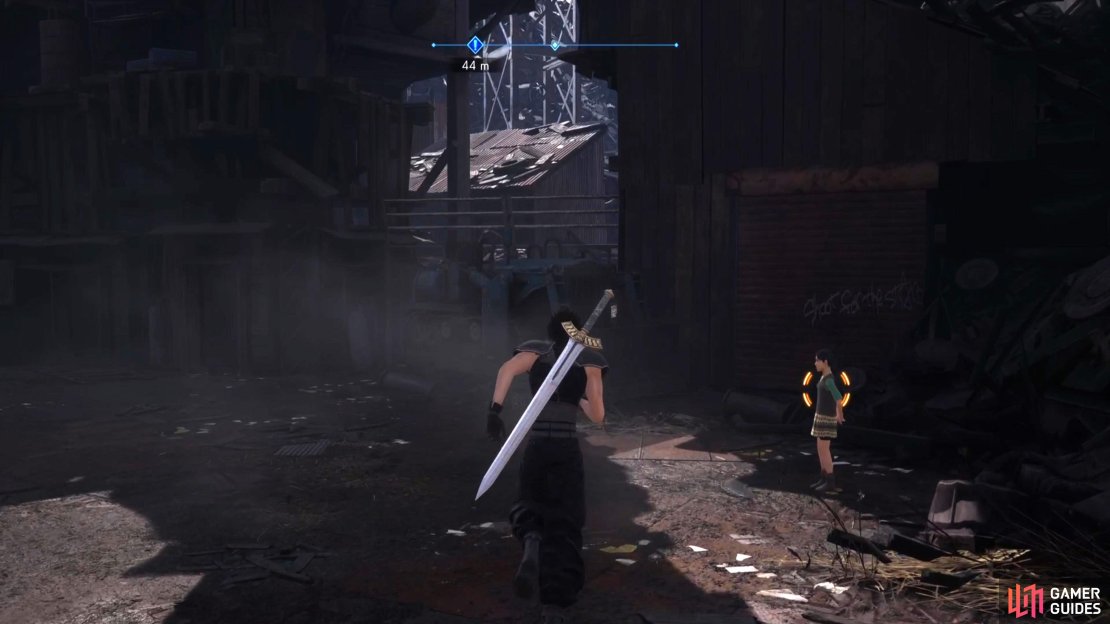
| Mission - 2-1-4 (Defend the Slums) * | Sector 5 Slums - Street | Speak to the small girl at the end of the street to unlock the mission. If you miss this now, you can accept it in the next chapter. |
| Precise Restoration | Shinra Building - Fusion Chamber Room | When tasked to protect Hojo in the Fusion Chamber Room, interact with the machine on his left. Press the button on exactly 5 seconds for the trophy. |
| Cell Raider | Shinra Building - Fusion Chamber Room | Press the switch on the machine to the right of Hojo which will release several monsters you’ll need to kill on a time limit. |
| Of Significant Worth | Shinra Building - Fusion Chamber Room | Head to the blue/green chamber in the middle of the Fusion Chamber Room, and answer the questions correctly. |
- *Although these are missable for the chapter, you can still unlock them until you leave Midgar for the last time in Chapter 7.
All Missable Mail in Chapter 4
In Crisis Core, you’ll receive mail to your flip-phone periodically updating you with news as well as other stuff. There are 102 Mails altogether, and unfortunately you’ll need to get one mail from each sender which means that you’ll need 100 of them if you want the Mail Completionist trophy.
Mail: Shinra News – Personnel Announcement 0104
Once you leave the church at the beginning of Chapter 4. Head forward a bit, and the mail will pop up on your screen.
Mail: Keepers of Honor – Angeal Fan Club Newsletter 314
As you approach the Sector 5 Slums – Market area at the beginning of Chapter 4.
Mail: Kunsel – Hollander’s T-shirt
As you approach halfway down the Sector 5 Slums - Street area at the beginning of Chapter 4.
If you walk past the Sector 5 Market entrance, you’ll get two mails.
Mail: Red Leather – Genesis Fan Club Newsletter 668
As you approach halfway down the Sector 5 Slums - Street area at the beginning of Chapter 4.
Mail: Lazard – Children in the slums
When you enter the Sector 5 Slums – Market area at the beginning of Chapter 4. Just past the elderly shopkeeper.
Mail: Mail: Study Group – Message to members
When you enter the Sector 5 Slums – Market area at the beginning of Chapter 4. Just past the elderly shopkeeper.
All Missable DMW Images in Chapter 4
The only DMW image you can get in Chapter 4 is Aerith’s ![]() Healing Wave, but this isn’t missable as you’ll get it at the beginning of the chapter.
Healing Wave, but this isn’t missable as you’ll get it at the beginning of the chapter.
All Missable Side Missions in Chapter 4
Mission: 3-1-3 – Eliminate the Copies
This Mission will be automatically unlocked as soon as you can reach a Save Point at the beginning of Chapter 4.
Mission: 5-1-3 – Experiments No. 103
This Mission will be automatically unlocked as soon as you can reach a Save Point at the beginning of Chapter 4.
Mission: 7-2-1 – Search and Destroy
This Mission will be automatically unlocked as soon as you can reach a Save Point at the beginning of Chapter 4.
Mission: 2-1-3 – Sightings in Sector 5
In the Sector 5 Slums – Market area after you got your wallet back. Talk to the small girl who made you wait for a prolonged period of time to unlock the mission.
Mission: 2-1-4 – Defend the Slums
Speak to the small girl at the end of Sector 5 Slums - Street before you go to the market to unlock mission 2-4-1. Otherwise you’ll be locked out from it until at least Chapter 5.
This Mission is missable in Chapter 4, but you can still accept it in Chapter 5. At the beginning of Chapter 4, Aerith will ask if you want to head to the market. Before you head to the market (door on the right), continue down the street, and there’ll be a small girl standing in the corner. Talk to her to unlock the mission.
All Missable Trophies/Achievements in Chapter 4
Good Match For Aerith
This is the toughest trophy/achievement in the chapter. You must reach high affection with Aerith before you head to the park with Aerith. There is a hidden affection score that can reach to 75 which you’ll need to unlock the trophy/achievement.
Starting as soon as you lost your wallet, do the following:
-
Talk to all three shopkeepers for +10 affection for each shopkeeper. (30 total)
-
Now speak to the small boy who asks for potions in exchange for information. Although it is a scam, do this five times which will reward you with another +10 affection (+2 per potion). (10 total)
-
Head over to the small girl at the opposite end of the market, and keep waiting until you automatically get taken out of it. This will give you another +10 affection. (10 total)
-
Finally, after capturing Bruno, choose the second option “I’ll pay for the medicine” to get another +10 affection. If you select the first option, you’ll only get +5. (10 total)
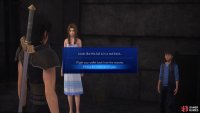
(1 of 5) Speak to the attendant next to the “Item World” shop to get +10 affection for Aerith.
If done correctly, this will give you +60 affection which means you’ll need +15 more affection for the trophy/achievement. This will take place after you have your wallet back. Complete the Godlike trophy/achievement with the fastest speed (under 14 seconds) will give you +5 affection, and completing the Master Blender trophy/achievement will also give you +5. Either do two perfect concoctions with the Master Blender and get the godlike trophy, and you will get you the + 15 you need. Otherwise, do the Master Blender again to get the last 5. Note: Make sure you save after every successful concoction as you will lose affection if you create anything less than perfect. You’ll know it’s perfect as the shopkeep will mention it’s divine.
Finally, continue on with the story, and as you reach near the end of the chapter, Bruno will run up to you, and say you and Aerith make a Good couple. If he says anything other than that, you may have missed something or done too many bad perfumes. We have a full guide for the trophy here.
Master Blender
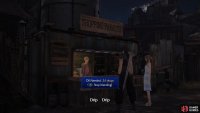
This trophy takes place in the Sector 5 Slums – Market after getting your wallet back. Head over and interact with the Shop Clerk of “Shopping Paradise” and eventually you’ll get put into a minigame to brew the perfect perfume.
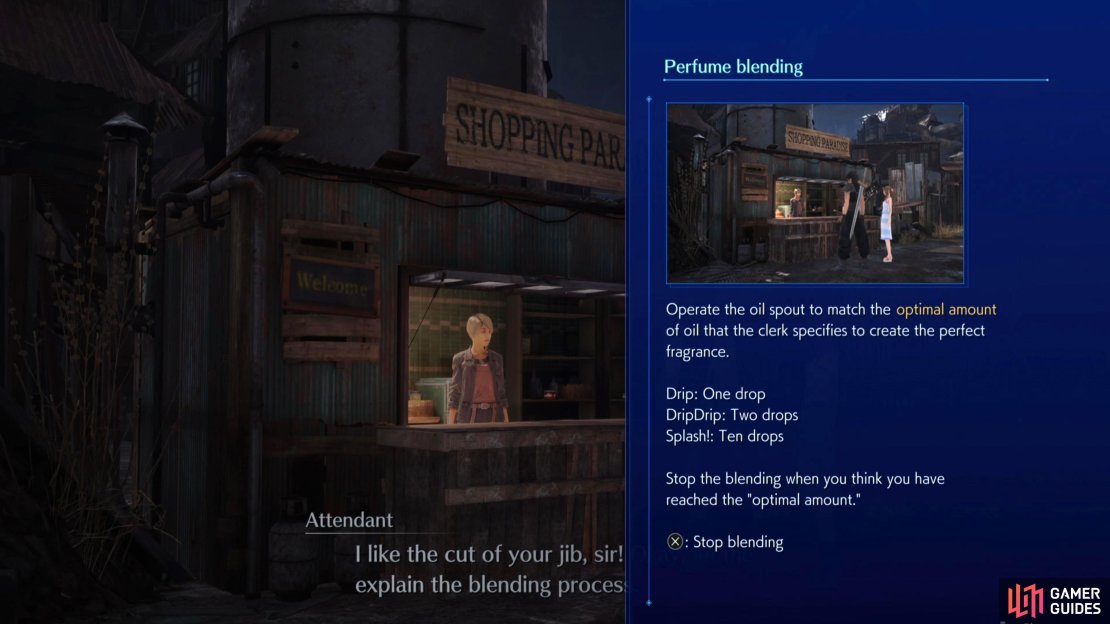
You’ll need to count the drips/splashes to land on the required amount of oil(which changes every time). For example, you’ll need 23 drops of oil, and then you’ll see/hear the oil getting dropped into the bottle.
- Drip = 1 drop
- DripDrip = 2 drops
- Splash! = 10 drops
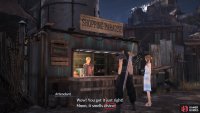
(1 of 3) You can accept the perfume blending minigame by talking to the Shoppers Paradise attendant.
Count the drops until it reaches the required number, and then press the displayed button to stop the process. You can pause each time after some oil has been added, and vaguely make out how many drops were added each time. Completing a perfect brew once will get you the trophy/achievement, but you’ll need to perfect it three times as part of the Good Match For Aerith trophy/achievement. You can read our in-depth guide on this trophy/achievement here.
Godlike
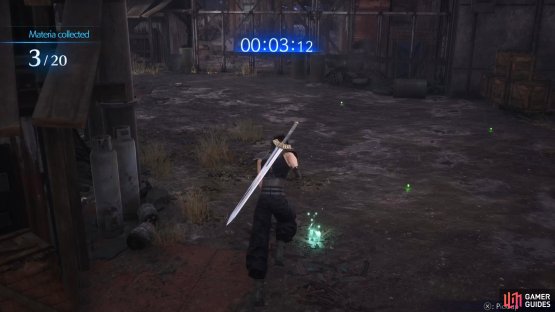
Same as the above trophy/achievement. After getting your wallet back, head over to the older gentleman on the east side of the market, and speak to him to initiate another minigame. You’ll need to collect 20 green materia (pips) on the floor in 14 seconds! This can be quite tough mainly because the camera view isn’t great, and you don’t really have time to keep adjusting it. The best way to do it is to always be running, and sprint over the pips while you repeatedly keep pressing the pickup button. If you slow down at any time, you most likely won’t get them all in time. Note, you have to approach the shopkeeper after collecting the 20 materia to get the time to stop.
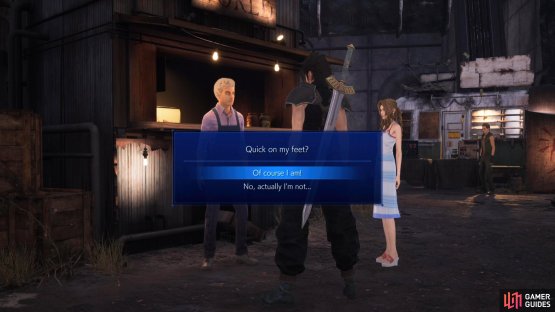
(1 of 2) Tell the Item World attendant that you’re quick on your feet to start the minigame.
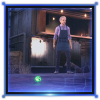
Tell the Item World attendant that you’re quick on your feet to start the minigame. (left), Pick up all 20 materia (green pips) of the floor and head back to the attendant in under 14 seconds. (right)
Although this is missable for the Chapter, you’ll have another chance to get it before the end of Chapter 7.
Bingo!
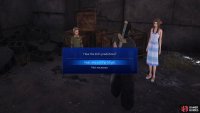
Once again, after you get your wallet back, head over to the corner and speak to the small boy who was scamming you earlier with potions. This trophy/achievement is also known as the number-guessing game in some circles. After talking to him, he’ll ask if you want to play a game for rewards. The game is that you must guess the correct number of children who run past you in the range of 1-6. This is easy to do if you do the following:
-
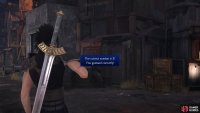
Ask Aerith what her guess is. She will give you two numbers if your affection is above 50 (more on this below) or three numbers if it’s below.
-
Now pay the kid 50 Gil for his guess, and he’ll give you three numbers.
(1 of 3) Ask Aerith what number she would choose.
All you need to do now is choose the number which both of them said. For example, if Aerith said, 1 or 3. And the kid said 2, 3, and 6, you’ll want to select 3 as both of them included the number in their guess. On the rare occasion, he may say two of the same number as Aerith to which you’ll just have to guess. You only need to win once to get the trophy/achievement, although you can win more prizes by replaying it, but the rewards are mostly trash.
Although this is missable for the Chapter, you’ll have another chance to get it before the end of Chapter 7.
Precise Restoration
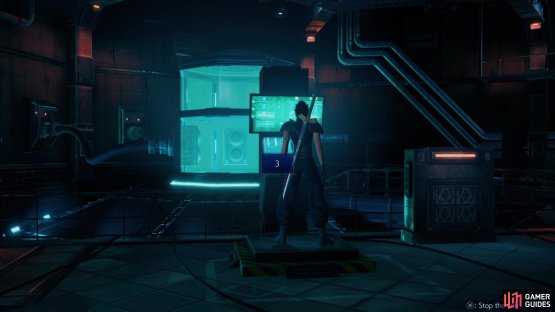
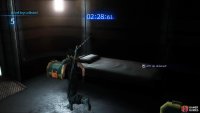
These next two trophies/achievements can be done in any order, and they all take place in the Shinra Building - Fusion Chamber Room with Hojo. This can be a pain to get right, thankfully you can keep retrying until you get it right. To the left of Hojo is a machine where you can press a button. Once you press the button, a timer will count down from 5…4…3, but the last two numbers won’t get displayed.
You have to press the button exactly when the countdown reaches zero, but you’ll have to count when. The button press is the only thing that matters, and you can ignore the actual animation for it. When the timer hits 3, countdown the last two seconds, and press the button. The easiest way to do this is to use a stopwatch (phone) if you have one, and start the timer as soon as you hit 3 seconds. Then, when your stopwatch hits 2, press the button.
(1 of 2) Press the button on the machine to the left of Hojo.
Press the button on the machine to the left of Hojo. (left), The clock will count down from 5 until it reaches 3. The last numbers won’t display on the screen. You need to either count or use a stopwatch for the final two numbers to press the button on exactly 0. (right)
Cell Raider
Once again, in the Fusion Chamber Room with Hojo. Press the button on the machine to the right of him with the ![]() Steal Materia equipped which Bruno gave you earlier. This will release several monsters on the 67th floor. Six to be precise. Hojo will tell you that there are six locked doors, and each monster contains a key. Although he won’t tell you how to retrieve the keys, you’ll need to steal them from each monster which will have a 100% success rate. This will give you a three-minute timer starting when you leave the room, and you’ll have to defeat each monster while stealing their key, then open up each cell, and every chest within it (three chests per room). You can do this in a minute and a half, so don’t let the time worry you.
Steal Materia equipped which Bruno gave you earlier. This will release several monsters on the 67th floor. Six to be precise. Hojo will tell you that there are six locked doors, and each monster contains a key. Although he won’t tell you how to retrieve the keys, you’ll need to steal them from each monster which will have a 100% success rate. This will give you a three-minute timer starting when you leave the room, and you’ll have to defeat each monster while stealing their key, then open up each cell, and every chest within it (three chests per room). You can do this in a minute and a half, so don’t let the time worry you.
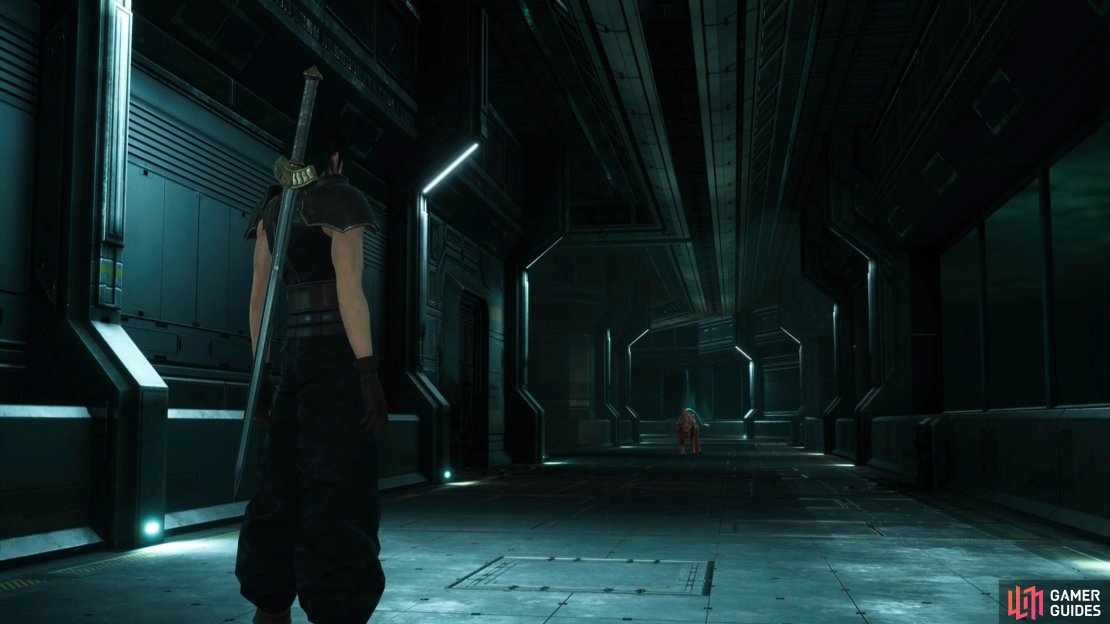
(1 of 6) Follow the corridor all the way to the end, and you’ll encounter three of the six monsters.
Exit the room, and the timer will start. Head back the way you came to reach the room originally, and follow the corridor to the end. You’ll see three monsters on your way, steal the key, and defeat them, then head towards the Fusion Chamber again, but turn right before it to find another monster. Steal the key, and enter the large room with three cells either side of the room. You’ll find the 5th monster at the back of the corridor. Get the key, and continue following the corridor to find the last monster. Defeat it, and get the last key, and open up each cell while looting all the treasure chests (3 in each cell). When you’ve opened up all six cells, and looted all 12 chests, run back to Hojo to finish the minigame.
Of Significant Worth

Of Significant Worth
Judged by Hojo to be a "SOLDIER member of significant worth" in the Fusion Chamber.

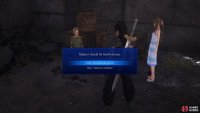
The last trophy/achievement of the chapter. In the Fusion Chamber room, head over to the blue/green chamber in the center and interact with it. Hojo will trap you in there, and ask you three questions. You need to get all three right to get the trophy/achievement. The correct answers are:
1. A SOLDIER operative like Sephiroth.
2. State-of-the-art science and technology.
3. A person unafraid to challenge Shinra
(1 of 4) Hojo will trap you in the chamber, and ask you a few questions.



















No Comments