
If you want to get 100% in Crisis Core Final Fantasy VII Reunion, you’ll need to get all the collectibles. Unfortunately, a lot of these can be missed, and some of them will require you to think outside the box. Thankfully, this page will list every missable collectible in Chapter 9 including items that are still considered useful, but are not needed to get the 100%.
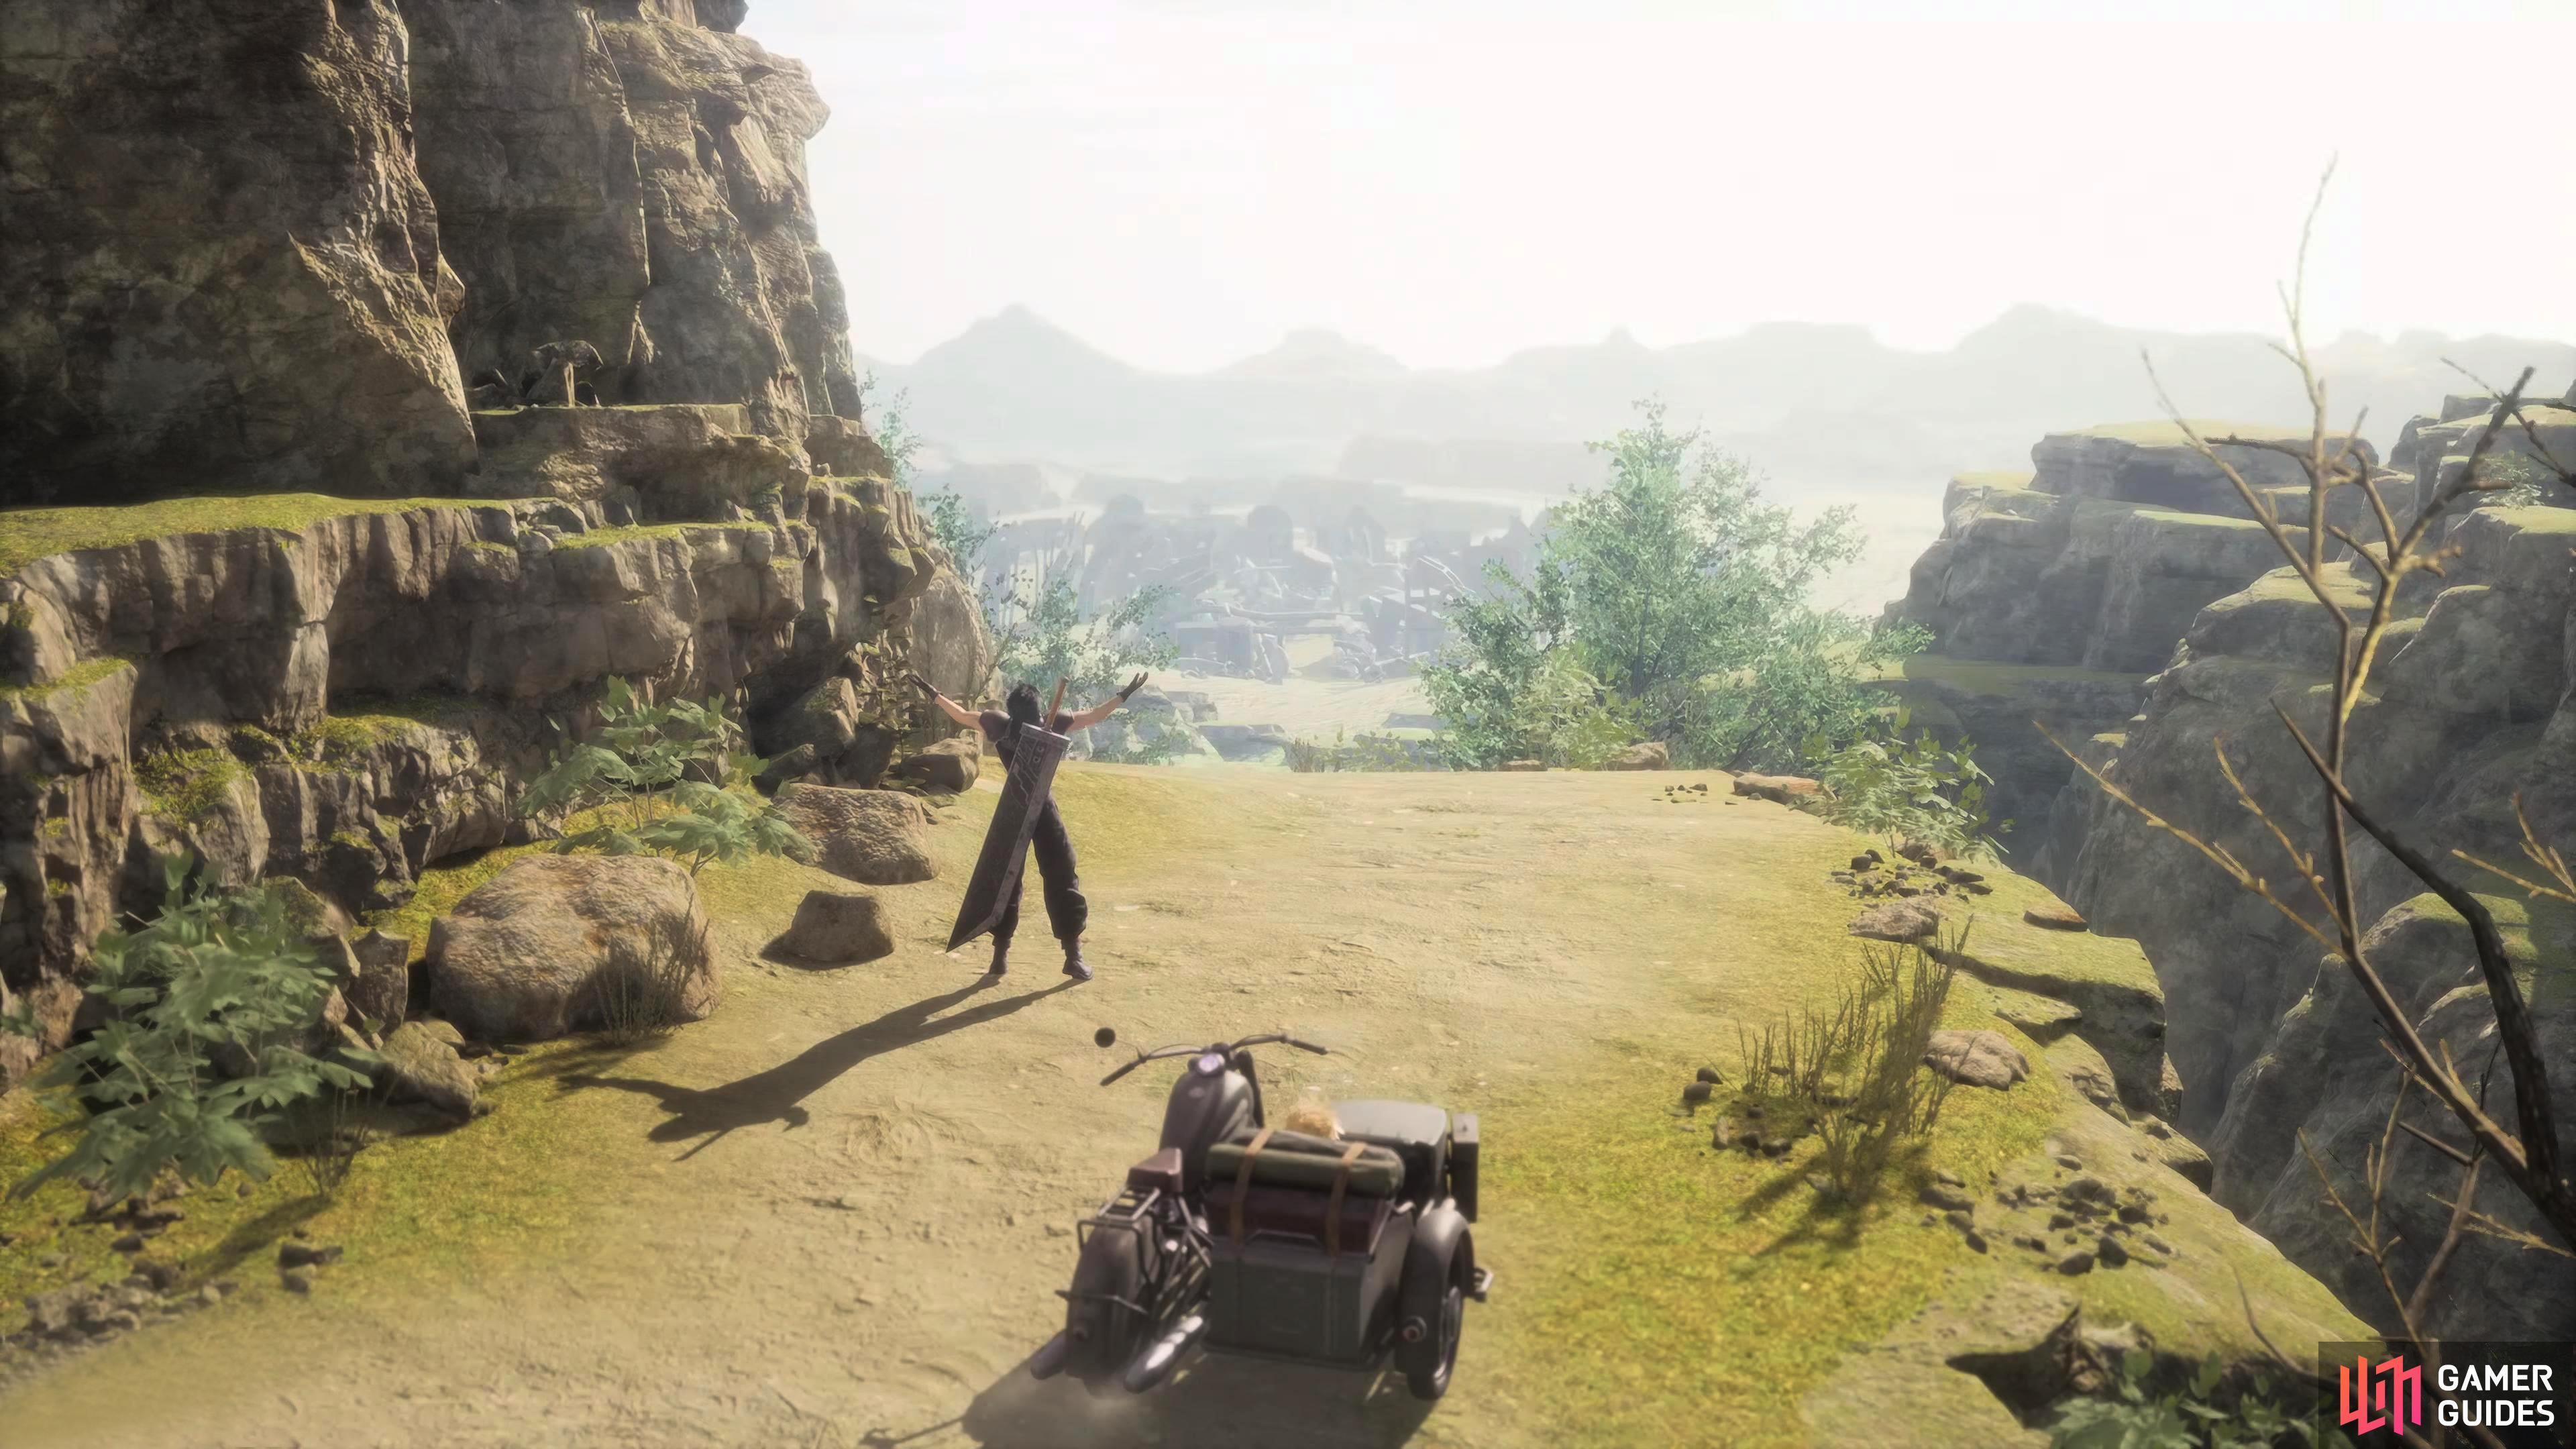
Zack is happy he’s back in his hometown.
Every Missable Collectible in Chapter 9 List
This will show you everything that you can miss in Chapter 9 in a chronological order.
| Collectible | Location | Notes |
|---|---|---|
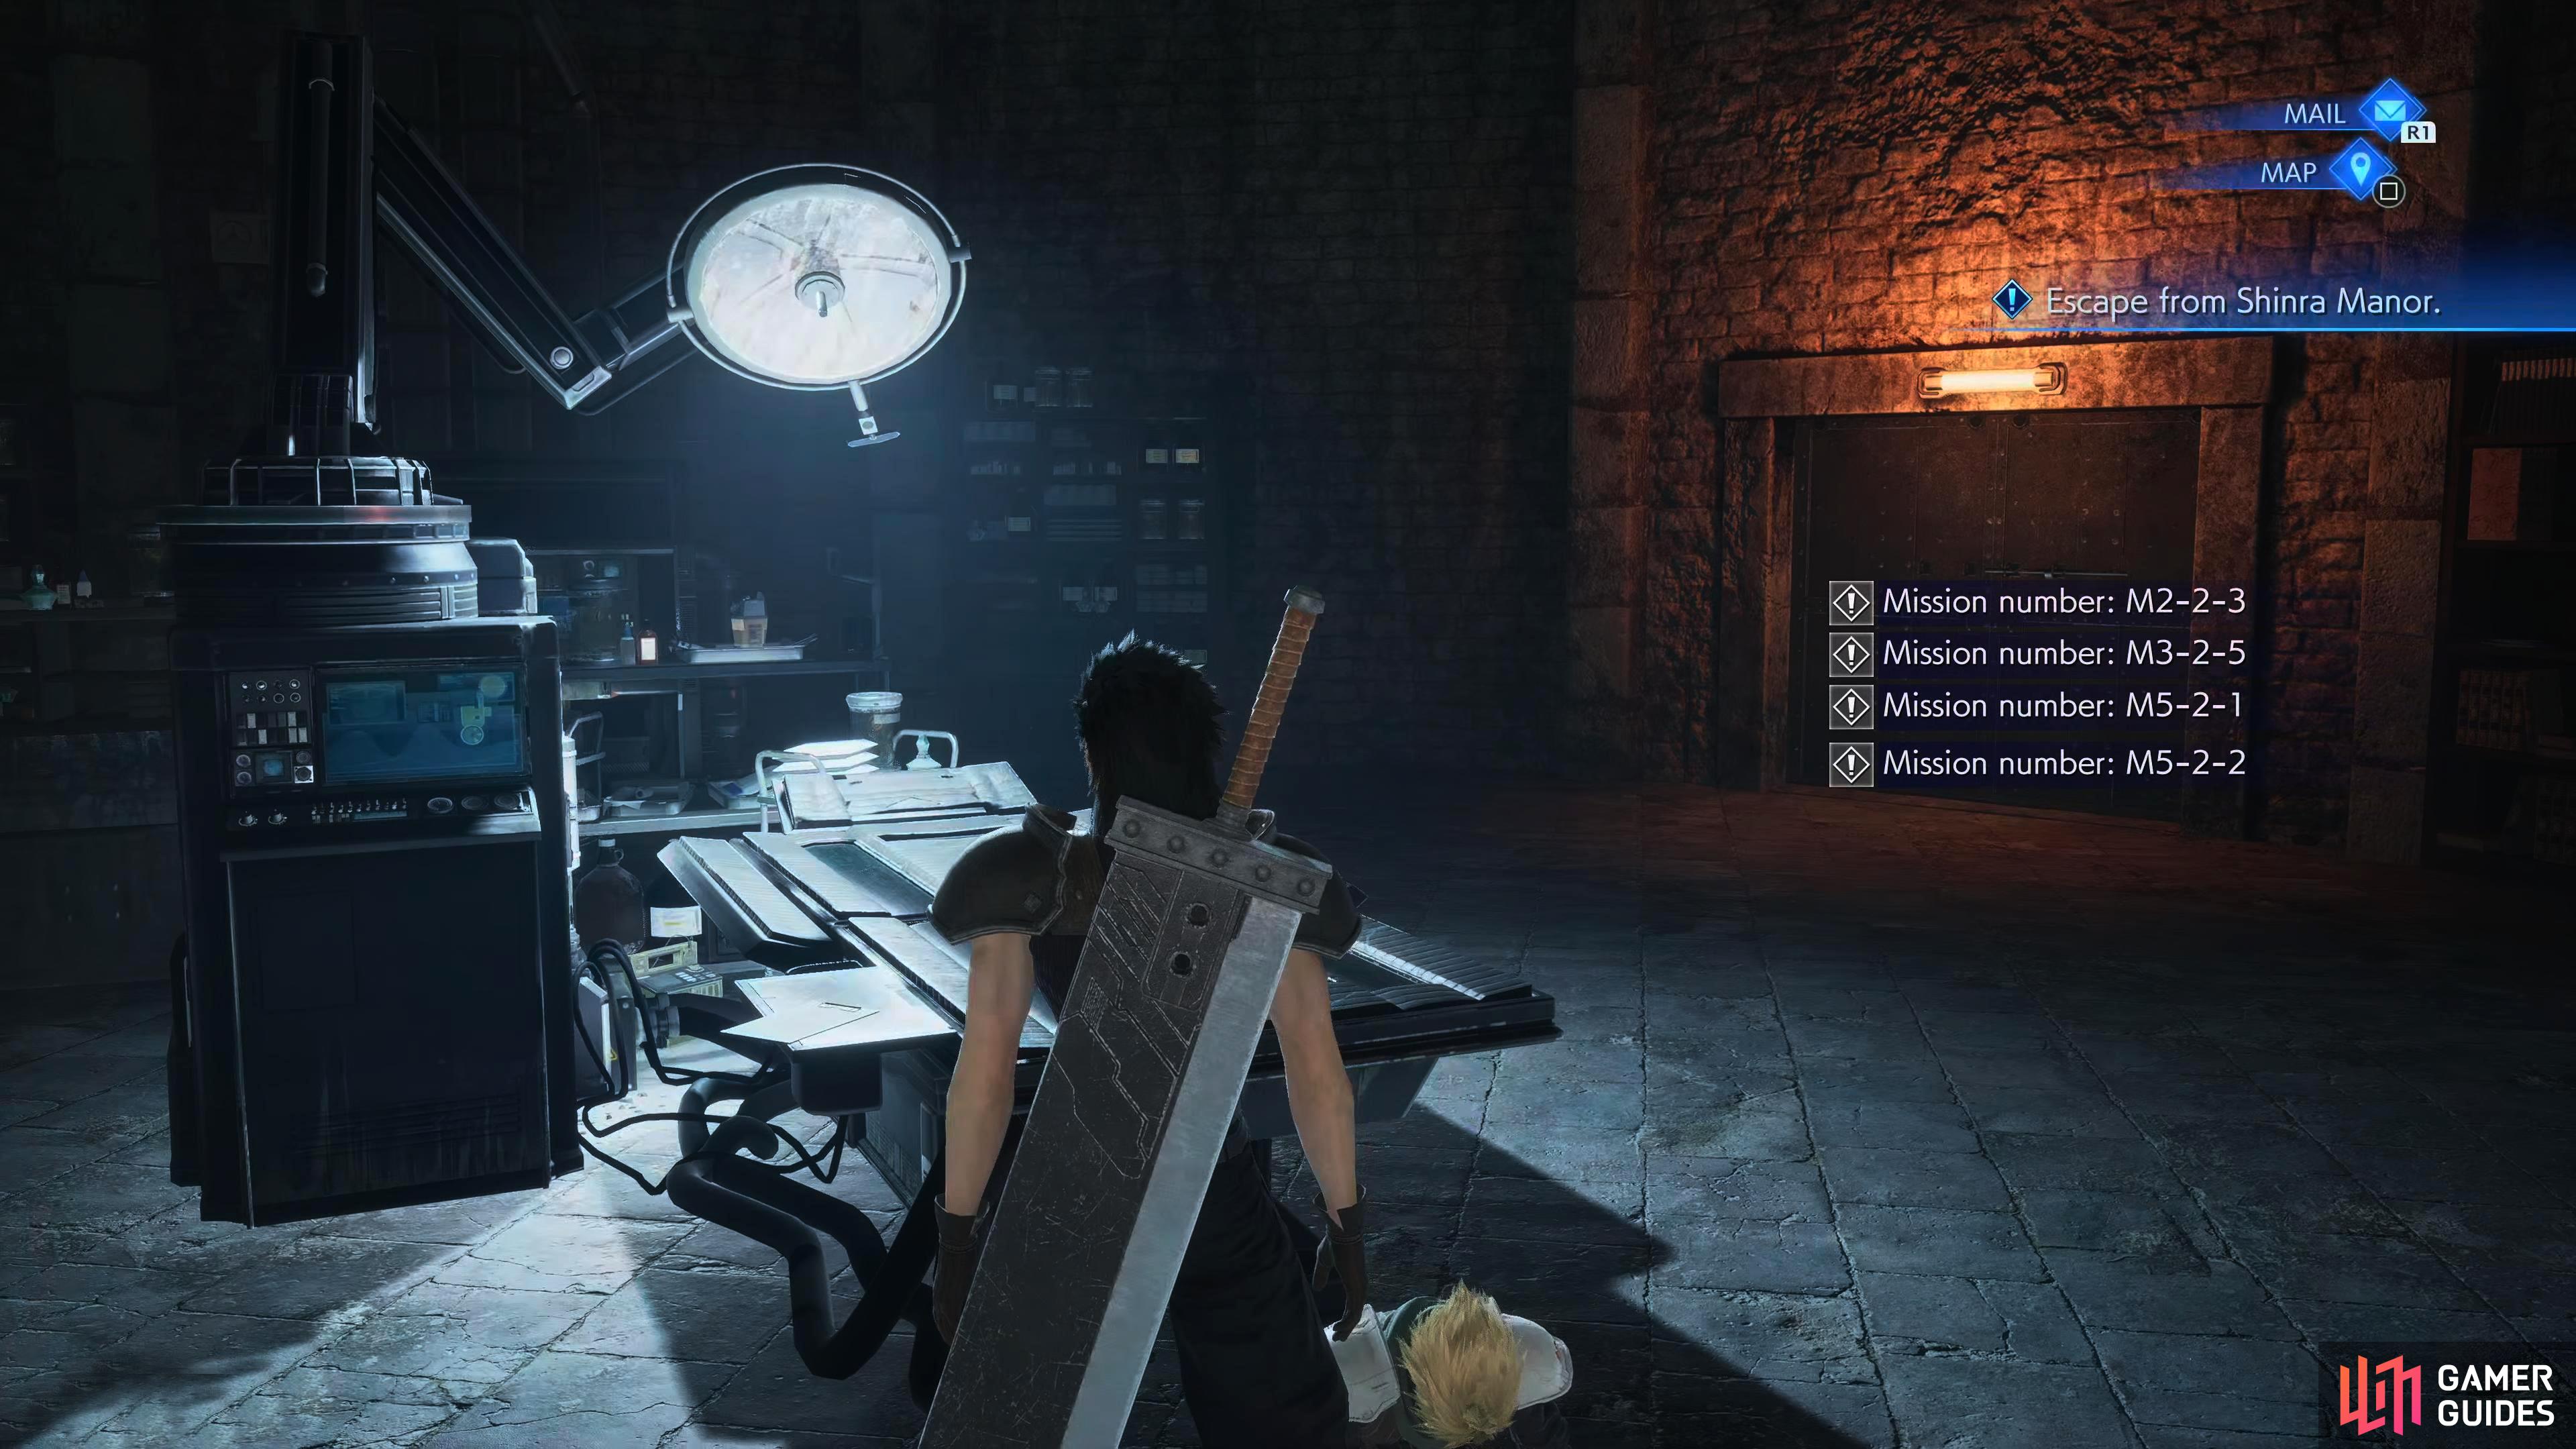
| Mission - 1-1-2 (Shinra’s Advanced Training) | Chapter 9 Start | Automatically unlocked at the start of Chapter 9. |
| Mission - 2-2-3 (Nibelheim) | Chapter 9 Start | Automatically unlocked at the start of Chapter 9. |
| Mission - 3-2-5 (Pursue the Foes) | Chapter 9 Start | Automatically unlocked at the start of Chapter 9. |
| Mission - 5-2-1 (Experiments No. 107) | Chapter 9 Start | Automatically unlocked at the start of Chapter 9. |
| Mission - 5-2-2 (Experiments No. 108) | Chapter 9 Start | Automatically unlocked at the start of Chapter 9. |
| Mail: Reporter – Links to dead SOLDIER operative! | Shinra Manor | Automatically after you leave the Lab. |
| Mail: Reporter – Flying SOLDIER man: Dead or alive? | Shinra Manor | Automatically after you leave the Lab. |
| Mail: Keepers of Honor – Sightings | Shinra Manor | Automatically after you leave the underground cave. |
| Mail: Study Group – Our upcoming secret event! | Shinra Manor | Automatically unlocked as you enter the Manor. |
| Mail: Shinra News – Personnel Announcement 0210 | Shinra Manor | Automatically unlocked as you enter the Manor. |
| Mail: Wonder Hunter – The Last Wonder | Nibelheim Outskirts | Automatically unlocked when you leave the Manor. You’ll only get this if you complete the first six wonders in the previous chapter. |
| Seven Wonders 7 | Nibelheim Outskirts | Pick up the materia behind the fence in the northeast corner. |
| Seven Wonders Expert | Nibelheim Outskirts | Obtained after Seven Wonders 7. |
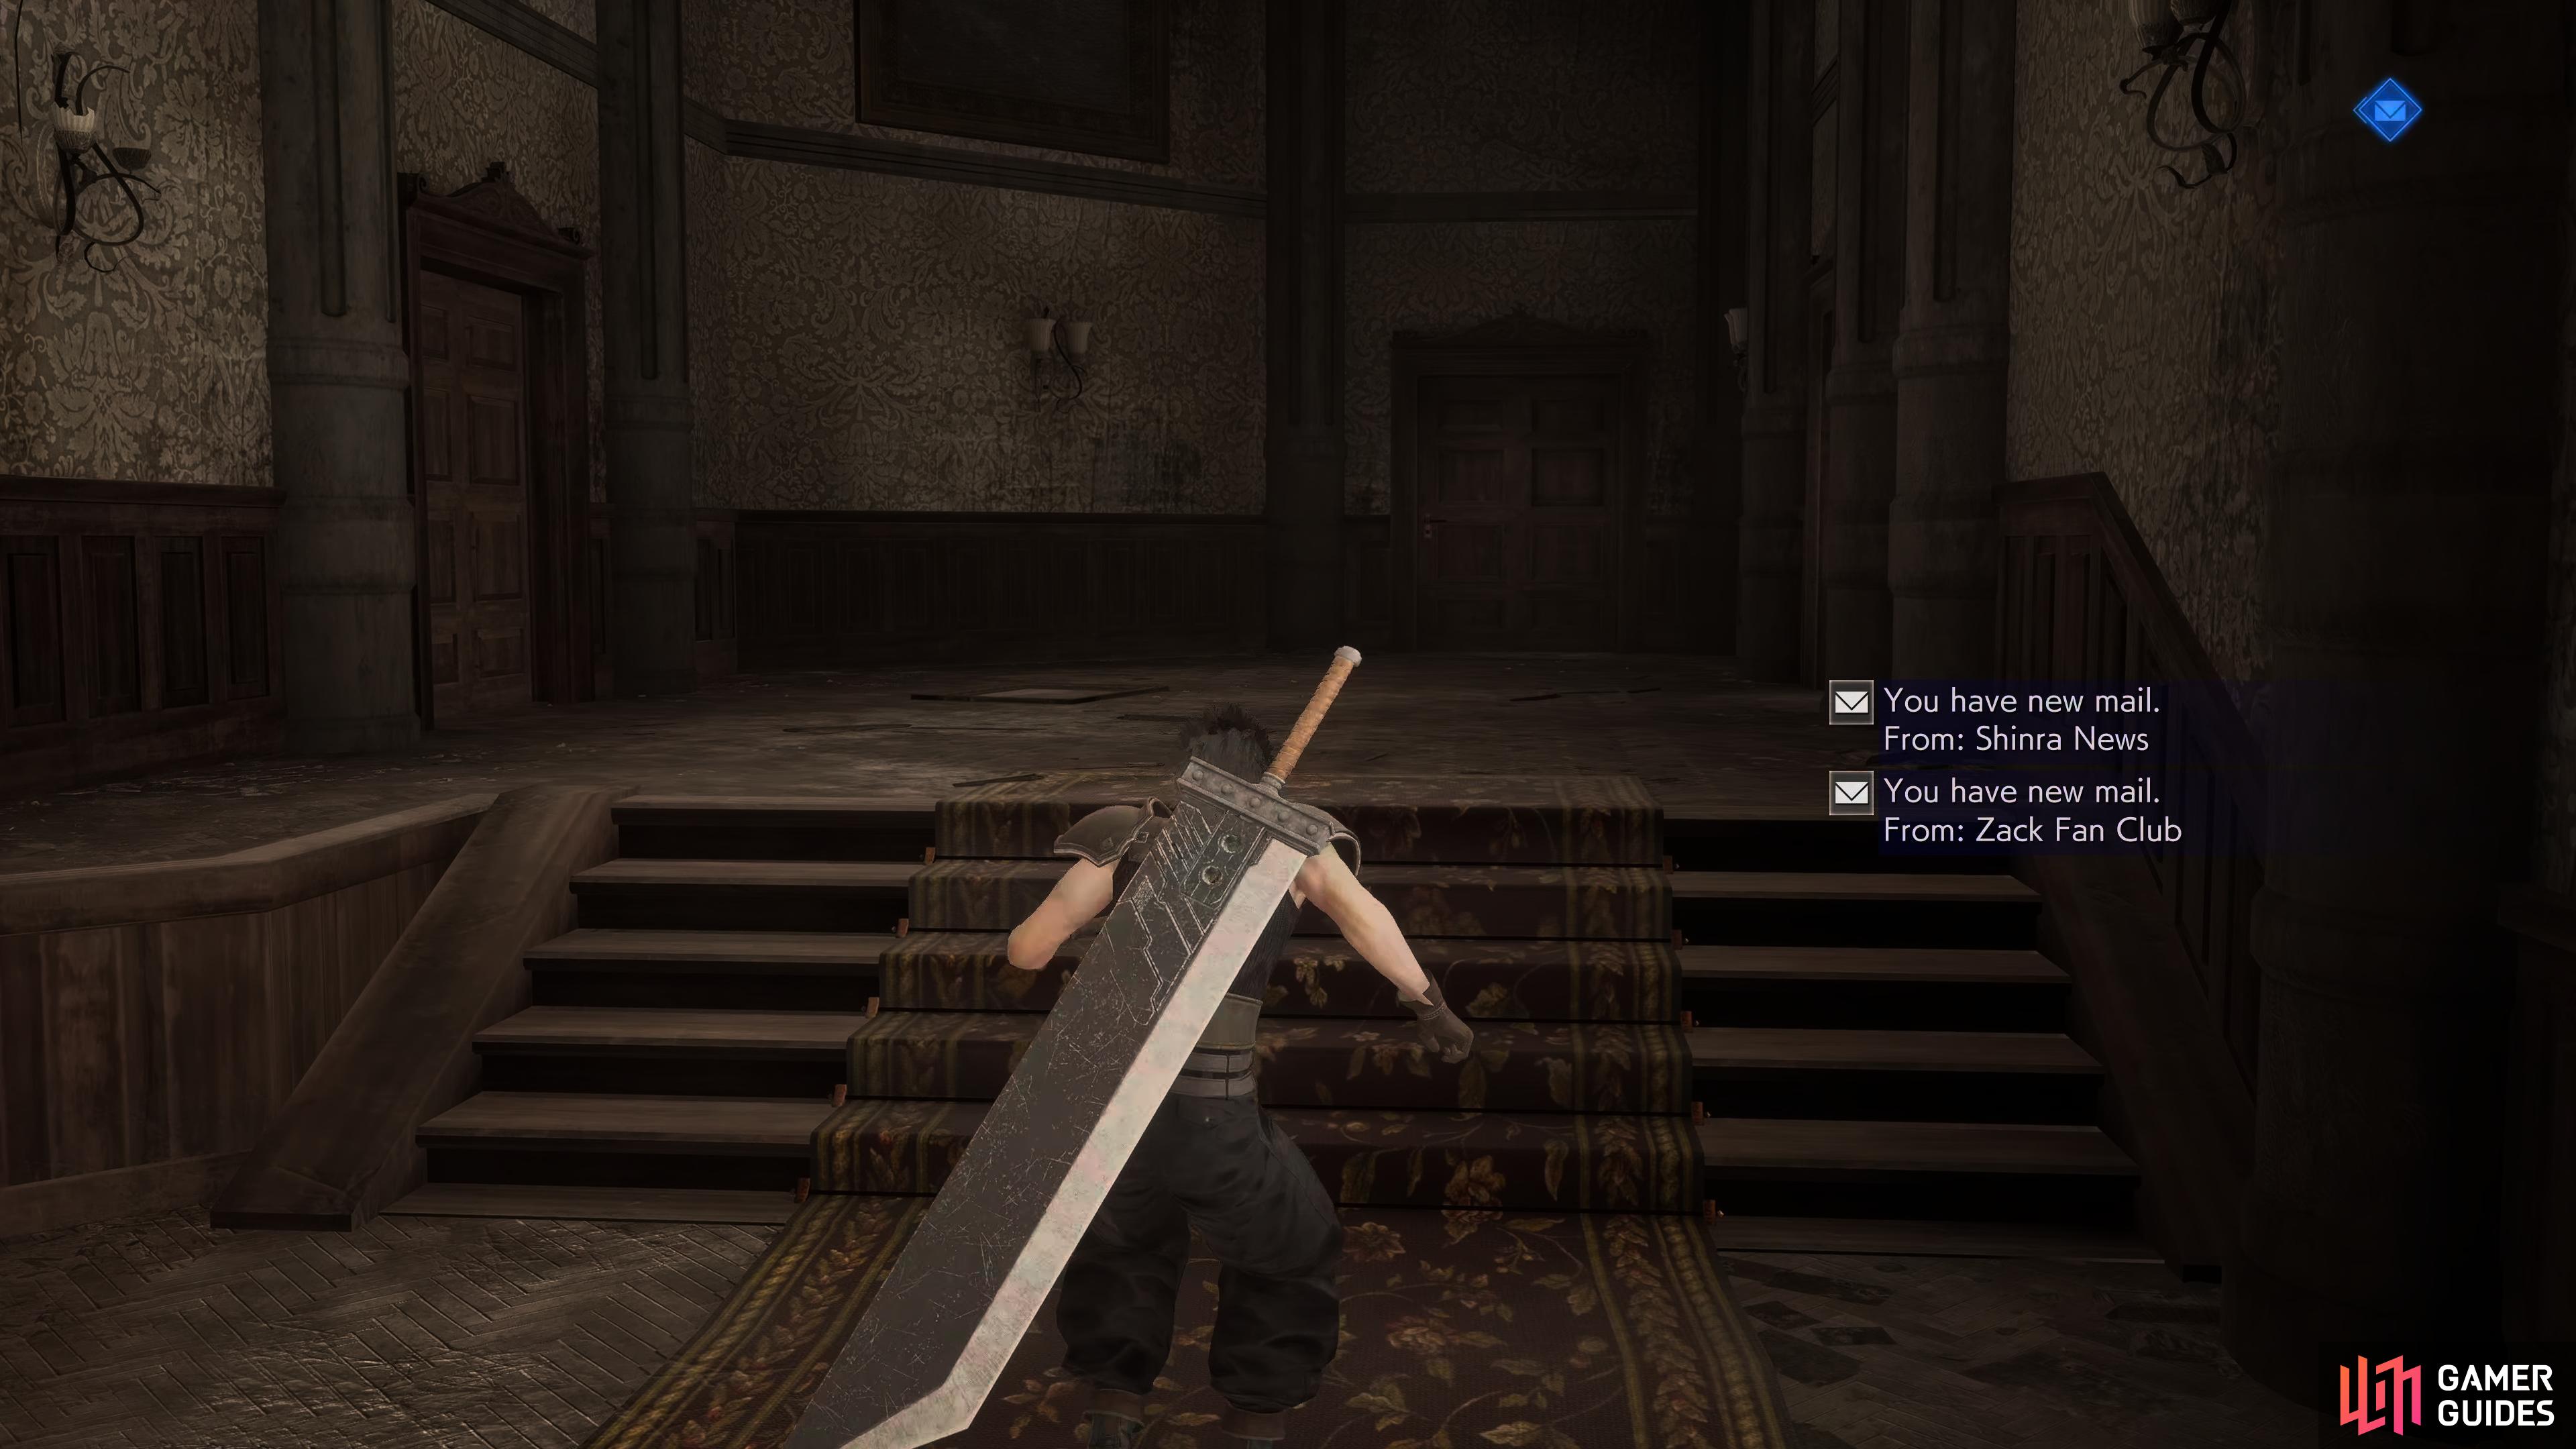
| Mail: Zack Fan Club – All things must pass | Shinra Manor | Automatically in Shinra Manor when looking for clothes for Cloud. |
| Mail: Zack Fan Club – Sad news | Shinra Manor | Automatically in Shinra Manor when looking for clothes for Cloud. |
| Mail: Zack Fan Club – Notice | Shinra Manor | Automatically in Shinra Manor when looking for clothes for Cloud. |
| Mail: Silver Elite – The proclamation of silver winds | Shinra Manor | Automatically in Shinra Manor when looking for clothes for Cloud. |
| Mail: Kunsel – Tell me they’re lying | Shinra Manor | Automatically in Shinra Manor when looking for clothes for Cloud. |
| Mail: Kunsel – You can’t fool me | Shinra Manor | Automatically after opening the dresser on the second floor of the manor. The |
| Mail: Reporter – The village: What they’re not telling! | Shinra Manor | Automatically after opening the dresser on the second floor of the manor. The |
| Mail: Luxiere – I have a plan | Shinra Manor | Automatically after opening the dresser on the second floor of the manor. The |
| Zack the Sniper | After leaving Nibelheim | Defeat all the robots without any escaping. |
| Mail: Kunsel – Just as I thought | Gongaga | Automatically as you approach the Abandoned Mako Reactor in Gongaga. |
| Mail: Reporter – SOLDIER man too weak to fight dog!? | Gongaga | Automatically as you approach the Abandoned Mako Reactor in Gongaga. |
| Mail: Keepers of Honor – Sightings: Continued | Gongaga | Automatically as you approach the Abandoned Mako Reactor in Gongaga. |
| Mail: Red Leather – Resurrection Fest! | Gongaga | Automatically as you approach the Abandoned Mako Reactor in Gongaga. |
| Shop ( |
Gongaga Outskirts | Found in a chest in the southern area of Gongaga Outskirts. After the scene with Cissnei. |
| Waterfall Chaser | Gongaga | Open up all ten chests in the Waterfall Chaser minigame. |
All Missable Mail in Chapter 9
In Crisis Core, you’ll receive mail to your flip-phone periodically updating you with news as well as other stuff. There are 102 Mails altogether, and unfortunately you’ll need to get one mail from each sender, which means that you’ll need 100 of them if you want the Mail Completionist trophy.


Mail: Reporter – Links to dead SOLDIER operative!
Automatically after you leave the Lab.
Mail: Reporter – Flying SOLDIER man: Dead or alive?
Automatically after you leave the Lab.
Mail: Keepers of Honor – Sightings
Automatically after you leave the underground cave.
Mail: Study Group – Our upcoming secret event!
Automatically unlocked as you enter the Manor.
Mail: Shinra News – Personnel Announcement 0210
Automatically unlocked as you enter the Manor.
Mail: Wonder Hunter – The Last Wonder
Automatically unlocked when you leave the Manor. You’ll only get this if you complete the first six wonders in the previous chapter.
Mail: Zack Fan Club – All things must pass
Automatically in Shinra Manor when looking for clothes for Cloud.
Mail: Zack Fan Club – Sad news
Automatically in Shinra Manor when looking for clothes for Cloud.
Mail: Zack Fan Club – Notice
Automatically in Shinra Manor when looking for clothes for Cloud.
Mail: Silver Elite – The proclamation of silver winds
Automatically in Shinra Manor when looking for clothes for Cloud.
Mail: Kunsel – Tell me they’re lying
Automatically in Shinra Manor when looking for clothes for Cloud.
Mail: Kunsel – You can’t fool me
Automatically after opening the dresser on the second floor of the manor. The “![]() Dresser Key” is needed which can be obtained from the researcher you knock out at the beginning of the chapter.
Dresser Key” is needed which can be obtained from the researcher you knock out at the beginning of the chapter.
Mail: Reporter – The village: What they’re not telling!
Automatically after opening the dresser on the second floor of the manor. The “Dresser Key” is needed which can be obtained from the researcher you knock out at the beginning of the chapter.
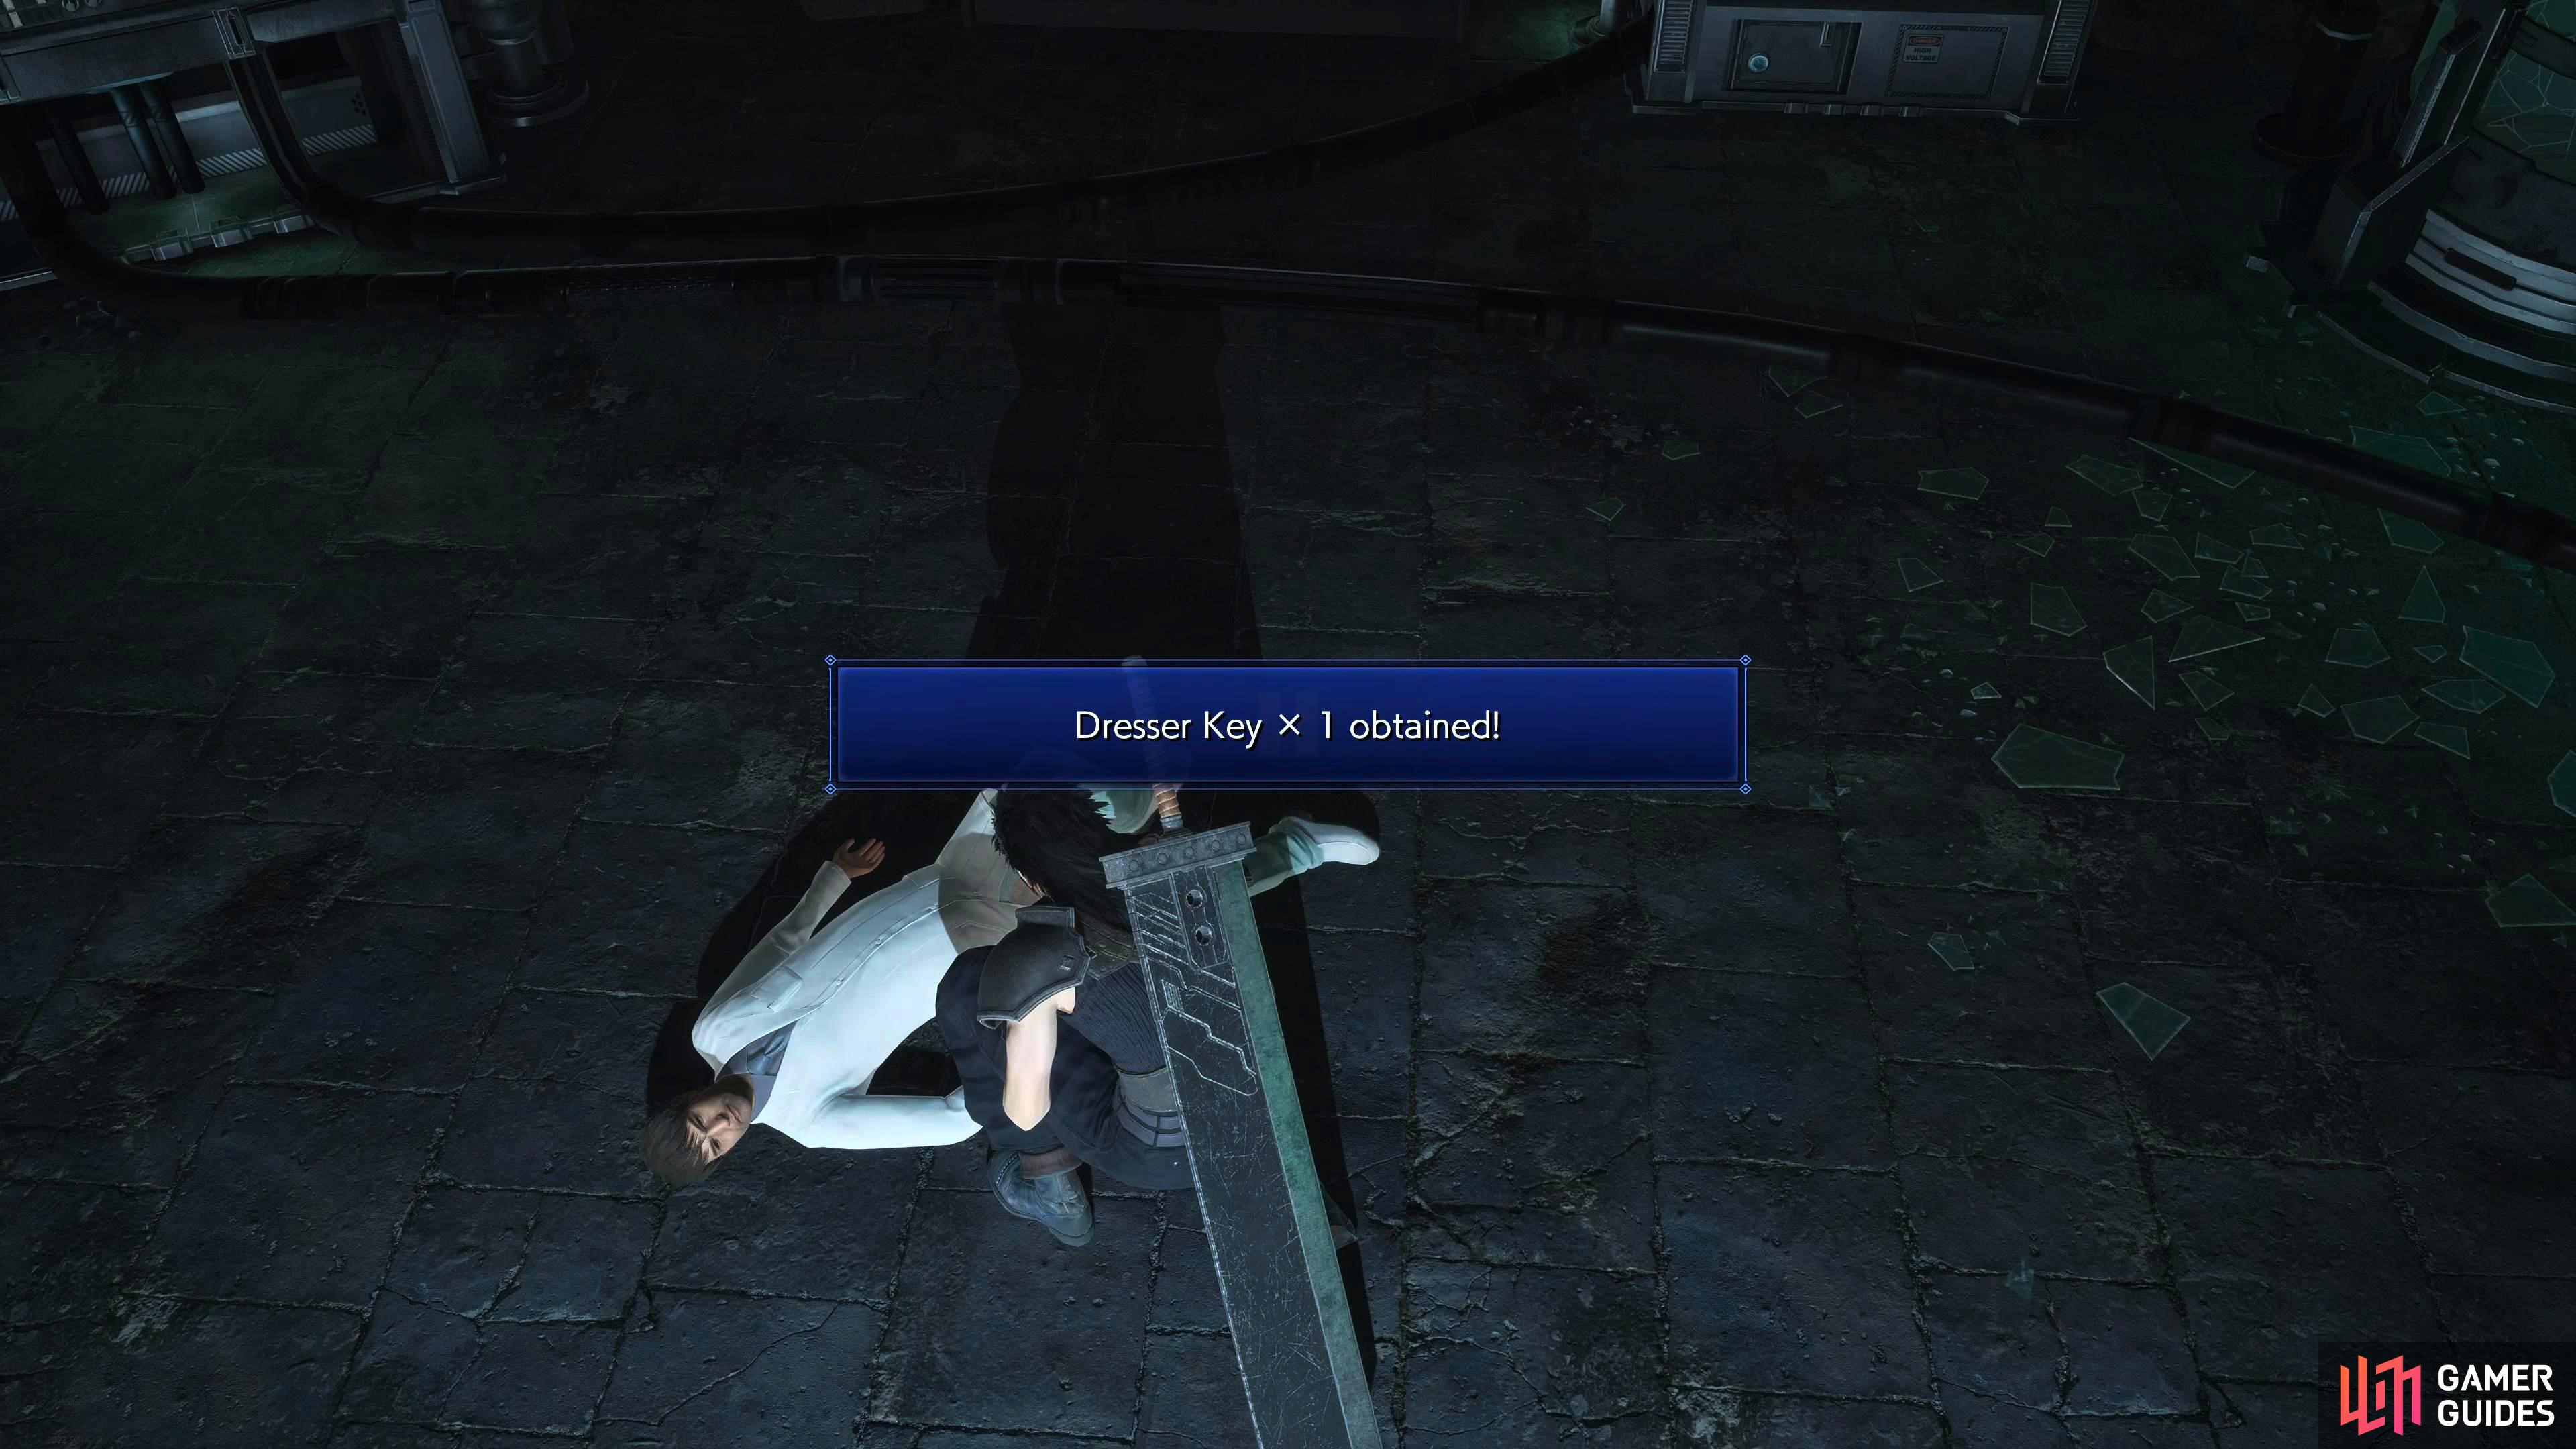
You can find the Dresser Key of the researcher that you knock out at the beginning of the chapter.
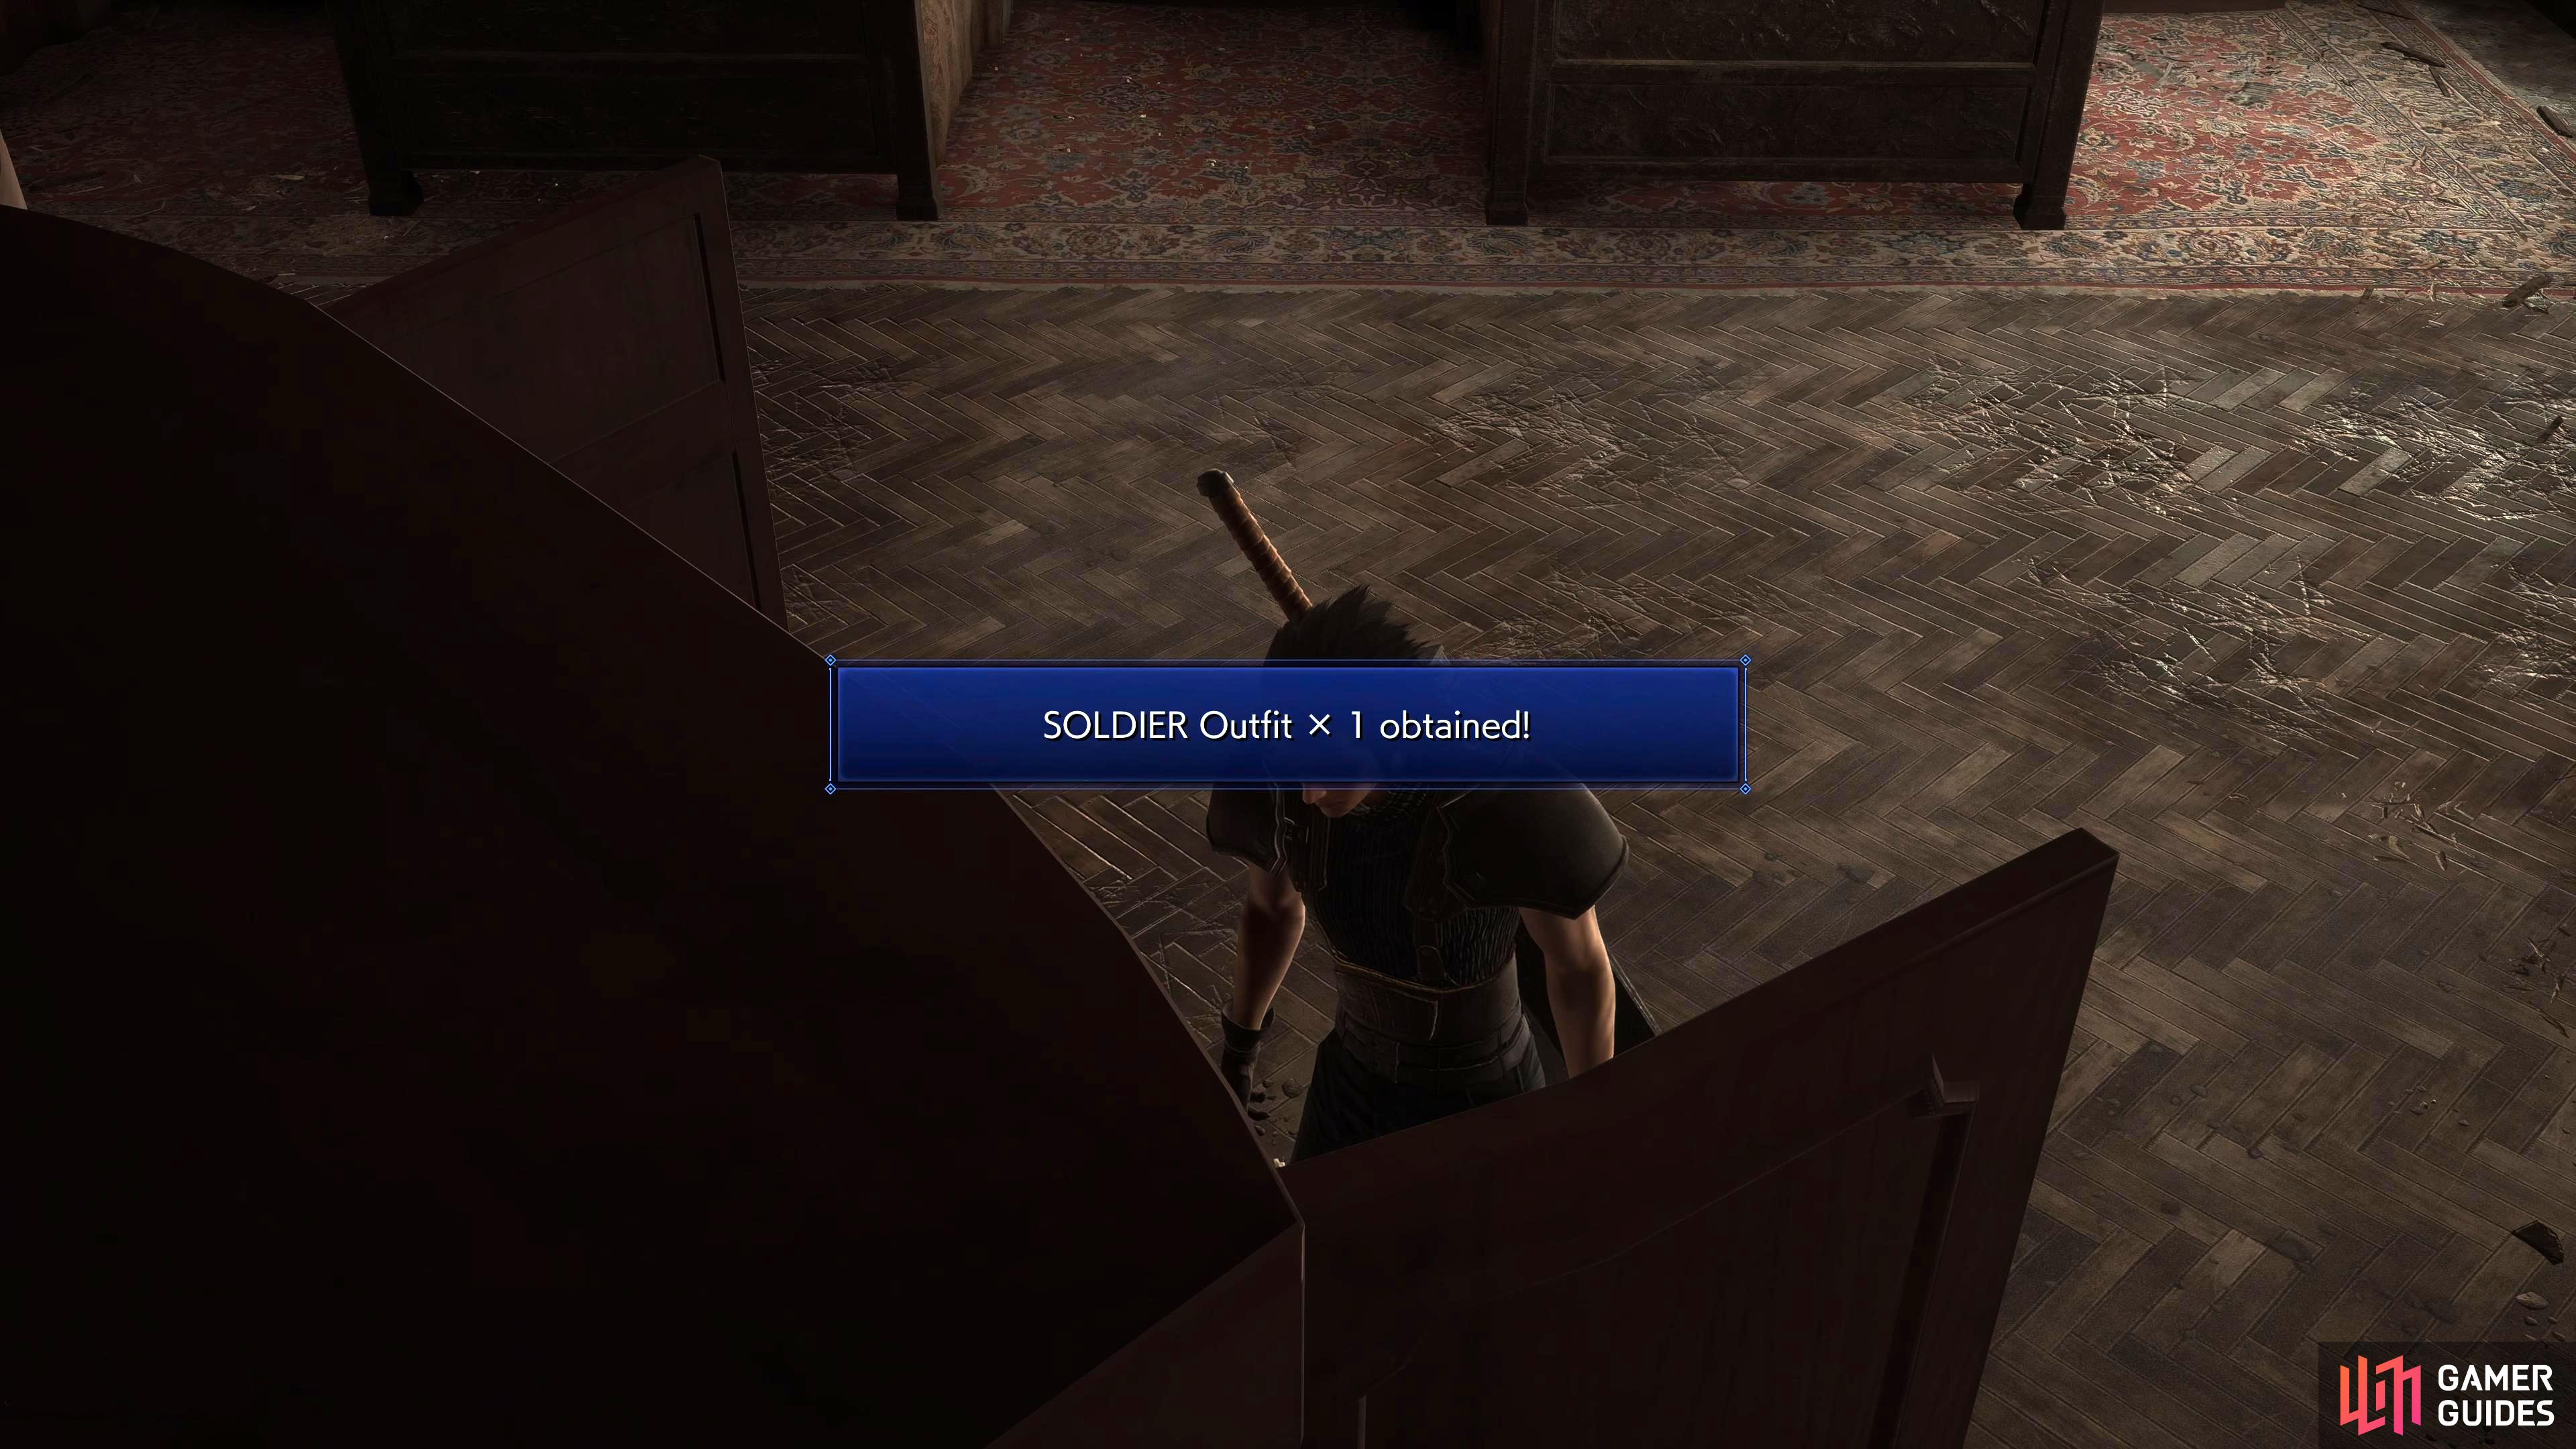
Use the Dresser Key on the Dressers in Shinra Manor, 2F to get the SOLDIER Outfit and, 5,000 Gil.
Mail: Luxiere – I have a plan
Automatically after opening the dresser on the second floor of the manor. The “Dresser Key” is needed which can be obtained from the researcher you knock out at the beginning of the chapter.
Mail: Kunsel – Just as I thought
Automatically as you approach the Abandoned Mako Reactor in Gongaga.
Mail: Reporter – SOLDIER man too weak to fight dog!?
Automatically as you approach the Abandoned Mako Reactor in Gongaga.
Mail: Keepers of Honor – Sightings: Continued
Automatically as you approach the Abandoned Mako Reactor in Gongaga.
Mail: Red Leather – Resurrection Fest!
Automatically as you approach the Abandoned Mako Reactor in Gongaga.
All Missable Side Missions in Chapter 9
You’ll unlock all the missions from Chapter 9 at the beginning of the chapter.
Mission: 1-1-2 - Shinra’s Advanced Training
Automatically unlocked at the start of Chapter 9.
Mission: 2-2-3 - Nibelheim
Automatically unlocked at the start of Chapter 9.
Mission: 3-2-5 - Pursue the Foes
Automatically unlocked at the start of Chapter 9.
Mission: 5-2-1 - Experiments No. 107
Automatically unlocked at the start of Chapter 9.
Mission: 5-2-2 - Experiments No. 108
Automatically unlocked at the start of Chapter 9.
All Missable Shops in Chapter 9
Research Dept. QMC+
After the scene with Cissnei in Gongaga, check the southern area for a chest. This will contain the shop address for the ![]() Research Dept. QMC+.
Research Dept. QMC+.
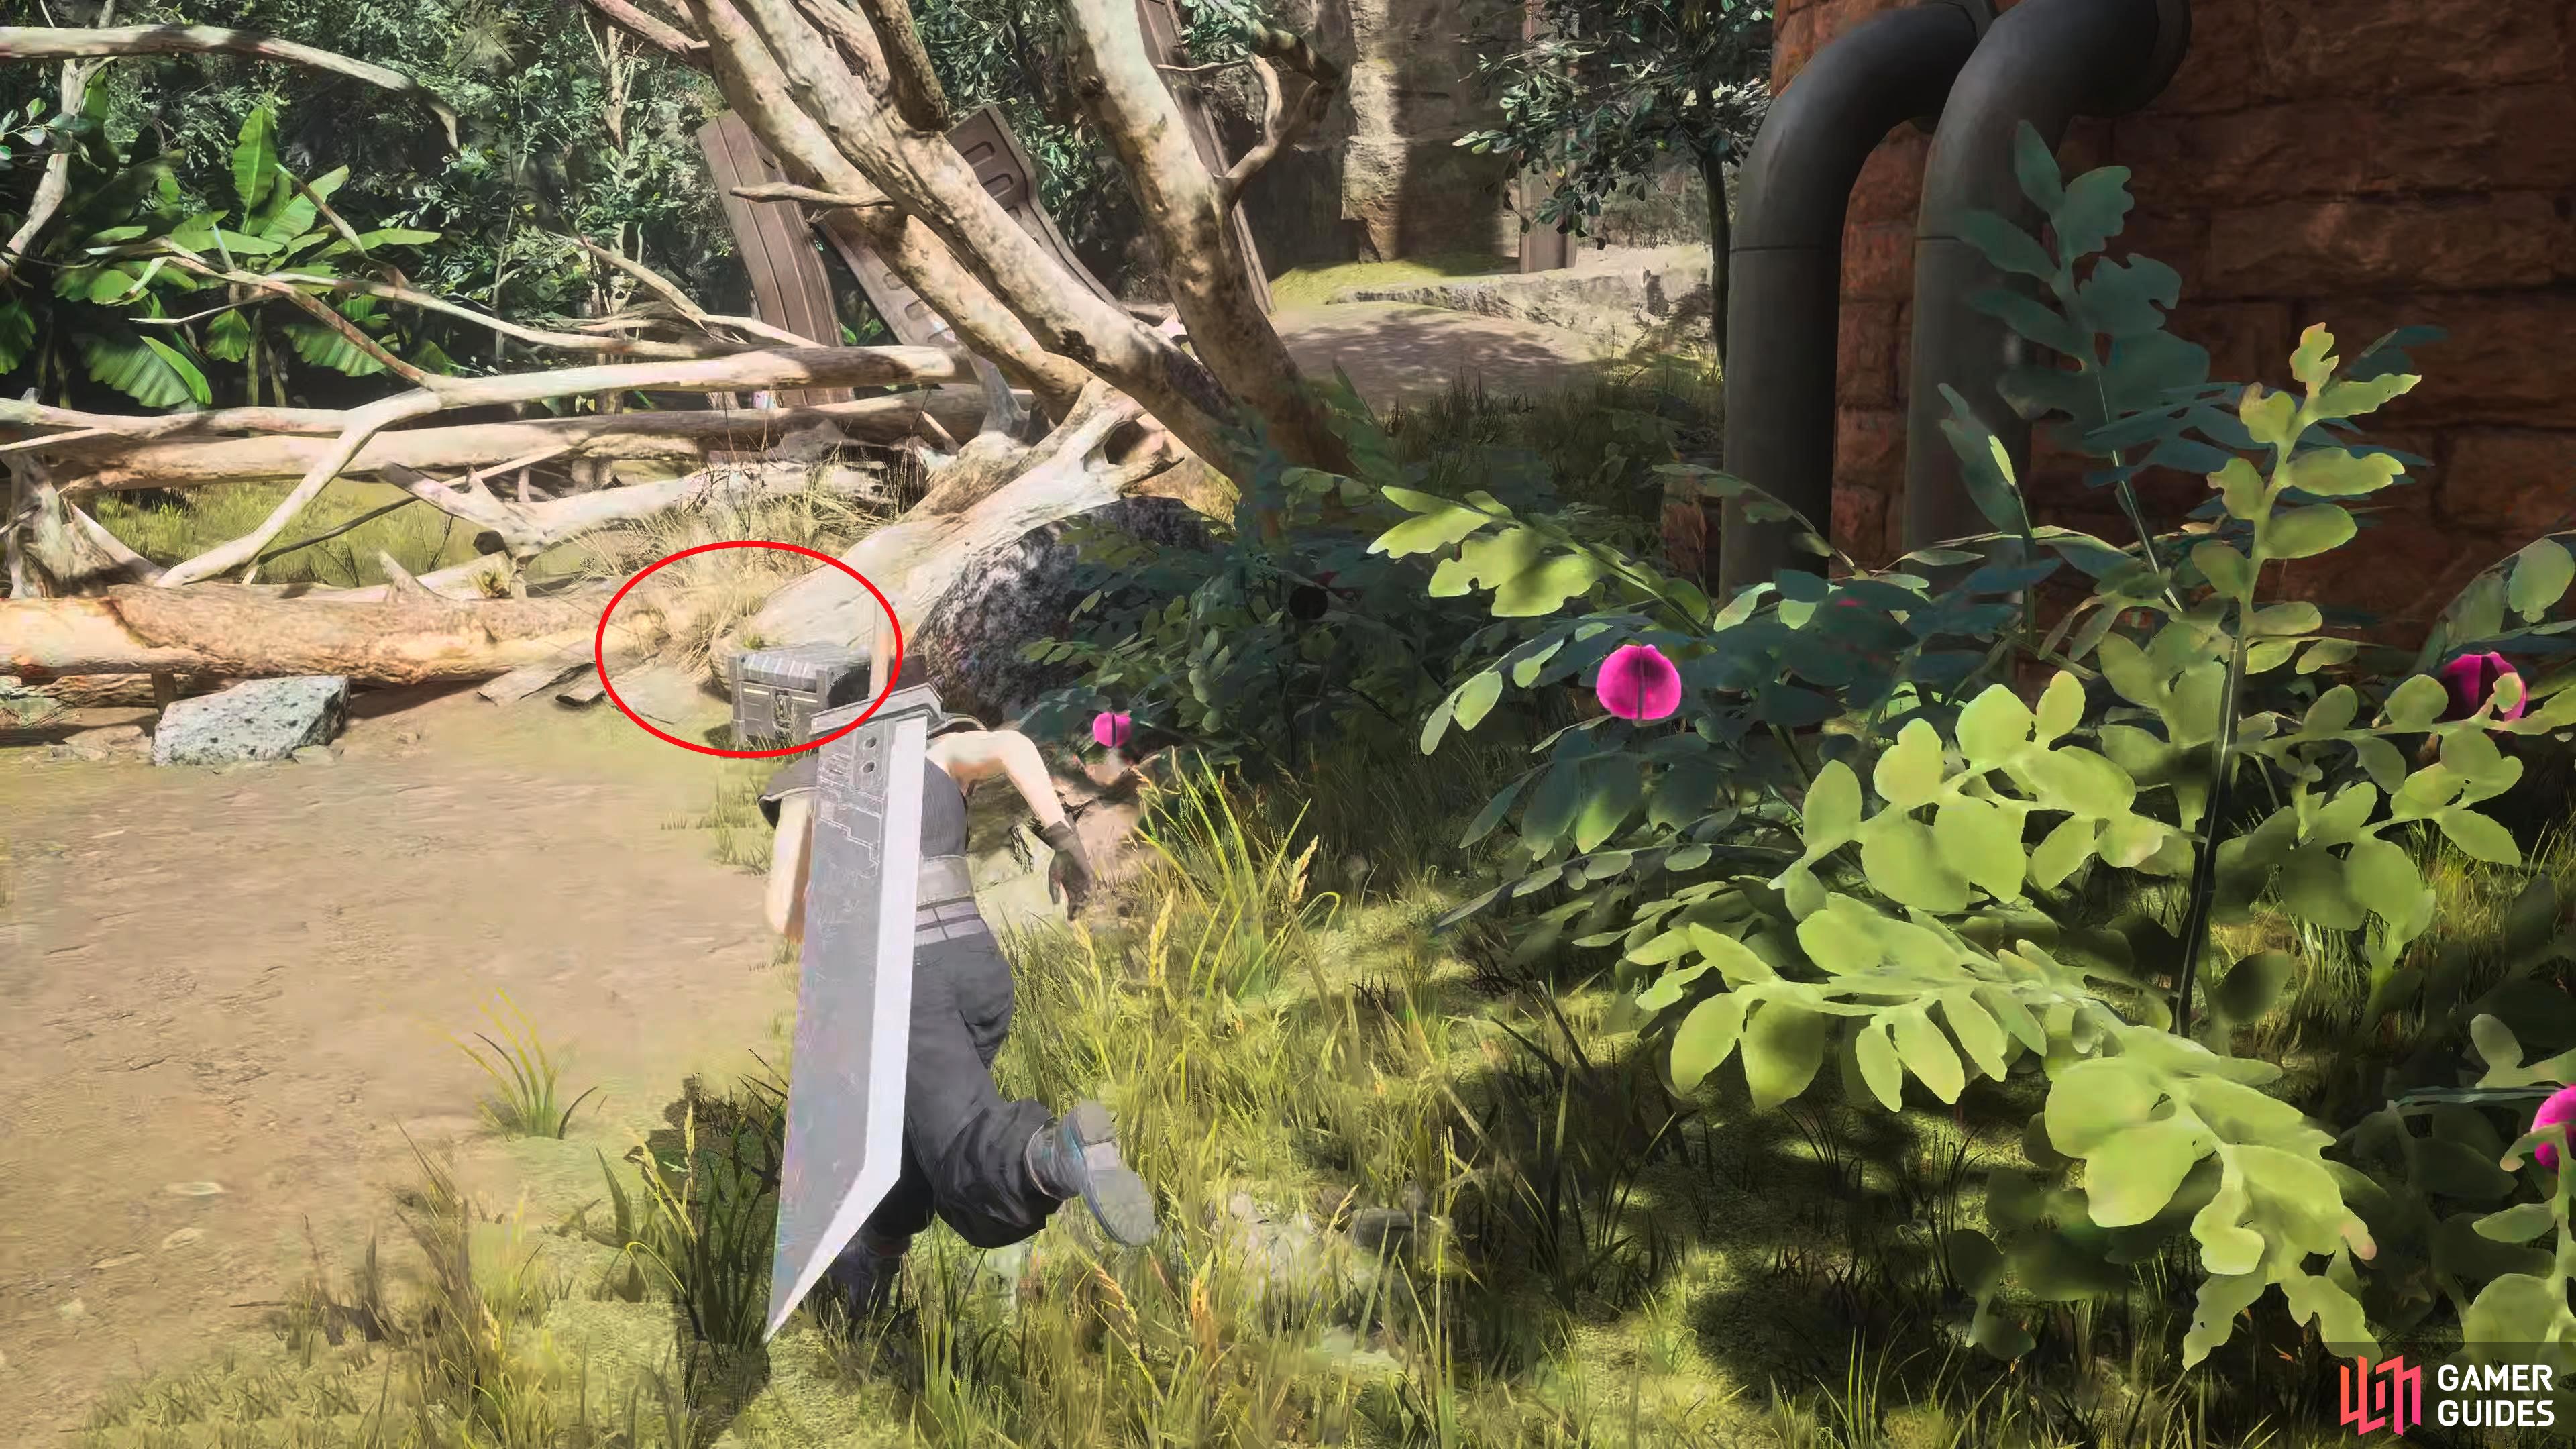
Make sure you open the chest to get the shop address!
All Missable Trophies/Achievements in Chapter 9
Seven Wonders Expert

Most of this trophy/achievement will have been done in the previous chapter. The only thing left to do in this chapter is the final wonder. You’ll receive mail in the Nibelheim Outskirts. After you receive the mail, head over to the northeast corner where you’ll find a small fence. If you look closely, you’ll see an orange item glow on the floor. Pick it up for a ![]() Wall materia as well as the trophy/achievement. You can read the full guide for the trophy here.
Wall materia as well as the trophy/achievement. You can read the full guide for the trophy here.
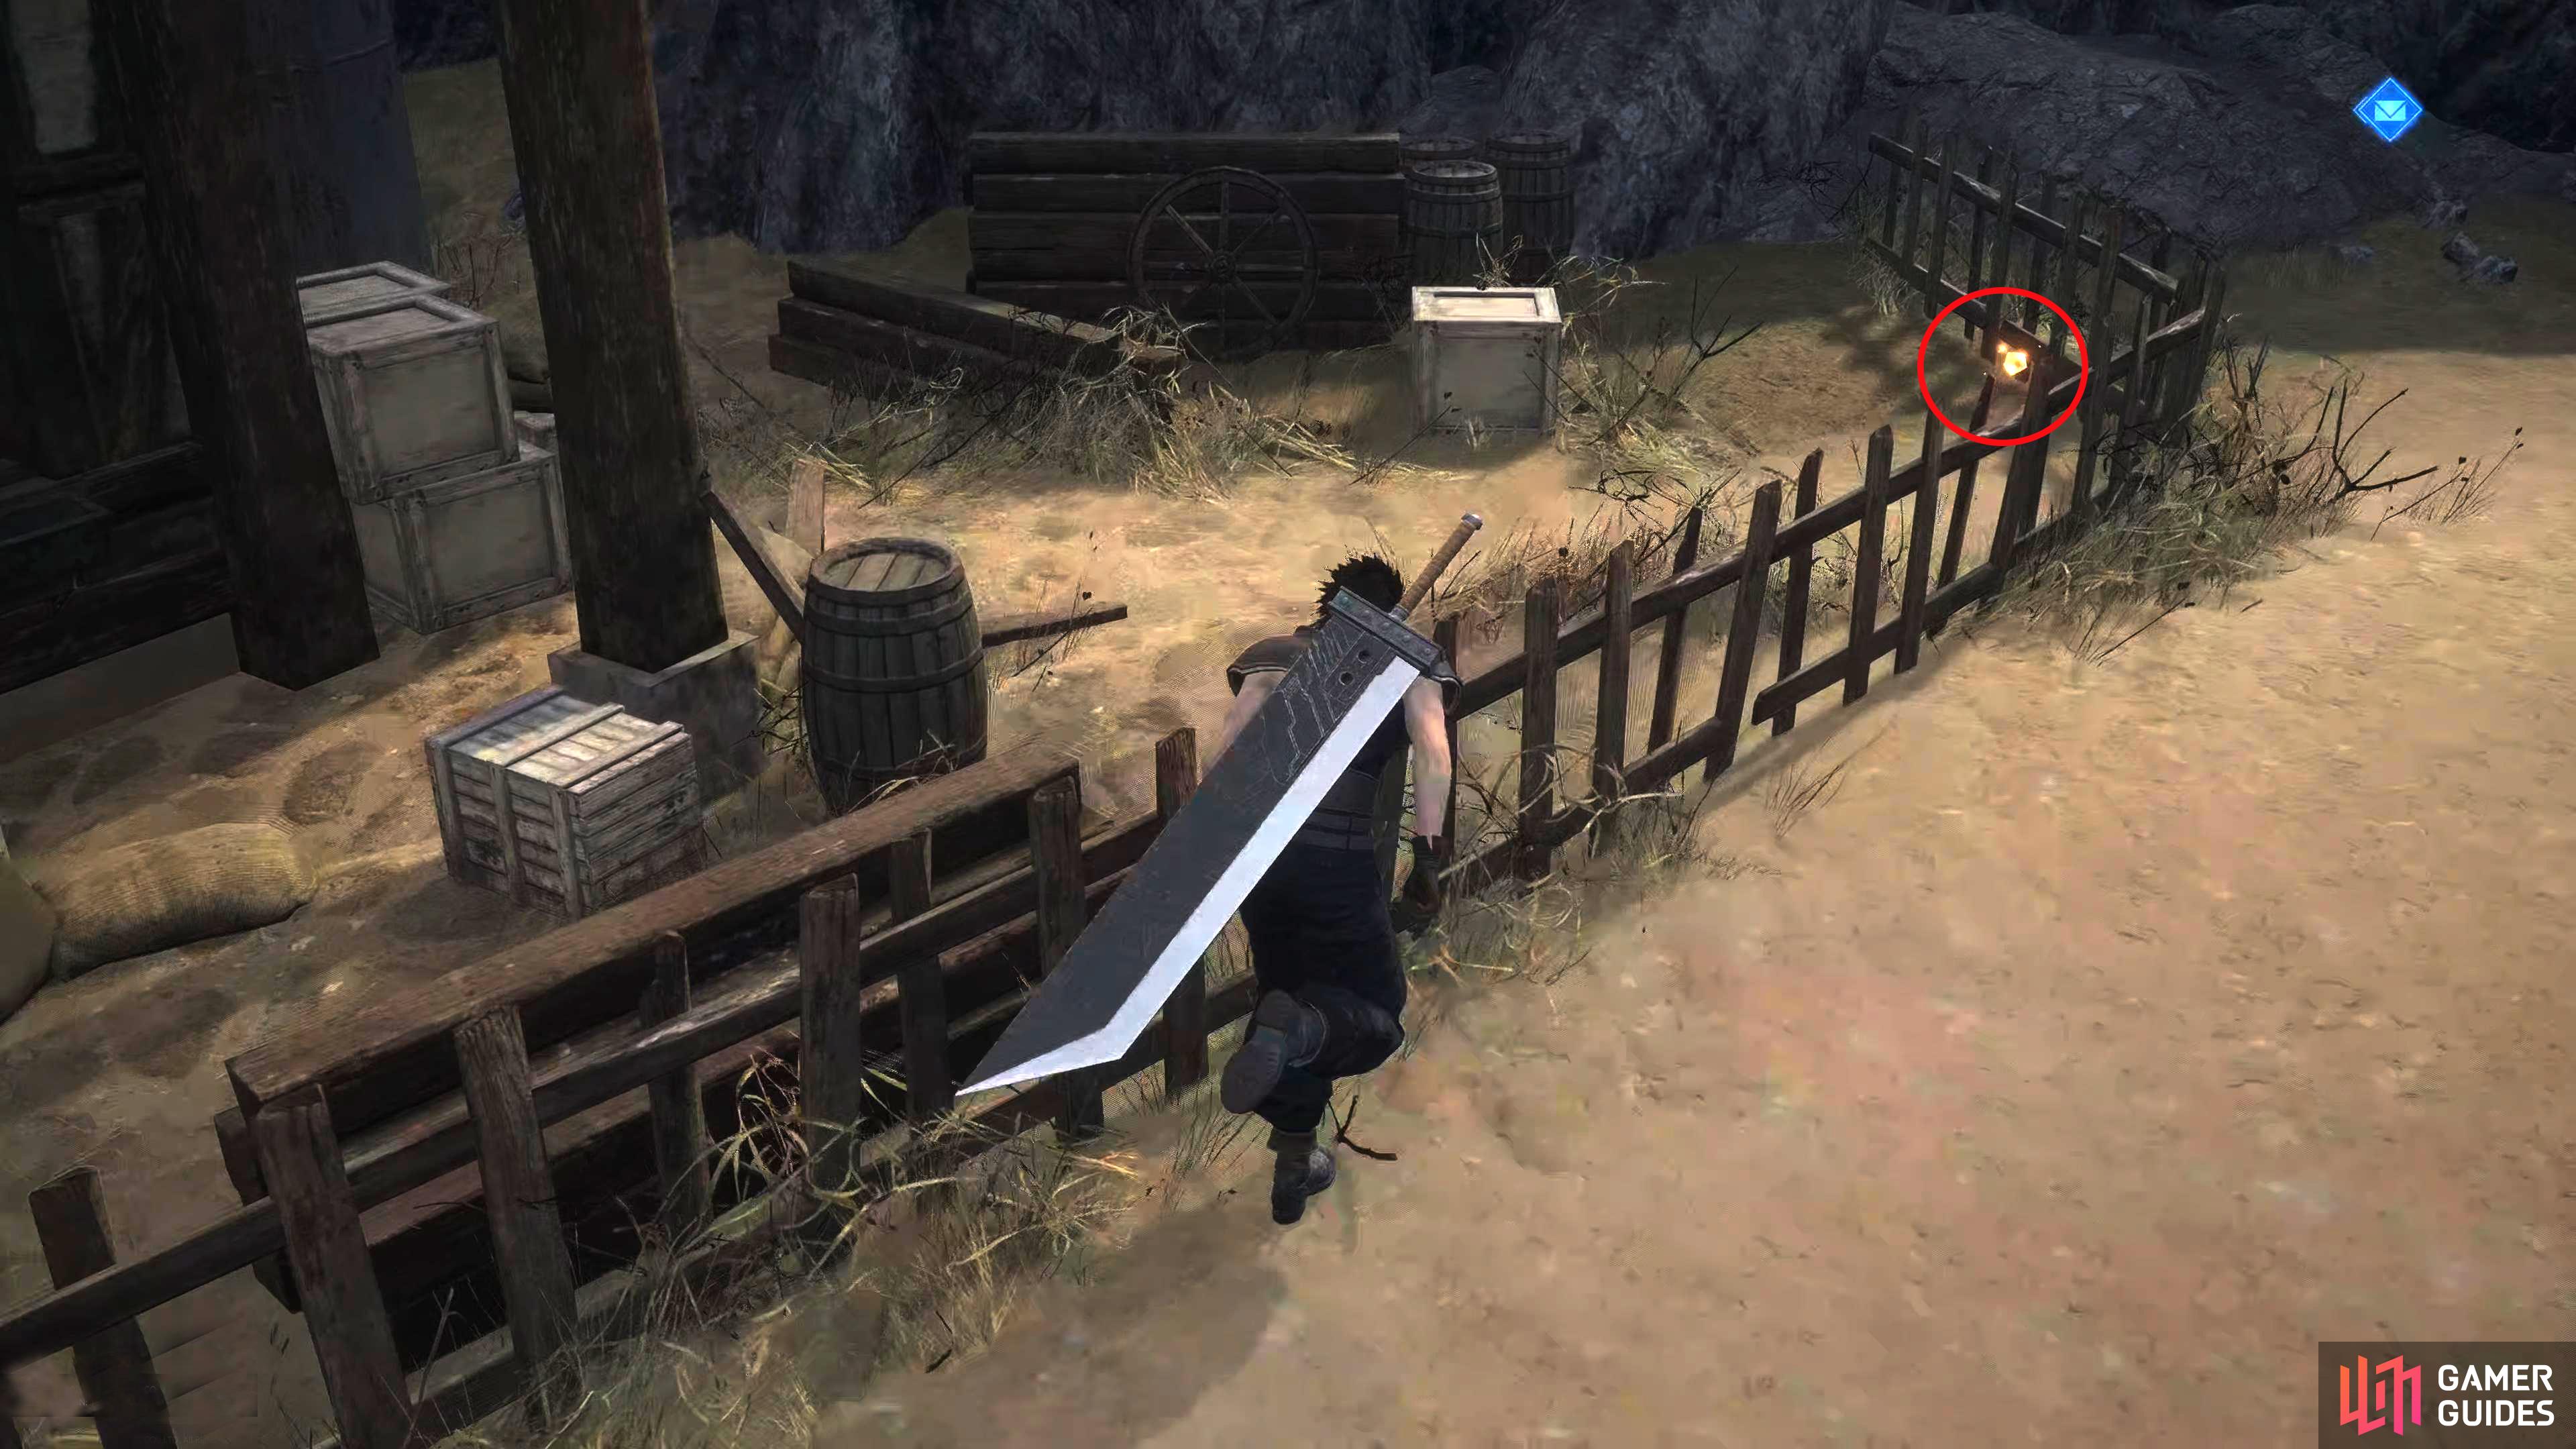
You can find the “Seventh Wonder” in the corner by the fence. It is a Wall materia…
Zack the Sniper

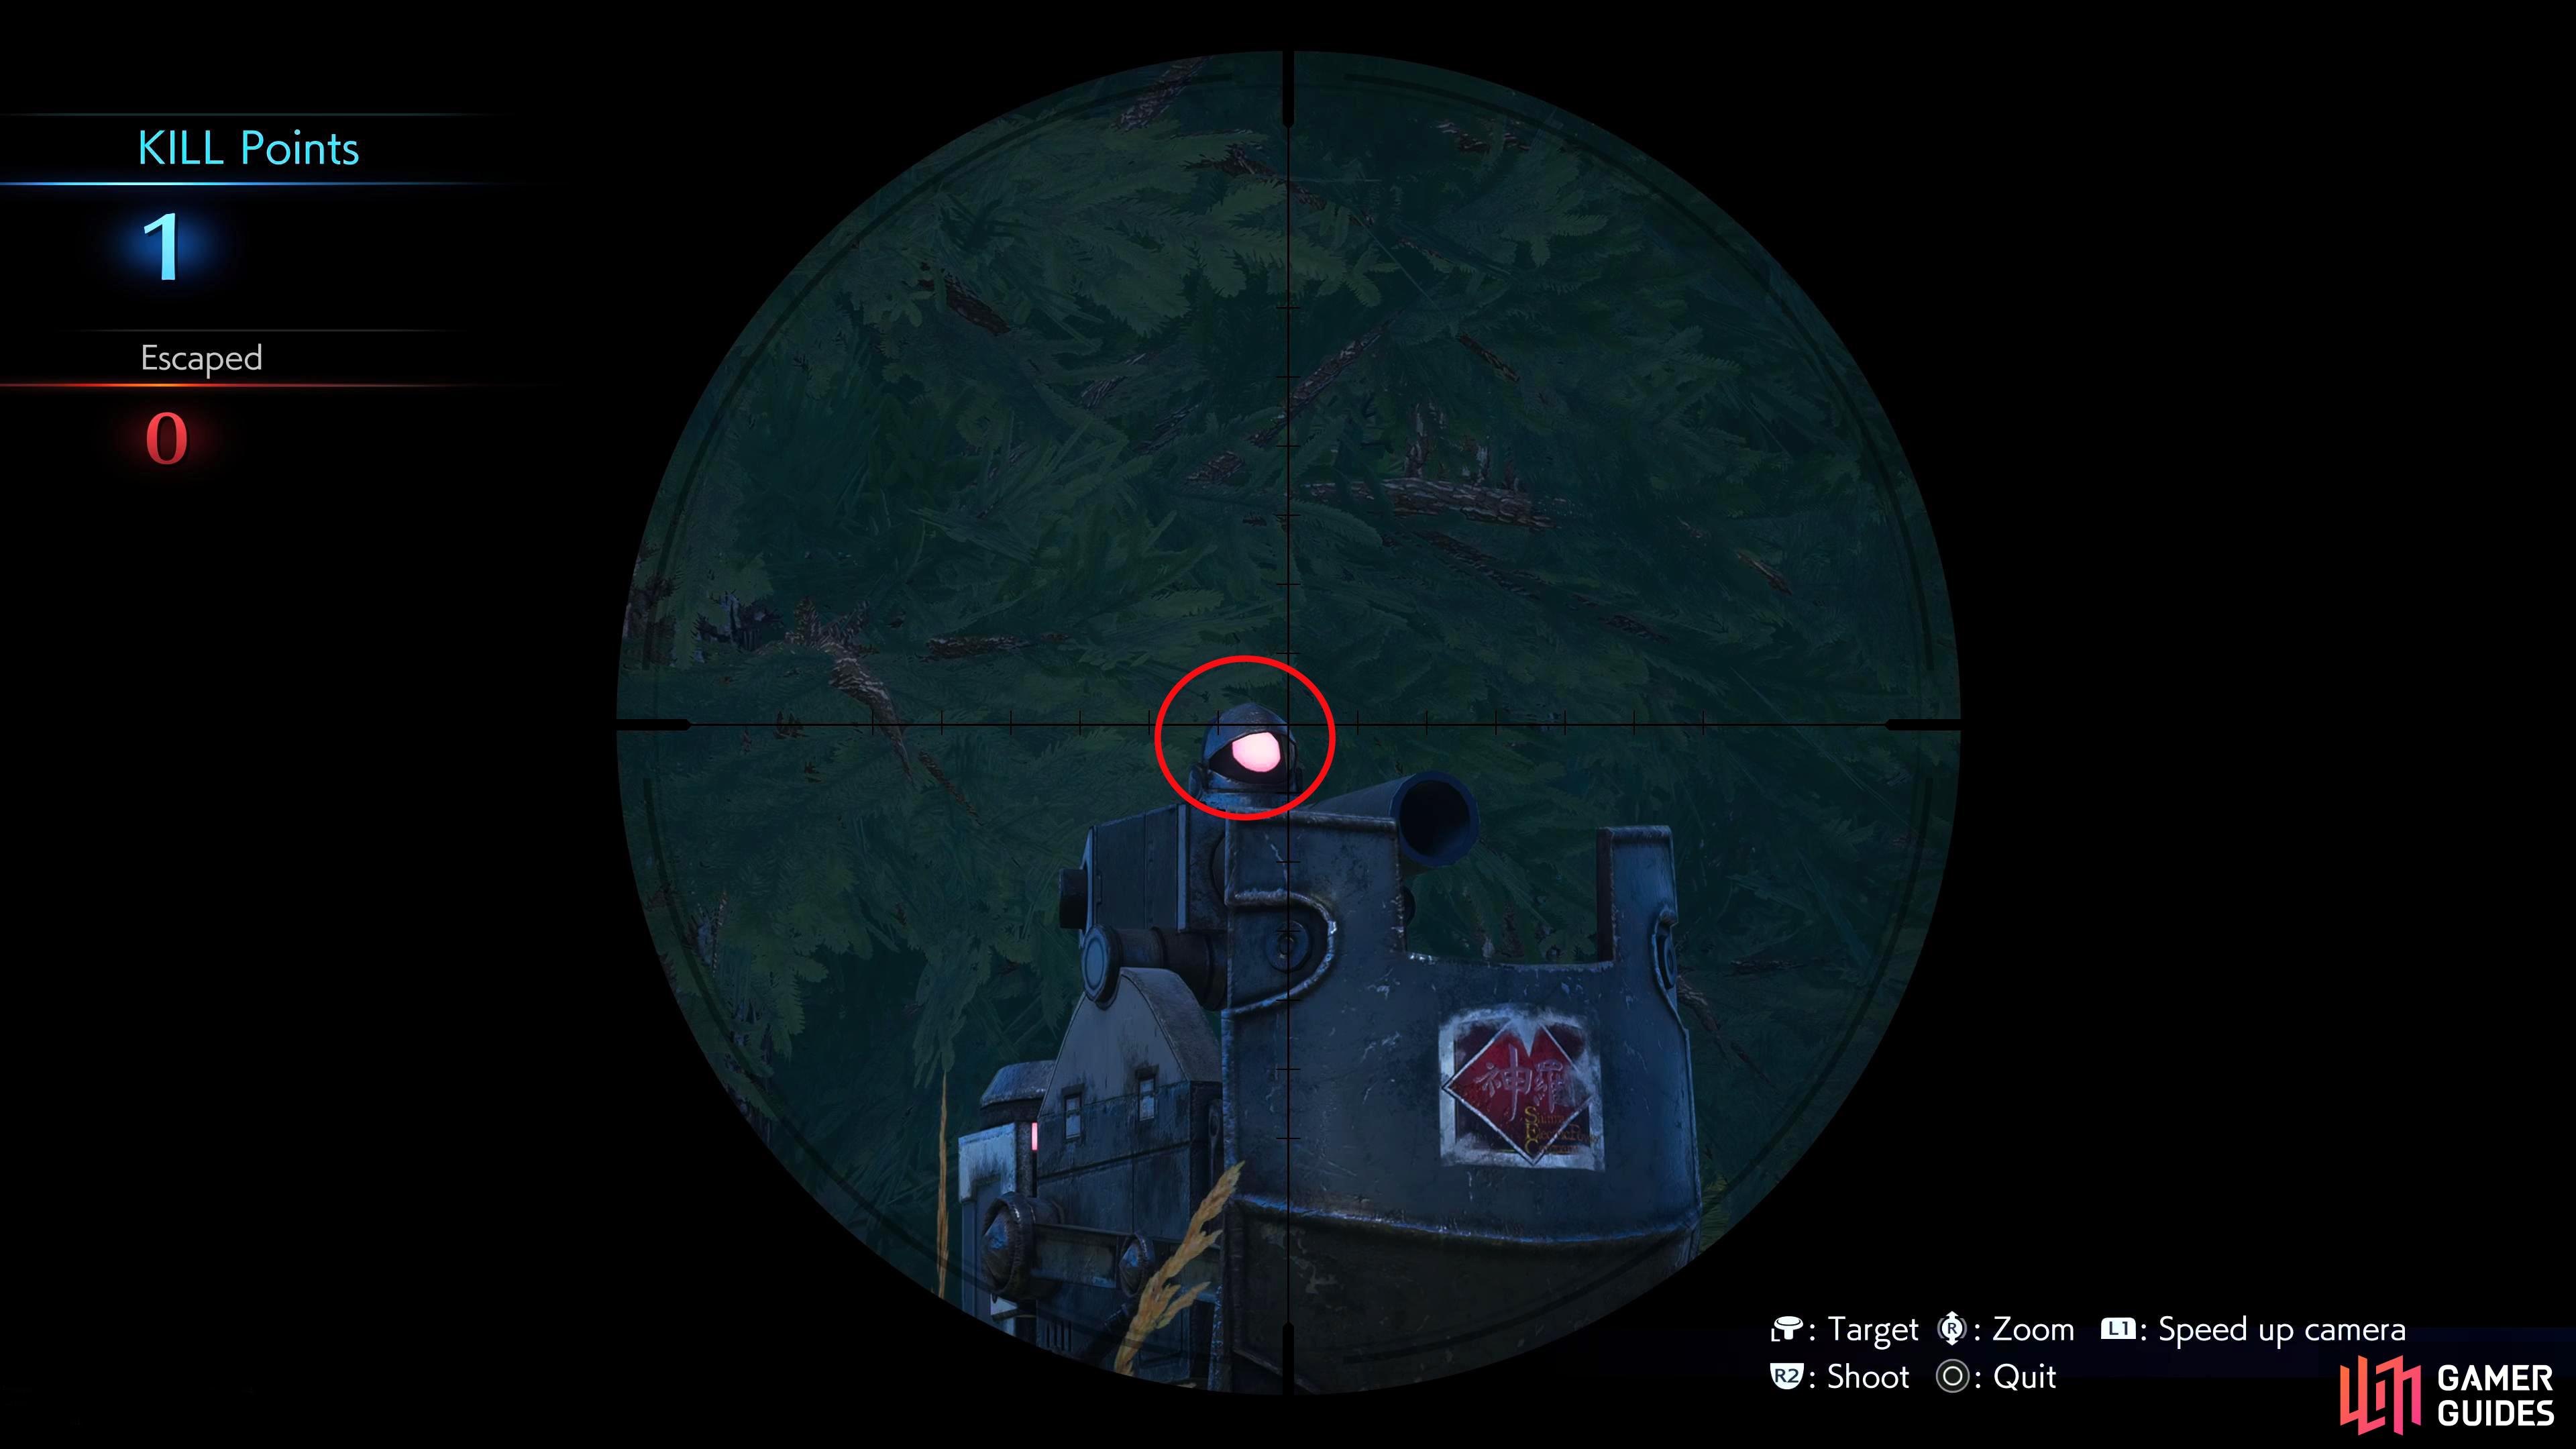
Aim for the “head” of the Gun Bull Heads to deal the most damage.
Once you leave Nibelheim with Cloud. You’ll spot a Sniper Rifle on the floor. This will initiate a minigame. You need to defeat all the ![]() Gun Bull Heads in the area without a single one escaping. If one escapes, load up the checkpoint to try again. There are eight Sniper spots in total, and each one will have a different number of targets to take out.
Gun Bull Heads in the area without a single one escaping. If one escapes, load up the checkpoint to try again. There are eight Sniper spots in total, and each one will have a different number of targets to take out.
When you defeat a Gun Bull Head, either via the sniper or as a normal battle, you’ll get rewarded with a Kill Point. This can be used to upgrade your Attack, Aim, Wide-Target, or add a Smart Bomb. Each of the upgrades can max out at level 10, and each cost three Kill Points. The Smart Bomb on the other hand can only be used once, and it’ll cost you 6 points every time you want to use it.
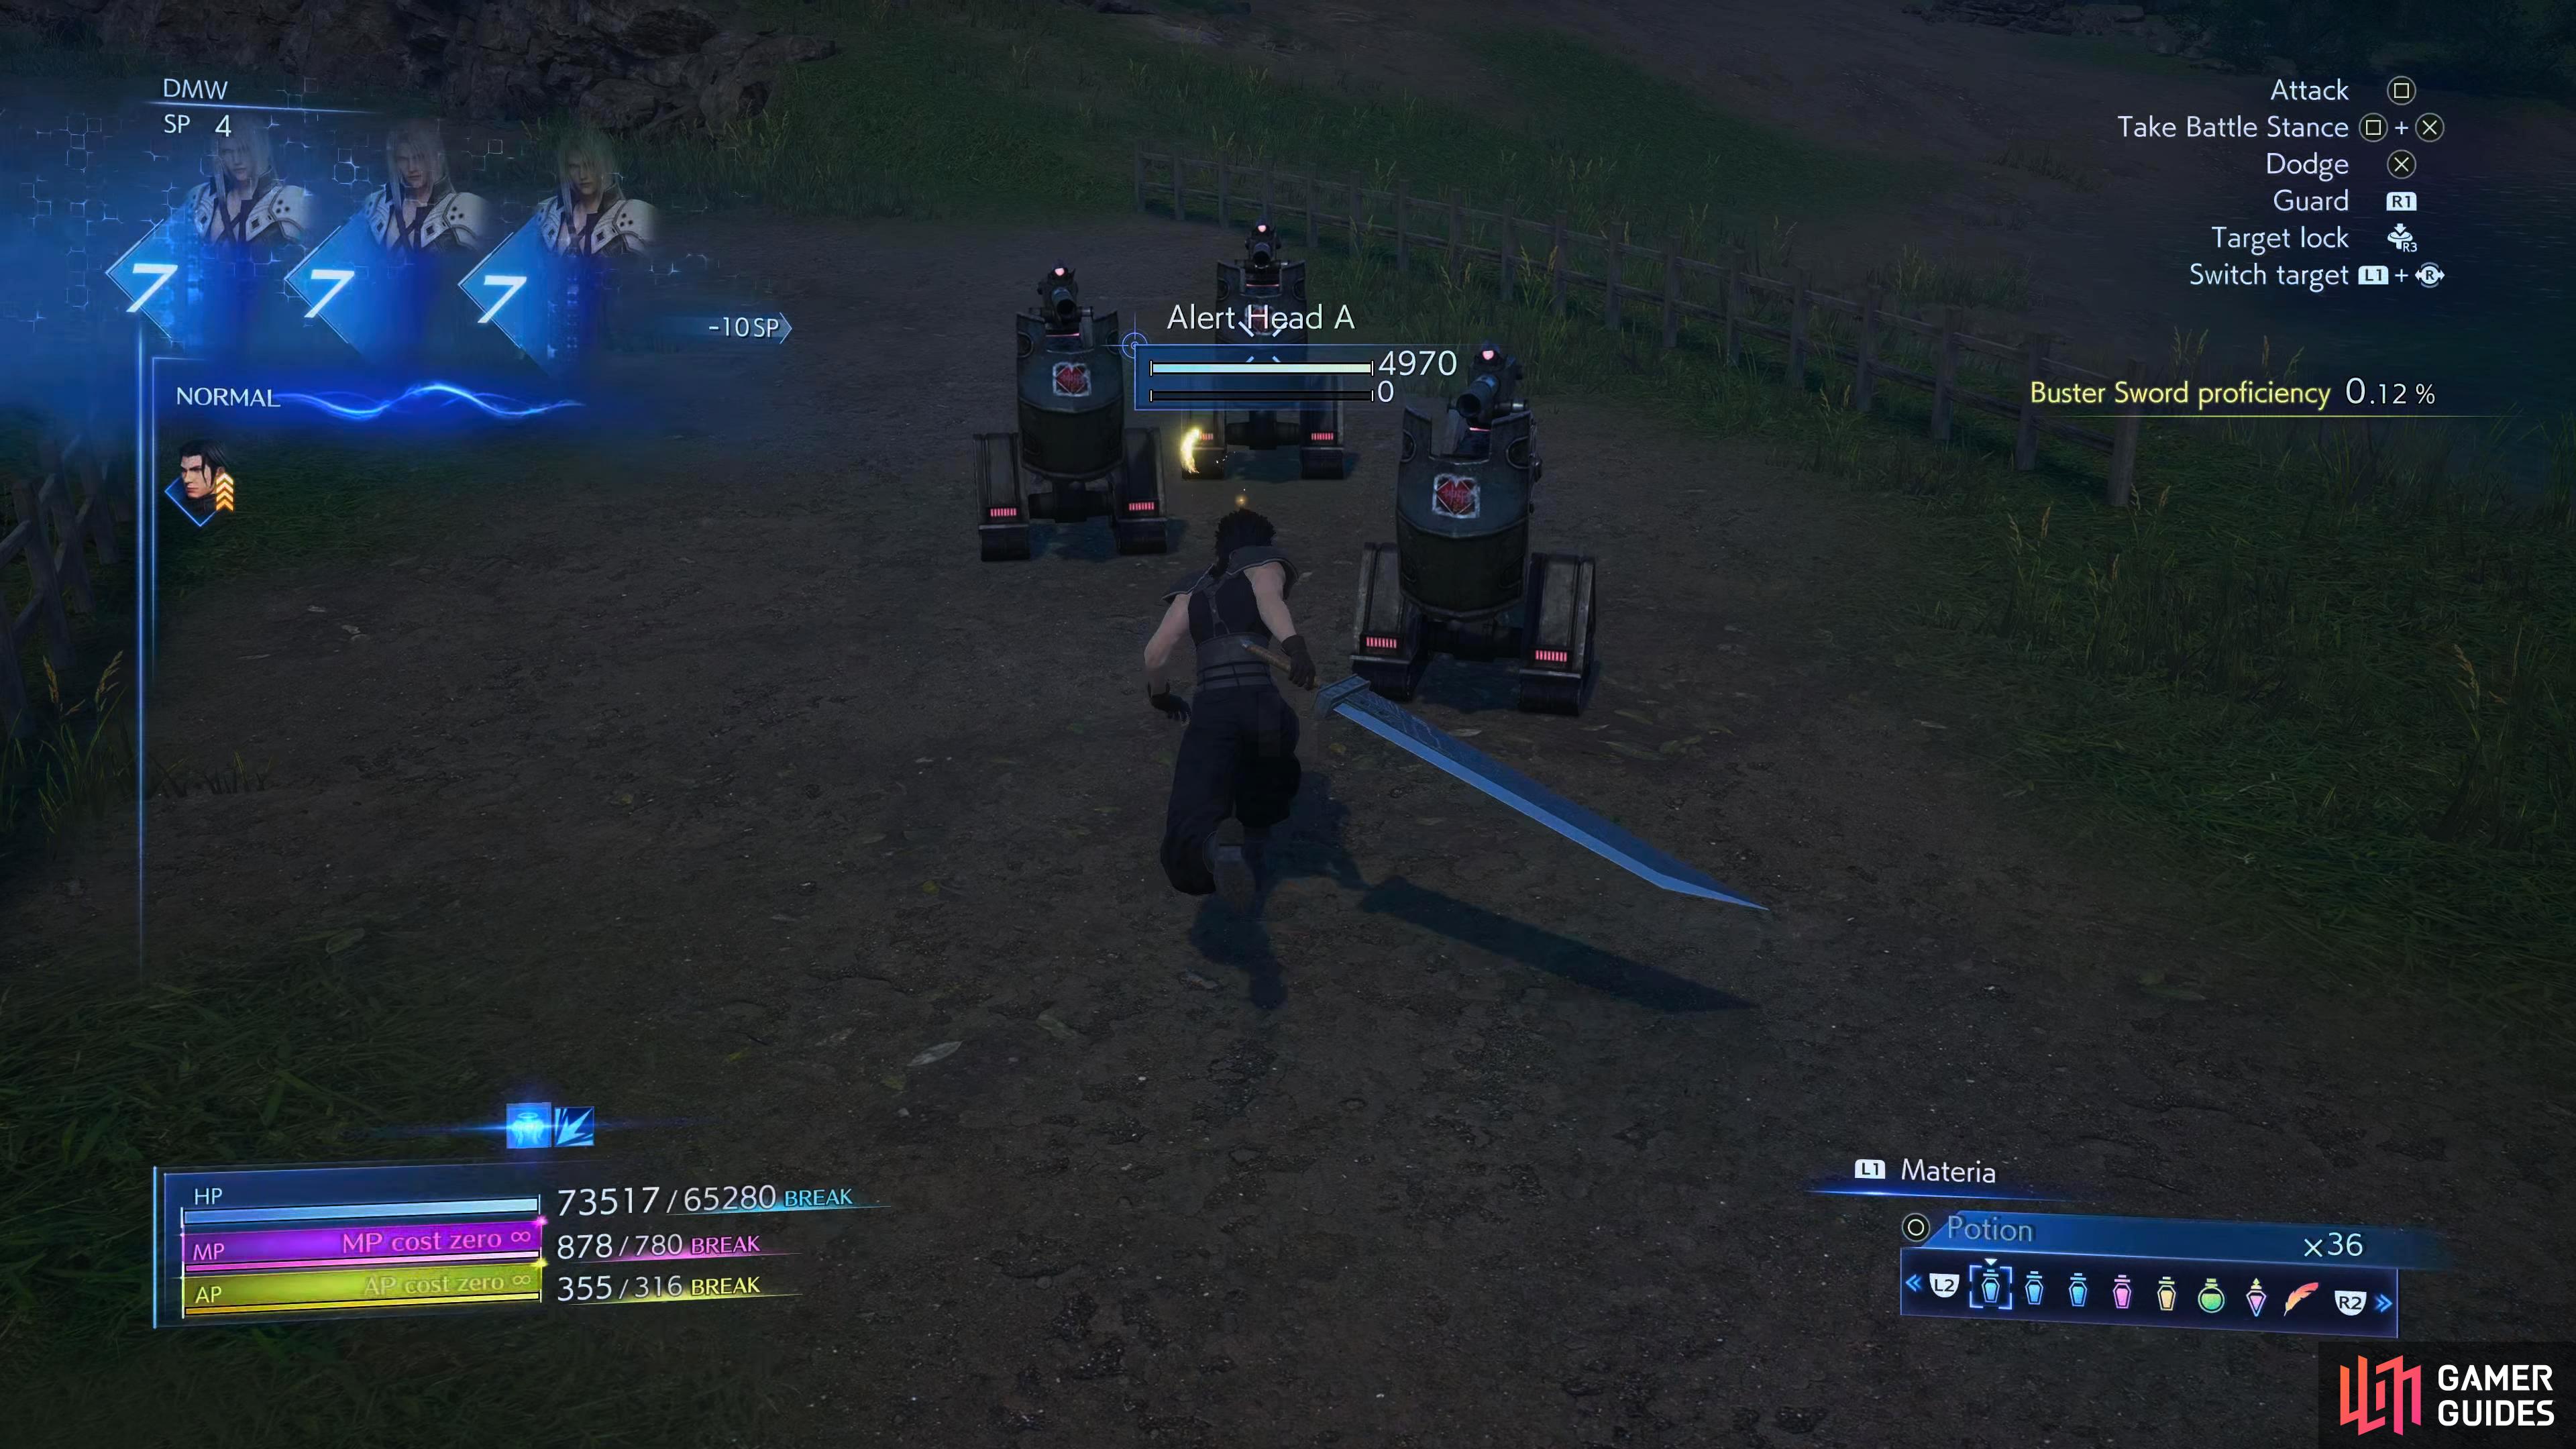
You can farm Kill Points by defeating Alert Bots in random encounters.
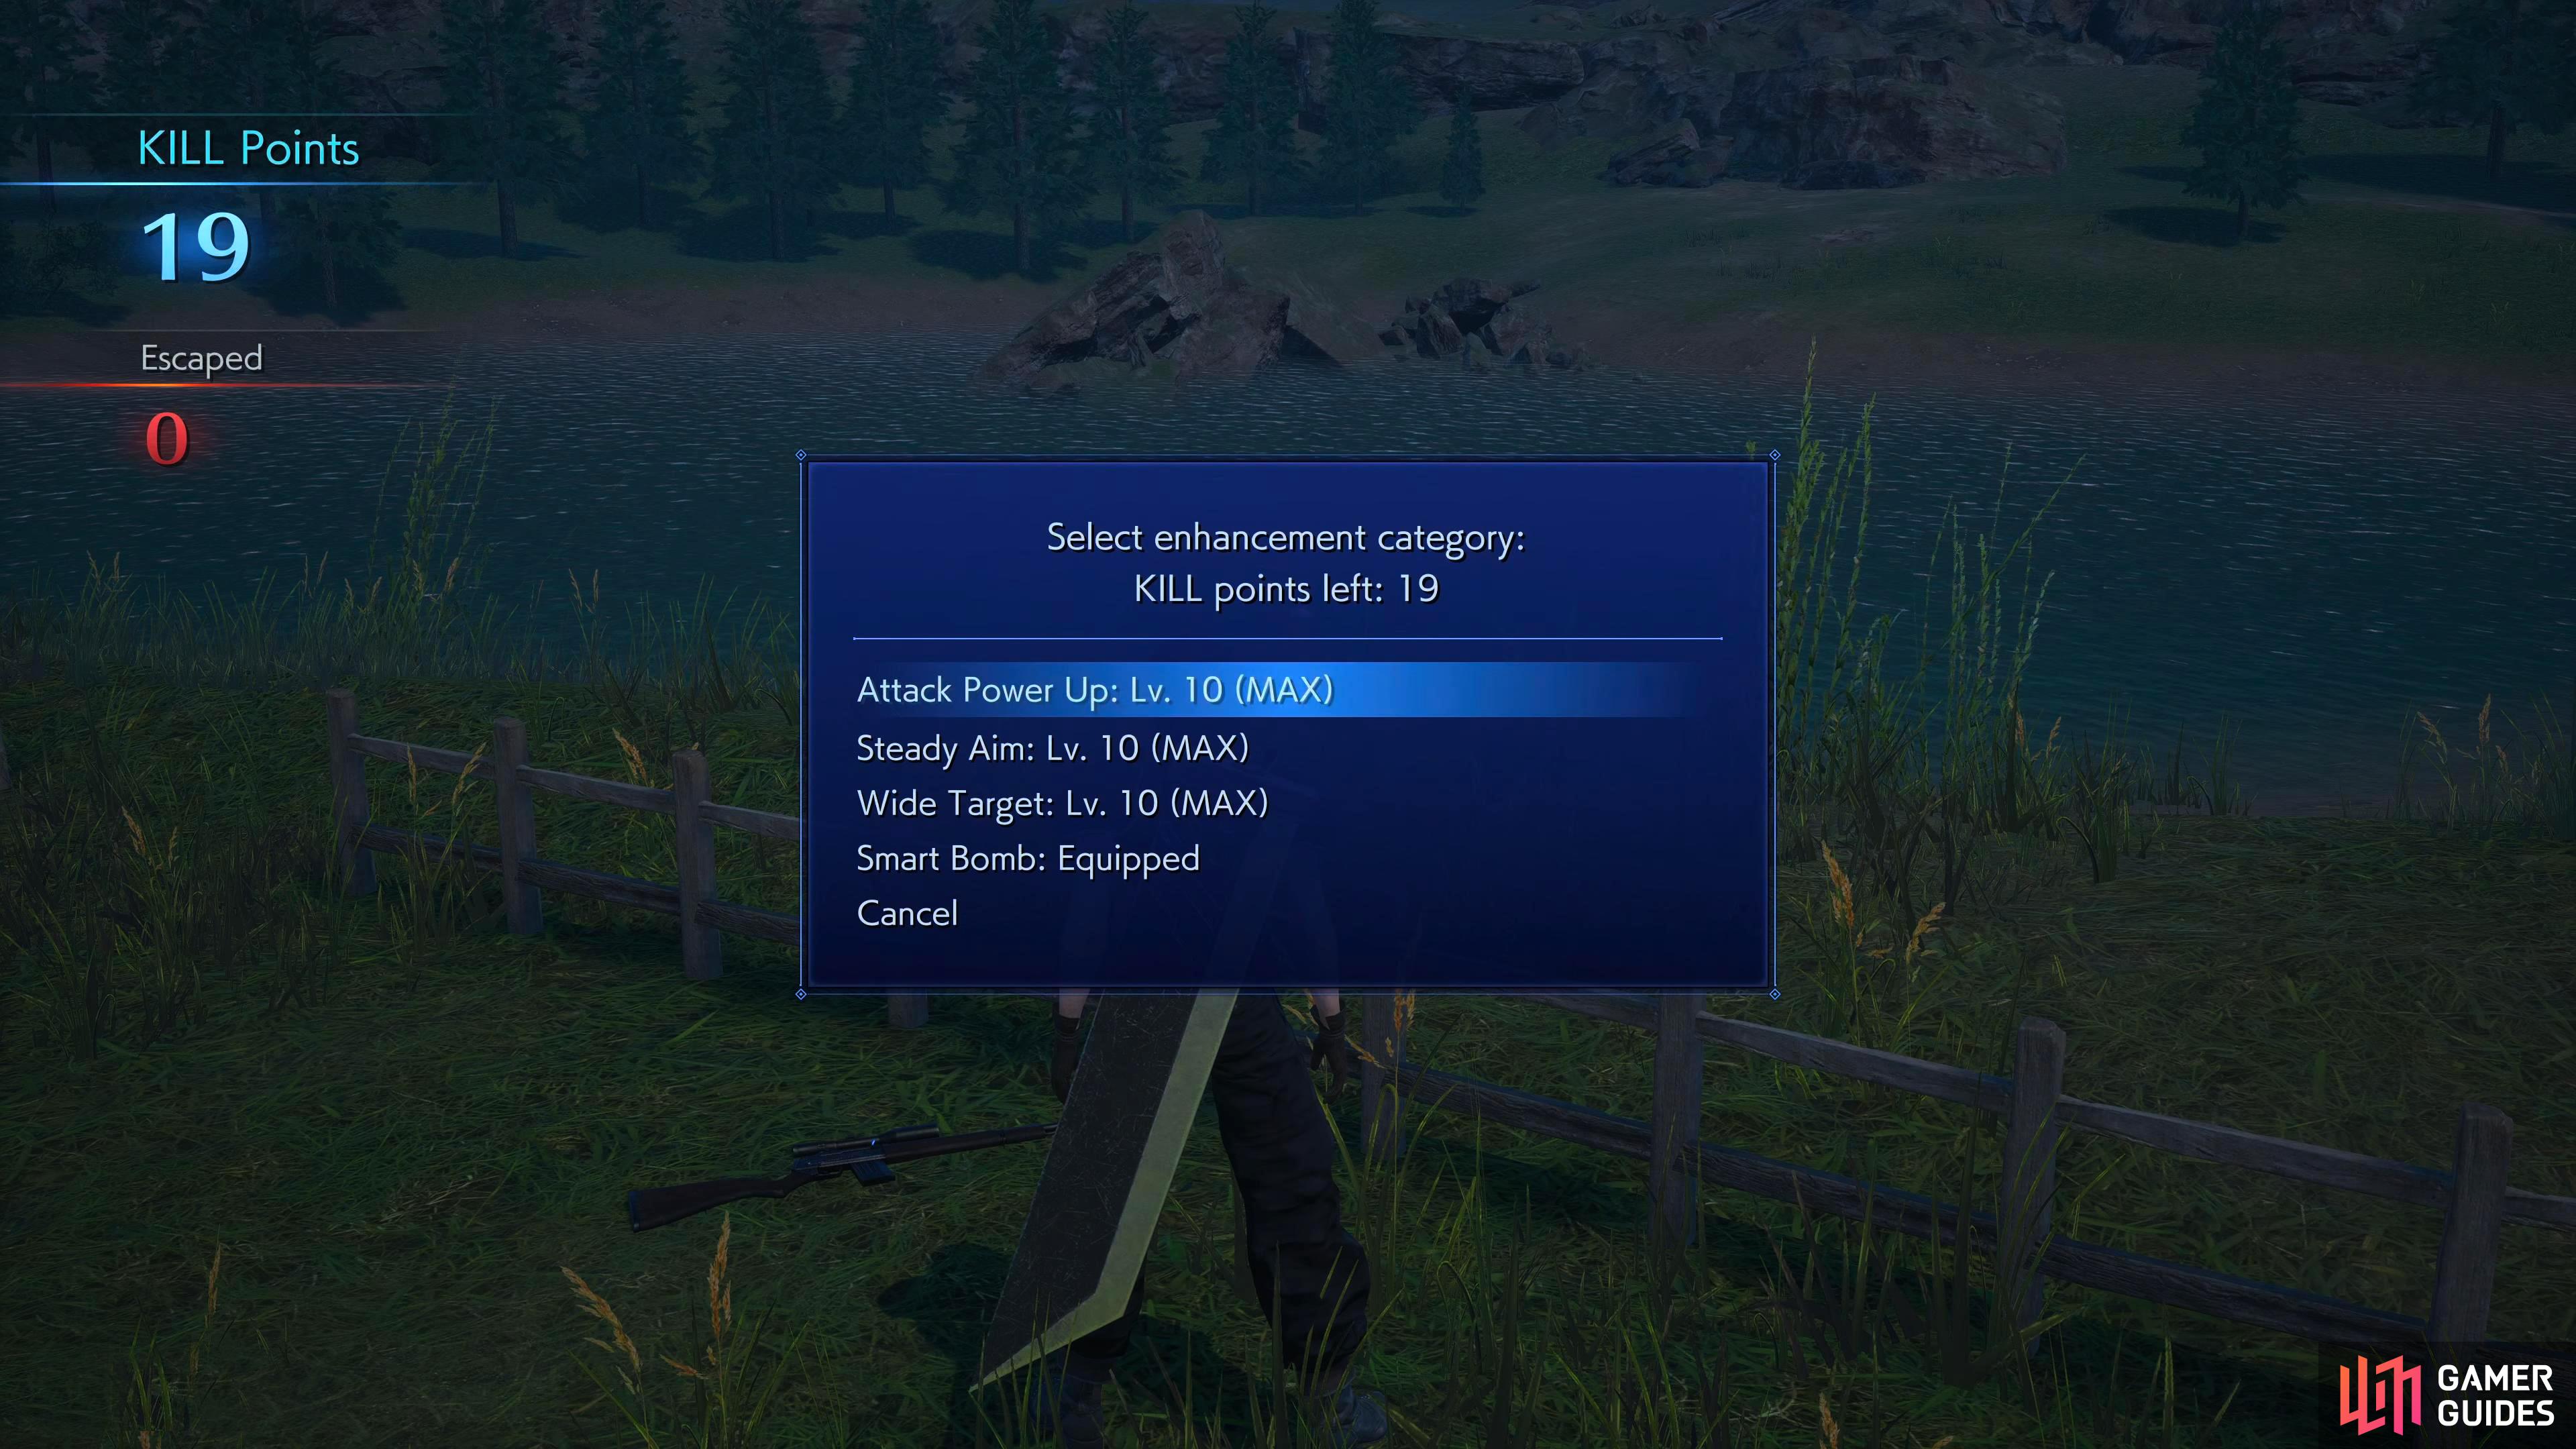
Use this method to MAX out the sniper rifle early.
Sniper Point 1
A single Gun Bull Head at this sniper spot. At first, the aim will swerve all over the place, but try to aim for the head to take it out in one-shot.
Sniper Point 2
Same as the first spot, just one Gun Bull Head here. Get used to aiming at its head, as you’ll get the experience now so that when you fight multiple Gun Bull Heads, you won’t miss as many shots.
Sniper Point 3
There’s two Gun Bull Heads here, one moving side-to-side, and one stationary. As soon as you take a shot, the other Gun Bull Heads will be alerted, so you’ll need to take your shots quickly, and accurately. Take out the stationary Gun Bull Head first, and that should cause the second to stop to fire at you. Use this time to pick off the second.
Sniper Point 4
Three Gun Bull Heads here, and they are all moving. Ideally, you’ll have a fully upgraded sniper rifle by now, if not, use the tip above. Wait until each one has reached the end of its path, and shoot its head before it heads back. This is also a good time to use a Smart Bomb.
Sniper Point 5
This sniper spot can be easy to miss as it’s to the right of the intersection. There will be three stationary Gun Bull Heads here. Aim for the heads, and take them out.
Sniper Point 6
There are only two stationary targets here, but these two are sturdier. One is called the GH-WEDGE, and the other is the GH-BIGGS. Do three headshots on the GH-WEDGE (left), and a Smart Bomb on GH-BIGGS to the right.
Sniper Point 7
This spot can also be tough to see, take a left at the intersection to find it. You’ll be up against three Gun Bull Heads here, but they will attempt to flee after the first shot. Make sure you headshot the first, and place some well-aimed body shots at the other two before they escape.
Sniper Point 8
The final point to the right of the intersection will have three Gun Bull Heads. Shoot at the barrel to destroy the one on the left, use a Smart Bomb on the middle, and snipe at the remaining Gun Bull Head on the right. You’ll need to be quick if you don’t want them escaping.
If you defeat all the Gun Bull Heads without any escaping, you’ll get the trophy/achievement. If any escape, you’ll need to load up the checkpoint and start again. You can read our full guide on the trophy/achievement here.
Waterfall Chaser

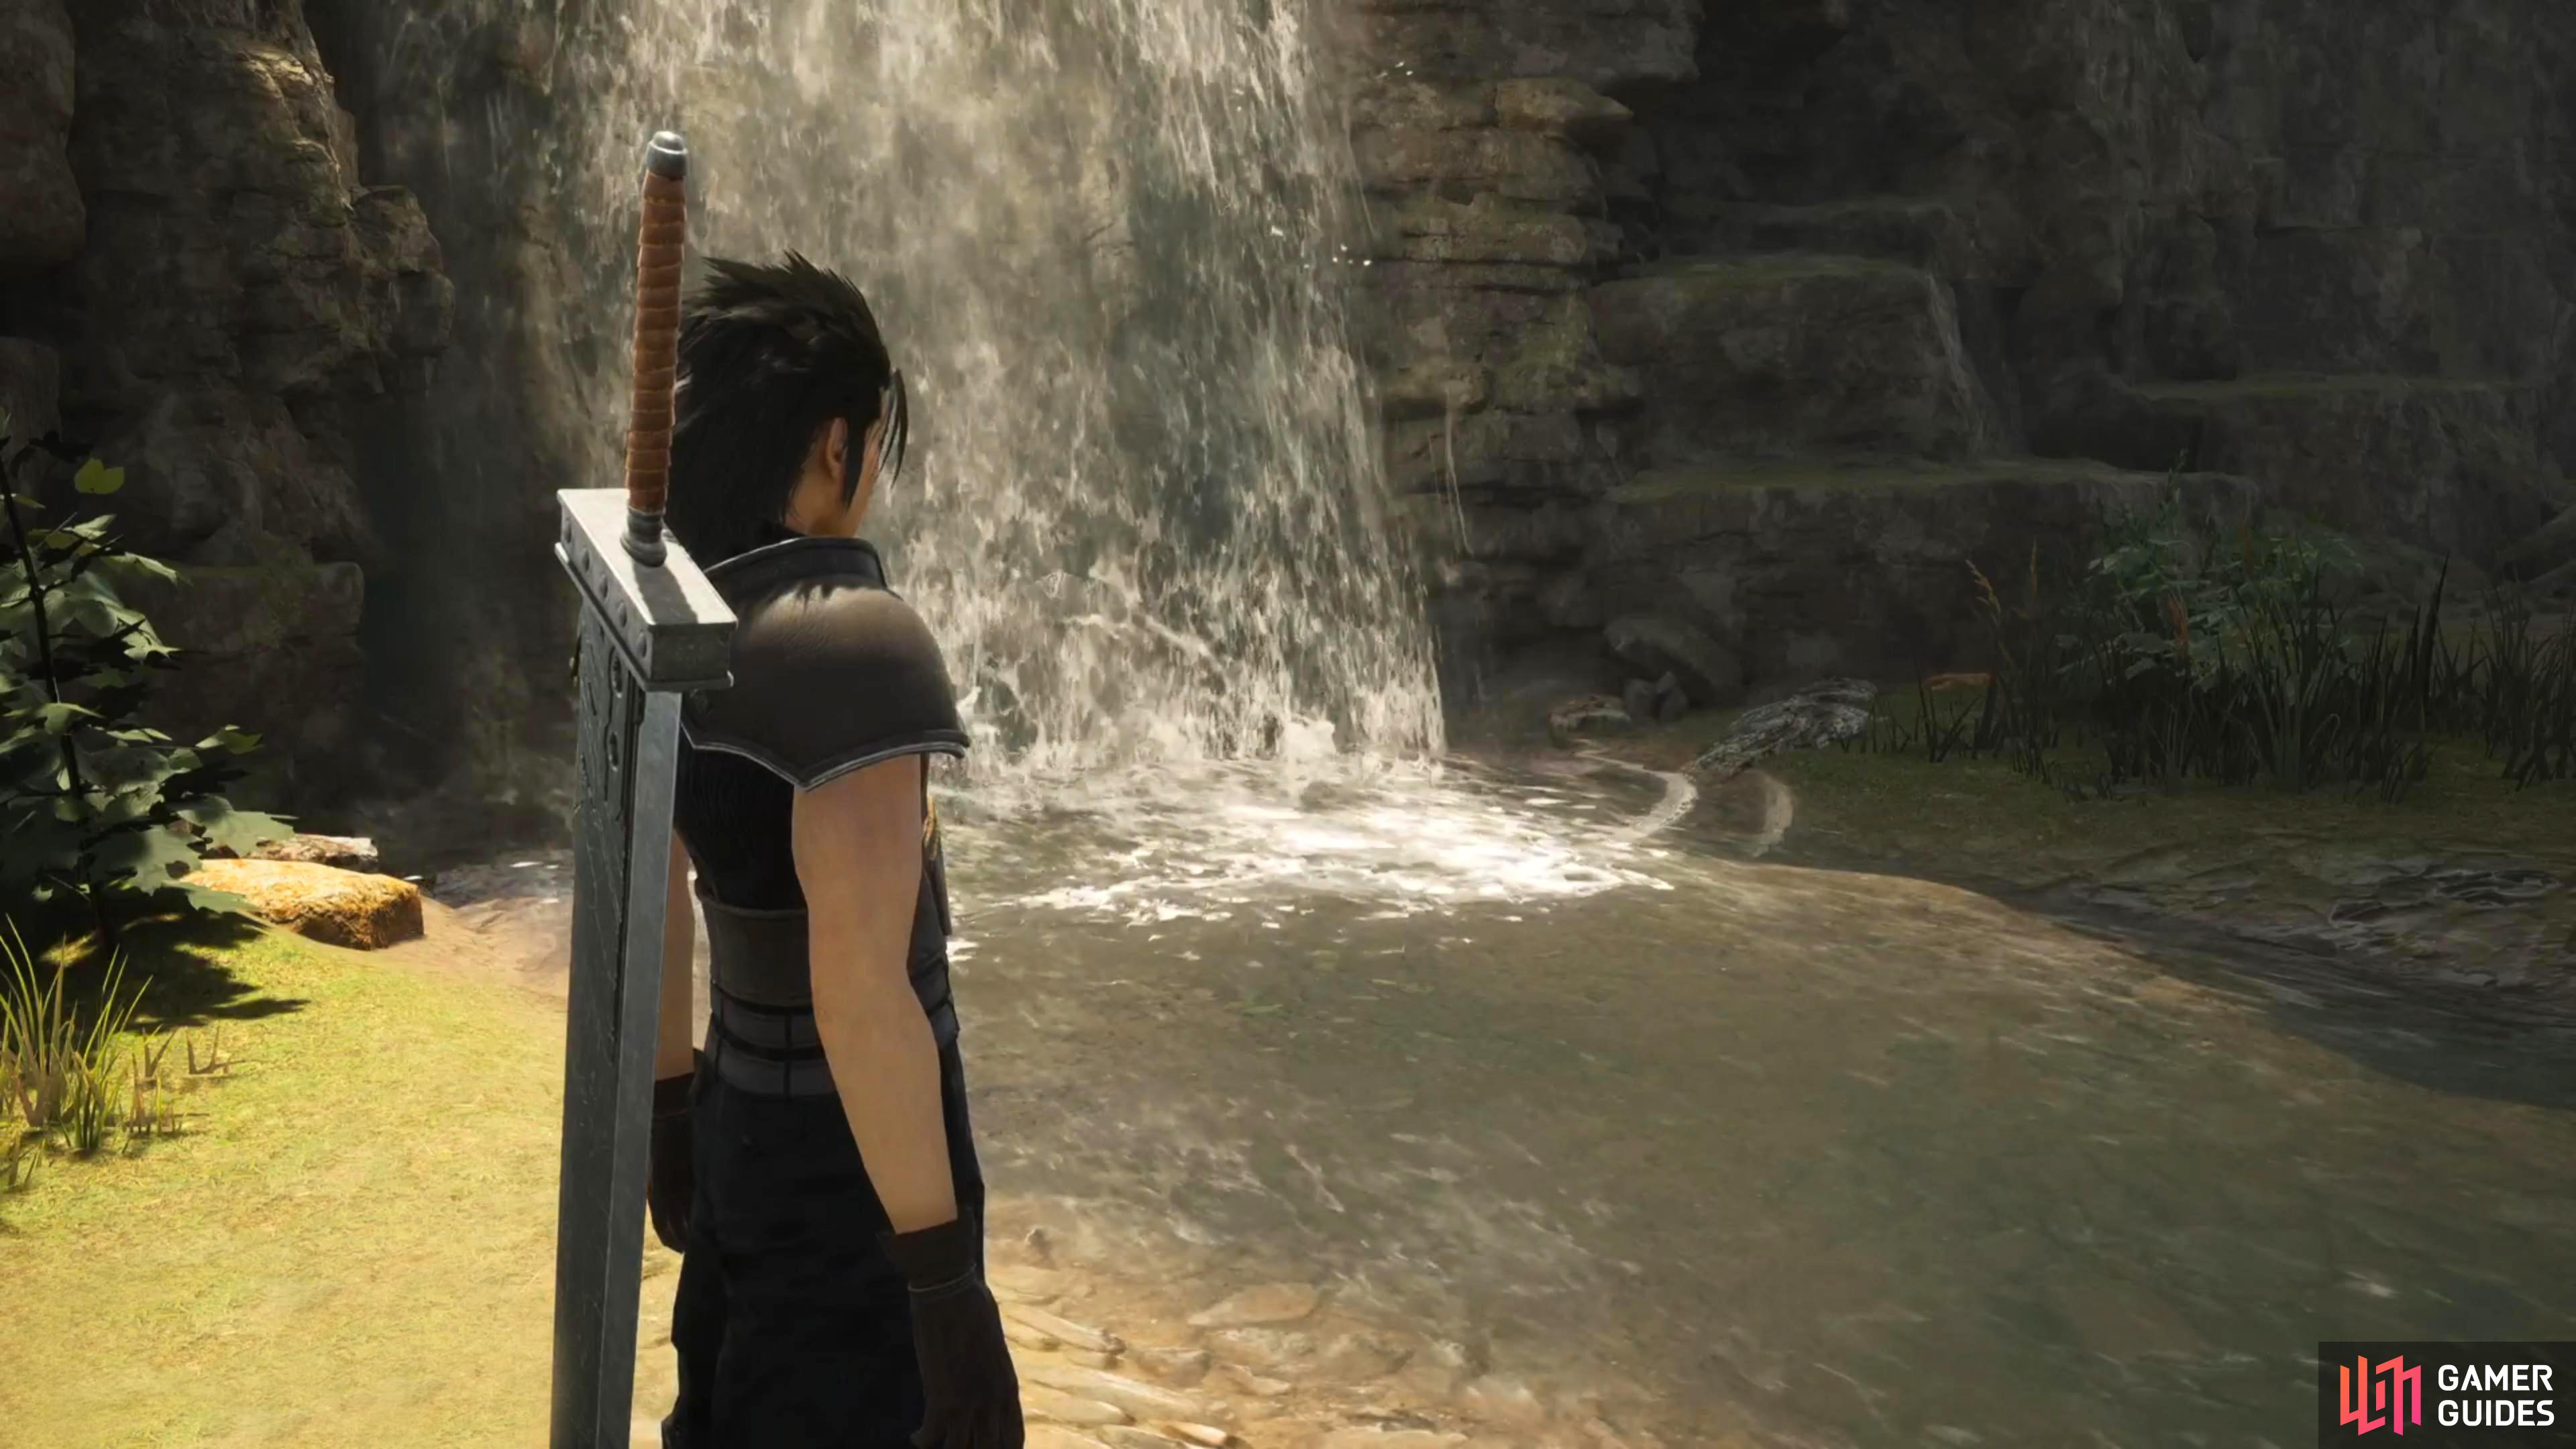
The Waterfall Chaser minigame requires you to defeat seven encounters before you can trigger it.
After the scene where Zack sees Angeal take off after the figure. Head up to the Hills area and go to the cliff’s edge to progress the story where you’ll learn Cloud is in trouble back where you left him. The Waterfall Chaser Trophy/Achievement mini-game takes place in this area.
This is a unique trophy/achievement where you’ll need to trigger the minigame. This can be tedious as you’ll need to run around the area and win seven battles. Once you’ve completed the seven battles. Try to leave the area via the exit near the waterfall, and you’ll notice a chest come down the waterfall. This will give you a prompt to see if anymore come down. Choose to do so to start the minigame!
The goal is to get all chests that come down the waterfall. There are 10 chests in total, and you’ll need to get all of them for the trophy/achievement. It isn’t that easy though, as sometimes enemies will come down instead of a chest. If they make contact with you, you’ll be paralyzed for a brief period which can cause you to miss some chests. Thankfully, the chests and enemies will always fall in the same order as noted below:
- Chest in the middle
- Enemy to the left and right
- Chest to the left (behind the left enemy)
- Chest to the right (behind the right enemy)
- Repeat
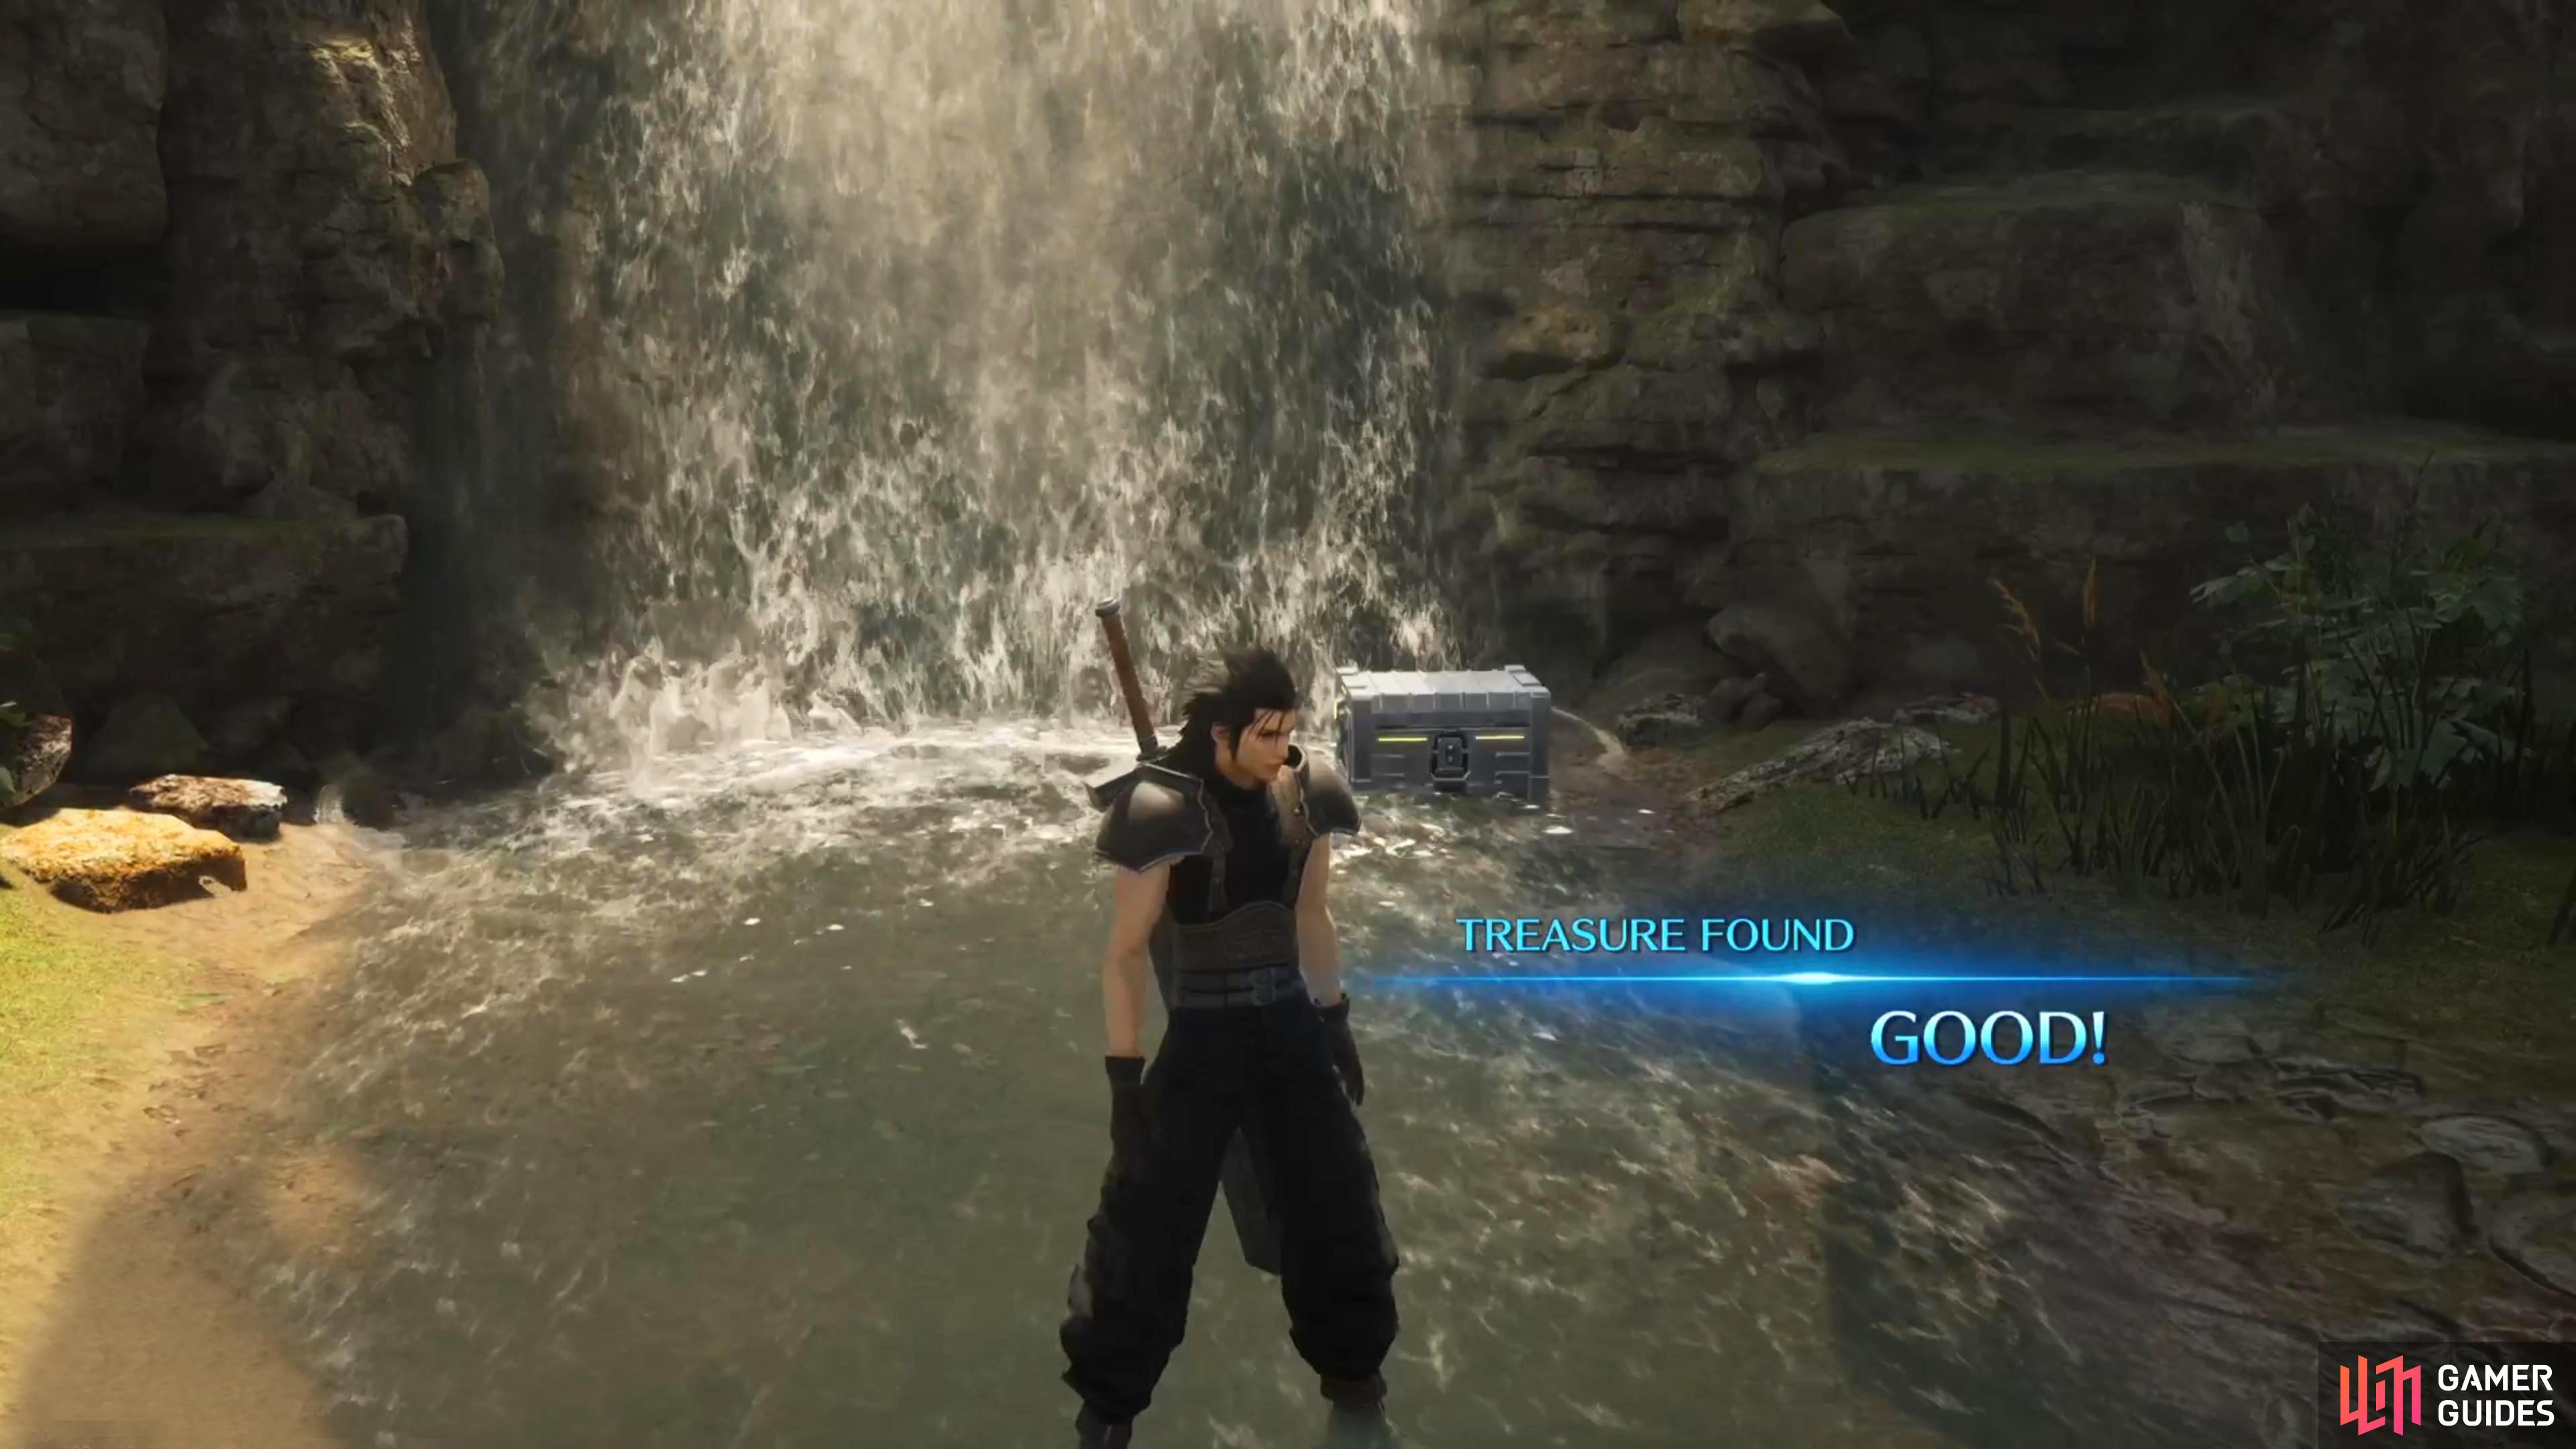
Get all 10 Treasures to get the trophy/achievement.

But make sure you don’t touch a monster as it’ll leave you paralyzed!
If you manage to miss a chest, you can retry the minigame by leaving the area, and returning to it. This may take a few tries as the controls for Zack in this minigame are questionable at best. You can read our full guide on the trophy/achievement here.
No Comments