
We go deep into the heart of France here as part of Operation Overlord. Our glider has crash landed near a town and the Americans can’t get in because of the sniper cover. There are three workbenches in there that are going to help us upgrade our sniping gear still further, so let’s get cracking.
Where to find the workbenches in Mission 6: Liberation
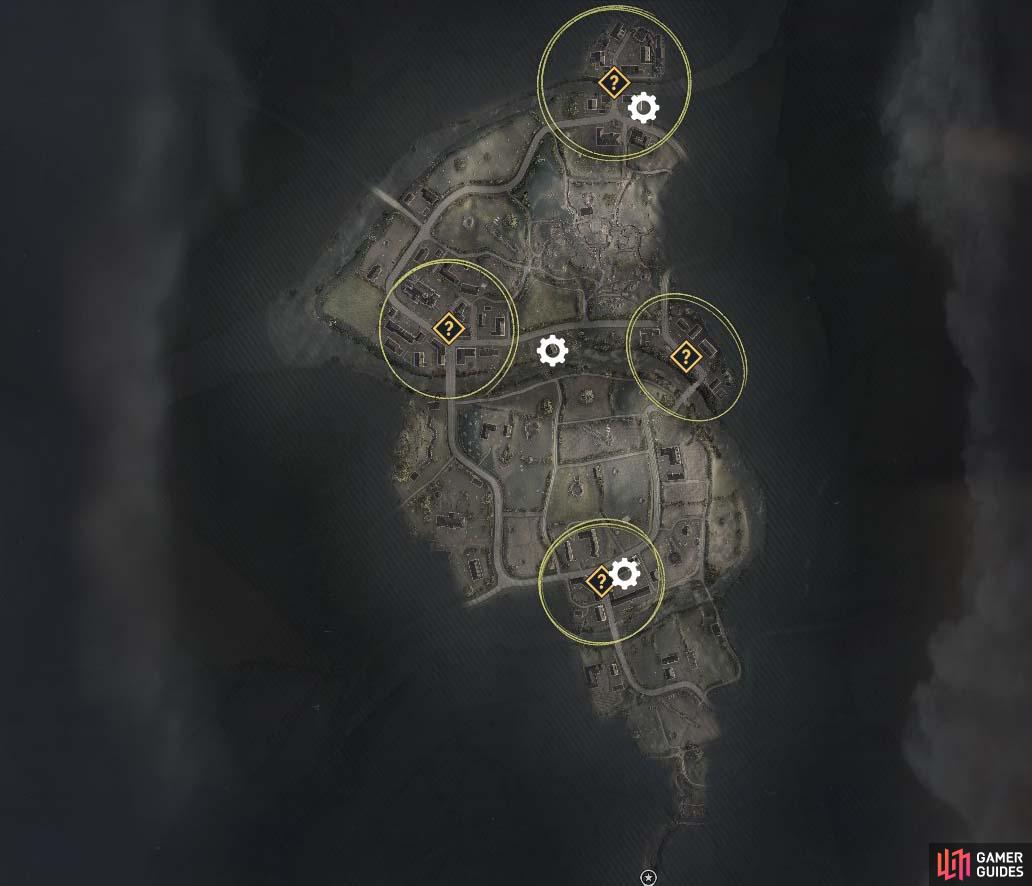
The location of all three workbenches in Mission 6.
As you can see from the map above the workbenches on the Liberation mission are nicely spread out on our route from the south to the North of the map, which is handy as that is the general path of the objectives of this mission. Let’s see what we have.
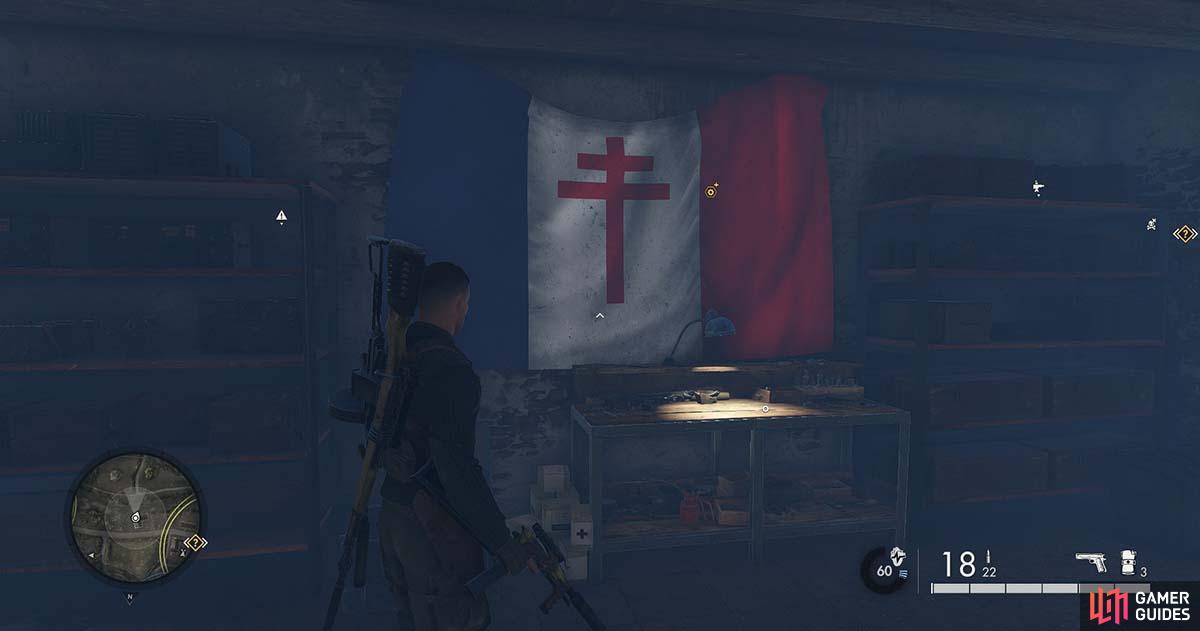
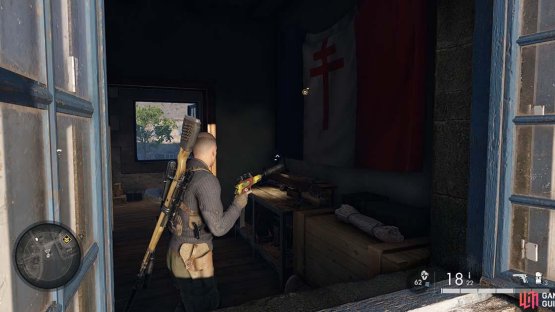
Workbench 1 - Pistol workbench
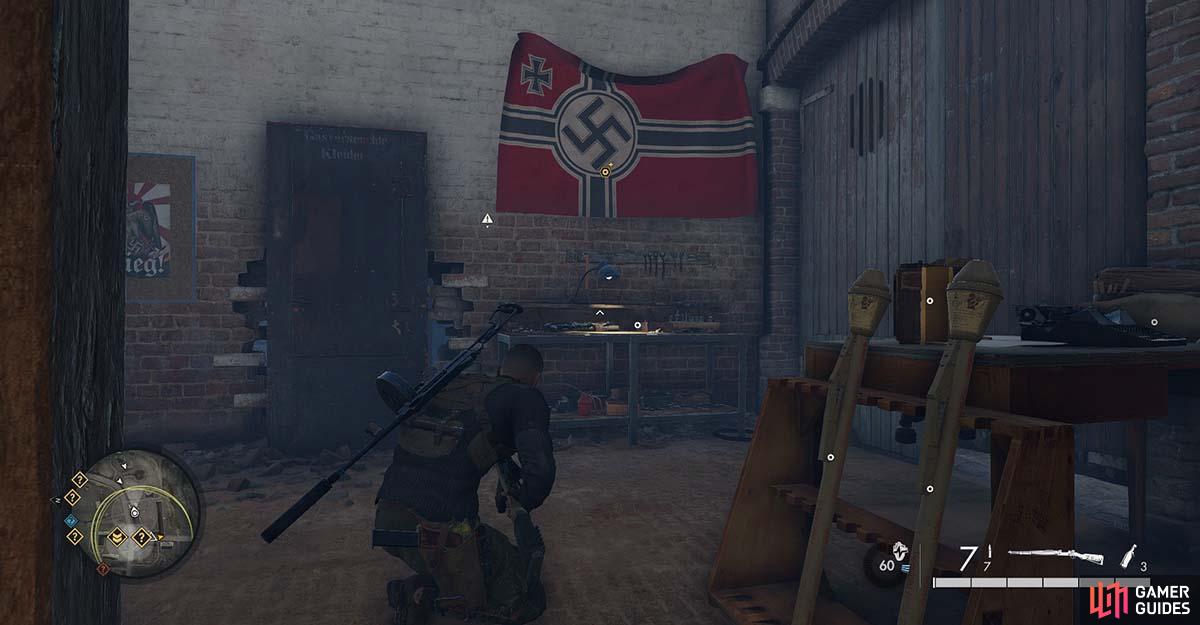
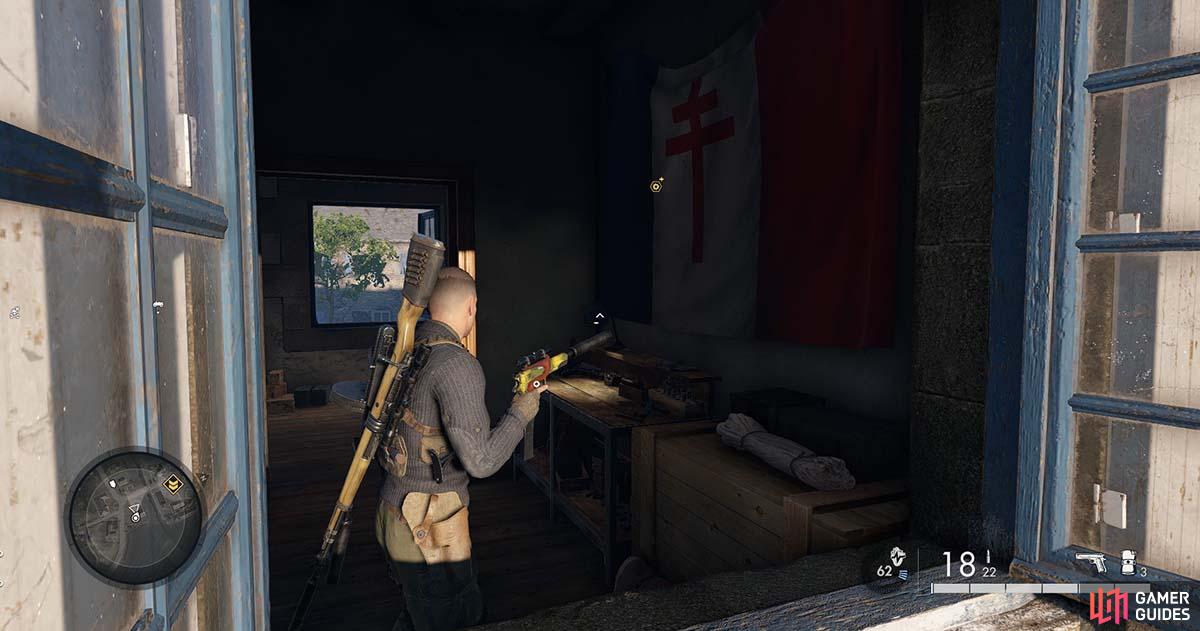
Drop down from above to access the workbench.
The pistol is fast becoming our favourite weapon in the game at this point, it is so customisable and also silent and deadly, which is how we are currently playing the game. The pistol optimisations on offer here are based around stealth to so that’s extra pleasing.
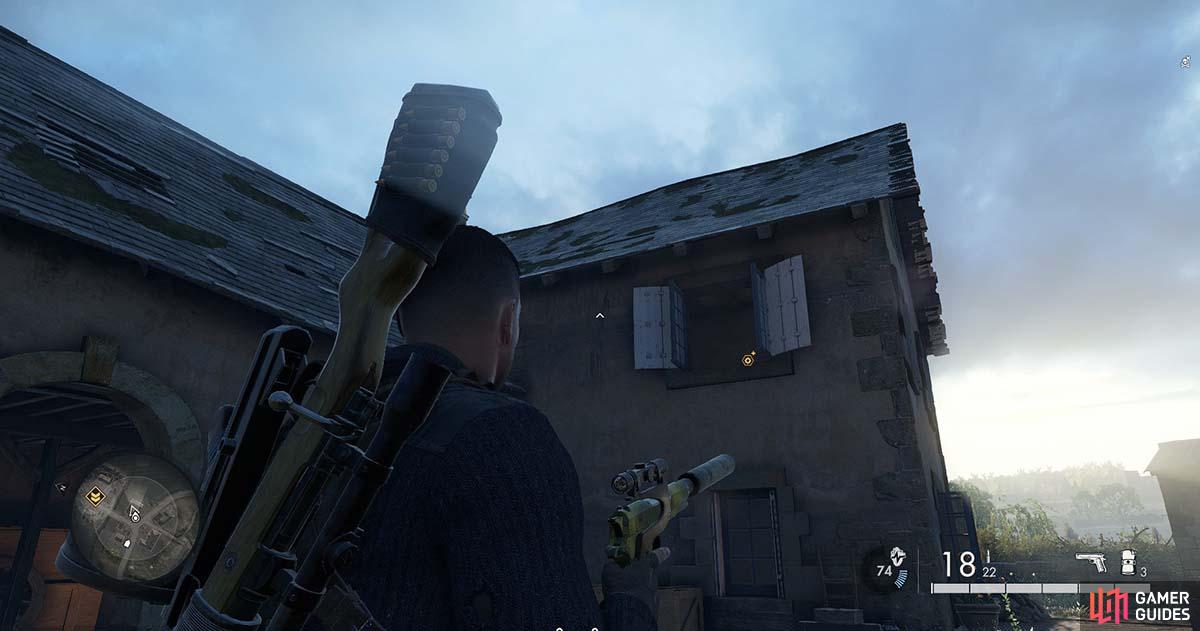
Enter the side of the building marked on the map. You will have to enter the building by using the scaffolding to climb through the roof. Drop down a further level and the workbench is right there for you.
Workbench 2 - SMG workbench

(1 of 2) Once you find the room with the hole in the floor, simply clear the debris away.
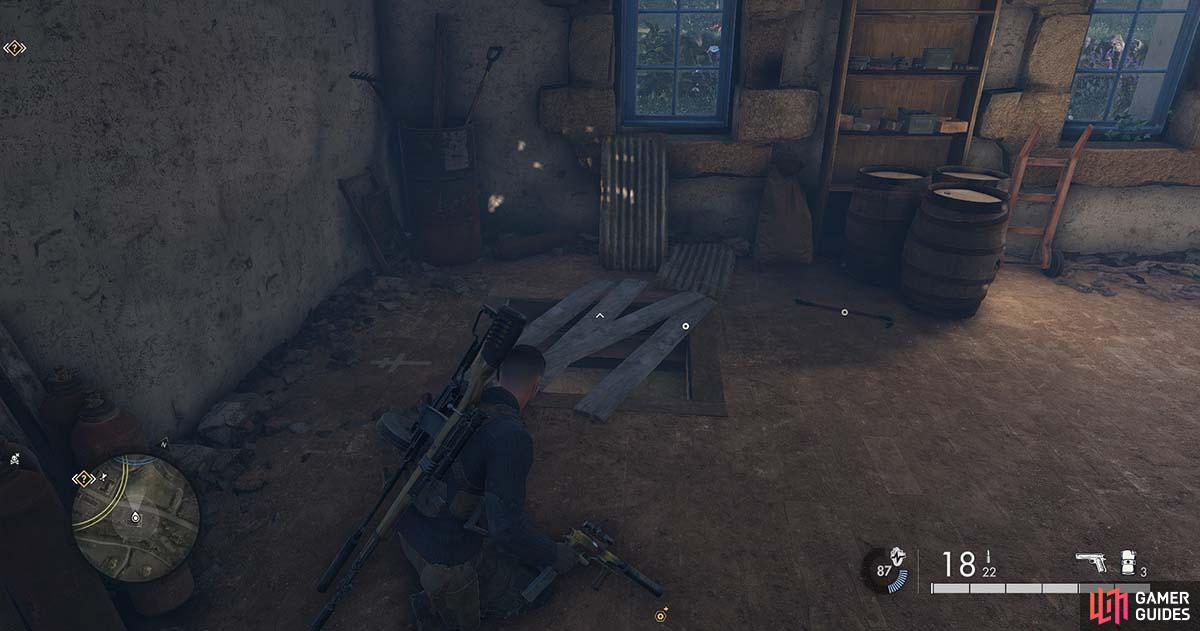
Once you find the room with the hole in the floor, simply clear the debris away. (left), Climb down the ladder and you will get access to the SMG workbench. (right)
This workbench is also hidden, but not as sneakily as in the one in the last mission.
This building stands out as it is the only one in the vicinity. Pass through the kitchen and hunt around until you find a hole in the floor covered with debris. Interact with the debris to cleat it and it will reveal a ladder you can climb down to access the workbench.
Workbench 3 - Rifle workbench

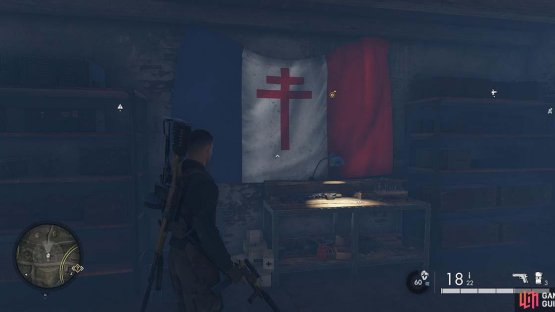
(1 of 2) The Rifle workbench can be found close to the detonator for the bridge explosives
The Rifle workbench can be found close to the detonator for the bridge explosives (left), Voila, the final workbench of the mission, revealed. (right)
The rifle workbench can be found pretty much at the end of the mission, assuming you have done it all in order. Find the bridge where you need to connect the explosives, now track back to the detonator. Behind that are some vines you can climb to access the workbench. There is also a door padlocked from the other side that you can blow off with AP ammo to find a nice stash inside.
No Comments