


Return to Colony 6
With the party standing outside the gates of Alcamoth and having access to Eryth Sea, now is a good time to continue the next stage of development of Colony 6 while also taking a trip around the Bionis to take care of some more Quests that have unlocked. To begin with, there is a new Time Attack battle to take care of now that you have Riki in your roster. Head to Colony 6 and then over to the Time Attack portal to enter the sanctuary and speak to the Archsage once more.
| Challenge Name | Difficulty | Rewards |
|---|---|---|
| Shaggy-dog Story | 2/4 | Pineapple Set |
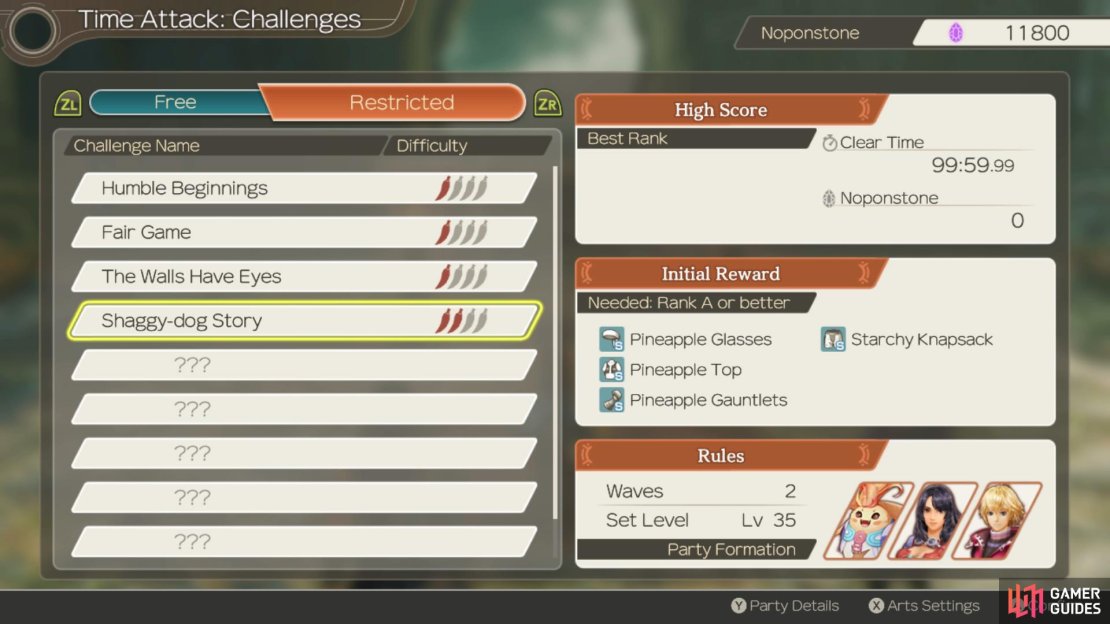
(1 of 4) Riki is your party leader this time
-
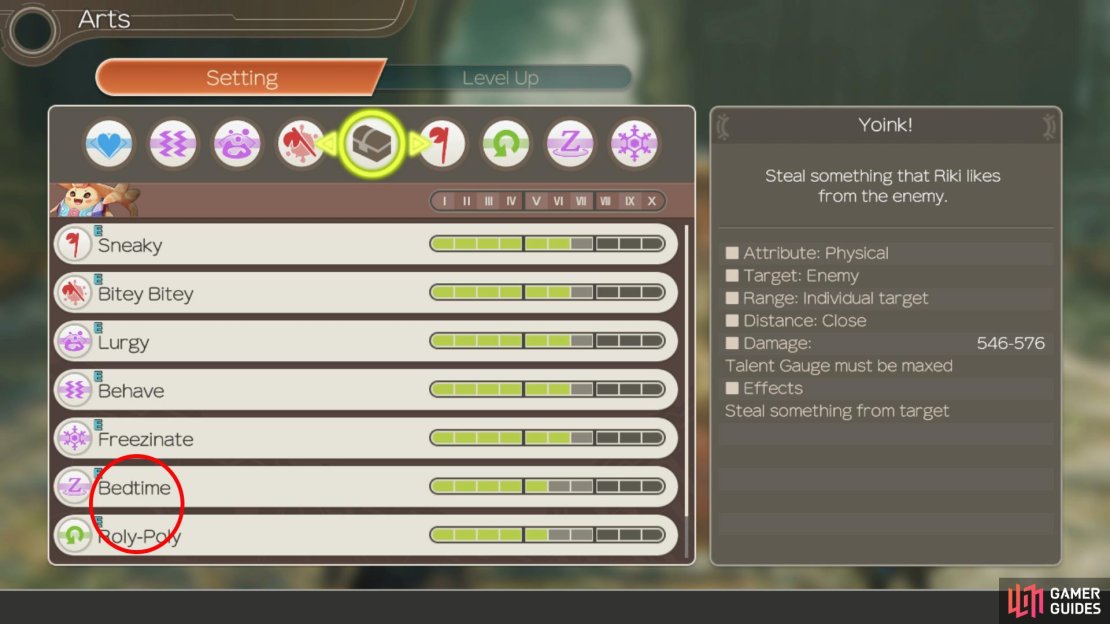
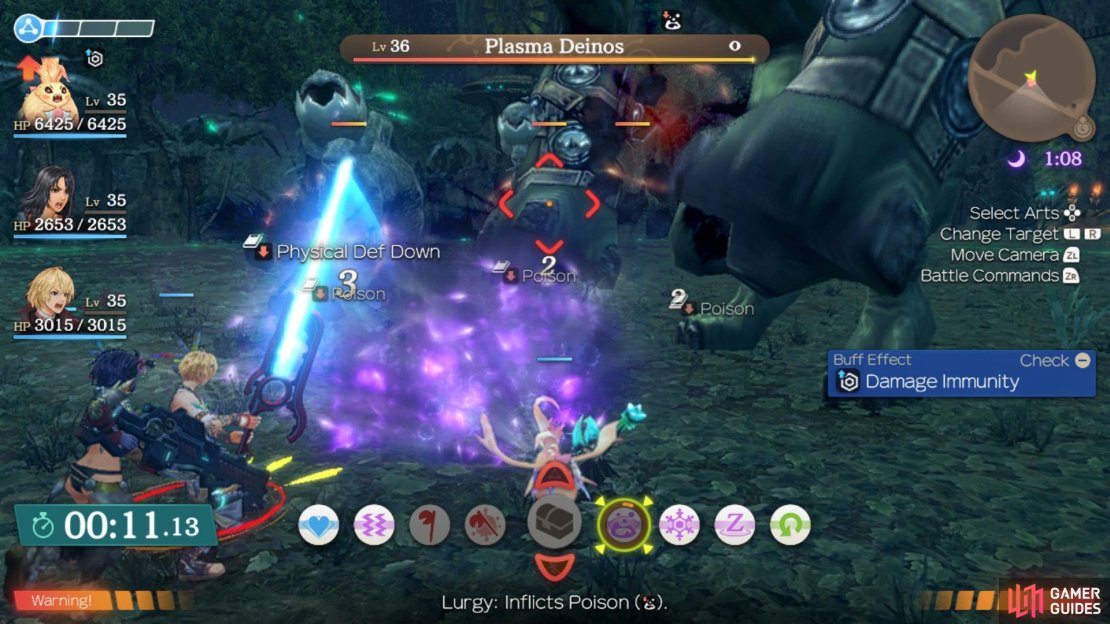
Wave 1 - You’re in control of Riki this time and up against two Lv 36 Plasma Deinos and one Lv 37 Terra Orluga. The key to this Time Attack is to make use of Riki’s DoTs such as Lurgy, Freezinate and Bitey Bitey in that order and spread these around the enemies. Not only will it help Riki keep Aggro (as the defacto Tank of this group) but you’ll also be working on the other enemies while focusing on your current target. If the opportunity arises, make use of Sneaky although this may be unlikely with Riki as the tank. Note that due to the skills that Riki has learnt, you can use Yoink! on the Orluga to weaken it once his Talent Gauge is full.
-
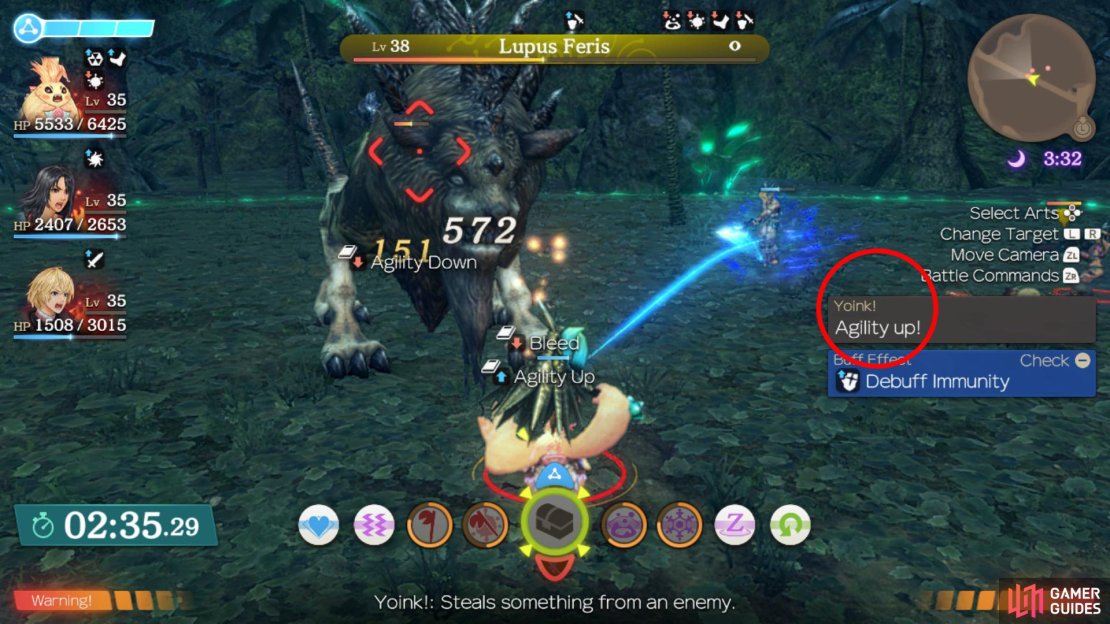
Wave 2 - This is a lot tougher as you’re up against an Inferno Deinos, Bosque Hode and a Lupus Ferris all at Lv 38. The same rules apply here but focus the entire party on one target at a time. So long as you avoid using Chain Attacks (too time consuming), Roly-Poly and Bedtime, you should have no issues achieving the target time.
With that out of the way, make your way over to Juju to begin the next step of Reconstruction.
Reconstruction Level 1
| Category | Material Requirements | Gold |
|---|---|---|
| Housing | 4 Bunnia Scent Wood, 1 Fossil Monkey | 19000G |
| Commerce | 3 Hode Plank, 2 Ready Coil | 22000G |
| Nature | 2 Quadwing Bag, 3 Empress Beetle | 18000G |
| Special | 2 Dust Element, 3 Sea Berry | 25000G |
-
Housing - You can obtain Bunnia Scent Wood from different Bunnia enemies in Satorl Marsh. You can also trade for them with Bokoko at 1✰ affinity. Fossil Monkey is a collectable found in Colony 6 and Makna Forest. You can trade for it with Berryjammy and Puko at 2✰ affinity, or buy it for 7,900 Noponstones from the Nopon Archsage.
-
Commerce - You can obtain Hode Planks from Hyle Hodes and Scout Hodes found in Makna Forest. You can also trade for them with Lupa at 3✰ affinity. Ready Coils are a collectable found in Ether Mine, or alternatively, you could trade with Olga for them if you have 1✰ affinity in Colony 6.
-
Nature - Quadwing Bags are dropped by Coppice Quadwings in Satorl Marsh. They are in particular abundance around Barren Moor and the Nopon Merchant Camp. Empress Beetles are a collectable found in Frontier Village, specifically around Entry Bridge and Underground Store.
-
Special - Dust Elements are obtained from Caris Nebula in Makna Forest. They can also be traded for with Hoko in Frontier Village at 4✰ affinity. Sea Berries are a collectable found in Eryth Sea. Alternatively, you can trade for them with Vidian and Talia in Alcamoth at 1✰ affinity in the Upper Bionis region.
For completing Level 1, you’ll receive a bonus of Street Lights being built and receive an EXP Up III Gem. As you’re completing the reconstruction, you’ll trigger a Surprise Quest as one of the colony’s ether planters come under attack.
Defend Colony 6 - Mechon
You’ll need to make your way to the Pod Depot section of Colony 6 where you’ll encounter three Lv 32 Mechon M64 Armour+ enemies. Consider putting Shulk in the party as leader and use Monado Enchant to dispatch the Mechon and prevent their destruction.
Following this Quest, you should be able to accept a bunch of new Quests here in Colony 6. Begin by accepting A Gutsy Trader from Werner and then make a quick trip to Frontier Village and speak to Hoko and Pokapoka to have them move on over to Colony 6.
A Gutsy Trader
Werner will ask you to fetch him 6 Flier Wings and 7 Flier Straws both obtained from Fliers. Flier Wings are obtained from Fliers in Colony 6 and Flier Straws are dropped by Fliers on the Bionis’ Leg. Clima and Colony Fliers are found during the day near Watchpoint Junction. Flier Wings are a rare drop so you will have to farm for a while to obtain 6 of them. But this should be relatively easy if you just keep fast travelling to the Watchpoint Junction landmark and killing Fliers until you have the required amount. Flier Straws are also a rare drop, but if you travel to Jabos Rock Rest Area on the Gaur Plain then you should find a fair few Fine Fliers around. You will likely have to use the same fast travel technique to farm enough of the Flier Straws too. Once you have all the required materials, return to Werner in Colony 6 to finish the quest.
That’s all you can do with Colony 6 for now but there are plenty of other Quests that have become available now that you’ve entered Eryth Sea so start by heading back to Colony 9.
A Big Brother’s Fight
In order to unlock this quest you must have already completed Biscuits for a Grandson and have Riki in your party. Zukazu and Jiroque’s fight is approaching, and Zukazu has asked you to fetch him a Red Pollen Orb so that he can secure his victory. Once you have activated this quest, you will have the opportunity to activate Jiroque’s quest, A Little Brother’s Quest and you may only complete one or the other of these two quests. Should you choose to stay with A Big Brother’s Fight, you may remember the Nopon, Zazadan, in Satorl Marsh who has Red Pollen Orbs. Head to Nopon Refuge north of the Glowing Obelisk landmark and retrieve a Red Pollen Orb from behind Zazadan. Return the Red Pollen Orb to Zukazu to complete the quest.
A Little Brother’s Fight
In order to unlock this quest you must have already completed Biscuits for a Grandson and have Riki in your party. Zukazu and Jiroque’s fight is approaching, and Zukazu has asked you to fetch him a Red Pollen Orb so that he can secure his victory however by informing Jiroque about Zukazu’s request, you can help him instead. Should you choose to stay with A Little Brother’s Fight, you may remember the Nopon, Zazadan, in Satorl Marsh who has Red Pollen Orbs. Head to Nopon Refuge north of the Glowing Obelisk landmark and retrieve a Red Pollen Orb from behind Zazadan. Return the Red Pollen Orb to Jiroque to complete the quest.
A Place to Come Home to
This is a mutually exclusive quest, meaning you can only access it if you chose to complete A Big Brother’s Fight instead of A Little Brother’s Fight. Following their big fight, Zukazu has headed off on an adventure and Jiroque wants to make his bedroom nice for when he returns. He has asked you to get the following items to decorate with:
-
3 Quality Antol Jaws - These can be obtained from Clinger Antols in Colony 9. They are specifically located in two areas: an elevated cave near Cliff Lake, and northwest of Agora Shore. They are in a higher abundance near Cliff Lake so it would be advised that you head there first to see if you can get the required amount in one go, and then if you’re missing some you can head over to Agora Shore. Be careful around Cliff Lake though, since there is a level 39 antol-type unique monster called Roguish Frengel. It can drop the Quality Antol Jaw, so you could fight it if you’re a high enough level.
-
4 Black Irises - These are a collectable found in Makna Forest.
-
2 Forget-You-Nots - These are a fairly rare collectable found in Satorl Marsh. You may need to fast travel back and forth between Satorl Marsh landmarks and other regions in order to spawn in the collectable. They typically spawn around Barren Moor and the central areas of Satorl Marsh.
Once you have collected all the items, head back to Jiroque to complete the quest.
Thawing Relations
This is a mutually exclusive quest, meaning you can only access it if you chose to complete A Little Brother’s Fight instead of A Big Brother’s Fight. To begin with, Zukazu wants you to track down 3 lots of Maternal Armu Milk. You can track these down by defeating the Plain Armus found at Agora Shore to the east. Alternatively, if you’re already at 4✰, you can simply Trade for them with Zukazu (which begs the question, why is he asking for them in the first place). Once you have this, make your way to Ether Light during the day and speak with Marcia to give her the milk and the Old Watch before returning to Zukazu at night to complete the Quest.
The Old Soldier’s Test
To obtain this quest, a number of prerequisites must be fulfilled. Firstly, you must have 3✰ affinity with Colony 9 and Jan, Cheryl, Minnie and Dionysis must be registered (as well as Jan) on the affinity chart. Jan and Minnie must also have a link between each other, this is established when Jan tells you that he had dinner with a young girl (Minnie). Once that affinity link is established, you can talk to Dionysis who will ask you for your opinion on the relationship. To obtain this quest, you must answer “He’s too old”, if you pick the other option then you will not be able to activate Jan’s quest. After all of the prerequisites have been satisfied, you should be able to head over and accept the quest from Jan in the Military District.
Jan thinks young people need a challenge to build character. He has asked you to defeat Elder Gragus near the Nopon Arch in Makna Forest. The Elder Gragus is a level 34 Quadwing-type Unique monster. There are a few Jungle Quadwings surrounding him that might also join in on the fight. Once you have defeated Elder Gragus, head back to Jan to complete the quest.
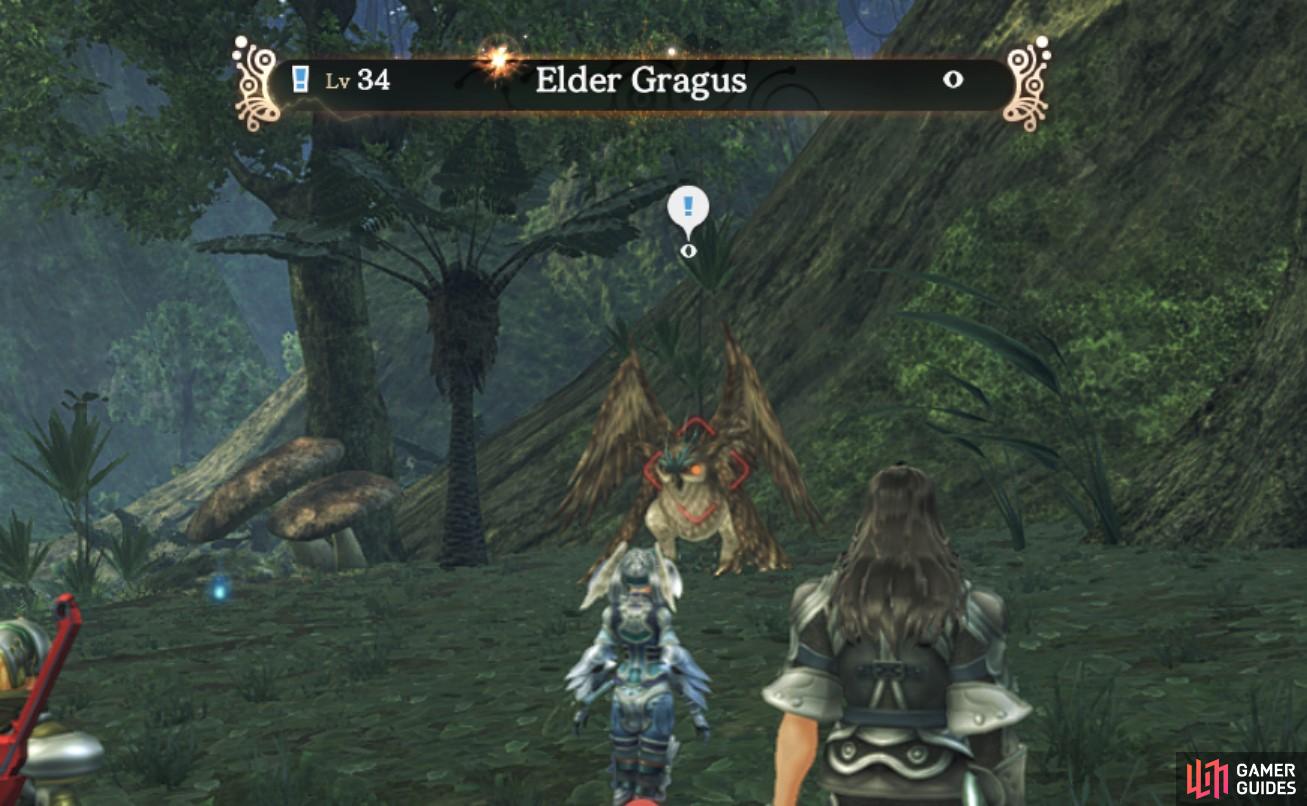
The Elder Gragus can be found on an elevated area near Nopon Arch.
Next up, make your way back to Frontier Village and speak to Pipiki at Sacred Altar during the day to accept Honouring the Nopon Sage then speak to Rasha nearby with Sharla as the party leader to accept Avenge a Mamapon’s Death. Next, head north from Nopon Tower and jump off to the east to find Deki who will offer A Tormented Bug-Lover.
A Tormented Bug-Lover
Deki still wants to teach Ababa a lesson about how awful it is to eat bugs, so he has asked you to fetch 5 lots of Bitter Wisp Fluid from Colony Wisps in Colony 6. These spawn at night and are in particular abundance around Freight Road and Watchpoint Junction. The Wisp Fluid is a bit of an uncommon drop so you may have to farm Colony Wisps for a while to get 5 lots. As soon as you’ve collected the required amount, take it to Ababa and have him drink it. Once again, Ababa likes the bug drink. Return to Deki to tell him the news, he will end up trying the wisp fluid for himself. The quest concludes with Deki loving the bug drink too! Deki and Ababa’s affinity link changes from a negative to a positive status following the completion of this quest.
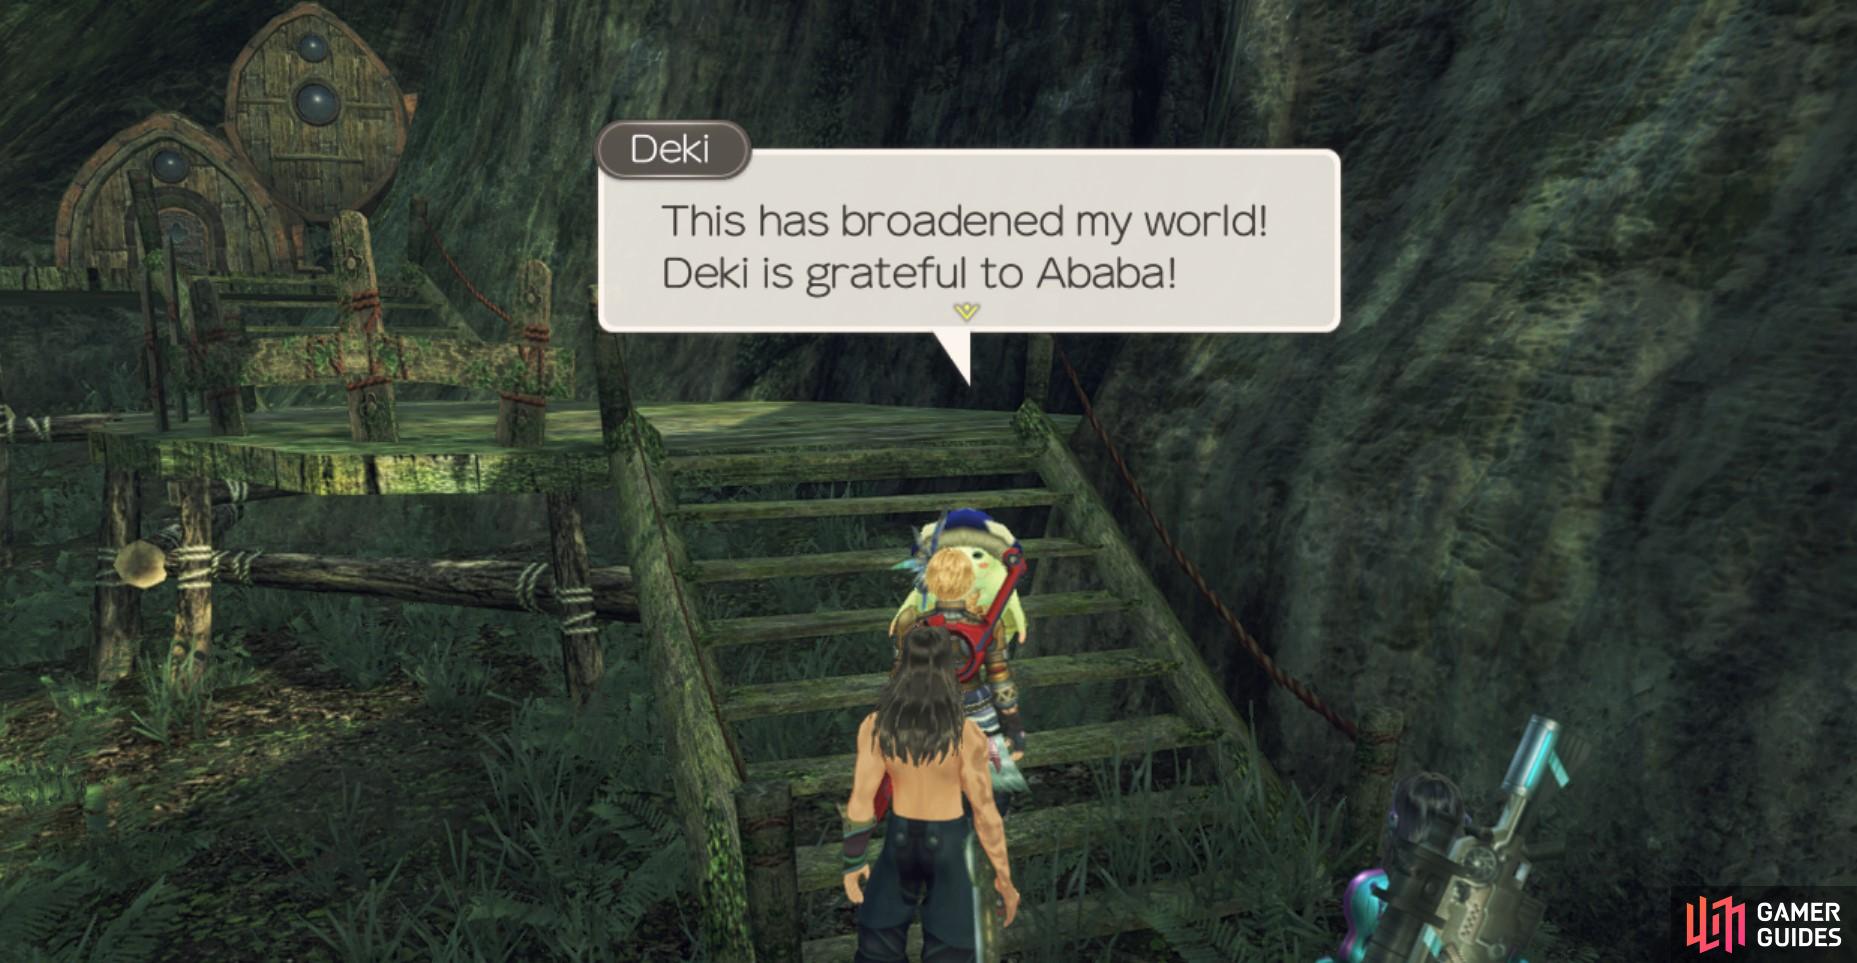
Deki loved the Bitter Wisp Fluid drink!
Avenge a Mamapon’s Death
Once you have completed Deinsectization and Secret Innovation, reached Eryth Sea and have 4✰ affinity with Central Bionis, you may activate this quest from Rasha. She will tell you a story about her sister, Cherri’s mamapon, who was killed in Eryth Sea. She will then ask you to avenge her death by defeating Pillager Hode near the Ether Crystal Deposit in Eryth Sea. The Ether Crystal Deposit can be found southeast of Hovering Reef 6. The Pillager Hode is not a unique or quest exclusive enemy so it should not be too hard of a fight. Return to Rasha upon its defeat and she will ask that you give Cherri a piece of her Mamapon’s clothing. Cherri will only accept the Cloth Shred if Sharla is the party leader. Return to Rasha to complete the quest.
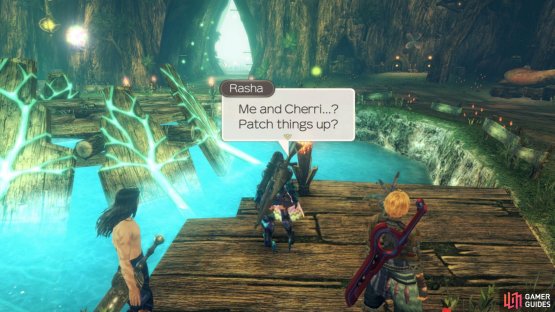
(1 of 2) Cherri and Rasha may finally get along
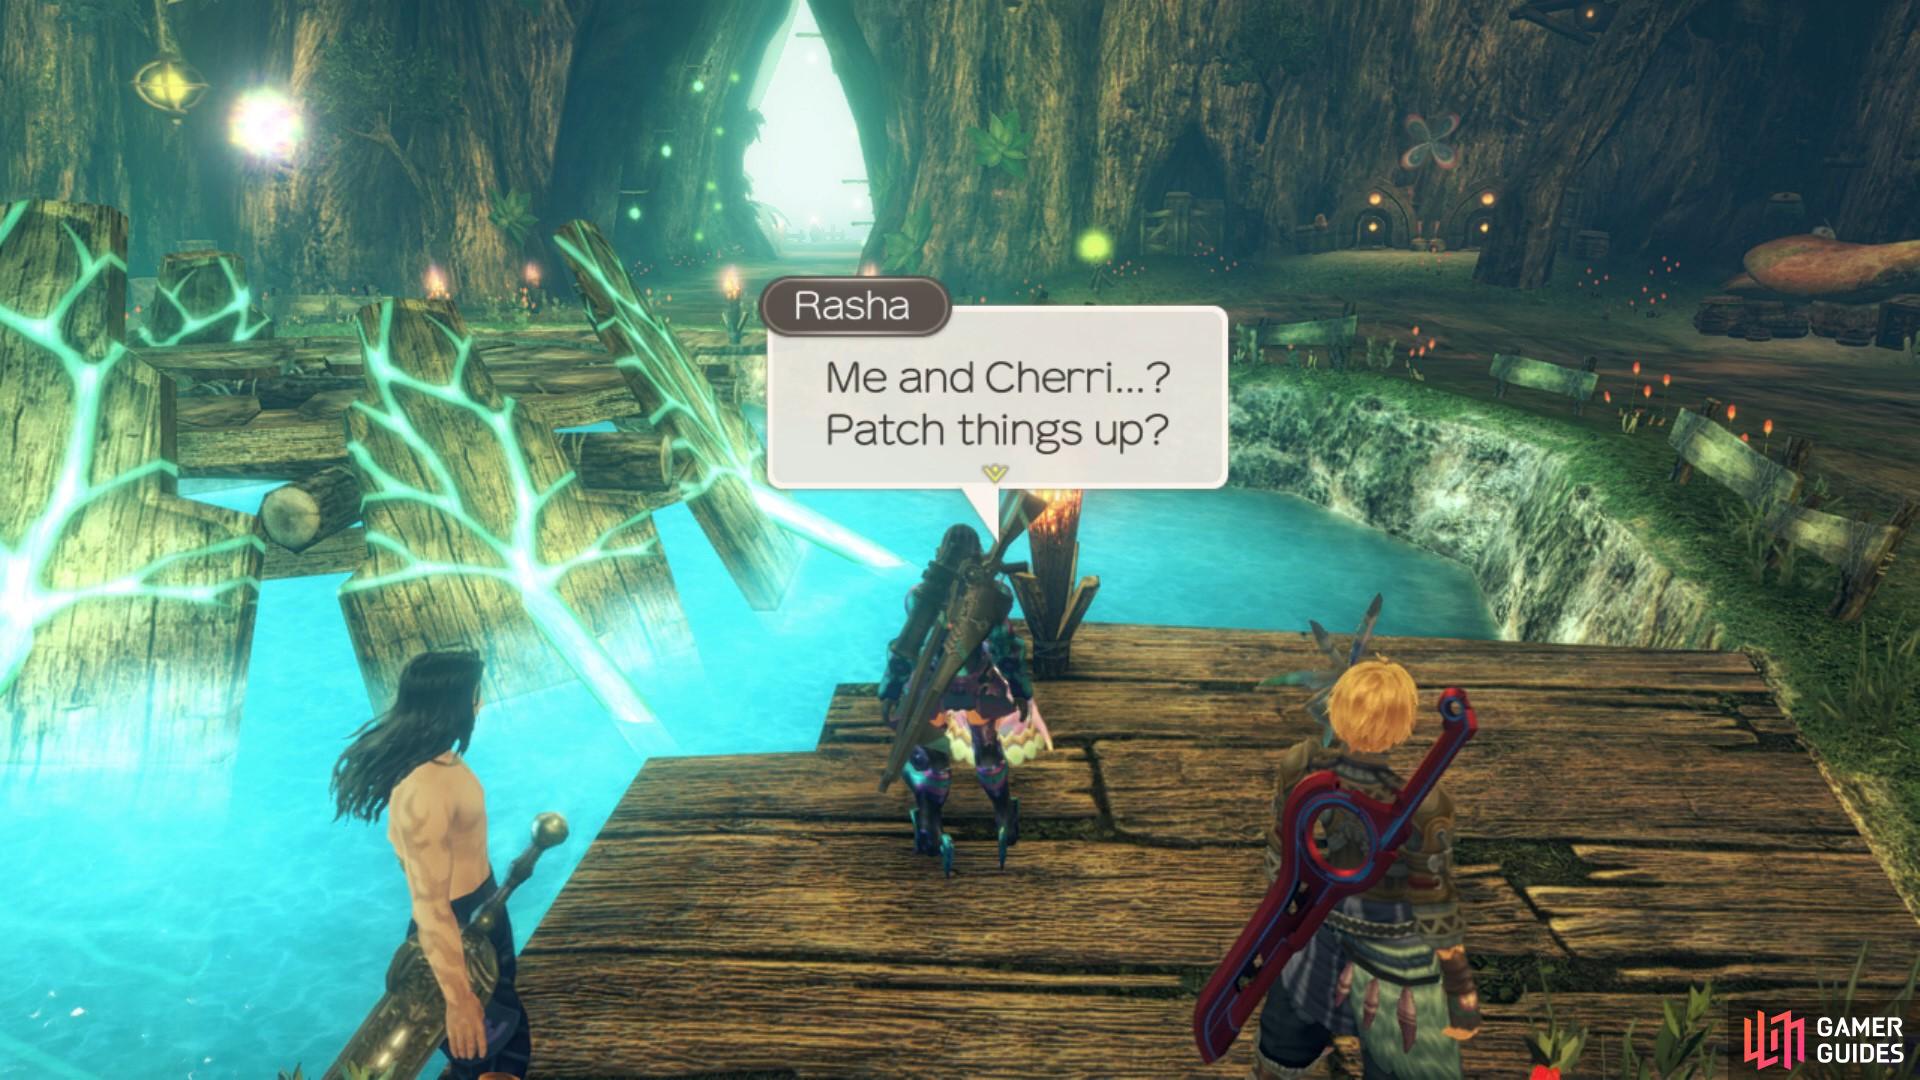
Cherri and Rasha may finally get along (left), Sharla unlocks the skill branch, Reliance (right)
Honouring the Nopon Sage
Pipiki wants to honour the Nopon Sage who lives at Great Makna Falls. He has asked you to collect some things so that he use them as an offering to the Nopon Sage.
-
3 lots of Juicy Laia Fish - This is a material dropped by Chloro Laias in Eryth Sea. They spawn at night and most commonly around Syrath Lighthouse and Hovering Reef 5.
-
4 Benign Crickets - This is a collectable found across Makna Forest. You can also trade for them with Deki at 1✰ affinity in Frontier Village.
-
4 Soft Cucumbers - This is also a collectable found across Makna Forest. You can also trade for them with Cherri and Pepa at 2✰ affinity in Frontier Village.
Once you have collected all the items, head back to Pipiki to complete the quest.
Meeting the Nopon Sage
Once you have completed Honouring the Nopon Sage, Pipiki will ask you to take the offering to the Nopon Sage at Great Makna Falls. He says that the Nopon Sage will appear when there is a rainbow over the waterfall. Fast travel over to the Divine Sanctuary or Waypoint Beacon and make your way over to the small cliff ledge that faces Great Makna Falls (there should be a ! to guide you). When you’ve arrived at the point, you will notice that you have the option to make the offering but that it fails if there is no rainbow present. A rainbow should appear between the hours of 12:00 and 15:00. Once the rainbow has appeared, you will be able to make a successful offering and the Nopon Sage will appear. The Nopon Sage will grant Pipiki’s wish and then you can return to him in Frontier Village to complete the quest.

You can only make an offering when there is a rainbow above Great Makna Falls.
Following the completion of this Quest, return to the Nopon Sage (between 12:00:15:00) in Makna Forest for the next batch of Quests.
Legend of the Sage
Once you have completed Pipiki’s quest, Meeting the Nopon Sage, you will be able to return to the Nopon Sage near the Ether Deposit north of the Divine Sanctuary landmark. He will tell you to about his treasure and then ask you to find out the legend of the Sage by asking a child in Frontier Village. You will then receive the objective to speak to Pipiki about the Nopon Sage. Pipiki will tell you that the Nopon Sage loves food, when you tell this to the Nopon Sage he gets angry and orders that you go back to Frontier Village and speak to Pachipa. She will tell you that the Nopon Sage is strong and powerful, then return to the Nopon Sage to complete the quest.
Challenge of the Sage
Immediately after you have completed the Nopon Sage’s quest, Legend of the Sage you may activate this quest. He will ask you to prove your courage by going to the Seahorse Islet in Makna Forest and retrieving the Proof of Courage. The Seahorse Islet is a Secret Area at the northeast point of the river that flows through Makna Forest. The waters have a very strong current so swimming can be more difficult than usual and if you’re not careful you might fall off the edge of Bionis! There are also a few Brogs and Ansel type monsters along the river, so take care when swimming to the islet. If you have been to the islet before you can just fast travel to the landmark. Even if you fast travel to the islet, you will still have to swim a little for the Proof of Courage so you will still need to be cautious when swimming towards the edge of the river. Once you have retrieved the Proof of Courage, head back to the Nopon Sage to complete the quest.


(1 of 2) You’ll have quite the tough swim in order to reach the Proof of Courage,
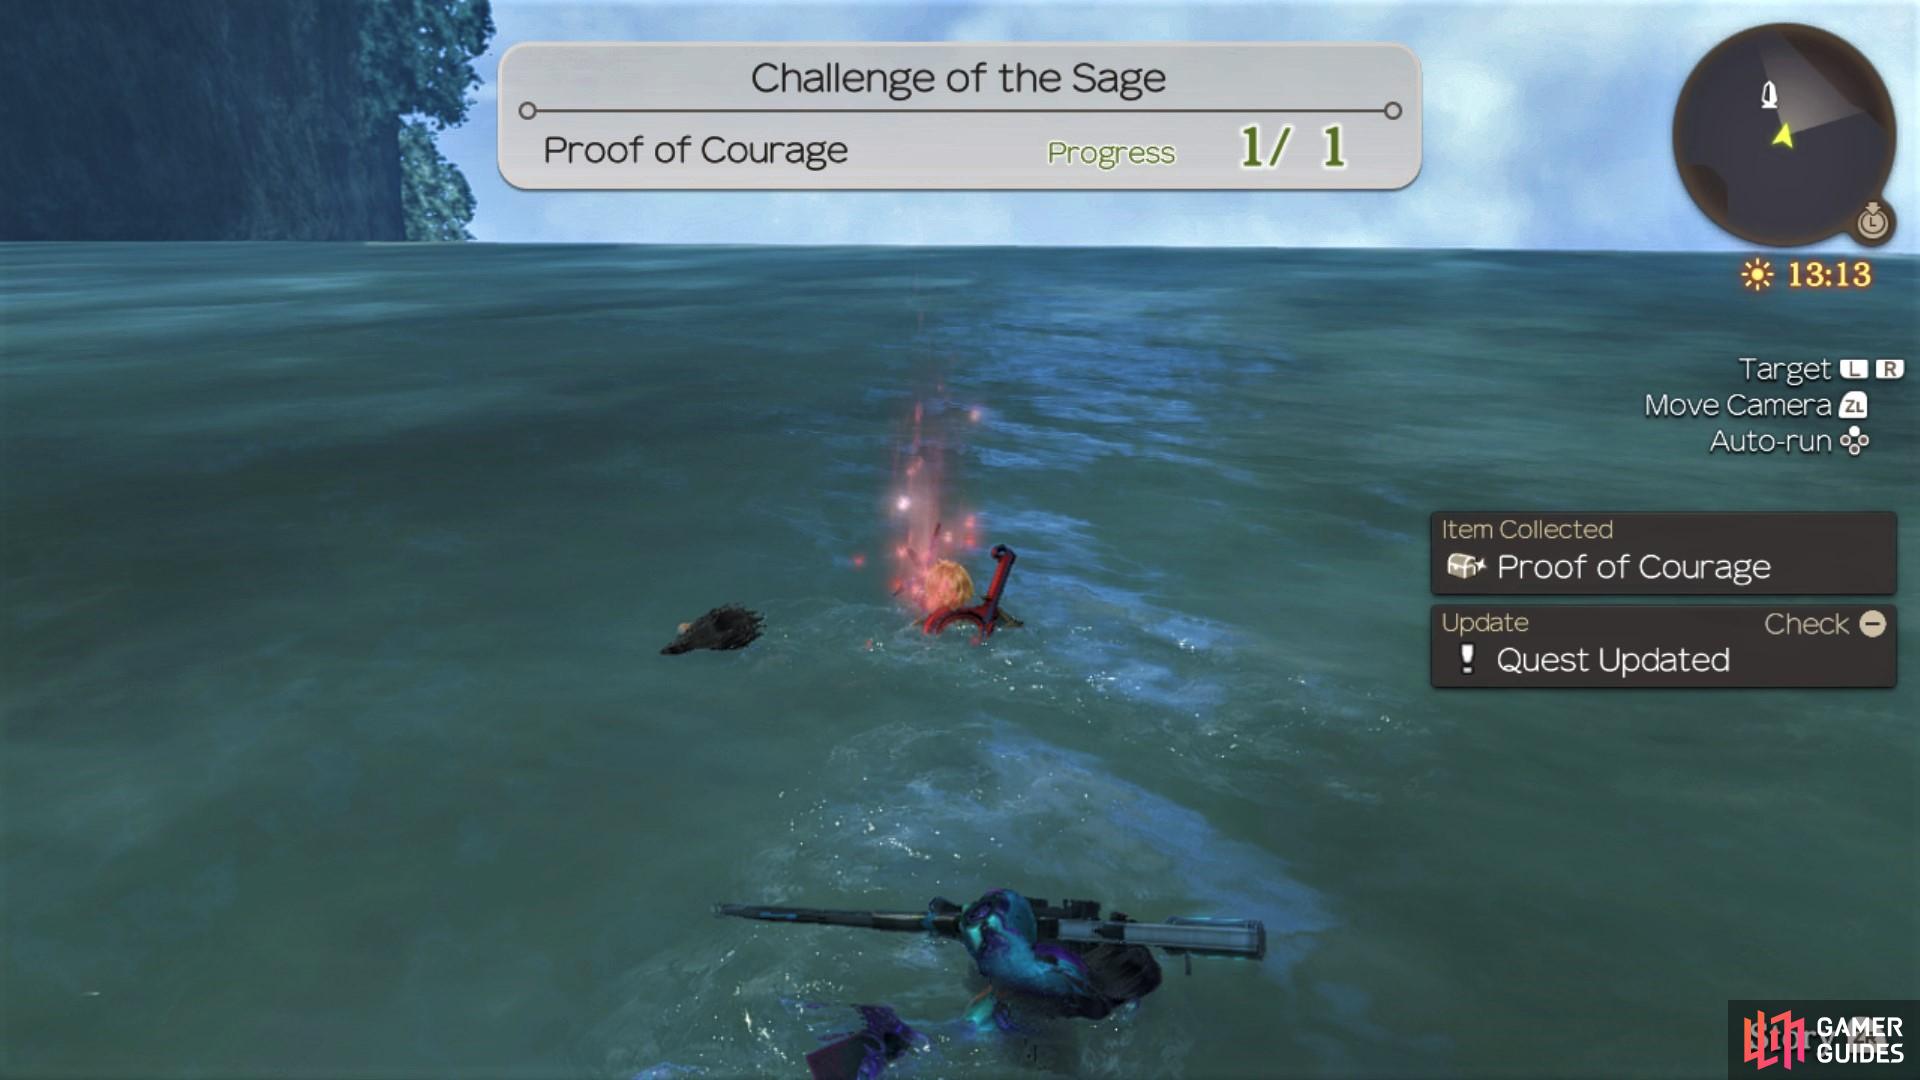
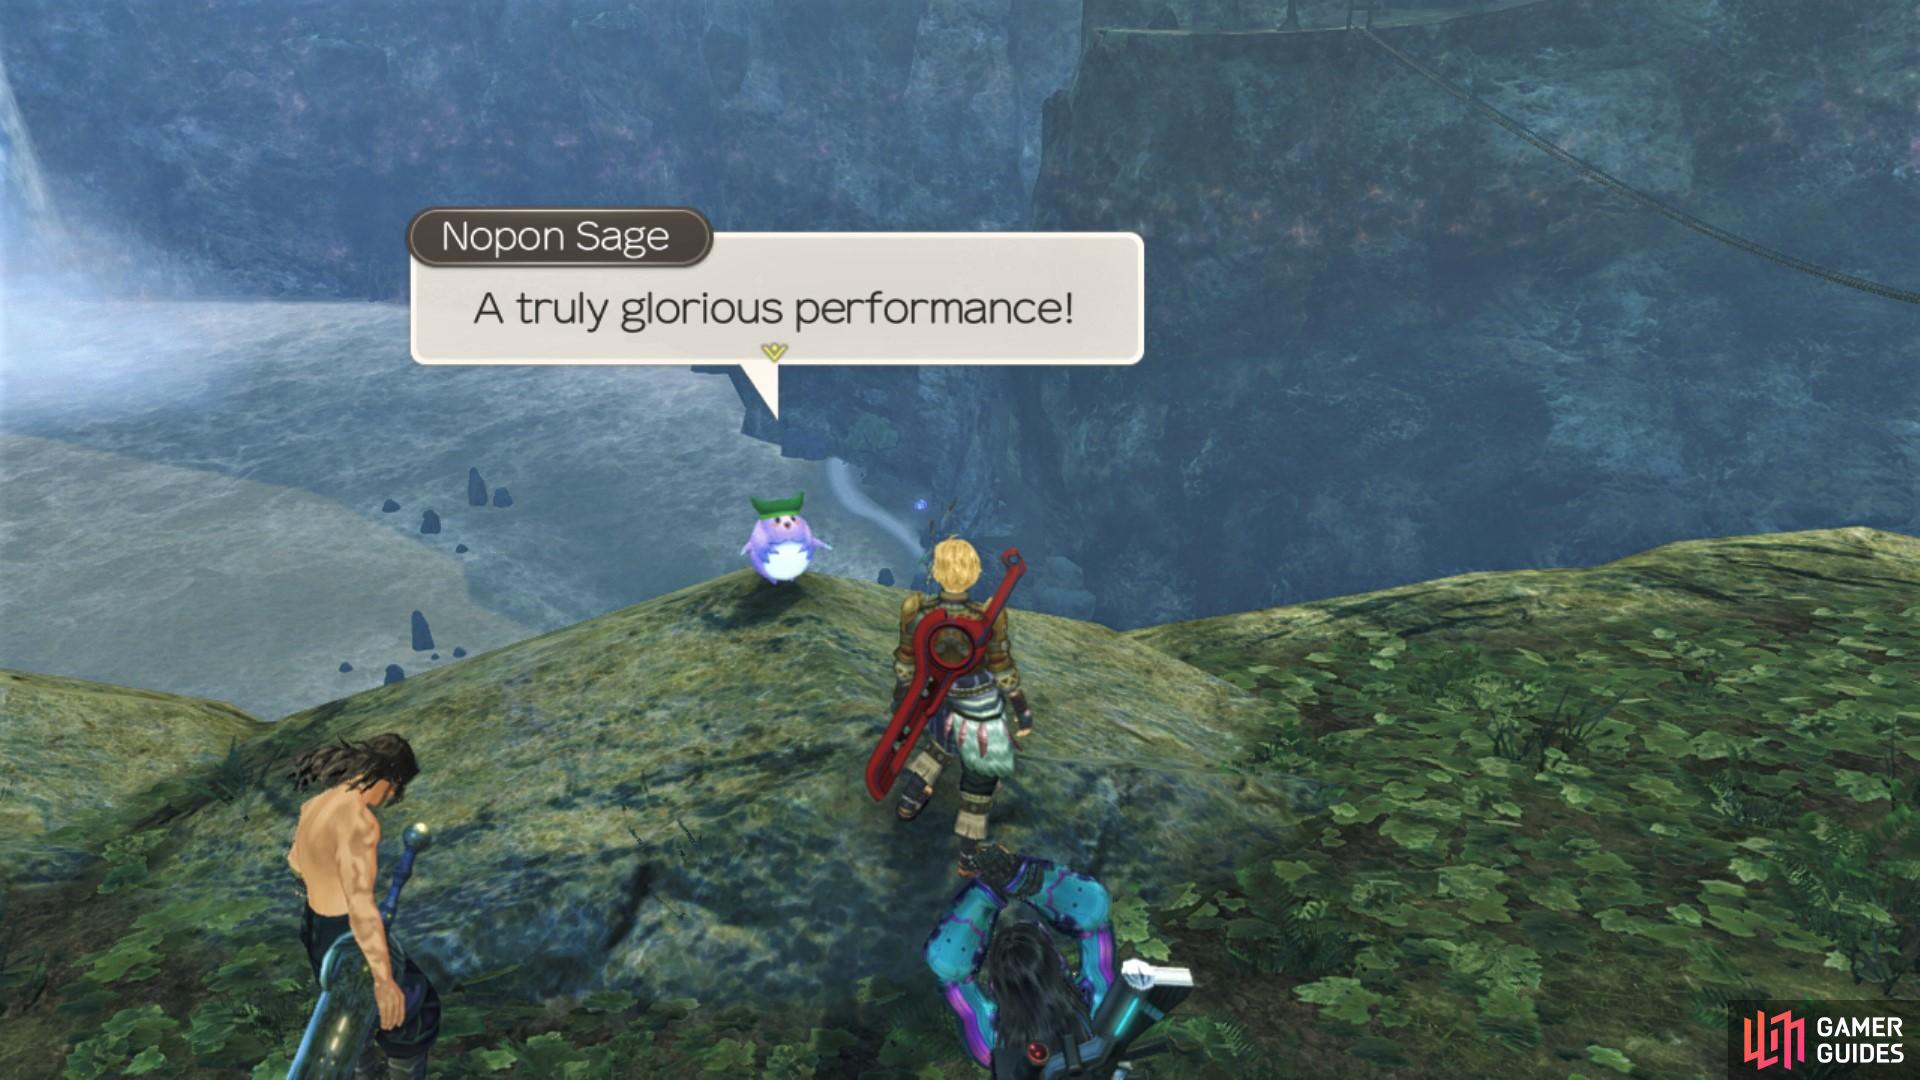
You’ll have quite the tough swim in order to reach the Proof of Courage, (left), but the Nopon Sage will be very pleased! (right)
If you’ve been working on Affinity between Sharla and Melia, then you’ll be able to turn this Quest in for some hefty EXP.
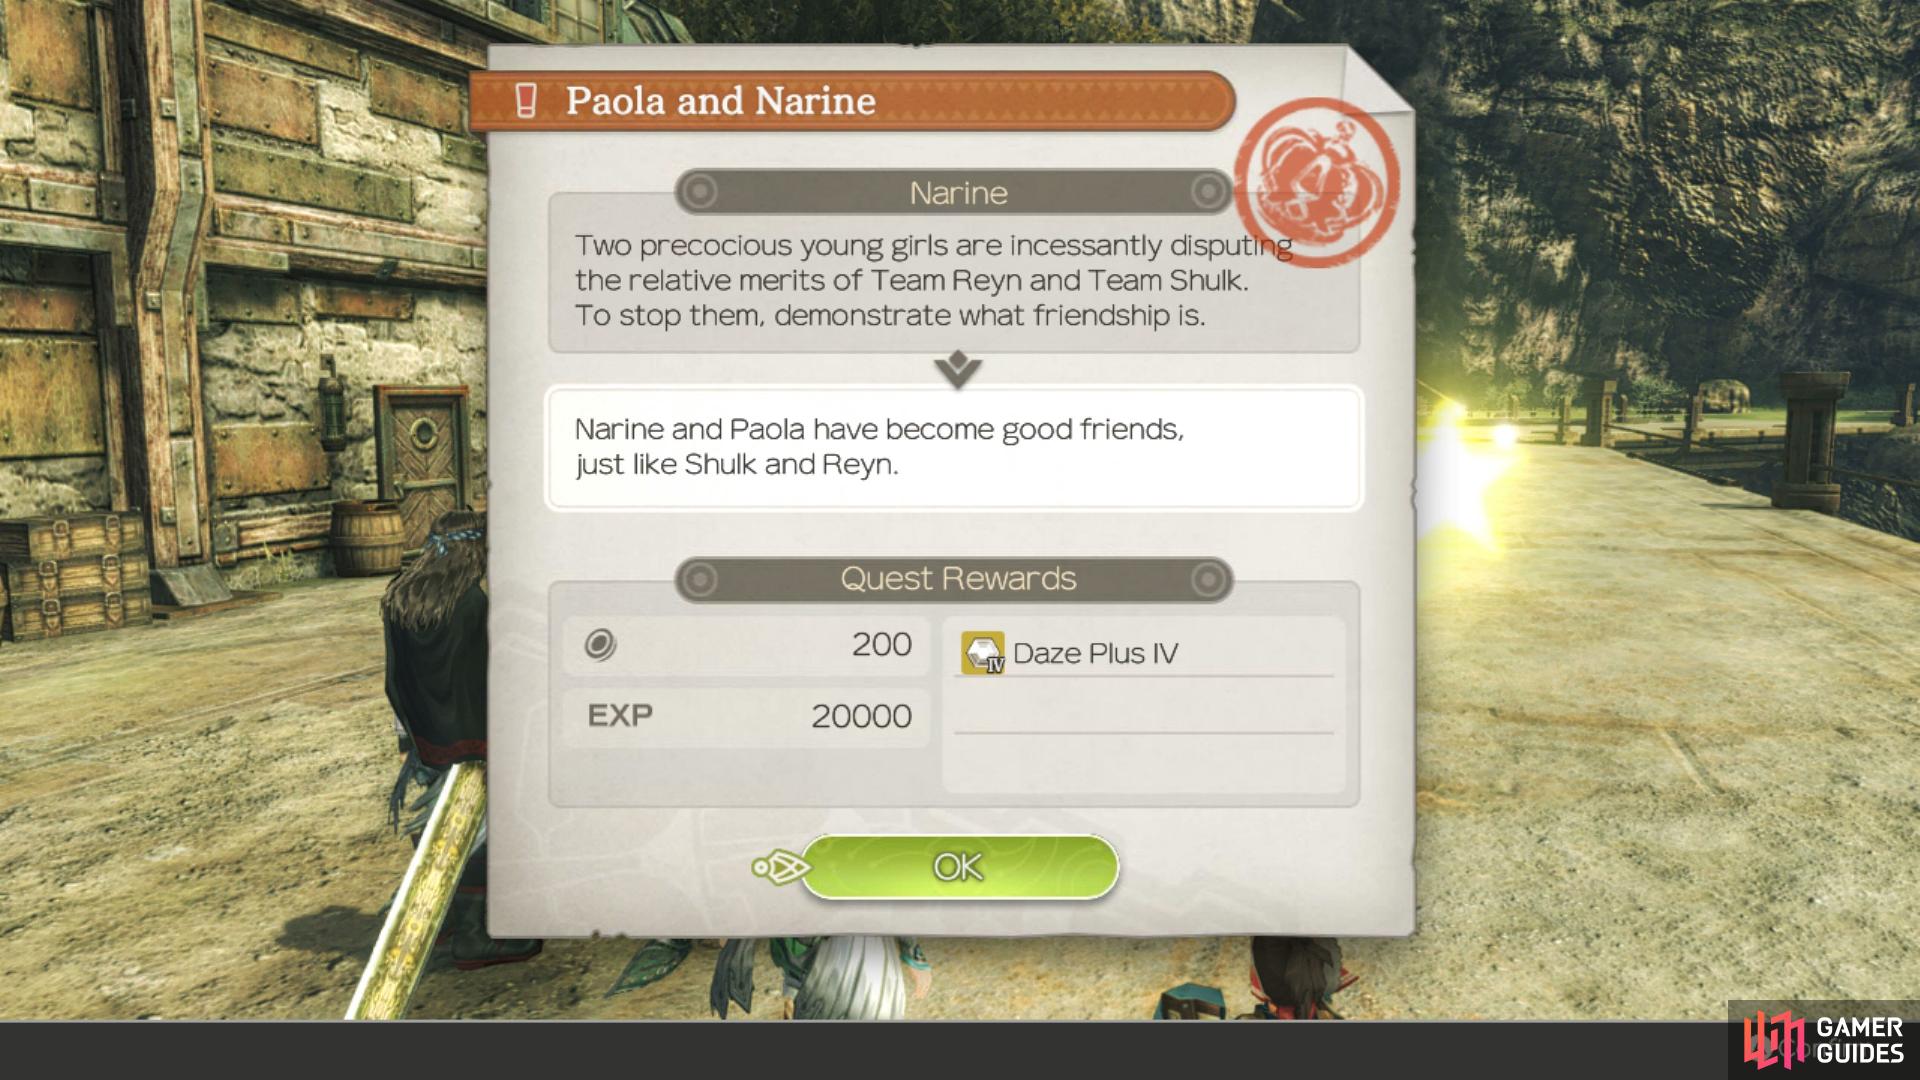
Finally, if you’ve been taking care to give Gifts between Sharla and Melia along with keeping them in the party, you may well have the required Affinity needed to finally complete the Paola and Narine Quest you accepted a long time ago in Colony 9. Be sure to turn this in, the reward is a massive 20,000 EXP and you can now remove Sharla from your party if you were only using her for the Affinity boost. That should be your last task for now, it’s now time to make your way back to Eryth Sea and the Centre Gate Landmark just outside of Alcamoth to continue the story.
No Comments