Quests Available After Reaching Mechonis Field
These quests can be picked up once you have the Bulkhead Key, which grants you access to the Mechonis Field, this is available through the Main Story Quest.
The History of Mechonis
| Client | Rewards | Affinity |
|---|---|---|
| Zilex | 15000G, 11000 EXP, Paralysis IV | None |
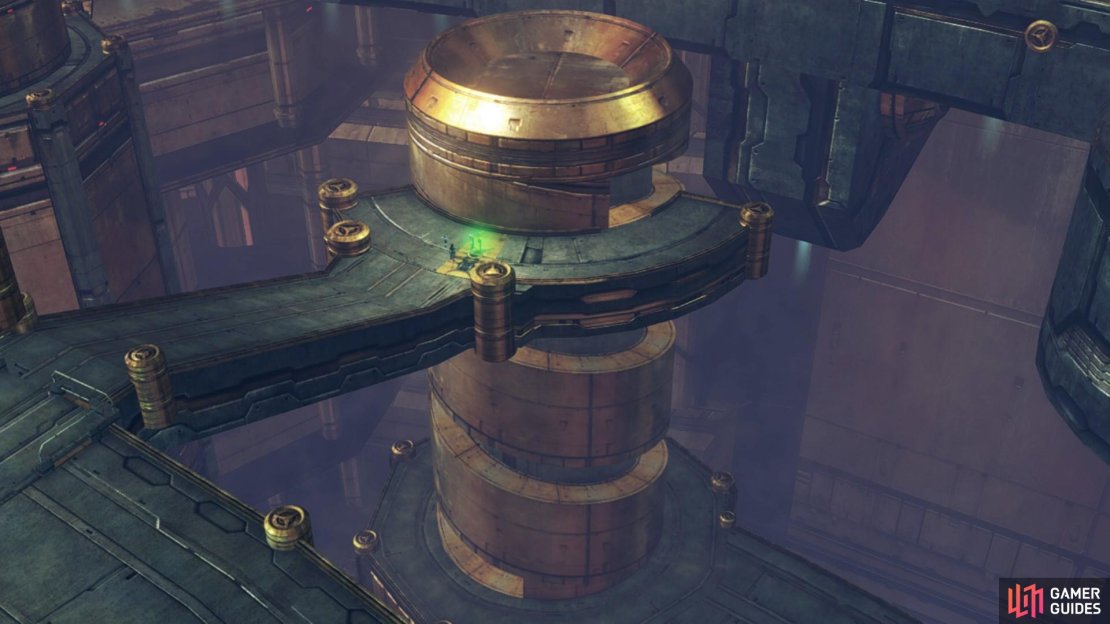
This quest can be activated as soon as you have access to Mechonis Field. Zilex will ask you to fetch 4 Memory 925 Pieces from the Mechonis Field. The first Memory 925 Piece can be found on the Ground Floor on a lower platform in the east. The second piece is on the 1st Floor near the Ether Deposit. To reach it you must head up onto a higher level via a climbing wall. The third is located in the Ether Gear Store on the Third Floor. To reach the Ehter Gear Store, you must use the Cylinder Activation Panel near the 3F Main Power Switch so you can make your way to the lower level. Once you’re there you will need to head over to the climbable wall and climb up to a small platform that has a connecting bridge over to the Ether Gear Store. Guarding the Memory Piece will be several Mechon enemies of varying levels, you will likely need to defeat them to reach the memory piece. The fourth and final memory piece is the trickiest to reach. Once you have opened the large doors east of the Lower Bulkhead Bridge landmark, follow the path going north. Climb up the wall on the right then head over to the metal grate at the end of the ledge and let it push you up into the sky with its steam. Follow the path upwards until you reach the 4th Floor, continuing to climb paths and using steam where you need to. You should, by now, see the top of the large slide ramp. You’ll have to slide down it, stopping wherever you can on the platforms, around half way down you’ll come across the Secret Area, Great Battle Scar. This will thankfully give you a landmark that you can fast travel back to should you fall and take too much fall damage. On one of the platforms a little further down is the final Memory Piece.
Once you have all four, you may return to Zilex in the Hidden Village to complete the quest.
Activating the Cylinder Activation Panel will allow you to reach the lower level of the third floor.
Mending Memories
| Client | Rewards | Affinity |
|---|---|---|
| Mixik | 12700G, 9300 EXP, Amber Rod | 1✰ |
This quest can be accessed once you have access to Mechonis Field. Mixik will ask you to fix a broken keepsake to stop her parents from arguing. Once you have accepted the quest, you will be given the objectives to speak with both her mother, Qofaria and her father, Kazat. Speaking to Kazat will activate the quest, Resolution - Father, and speaking to Qofaria will activate Resolution - Mother. Both of these quests must be completed before you can progress with and complete this quest.
Once you have completed the two other quests, you may return to Mixik with the collected materials. Giving her the materials will complete the quest.
Resolutions - Father
| Client | Rewards | Affinity |
|---|---|---|
| Kazat | 4300G, 4700 EXP, Blaze Plus III | 1✰ |
Once you have spoken to Kazat during the Mending Memories quest, this quest will automatically activated. Kazat will tell you that he needs 2 Flier Bloom Scales to fix the keepsake. These can be harvested from Happiness Fliers found across the Fallen Arm. There are some nearby the Giant Mechon Debris landmark. Obtaining the 2 Flier Bloom Scales will automatically complete the quest. You will need to complete this quest and Resolutions - Mother to progress with and complete Mending Memories.
Resolutions - Mother
| Client | Rewards | Affinity |
|---|---|---|
| Qofaria | 4300G, 4700 EXP, Chill Plus III | 1✰ |
Once you have spoken to Qofaria during the Mending Memories quest, this quest will automatically activated. Qofaria will tell you that she needs 3 pieces of Bronze Wood to fix the keepsake. These are a collectable found across the Mechonis Field. Obtaining 3 of the collectable will automatically complete the quest. You will need to complete this quest and Resolutions - Father to progress with and complete Mending Memories.
The Oath Sword
| Client | Rewards | Affinity |
|---|---|---|
| Karlos | 15200G, 11000 EXP, Jack Daggers | 2✰ |
To activate this quest you must fulfill a series of prerequisites. Firstly, you must have already completed The Wilted Flower and have access to Mechonis Field. You must also have a 2✰ affinity with Hidden Village residents. And lastly, to access this quest, Fiona must be the party leader.
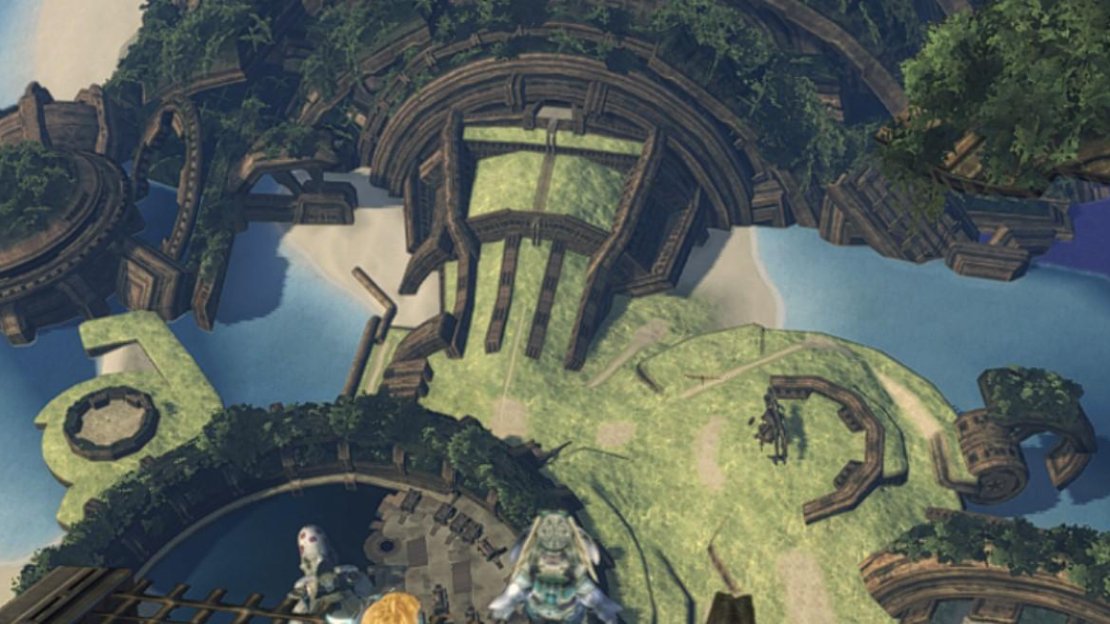
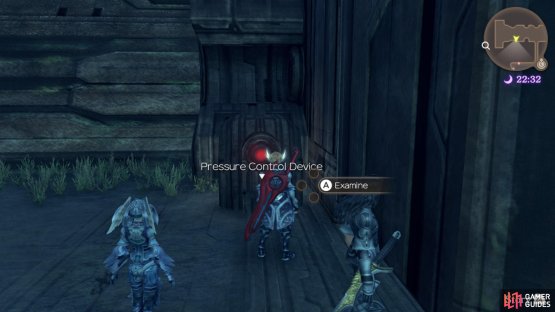
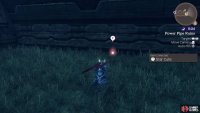
Karlos will ask you to find his Oath Sword in the area of the Power Pipe Ruins on the Fallen Arm. Reaching this area is a bit tricky without assistance, so firstly head to the Ulna Passage landmark. Then, head west just past the opening tunnel for the 5th Pulse Zone. On the same wall as the tunnel you should spot a Pressure Control Device that is distinguishable through its glowing red light. When you activate it, the light will turn green and the wall to the right of you will extend, revealing a climbable surface. When you climb to the top, you will be on the Upper Level of the Fallen Arm. To get to the Power Pipe Ruins, simply walk southeast from where you reached via climbing, and then climb back down into a small enclosed area where you will find the sword. After picking up the sword, head back and talk to Karlos again (still as Fiona) to complete the quest.
(1 of 2) The Pressure Control Device near Ulna Passage will reveal a climbing wall,
The Pressure Control Device near Ulna Passage will reveal a climbing wall, (left), location of the Oath Sword. (right)
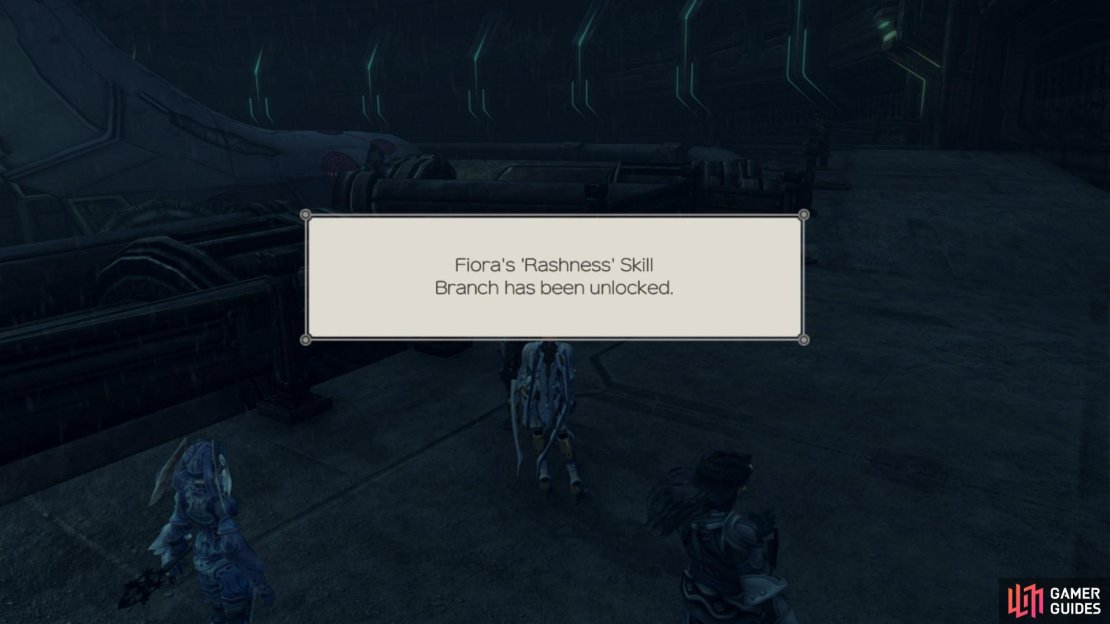
Completing the quest will unlock Fiona’s Fourth Skill Branch, Rashness.
Fiona’s fourth skill branch, Rashness.
A Weapon Just For Me
| Client | Rewards | Affinity |
|---|---|---|
| Kazat | 17000G, 15000 EXP, Devil Cannon | 3✰ |
You’ll need to first reach Mechonis Field and complete the Mending Memories and A Tough Battle Quests for this to become available. Kazat has decided to make a new gun that he can use and asks you to track down the needed materials which can be found in Mechonis Field and Central Factory. The Reinforced Thrusters can be found as drops from the M91/DOGMA Mechon in Mechonis Field while you’ll have to go to Central Factory to track down the Advanced Frames that drop from the M53/THANK Mechon. Return the materials to Kazat once you have them to complete the Quest and pocket your reward.
Quests Available After Reaching Agniratha
This quest can be picked up once you reach Agniratha for the first time, this is an easily missable Quest.
The History of the Capital
| Client | Rewards | Affinity |
|---|---|---|
| Zilex | 16800G, 14500 EXP, M100 Helm/Arms, Slow IV | None |
This is an easily missable Quest due to the fact that you have no need to return to Junks when you access Agniratha for the first and only time. You’ll also need to ensure you’ve finished the History of Mechonis Quest that Zilex gave out earlier. This time around, you’ll only need to track down a single Memory 903 which you can find in the Judicial District of the capital. Head to the 3F and head to the south to spot Telethia remains on a lower platform. Drop down to this platform and follow it along to the find the Memory and then return to Zilex to complete the Quest.
Quests Available After the Attack on Colony 6 (post Mechonis Core)
Stunted Growth
| Client | Reward | Affinity |
|---|---|---|
| Orkatrix | 44000G, 51500 EXP, Haste IV, Agility Up V | 3✰ |
This quest is available to you once you defended Colony 6 from an attack, after the events at Mechonis Core. Dunban must be in the lead when you accept this quest. Orkatrix will ask you to find things that will help Orkatrix grow. He needs a Transmission Bypass, an Exhaust Pump and a Mini Reactor. Activating this quest will trigger the side quests Transmission Bypass, The Exhaust Pump and The Mini Reactor. They must be completed in order to continue with and finish Stunted Growth.
-
Transmission Bypass - You can obtain the Transmission Bypass from the Offensive Strike Unit found near the Black Wreckage landmark on Fallen Arm. Defeating the mechon enemy will automatically complete the quest, Transmission Bypass.
-
The Exhaust Pump - You can retrieve the Exhaust Pump from the Offensive Hover Unit found on Digit 4, northwest of the Black Wreckage landmark. Collecting the Exhaust Pump will automatically complete The Exhaust Pump.
-
The Mini Reactor - The Mini Reactor can be obtained from the Experimental M86 unit found near Digit 1 Crevasse and the Digit 2 Plain landmark. Defeating the enemy and obtaining the Mini Reactor will complete The Mini Reactor.
When you have all three items, return to Orkatrix in Junks. You’ll need to speak with him with Shulk as the party lead to complete the quest.
(1 of 4) You can obtain a Transmission Bypass from the Offensive Strike Unit.




No Comments