


To Seek a God
Whether you’re here directly after the confrontation with Lorithia or after completing another set of Post Mechonis Core Quests, return to the Heart Entrance of the Bionis Interior and take the portal left behind by Dickson to reach Prison Island.
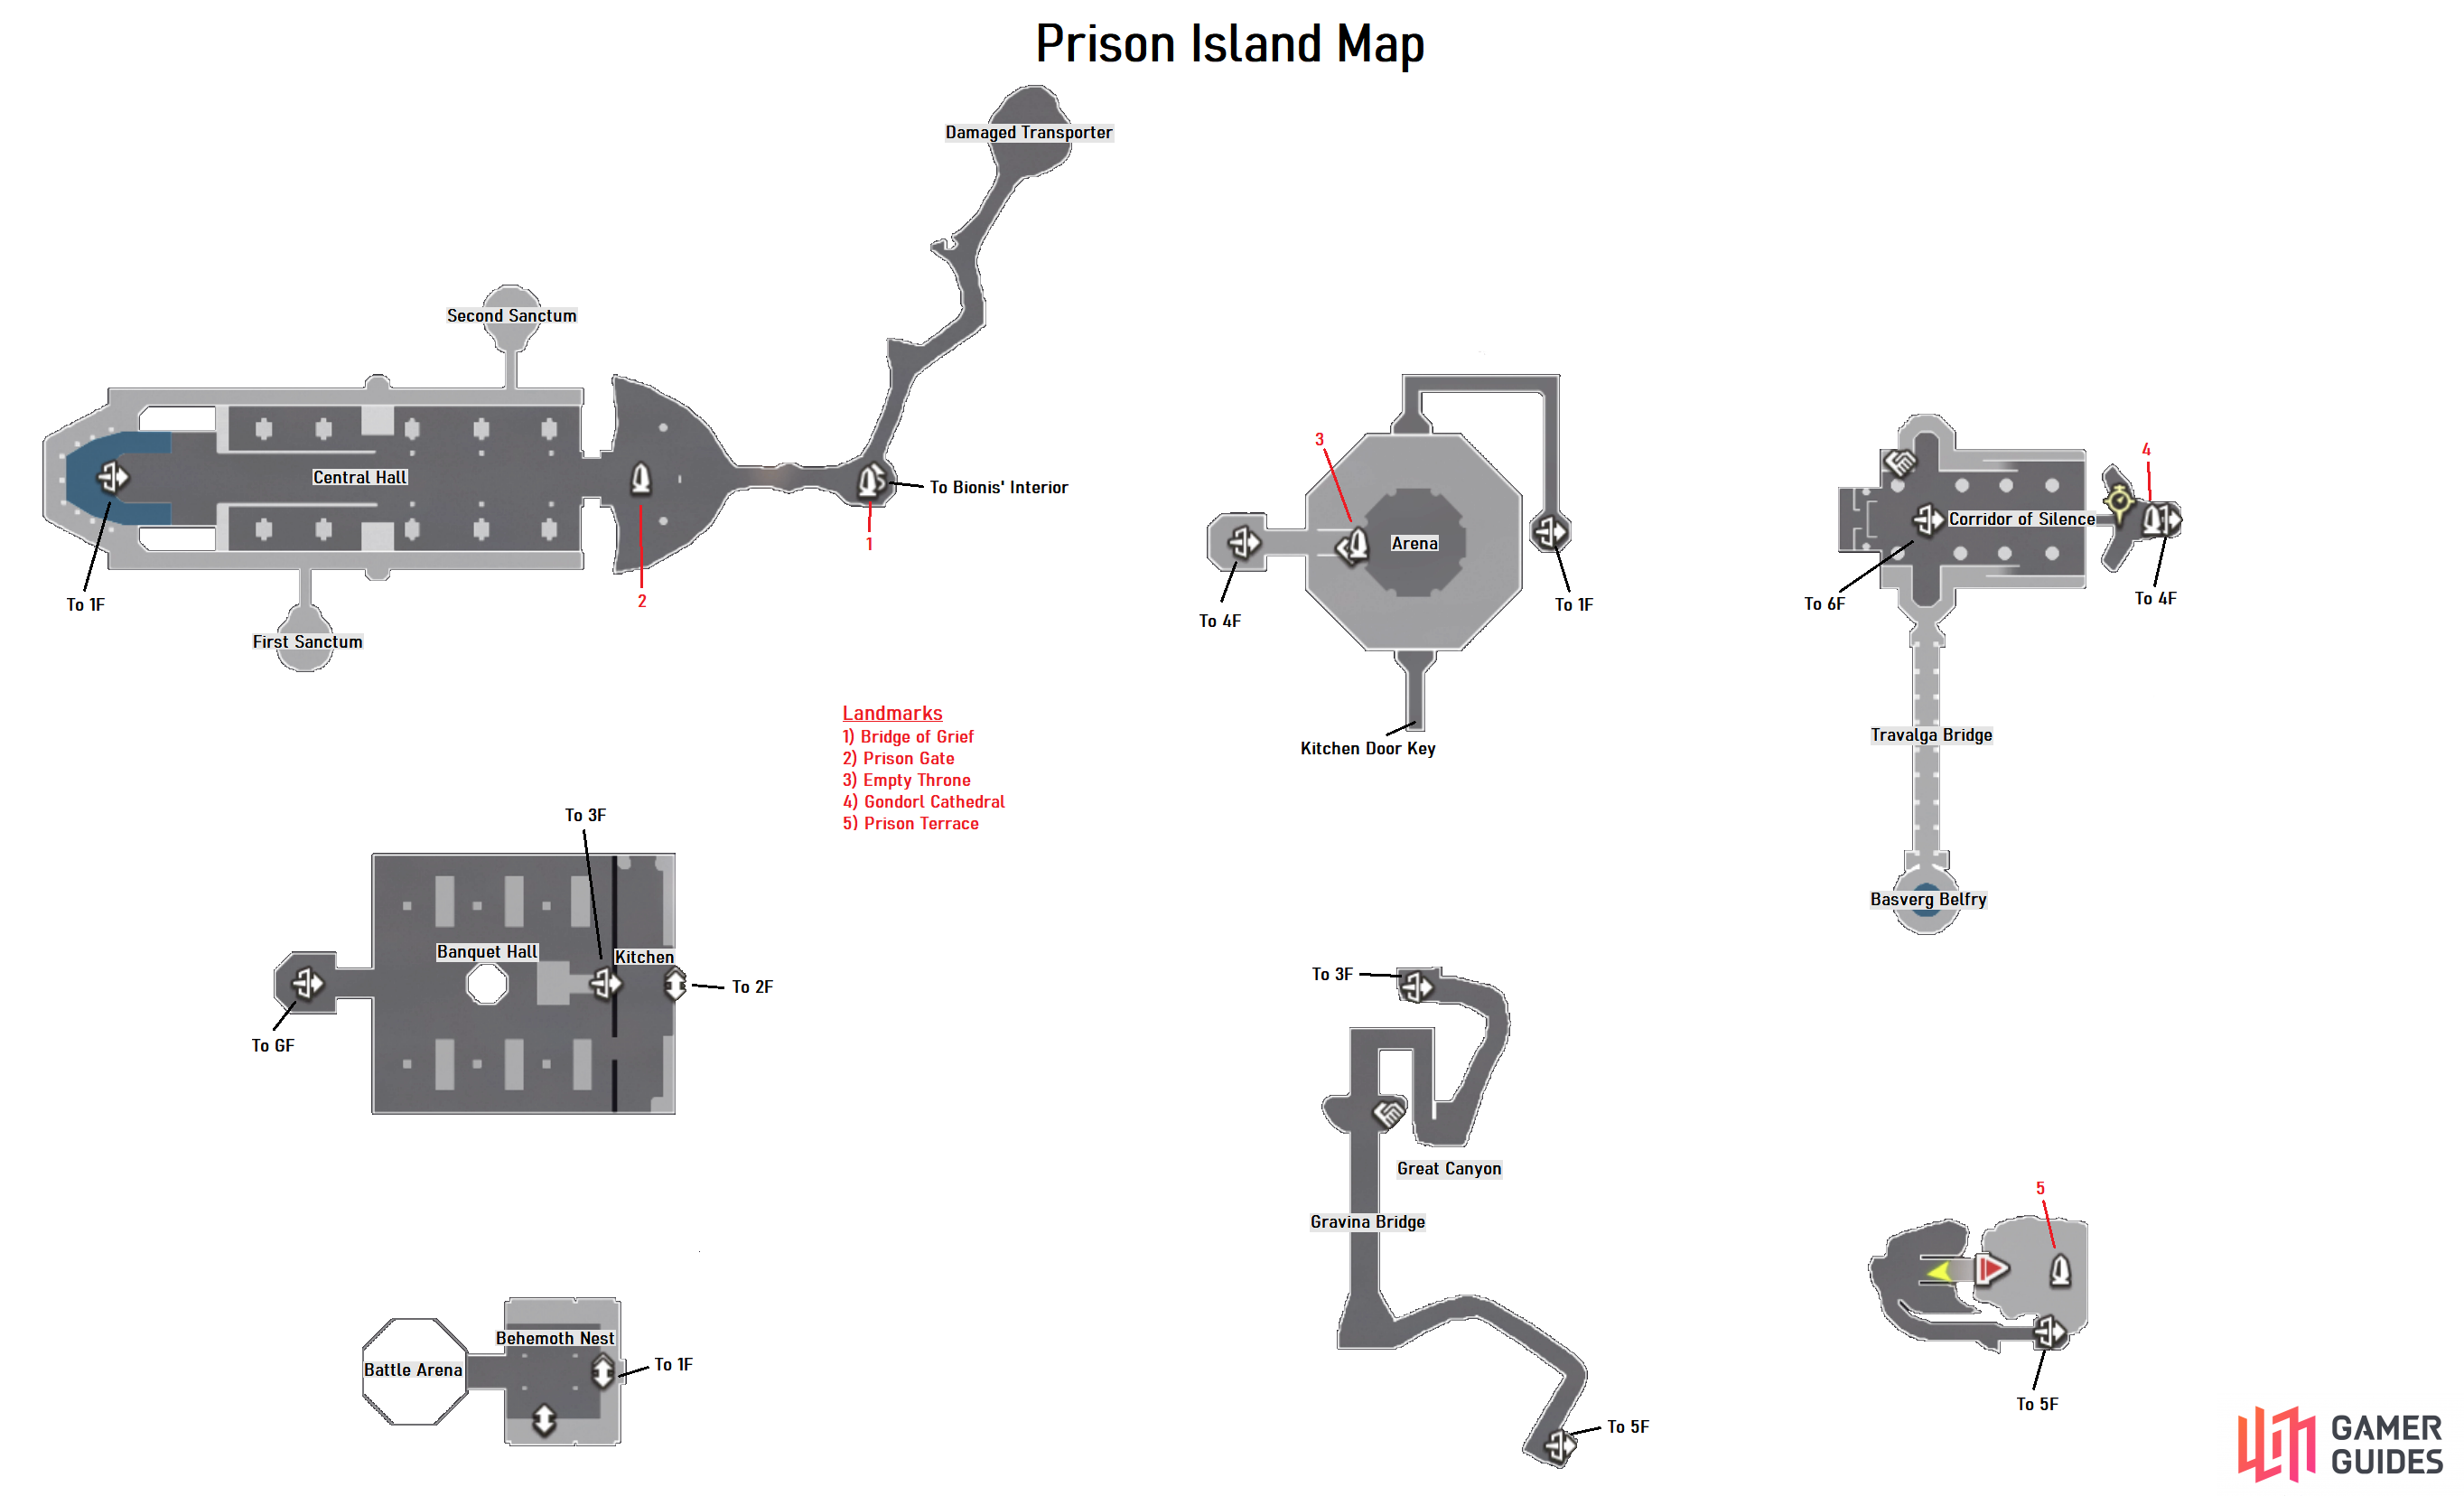
Once you regain control in Prison Island, you’ll unlock the Bridge of Grief Landmark and if you take a quick look around, you’ll discover that Prison Island is a lot larger than your first visit here. What’s more, there are Collectables to find here (of which you’ll need 5 Hell Raspberries for a Colony 6 Quest) and the level of the area has increased in general, for all intents and purposes, this is the final dungeon of the game.
Begin your search for Dickson by heading northeast to reach the Damaged Transporter and take out a Lv 75 Unique Monster, Ageless Moabit, just beware of it’s Spike Aura. Return to the Bridge of Grief now and this time head west to reach the Prison Gate Landmark, allowing you access to the prison itself. Head on inside to unlock Central Hall and then follow the path west to find the next transporter.
When you step off the transporter and head east, you’ll unlock the Banquet Hall and you’ll find a Lv 76 Unique Monster, Serene Imlaly pacing around that you should swiftly dispatch. Make your way over to the east side of the room now and take the ramp up to the next transporter. Follow the long corridor here around to reach the Arena that triggers a scene followed by a simple battle against a Lv 75 Obelis Obart followed by a Lv 78 Demon Pavlosk, both of which should give you little trouble providing you’re at least level 75+ yourself.
Chase Dickson
You’ll trigger the Story Quest following these battles and also find yourself in the Battle Arena. Head into the Behemoth Nest and then head to the southern wall to find that you can climb and follow the path around to interact with the Metal Lift Activator. Drop back down from here and drop down the hole to your east to reach the Kitchen and then look to both the south and north here to find two more Unique Monsters to take out, Cold Ageshu and Inferno Heinrich.
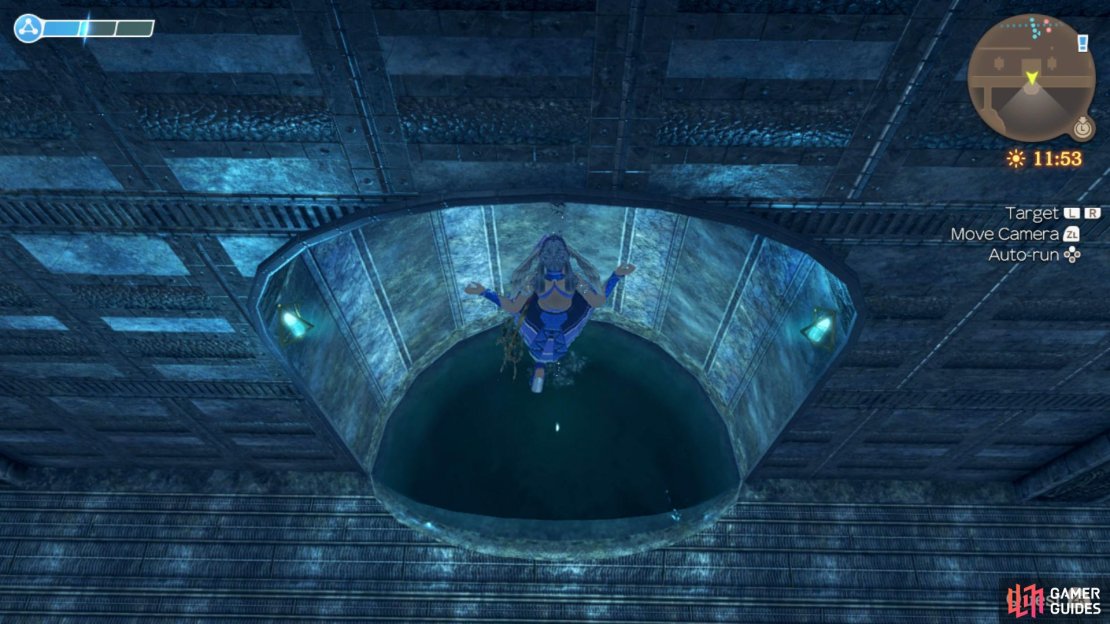
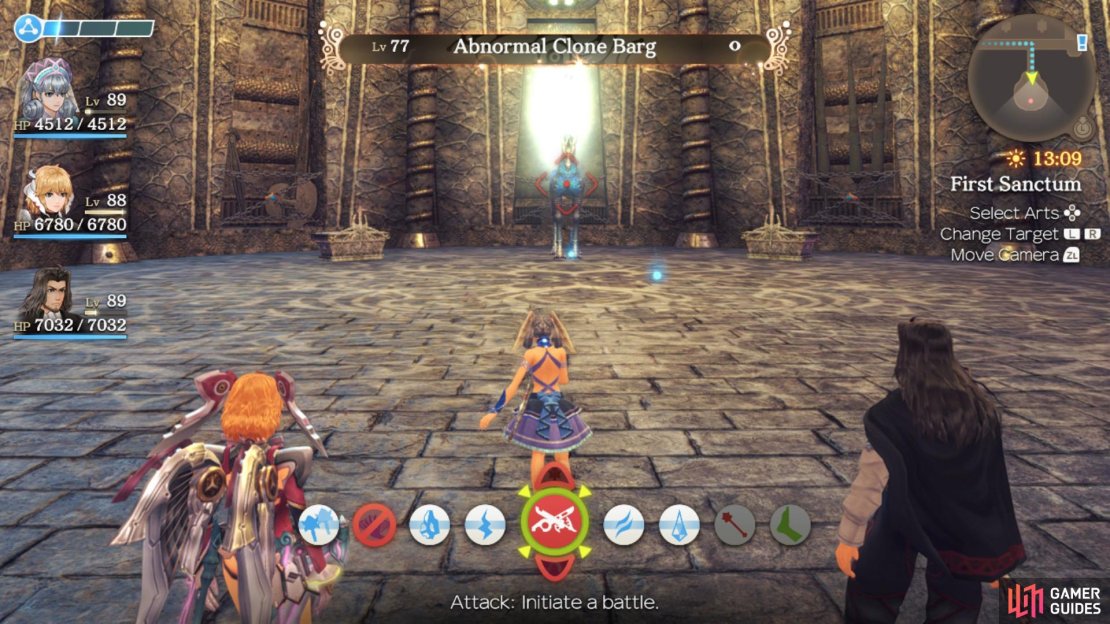
Once they’re defeated, head through the Bone Pillar Control door to the west and then follow the path to the Bone Pillar Control and activate it. Drop down to the platform you just rose and then head south and then at the end, jump over the side to land into the water. Make your way west here and go south as soon as you can to reach the First Sanctum. You’ll need to defeat the Lv 77 Unique Monster, Abnormal Clone Barg first and then loot the chests in this room to obtain an Ether Burst, Oriental Glasses, Agros Boots, Ether V Goggles, Daedalus, Master Glasses, Grace Top and Ether V Frame.
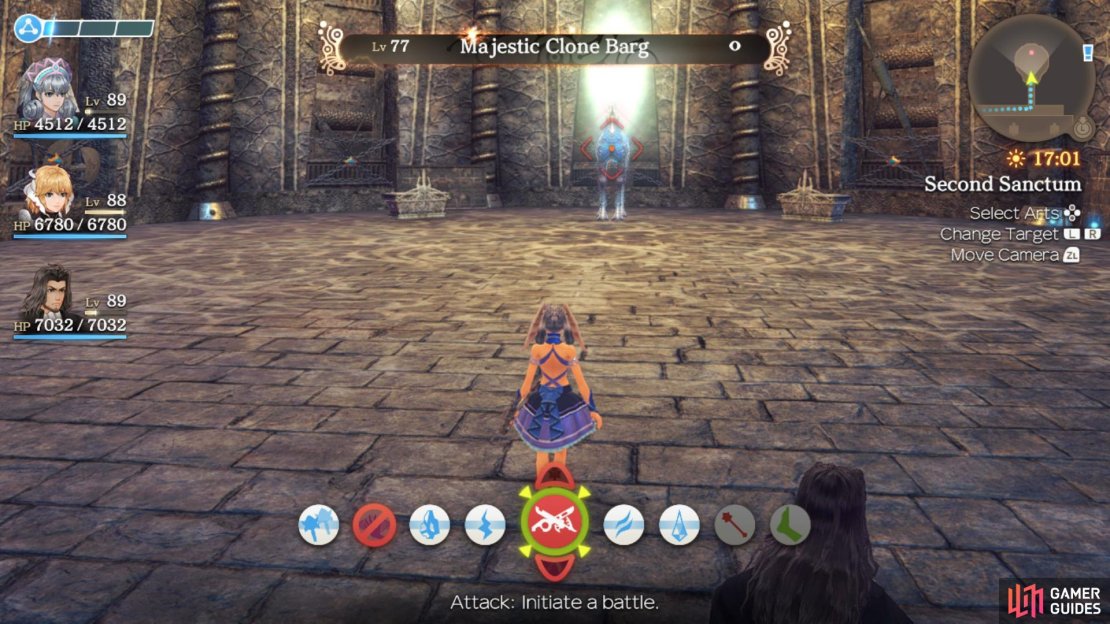
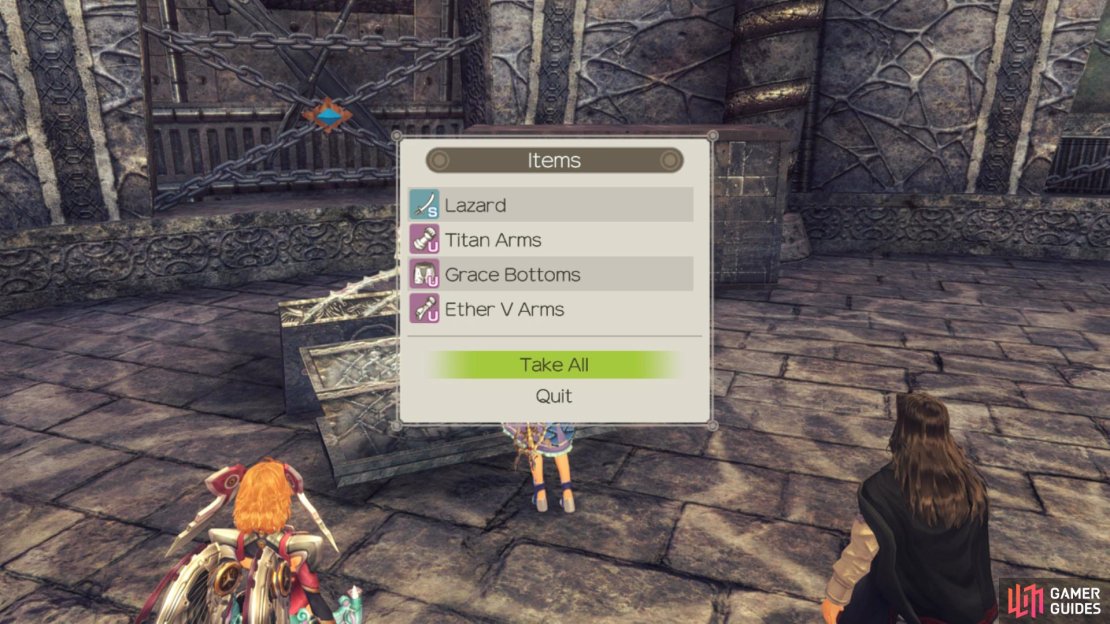
Leave this room and continue west to come back around to the east but on the northern side of the hall and you’ll come across another room to the north, the Second Sanctum. Once again, there’s a Lv 77 Unique Monster, Majestic Clone Barg to defeat and two more chests to plunder after. Their contents this time are Lazard, Titan Arms, Grace Bottoms, Ether V Arms, Trinity, Titan Sabatons, Argos Armour, and Ether V Boosters.
You’ll need to retrace your steps back to the Arena now so head to the Prison Gate Landmark and follow the path to the western transporter, back through the Banquet Hall and eventually to the Arena again. A simple Master Obart awaits you here, no tougher than the lesser ones and once it’s defeated, a ramp will appear as you complete the Story Quest.
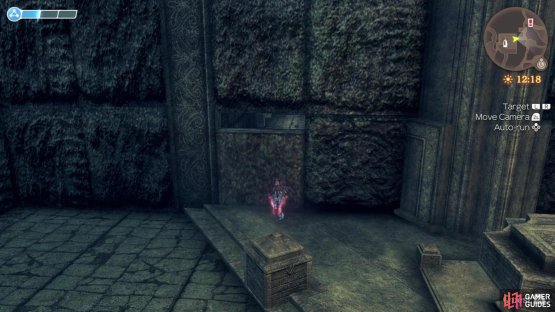
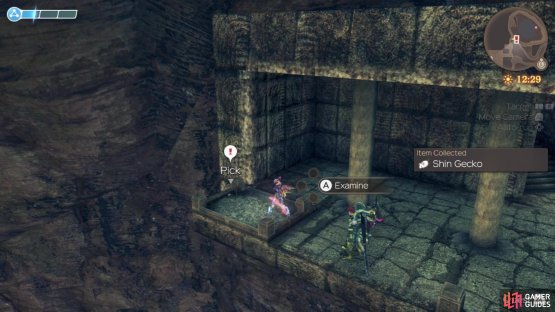
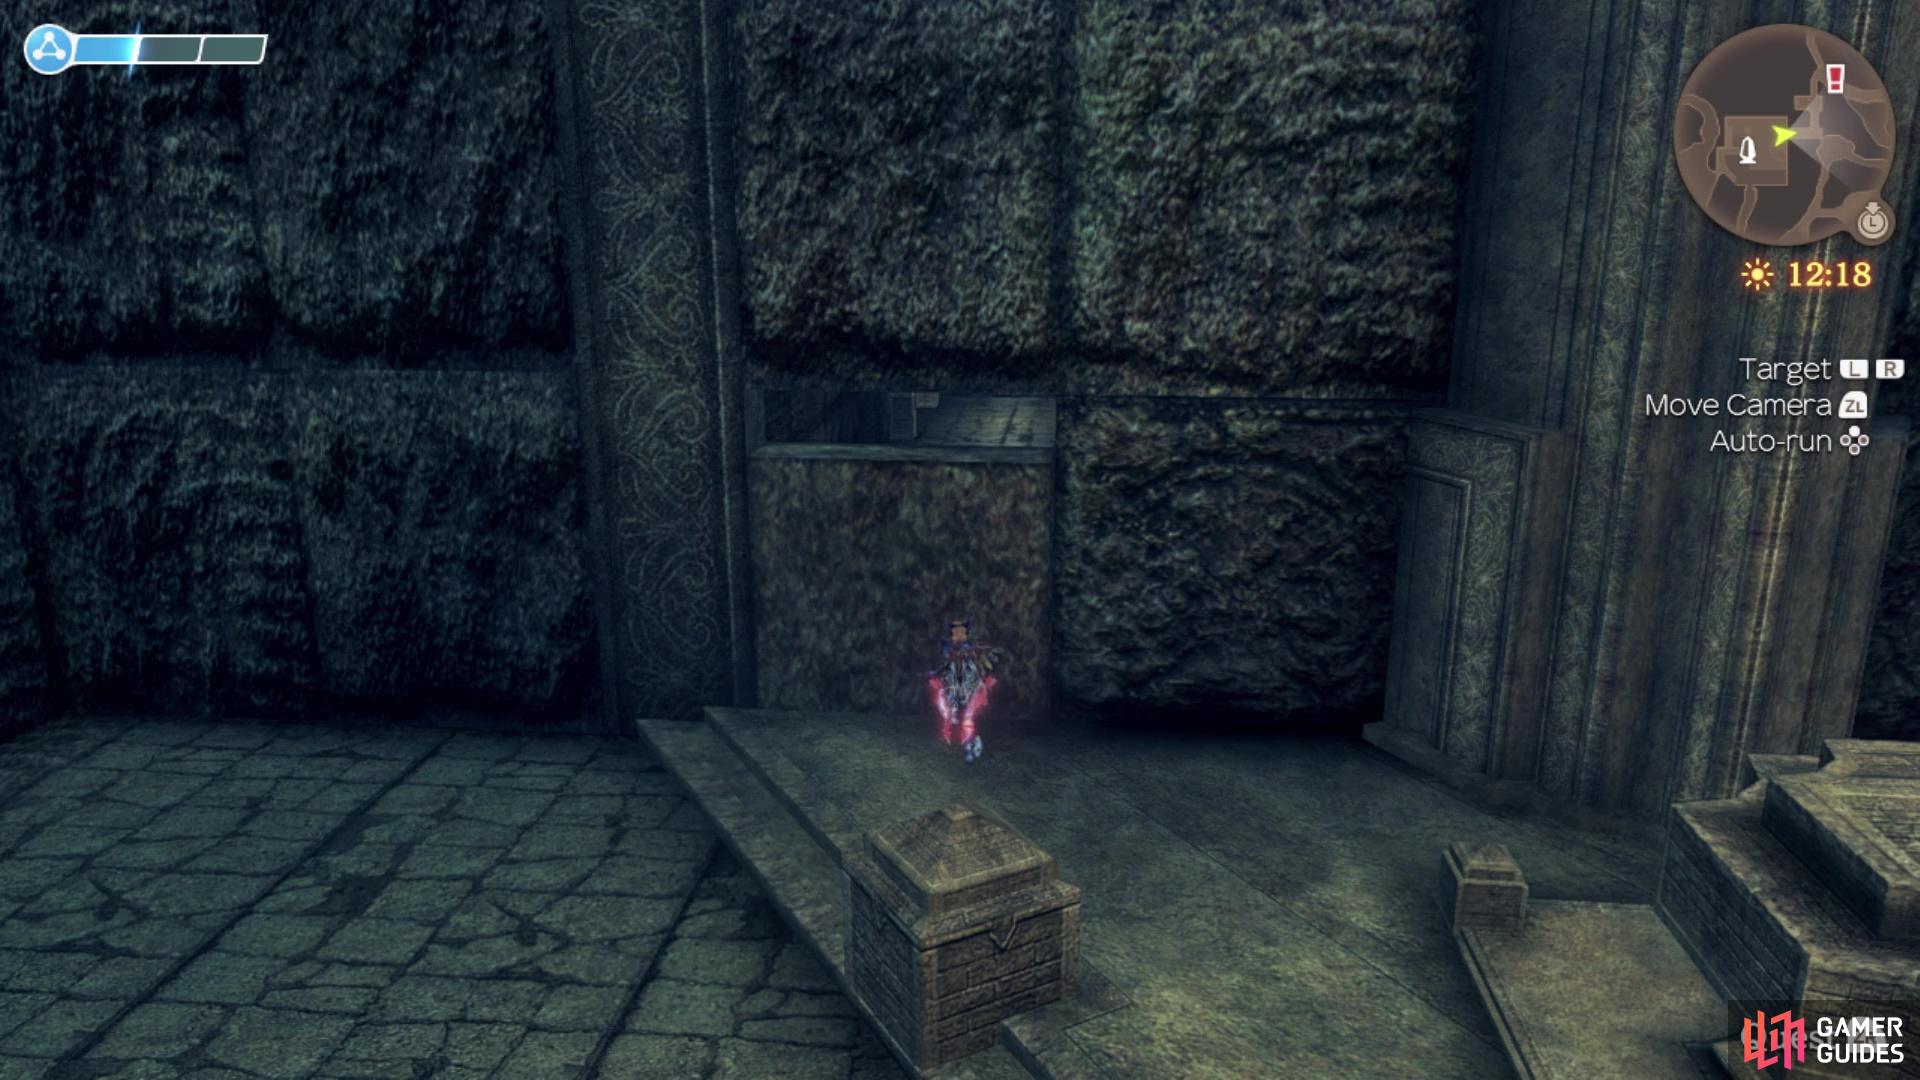
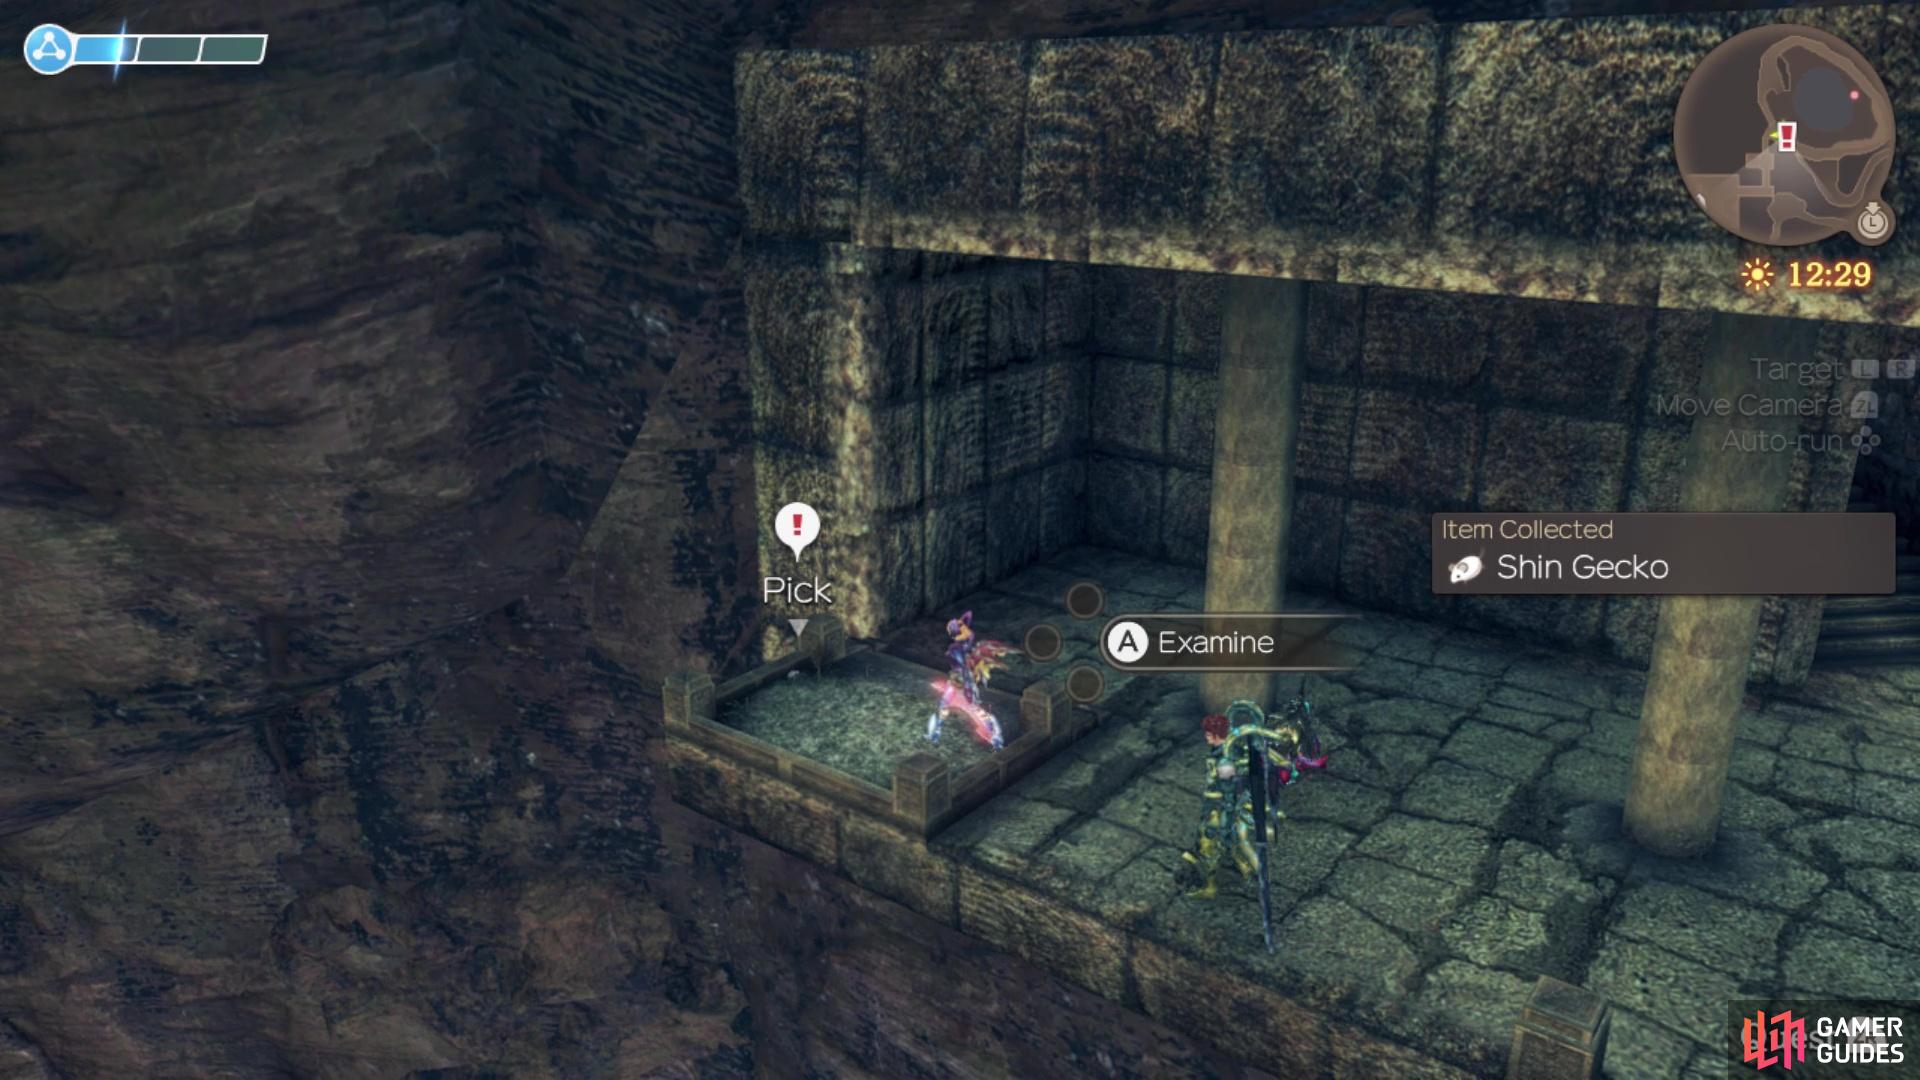
Head through the opening to the south first to find a whole bunch of Collectables along with the Kitchen Key at the end of the passage, this will open the locked door back in the Banquet Hall as a shortcut. Take the ramp up to the west now to unlock the Empty Throne Landmark and you’ll also find a Heart-to-Heart here. Continue to follow the path to the west to find another transporter where you’ll reach the Great Canyon.
Follow the linear path here which will lead to a Heart-to-Heart and the Gravina Bridge. Look carefully as you cross this bridge, there will be three  Deinos and three Bargs, be sure to defeat them all and then once they’re all dead, continue south and the Lv 78 Unique Monster, Fiendish Auburn will appear and then once defeated, follow the stairs to the south to find another transporter.
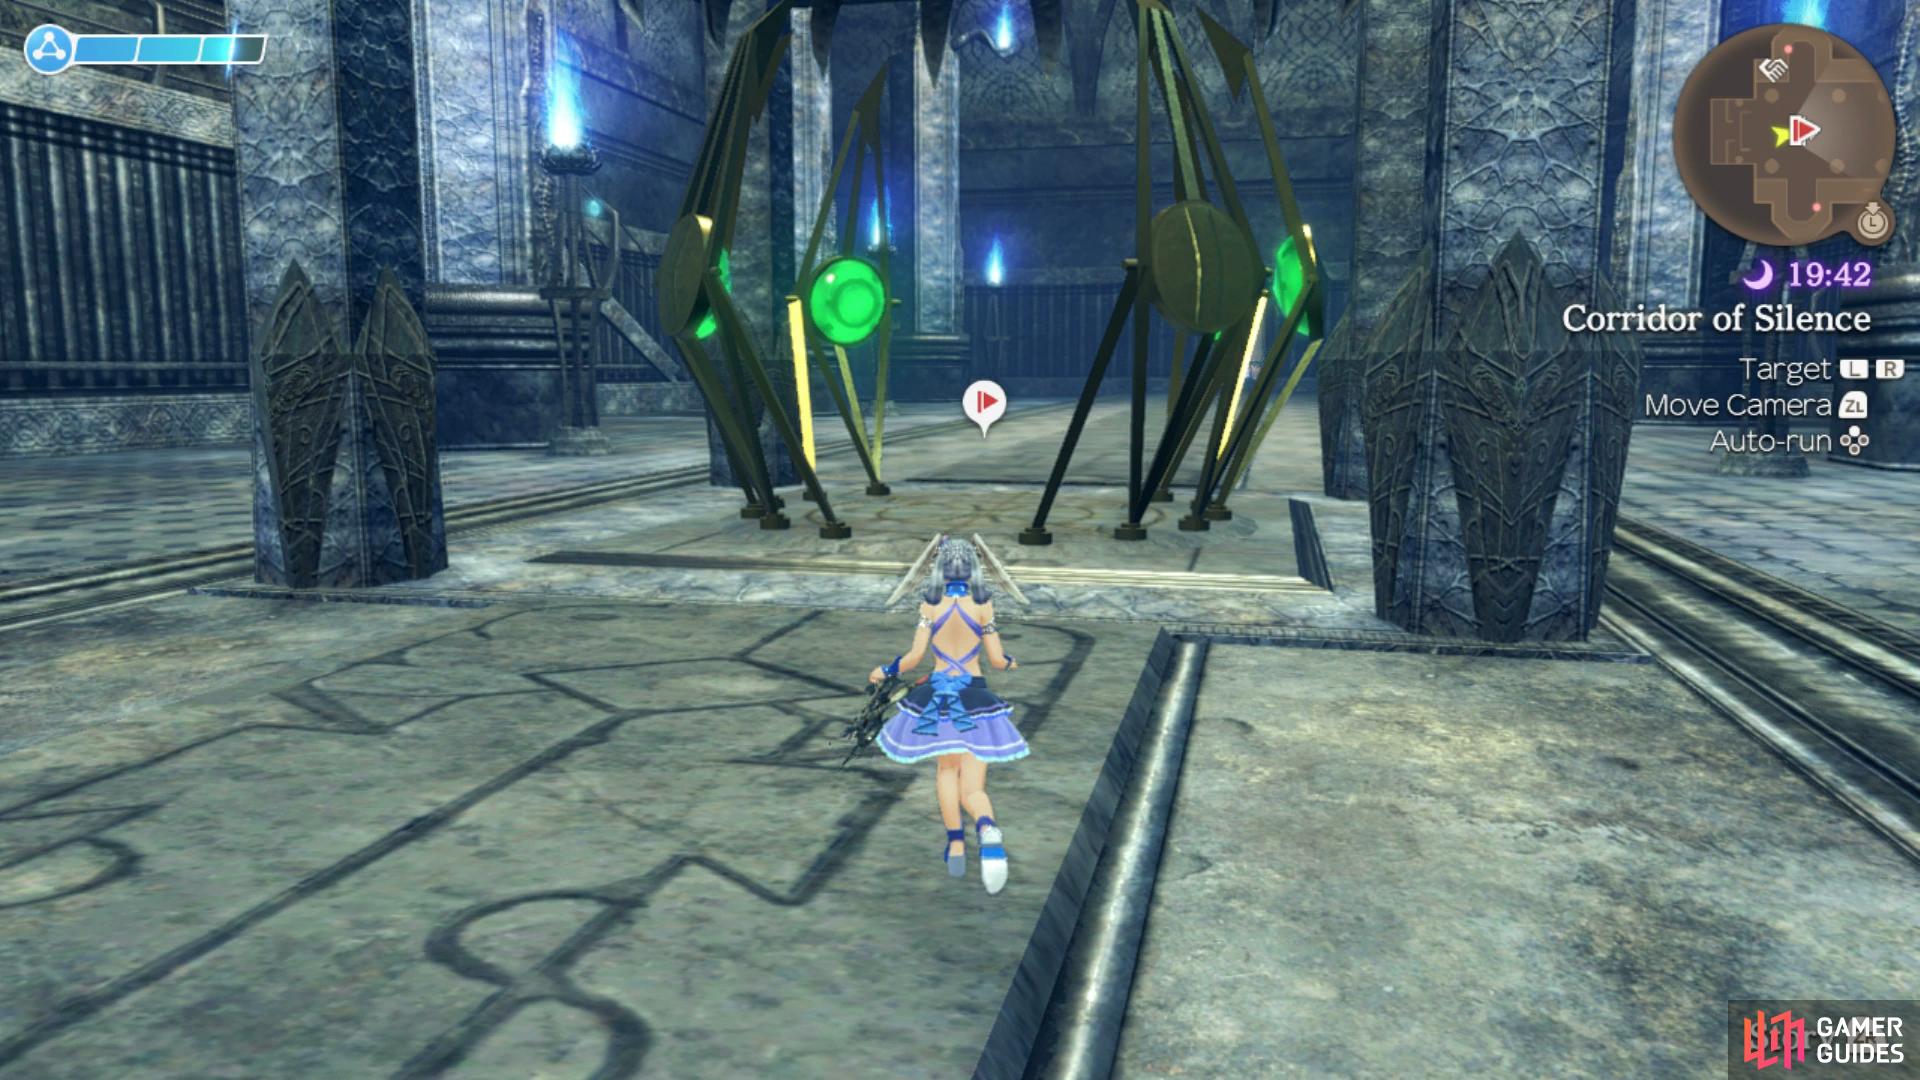
You’ll find yourself in the Gondorl Cathedral with a Time Attack Portal nearby, head inside and speak to the Archsage to discover he’s now trading rare items needed for Quests and all of the Collectables in the game, handy if you have the Noponstones to spare or enjoy Time Attack in general. You’ll also see he’s offering the final Time Attack Trial in the game (you’ll need to beat the Epilogue to unlock the other). This is extremely challenging as it involves going against the game’s ultimate Superboss in the final wave so for now, ignore this until you have more experience with these bosses. Leave the portal and continue to the west to reach the Corridor of Silence and trigger a scene along with a Story Quest.
A Path to the Top
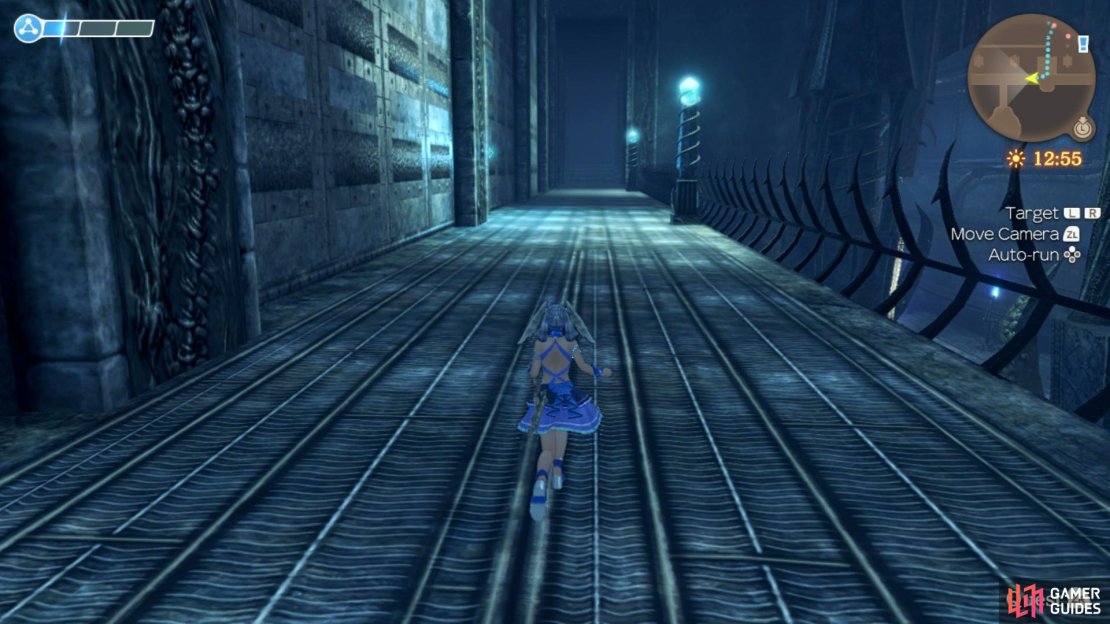
It looks like the altar is missing something so your task is to seek whatever that object may be. Head back to the east and use the path on the northern wall to go west to find a Heart-to-Heart before heading over to the southern wall and taking it up to the west. Head south at the top to reach Travalga Bridge and you’ll notice a Lv 77 Unique Monster, Masterful Gigapur flying around that you should defeat.


(1 of 2) Defeat the simple Dragon King Alcar to gain access to the final transporter
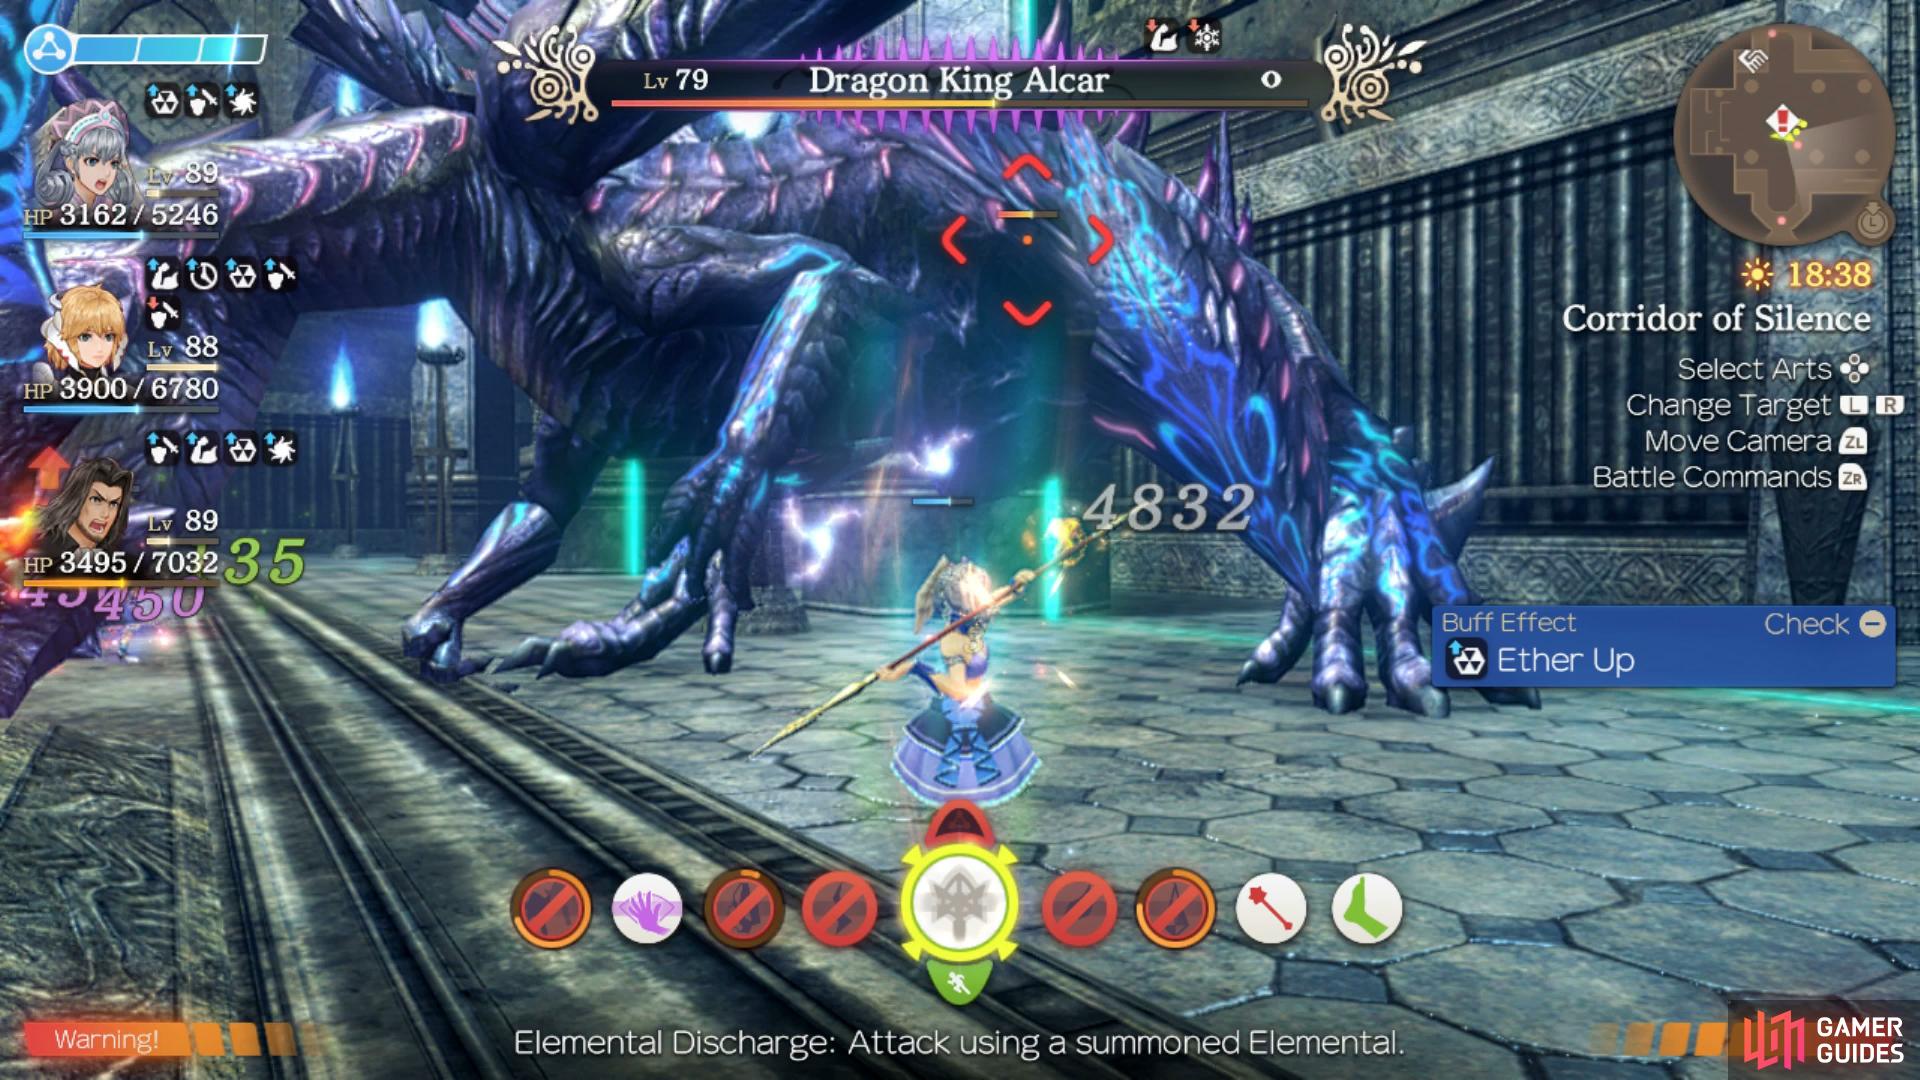
Defeat the simple Dragon King Alcar to gain access to the final transporter (left), taking this is the point of no return. (right)
Continue across the bridge to reach Basverg Belfry and then take the stairs up to the top to find and activate the Dragon Summon. Return to Gondorl Cathedral’s Landmark and head west to battle the Lv 79 Dragon King Alcar, another beast that despite his size, should be no match for your party at this stage of the game, just beware of the Spike Aura it has and try to Topple it whenever possible. You’ll receive a Dragon’s Eye upon its defeat so go ahead and insert it into the altar to complete the Story Quest.
At this point, you’ve done everything you can in Prison Island, taking the transporter in front of you will lock you into the story so for now, it’s time to leave Prison Island and take care of everything else around Bionis.
Colony 6 Reconstruction - Final
With access to the final area in the game, Prison Island, you can now finish off development of Colony 6 and with it, unlocking another Quest.
- Special Lv 5 - Inferno Elements and Bolt Elements can only be obtained once you have access to the second part of Prison Island, post-Mechonis Core. Inferno Elements are dropped by Cratere Nebulae and the unique monster, Inferno Heinrich, which are both found in the Kitchen area of Prison Island. Bolt Elements are dropped by Solare Nebulae, two of which can be found in the Corridor of Silence on the Fifth Floor. Blue Light Amps are a collectable found in Agniratha, or alternatively, you can trade for them with Oleksiy in Colony 6 at 5✰ affinity. Rabbit Diodes are also a collectable and they can be found easily enough in Colony 9 or you can trade for them with Moritz at 1✰ affinity with Colony 9 residents. And finally, Angel Engine X are a collectable found in Central Factory. You could also choose to trade for them with Shilx when he lives in Colony 6 at 5✰ affinity.
When you reach Level 5 in Special you will be gifted Master Glasses.
Completing all reconstruction categories up to level 5 will result in the residents gifting you the Titan Plate armour piece. When you complete all categories, you will trigger the final reconstruction quest, Defend Colony 6 - Demon. You must complete that quest and have a maximum population of 150 before it shows as being 100% completed. To see the immigration list, go to the Colony 6 NPC page. You’ll also be able to head to Fallen Arm now and invite Neonik to Colony 6, the final recruit.
Reconstructing Colony 6 to completion is one of the most rewarding experiences in the game.
A Maid’s Concerns
Speak to Minana and she will inform you that Berryjammy isn’t studying enough and wants you to find a suitable tutor. Make your way over to Yura who then tasks you with collecting 5 Hell Raspberries from Prison Island. Return them to Yura before going back to Minana to complete the Quest.
Lifespan of a Machina
When you talk to Neonik, her speech will be all jumbled as she explains that she is malfunctioning and close to death. She asks you to find something to revitalise her. You can either collect 1 Machina Energy or 2 Pterix Energy Eggs. Machina Energy can be picked up from the Mechon Wreckage Site in Colony 9. It is important to note that if you already have 2 Pterix Energy Eggs, which are obtained from Lelepelago Pterix on the Fallen Arm, then you will automatically be locked into the choice to give Neonik the eggs over the Machina energy. The two routes do not have differing rewards, but the outcomes are slightly different. Most people would agree that the Machina Energy is the better choice because it only gives Neonik an extra 20 years of life and she can “grow old” with the other Homs residents. On the other hand, if you give her the eggs, then she will outlive everyone in Colony 6 and be alone once more. Consider removing the Pterix Energy Eggs from your inventory before accepting this quest, if you would prefer the more heartwarming ending and don’t want to be forced into the sadder ending. When you have your preferred item(s), return to Neonik to complete the quest.
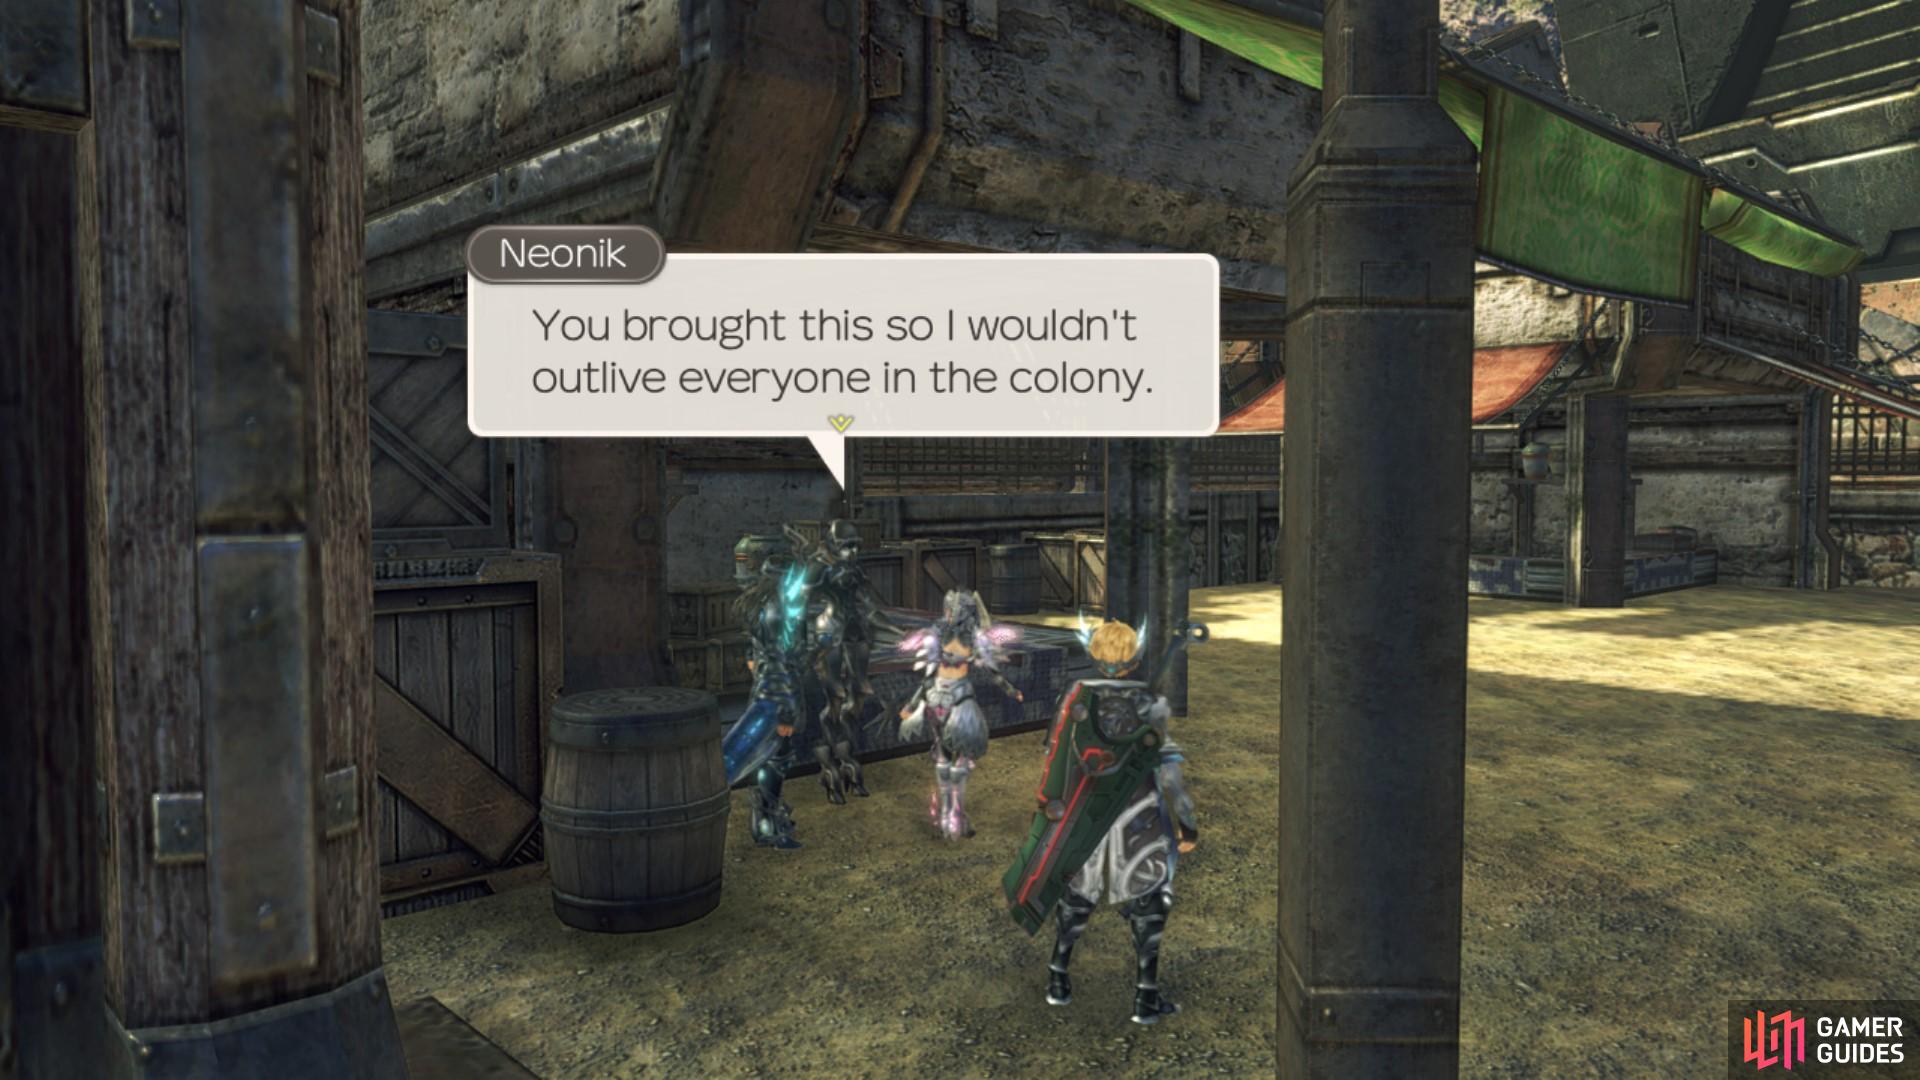
Giving Neonik the Machina Energy means she can die alongside the other residents of Colony 6.
A Poet’s Concerns
After completing Neonik‘s quest, Lifespan of a Machina, and reached 3✰ affinity in Colony 6, you’ll be able to pick this quest up from Yura. He will ask you to talk to Neonik about writing a poem about her. When you talk to Neonik, whichever option you decide will not affect the outcome or rewards of this quest. After speaking to Neonik, the quest will update and you’ll be required to go to Eryth Sea and fetch a Tobogan Wing. This item can be found below Hovering Reef 9, which you can get to by using the west portal on Hovering Reef 8. Drop down to the island below Hovering Reef 9 by jumping into the large hole in the middle of the hovering reef. When you retrieve the item, head back to Neonik in Colony 6. Then, speak to Yura for a final time to complete the quest.
For the last Colony 9 Quest and the last non-Monado Colony 6 Quest, you’ll need to access a new part of Tephra Cave full of high level enemies, when you’re ready, warp over to Vilia Lake to begin exploration.
Tephra Cave
Begin by heading to the northwest here to find that the way is now open so head through and the first thing you’ll notice is that there are now Lv 90+ enemies here. In the first main room, head to the southeast and to the east at this next intersection, you’ll find a Lv 92 Unique Monster, Plump Sprahda that possesses a nasty Spike Aura. Continue northeast from the intersection here and you’ll reach the Secret Area, Bafalgar Tomb. Head up the stairs here and you’ll find Shura who offers the Book of Bafalgar Quest.
Return to the intersection where you fought the Unique Monster a moment ago and this time go south to find the Starlight Book as part of that Quest to the east. Head back and give this to Shura to complete this Quest and start the next, The Blood of Bafalgar. That’s all you can do in this section of the cave so return to the large room where you first went to the southeast to reach the Unique Monster and this time, head northwest. Follow this path and you’ll unlock the Bone Corridor where you’ll come across a new Heart-to-Heart and eventually, some Dorsiar Lizards, you’ll need to kill these to collect 4 Lizard Moon Jewels as part of the Friendship Tokens Quest. Continue to follow this path around and you’ll come across a Lv 93 Unique Monster, Musical Vanflare.
Just past here, you’ll find the next set of enemies that drop items for the same Quest so be sure to spend some time here fighting the enemies as you continue on to the east. Next up, you’ll find a group of Bunivs, the final monster type you’ll need materials from for the Friendship Tokens Quest and the only item you can’t trade for so you will need to take some time killing these.
As you press on, you’ll unlock the next Secret Area, Heavenly Window and as soon as you do, a Lv 96 Unique Monster, Protective Torquidon. If you’re in the Level range for this UM, take out the surrounding Gogols first to make the battle easier. Be sure to make use of the Ether Deposit and then head to the southeast here to find another Lv 97 Unique Monster, Erratic Goliante. Once defeated, head behind it to find a normal Gogol, unlock Trader’s Stopover and the Trader’s Spare Key needed for the Securing Provisions Quest.
Leave this alcove and continue on to the southwest and at the end of the path to the southwest, you’ll find the Lv 97 Unique Monster, Dazzling Tolosnia needed for the Blood of Bafalgar Quest. Take out the lesser enemies first and then fell the giant Spider to obtain the White Spider Heart. Ignore the temptation to turn the Quest in for now and continue on to the path heading down to the east where you’ll reach the Arachno Feeding Lair. Be careful not to fall down in the middle and continue on to the south where you’ll head through the Path of Absolution which leads back to Viliar Lake.
With the key in hand, you can now head through the Warehouse Door to the southwest to find the Emergency Warehouse along with the Emergency Rations. Return to Bafalgar Tomb now and insert the White Spider Heart into the Sacrificial Altar before speaking to Shura again to complete the Quest. Speak to her once again and you’ll begin the Path of Bafalgar Quest that you can continue by heading through the now open door. As you head down the stairs, look to the west to find the small Prayer Room and the Inscription Rubbing that you should take back to Shura but first head to the bottom of the stairs to find an Ancient Lily.
Return to Shura who will now direct you in the direction of the Path of Absolution so warp to the Heavenly Window Landmark and follow the path back to that area where you’ll find the Sacrificial Tablet. Return to Shura once more to complete this Quest and begin the next one, The Coffin of Bafalgar. This is easier said than done, head down the nearby stairs here and at the bottom, turn left to spot a door that slides open. Follow this to reach the Soothsayer’s Crypt along with the Moonlight Book that you should take to Shura to complete this Short Quest and begin the final Quest in this chain, The Gratitude of Bafalgar.
Before you dash off to Colony 9 to claim your reward, head to the Tephra Cavern Landmark and look to the northeast to find another new entrance. Head through and follow the path all the way to the east to reach a Lv 95 Unique Monster, Reckless Galdon to defeat. You’ll also unlock the Hidden Warehouse location leaving just one more to discover for this area. Return to Heavenly Window once more and go north to find a hole near where the Bunnivs are and drop down. You’ll unlock Forgotten Cave here, the final one needed to complete the map and you’ll find some Femuny Wisps that drop a material for the Monado Replica Quests. Head to the west here to find a Lv 94 Unique Monster, Judicious Bunnitzol and a final Ether Deposit, completing your exploration of Tephra Cave.
Return to Colony 9 now to find Shura at the Commercial District at night. Speak to her to complete the final Bafalgar Quest and then speak to Moritz as Reyn to complete the Friendship Tokens Quest along with unlocking his 5th Skill Tree in the process. That’s all for Colony 9’s Quests and if you’re at least Level 95, you should be able to defeat the Dragon for the Defend Colony 6 - Demon Quest which in turns completes the Reconstruction Sidequest.
Next on your list is to return to Valak Mountain, more specifically, the Harict Chapel, to discover the final Quests to undertake there.
The Missing Partner
If you did not do Adventurers in Peril, then you will be able to pick this quest up from Kurralth. Kurralth can be found at Harict Chapel following the events at Mechonis Core. He will ask you to find Zain who is somewhere on the Three Sage Summit. After you have spoken to him, return to Kurralth to complete the quest.
The Giant’s Treasure
This quest requires that you complete numerous other quests in order to obtain the various Giants’ treasures.
-
Daring of the Giants - You obtain this from completing the quest The Giants’ Treasure, which is given by Kacha in the Nopon Merchant Camp in Satorl Marsh. To access that particular quest, you must do Kacha’s Kidnapping and The Giants’ Key.
-
Heart of the Giants - You can obtain this from completing the Mystery of Makna Ruins quests, for which there are four. During Mystery of Makna Ruins 4, you will be rewarded the Heart of the Giants.
-
Truth of the Giants - This will likely be the last Giants’ treasure you collect, since the others can be picked up at reasonably low levels. This one, however, requires that you head into the high level areas of Tephra Cave, only available to you after the events at Mechonis Core. To pick up this item, you’ll have to start with The Book of Bafalgar and then do all the relating quests from then until The Gratitude of Bafalgar, where you will be rewarded the Truth of the Giants.
After you have all the treasures, this quest will be completed automatically and you may then proceed with The Final Giants’ Ruins.
The Giants’ Ruins glow when you have obtained all three of the treasures.
The Final Giants’ Ruins
After you have completed The Missing Partner or Adventurers in Peril, you’ll be able to pick this quest up after the events at Mechonis Core. Activating this quest will trigger the activation of The Giants’ Treasures, which must be completed first before you can proceed with this quest. It requires that you collect 3 different Giants’ Treasures from across the Bionis.
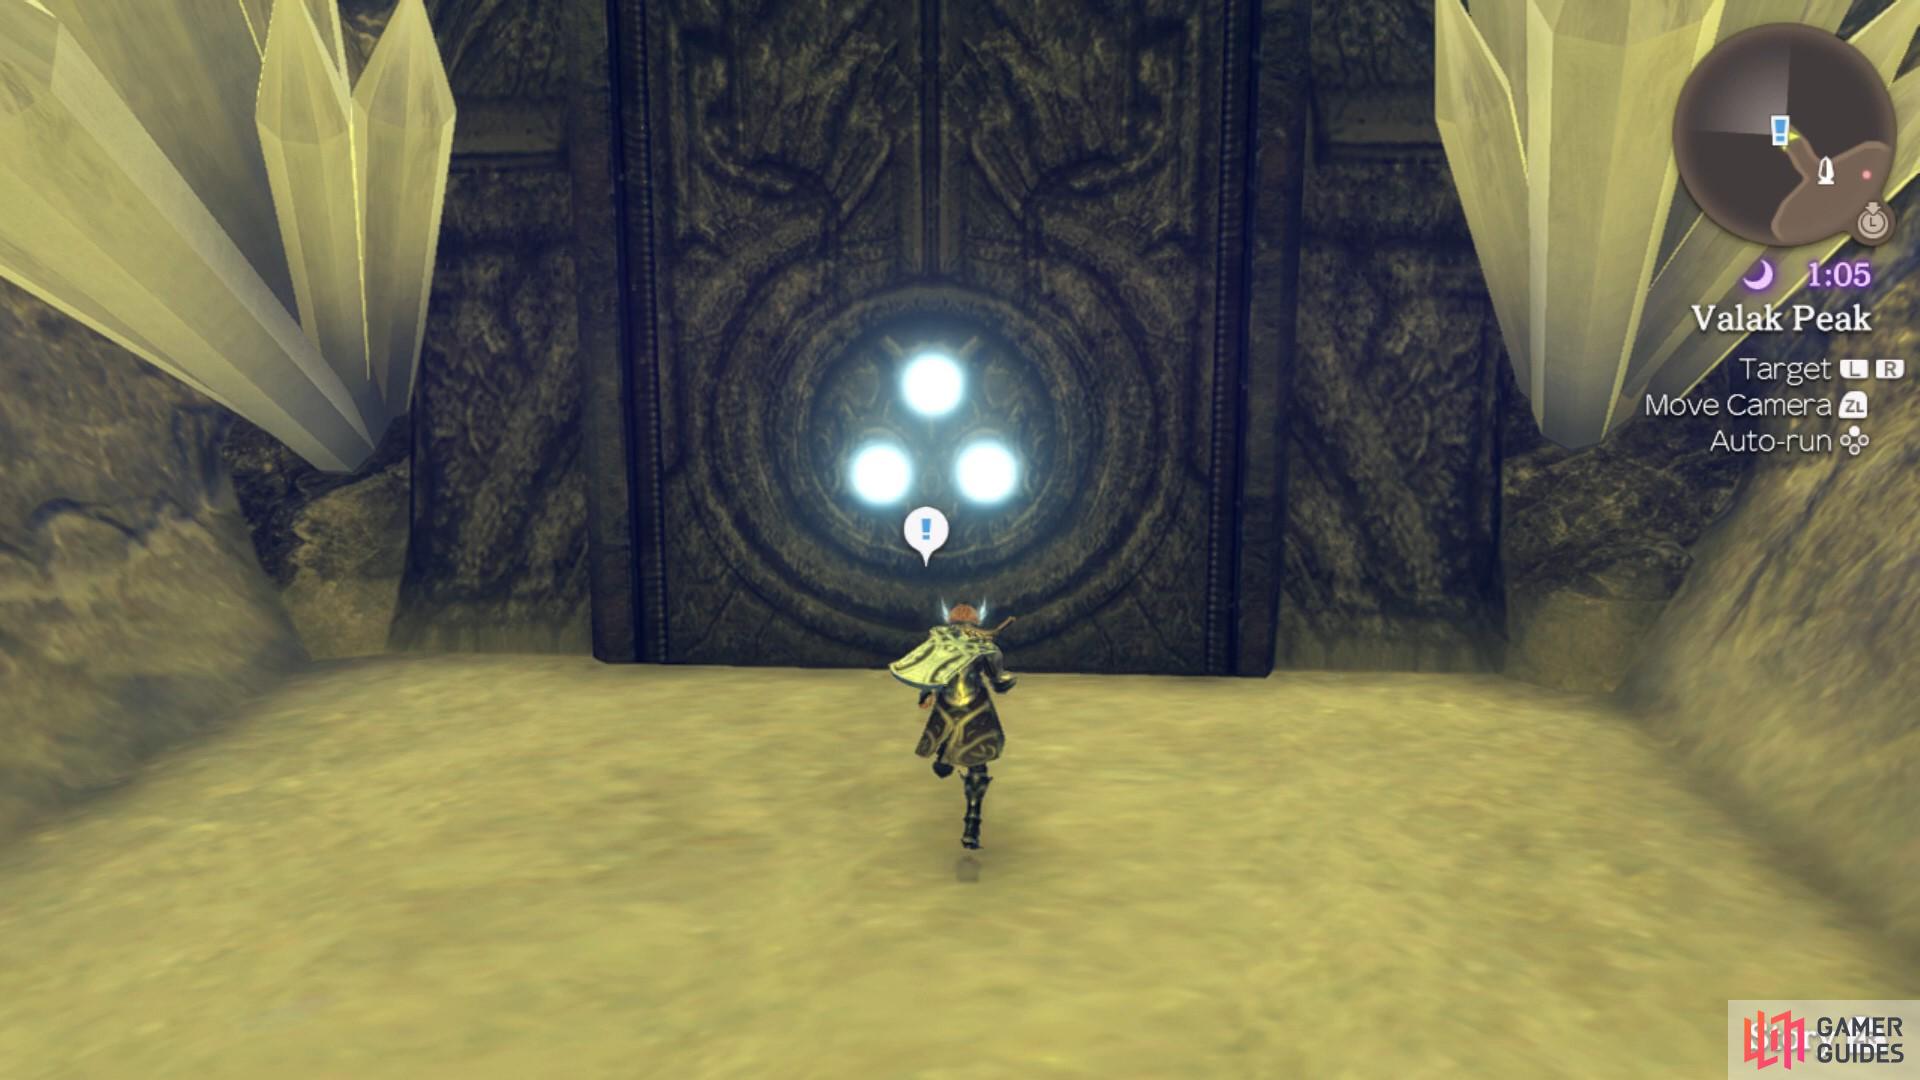
After you have collected all of the treasures, head back to Three Sage Summit and walk over to the large doors at the top. If you have obtained all of the treasures, there will be three glowing orbs on the door’s surface, and it will open when you walk up to it. Opening the door will complete the quest, but it will also trigger the spawn of the Level 99 quest-exclusive enemy Invited Slobos.
When you enter the sealed area, head up the stairs and you will find a treasure chest containing a Titan Plate, Titan Greaves, Ardi Drones and Final Cut within.
Bionis Leg Quests
To begin the final set of Bionis’ Leg Quests you’ll need to head back to Dulland, who has now moved to the area at the Refugee Camp, to turn in the Securing Provisions Quests that you worked on in Tephra Cave.
A Flower for a Rose
In order to begin this quest, you need to have completed Securing Provisions, plus the one secret door needs to be opened during The Blood of Bafalgar. While exploring the depths of Tephra Cave, Dulland saw a beautiful flower that he couldn’t quite reach. He wants you to get it for him, so fast travel to Bafalgar Tomb in Tephra Cave and locate the hidden door next to the main altar. Head down all of the stairs to find yourself on a balcony, with the Ancient Lily being in what looks like a dirt patch. Bring the flower back to Dulland at the Refugee Camp.
(1 of 2) The hidden door you need is right next to the altar
The hidden door you need is right next to the altar (left), The flower is in the dirt patch on the balcony (right)
Supplies for Satorl
After completing Securing Provisions, you’ll be able to pick this quest up from Elior in the Refugee Camp on the Bionis’ Leg. He will ask you to take Emergency Provisions to the people up in Satorl Marsh. Head over to Sororal Statues and walk north towards the Statue Summit. Talk to Scarlen, who wanders the area at night. Talking to him will complete the quest.
Battling Brutes
ou will need to be controlling Seven in order to begin this quest, which is available after completing A Flower for a Rose. Dulland wishes to bring the Ancient Lily from the previous quest to someone in Colony 9, but there are two monsters fighting in the Arachno Queen’s Nest in Tephra Cave, preventing him from doing so. Before you dive in to fight these two monsters, which are both quest-exclusive by the way, you will want to prepare a little bit. The reason for this is because both have Spike shields, one is purely damage and the other will inflict Daze on your characters every single time they are within range of the shield.
Getting Daze Resist gems is not going to be easy, since there are very few enemies that drop the appropriate cylinders. The Young Brog in Tephra Cave (go to Heavenly Window, then follow the path north to find them) can drop Daze Resist V cylinders, as can Eryth Rhanas and Bizarre Ragoel on Anu Shore at Eryth Sea. Once you have enough, craft them to make some Daze Resist V/VI gems; if you can get 80-90% Daze Resist, then you should be fine. The other enemy that has a damage Spike shield requires Spike Defence gems. Similar in scope to the other cylinders above, sources of Spike Defence V cylinders include Jelly Seluas, Largo Seluas, and Chimai Seluas in Bionis’ Interior. Once again, you probably don’t need full 100% protection, as around 80% will probably work.
When you’re finished with the preparation, you need to head to the Arachno Queen’s Nest inside of Tephra Cave. The two quest-exclusive Unique Monsters will be there whenever you arrive (they are quite large in size); they are named Reckless Zanden and Firework Geldesia. The Arachno is the one with the Daze spike shield, while the Gogol has the damage spike shield. They really aren’t any different than the normal/Unique versions, so you shouldn’t have too much trouble. You can also easily fight them one-on-one, as they aren’t really fighting. When you’ve beaten both of the Unique Monsters, report back to Dulland to complete the quest. Note that Dulland will relocate to Colony 9 upon completion of this quest.
Make your way over to Makna Forest next and head to the Divine Sanctuary Landmark. Change the time to 12:00 - 15:00, stick Riki as the party leader and head down to the southeast to speak to the Nopon Sage again to begin the final Makna Forest Quest.
Final Challenge of the Sage
This quest is available once you have completed the events at the Mechonis Core and finished the Nopon Sage’s other quests. Remember, the Nopon Sage only appears near the Divine Sanctuary landmark between 12:00 and 15:00. Riki must be in the lead to pick this quest up, as well. The Nopon Sage will task you with defeating the Unreliable Rezno, who can be found on a small island near Great Makna Falls, during the day. The quest exclusive monster is level 96, so he may prove a tough fight. If you want to complete this quest sooner rather than later, consider turning on Casual mode in the Main Menu, if your level is significantly lower. Return to the Nopon Sage, once you have defeated it, to complete the quest.
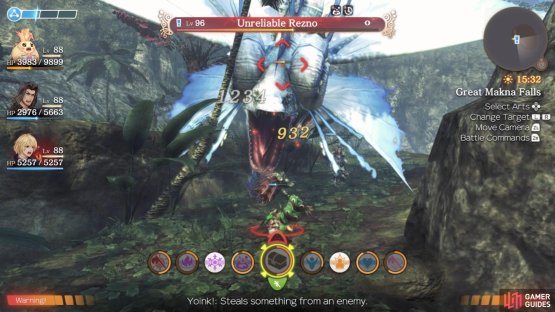
(1 of 2) The Unreliable Rezno must be defeated so that Riki can be come true Heropon
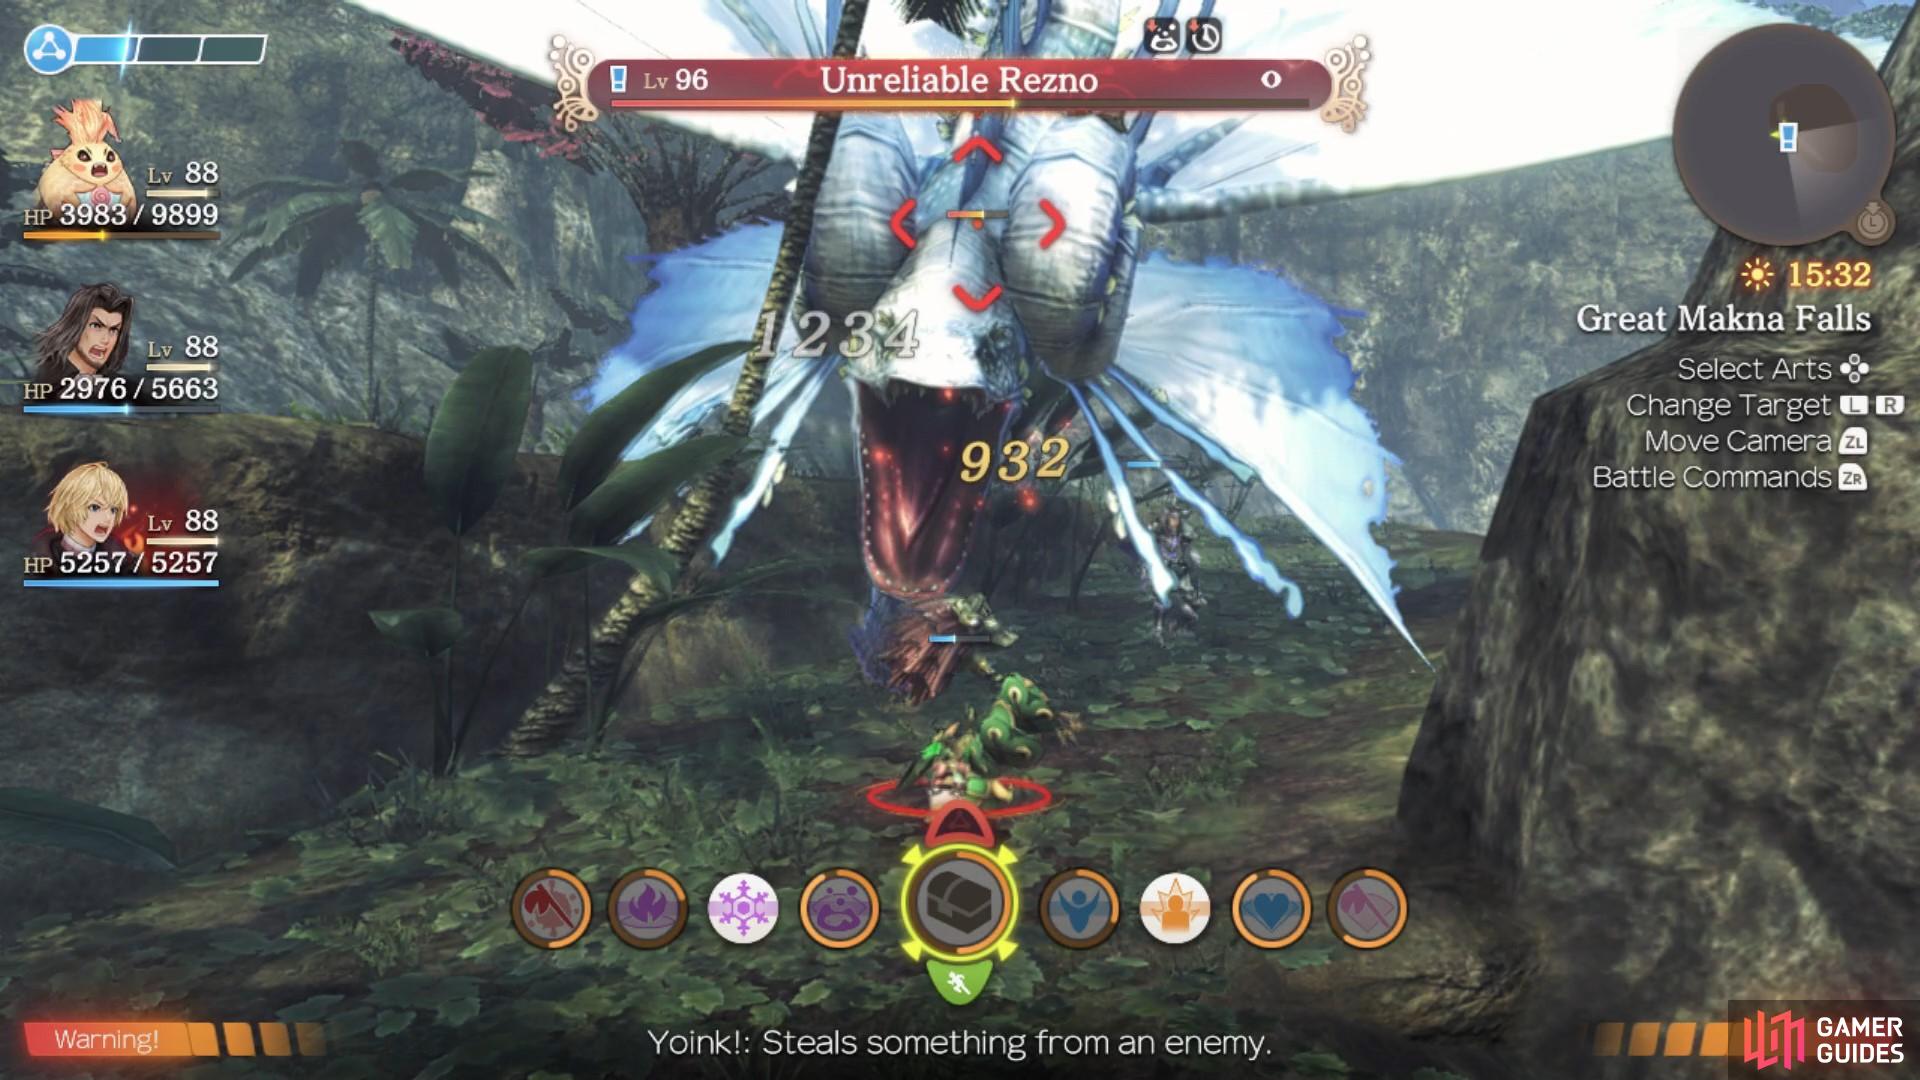
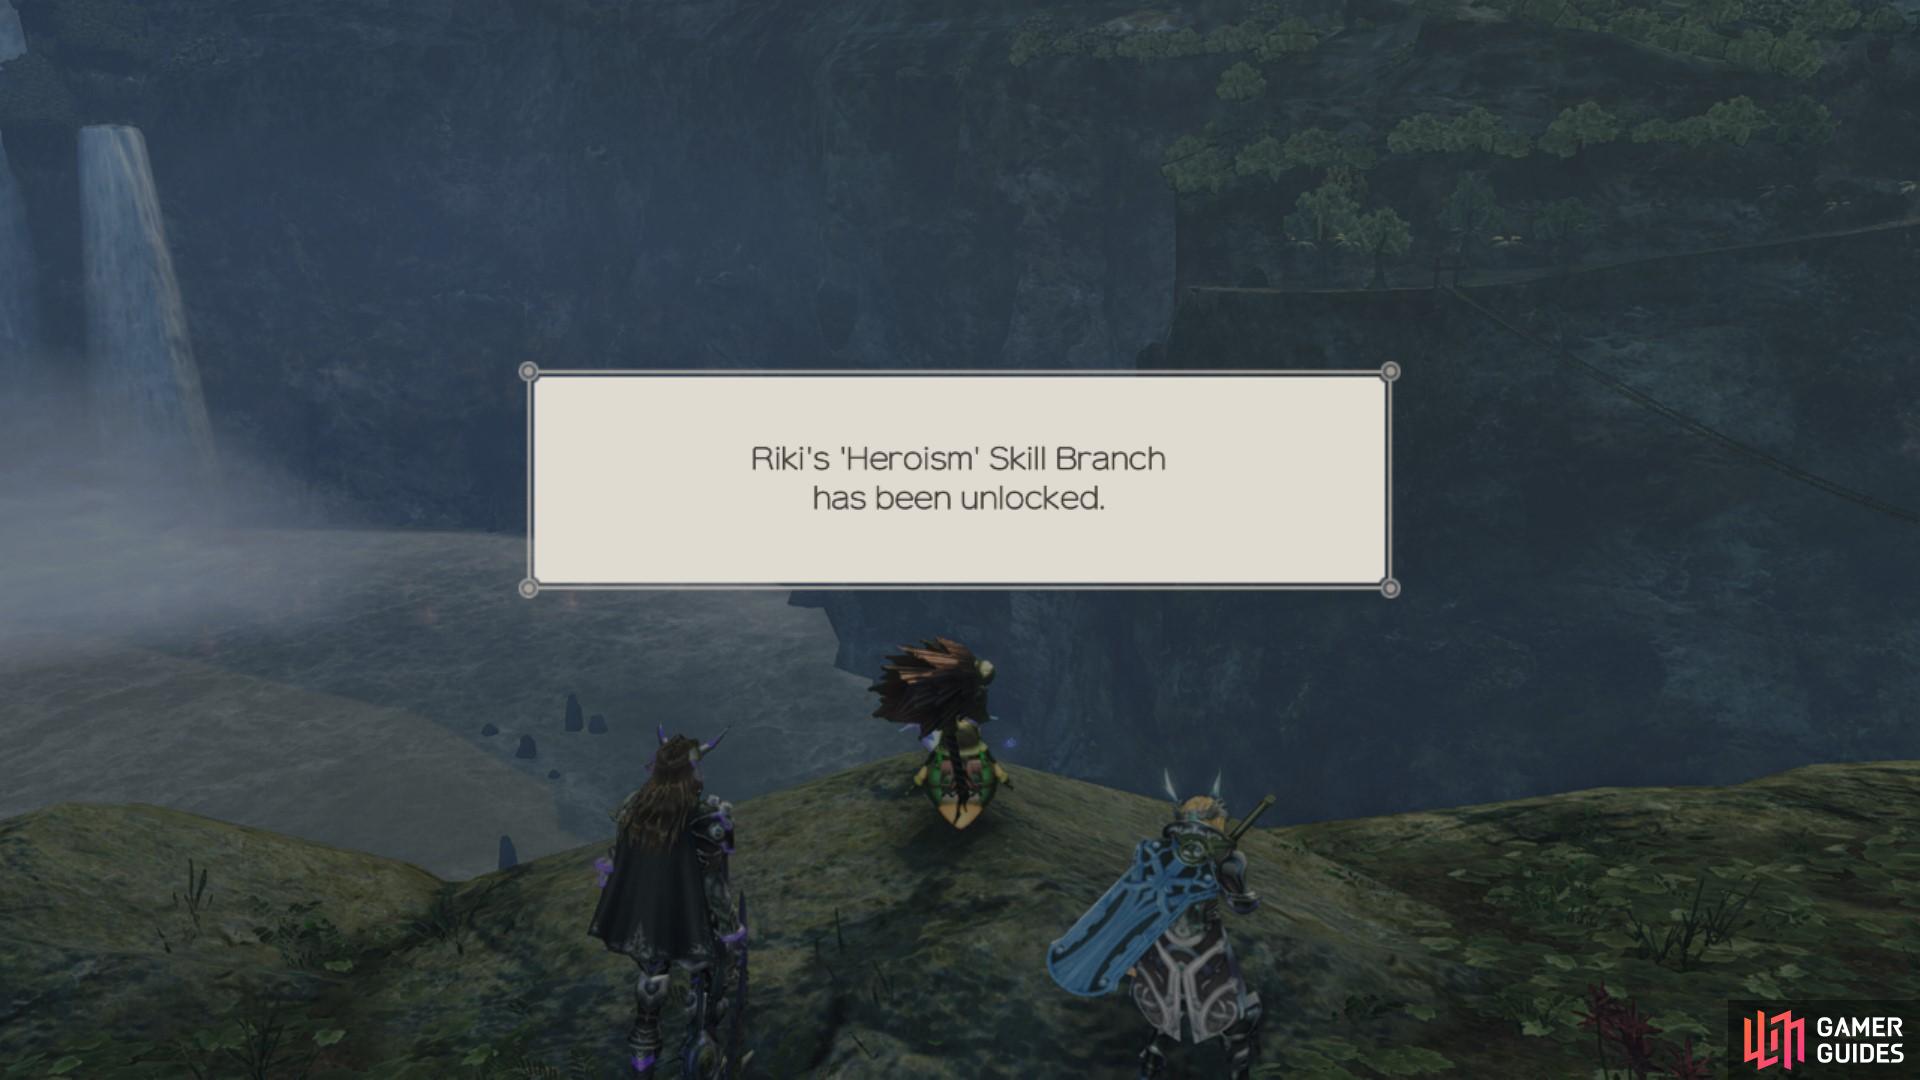
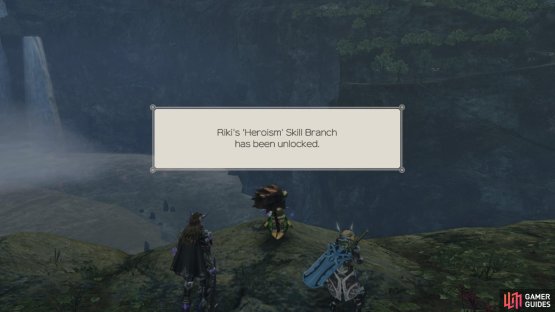
The Unreliable Rezno must be defeated so that Riki can be come true Heropon (left), upon completion of this quest, you will unlock Riki’s fifth skill branch, Heroism. (right)
With this complete, the only Quests that should be left to you are the Replica Monado Quests and considering you should already have the toughest item to obtain from the Colony 6 Dragon, you should be able to simply kill the monsters to get the materials and finish this set of Quests.
With that, you will have completed every Quest in the game which is some accomplishment. Give yourself a pat on the back but you’re not done with the game just yet, there’s one more Collectopaedia category to fill, the Other category. You’ll be able to trade for all but the Love Source, an item you’ll get from the game’s Superbosses. With that said, you can either Prepare for the Superbosses or finish the Story.
No Comments