


Trials of the High Entia
Melia, now donning a mask, begins her trial alone in the High Entia Tomb. Once you regain control you’ll unlock the Tomb Approach Landmark and then head east to unlock the Sealed Chamber Landmark before activating the Verification Device. After discovering the fate of the rest of the group, you’ll resume control of Melia and you’ll be given some helpful tips for controlling Melia alone. Hopefully you’ve spent some time with her as party leader but if not, make use of her Summon spells (especially Bolt) to grant her a buff and then use her Talent Art to fire it off, dealing damage to the enemy. Melia also has access to a Sleep Art, be sure to put it to good use should you find yourself in battle with too many enemies.
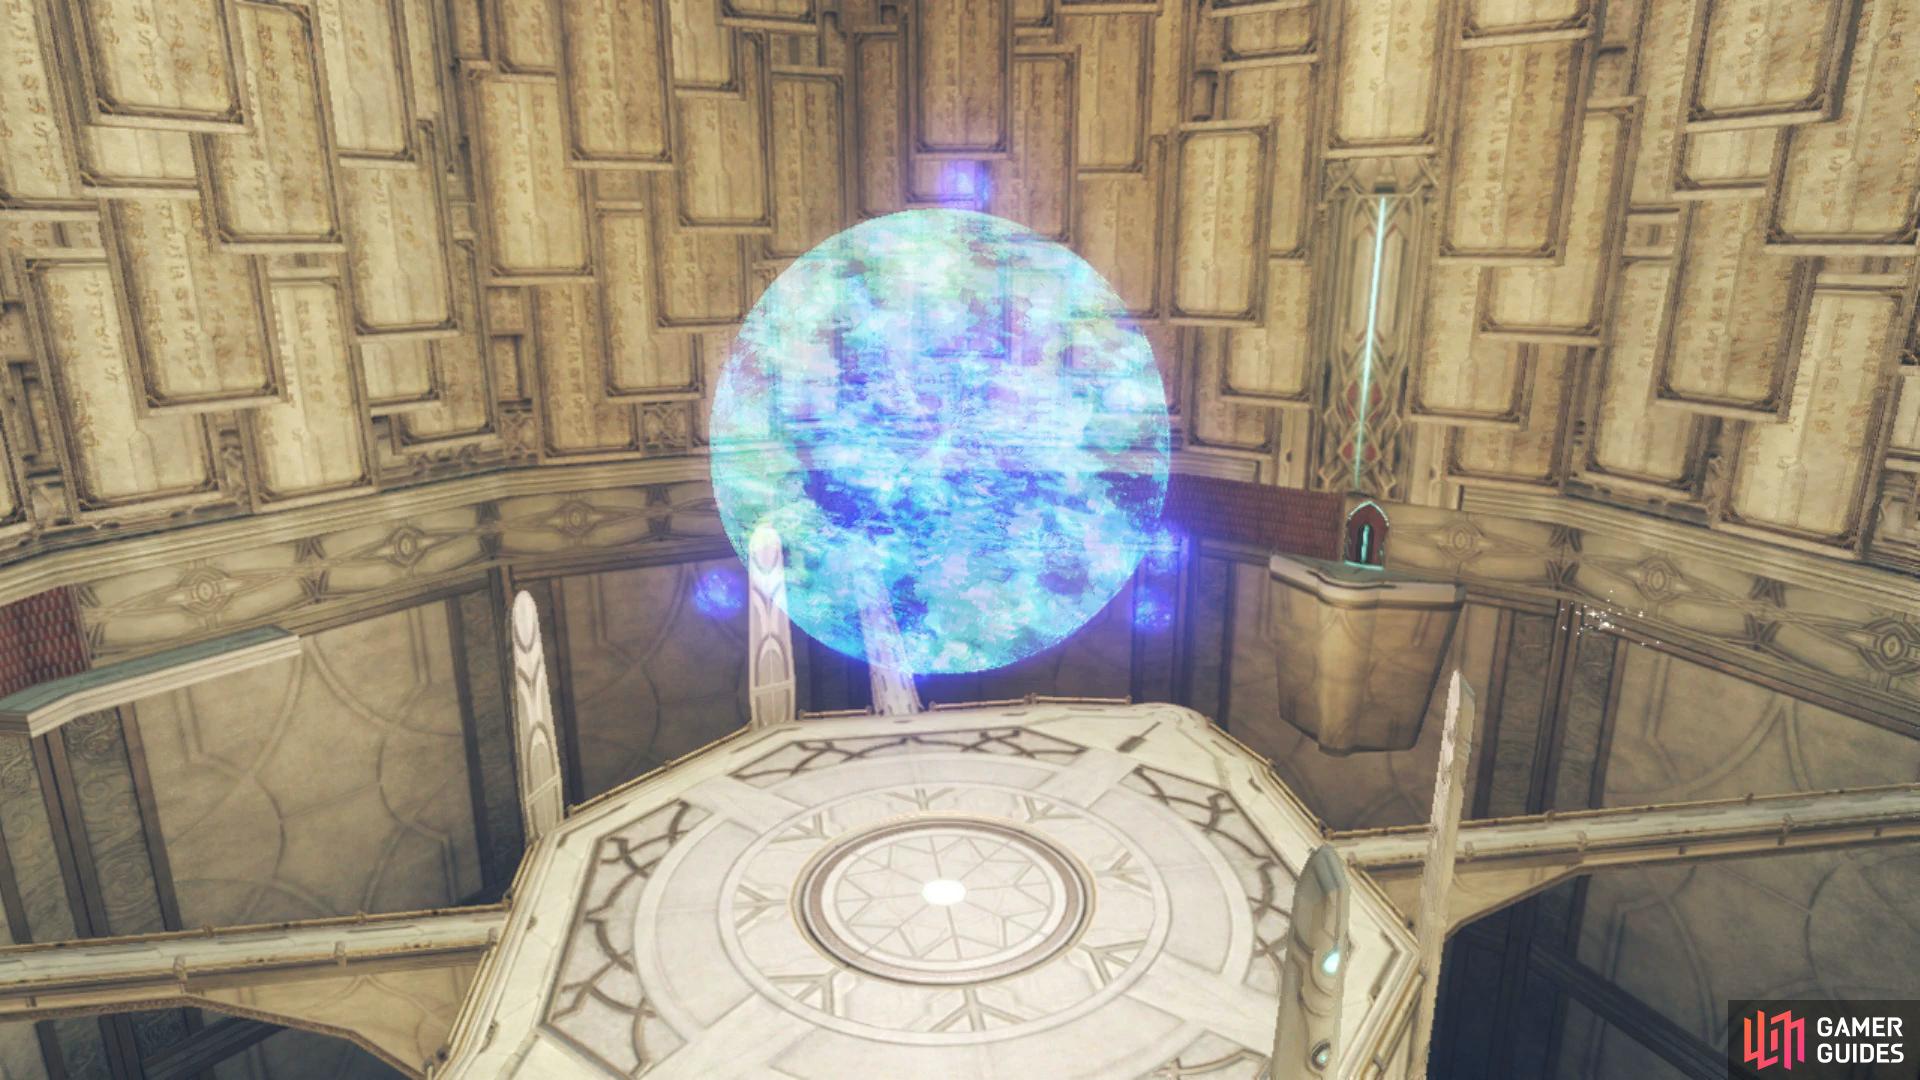
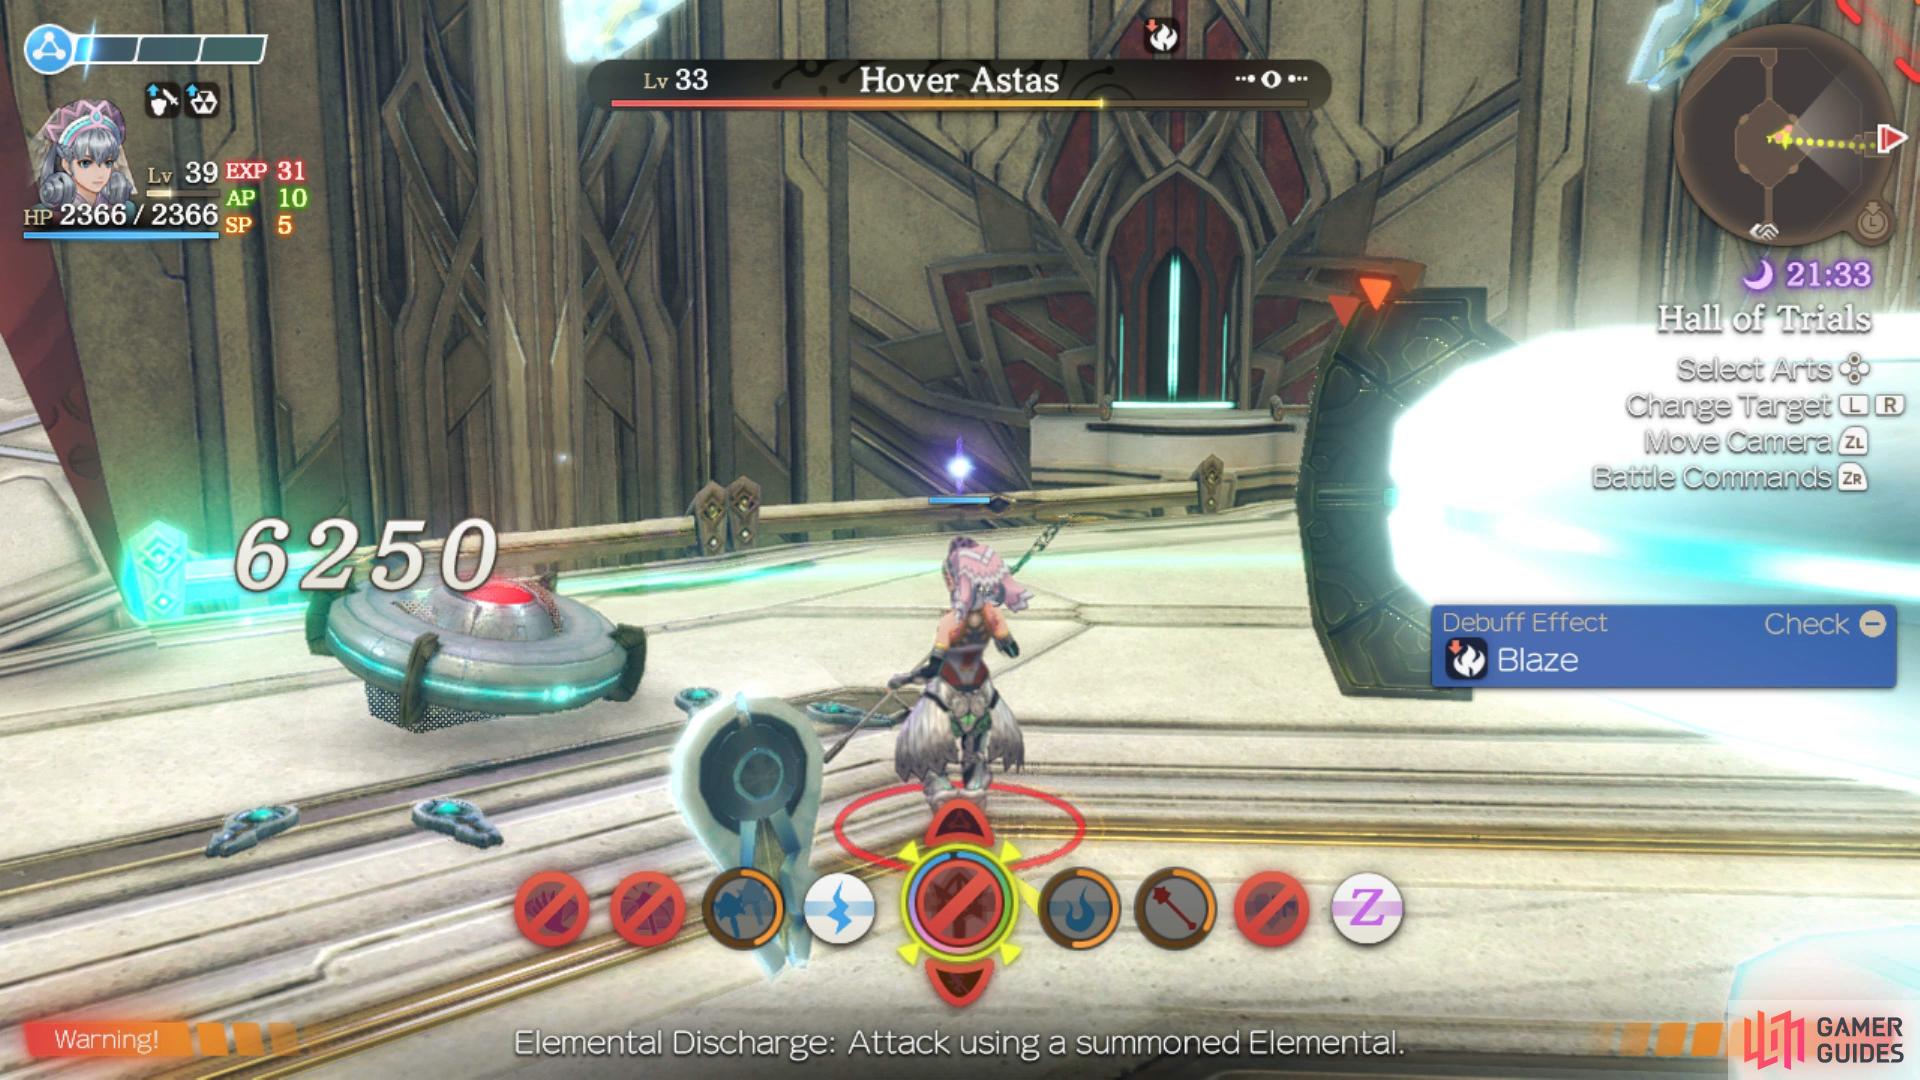
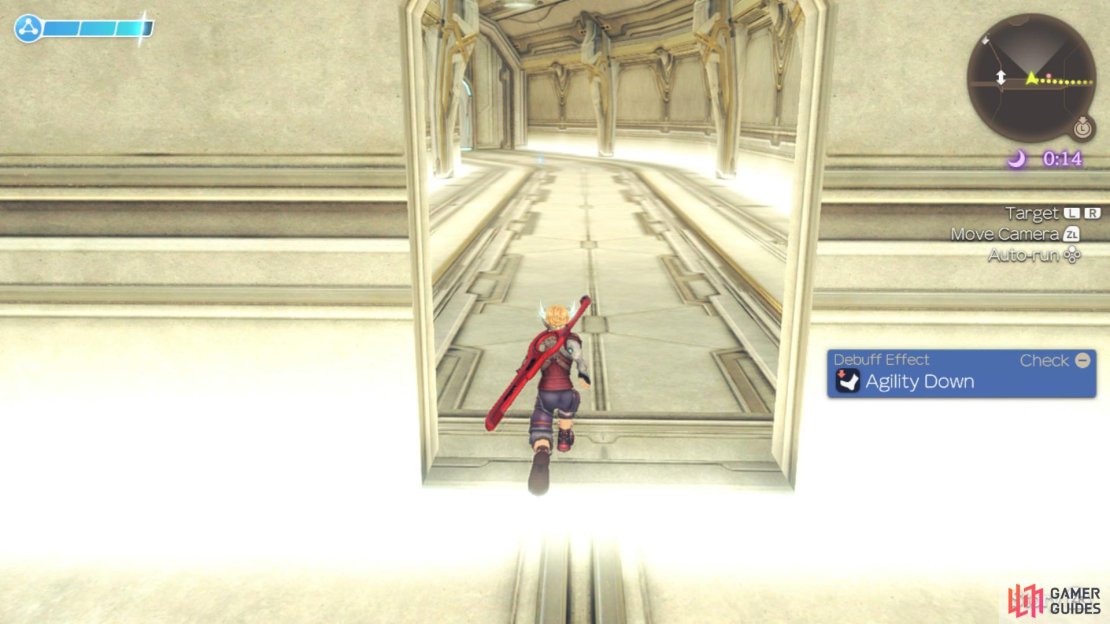
Continue east when you’re ready and you’ll reach the Hall of Spirits, approach the edge to erect a bridge of light that will allow you to reach the center. You’ll be forced into battle with a Lv 32 Neros Andos who should be a pushover but serves as a test to get used to fighting as Melia. You should be able to take it down with two casts of Bolt and a cast of Fire. Continue on to the east and you’ll reach the Hall of Trials where you can take either path to reach the center platform however opt for the southern one to register a new Heart-to-Heart first. As you approach the eastern edge, you’ll have to battle against two Lv 33 Hover Astas, easier foes than the previous but consider putting one to sleep if you’re struggling. Continue to press on to the east to unlock the Ceremony Hall Landmark and trigger a cutscene.
Make use of Summon Bolt to dispatch the enemies easily when Melia is alone.
Control switches back to Shulk at this point as you find yourself in the Tomb Robber Pool area. You’ll need to reach one of the rooms to the east to find a path leading down; however be sure to fully explore this level for Collectables before taking the path down. Take the path north and loop around so that you end up taking the southeast path down. At the bottom, take the corridor north and at the intersection head east to reach the Valley of Emperors Landmark. Look to the right to find a climbable wall and follow it around to the southeast platform.
Head into the center now to battle a Lv 36 Orluga Rufus which, once again, despite the music, is a rather simple enemy. Make use of positionals with Shulk and activate a Chain Attack should you need it, this should be no different than a regular battle. Following the battle, you’ll see multiple paths before you however only one will lead the correct way. The path to the northwest leads to a platform with a collectible while the southeast path leads to a Heart-to-Heart you should register. To continue, take the northeast path and climb on over to the door to the east to leave this room.


(1 of 3) Look for a hidden door along the northern wall
As you pass through this corridor, you’ll be ambushed by enemies; however, after the second set, look to the doorway to the north to find a hidden path not on the map. Go ahead and take the path and you’ll reach the Second Treasury which contains a Lv 38 Unique Monster, Calm Anzabi. Defeat the enemy and then open the High Entia Treasure to obtain the Summon Bolt Arts Manual and the incredibly useful Ruby Glasses which should be equipped on Melia for the majority of the game.
Return to the corridor and continue east to reach the Tower of Trials - Bridge Landmark and then head inside and climb the wall to reach another platform with a Lv 37 Orluga Rufus to dispatch. You’ll find two climbable walls in front of you following the battle, the one to the east leads to an area you can’t access yet so take the western wall instead and then take out the next Orluga Rufus. The wall in front of you leads to two platforms with Collectibles, pocket them if you wish otherwise continue up along the path to find a control device that will open the roof back to where Melia was. Once you’re ready to meet up with Melia, continue along the eastern path to trigger a cutscene and a boss battle.
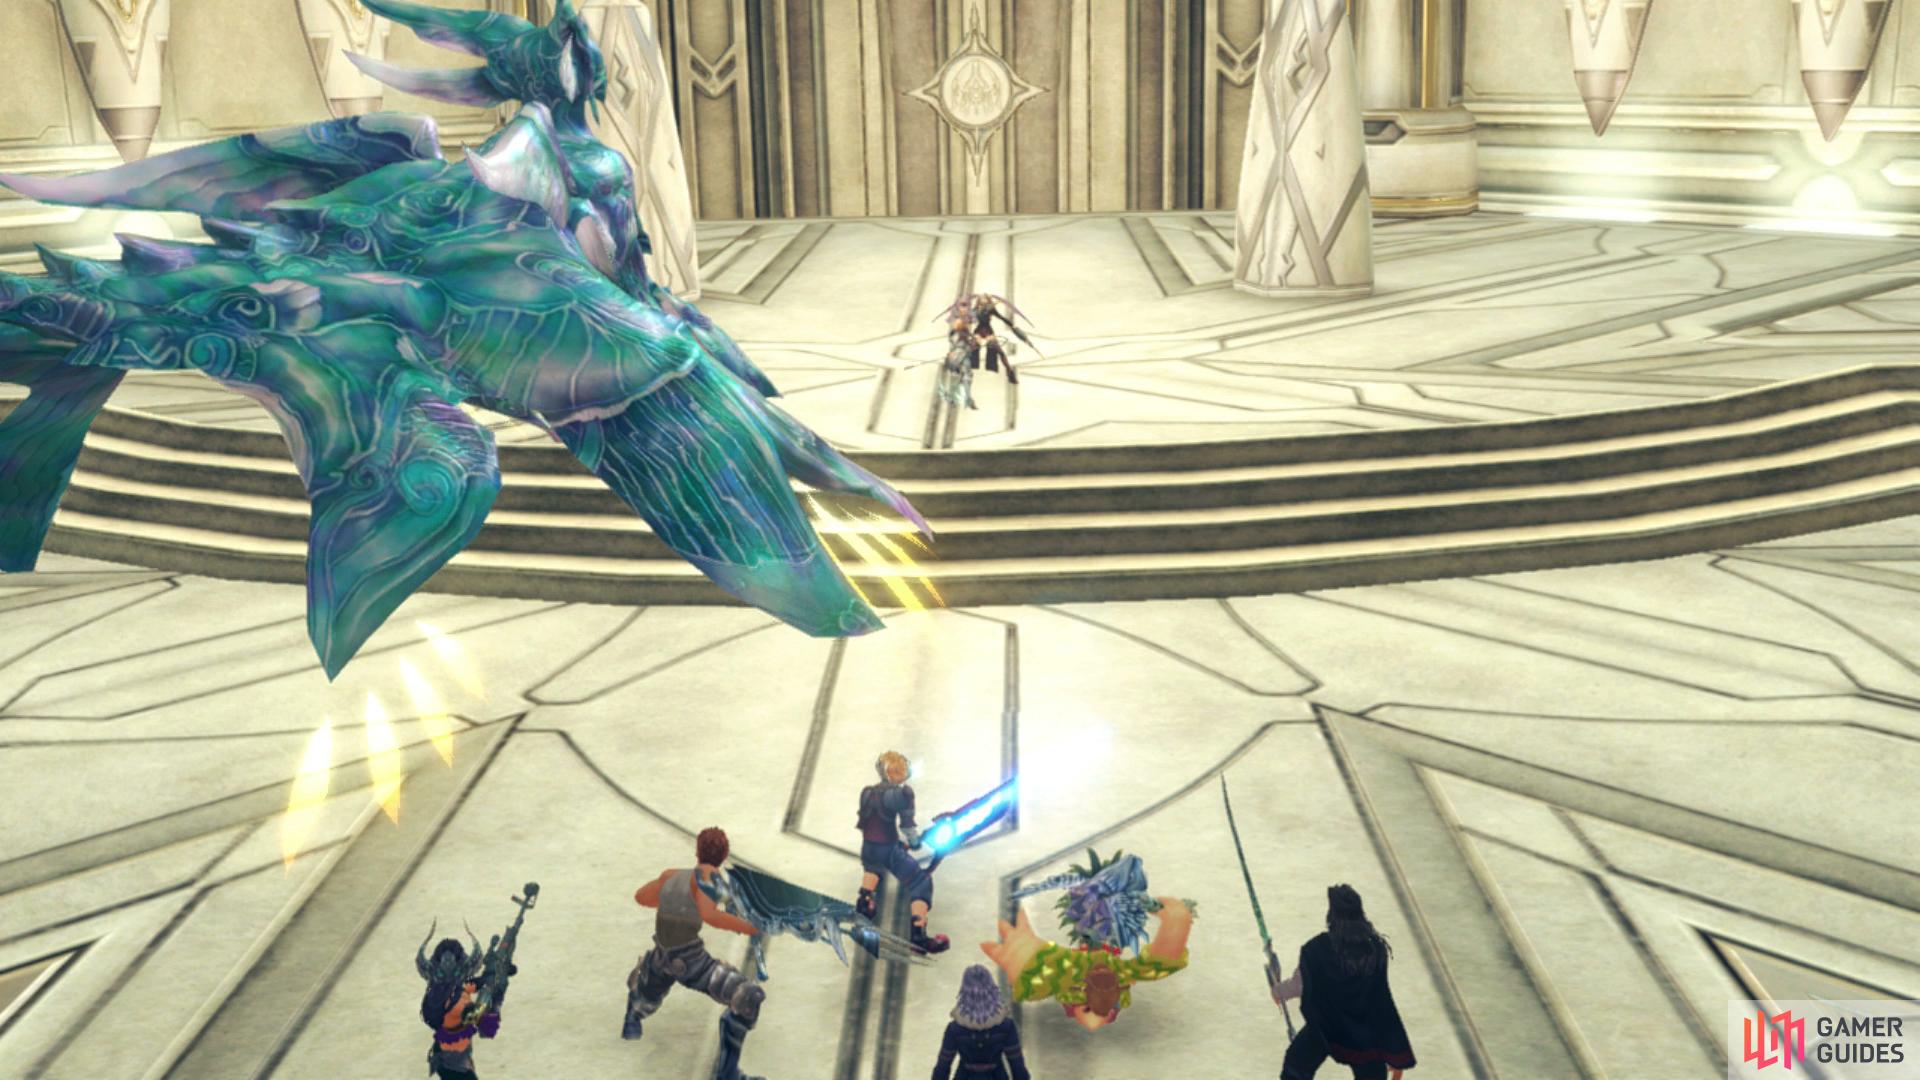
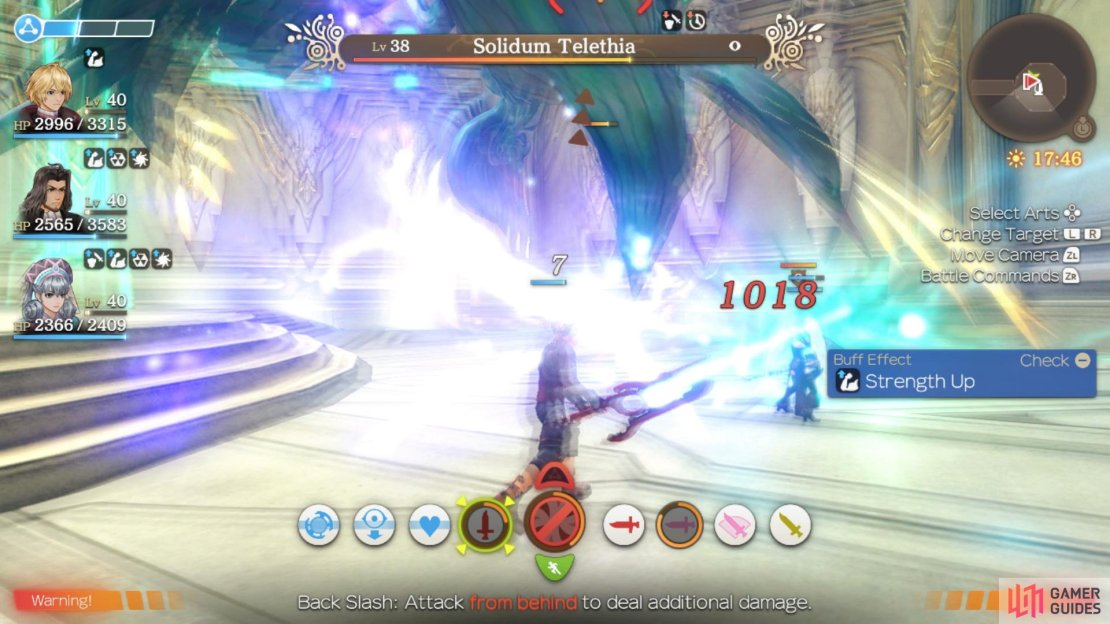
Boss: Tyrea and Solidum Telethia
| Enemy | Level | Detection |
|---|---|---|
| Tyrea | 38 | Sight |
| Solidum Telethia | 38 | Sight |
This is a tough battle against two fearsome opponents, be sure to put Melia back in the party if you’ve been using her beforehand and consider using Shulk as the party leader (it’s much easier to trigger Soul Purge than Mind Blast). Due to both enemies having plentiful HP, you’ll want to focus your party on one at a time and seeing that Tyrea requires a more specific approach, Solidum Telethia should be your first target. Like all Telethia, it has the ability to use Soul Read so keep Monado Purge ready for such moments. What’s more, it can use Attention Seek to force you to lock-on to it, another reason why it’s a better idea to take care of it first. Solidum Telethia has deadly attack Arts available to it too:
-
Attention Seek - Inflicts Lock-on to a target, causing them to focus their attacks on the enemy.
-
Delta Cannon - An Ether Art that deals moderate damage to a single target.
-
Ether Laser II - An Ether based Talent Art that fires off a laser in a line at the target. This deals around similar damage to Delta Cannon so be sure to spread the party out.
-
Ether Storm - An Ether Art that hits in an arc in front of Solidum Telethia, inflicting both knockdown and Daze.
-
Predation - It’s only Physical Art, this deals Topple to all targets in a circle around Solidum Telethia.


(1 of 3) Delta Cannon will deal moderate damage to a single target
Once you down Solidum Telethia, you should be able to pay more attention to Tyrea. Like the Faced Mechon enemies, the only real way to not deflect is by inflicting Topple, this is a great time to make use of Chain Attacks and if you have both Shulk and Dunban, you can keep Daze going for a short while. Tyrea has deadly Arts available to her along with the ability to buff herself:
-
Energy Drain - Drains the Talent Gauges of targets in a circle around her, this will charge her own Talent gauge in the process.
-
Guilty Bomb III - An Ether based Talent Art that deals moderate damage to a single target and inflicting Bind.
-
Spiral Kick - A Physical based Art that deals heavy damage to a single target and inflicts Topple.
-
Flying Bee - A Physical based Art that deals heavy damage to a single target. If the target is already in Topple, this will deal double damage to them.
-
Reparation - Inflicts both Strength and Ether Up to herself and any allies within a circle.
-
Telepathic Command - Inflicts Defense Up to herself and any allies within a circle.


(1 of 4) Like Faced Mechon battles, your attacks will deflect
As you can see, Tyrea has many deadly Arts available to herself, be sure to break someone out of Topple as soon as possible to avoid suffering massive damage from Flying Bee. Chain Attacks are your best bet here, not only due to her unique properties but also so you can limit the time she spends buffing herself.
You’ll find yourself back in the Alcamoth castle following the battle and many scenes will take place and once you regain control, make your way to Ascension Hall and take the transporter up to the Audience Chamber to meet with the Emperor and trigger yet more scenes that bring Chapter 8 to an end.
No Comments