


A New Destination
After watching the opening cutscenes, you’ll find yourself just outside Colony 9 with a new destination in mind, the only other Homs settlement left, Colony 6. You’ll also receive a short tutorial informing you that Gem Crafting is now available. By visiting the Gem Man’s Stall in Colony 9, you’ll be able to craft Ether Gems for your slots. For now, you’re not able to make any strong ones but you can always pay it a visit and tinker around a little with the menu, it’s something that you’ll want to become familiar with a lot later in your adventure.
Before you set off for Tephra Cave, you’ll notice there’s a new batch of Quests available to undertake in Colony 9 so now is a good idea to get on top of that.
Overworked and Underpaid
When you speak with Giorgio in Ether Light in Colony 9, he will seem very tired. Shulk will have a vision of Giorgio having collapsed due to overworking. This is where the quest splits right now, as you can either convince Giorgio yourself (call this Route A) or consult with a relative (call this Route B).
-
For Route A, speak with Giorgio and he will ask you for 3 bits of Fresh Armu Milk. Marcia should have some Fresh Armu Milk, but you can only trade one at a time with her. If you can’t find her, she is in the same area as Giorgio, from 09:00 - 18:00. Should you wish to hunt down some yourself, exit Colony 9 via the nearby bridge and follow the coast north and west, where you should find some Baby Armus roaming the beach. They are around levels 8-10, so they might be a little bit of a problem depending on your own levels. Fresh Armu Milk is a pretty common drop from these, so it shouldn’t take long to get them. Bring them back to Giorgio to finish and obtain a HP Up II Gem. Taking this route will not improve his relationship with his daughter, Paola.
-
For Route B, you need to consult a relative, who will happen to be his daughter, Paola; she should be found around the Gem Man’s Stall from 06:00 to 18:00. Speak with her and she concocts a plan to convince her father to get some rest. For her plan to work, she needs 3 Insanity Mints from the Tephra Cave. Unless you’ve progressed a little past the initial story mentioned above, then the only way to get these is by finding them inside of the cave. With the quest active, you should be able to spot them on the map, so gather them and return to Paola, then to Giorgio to finish the quest and obtain an Ether Def Up II Gem.
Flattened Flowers
After the Mechon attack, you will find an upset Françoise tending to her trampled flower garden in Tranquil Square within the Residential District of Colony 9. She will ask you to collect 5 Dawn Hydrangeas to cheer her up. You can find the Dawn Hydrangeas across Colony 9. Return to her once you have collected the flowers to complete the quest.
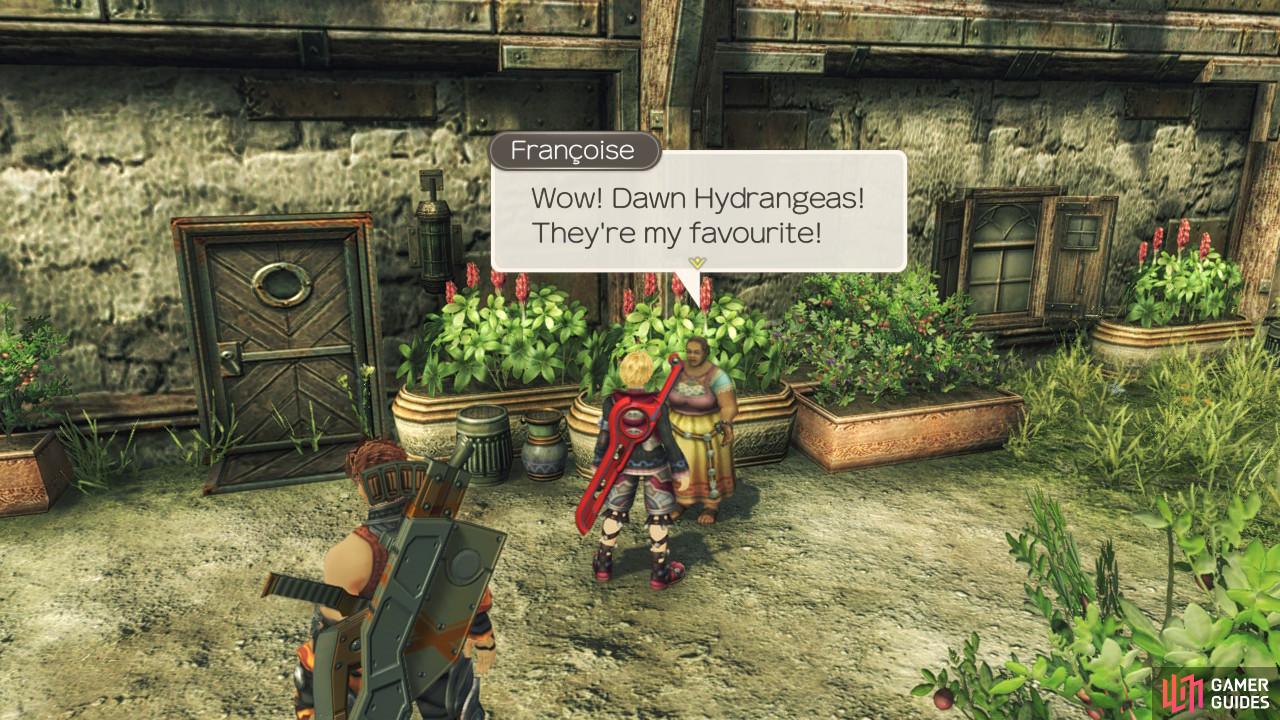
The Dawn Hydrangeas cheered Françoise up!
After completing Flattened Flowers, speaking to Arnaut will reveal that he and Françoise are married. He will ask you how she is, and you will have two options to choose from, both impacting the Affinity Chart in different ways.
-
“You should ask her yourself “ will result in their affinity link changing from Together/Apart to Happily Married, after Arnaut has spoken to Françoise.
-
“She’s doing fine “ will result in their affinity link changing from Together/Apart to Near Divorce, after Arnaut has spoken to Françoise.
Education-Crazy Suzanna
You’ll find Suzanna back at the Residential District during the day and she tells you that the Black Nectar worked for a little while, but that now Moritz just eats sweets instead of studying. She asks you to fetch 2 pieces of Heavy Bunniv Iron from Tephra Cave for “weight lifting”. Heavy Bunniv Iron pieces can be obtained by defeating Iron Bunniv or the Mining Patrichev Unique Monster. After collecting the items, return to Suzanna where she will reveal her crazy plan to tie her son down with weights to make him study. She truly is “education-crazy”.
Paola and Narine
Although you can accept this Quest from Narine over at Tranquil Square, as you may expect from the reward (20,000 EXP), it’s not one you can complete for a long time. You’ll need to boost the Affinity between Shulk and Reyn to even get the ball rolling so accept it and forget about it for now.
Mementos of a Lost Son
This is another Quest for later but you’ll want to pick it up now by visiting Cheryl during the day at the upper level of Ether Light near the Gem Man’s Stall. She’ll ask you to find three items that remind her of her son and you’ll find them in three different locations, starting with your next destination, Tephra Cave.
Liliana’s Sincere Request
You’ll find Liliana outside of Dunban’s House during the day and she asks you to retrieve something from the back of the cave at Agora Shore. The difficult task here however is the Lv 40 Gentle Rodriguez guarding the item. You can either wait until later when you’re strong enough to defeat it or you can attempt to Aggro it, run away and then as it makes its way back, dash in and nab the item. Don’t run too far or it will disappear and reappear in it’s starting location, instead wait for it to make it’s way back where it will face the item, head up behind it and when it turns back to face it’s default direction, you’ll find yourself behind it and able to snatch the goods. Return this to Sonia and then speak to Liliana to complete the Quest.

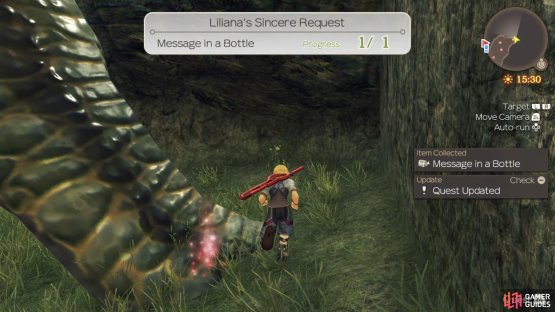
(1 of 2) Run behind the Unique Monster after it returns from Aggro
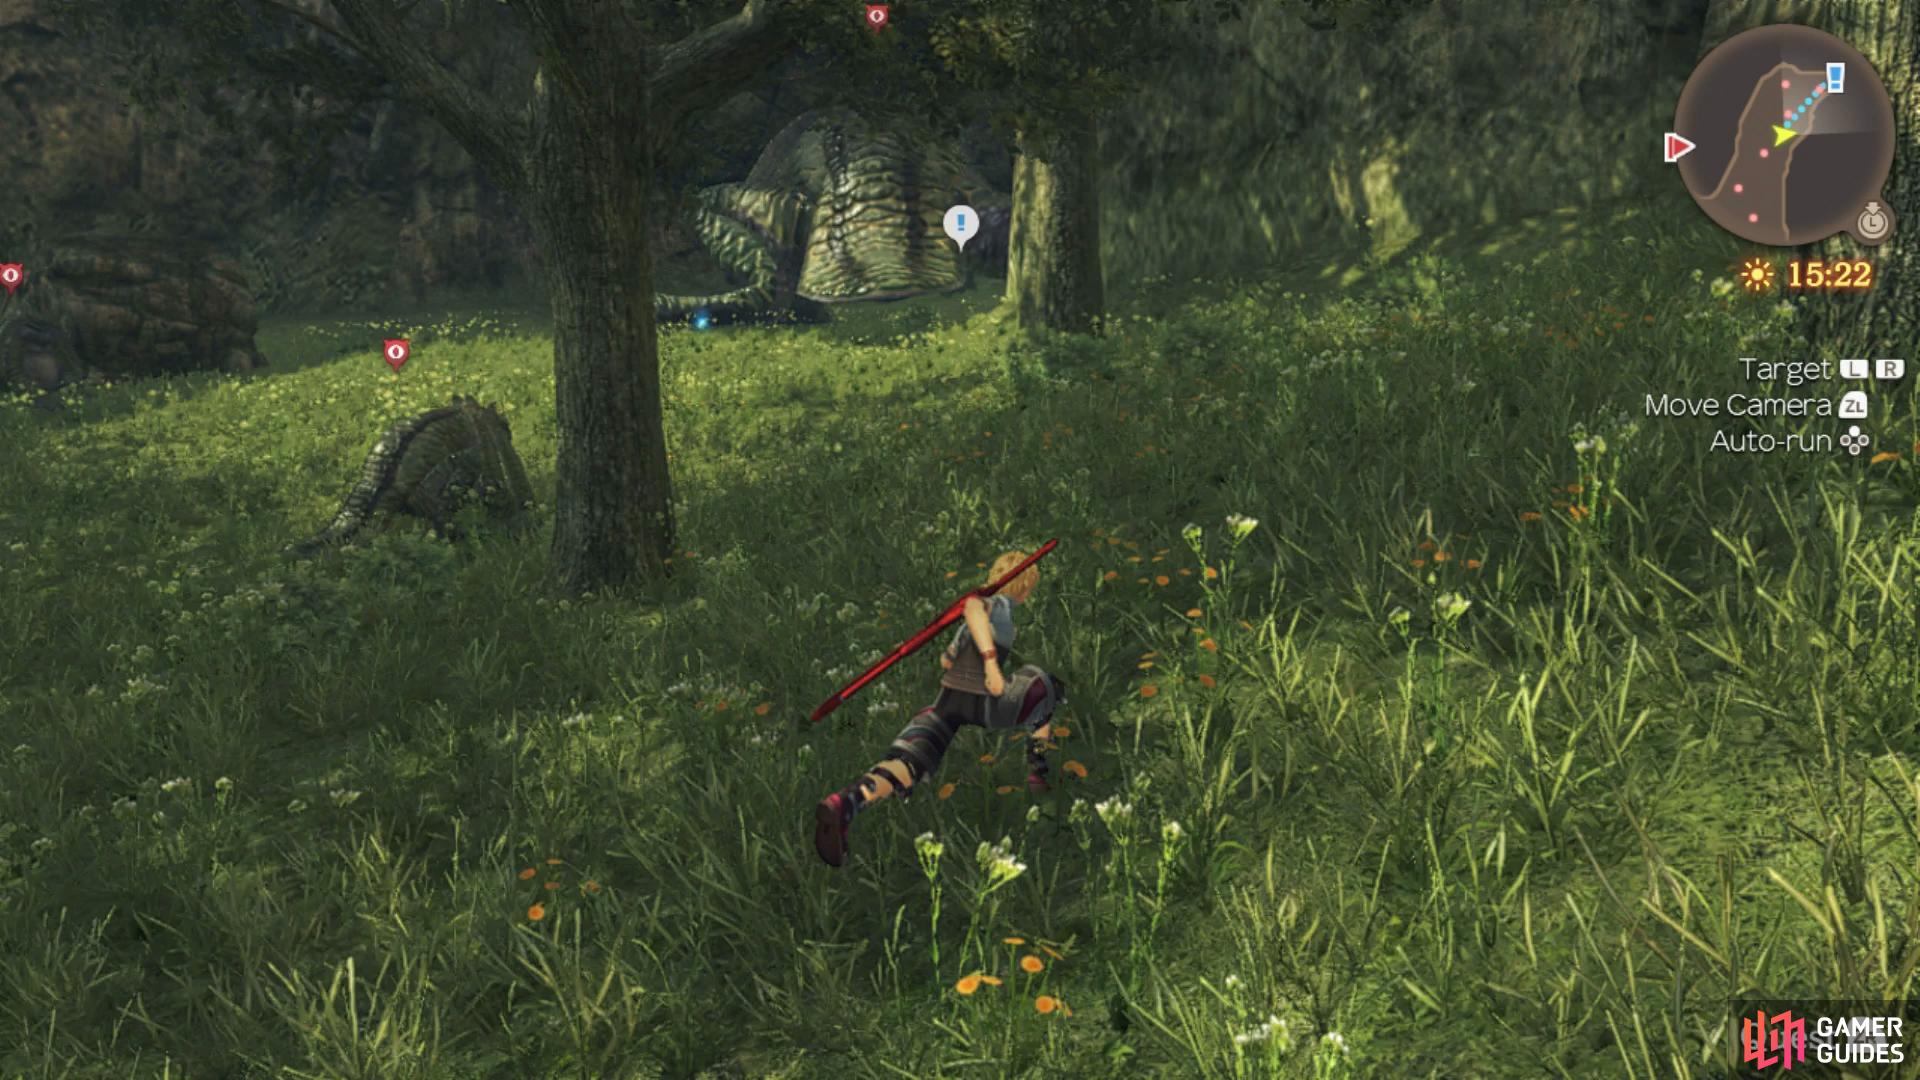
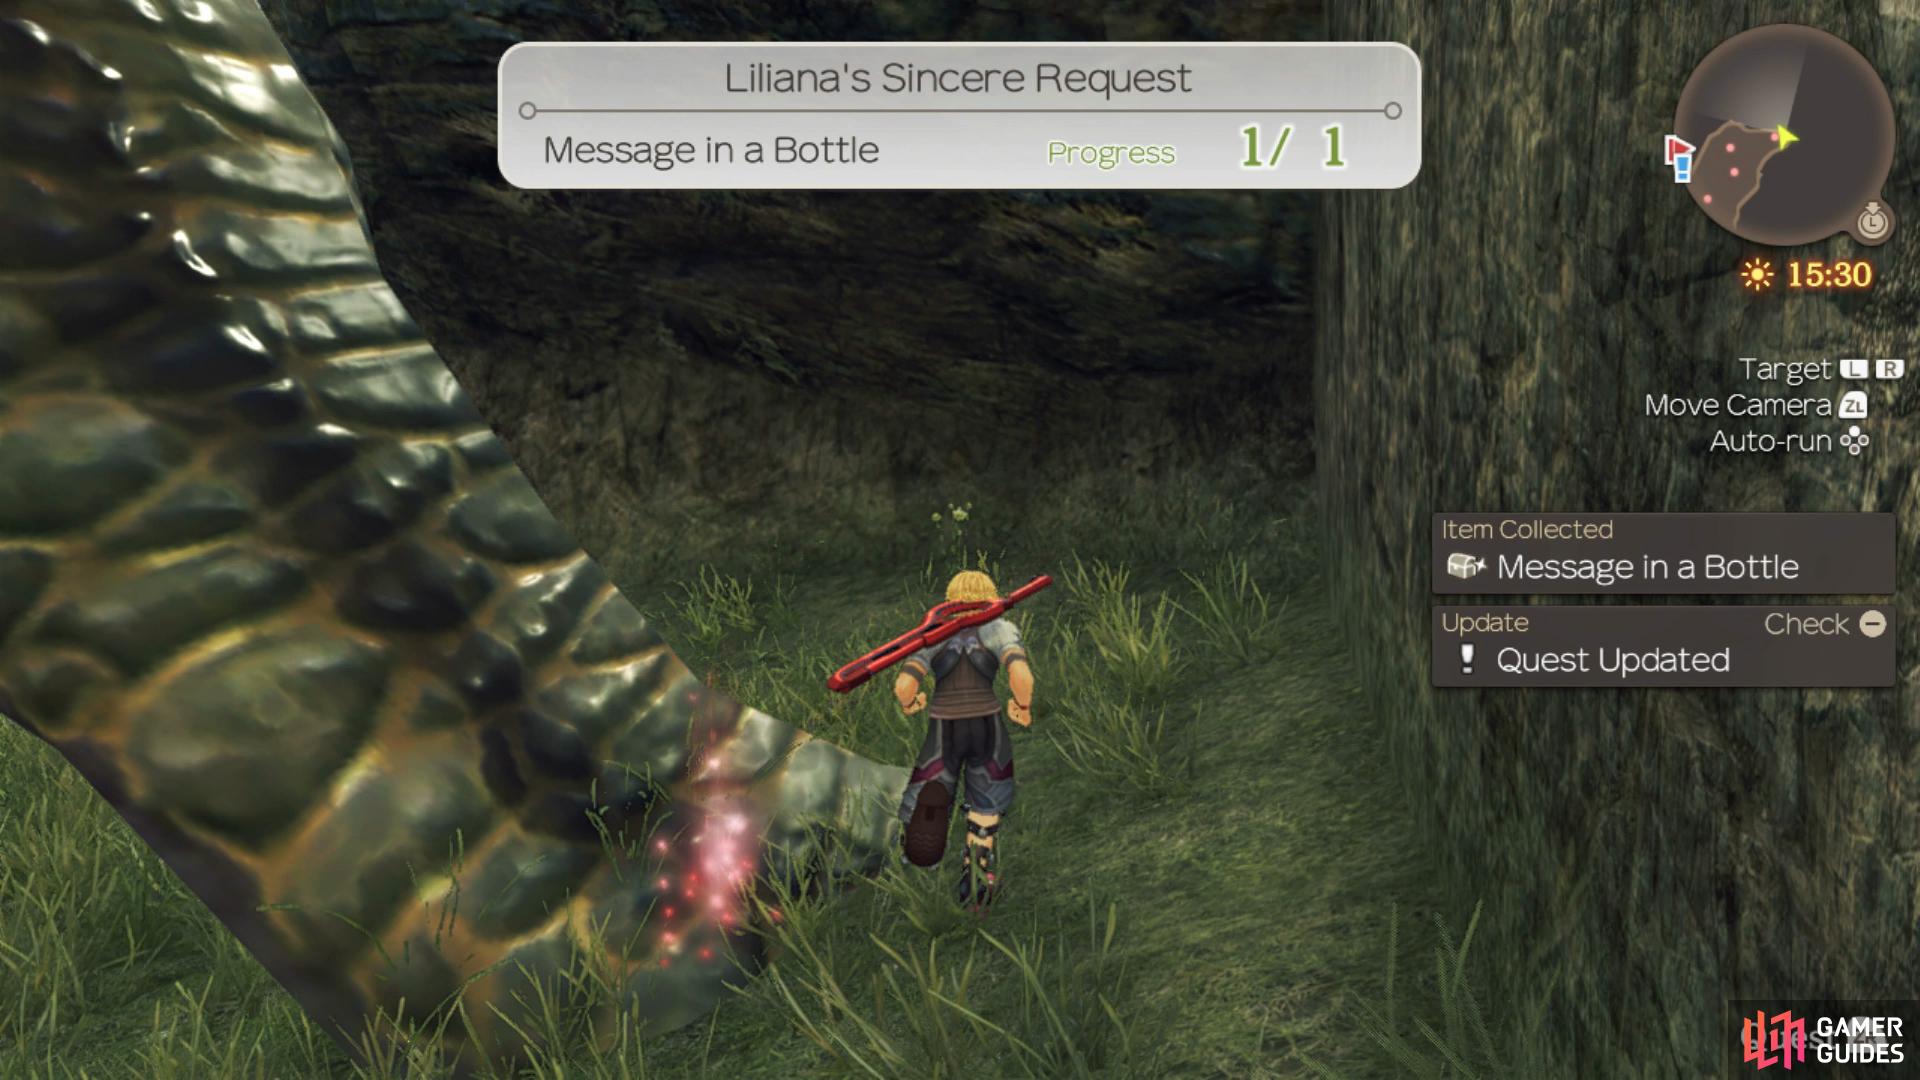
Run behind the Unique Monster after it returns from Aggro (left), then when it turns around, you’ll find yourself behind it and able to snag the item. (right)
An Impoverished Critic
You will find Leopold near the Ether Light in the Commercial District of Colony 9. When you talk to him, he will tell you of his huge, unpayable debt to local Loan Shark, King Squeeze. Shulk will then have a vision of the future, where you will see King Squeeze threatening Leopold. You agree to help him and confront King Squeeze. He can be found from 21:00 to 06:00 in the Commercial District. Speaking to King Squeeze will trigger another vision, where you see him and Sylviane working together to increase Leopold’s money.
Financial Planning
After approaching King Squeeze regarding Leopold’s debt, you discover that Sylviene has been working with King Squeeze to increase Leopold’s debt by spending all of his money. This quest branches into two separate conclusions depending on whether you talk to Leopold or Sylviane.
-
Talk to Leopold: You tell Leopold about Sylviane’s plan with King Squeeze. Leopold decides he wants to frame King Squeeze by placing poison in his pockets in order to ruin his business. He asks you to retrieve 5 lots of Caterpile Poison. You can find these by defeating Caterpiles in Tephra Cave or by trading with Françoise at 1✰. After you have collected the poison, you need to talk to King Squeeze and slip the poison into his pockets. To complete this quest and An Impoverished Critic, you will need to return to Leopold to tell him you were successful in planting the Caterpile Poison. Taking this route will reward you the Ranger Boots.
-
Talk to Sylviane: When you tell Sylviane you know of her and King Squeeze’s plan, she says that she no longer wants to be a part of King Squeeze’s schemes. Instead, she tells you to look for the Top Secret Orders document that she disposed of in order to threaten King Squeeze with it. When you find the orders and confront King Squeeze, he will vow to back off from Leopold and stop trying to steal his money through Sylviane. Taking this route will reward you the Quark Boots.
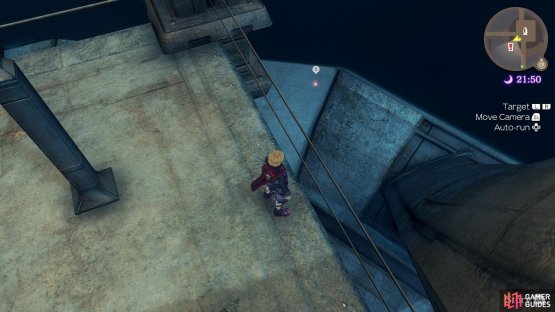

(1 of 2) The location of the Top Secret Orders
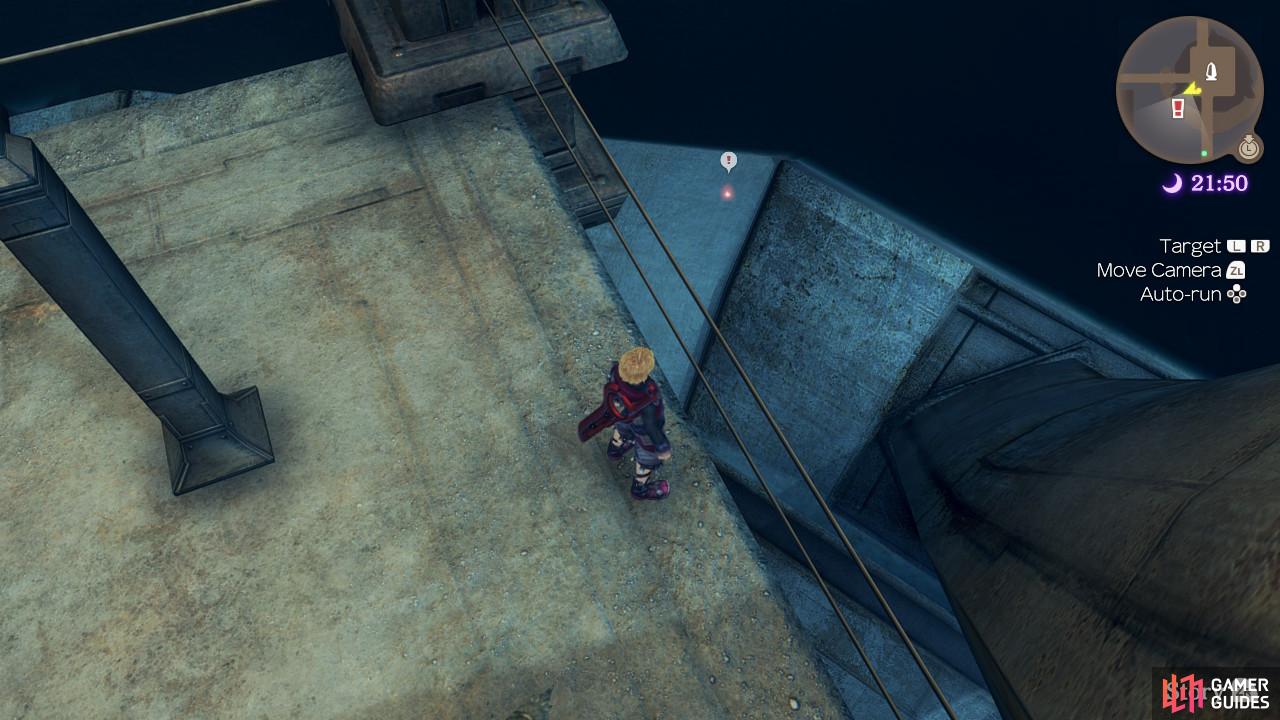

The location of the Top Secret Orders (left), King Squeeze promises to back off from Leopold. (right)
The Plan - Preparation
At night, in the Northern region of the Commercial District of Colony 9 You will find Sesame and a group of his friends planning something shady. You agree to help him because you want to keep an eye on them. He asks you to fetch 2 Croaking Brog Bags from Singing Brogs. These can be found in Tephra Cave, just south of Mag Mell Ruins. Alternatively, you can speak with Nic in Colony 9 and Trade with him for them. Once collected, return to Sesame and he will tell you to speak to Betty. Betty will give you Sealed Package to deliver to Sesame. Upon delivery, the quest will be completed, however, Sesame will make it clear that this won’t be the last time he asks for your help.
The Plan - The Night Before
Provided your Colony 9 Affinity is high enough, you’ll be able to go ahead and accept this next part of the Quest right away. This time around, Sesame is after 2 Iron Krabble Shells that drop from Colony Krabbles in Colony 9. If you’re having trouble getting them from the enemies, you can always just trade with Mefimefi provided your Affinity is at 2✰ already. Once you turn them in, head to Tranquil Square at 09:00 to speak to Kenny Rohan before returning to Sesame one final time to complete the Quest.
Romantic Notions of a Girl/Boy
These two Quests are related to each other and you’ll only be able to complete one or the other. This merely impacts a relationship on the Affinity Chart and what reward you receive. You’ll find Monica in the Military District after 18:00 while Andreas can be found a little south of her. Both Quests task you with heading to Tephra Cave at night to procure a Tephra Drop, something you’ll be doing shortly.
A Young Captain’s Suffering
Make your way to the Fortress Entrance during the day and you’ll find Emmy Leater has a new task for you, heading to Tephra Cave and defeating five Wind Vangs. This is another one you’ll get to shortly but be sure to pick it up before heading off to Tephra Cave.
Tephra Cave
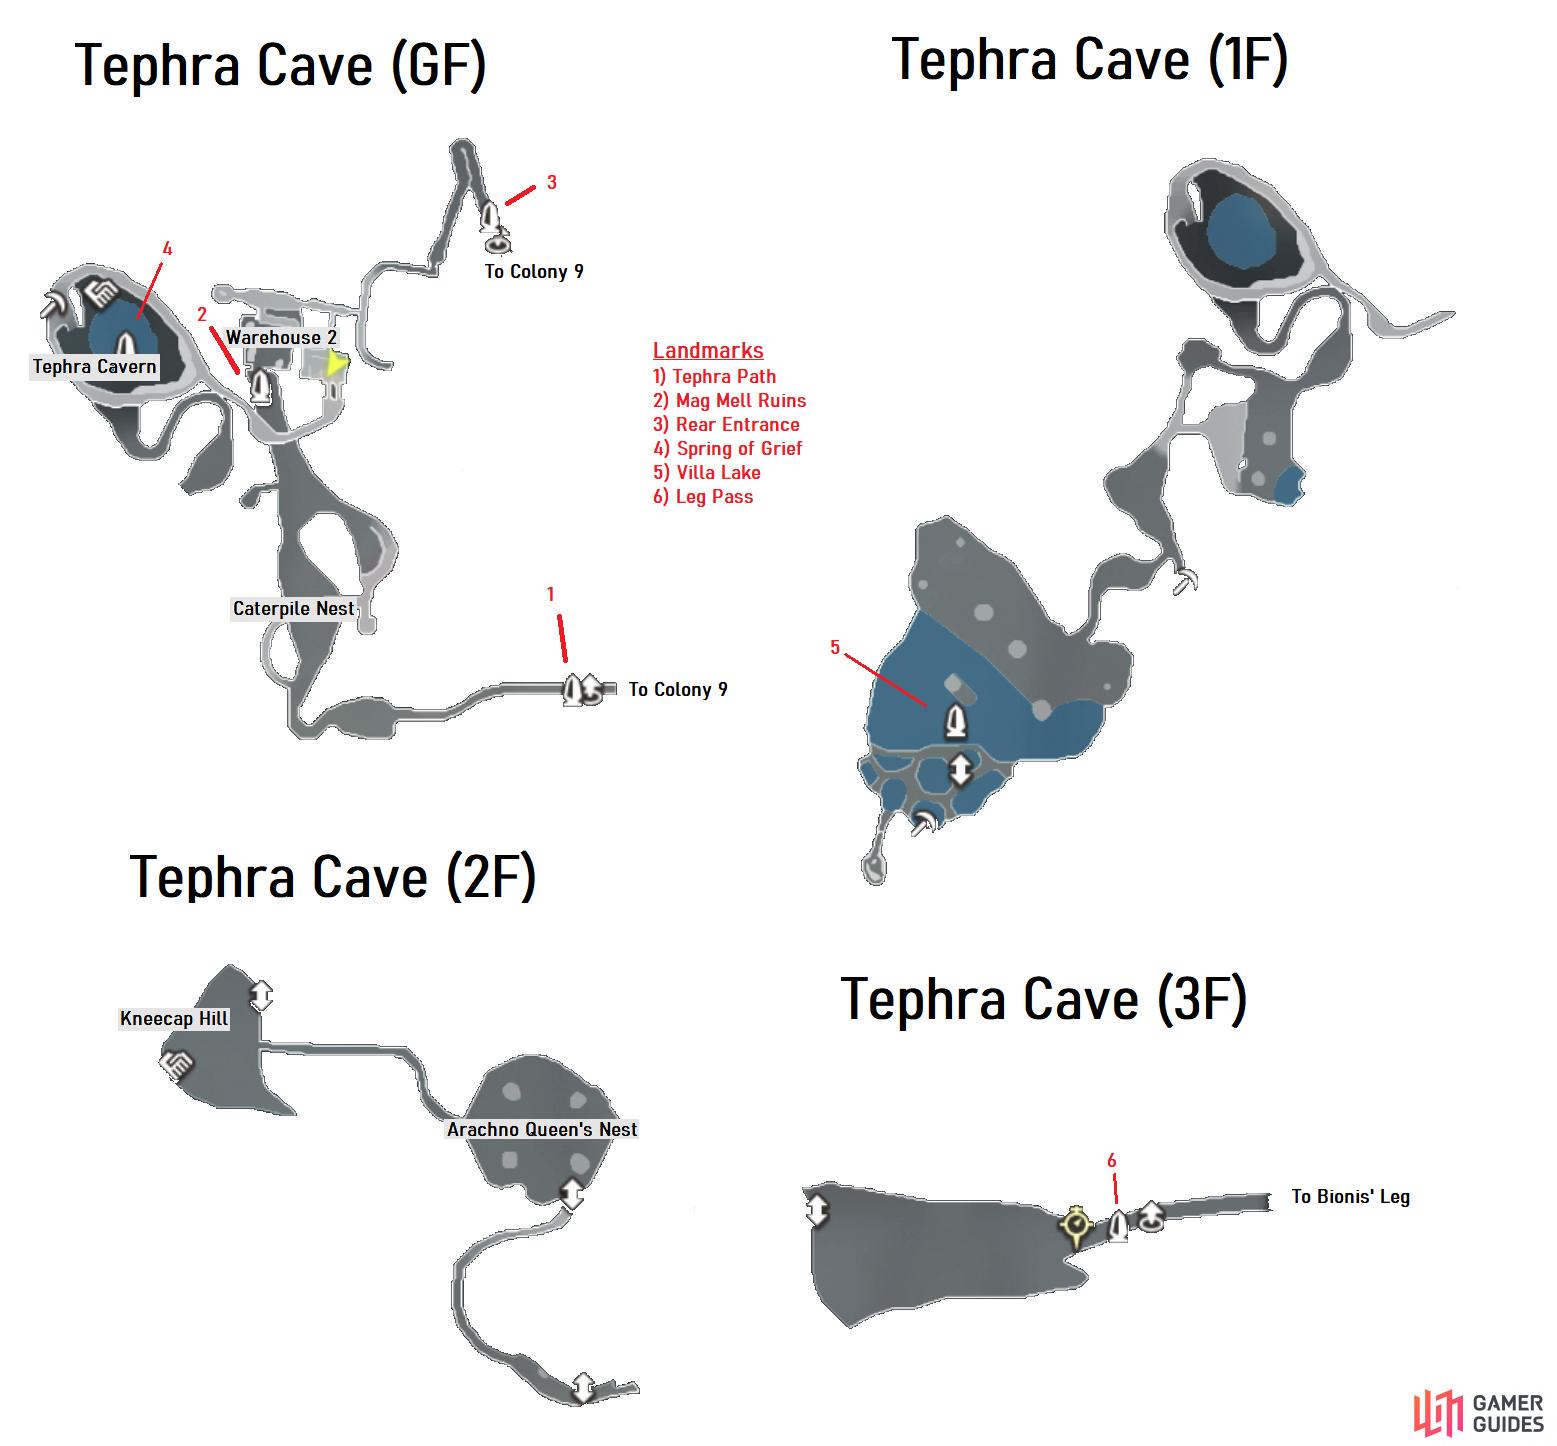
With all of this done for now, consider purchasing the Art Manuals from the Shop here (you only need one and you activate them by visiting the Arts screen). Access Skip Travel and make your way to Mag Mell Ruins in Tephra Cave to find two more Quests you can pick up and work on starting with the Defence Force Soldier up the ramp and to the west. Speak to him to obtain the [Missing in Action] and [Arachno Silk Fundraising] Quests and then make your way to the east to trigger another cutscene. Head through to the Escape Pod Bay and you’ll find another Soldier who will hand you [Collection Quest 1 and 2] and [Material Quest 1 and 2]. Finally, once you complete the relatively simple Missing In action, you’ll be able to accept [The Lost Pendant].
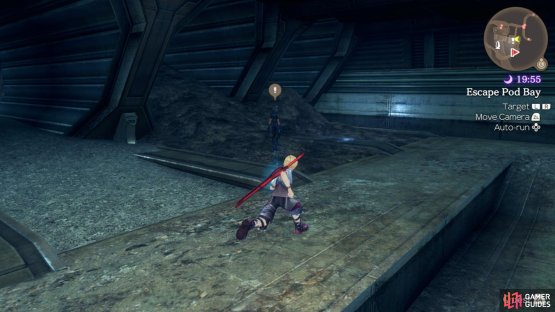
(1 of 2) You’ll find a whole new batch of Quests to accept in the Escape Pod Bay


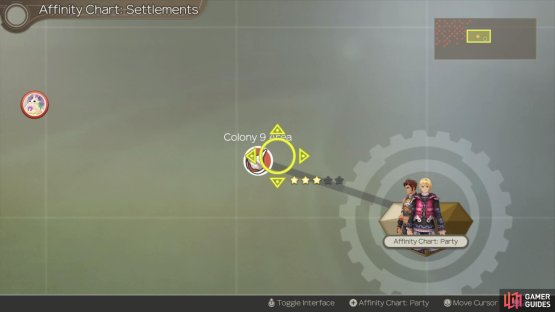
You’ll find a whole new batch of Quests to accept in the Escape Pod Bay (left), this should easily push your Colony 9 Rank to 3. (right)
Tephra Cave is a short area but there are Quests to finish while you’re here and you’ll need to pass through the cavern to get closer to Colony 6. Resume your trek from the Escape Pod Bay and head south, following the winding path to the west until you reach Tephra Cavern. You’ll find the Wind Vangs needed for Emmy Leater’s Quest along with a Lv 10 Unique Monster, Solid Konev.
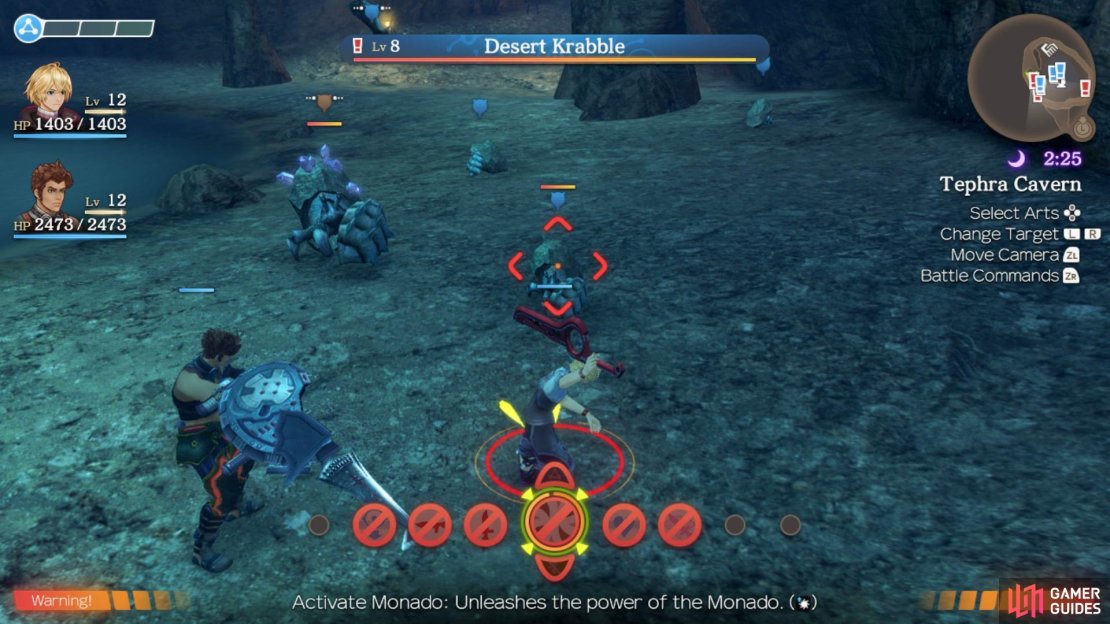
Take the path down to the bottom of the lake, unlocking Spring of Grief and you’ll chance upon some crystals, interact with these to harvest them, you’ll be able to use these in Gem Crafting. You’ll find some Desert Krabbles near the Unique Monster so lure them toward you and fight them one at a time before taking on Solid Konev. Pay special attention to Ether Break II, this will knockdown your party and cause Daze, as soon as Shulk recovers be sure to encourage Reyn and keep his HP up as much as possible. Take the time to kill the Krabbles around here, you’ll need them for the Pincers for a Material Quest you picked up a moment ago. Finally, you’ll also find a Noble Brog down here, needed for the other Material Quest.
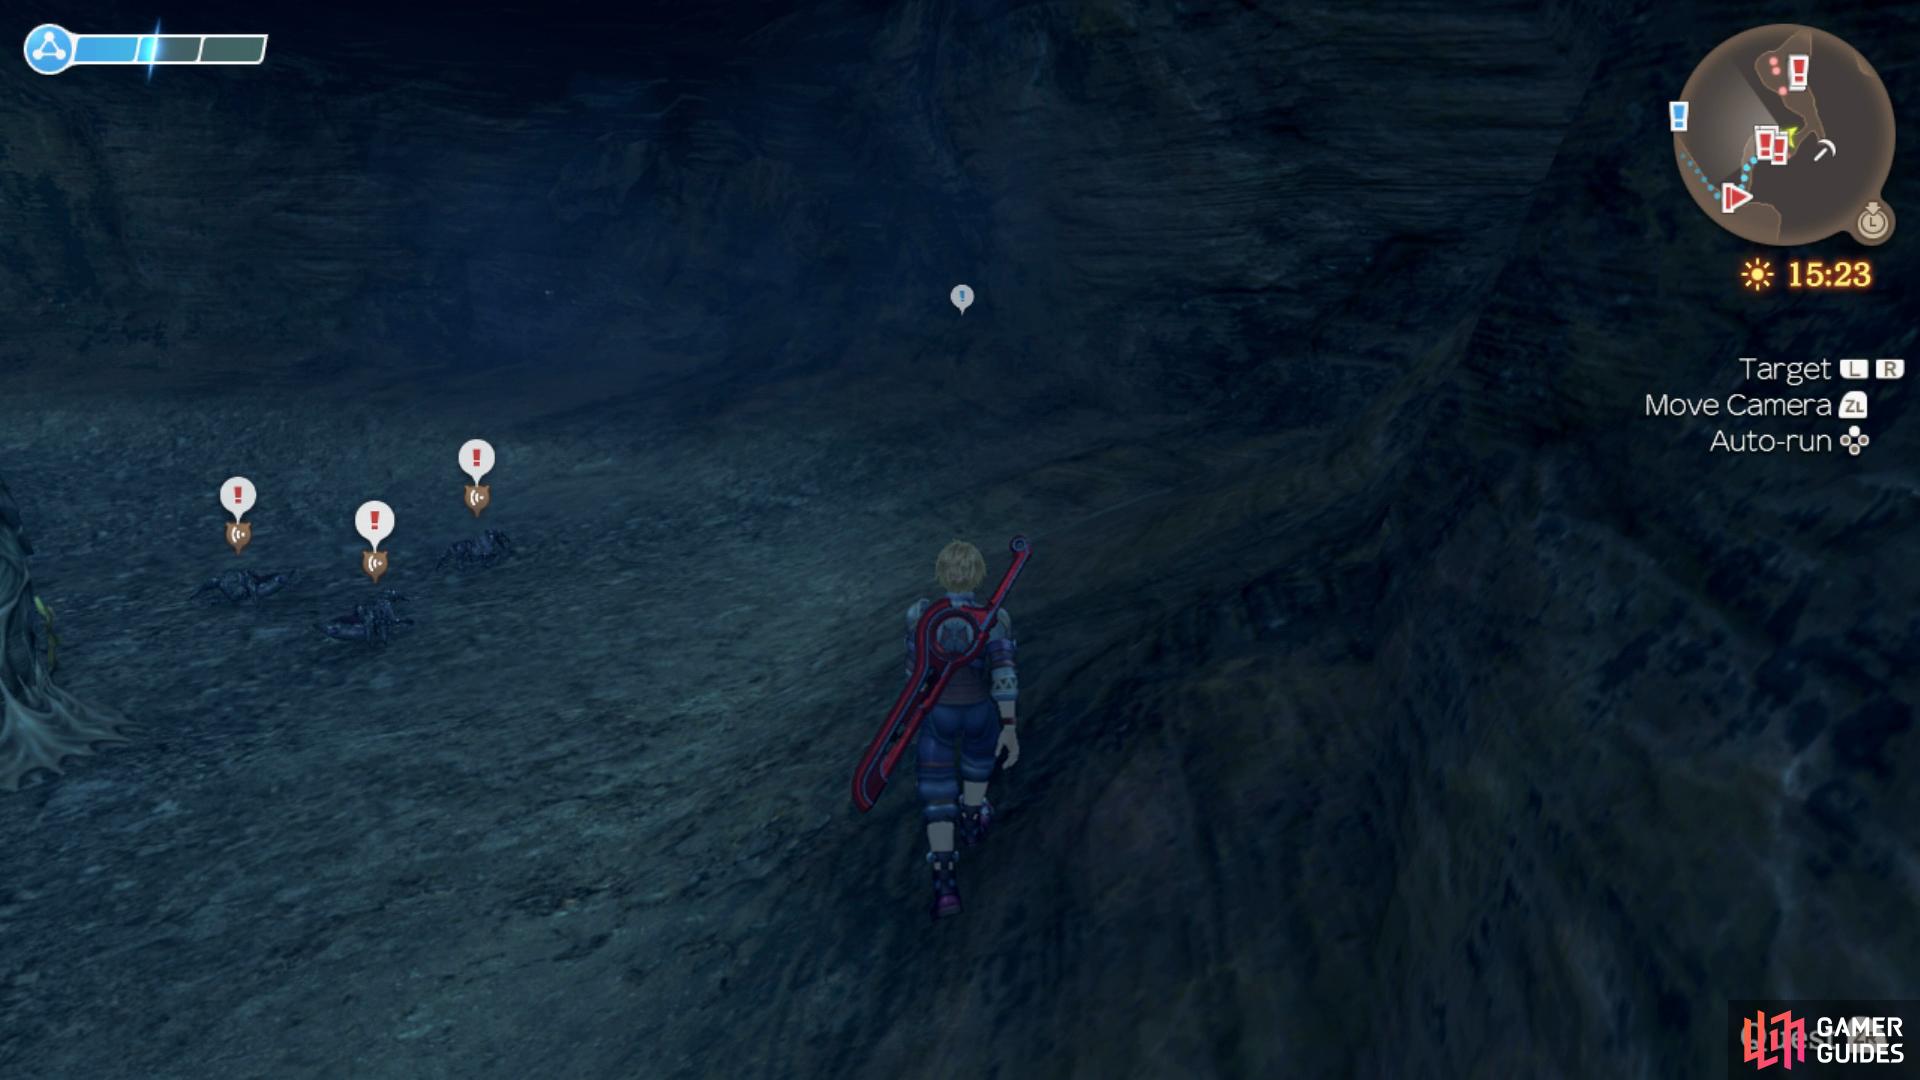
Before leaving the Spring, check out the Heart-to-Heart on the north side, you don’t have the necessary characters for now but it’s useful to register it in your list. Also, change the time to night and you’ll find the Tephra Drop that both Andreas and Monica were looking for. When you’re ready, take the southern exit from the Spring and you’ll start encountering Arachnos, these will drop the Silks needed for another Quest and you may notice a new icon above their heads, this indicates that they will Aggro based on sound. Take the time to defeat them and then continue on to trigger some scenes.


(1 of 3) You’ll find Krabbles, Wind Vangs and Noble Brogs needed for Quests at the Spring
Arachno Attack
When you awake, you’ll find yourself ambushed by a large group of Arachnos. Despite the overwhelming numbers, this isn’t a battle to be too concerned with. If you can line your foes up, Monado Buster will hit them all dealing massive damage to the group. The Director Arachnos have slightly more HP than the smaller ones but other than that, they’re nothing but a minor nuisance.
Once you regain control following the scene, you’ll find more Wind Vangs and Arachnos needed for your Quests, take them out and then before you continue on, Skip Travel back to the Mag Mell Ruins Landmark and head to the Escape Pod Bay to pick up the [Clearing Obstructions] Quest, this involves killing Arachnos in the Villa Lake area while you’ll find the final Quest you can accept here for now to the west of the ramp at Mag Mell Ruins, speak to the Soldier to begin [A Thank You]. With those new Quests accepted, make your way back to where you fought the Arachnos and take the northern path to find Tatty Armour, the first item needed for the Mementos of a Lost Son Quest.
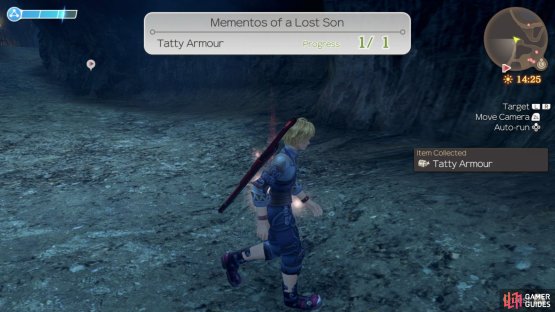

(1 of 2) Be sure to grab the Tatty Armour while you’re here
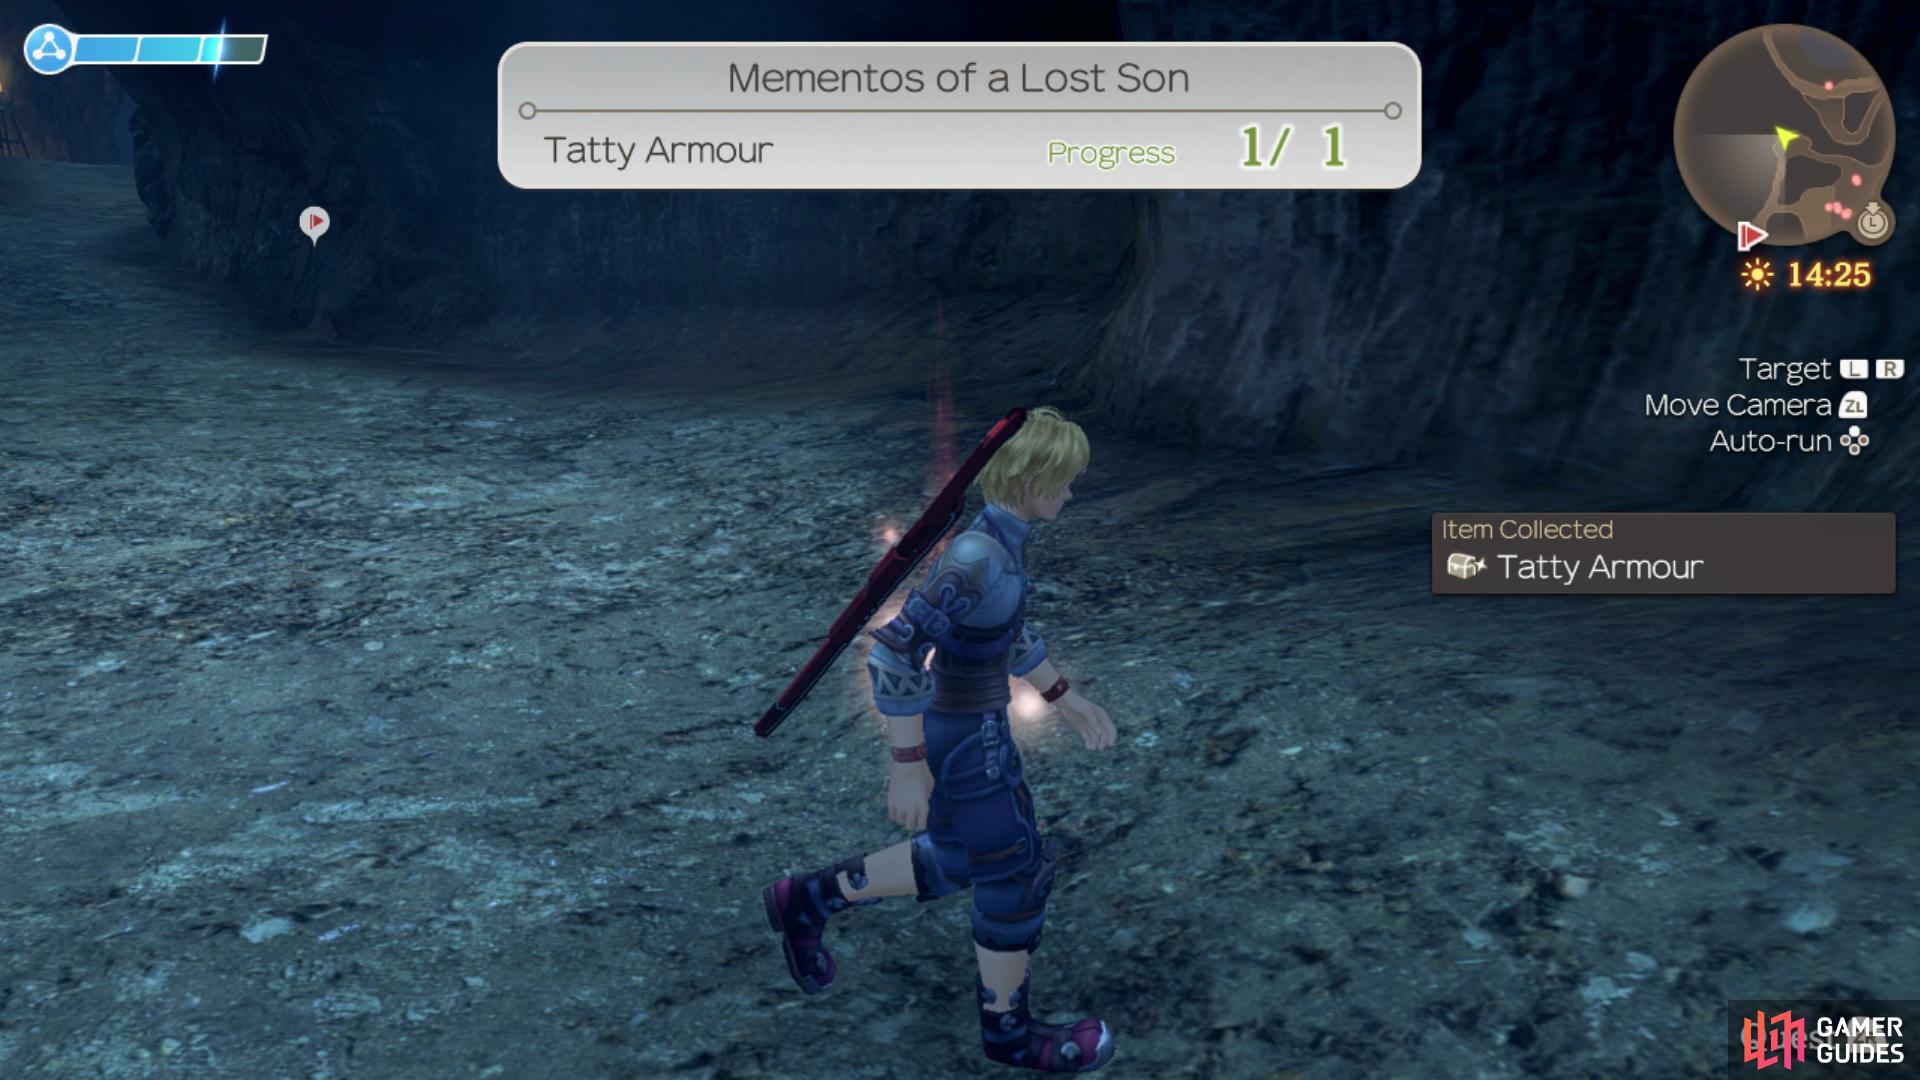
Be sure to grab the Tatty Armour while you’re here (left), walk when alone with Shulk to avoid attracting the attention of the Arachnos. (right)
Head south to the Story Marker and you’ll trigger a cutscene and you’ll receive a tutorial on Aggro via Sound. When you regain control, walk slowly past the Arachnos and eggs, if you walk slow enough, you’ll avoid Aggro which is something that is welcome when Shulk is alone. After triggering the next scene, another tutorial will deal with climbing walls, something you can make use of them whenever you see an up/down arrow. Dash forward, unlocking the Villa Lake Landmark in the process and make your way to the vines, you can explore it later when you have Reyn back. When you reach the higher level, you’ll be able to reach where Reyn ran off too but be sure to Save your game just before.
Boss: Arachno Queen
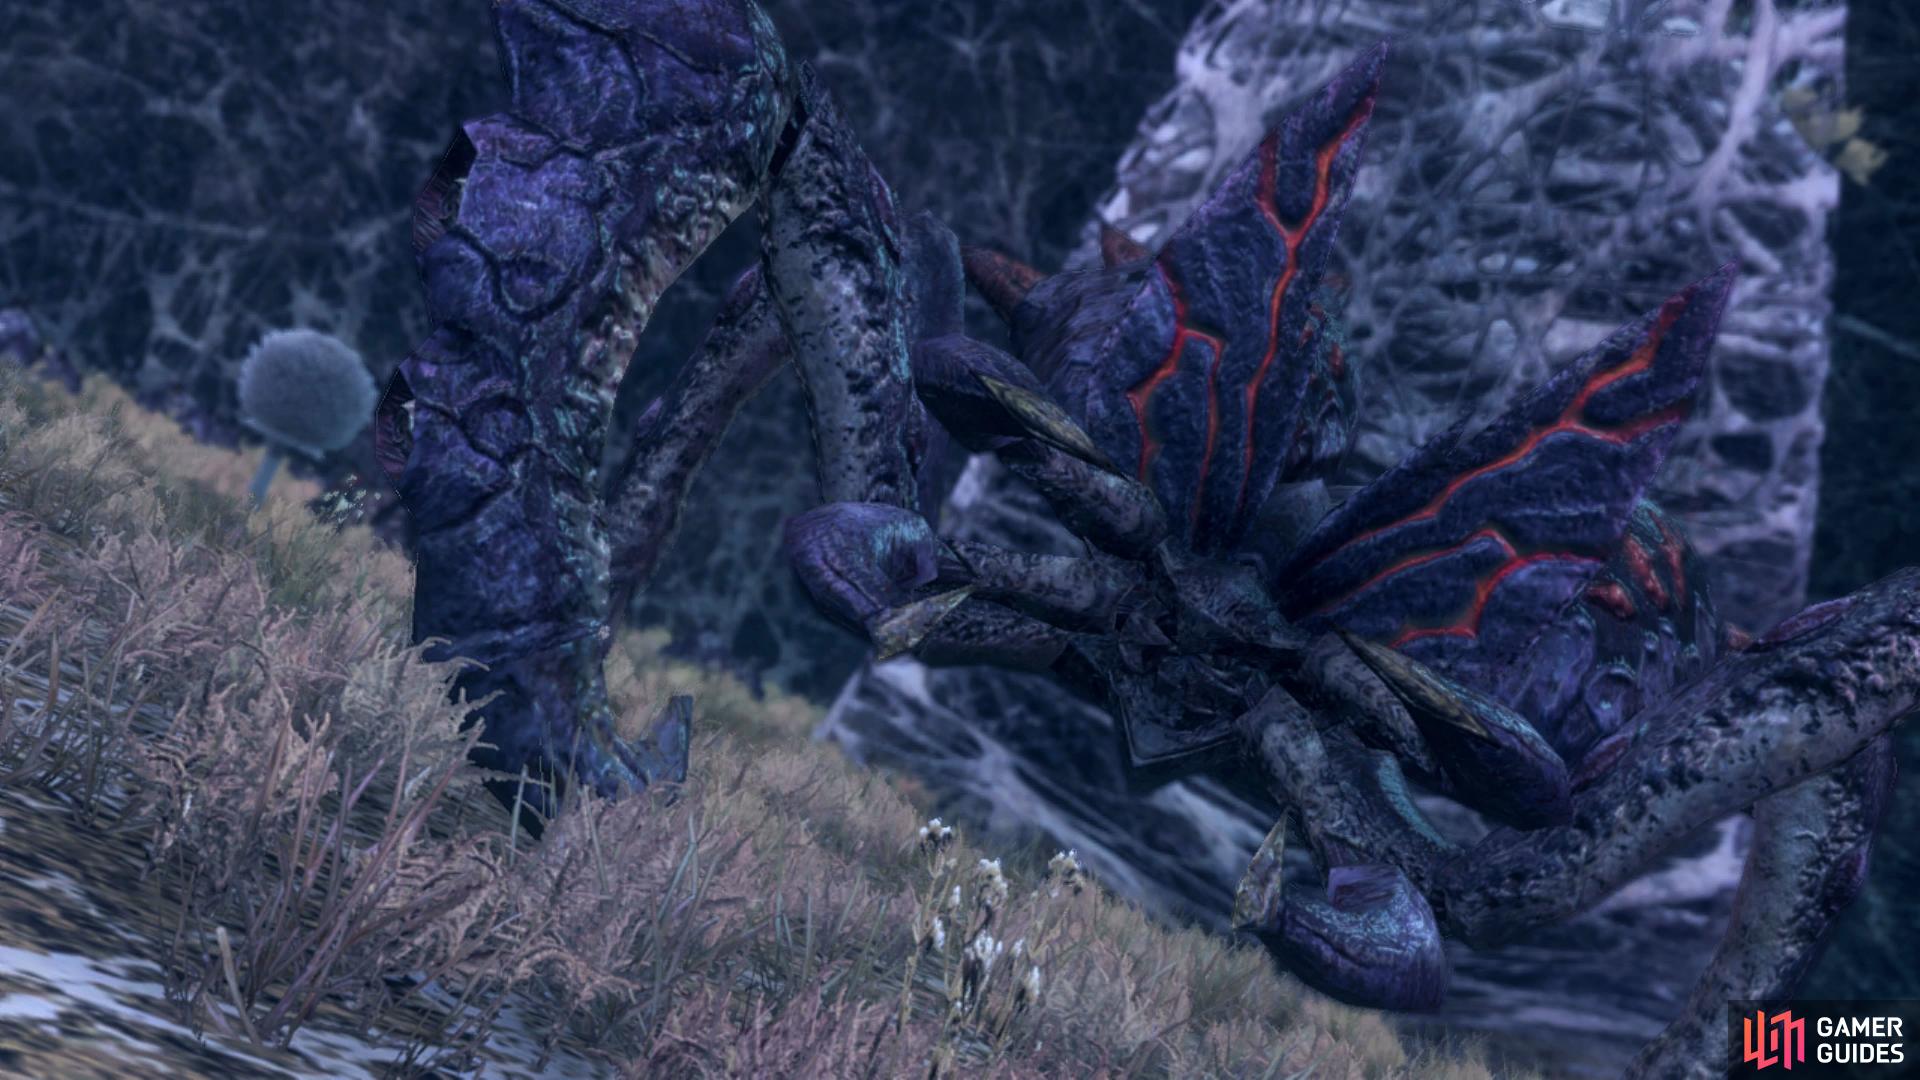
| Enemy | Level | Detection |
|---|---|---|
| Arachno Queen | 12 | Sight |
| Arachno Pod | 7 | Sound |
| Soldier Arachno | 7 | Sound |
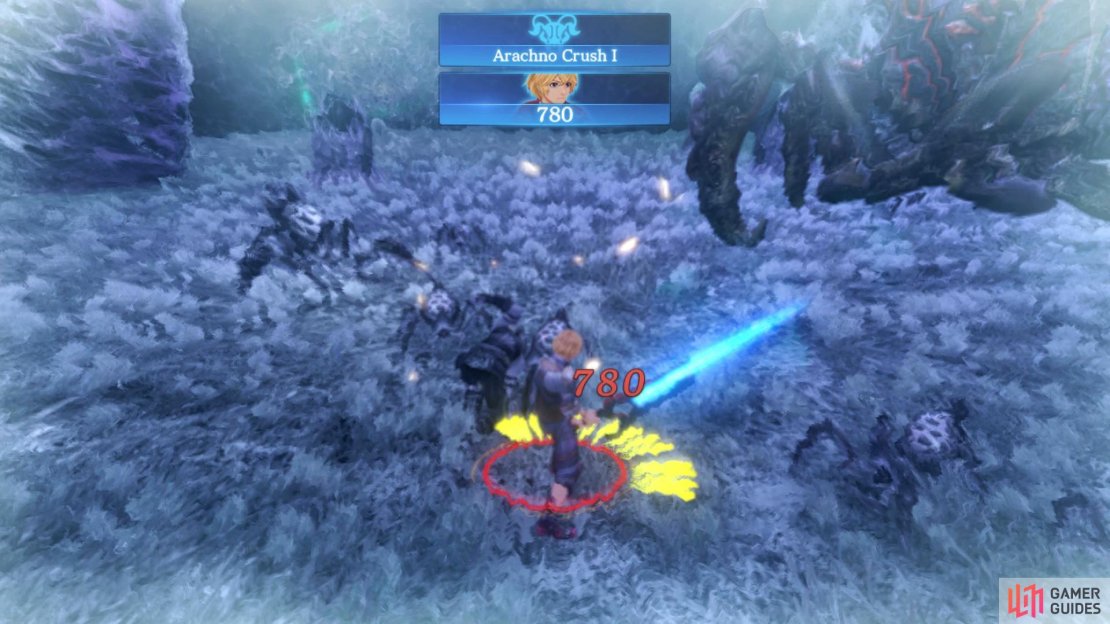
This is your first real test as far as Xenoblade’s combat system goes and you’ll be introduced to your next Monado Art, Monado Shield. This will allow you to block the next enemy Talent Art (shown with White writing in the Target Window) so long as the level of the Art is at least equal to the Talent being used. In the case of the Arachno Queen, this is the Arachno Crush I Art which is shown in a vision first. Whenever this occurs, be sure to activate Monado Shield on the target.
The Arachno Queen will be surrounded by countless Pods that will burst into more Soldier Arachnos, Arts such as Monado Buster and Stream Edge are useful here to hit more than one at a time but remember to have Reyn (or Shulk) focus on the same target. On top of this, the Arachno Queen has plenty of nasty attacks herself that she can use on you, they are as follows:
-
Binding Web - A frontal based status attack that will inflict Bind on anyone caught in it, have the other party member encourage the other to remove.
-
Lay Tribute - Will recover the Queen’s HP and increase her Talent Gauge.
-
Queen’s Order - Will cause any active Soldier Arachnos to attack and increase her Talent Gauge.
-
The Queen’s Fury - Strength Up and increase her Talent Gauge.
-
Dive Impact - Area of effect attack around the Queen dealing high damage and Topple to the targets.


As you can see from her Arts, the main concern is blocking Arachno Crush I with Monado Shield as most of her Arts will increase her Talent Gauge allowing her to use it. Chain Attacks are useful but seeing as there’s only you and Reyn in the battle, the gauge is better saved for emergency revives or status heals. Instead, make use of Shulk’s positionals and always use Shadow Eye before Back Slash to increase the damage. You’ll need to save Shulk’s Talent Gauge for uses of Monado Shield where possible.
You’ll also learn about Visions in general in this battle, outside of the already mentioned Talent Arts, you can press the [B] button to warn the target (at the cost of 1 block of the party gauge) and cause them to use an Art on the target, hopefully changing the outcome. Keep the pressure on Arachno Queen and try to avoid being caught up in all of the smaller Arachnos and the Queen will eventually fall.
Watch the scene that follows and then opt to head back instead of continuing on to properly explore Villa Lake now that Reyn is back. You’ll be given another tutorial on how Monado Shield works and you’ll be informed that Skill Links are now available. Based on the Affinity between your party members, you’ll be able to put those Affinity Coins to use and borrow some skills from your other character’s Skill Trees. Although you don’t have much to work with for now, go ahead and link some Skills before continuing on.
In the center of the lake, you’ll find Gluttonous Eugen, a Lv 11 Unique Monster you should have no problem with if you’ve already defeated the Arachno Queen. After defeating it, look in the northwest corner to find the Lost Pendant needed for the Soldier at the Cylinder Hangar. This should leave you just the other Arachno types you need to defeat so leave Villa Lake via the north and you’ll find the other type of Arachnos to put down.
Colony 9 Quest Round Up
With everything cleared up in Tephra Cave and a Landmark in Villa Lake you can easily return to, it’s time to turn in all of these Quests you should have finished (if not, now is the time to finish them). Start by returning to the Cylinder Hangar in Colony 9 to hand over the Lost Pendant. Next, return to the Tephra Drop to either Monica (Soil Gear) or Andreas (Soil Boots). Head on over to Emmy Leater to inform her you’ve taken care of the Wind Vangs and you’ll be able to pick up the next Quest in this line, A Young Captain’s Rise. Finally, you’ll be able to accept The Plan - Execution from Sesame at 18:00 near the Gem Man’s Stall, this one will have to wait for now as the Monster you need to kill’s Level is far too high.
A Young Captain’s Rise
Upon completing A Young Captain’s Suffering, Emmy Leater has asked you to help her out again. This time she wants you to kill an unknown monster at the Spring of Grief in Tephra Cave. The unknown monster will be either be a Lurker Krabble or a Lurker Brog, both of which are quest-exclusive monsters and do not respawn like Unique Monsters. Return to Emmy Leater to complete the quest.
You’ve accomplished all you can in Colony 9 and Tephra Cave for now so return back to Villa Lake and make your way back to Arachno Queen’s Nest and head west to find some webbing blocking the way. Examine it to remove it and then follow the path to trigger a cutscene and end the chapter.
No Comments