


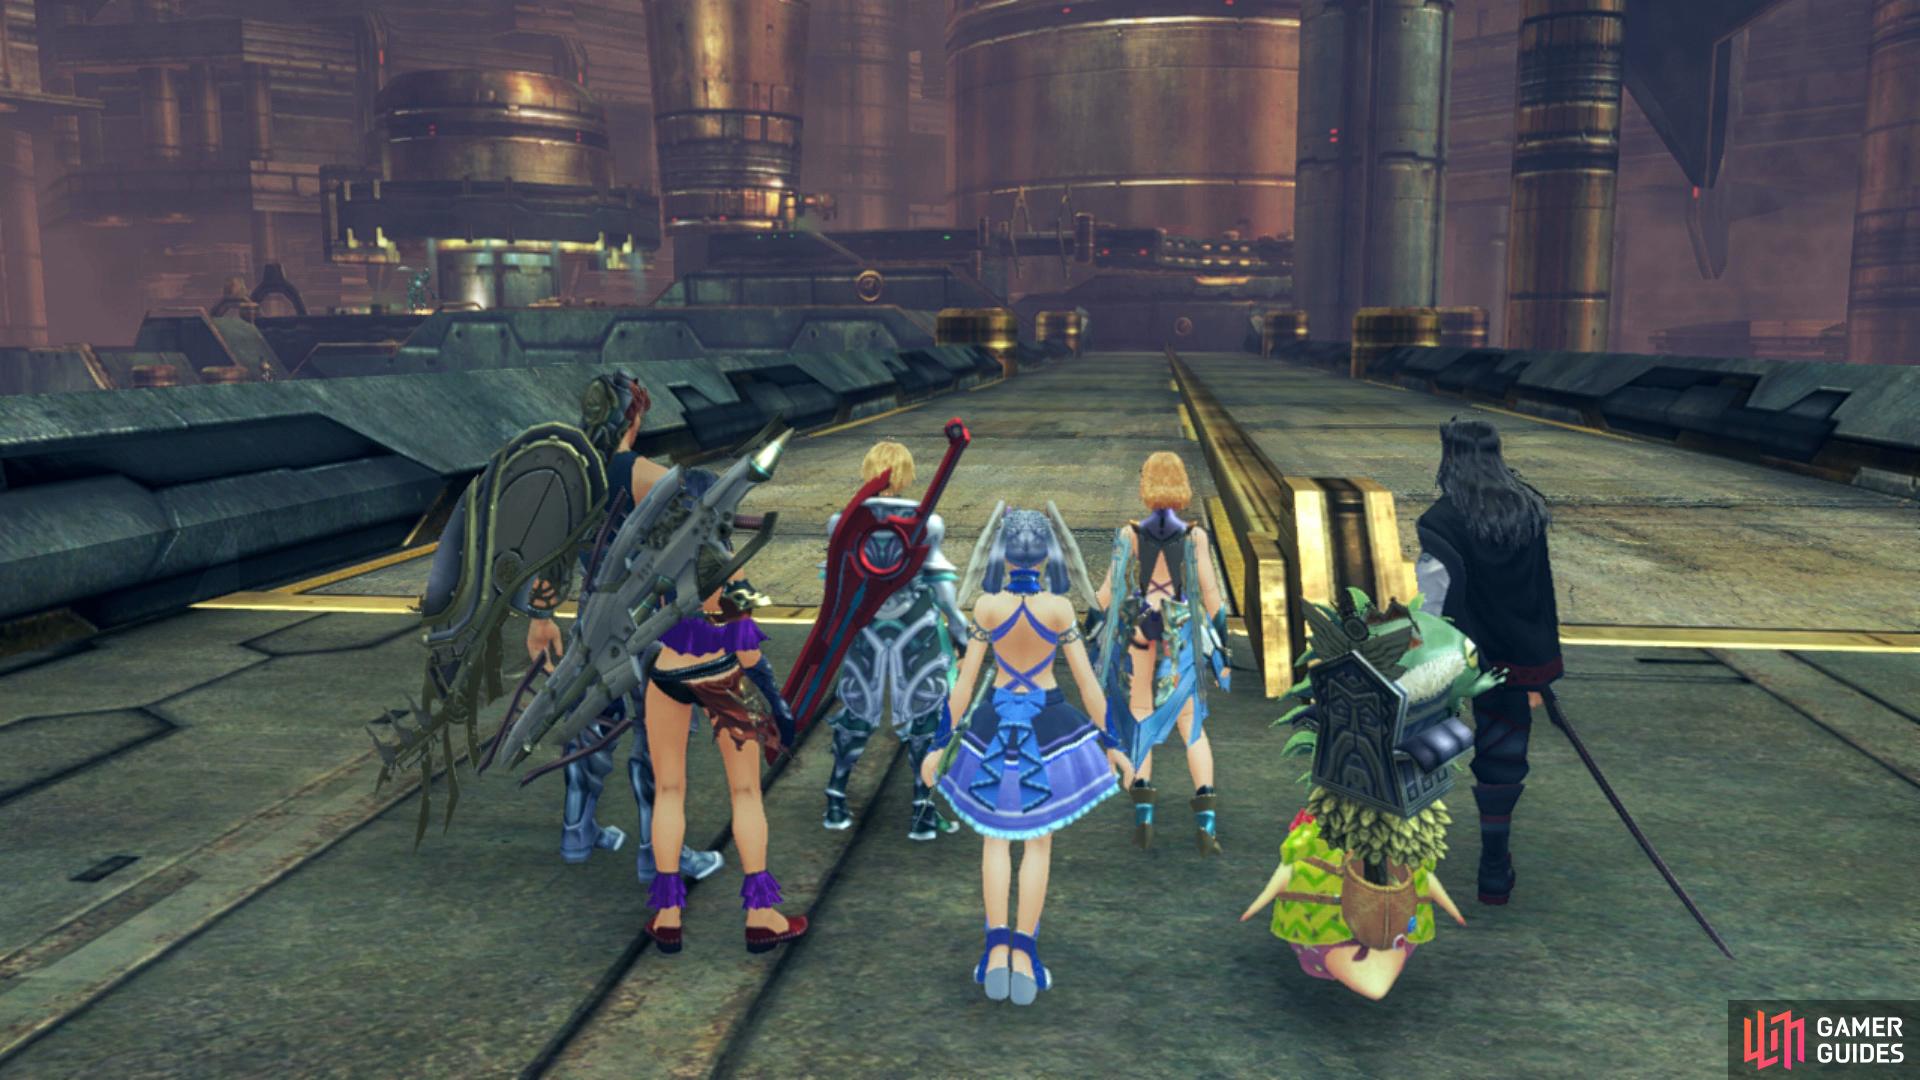
Inside the Mechonis
A large walkway stretches in front of the party as you make your way along to trigger a scene and enter Mechonis Field. Once you regain control, you’ll have access to a large part of Mechonis Field where your next objective lies however, it’s a good time to head back to Bionis to take care of some more Quests that have opened up since your last visit. Begin by heading back to Frontier Village to pick up some more Quests.
Even In the Chief’s Absence
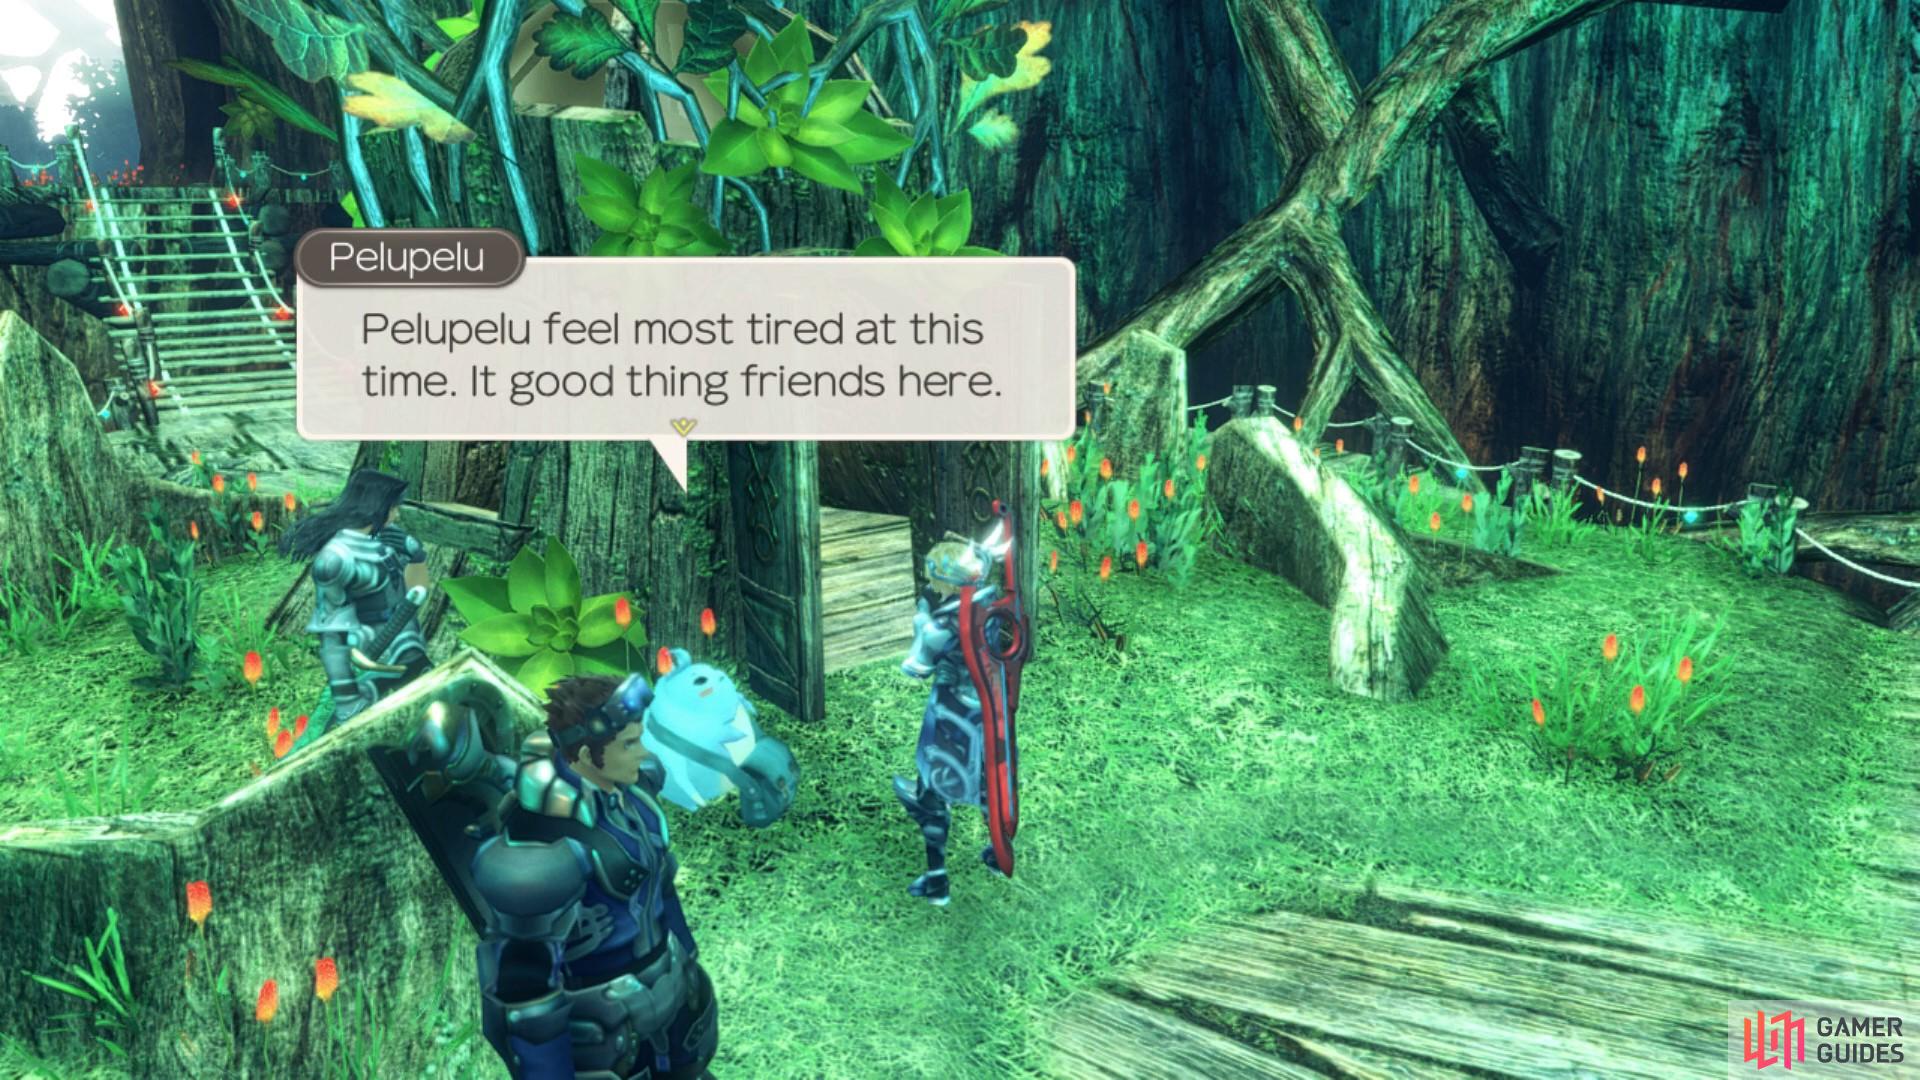
Once you have spoken to Miqol in Hidden Village and have an affinity link established between Miko and Lalapa, you’ll be able to pick this quest up. Miko is covering for the Chief in his absence and has asked you to speak to Pelupelu. Pelupelu is usually located around the Prophecy Hut too, during the same active hours as Miko. However, during this quest, he will be found between 22:00 and 03:00 around Contemplation Terrace.
Once you have spoken to Pelupelu, head back to Miko who will then ask you to fetch 5 pieces of Piranhax Belly Meat. This material can be obtained from Makna Piranhax near the Eks Watering Hole in Makna Forest. It is a rarer drop, however, the enemies will likely be pretty low levelled in comparison to your party, so farming shouldn’t be too tedious. You’ll likely want to fast travel repeatedly to the surrounding landmarks to respawn the enemies to make farming faster. Alternatively, it can be traded for with Hoko at 1✰ in Frontier Village, but if he has moved to Colony 6 then it will no longer be an item in his available trade list. Once you have 5 pieces, take them to Pelupelu. After that, head back to Miko to complete the quest.
Bored Pelupelu
After completing Even in the Chief’s Absence and reaching 2✰ affinity with Frontier Village, you will be able to pick up this quest from Pelupelu. He will ask you to talk to him in the early afternoon, so speak to him between 12:00 and 15:00. Then he will ask you to speak to him between 15:00 and 18:00. After that he will then want you to speak to him between 18:00 and 21:00. And then finally, speak to Pelupelu between 21:00 and 00:00 to complete the quest.
This quest requires that you speak to Pelupelu at different times of the day.
A Gift for Miko
After completing Bored Pelupelu and reaching 3✰ affinity in Frontier Village, you will be able to access this quest from Pelupelu. He will ask you to grab a few different materials to give as a gift to Miko.
| Material | Item Type | Location |
|---|---|---|
| 5 Wisp Glow Sticks | Dropped by Bunker Wisps (night-time) | Main Entrance (Colony 6) |
| 3 Ansel Fish Pies | Dropped by Atomic Ansels | La Luz Church (Valak Mountain) |
| 5 Wet Rats | Collectable | Valak Mountain |
Once you have collected all items, head back to Pelupelu to complete the quest. Finally, before continuing on with Mechonis Field, this is another opportunity to remind you to complete everything in Sword Valley and Galahad Fortress.
Aiming for the Top
Return to the Left Leg Cooling Outlet Landmark and follow the path over the conveyor belt to reach the other side. Continue down to the southwest and on the lower path, you’ll find a wall you can climb down where you’ll find a Memory 925 Piece. Climb back up the wall and follow the path to the west to reach 1st Lift - GF where you’ll find a Call Panel which turns off the lasers. Continue following the path to the north, grabbing the Ether Deposit on the way, and you’ll trigger a scene when you reach the northwest corner.
Once you regain control, you’ll gain a new Story Quest and unlock 2nd Lift - GF. Make your way around to the east now where you’ll unlock the GF Main Power Switch Landmark which will allow you to easily return to this switch. Before activating it, leap off the side to fall to the bottom and then swim over to the center here to unlock 1st Lift - B1F and then warp back to the previous Landmark to activate the switch which will complete the Story Quest and allow you to use the lift to head up to unlock 2nd Lift - 1F and the next Story Quest.
Get the 3rd Lift Moving
On this new floor, start by heading east and then taking the pipe southeast to the other side. As you head south here, look to the east to find a raised platform you can head up where you’ll find a wall leading down on the other side. Head down this and follow the outer walkway around to an Ether Deposit and the second Memory 925 Piece. CLimb back up and then head southwest to a large group of Mechon and an intersection. After taking them all out, continue to the southwest to unlock the 1F Main Power Switch Landmark and activate the Power Panel to bring power to this level.
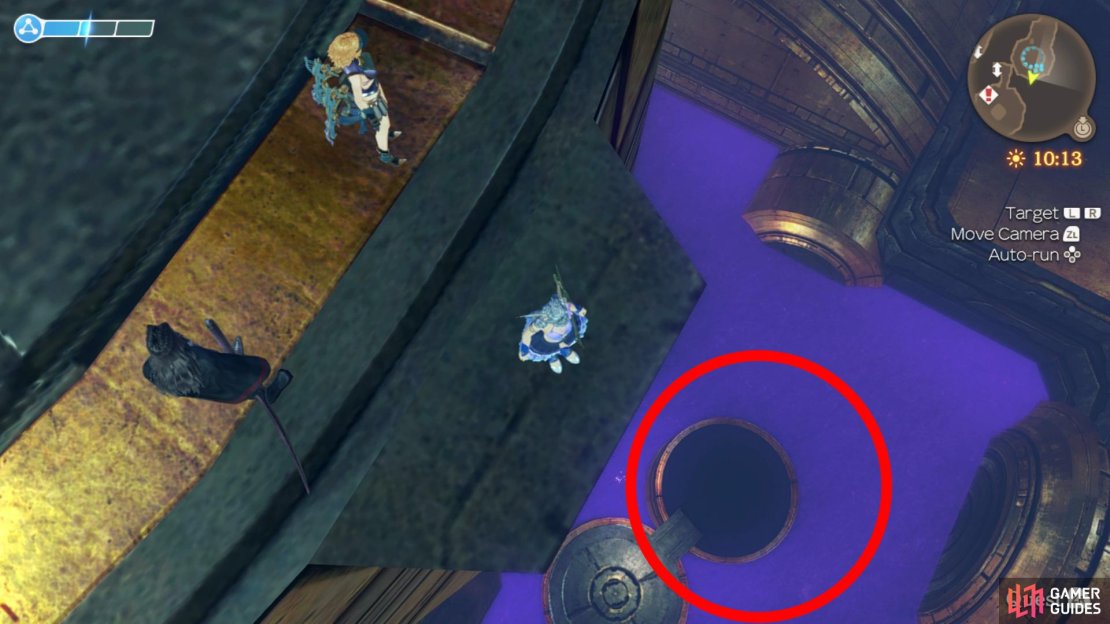
Return to the intersection now and head up the raised platform to continue heading to the southeast where you’ll find the Cylinder Activation Panel which will raise the walkway leading to 2F. Before heading that way however, take a look at the map to see that this structure looks circular and then head over to the southeast of it and look down. You should see a pool of water that you can drop into, time your jump (consider saving so you can return if you misjudge it) and drop into this to unlock Spent Fuel Tank and then take on the Lv 61 Unique Monster, Commander Oracion, a tricky foe that has Spike Aura on it. Should you beat it, you’ll obtain both the Healing Gift and Healing Energy Arts Manuals, a worthy prize.


(1 of 4) Leap off the edge here
Return to the 1F Main Power Switch Landmark and make your way back to the southeast to the path you opened up a moment ago. Take this path up to the top and then head north a little to unlock 2F Observation Post before heading along to the eastern side via the pipe or walkway. Continue past the Mechon to the north and then as the path starts heading west, go down the central southern path to find a group of Mechon including a Lv 59 Unique Monster, Destroyer Salvacion that you should dispatch. Once the area is clear, continue along to the southwest where you’ll unlock 3rd Lift - 2F and find a switch.
The switch here has no power so you’ll need to find a way to restore power once more, head east to find a wall you can climb down to reach the 3rd Lift Engine Room where you can find the Activation Panel to get the engine running again. This will complete the current Story Quest so climb back up the wall once more and activate the switch to take the lift up to the next floor.
Opening the Bulkhead
You’ll activate the next Story Quest at the top here along with unlocking 3rd Lift - 3F. Follow the path to the east here and climb the large wall to reach the upper walkway where you can then head northeast to another wall to climb. Follow the path to the north here to unlock the Lower Bulkhead Bridge Landmark and then head north (ignoring the conveyors to the east for now) and follow the path to another intersection. Climb down the wall and heading across the pipe leads to an Ether Deposit, otherwise continue to the west and follow the path all the way up to reach Bulkhead Controls.
A Lv 57 Unique Monster, Amorous Arca awaits you here so defeat the lesser Mechon first before focusing on it. You can’t do anything with the controls for now so continue to the south, heading back down to where you’ll eventually reach the 3F Main Power Switch Landmark. Activate the switch to provide power to the controls you passed a moment ago but hold off on heading back for now.
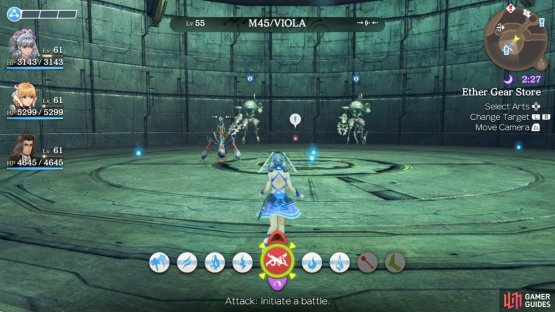
Instead, continue to the east and make use of the Cylinder Activation Panel to allow you to continue to the south and dispatch the group of Mechon. Climb the large wall behind them and then head over the pipe to the southwest to unlock Ether Gear Store, a bunch of Ether Deposits and the next Memory 925 Piece. Make the long trip back to the north of this area to reach the Bulkhead Controls and activate them to complete the current Story Quest.
(1 of 2) Make your way to the Ether Gear Store to find the third Memory Piece

Make your way to the Ether Gear Store to find the third Memory Piece (left), while you’ll need to land on this platform to reach the final piece. (right)
Return to the Lower Bulkhead Bridge Landmark and head across it to the east before heading north to a wall you should climb. Continue along the path and ride the vent here higher where you can continue along the path to the south and up the wall to unlock the Secret Area, Great Battle Scar Landmark. Ignore the vent for now and head around the path to the north and at the end of the path, look down to see some platforms you can drop to. Drop down to the second one to find the final Memory 925 Piece.
Now that you have the Great Battle Scar Landmark, head back to Junks on Fallen Arm to hand in the two Quests that should be complete while also picking up A Weapon Just For Me from Kazat during the day. You’ll need to wait until you reach Central Factory to complete it but you can work on the first part of the Quest during your time on Mechonis Field.
Return to the 3F Main Power Switch Landmark in Mechonis Field now and you’ll find the DOGMA enemies for the first part of the Quest, be sure to get the materials now before returning back to the Great Battle Scar Landmark. Take the nearby vent up here to the next level and then instead of heading higher to the south, go north, climb the wall and follow the path to the end. Consider saving your game and then look down to see more platforms to drop down to. Carefully drop down to the second platform and then head northwest to a wall you can climb where you’ll find another Secret Area, Machina Refuge.
You’ll find a Shop, Ether Deposit and several Quests in Machina Refuge.
Begin by speaking to Bozatrox to hand the Tears of Sky over to her and complete To My Loved One… that you accepted back on Fallen Arm. You’ll be able to accept a follow up Quest from her, Best Boots while the Garrisoned Troop will offer Monster Quest, Challenge Quest 1 and Challenge Quest 2. You’ll also find an Ether Deposit and a Shop here selling more equipment for Fiora that you should consider. As mentioned earlier on this page, you only have a limited window to complete everything on Mechonis Field, for that reason, it’s a good idea to finish these Quests right now.
Best Boots
After you have completed To My Loved One…, you will be able to access this quest from Bozatrox. She will offer to make you some boots as a thank you, but first she will need you to collect the materials needed from Mechon enemies in the Mechonis Field. She needs 2 Reinforced Plungers and 2 Reinforced Jets. Both materials can be obtained from enemies on the Third Floor of the Mechonis Field. Jets can be dropped by Offensive/HONEYs, and Plungers can be obtained from M84/GRUNTs. Once you have the items you may return to Bozatrox to complete the quest. Upon completion of the quest, you will receive the heavy boots, M100 Greaves.
Be sure to trade with Bozatrox while you’re here as she has Hox Daylight Spur, four of which you’ll need a bit later in the game. All of the Quests you accept from the Garrisoned Troop deal with enemies you’ll meet as you continue your ascent. Warp back over to the Great Battle Scar Landmark and use the vent once more, this time taking the southern path to trigger a scene.
You’ll unlock Patella Exhaust once you regain control and find yourself on the path leading back into the Mechonis. Follow the path south and you’ll unlock the Upper Bulkhead Bridge Landmark where you can take the conveyors over to the other side where you’ll obtain the next Story Quests.
The High-Velocity Lift and Need Power!
In order to get the lift working, you’ll first need to provide power to it, your first task. Begin by heading south at the first intersection and follow the path to the next intersection, taking the northeast path first to find the Lv 58 Unique Monster, Infernal Crocell needed for the Challenge 2 Quest. With that defeated, return to the southwest and this time take the southeastern path to reach two walls you can climb down. At the bottom here, you’ll unlock Power Supply Area 2 along with the Supply Panel for you to activate.

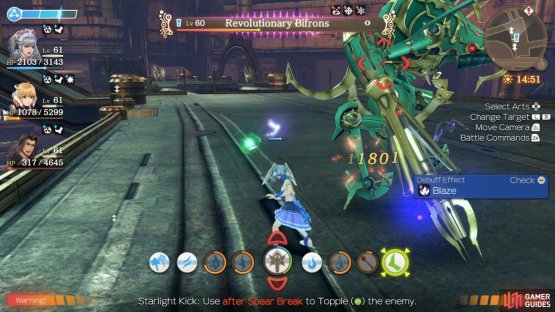
(1 of 2) Be sure to dispatch both Infernal Crocell
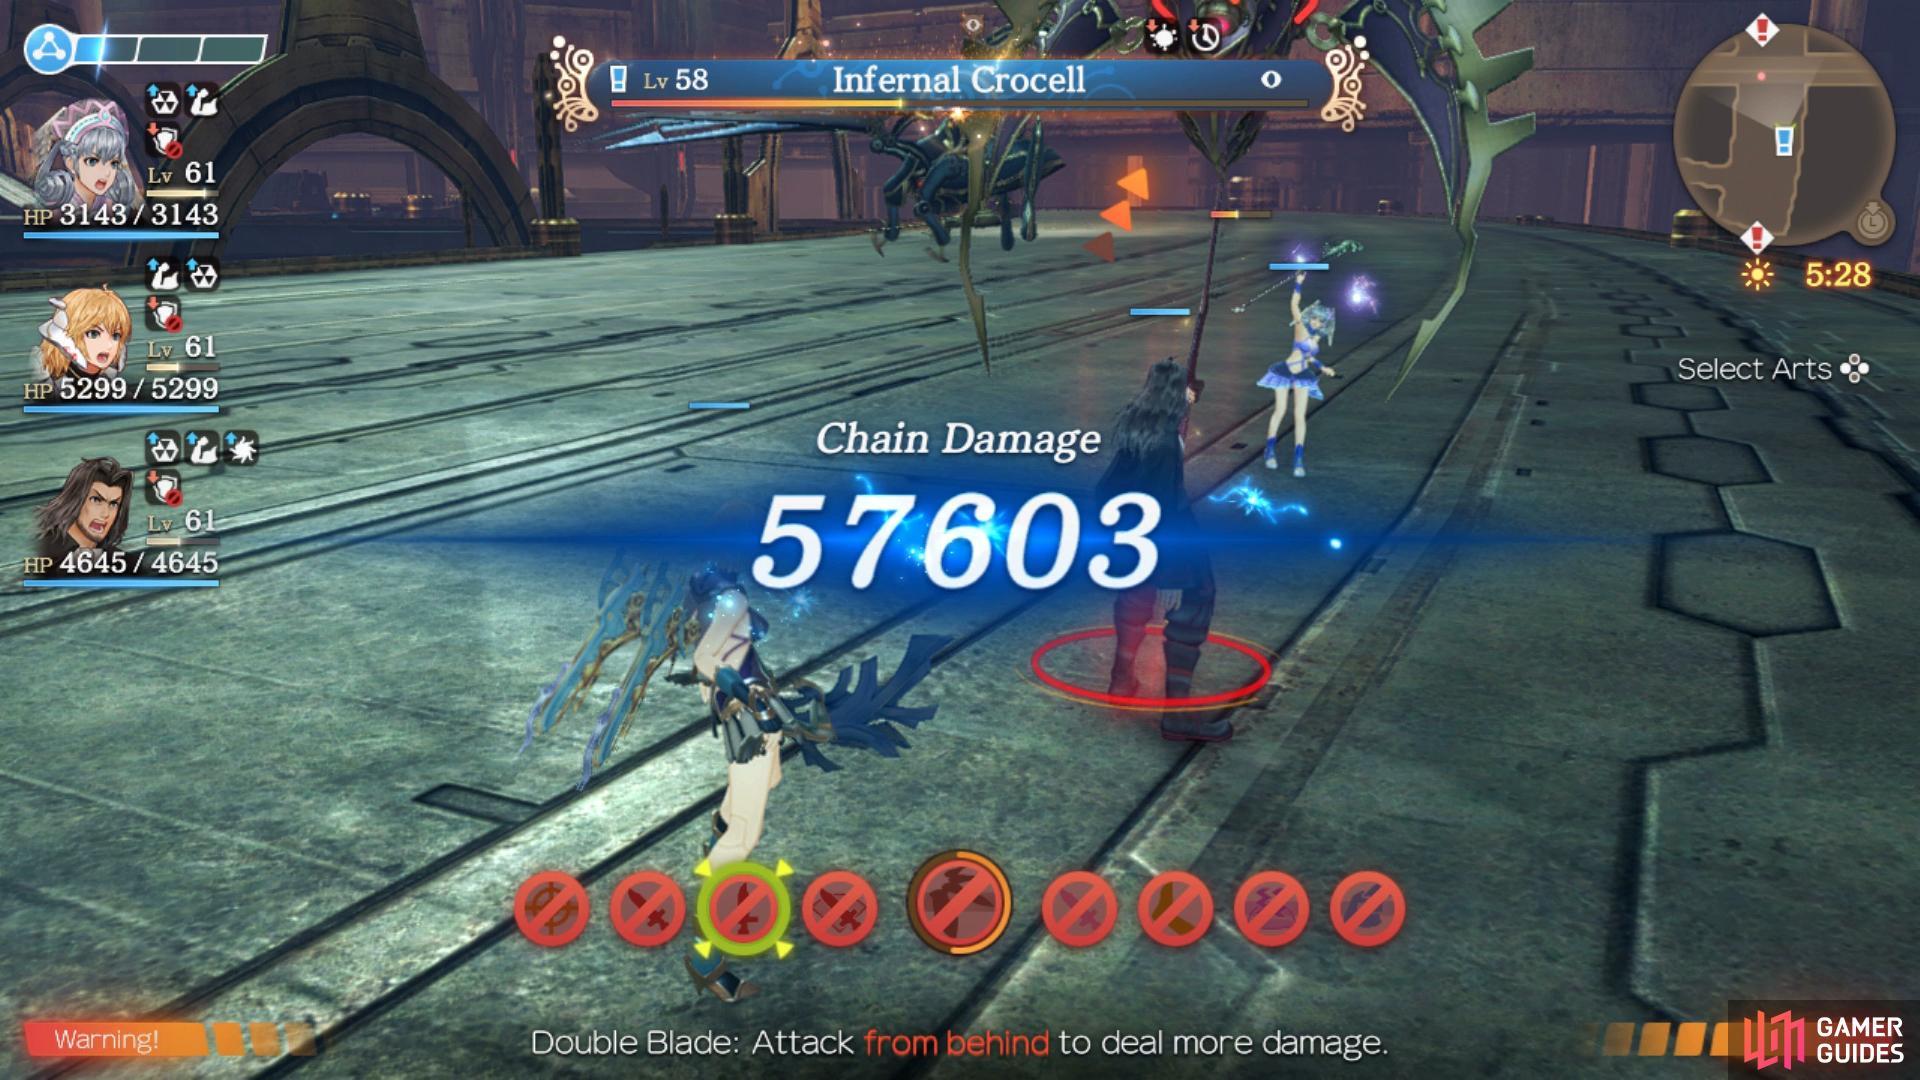
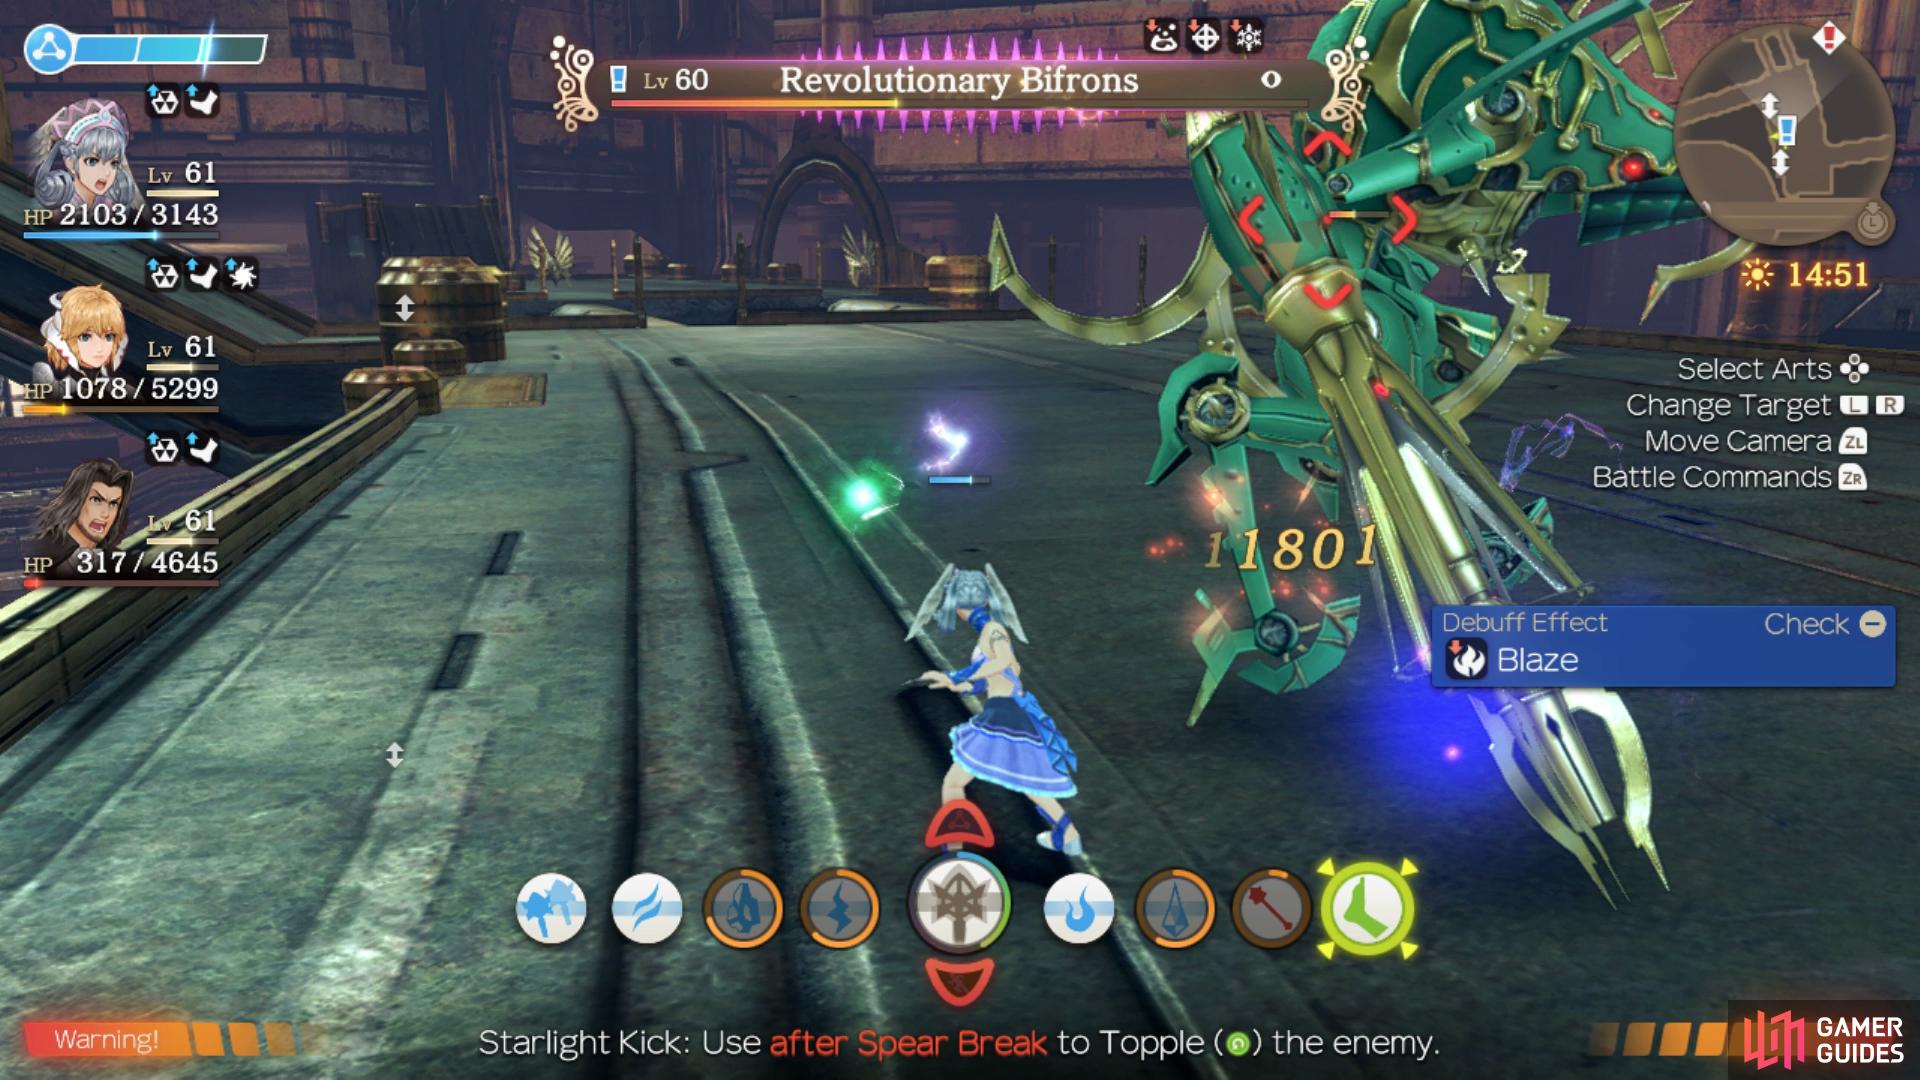
Be sure to dispatch both Infernal Crocell (left), and Revolutionary Bifrons while you activate the switches. (right)
Return to where you fought Infernal Crocell and continue north now while looking to the west to spot a path leading down, take this and follow it to unlock the 4F Main Power Switch Landmark. Return up the path you just took and continue to the north to find another path leading off to the west. As you start heading east, you’ll spot the Lv 60 Unique Monster, Revolutionary Bifrons, the target for the the Challenge 1 Quest. Watch out for his Spikes while you take it down and then continue around to the northeast of the area where you’ll find a wall taking you down to the next switch and unlocking Power Supply Area 1 in the process. Activate the switch and then return to 4F Main Power Switch to bring power back to the High Velocity Lift.
When you’re happy you’ve completed everything in those three regions, make your way back to the Upper Bulkhead Bridge Landmark and head across to the west to find a large group of Mechon guarding the lift. Dispatch them and then proceed through the now open door to unlock the way forward to the High-Velocity Lift. Once again, pay attention to the warning box above and ensure you’re fully ready and then use the lift to head up to the top and continue on to unlock the 1st Zebrai Bulkhead Landmark followed by triggering a scene.
Boss: Jade Face
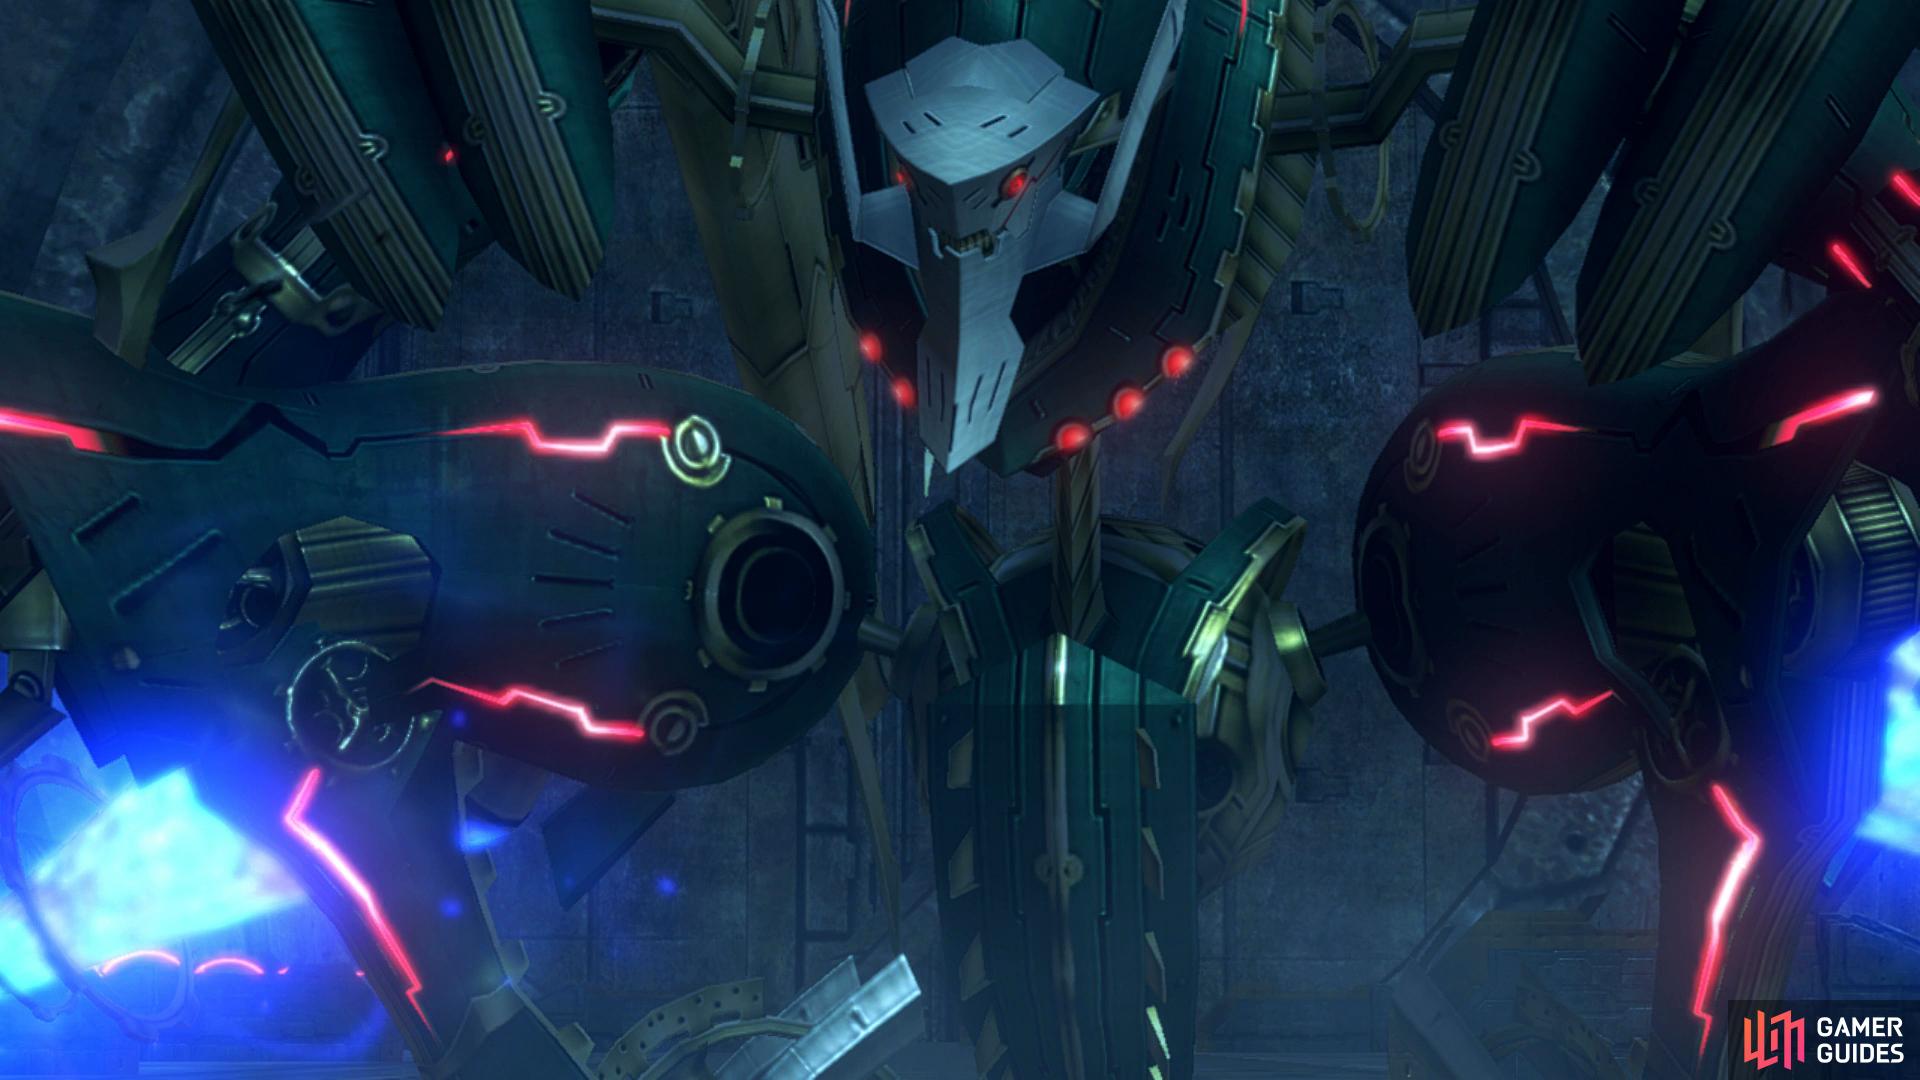
| Enemy | Level | Detection |
|---|---|---|
| Jade Face | 60 | Sight |
This is a rather unique battle in the fact that you won’t start the battle in direct confrontation with him. Instead, as expected of a Sniper, you’ll have to make your way to him by using the walls as cover to avoid the Linear Laser IV Talent Art that he makes use of. While you’re behind these walls, you’ll need to deal with lesser Mechon so be sure to be fully behind the walls and watch where you wander to avoid taking damage from Jade Face’s lasers.
Once you reach Jade Face, the battle can finally begin in earnest however the objective here is to reduce his HP below 80%, a task that isn’t terribly difficult. Still, Jade Face has some potent Arts available to him that you should be on the lookout for:
-
Cross Jaggy - A Physical Art that deals moderate damage in an arc in front of him while also inflicting Blowback and Daze.
-
Ether Jammer - Casts a Debuff around him that inflicts both Ether Defence Down and Slow.
-
Laser Bullet - An Ether based Art that deals moderate damage in a circle around him while inflicting Knockback.
-
Linear Laser IV - An Ether based Talent Art that deals major damage to targets in a line while also inflicting Paralysis.
-
Quick Cannon - An Ether based Art that deals major damage to targets in a line while also inflicting Paralysis.
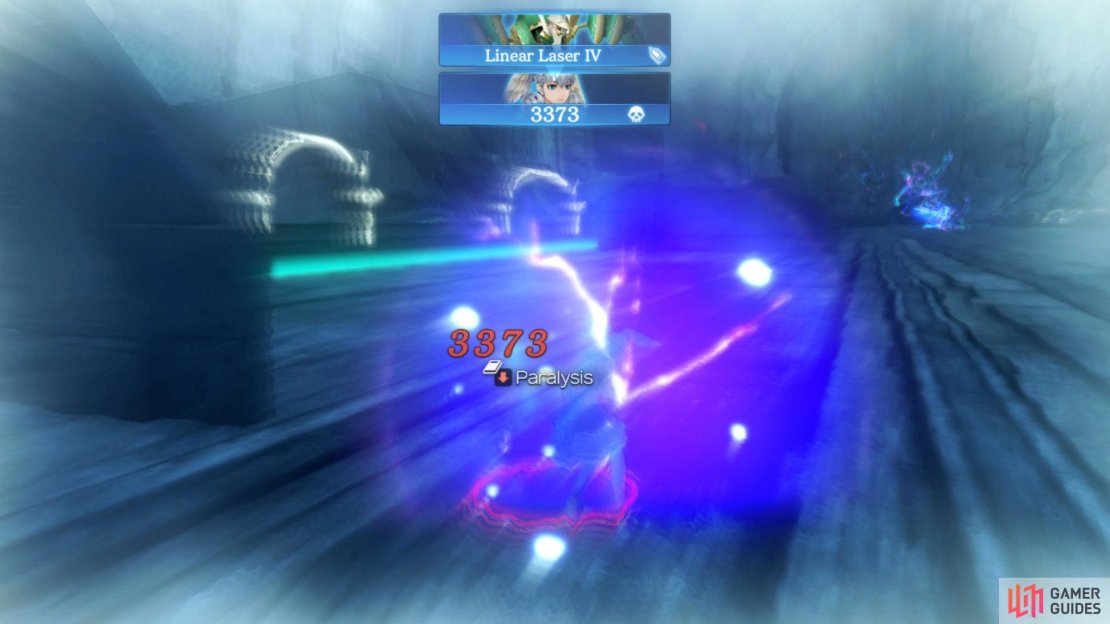


(1 of 4) Jade Face will use Linear Laser as you attempt to reach him
As you can see, Jade Face’s Arts hit hard so you’ll want to go all out on him as soon as you reach him to prevent the battle from dragging on for too long. If you have Shulk in the party, keep Monado Armor up and make use of both Buster and Eater while Melia is useful as always to throw on Poison, Blaze and Chill on him. Keep the pressure up and you’ll bring him down to 80%, ending the battle and the Chapter.
No Comments