


Description
The Ponspector Quests require that you help out different Ponspectors across the map. When you help them and complete their errands, they will join your team. They are useful because they will join in during fights and perform their signature moves. Their signature moves are dependent on their team: Red, Yellow or Blue. Red Ponspectors have offensive signature moves, Blue have healing moves and Yellow Ponspectors have debuffing signature moves.
Yellow Ponspectors
Evelen on the Edge
| Client | Reward | Recommended Level |
|---|---|---|
| Evelen | 0G, 30000 EXP, Sleep Resist IV | Lv 62 |
Tei-Tei is found near Cragmaw Caverns, just east of Navvir Crossroads. She will ask you to defeat 3 Wharpol Sardis, which are located in the lake north of where you will find Evelen. After you have defeated the enemies, return to Evelen and she will ask you to fetch 3 Morrow Cobs, which are a fairly common collectable found across the Bionis’ Shoulder. Once you have those, return to Evelen again to complete the quest.
When you have completed the quest, Evelen will become a Ponspector in your party. She is of the Yellow team, which means she has a debuffing signature move.
Tei-Tei Lacking Charm
| Client | Reward | Recommended Level |
|---|---|---|
| Tei-Tei | 0G, 30000 EXP, Phys Def Down IV | Lv 63 |
Tei-Tei can be found near the Navvir Crossroads landmark. To recruit Tei-Tei you will first need to find Tei-Tei’s Charm, which he lost at Nerthis Necropolis. Nerthis Necropolis is west of the Navvir Crossroads landmark, but to reach it, you’ll need to head north from the landmark, up onto an elevated level so that you may cross through Clear Sky Buff. When you reach Nerthis Necropolis be careful not to aggro the monsters there, as they are higher levels enemies. The lost item you’re searching for is behind the large tomb. Once you have Tei-Tei’s charm, head back to him to complete the quest.
When you have completed the quest, Tei-Tei will become a Ponspector in your party. He is of the Yellow team, which means he has a debuffing signature move.

Tei-Tei’s Charm is found behind the tomb in Nerthis Necropolis.
Favour for Fofora
| Client | Reward | Recommended Level |
|---|---|---|
| Fofora | 0G, 40000 EXP, Agility Down IV | Lv 68 |
You can find Fofora nearby the Xen’s Thoroughfare landmark. She asks you to defear 3 Kromars in the vicinity so that she may travel safely to survey the area. The Kromars she speaks of will be through the arch way near the landmark, and then to the right when you walk through. They’ll be to the north, blocking the way that Forfora needs to go to reach the otherside of the area. When you defeat the Kromar enemies, return to Fofora, who will then travel to the otherside of the area. To complete the quest, you’ll have to walk over to her via the area you cleared of kromars. Be careful though, as there are some tough enemies guarding the area, but you should be able to avoid them if you want to.
When you have completed the quest, Fofora will become a Ponspector in your party. She is of the Yellow team, which means she has a debuffing signature move.
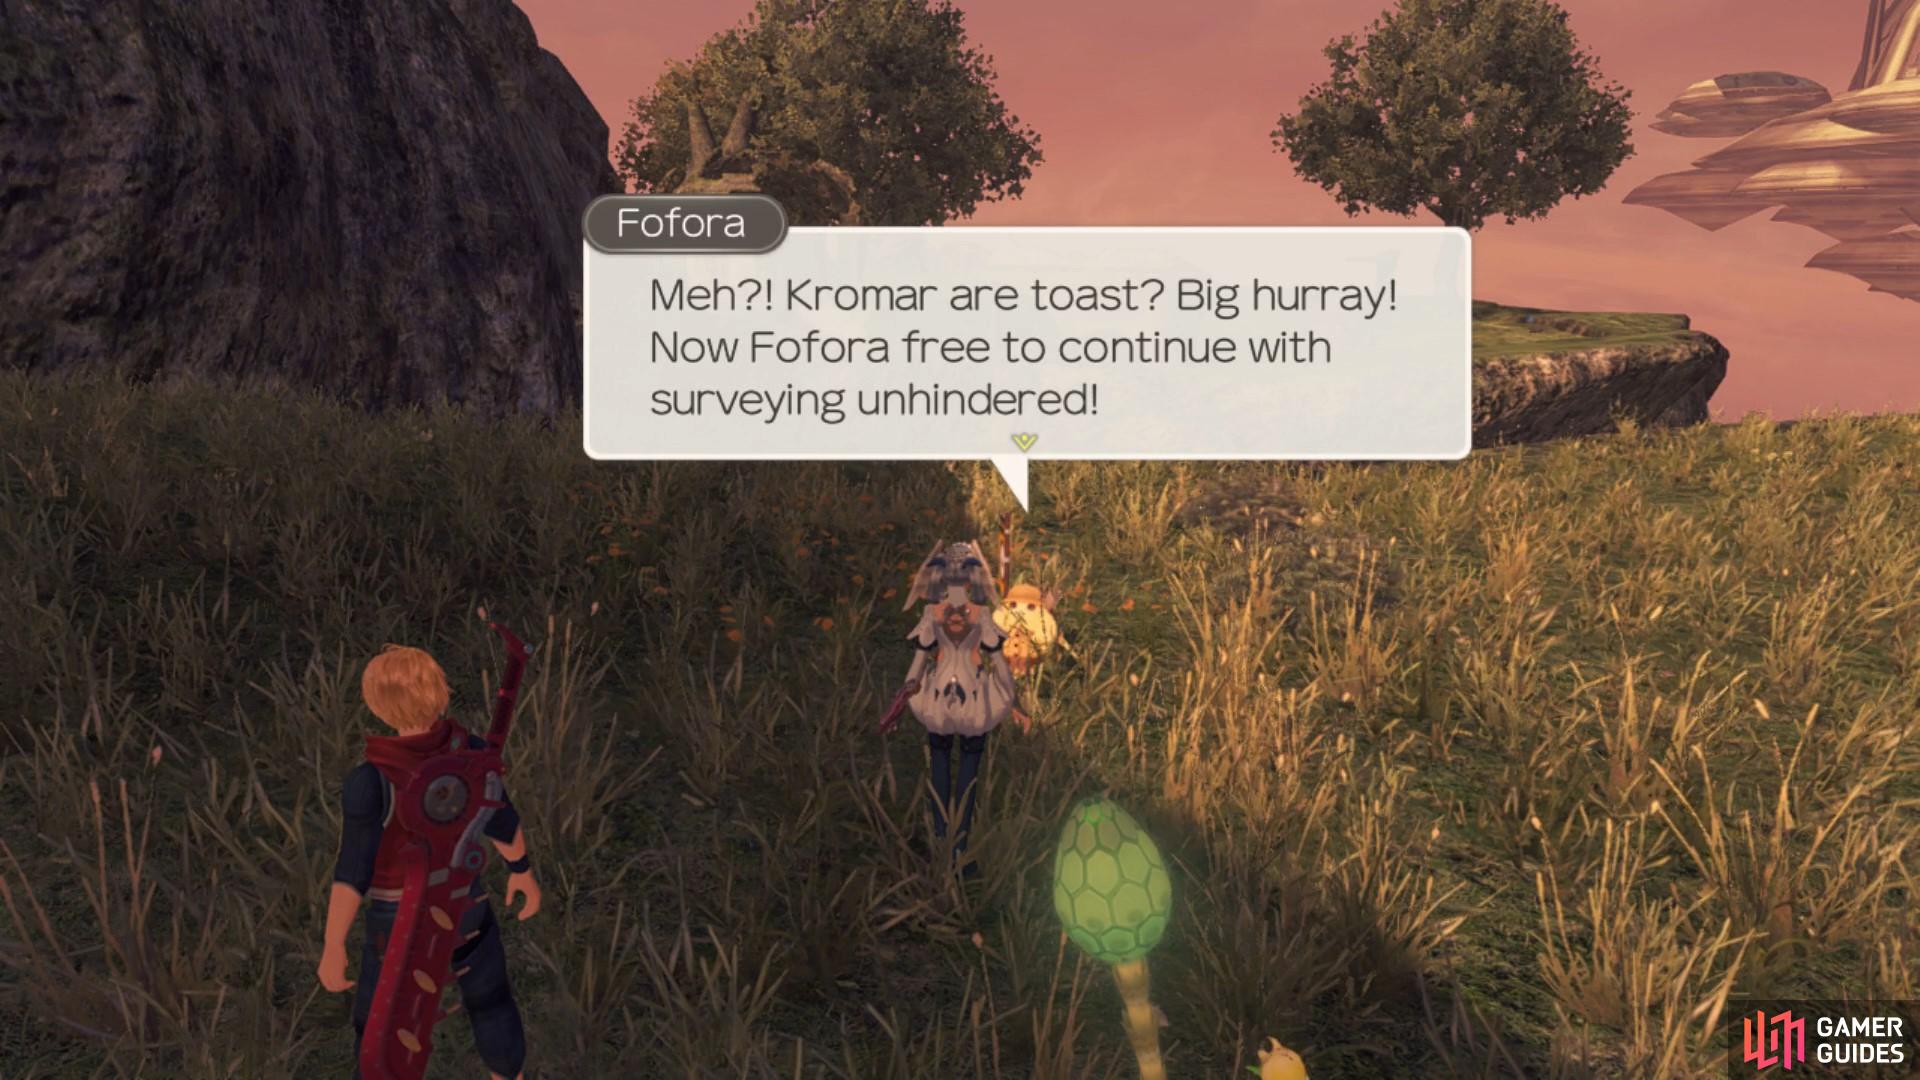
Defeating the Kromars means Fofora can complete her surveying work.
Tutu’s Lost Property
| Client | Reward | Recommended Level |
|---|---|---|
| Tutu | 0G, 50000 EXP, Bind IV | Lv 74 |
Tutu can be found south of Prayer Rock, near Heroes’ Rest. You can only reach this area if you have progressed to Gran Dell in the main story quest. Tutu will ask you to collect his Mirror from Tranquil Tarn near the Prayer Rock landmark. Though the recommended level for this quest is 74, you can avoid fights entirely and collect Tutu’s Mirror without battling. The level 74 Unique monster, Citadel Tostega will spawn near the mirror and will aggro on sight, but you can swim around and easily avoid it. Once you have the mirror, return to Tutu to complete the quest.
When you have completed the quest, Tutu will become a Ponspector in your party. He is of the Yellow team, which means he has a debuffing signature move.
Blue Ponspectors
Incensed Dekadeka
| Client | Reward | Recommended Level |
|---|---|---|
| Dekadeka | 0G, 40000 EXP, Debuff Resist II | Lv 62 |
This quest will activate like a Surprise Quest once you walk out onto the bit of land that juts out from Barouh Ruins Cave, just east of the Barouh Plaza landmark. You will need to defeat 3 Slobbering Antols that threaten Dekadeka. Once you have defeated them, you can speak to Dekadeka in order to complete the quest.
When you have completed the quest, Dekdeka will become a Ponspector in your party. He is of the Blue team, which means he has a healing signature move.
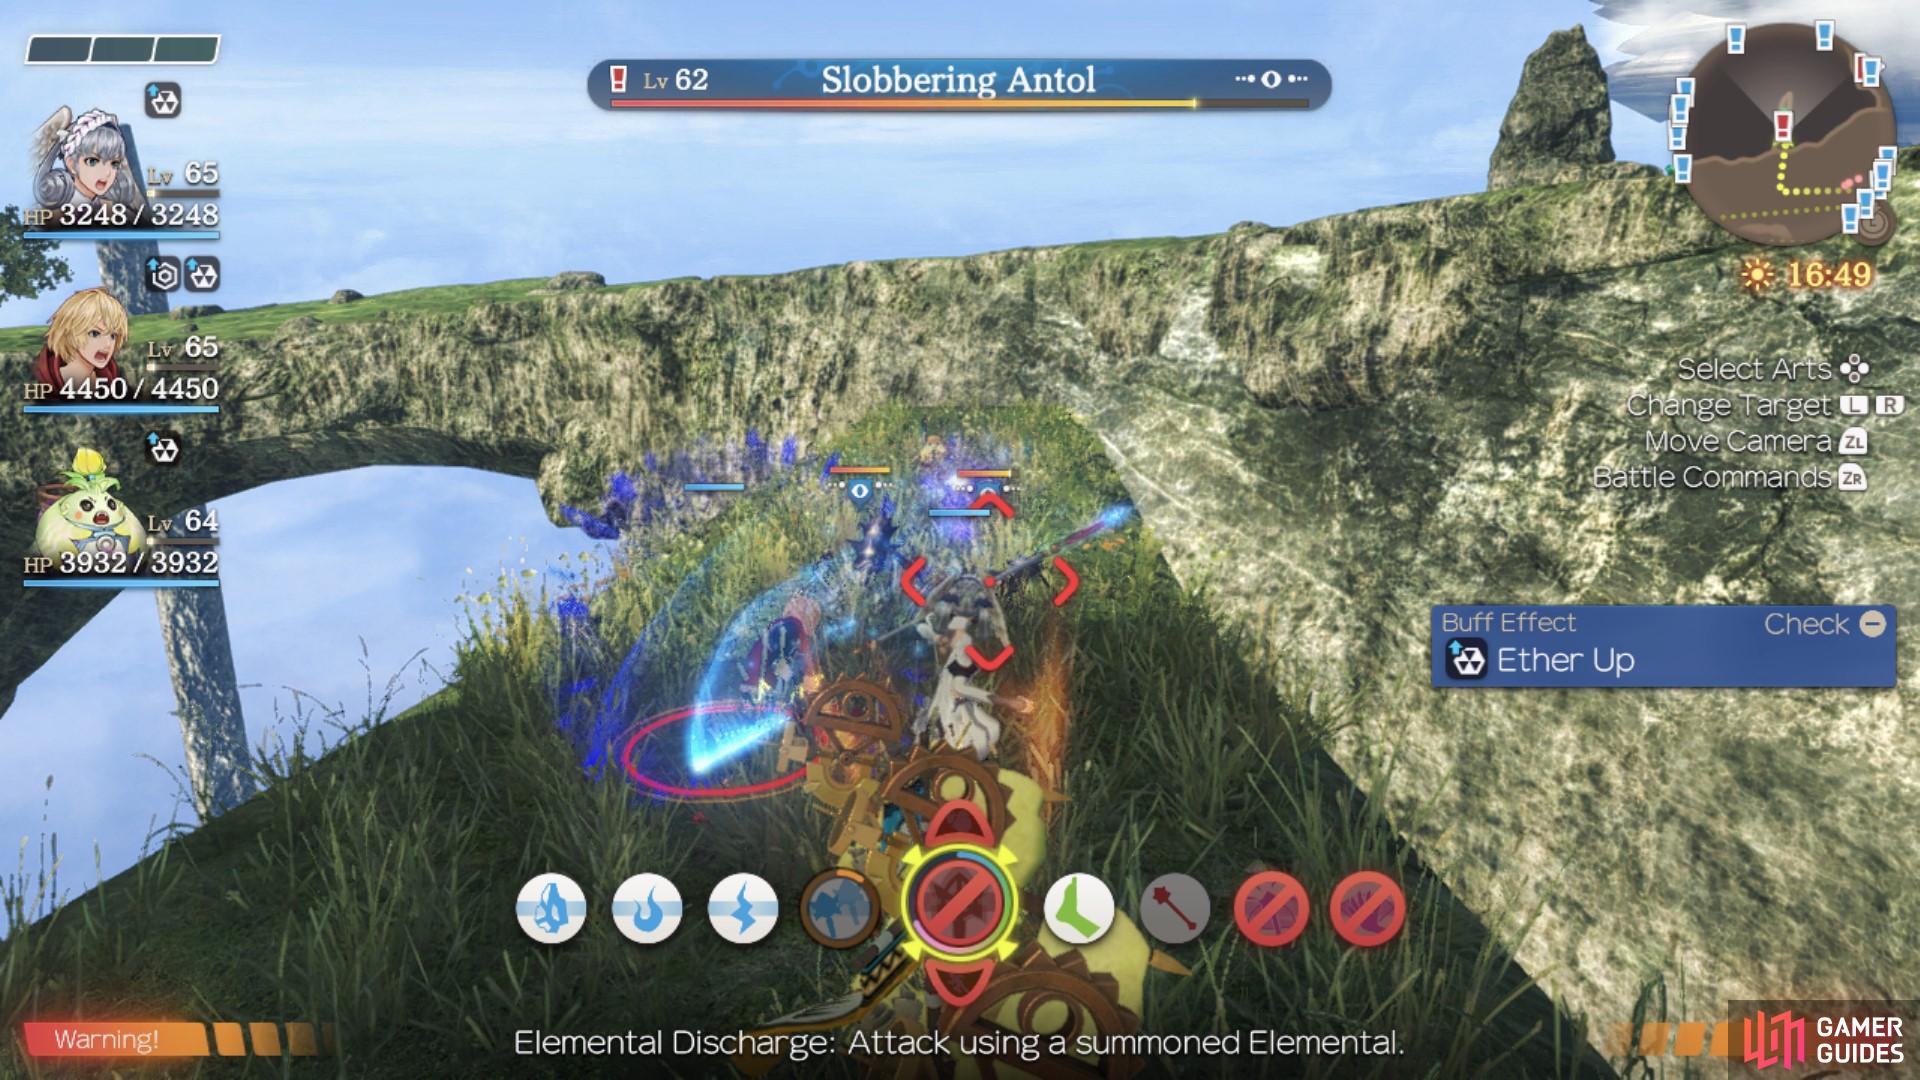
The Slobbering Antols have cornered Dekadeka!
Riddle Faifa This
| Client | Reward | Recommended Level |
|---|---|---|
| Faifa | 0G, 40000 EXP, Debuff Resist II | Lv 67 |
Faifa is found near Abaasy’s Dorsum, which is south of Xen’s Thoroughfare. She will first ask you to fetch her a Skymole, which is a collectable found on the Bionis’ Shoulder. Return to her and she will then ask you to defeat a Green Feris, which can be found in the plains just beneath the ledge that you find Faifa on. You can jump down, but you will take a little damage. Once you have defeated a Green Feris, return to Faifa to complete the quest.
When you have completed the quest, Faifa will become a Ponspector in your party. She is of the Blue team, which means she has a healing signature move.
Hekasa’s Labour at Stake
| Client | Reward | Recommended Level |
|---|---|---|
| Hekasa | 0G, 40000 EXP, Recovery Up IV | Lv 69 |
Hekasa can be found on a narrow landbridge that extends from Lamentation Ridge. To reach Lamentation Ridge, you’ll need to walk north from Xen’s Thoroughfare until you reach a ramp that extends up onto a higher level. Walk south all the way along the ridge until you reach where Abaasy’s Dorsum is (the landmark is beneath the ridge). Hop down onto a lower platform and then walk down the steep ramp towards Hekasa. If you keep walking all the way south towards the end of the ridge, you’ll find the secret location, Cloudtop Lookout. You can use this landmark to fast travel back to throughout this quest.
Hekasa will ask you to take her stake to the lakeshore near Junks. Once you’ve done so, head all the way back to Hekasa, who will then tell you to go defeat Ramrod Tirkin. It can be found in the higher regions of Navvir Highlands. When you defeat it, you will receive Hekasa’s stolen stake. Return it to her to complete the quest.
When you have completed the quest, Hekasa will become a Ponspector in your party. She is of the Blue team, which means she has a healing signature move.
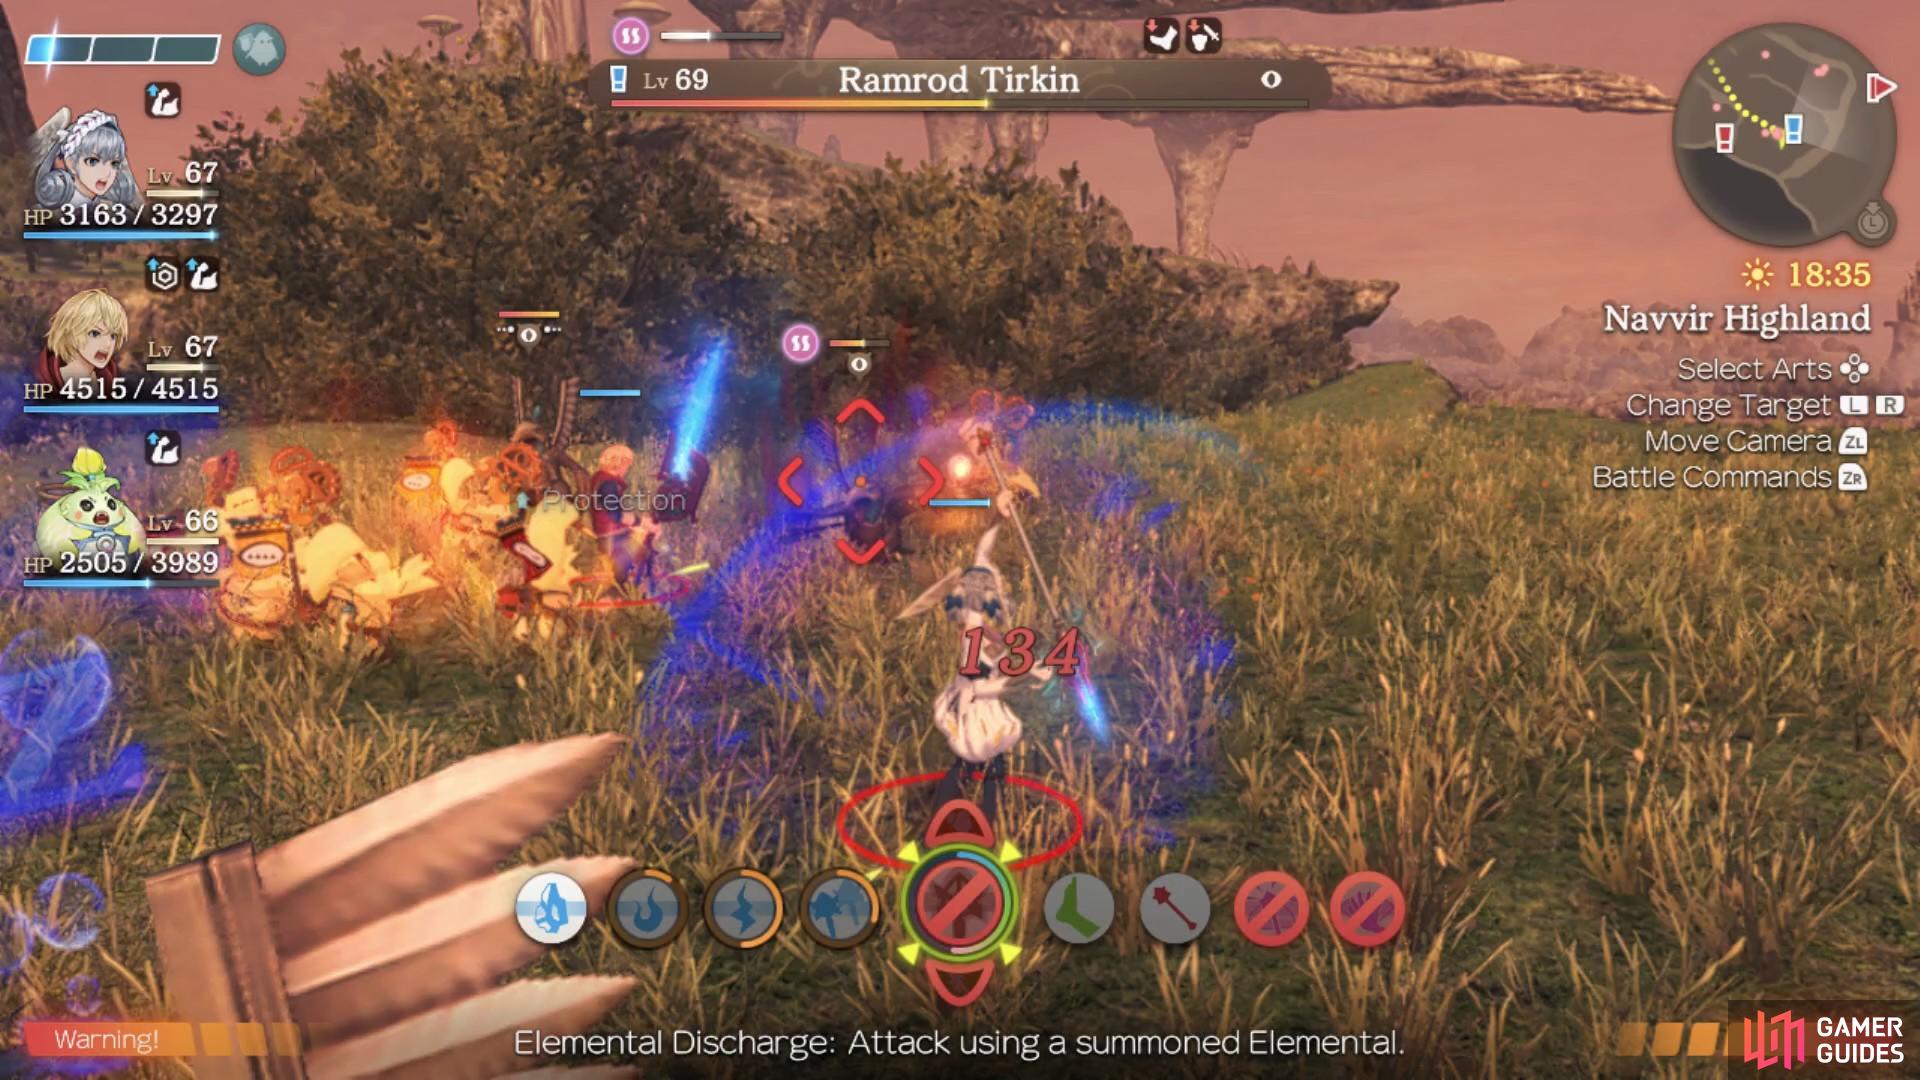
The Ramrod Tirkin is the thief that stole Hekasa’s Stake.
Red Ponspectors
Drydry Entia
| Client | Reward | Recommended Level |
|---|---|---|
| Drydry | 0G, 30000 EXP, Topple Plus IV | Lv 62 |
Drydry can be found near the Main Entrance of Alcamoth, therefore you can only reach him when you have progressed to Alcamoth in the story quest.He will ask you to collect 5 High Entia Feathers. They can be found near the Fountain of Eternity and Eternity Way, which are east of where you find Drydry. When you have all 5, return to Drydry to complete the quest.
When you have completed the quest, Drydry will become a Ponspector in your party. He is of the Red team, which means he has a offensive signature move.
Ready, Setset, Go!
| Client | Reward | Recommended Level |
|---|---|---|
| Setset | 0G, 40000 EXP, Bleed Attack IV | Lv 68 |
Setset is found at Agni’s Skygarden Ruins which you reach by ascending the tower from Old King’s Testament. He will ask you to defeat 3 Bodacious Rhoguls on the terrace of Whisperwind Crossing. You reach Whisperwind Crossing by heading over towards the narrow bridge connecting the mainland near Pillar Knoll to a tall tower to the north east. After defeating 3 Rhoguls, head back to Setset to complete the quest.
When you have completed the quest, Setset will become a Ponspector in your party. He is of the Red team, which means he has a offensive signature move.
Nonona’s Calling
| Client | Reward | Recommended Level |
|---|---|---|
| Nonona | 0G, 50000 EXP, Poison Attack IV | Lv 73 |
Nonona can be found near Gamora Hollow, west of the Scapular Lance landmark. Nonona will ask you to defeat the Thing-a-Majicker XIII. This enemy can be found in Zekr Marga Quarry near the Quarry Colonnade landmark, a short walk west of where Nonona is. This area is filled with a lot of tough enemies, so be careful not to aggro too many at once as you make your way through the quarry. Before you enter the room where you find Thing-a-Majicker XIII, you can trigger a landmark to the left of the room entrance called Marga’s Weeping. This makes it a lot easier if you die in the battle against the enemies within the room, since you won’t have to traverse through the whole quarry again when you respawn. Firstly, guarding the entrance is an Ammos Orluga. It is advised you defeat it before aggroing the enemies within the room. You can then use the Lure tactic to lure only the first two enemies in front of you. The Goldi Kromar and Ether Igna guard Thing-a-Majicker and the level 77 unique enemy, Ravager Apelpisia. After defeating them, you can actually use the Lure tactic again and only aggro Thing-a-Majicker without alerting Ravager Apelpisia. After slaying Thing-a-Majicker, you will receive Nonona’s License; return this item to Nonona to complete the quest.
When you have completed the quest, Nonona will become a Ponspector in your party. He is of the Red team, which means he has a offensive signature move.
Priority Wunwun
| Client | Reward | Recommended Level |
|---|---|---|
| Wunwun | 0G, 0 EXP, Strength Up IV | Lv 73 |
Wunwun is found near Gran Dell Approach, and you can only reach this area once you have progressed to Gran Dell in the main story quest. Firstly, you must gather the other 11 Ponspectors. You can collect all of them at this point. Once you have all 11, head back to Wunwun and he will ask you to retrieve the memo back from the Cutpurse Igna north of Clear Sky Bluff. This area is filled with a lot of higher levelled enemies. You will likely have to battle a few Hodes and the unique monster, Marquis Odesh, before you can reach the Cutpurse Igna. These fights might be a little tough, however, it is highly advised that you try to build up the party tension so you can trigger a Ponspector attack. Then, use the offensive (red) attack to deal a large portion of damage to enemies in a specific area. This will help a lot in dealing with the several enemies that are attacking you. Once you have fought your way to the Cutpurse Igna and retrieved the memo, return to Wunwun to complete the quest.
When you have completed the quest, Wunwun will become a Ponspector in your party. He is of the Red team, which means he has a offensive signature move. Once you have Wunwun, you have completed your Ponspector squad.
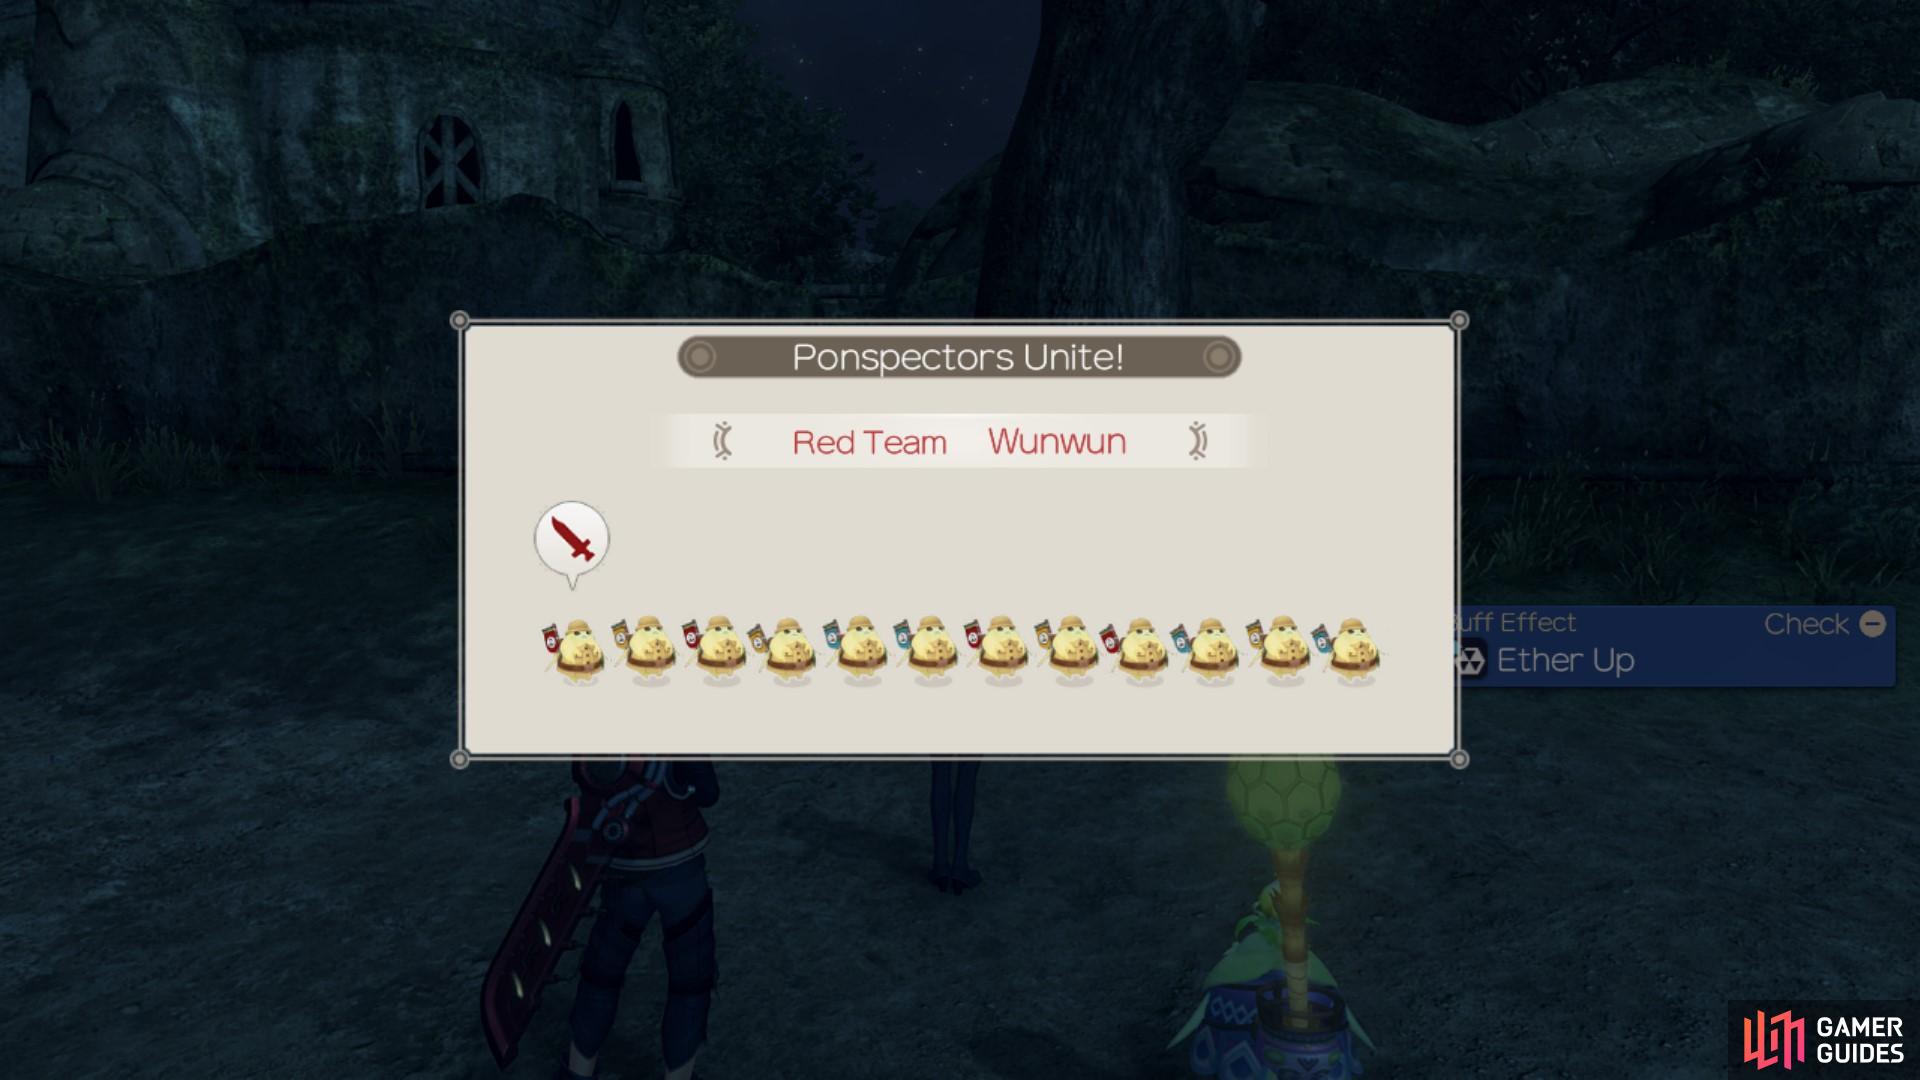
Once you have Wunwun, your team will be complete!
Final Ponspector Quest
After you have collected all of the Ponspectors, you’ll have the opportunity to help them complete their Ponspector mission with a final quest.
Ponspectors Till We Cry
| Client | Reward | Recommended Level |
|---|---|---|
| Wunwun | 0G, 100000 EXP, Nerthis Crown | Lv 78 |
After you have gathered all of the Ponspectors, Wunwun will ask you to help them with searching for the treasure in the ruins of Nerthis Necropolis. Due to the quest being a good few levels higher than you likely are at the point of picking this quest up, it is recommended that you complete a few side quests and then return to this mission at a later date. The reason for this is because when you reach the treasure in Nerthis Necropolis, you’ll then need to fight the strongest enemy in Future Connected, who is the level 80 dragon, Prosecutor Davrum. This enemy is still weaker than the superbosses of the base game, however, you’ll need to gear up and plan your attacks in advance if you want to succeed. Here are some tips on how to battle the Prosecutor Davrum.
-
You’ll want to have Shulk as your party leader so that you can use Monado Shield and Armour as frequently as possible. Both will go a long way in protecting you from being damaged too much by the enemy’s constant spike attacks.
-
You’ll also want to consider having Kino in your main party for this quest, as his heals really help counter the enemy’s spike attacks.
-
Building up the party gauge to activate a Ponspector attack is hugely beneficial to this fight. You’ll want to fill the party gauge in advance of entering the Dragon’s range, and you can do this by fighting the antols in the corridor prior to the treasure room. When you fill up the party gauge, use the red attack to deal massive amounts of damage to the enemy. You should be able to trigger 2 Ponspector attacks during this fight, if you’re successful (and 2 should be enough to defeat him too!).
-
Gems are also very important! Debuff Resist gems will be very useful, and you can obtain these from a few of places. If you buy the full stellar armour set from the shop in Companions’ Cape, not only are they great for defence, but two of the items also come with Debuff Resist gems. The boots are particularly strong because they come with a Debuff Resist V gem. You should also have another Debuff Resist V gem from Poroporo’s quest, Lost & Found. Putting gems on Shulk’s Monado Replica EX+ will also be a huge advantage. Haste and Double Attack gems are very useful for getting in extra damage and more frequent auto-attacks. 2 Haste IV gems can be harvested from the large Ether Deposit near Marga’s Weeping in Zekr Marga Quarry. The Talent Boost gem is also a good weapon gem you may consider, since it means you can trigger Monado arts faster, meaning you can shield yourself from the damage more frequently.
Defeating the Prosecutor Davrum leads to the completion of this quest. The Ponspectors find some treasure that will stop them going bankrupt, and the Archaeology Centre is saved!
No Comments