


Fiora’s Treatment
| Key Information | Details |
|---|---|
| New Quests | 22 |
| New NPCs | 19 |
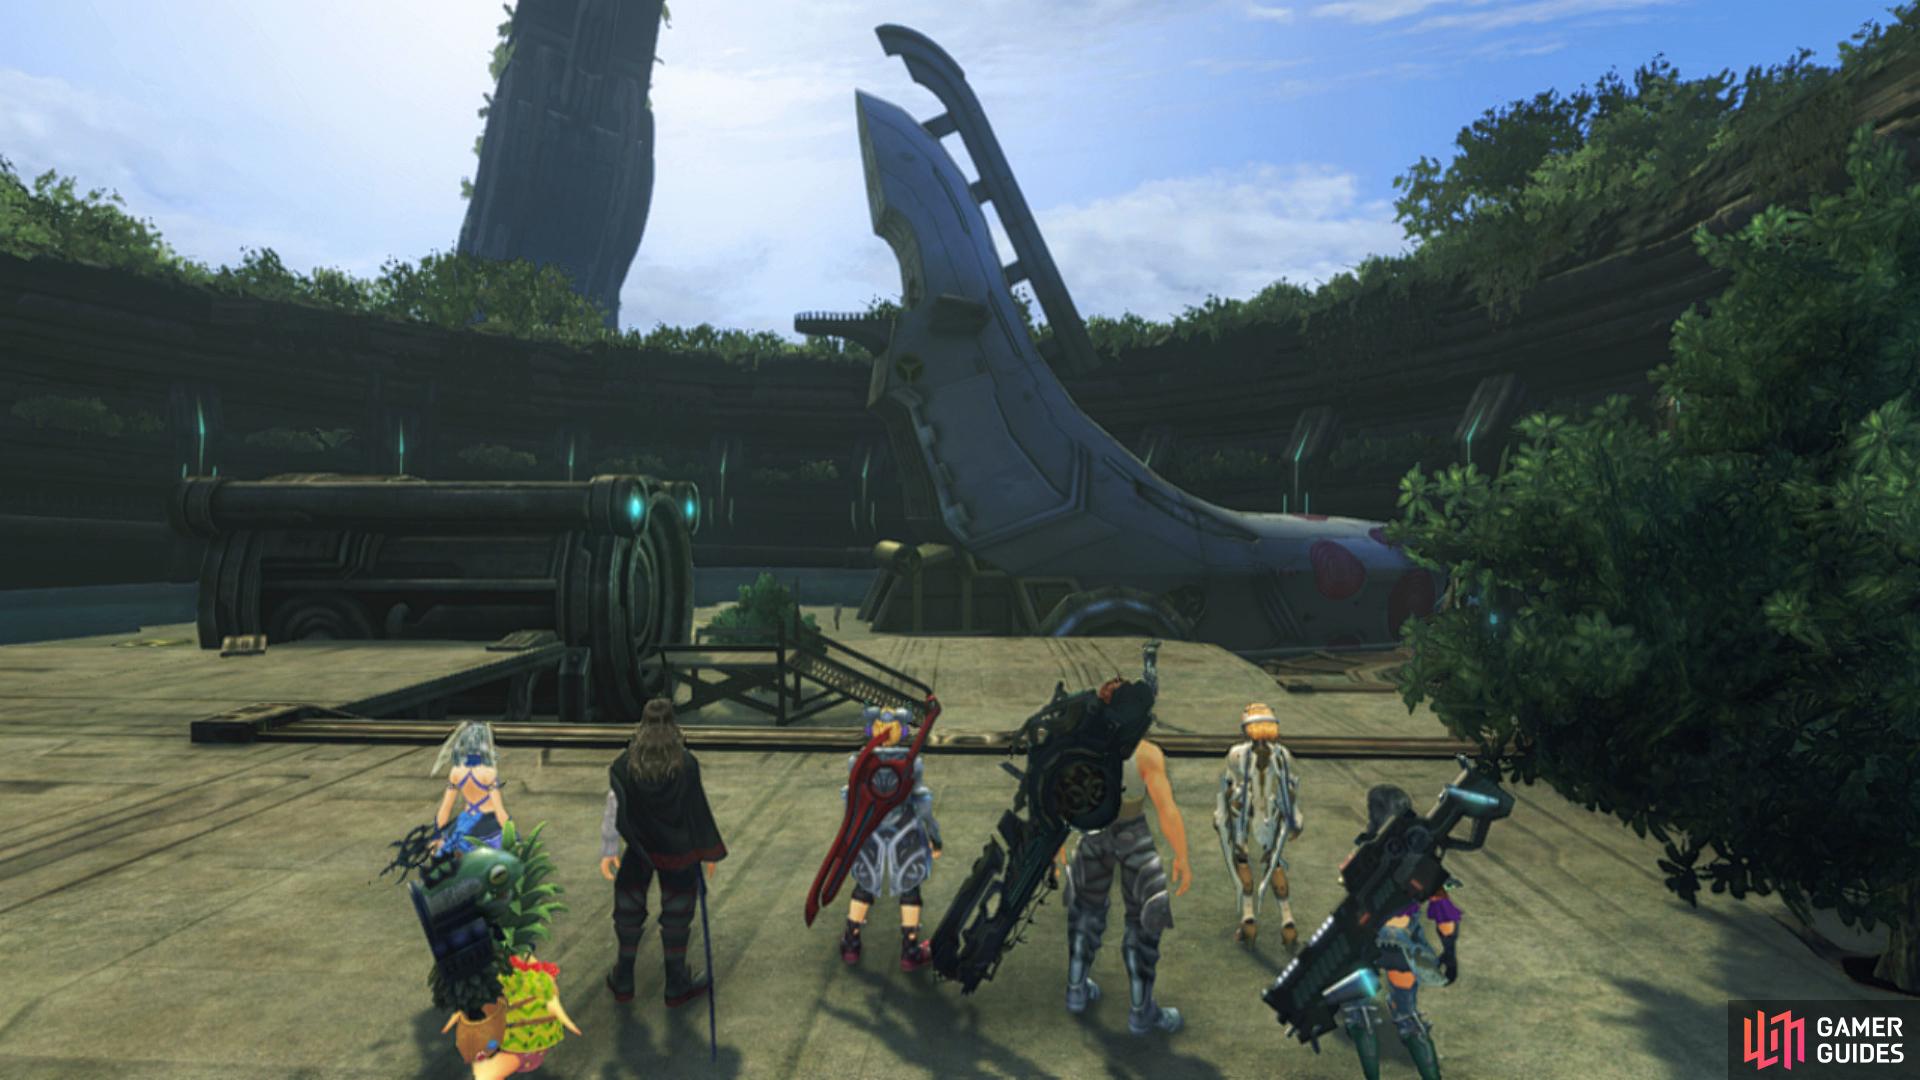
After watching the opening scenes, you’ll receive a request from Miqol to kill his son, Egil. Once you regain control, you’ll receive a new Story Quest as you search for the means to treat Fiora. Although this is a good chance to fully explore Fallen Arm, hold off on any Quests and full exploration a little longer, you’ll want Fiora and Sharla back to reap the rewards. Begin by purchasing the latest Mechon weaponry from the Shop, you’ll still be in contact with a lot of Mechon here so it’s easier to just keep these equipped for now.
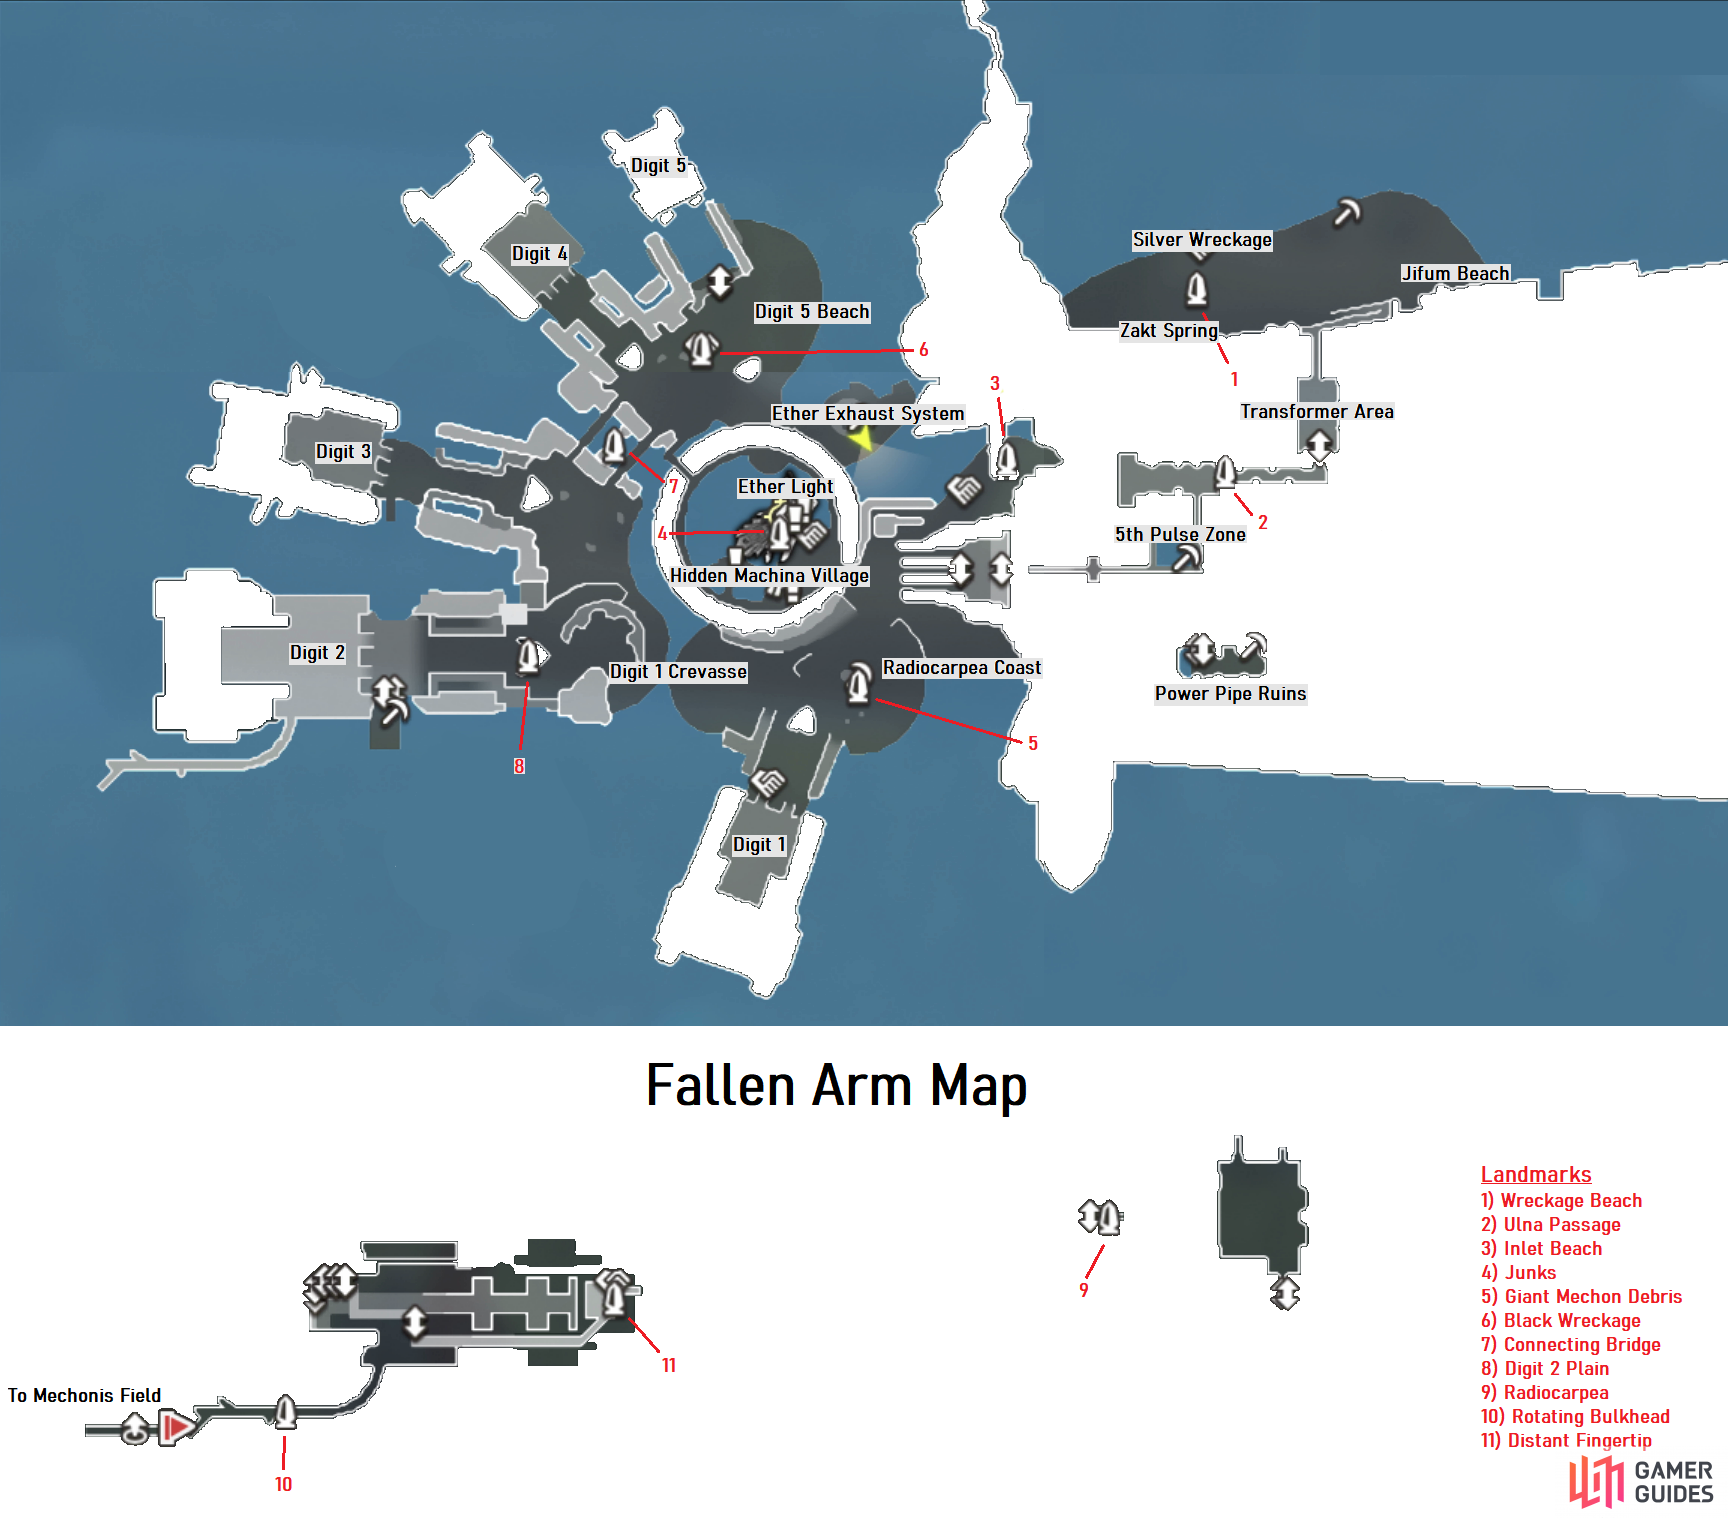
Leave Machina Village via the eastern exit and follow the path to the field around clockwise of Machina Village where you’ll unlock Digit 1 Crevasse. Head into the water here and swim around to the northeast where you’ll find the Digit 5 Beach you’re searching for. Before you rush over to the marker however, take out the Lv 58 Unique Monster, Splendid Botis that should you dispatch. Take care of the other Mechon at the wreckage here and then pocket the Piezoelectric Unit and warp back to Junks to hand it over to Linada to complete the Story Quest. Leave Junks and head to the east to find a Machina Villager that will allow you to rest for the night which will trigger more scenes. Once you regain control, you’ll gain the Bulkhead Key you need to leave Fallen Arm and Fiora and Sharla will rejoin the party. Now is the time to take care of all of the Quests and new NPCs to interact with here in Fallen Arm while also uncovering the map, your first stop.
Start by leaving Machina Village to the east and head up the hill to the southeast to unlock the Giant Mechon Debris Landmark. You’ll find an Ether Deposit here, pocket the crystals and then head southwest to unlock Digit 1 where you’ll also find a new Heart-to-Heart and then return to the Giant Mechon Debris Landmark. This time head west into the water and follow it around until you reach the beach to the north.
Make your way to the northwest here to find a Heart-to-Heart and unlock the Black Wreckage Landmark. Head northwest a little from this position and you’ll unlock Digit 4, then return to the previous landmark and head northeast, swimming a little to unlock Digit 5. Follow the beach to the southeast here and head up the hill a little to unlock the Ether Exhaust System location.
Make your way back to the Black Wreckage Landmark once more but this time head southwest across the bridge to unlock the Connecting Bridge Landmark. Once you reach the other side, make your way to the northwest to unlock Digit 3 before returning to the central part of this landmass. This time, head south around the edge and then head west when possible to unlock the Digit 2 Plain Landmark. Head west from here to unlock Digit 2 and then continue west to the far end to find several walls you can climb. Follow the walkways at the top and you’ll eventually come to a Heart-to-Heart and unlock the Secret Area, Distant Fingertip.
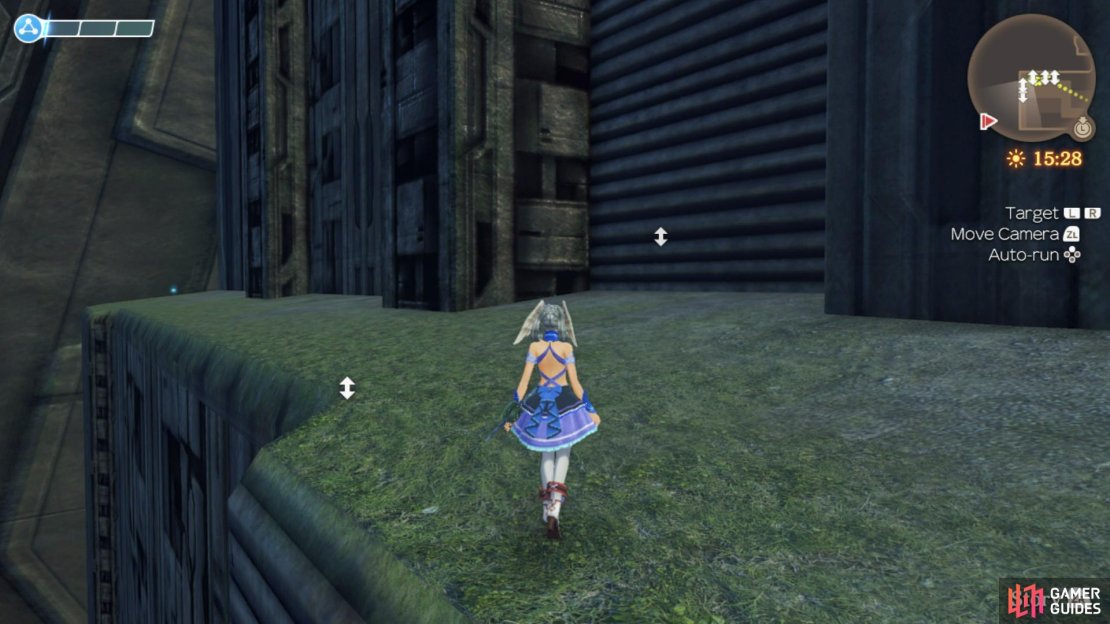


(1 of 3) The journey to the Secret Area starts with climbing this massive wall
Return to the Digit 2 Plain Landmark now and head west climb the first ramp and then look to the south to find a long walkway going around the corner where you’ll unlock the Rotating Bulkhead Landmark. This leads to Mechonis Field, your next destination for the story but ignore this for now and return to the Giant Mechon Debris Landmark and head southeast to unlock the final location, Radiocarpea Coast.
Questing Around Fallen Arm
With the area mapped out, it’s time to register the NPCs on your Affinity Chart and then undertake the Quests here. Start by heading back to Junks during the day and head inside to find Zilex who offers The History of Mechonis. Head up to the top floor here and speak to Voltak who will offer Save the Machina!. Leave Junks now and head up to the east to find Neonik before heading towards the shop to find Shiix. To the east of the shop you’ll find Rizaka and then take the ramp up to the eastern edge to find Kazat and Vronik where you’ll reach the entrance to the village. Jump over the side to the north and follow the edge around to speak to Orkatix then make your way along the pipe west of the shop to find Rakzet sitting on his own. Finally, head outside the entrance of the village to find Eleqa and Eiz either side of it.
Change the time to 21:00 now and head back inside the village, you’ll find Karlos just to the south and then head down the stairs to find Mixik. Head down towards Junks now to find Natalia who offers Food Delivery. Head toward Ether Light now to find Xekit there and then head east of her to find Prox who offers Mysterious Noises. Make your way around to the southern edge of the village now to find Qofaria and then return to Rakzet and he should now offer I want to be a Homs!. Switch the time back to 09:00 now and you’ll find that Rizaka now has a quest for you, Fixing a Broken Door which is the last of the Quests you can accept for now.
Save the Machina!
Voltak has asked you to collect 5 lots of Krabble Back Moss from Oros Krabble on the Fallen Arm. Oros Krabble are found in abundance on the beach surrounding the Wreckage Beach landmark. The Krabble Back Moss is a bit of a rare drop so you will likely have to farm the Oros Krabble for a short while to get 5 of the required material. Once you have 5 of the Krabble Back Moss, head back to Voltak in Junks to complete the quest.
Mysterious Noises
You may immediately pick up this quest after reaching the Hidden Village. Prox will ask you to investigate the Silver Wreckage on the beach. Fast travel to Wreckage Beach and head directly north to reach the Silver Wreckage. When you investigate the wreckage, you will discover what is making the strange noise. Head back to Prox in the Hidden Village to complete the quest.
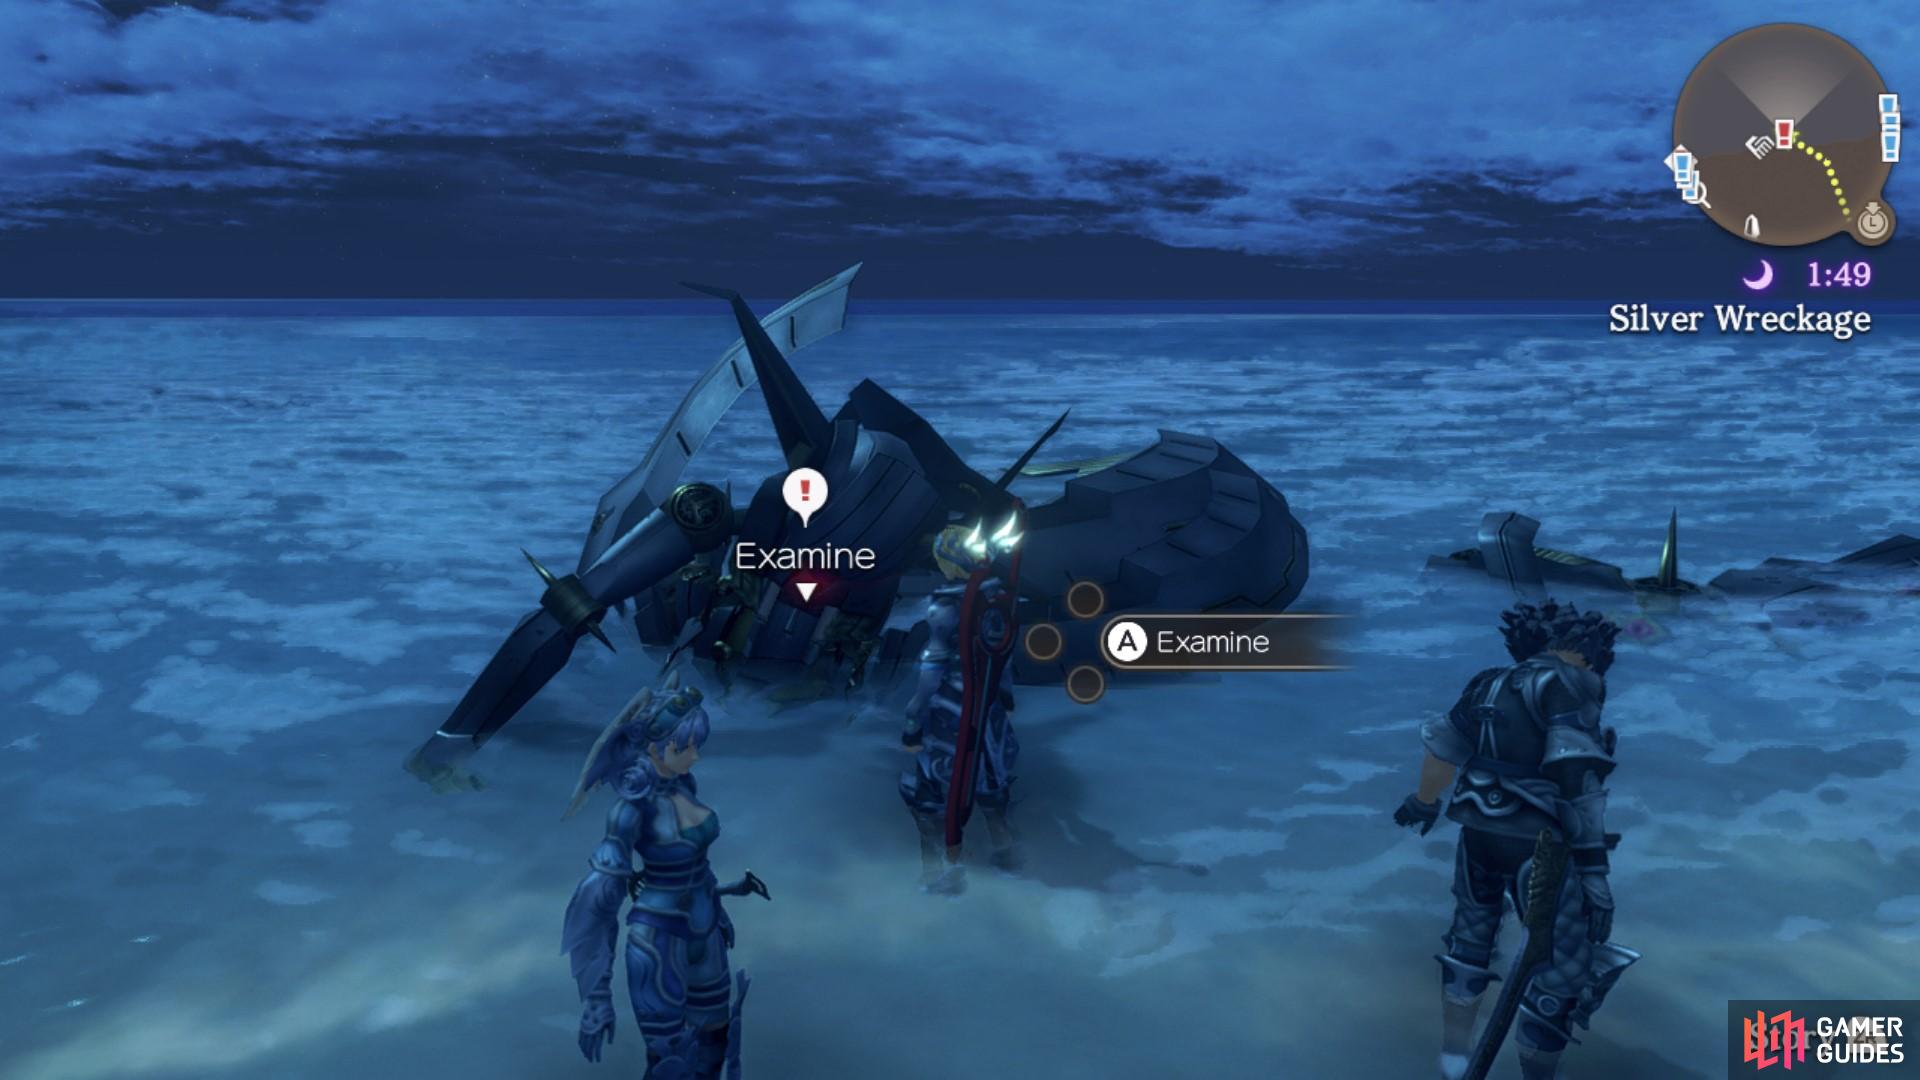
The Silver Wreckage is making strange noises that scare Prox!
I Want to be a Homs!
To access this quest, you must have Natalia registered on the affinity chart. Rakzet has told you that he wants to be a Homs! He has asked that you collect some items for him so that he can do so.
Material | Dropped by | Location
3 Poisonous Coral | Collectable | Fallen Arm
2 Silver Lexos Hearts | Sesna Lexos | Mechonis Wound (Valak Mountain)
3 Pretty Flamii Legs | Kukukoro Flamii | Wreckage Beach (Fallen Arm)
Once you have picked up all the materials required, head back to Rakzet to complete the quest.
Powerless
After you have completed I want to be a Homs!, you should be able to activate this quest from Rakzet. He will ask you to protect the village by defeating some enemies! You must defeat 4 Prado Upas and 4 Aura Antols, which can both be found in the 5th Pulse Zone. Then, after defeating them, you’ll need to fight 4 M35 Prototypes and 4 Lampo Ponios, which can both be found near Digit 1 Crevasse and the Giant Mechon Debris landmark. Ponios can only be found during the day though. Once you have defeated all the required enemies, head back to Rakzet to complete the quest.
Fixing a Broken Door
Rizaka’s door is very old and broken, she has asked you to collect the required materials to fix it. She needs 5 Digital Filaments and 2 Dated Frames dropped by M56 Prototypes. Digital Filaments are a common collectable found across the Fallen Arm. Dated Frames are a bit of an uncommon drop, but M56 Prototypes are found in abundance around Digital One Crevasse and north east of the Connecting Bridge landmark, so farming won’t be too tedious. Once you have all of the materials collected, head back to Rizaka to complete the quest.
The Wilted Flower
After you have completed a few other side quests from Hidden Village residents to raise affinity, and have completed Fixing a Broken Door, you will be able to pick up this quest from Rizaka. She will ask you to help her water her wilted flowers. She needs you to fetch Pure Water, which can be found at Zakt Spring south of the Wreckage Beach landmark. Return to Rizaka with the water and she will tell you that she also needs 5 Electric Upa Tears from Prado Upas on the Fallen Arm. They can be found specifically in the 5th Pulse Zone south of the Ulna Passage landmark. In the same area there will also be a level 57 Unique Upa-type monster called Affluent Beleth. It is advised that you do try to defeat it as it will 100% drop Electric Upa Tears, and the drop is slightly rarer from normal Prado Upas. Once you have 5 Electric Upa Tears, head back to Rizaka to complete the quest.
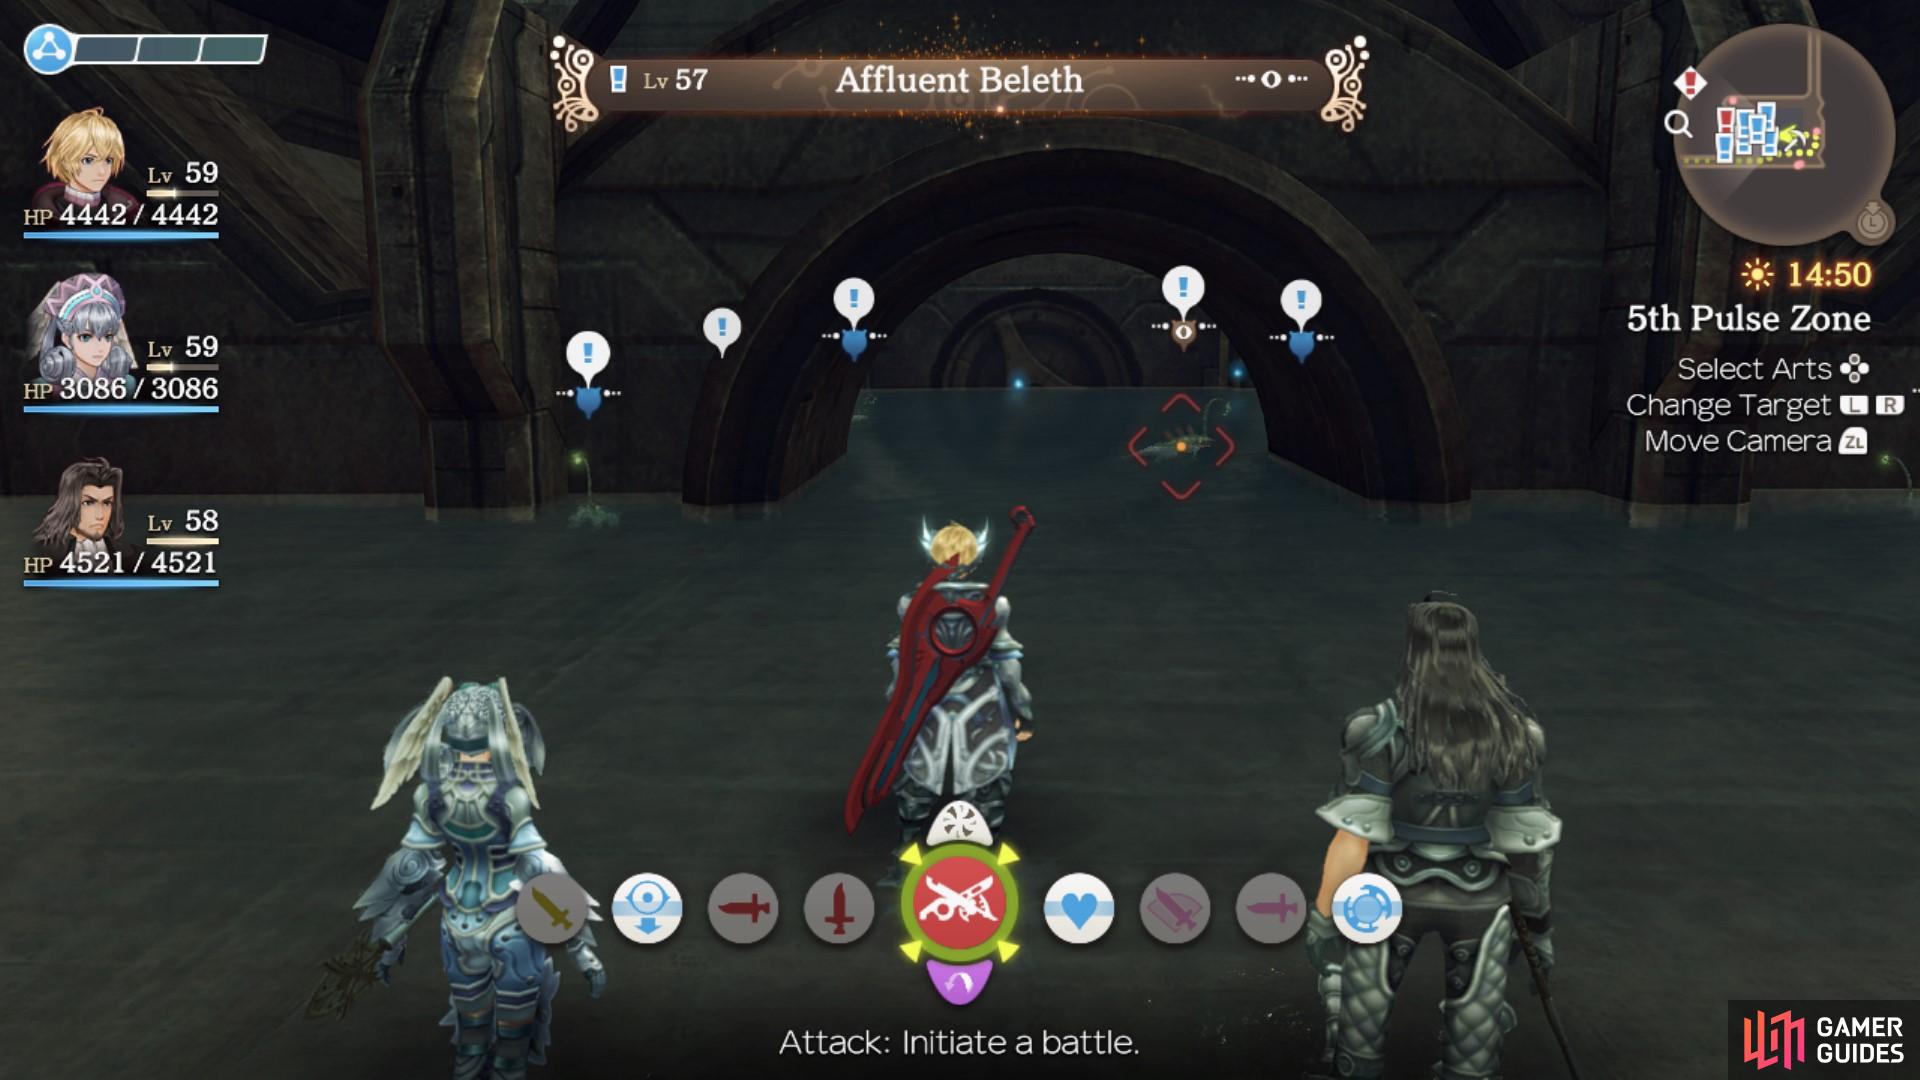
The Affluent Beleth is surrounded by lots of Prado Upas.
Food Delivery
Natalia will ask you to deliver food to Theo who is at the base of Digit 2. The base is found southwest of the Digit 2 Landmark. You will have to climb down a tall wall to reach the small platform that Theo and Zakort can be found on. Once you have spoken to Theo, he will give you a Deep-Sea Fish to return to Natalia as a gift. Be sure to pick up the Quest from Zakort while you’re here, For My Loved One… and then Return to Natalia to complete the quest.
For My Loved One…
Zakort will ask you to collect Tears of the Sky from Distant Fingertip. Distant Fingertip is a Secret Area on the Fallen Arm and to obtain the Tears of the Sky it must also be thunderstorming, which is a slightly rarer weather condition than just rain. If you reach the top of the fingertip whilst it is sunny, beware of the level 90 unique monster, Wicked Sallos who will attack you on sight. Fortunately, he does disappear in rain and thunderstorm conditions, so he won’t pose an issue to grabbing the Tears of the Sky. If you’re having issues getting the thunderstorm conditions naturally, then you may want to take the time to use the Change Time function in the Main Menu. You can fast forward time in regular intervals until you obtain the thunderstorm weather. Once you finally have the Tears of the Sky, head back to Zarkort to complete the mission. Be sure to pick up the follow up quest, To My Loved One… after but you’ll need to wait until you head to Mechonis Field to complete it.
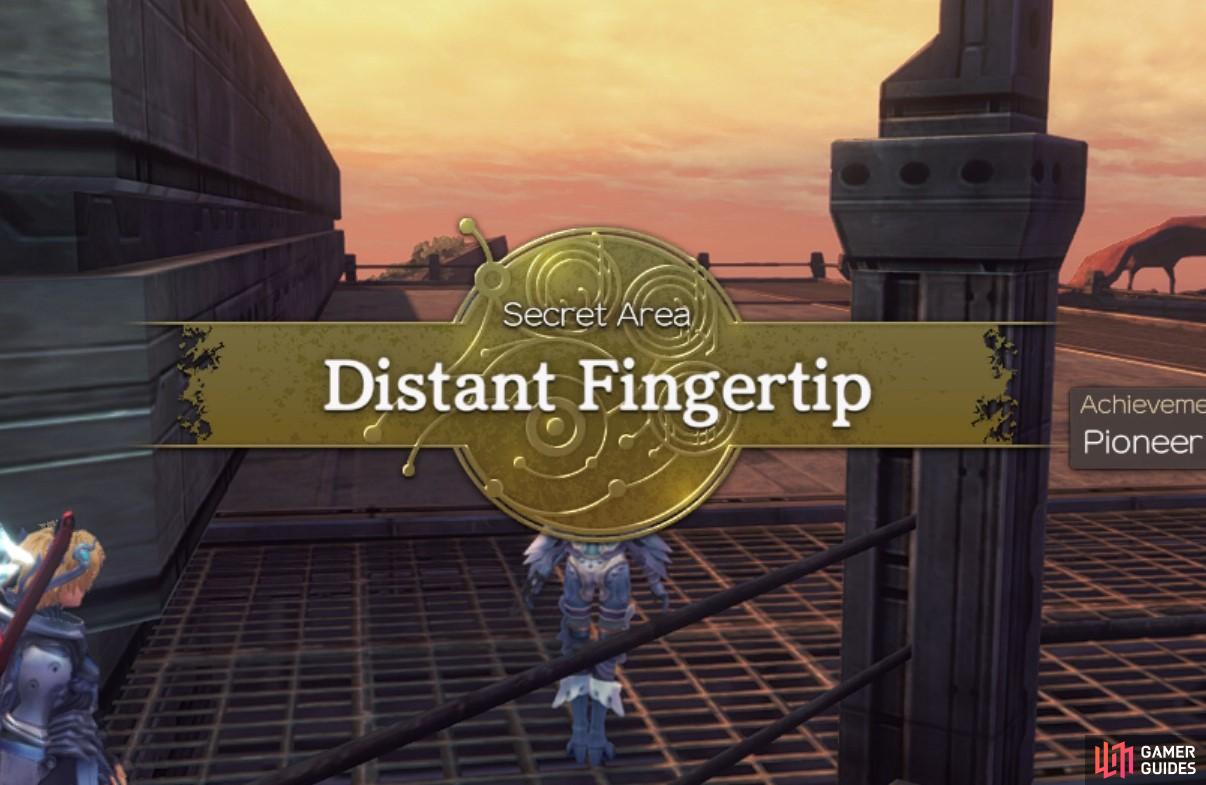
The Distant Fingertip is quite the climb up from Digit 2!
At this point, your Affinity should be high enough for the next set of Quests to become available. Make your way back to Junks and accept them all to continue questing, be sure to speak to Karlos at night with Fiora as the party leader to accept his Quest.
Eliminate the Threat
After you’ve completed Save the Machina!, Voltak will ask you to defeat the Broken Mechon. It can be found around Digit 1 Crevasse on the Fallen Arm. Don’t be fooled by its deceptive name, this broken little Mechon can still put up a good fight! Be careful not to aggro the M56 Prototype units around the area as well, otherwise you might have an even harder fight. Once completed, head back to Voltak to complete the quest.
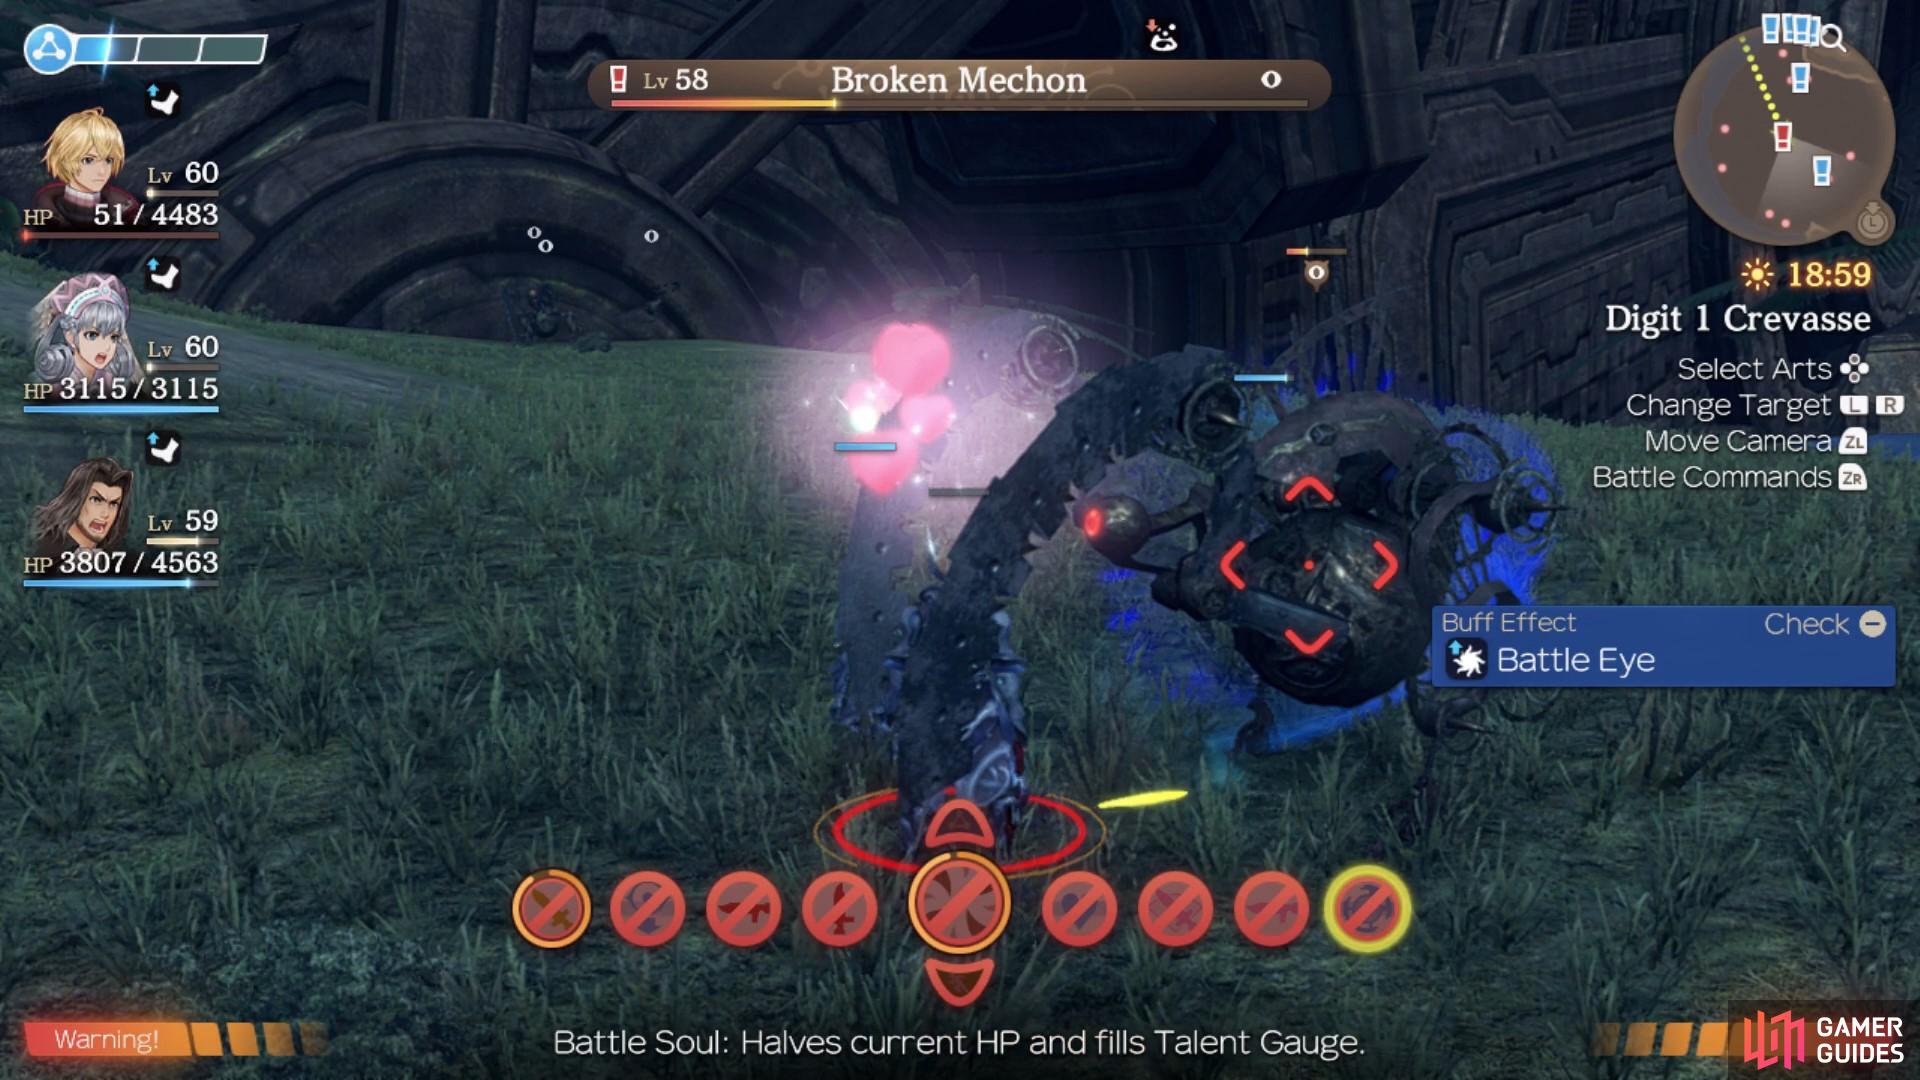
The Broken Mechon is a quest exclusive Mechon enemy.
Protect the Village
You will likely have to complete a couple of other side quests to raise your affinity before you can pick this quest up. Eleqa has asked you to help protect the village by defeating 3 M85 Meteor Artillery units on the Fallen Arm. They can be commonly found around the Connecting Bridge landmark. Take care when defeating these enemies, as it is likely that there will be numerous other Mechon enemies joining in, making it a harder fight. Once you have defeated 3 of the M85 Meteor Artillery Units, head back to Eleqa to complete the quest.
Stop the Mechon Rampage!
After you helped Eleqa in the quest, Protect the Village, she needs your help to protect the village again. She has asked that you defeat 10 M56 Prototypes on the Fallen Arm. There are a lot of this type of enemy around the Connecting Bridge landmark and Digit 1 Crevasse so it shouldn’t take you too long to defeat 10 of them. You can fast travel to Giant Mechon Debris landmark repeatedly in order to respawn the units in that area, making farming far faster. Once you have defeated all 10, return to Eleqa to complete the quest.
Power Up!
Once you have completed Powerless and reached 2✰ affinity with Hidden Village residents, you will be able to pick this quest up from Rakzet. He wants to be able to protect the village himself, so he has asked you to fetch him 5 Silver Antol Fibres that are dropped by Antols across Fallen Arm. The quest objective specifies that the drop is “very rare”, which is a bit discomforting, however, there are a fair few Antols around 5th Pulse Zone. They’ll all likely be a few levels lower than you as well, so farming won’t be too tedious. You can fast travel to landmarks to respawn and reset enemies so you will have an endless supply of Antols to farm until you have the 5 Silver Antol Fibres. There are also an abundance of Antol near Digit 1, southwest of the Giant Mechon Debris. You should be wary trying to defeat these Antols, as they are protected by a level 80 unique monster, Powerful Eligos. You will probably have a faster and easier time farming near the 5th Pulse Zone.
You could also trade for Silver Antol Fibre from Shilx if you have a 3✰ affinity with Hidden Village. Reaching 3✰ affinity is far easier in the Hidden Village than the larger areas like Colony 9 and Frontier Village so it shouldn’t take you too long to reach it if you do most of the side quests available to you. Once you have the required materials, return to Rakzet to complete the quest.
The Oath Sword
To activate this quest you must fulfill a series of prerequisites. Firstly, you must have already completed The Wilted Flower and have access to Mechonis Field. You must also have a 2✰ affinity with Hidden Village residents. And lastly, to access this quest, Fiona must be the party leader.
Karlos will ask you to find his Oath Sword in the area of the Power Pipe Ruins on the Fallen Arm. Reaching this area is a bit tricky without assistance, so firstly head to the Ulna Passage landmark. Then, head west just past the opening tunnel for the 5th Pulse Zone. On the same wall as the tunnel you should spot a Pressure Control Device that is distinguishable through its glowing red light. When you activate it, the light will turn green and the wall to the right of you will extend, revealing a climbable surface. When you climb to the top, you will be on the Upper Level of the Fallen Arm. To get to the Power Pipe Ruins, simply walk southeast from where you reached via climbing, and then climb back down into a small enclosed area where you will find the sword. After picking up the sword, head back and talk to Karlos again (still as Fiona) to complete the quest.
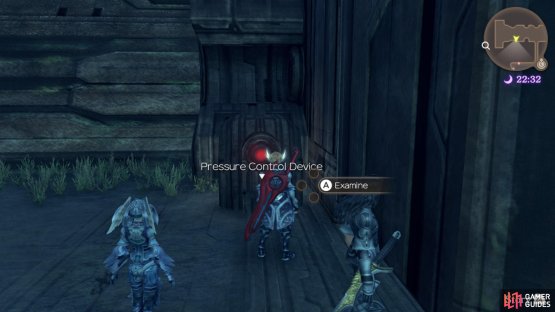
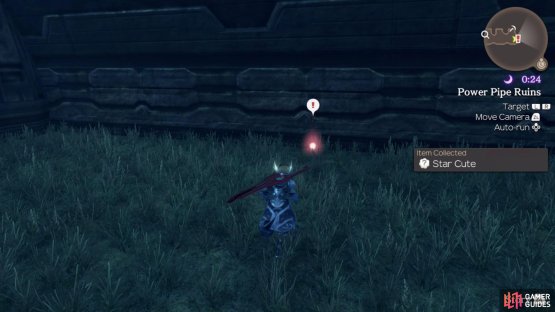
(1 of 2) The Pressure Control Device near Ulna Passage will reveal a climbing wall,
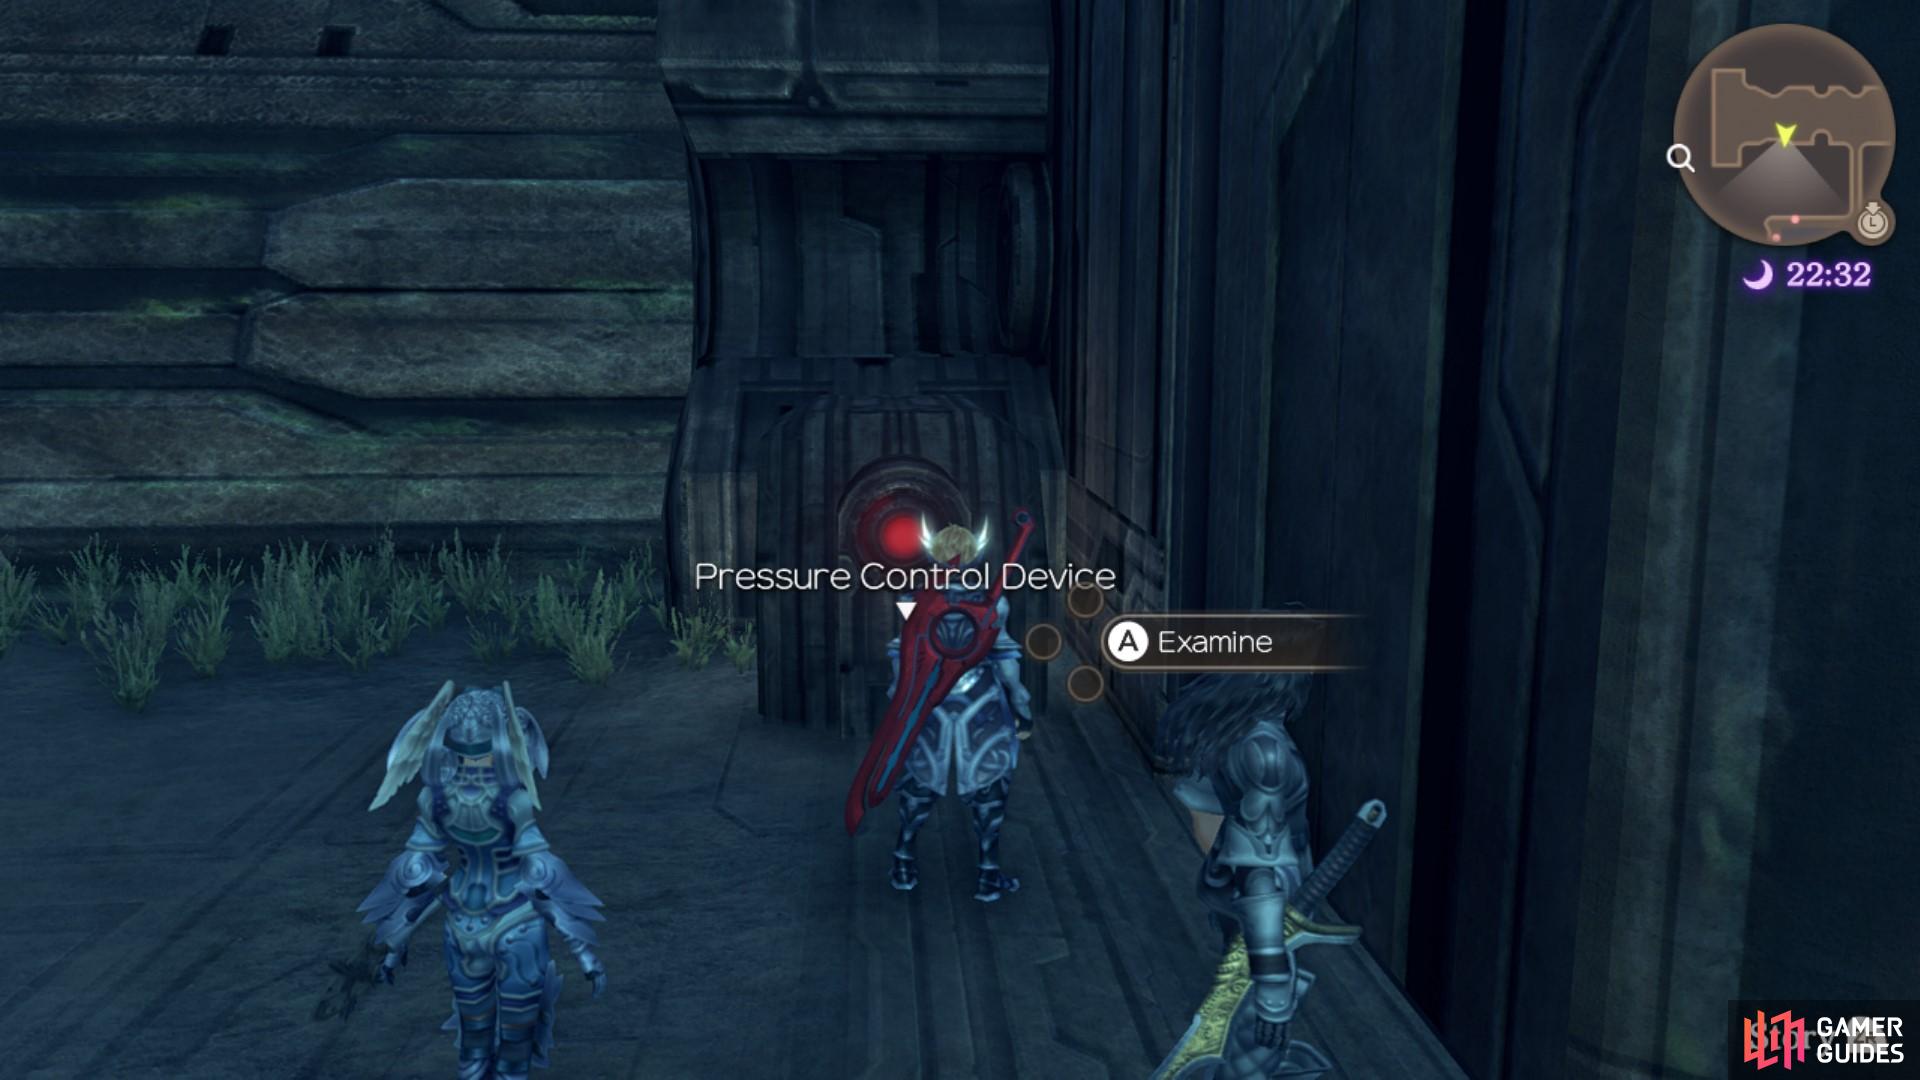

The Pressure Control Device near Ulna Passage will reveal a climbing wall, (left), location of the Oath Sword. (right)
Completing the quest will unlock Fiona’s Fourth Skill Branch, Rashness.

Fiona’s fourth skill branch, Rashness.
Scheduled Inspection
To access this quest, you must have already completed The Wilted Flower. Xekit will ask you to go to the Ether Exhaust System and eliminate any enemies in the area. The Ether Exhaust System can be reached via a short swim east from Black Wreckage. When you walk through the doors into the Ether Exhaust System you will be greeted by the level 54 unique Mechon enemy, Evil Bathin, who is flanked by two level 54 Offensive Security Units. You only have to defeat the Evil Bathin to complete the quest but you will probably end up defeating the lesser enemies too because they will aggro on you alongside the Evil Bathin. Once you have defeated the Evil Bathin, head back to Xekit to complete the quest.
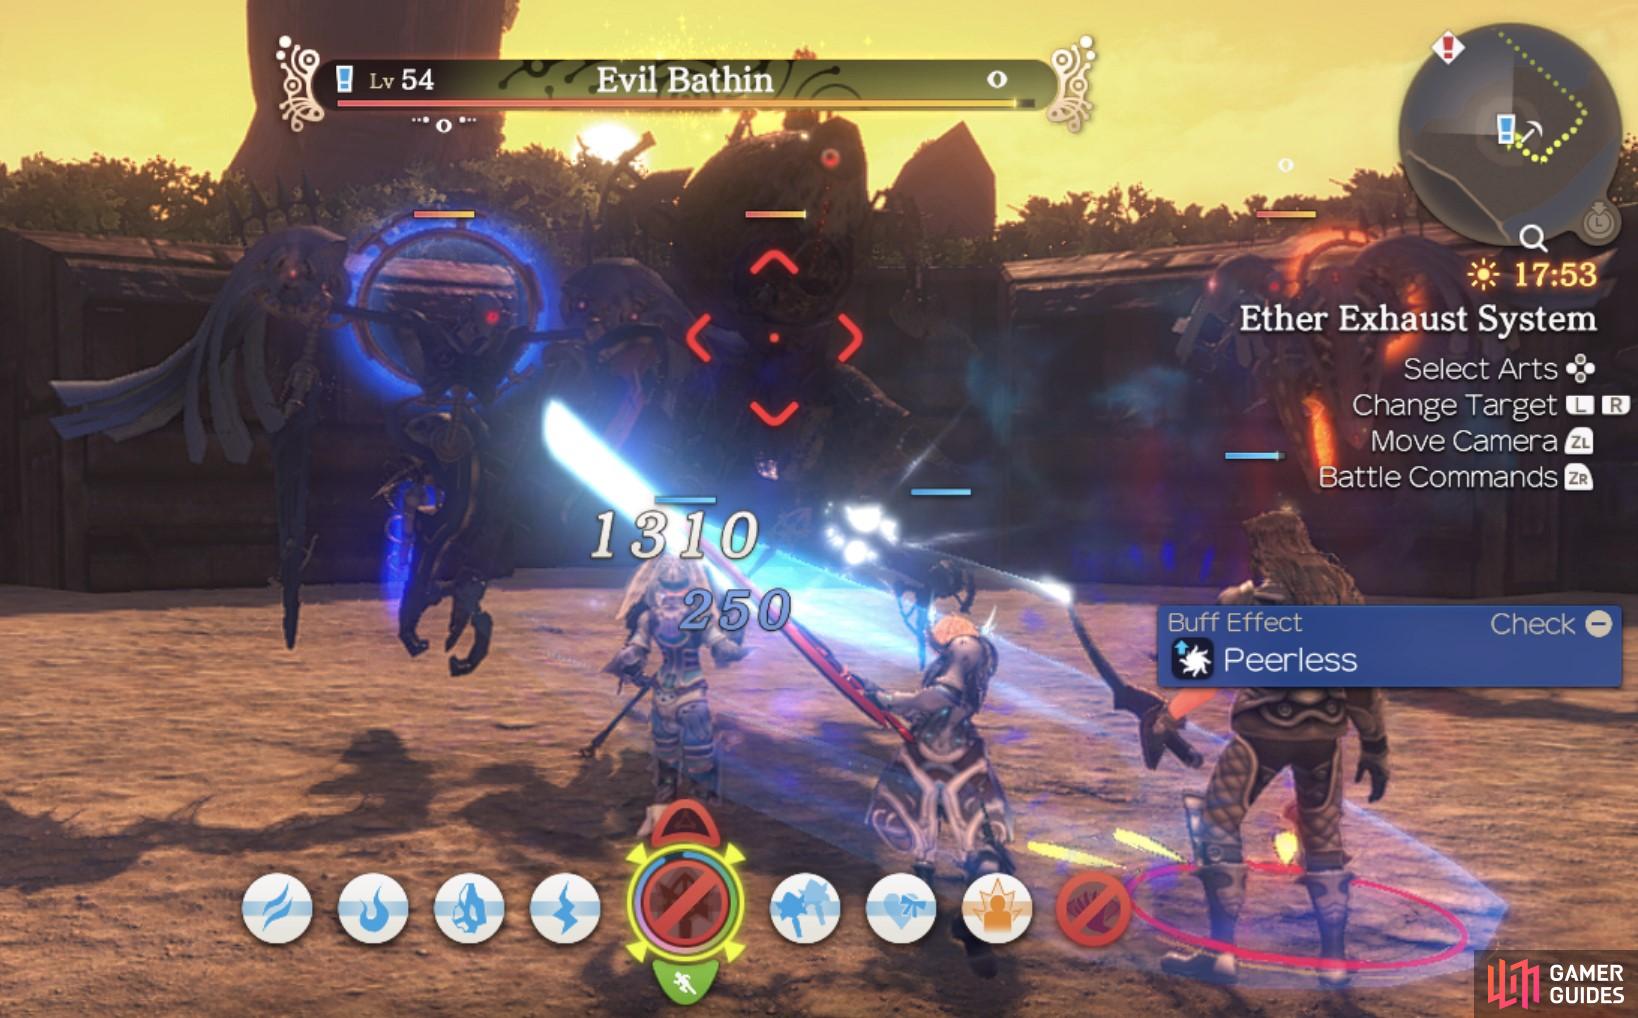
The Evil Bathin has taken control of the Ether Exhaust System and must be defeated!
A Tough Battle
Once you have reached 2✰ affinity with Hidden Village, you’ll be able to pick up this quest from Kazat. He will ask you to defeat 4 Offensive Seeker Units, 5 Caelum Volff and 2 Lelepago Pterix on the Fallen Arm. The Offensive Seeker Units can be found around the Connecting Bridge landmark, however, you should take care when fighting them as they automatically alert a Offensive Security Unit to fight alongside them, making the fight a little harder. The Caelum Volff and Lelepago Pterix can be found around Giant Mechon Debris at night. Once you have defeated all of the required enemies, head back to Kazat to complete the quest.
Mending Memories
This quest can be accessed once you have access to Mechonis Field. Mixik will ask you to fix a broken keepsake to stop her parents from arguing. Once you have accepted the quest, you will be given the objectives to speak with both her mother, Qofaria and her father, Kazat. Speaking to Kazat will activate the quest, Resolution - Father, and speaking to Qofaria will activate Resolution - Mother. Both of these quests must be completed before you can progress with and complete this quest.
Once you have completed the two other quests, you may return to Mixik with the collected materials. Giving her the materials will complete the quest. You’ll need to wait until Mechonis Field to complete the Mother side of this Quest but you can complete Father right now.
Resolution - Father
Once you have spoken to Kazat during the Mending Memories quest, this quest will automatically be activated. Kazat will tell you that he needs 2 Flier Bloom Scales to fix the keepsake. These can be harvested from Happiness Fliers found across the Fallen Arm. There are some nearby the Giant Mechon Debris landmark. Obtaining the 2 Flier Bloom Scales will automatically complete the quest. You will need to complete this quest and Resolutions - Mother to progress with and complete Mending Memories.
Therapy
To access this quest, you must have completed Stop the Mechon Rampage!, have 2✰ affinity with Hidden Village and have established an affinity link between Eiz and Eleqa. This can be achieved through talking to Eleqa and Eiz separately. Once you have picked this quest up, your first objective will be to talk to Eiz. After you talk to Eiz, you will have to speak to him three more times. After you have done that, return to Eleqa to complete the quest.
This is all the Quests you can complete in Fallen Arm for now, you’ll need to press on with the story a little before you can complete the next set. Before leaving for Mechonis Field however, take care of any new Heart-to-Hearts that you meet the requirements for and then return to Junks, there’s more Time Attack waiting for you.
| Challenge Name | Difficulty | Rewards |
|---|---|---|
| Third Wheel | 2/4 | Sun Visor, Water Frame, Water Arms |
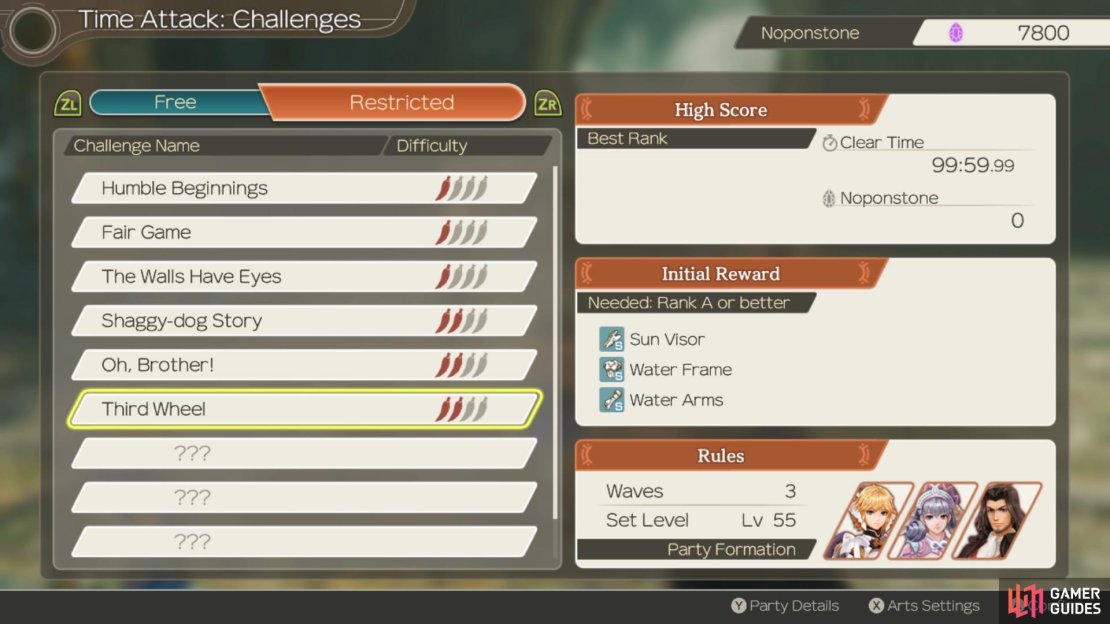
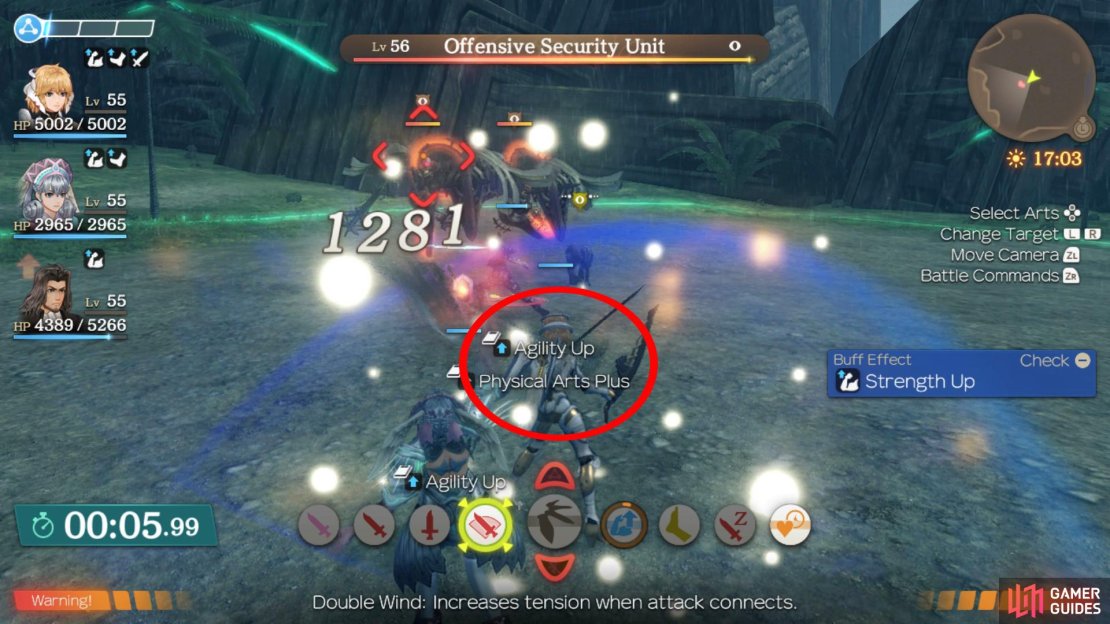
(1 of 4) Fiora is your party leader for this Time Attack
-
Wave 1 - Your party leader is Fiora this time and she comes with many powerful Arts, not least, the useful Cannon Drones Drones. Your first bout is against a Lv 56 and 57 Offensive Security Units along with a Lv 58 Caelum Volf and you’ll want to begin by keeping Second Gear up at all times to increase damage. Use Double Wind on cooldown to strike a group of enemies but save both your Chain Attack gauge and Talent Art for later waves.
-
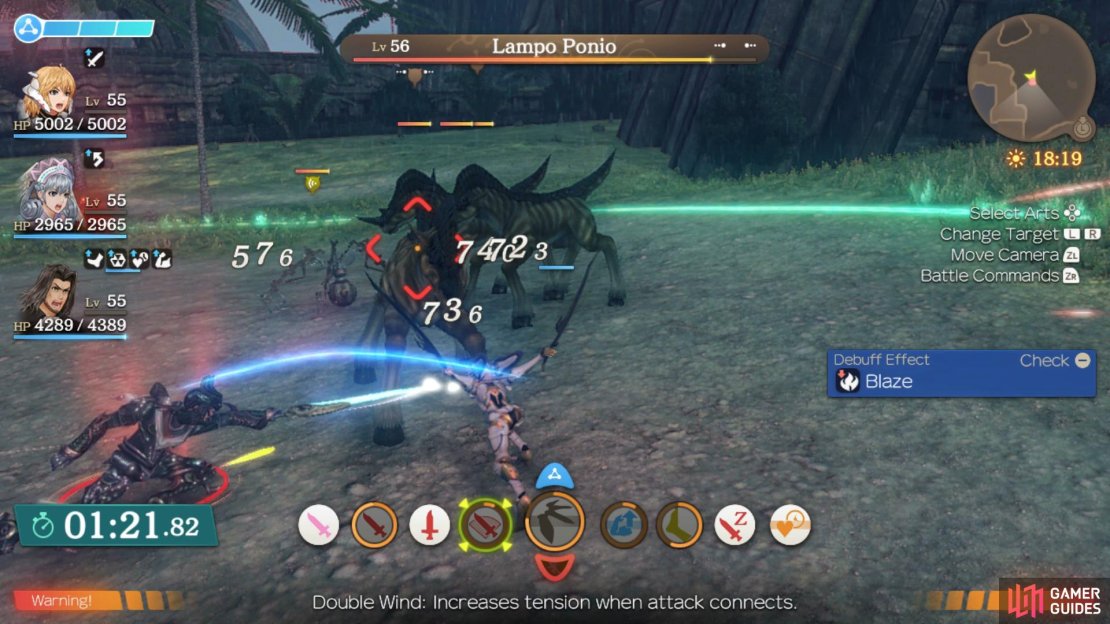
Wave 2 - This next wave is up against three Lv 56 Lampo Ponios and a Lv 58 Scout Unit Prototype and you’ll want to largely repeat the same tactics as the first wave to get the group of enemies down at once, leaving you with just the Scout Unit Prototype to focus down.
-
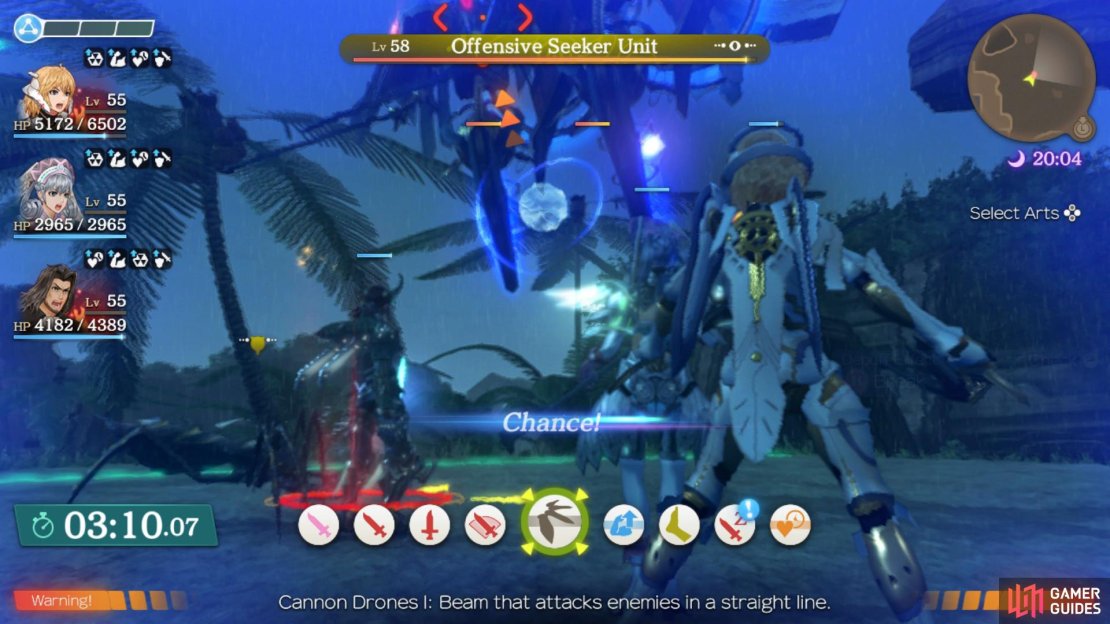
Wave 3 - The final wave is against two Lv 58 Offensive Seeker Units and a Lv 60 Rius Antol and hopefully you have your Talent Art and Chain Attack available. Be sure to activate Second Gear before triggering the Chain Attack and then make use of both Double Wind and the Cannon Drones Talent Art to his all of the enemies. At this point, go all out on whatever enemies remain, making use of Double Blade to get behind your targets for more damage.
Once you’ve taken care of everything, make your way to the Rotating Bulkhead Landmark and pass through the now open gate to press on to Mechonis Field.
No Comments