


You’ll find yourself just outside of Alcamoth as Teelan awaits you at his laboratory. Before you set off though, you should find a Somnivore Lexos flying around the transporter, be sure to defeat this to obtain a Faded ID Tag and then warp to the Barouh Plaza Landmark nearby. Head around to the east here (ignoring the cave entrance) and you’ll eventually trigger a Surprise Quest.
No Armu Done
This quest will trigger when you approach Laffaelle near Thulles Way. It is only available to activate once you have been to Alcamoth. You will be required to save Laffaelle from 3 Antol enemies that have cornered her on a cliff edge. Once you have defeated the enemies, speak to her to complete the quest.
Ignore the path to the east for now, you’ll be heading that way shortly for the story so warp back to Zephyr’s Counsel and begin making your way north across the stream, heading as far north as you can (ignoring the western entrance way for now) and you’ll find your next Ponspector Quest.
Favour for Fofora
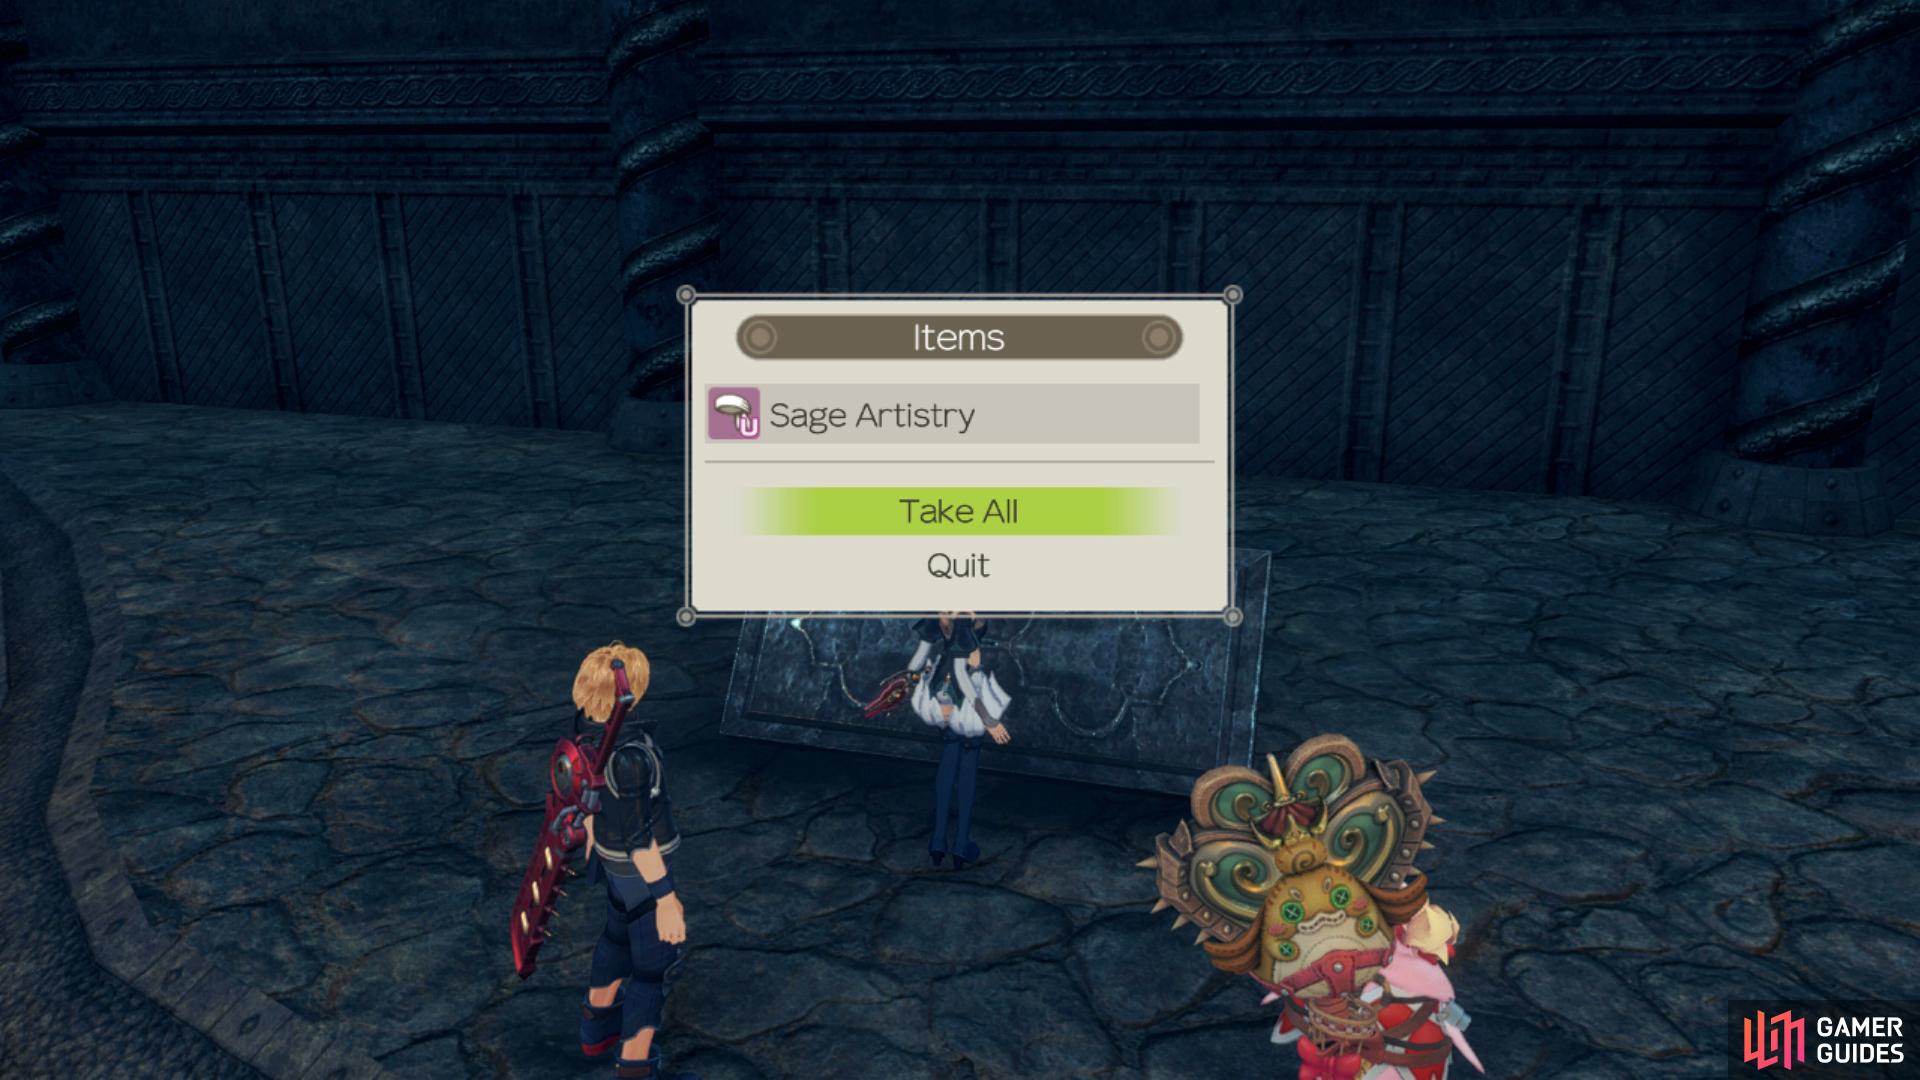
You can find Fofora nearby the Xen’s Thoroughfare landmark. She asks you to defeat 3 Kromars in the vicinity so that she may travel safely to survey the area. The Kromars she speaks of will be through the arch way near the landmark, and then to the right when you walk through. They’ll be to the north, blocking the way that Forfora needs to go to reach the otherside of the area. When you defeat the Kromar enemies, return to Fofora, who will then travel to the other side of the area. To complete the quest, you’ll have to walk over to her via the area you cleared of kromars. Be careful though, as there are some tough enemies guarding the area, but you should be able to avoid them if you want to. While you’re here, be sure to check out the ruins for the first of the Giant’s Troves here that contains an Ancestral Aristry and Electric Plus IV.
When you have completed the quest, Fofora will become a Ponspector in your party. She is of the Yellow team, which means she has a debuffing signature move.
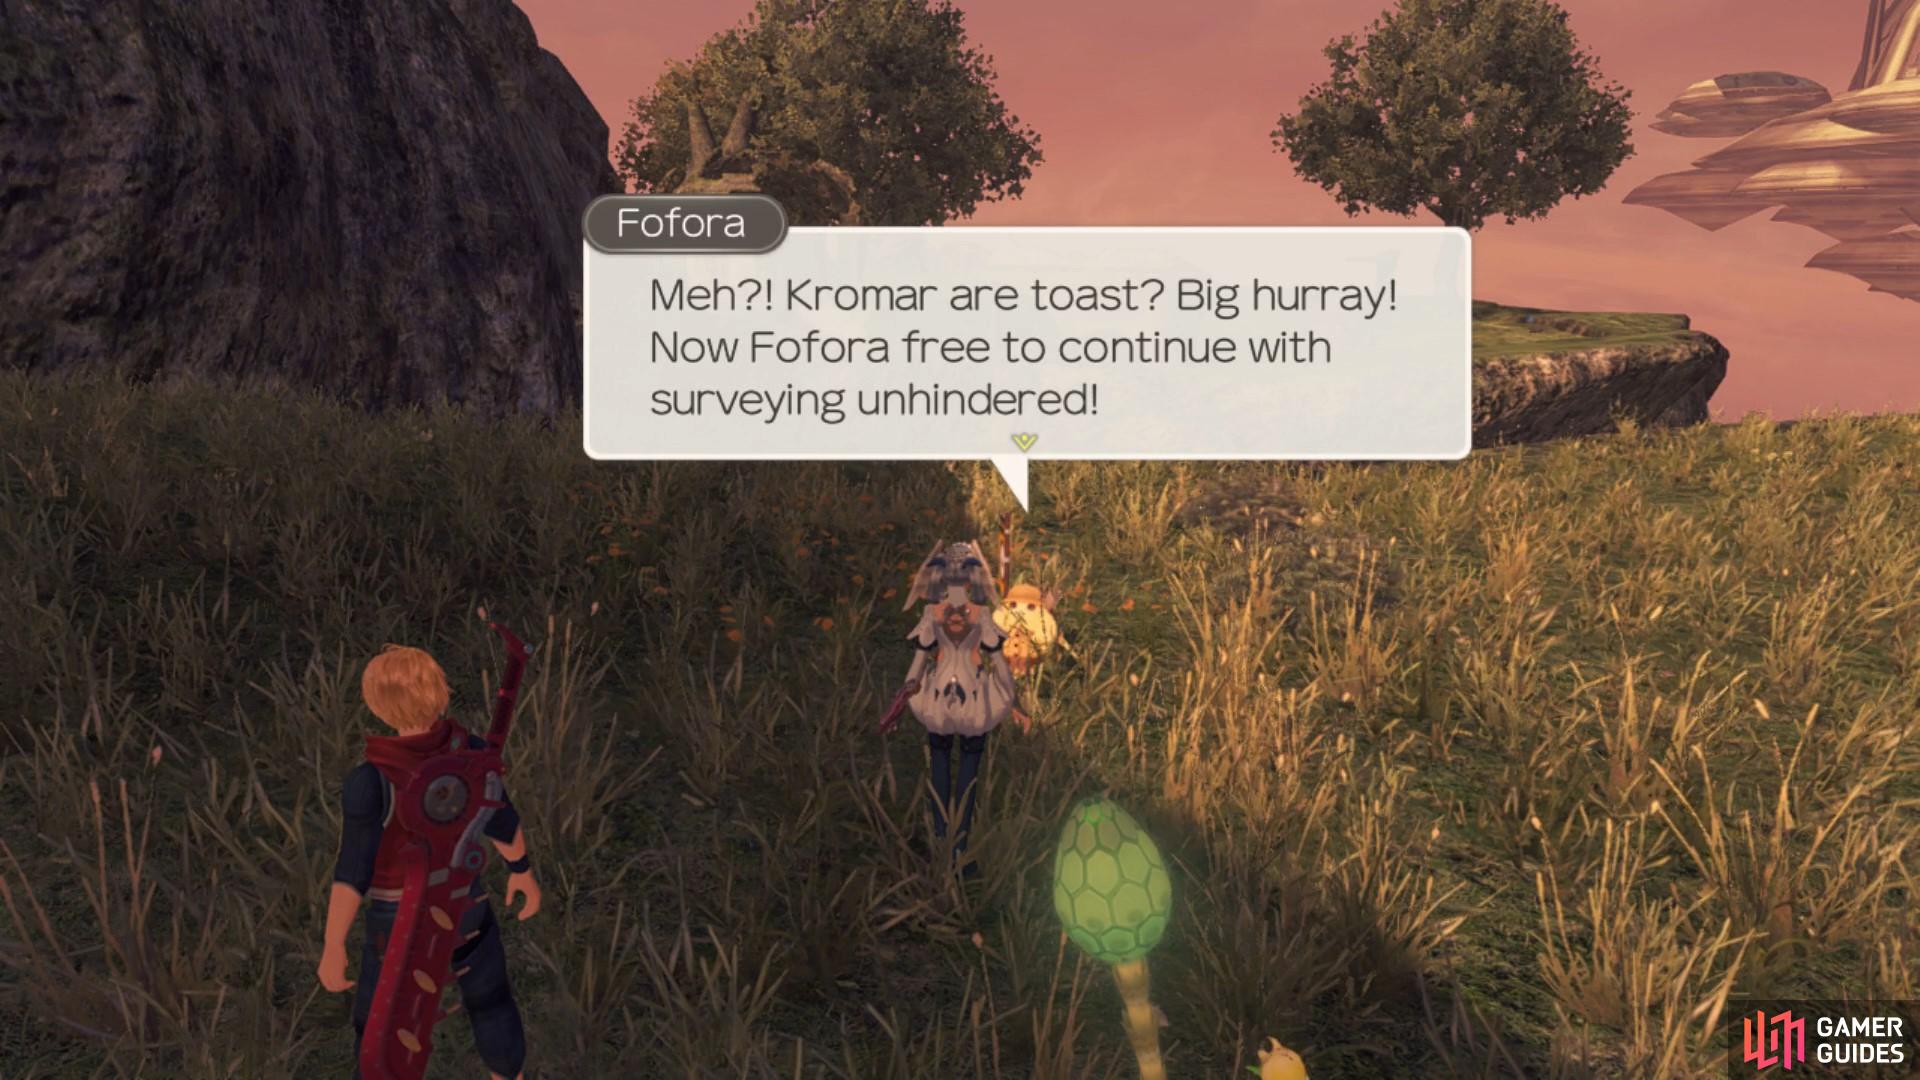
Defeating the Kromars means Fofora can complete her surveying work.
Return to Xen’s Thoroughfare now and you’ll find Lavean nearby who will ask for the ID tag that you found back on Soltnar Island. Agree to hand it over to him and he’ll then offer a Quest in exchange.
Brother’s Keepsake
This quest will become available when you have defeated the Somnivore Lexos at Soltnar Seal Island, on the way to Alcamoth. You will have the option to give the ID card you found to Lavean after you’ve been to Alcamoth, who will then ask you to also find his brother’s bangle near Shoulderstone Scree. When you approach the area, several Eluca enemies will spawn from the ground. You’ll likely have to defeat them first to pick up the bangle. When you have the bangle, return to Lavean to complete the quest.
Return to the raised area you was on a moment ago now and where you found the bangle, head east through the archway to unlock the Abaasy’s Domain Landmark where you’ll find the next Ponspector to the east of it.
Riddle Faifa This
Faifa is found near Abaasy’s Dorsum, which is south of Xen’s Thoroughfare. She will first ask you to fetch her a Skymole, which is a collectable found on the Bionis’ Shoulder. Return to her and she will then ask you to defeat a Green Feris, which can be found in the plains just beneath the ledge that you find Faifa on. You can jump down, but you will take a little damage. Once you have defeated a Green Feris, return to Faifa to complete the quest.
When you have completed the quest, Faifa will become a Ponspector in your party. She is of the Blue team, which means she has a healing signature move. While you’re still up here, head south to find the Quiet Moment to register to your list for later. Return to Xen’s Thoroughfare once again, go north once more and this time, take the slope up to the area running above. Continue heading southwest along this path to unlock Lamentation Ridge and eventually you’ll be able to drop down off the southern edge. Look for a small path running down to the west (use the map to help you see this) and you’ll find the next Ponspector waiting for your aid.
Hekasa’s Labour at Stake
Hekasa will ask you to take her stake to the lakeshore near Junks. Before you head off however, return to the east from Hekasa and head all the way to the south to unlock the Secret Area, Cloudtop Lookout making subsequent trips to Hekasa a lot easier. Once you’ve used the Stake near Junks, head back to Hekasa, who will then tell you to go defeat Ramrod Tirkin. It can be found in the higher regions of Navvir Highlands. When you defeat it, you will receive Hekasa’s stolen stake. Return it to her to complete the quest.
When you have completed the quest, Hekasa will become a Ponspector in your party. She is of the Blue team, which means she has a healing signature move.
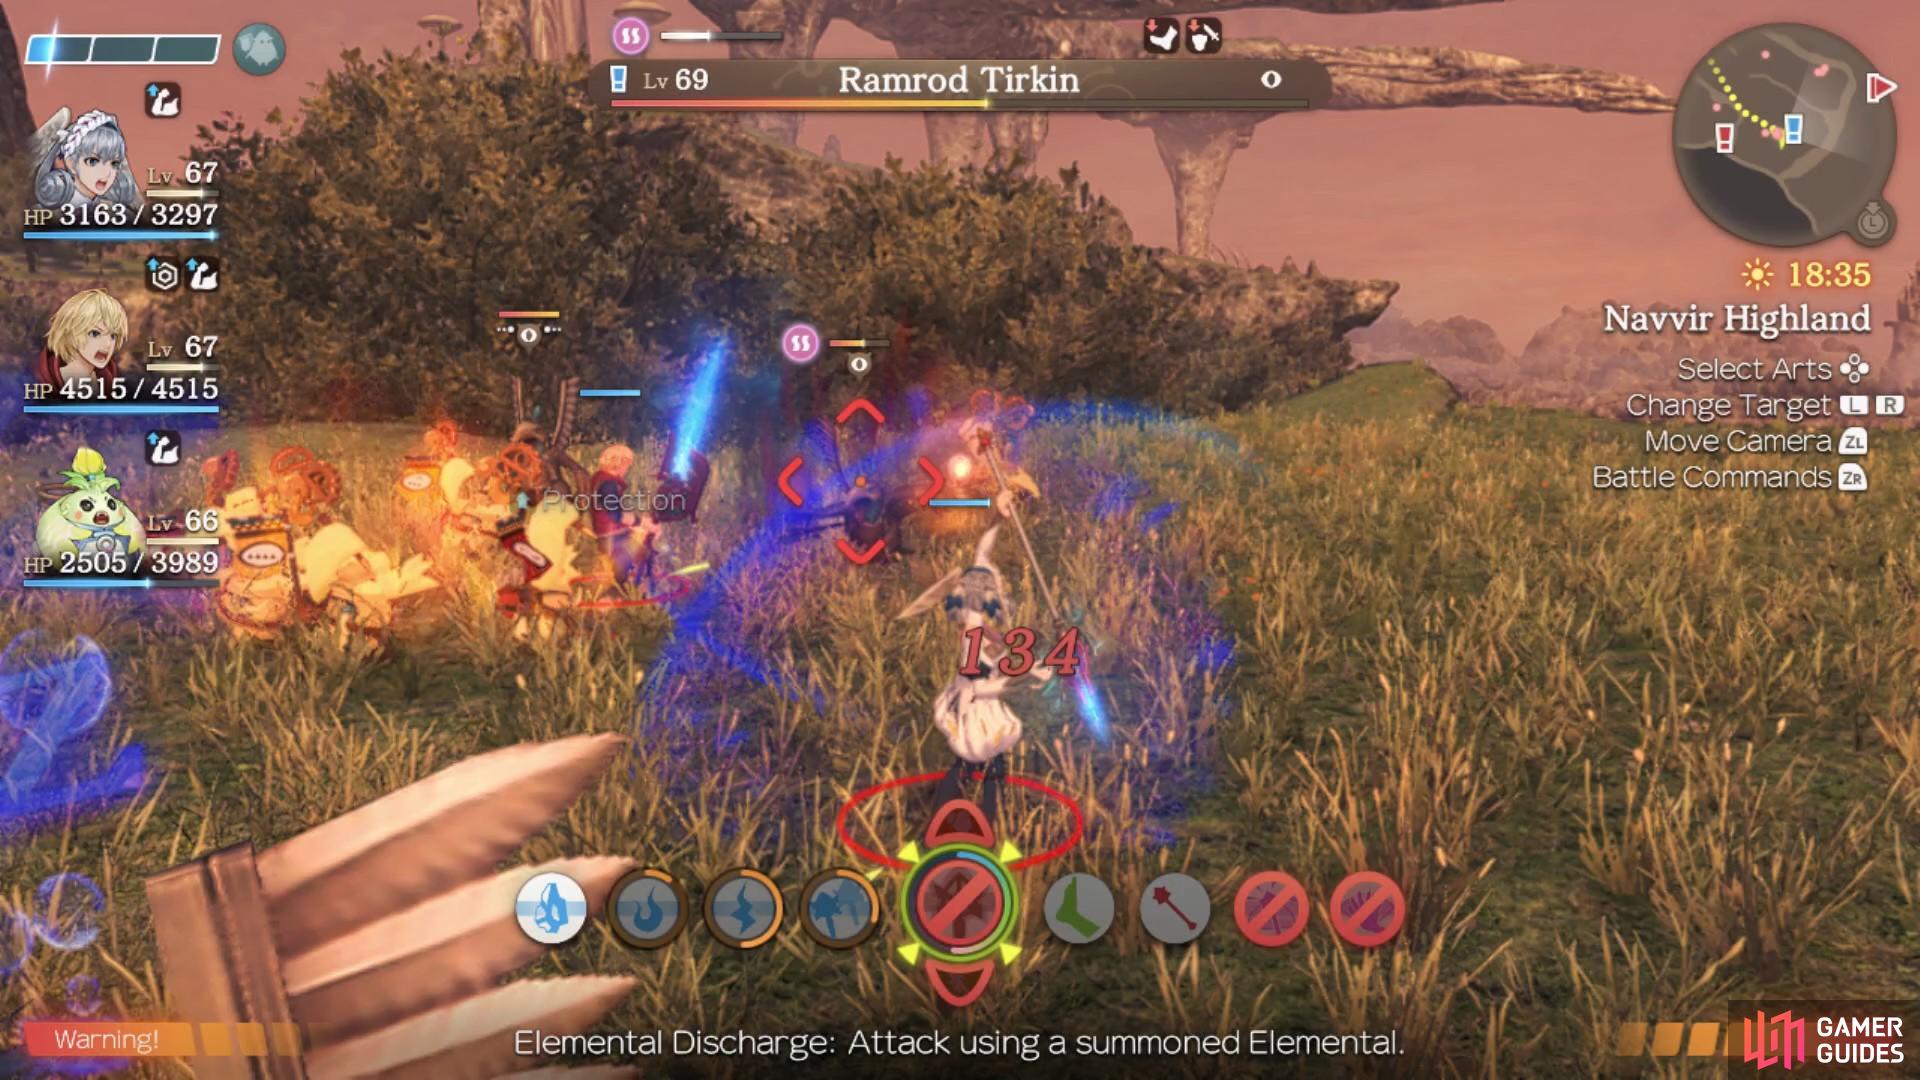
The Ramrod Tirkin is the thief that stole Hekasa’s Stake.
With that detour taken care of, return to Xen’s Thoroughfare once again and this time head west to reach the Skybridge Landmark leading to Teelan’s Laboratory which triggers a scene when you approach the door. With Gran Dell your next objective, leave the laboratory and head back across the Skybridge where you can head west to find the next Quiet Moment, Family Relations, between Melia and Nene. Make you way as far west as you can from here to find Pororo who will offer another new Quest for you.
Lost and Found
There’s not too much to explain about this Quest, scattered around Bionis’ Shoulder is 20 of Pororo’s Favourites identified with a red orb, some of which you may have already picked up. Be sure to head back to the previous areas you explored and pick them up before continuing on.
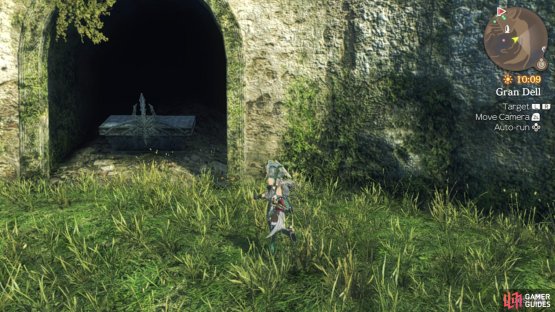
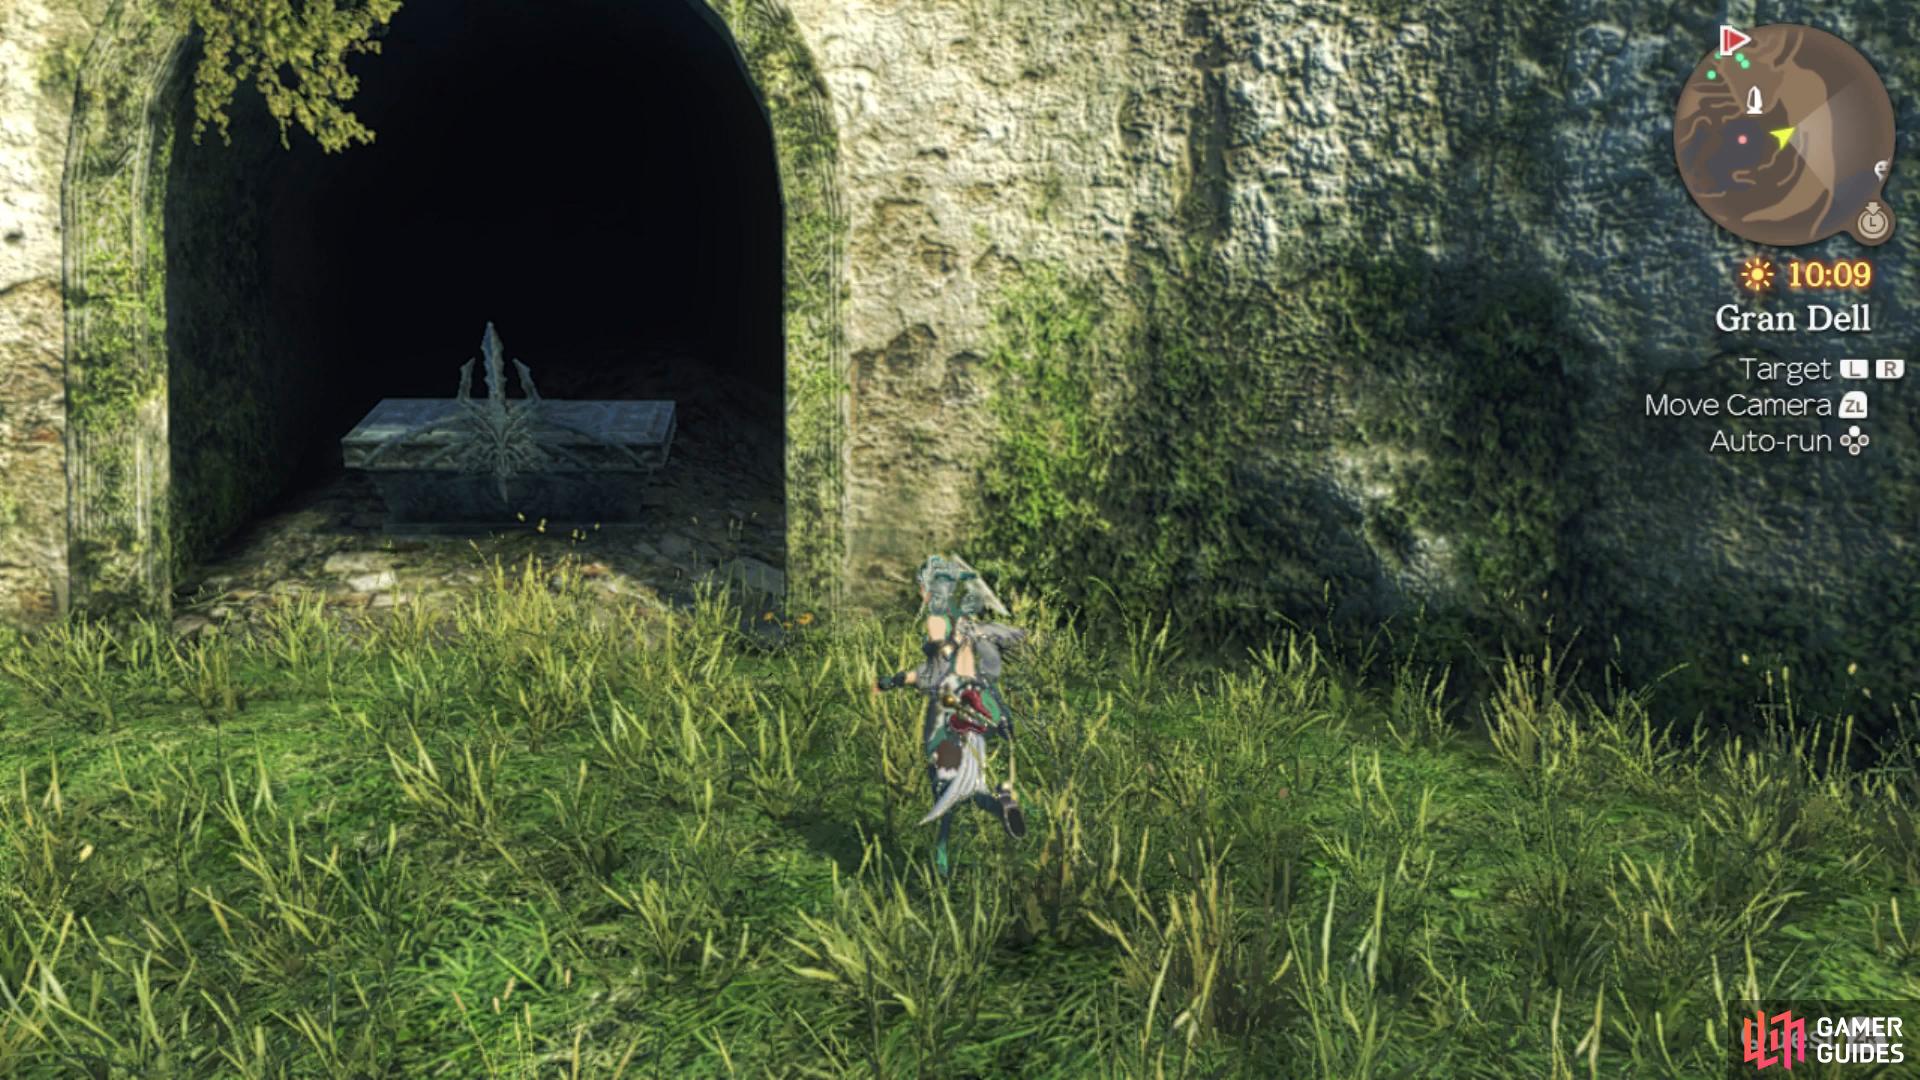
Gran Dell lies far to the east so return to Barough Plaza and head around the side of the cave to the east. Gran Dell lies further to the east but before you head that way, head north to check out the lower part of the western side of the map. Continue to follow this path around to the west and you’ll unlock Fyme Lane and then northeast from an Ether Deposit, another of Pororo’s Favourites. Shortly after this, you’ll come across a Lv 69 Unique Monster, Confluent Uzva (along with another Pororo’s Favourites) and just past it to the west is the Scapular Lance Landmark. Continue along this western path and you’ll reach Gamaro Hollow followed by the next Ponspector Quest along the northern wall.
Nonona’s Calling
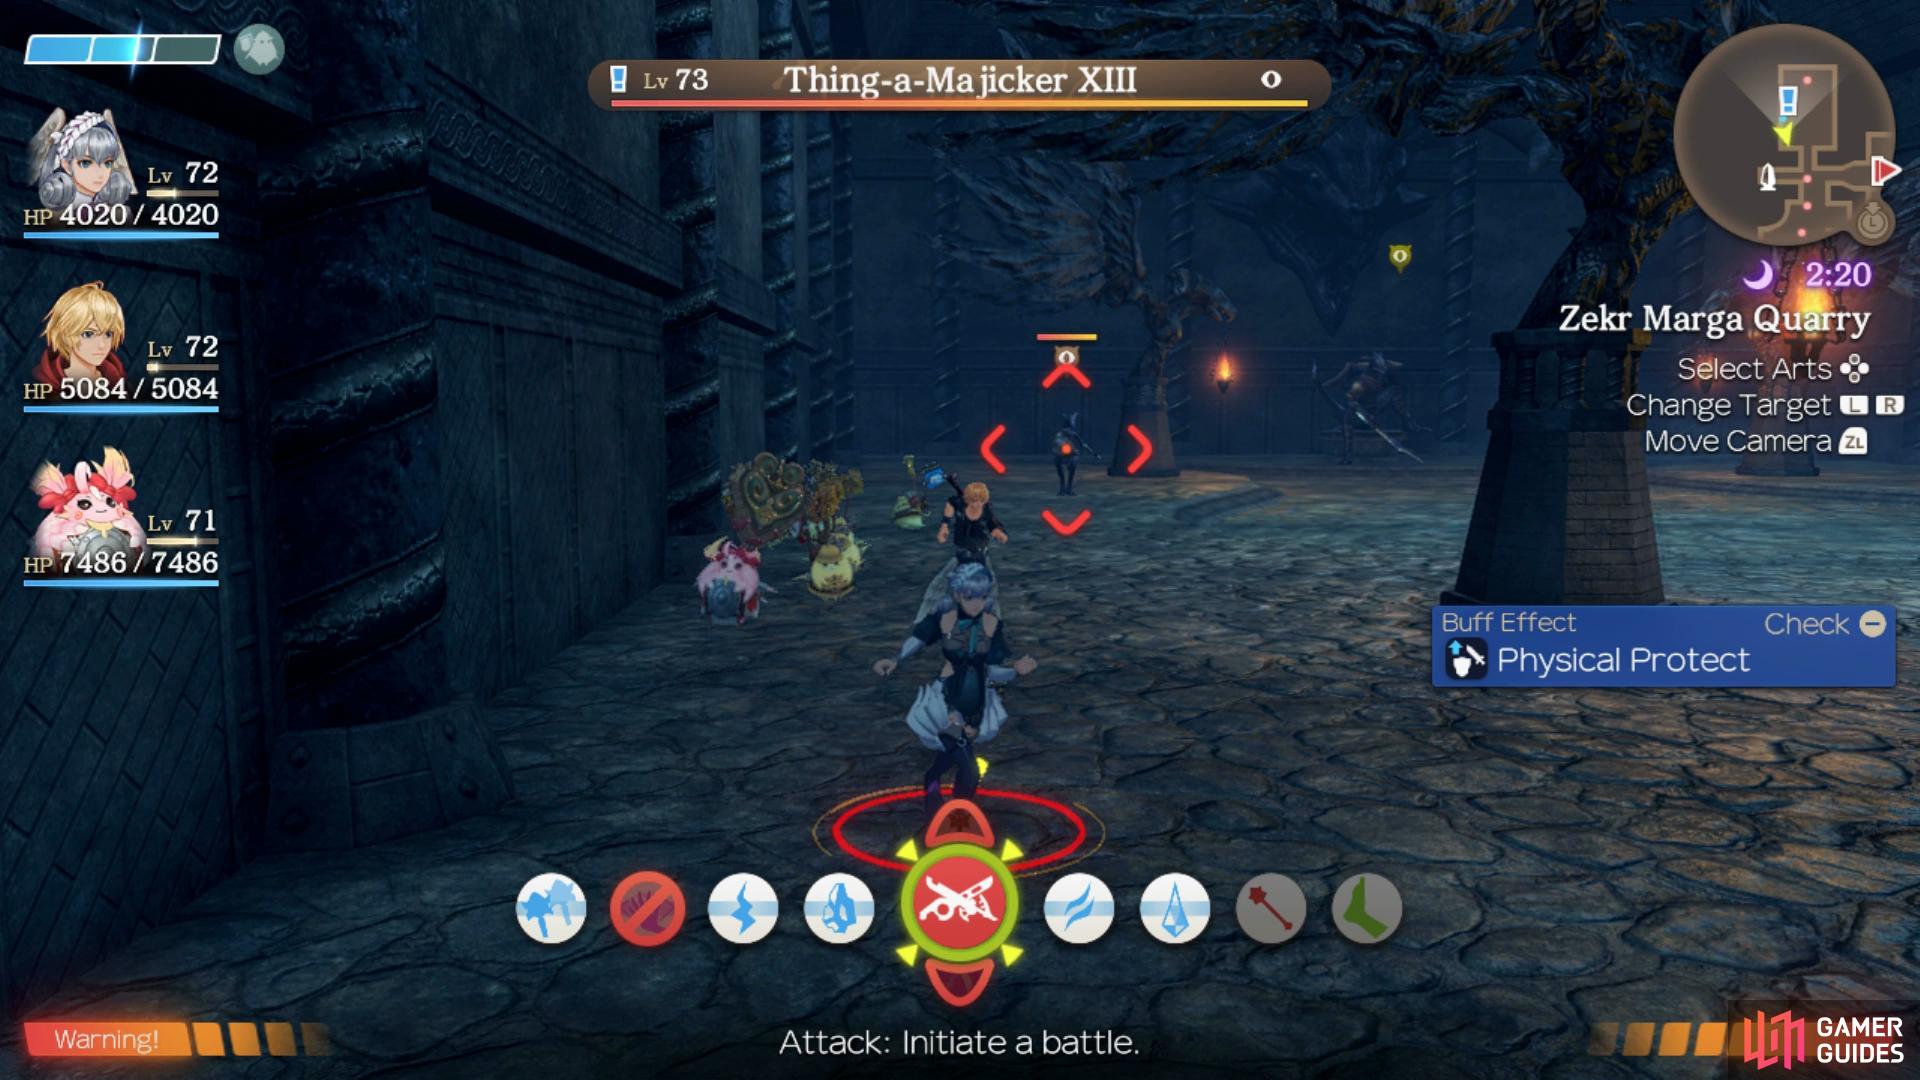
Nonona will ask you to defeat the Thing-a-Majicker XIII. This enemy can be found in Zekr Marga Quarry near the Quarry Colonnade landmark, a short walk west of where Nonona is. This area is filled with a lot of tough enemies, so be careful not to aggro too many at once as you make your way through the quarry. Before you enter the room where you find Thing-a-Majicker XIII, you can trigger a landmark to the left of the room entrance called Marga’s Weeping. This makes it a lot easier if you die in the battle against the enemies within the room, since you won’t have to traverse through the whole quarry again when you respawn. Firstly, guarding the entrance is an Ammos Orluga. It is advised you defeat it before aggroing the enemies within the room. You can then use the Lure tactic to lure only the first two enemies in front of you. The Goldi Kromar and Ether Igna guard Thing-a-Majicker and the level 77 unique enemy, Ravager Apelpisia. After defeating them, you can actually use the Lure tactic again and only aggro Thing-a-Majicker without alerting Ravager Apelpisia. After slaying Thing-a-Majicker, you will receive Nonona’s License; return this item to Nonona to complete the quest.

(1 of 2) You can pull Thing-a-Majicker XIII away from the fearsome Unique Monster
You can pull Thing-a-Majicker XIII away from the fearsome Unique Monster (left), however you can claim another Giants’ Trove should you be able to defeat it. (right)
When you have completed the quest, Nonona will become a Ponspector in your party. He is of the Red team, which means he has a offensive signature move.
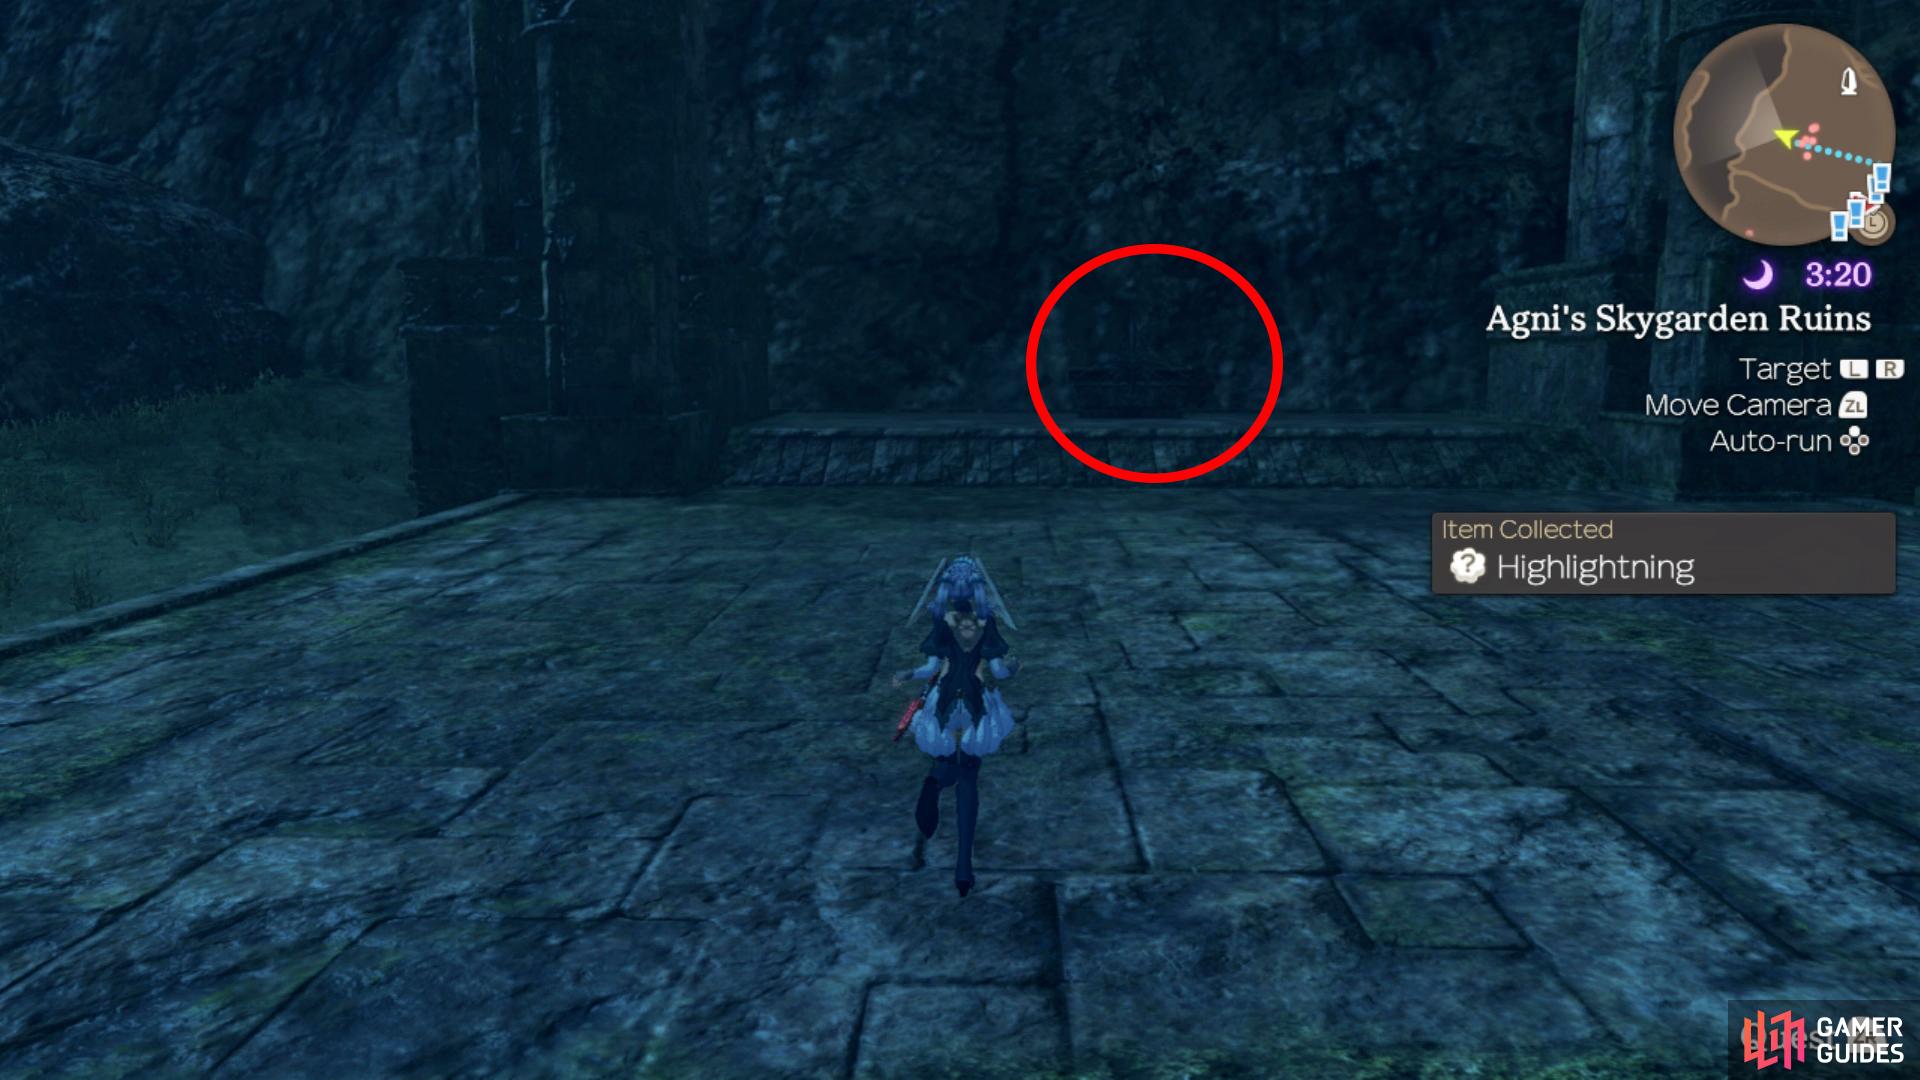
From Nonona’s position, take the hill up to his east to unlock the Old Expedition HQ Landmark while you’ll also find an Ether Deposit up here. That’s all for the western side of the Shoulder so return to the Barouh Plaza Landmark and continue east at the next intersection where you’ll unlock the Thulles Way Landmark. Head northeast here to find another of Pororo’s Favourites and then go northwest into Old King’s Testament where you’ll find a LV 70 Unique Monster, Cyclonic Yughana. After it’s defeat, claim the Ether deposit and then use the fallen pillars in this room to climb to the top to reach Agni’s Skygarden Ruins where the next Ponspector is.
Ready, Setset, Go!
Setset will ask you to defeat 3 Bodacious Rhoguls on the terrace of Whisperwind Crossing. You reach Whisperwind Crossing by heading over towards the narrow bridge connecting the mainland near Pillar Knoll to a tall tower to the north east. After defeating 3 Rhoguls, head back to Setset to complete the quest.
When you have completed the quest, Setset will become a Ponspector in your party. He is of the Red team, which means he has a offensive signature move. Before you leave this area however, head west to find a Giants’ Trove containing Martial Artistry and Aggro Up IV. Drop down to the field below now and continue heading east here to reach the Gran Dell Ramparts Landmark where you’ll trigger a scene.
Gran Dell Approach
Before you press on, head up the northern side of the Ramparts to find some stairs leading up, take them and then return south to find the next Giant’s Trove, this one housing a HP Up IV Gem that you should slot right away. Head directly east from here and you’ll reach the Angi’s Birthplace Landmark which has a Quiet Moment for you to register for later and another Pororo’s Favourite in the nearby ruins. Southeast from here, you will pass through Halcyon Wheats and Ines will be in one of the nearby fields who offers New Way of Life while if you head west of her you’ll find a Quiet Moment to register and east of her is another of Pororo’s Favourites to pocket.

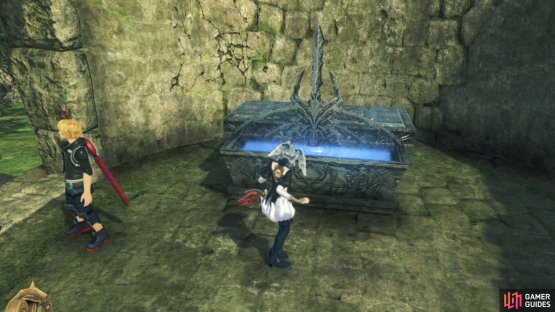
(1 of 2) You can find another Giants’ Trove at Agni’s Skygarden Ruins

You can find another Giants’ Trove at Agni’s Skygarden Ruins (left), while another awaits you in one of the Gran Dell Ramparts’ towers. (right)
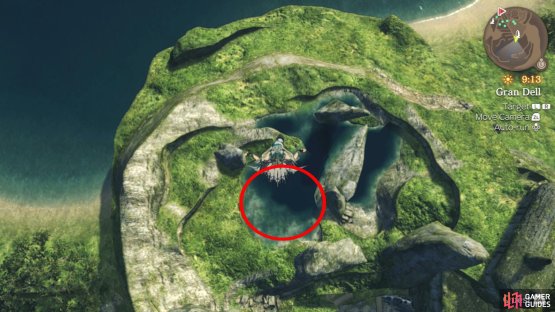
Further east from here is a Nopon by the name of Shoo-Shoo who you will need to place Nene as the party leader before she will offer Inclined to Climb. Continue your exploration by heading southeast to an Ether Deposit and then west from there to find another Quiet Moment to register for later. Make your way across the lake, Tranquil Tarn now to find a small island in the middle where you’ll unlock the Prayer Rock Landmark where you’ll find the Lv 74 Unique Monster, Citadel Tostega.
Make your way directly south from this island to find yet another of Pororo’s Favourites and then head northwest from there to find a Lv 73 Unique Monster, Terpsichorean Cenoth. Defeat the enemy and then speak to the next Ponspector, Tutu to pick up the next Quest.
Tutu’s Lost Property
Tutu will ask you to collect his Mirror from Tranquil Tarn near the Prayer Rock landmark. Though the recommended level for this quest is 74, you can avoid fights entirely and collect Tutu’s Mirror without battling. When you have completed the quest, Tutu will become a Ponspector in your party. He is of the Yellow team, which means he has a debuffing signature move.
Make your way northwest up this land now and you’ll pass through Heroes’ Rest where you’ll find another Quiet Moment to register far to the northwest. Finally, head northeast from here to reach Gran Dell and unlock the Gran Dell Approach Landmark. Before you trigger the scene however, head north to find the final Ponspector, Wunwun who will offer the final Ponspector Quest.
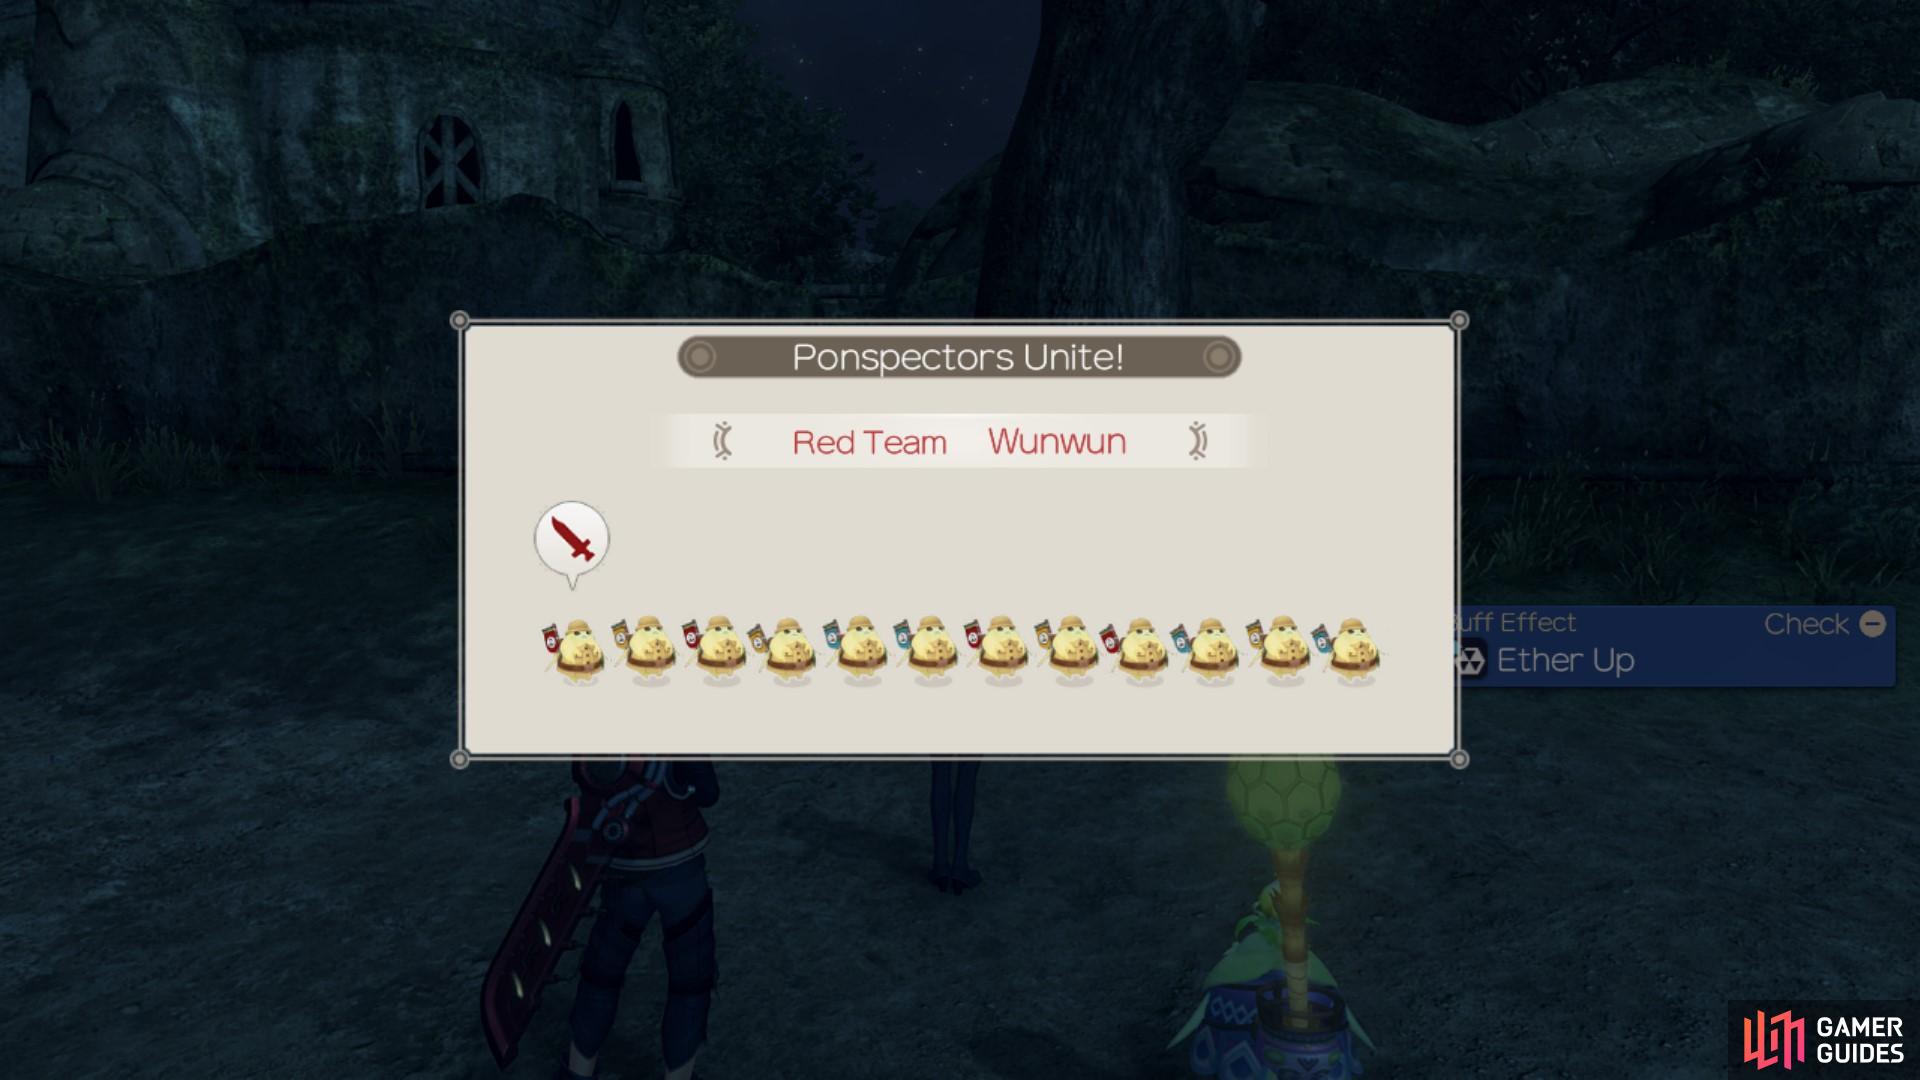
Priority Wunwun
Firstly, you must gather the other 11 Ponspectors. You can collect all of them at this point. Once you have all 11, head back to Wunwun and he will ask you to retrieve the memo back from the Cutpurse Igna north of Clear Sky Bluff. This area is filled with a lot of higher levelled enemies. You will likely have to battle a few Hodes and the unique monster, Marquis Odesh, before you can reach the Cutpurse Igna. These fights might be a little tough, however, it is highly advised that you try to build up the party tension so you can trigger a Ponspector attack. Then, use the offensive (red) attack to deal a large portion of damage to enemies in a specific area. This will help a lot in dealing with the several enemies that are attacking you. Once you have fought your way to the Cutpurse Igna and retrieved the memo, return to Wunwun to complete the quest.
When you have completed the quest, Wunwun will become a Ponspector in your party. He is of the Red team, which means he has a offensive signature move. Once you have Wunwun, you have completed your Ponspector squad.
Once you have Wunwun, your team will be complete!
As a result of recruiting all of the Ponspectors, you’ll obtain another quest, [Ponspectors Till We Cry] however it’s a Lv 78 Quest that you may want to return to a little later. For now, head into Gran Dell finally to trigger a scene.
Gran Dell
Once you regain control, take the time to speak to the people here to pick up a few Quests (you’ll need Kino as party lead to accept Angela’s and Shulk for Helmaline’s) and then head to the nearby Shops to check out their wares. One of them offers armour sets that act as new cosmetic gear while the other offers probably the best Armour you can get in Future Connected outside of Giants’ Troves and Quest Rewards. From the shops, head east to unlock the Grand Arch Landmark and then head inside to find two more Quests to accept and a Quiet Moment at the top that you should register for later.
You can continue to make your way to the very top of this structure where you’ll unlock the Secret Area, Eternal Zeith which should also complete your Bionis’ Shoulder map in the process. Look down to the south from here to spot a small lake you can drop into, do so and then head north into a small opening to find another Giant’s Trove, this one containing a Heat Sink IV Gem. Leave the lake to the west now and climb up to the grass before following the path around a building to the west where you’ll find the final Pororo’s Favourite item. Return back to the Grand Arch now and head over to the Story Flag to trigger a scene with Radzam. Before you head off to Soltnar Island once more, take the time to clear out the next set of Quests you just picked up.
(1 of 2) Jump off the cliff into the water at Eternal Zenith

Jump off the cliff into the water at Eternal Zenith (left), then look to the south for another Giants’ Trove. (right)
Inclined to Climb
Shoo-shoo will ask you to gather a Peppity Herb from nearby the Cragmaw Caverns. When you have collected it, return it to Shoo-shoo. When you do so, it will trigger the spawning of the Revenant Volff and several lesser Volff enemies. Defeat them and protect Shoo-shoo to complete the quest.
Finding Happiness
Lott can be found near the Grand Arch landmark in Gran Dell. He will ask you what you saw on the way to Gran Dell. Your choice doesn’t determine whether you get this quest or not, so pick whatever you see fit. He will ask you to fetch a Cerulean Shard, which can be found to the right of the Barouh Ruins Cave entrance. When you have the shard, return to Lott to complete the quest. He will make you a Reinforced Ether Pick and you’ll now be able to mine for better gems from ether deposits.
Fixing Up the Junks
Helmaline can be found near the Great Arch during the day. To pick up this quest, you must have Shulk as party leader. She will ask you to go and investigate the broken down airships in Alcamoth. The first one will be near the Main Entrance, the second near Melfica Road and then the third on the mezzanine south-east of Melfica Road. When you have examined all of them, return to Helmaline to complete the quest.
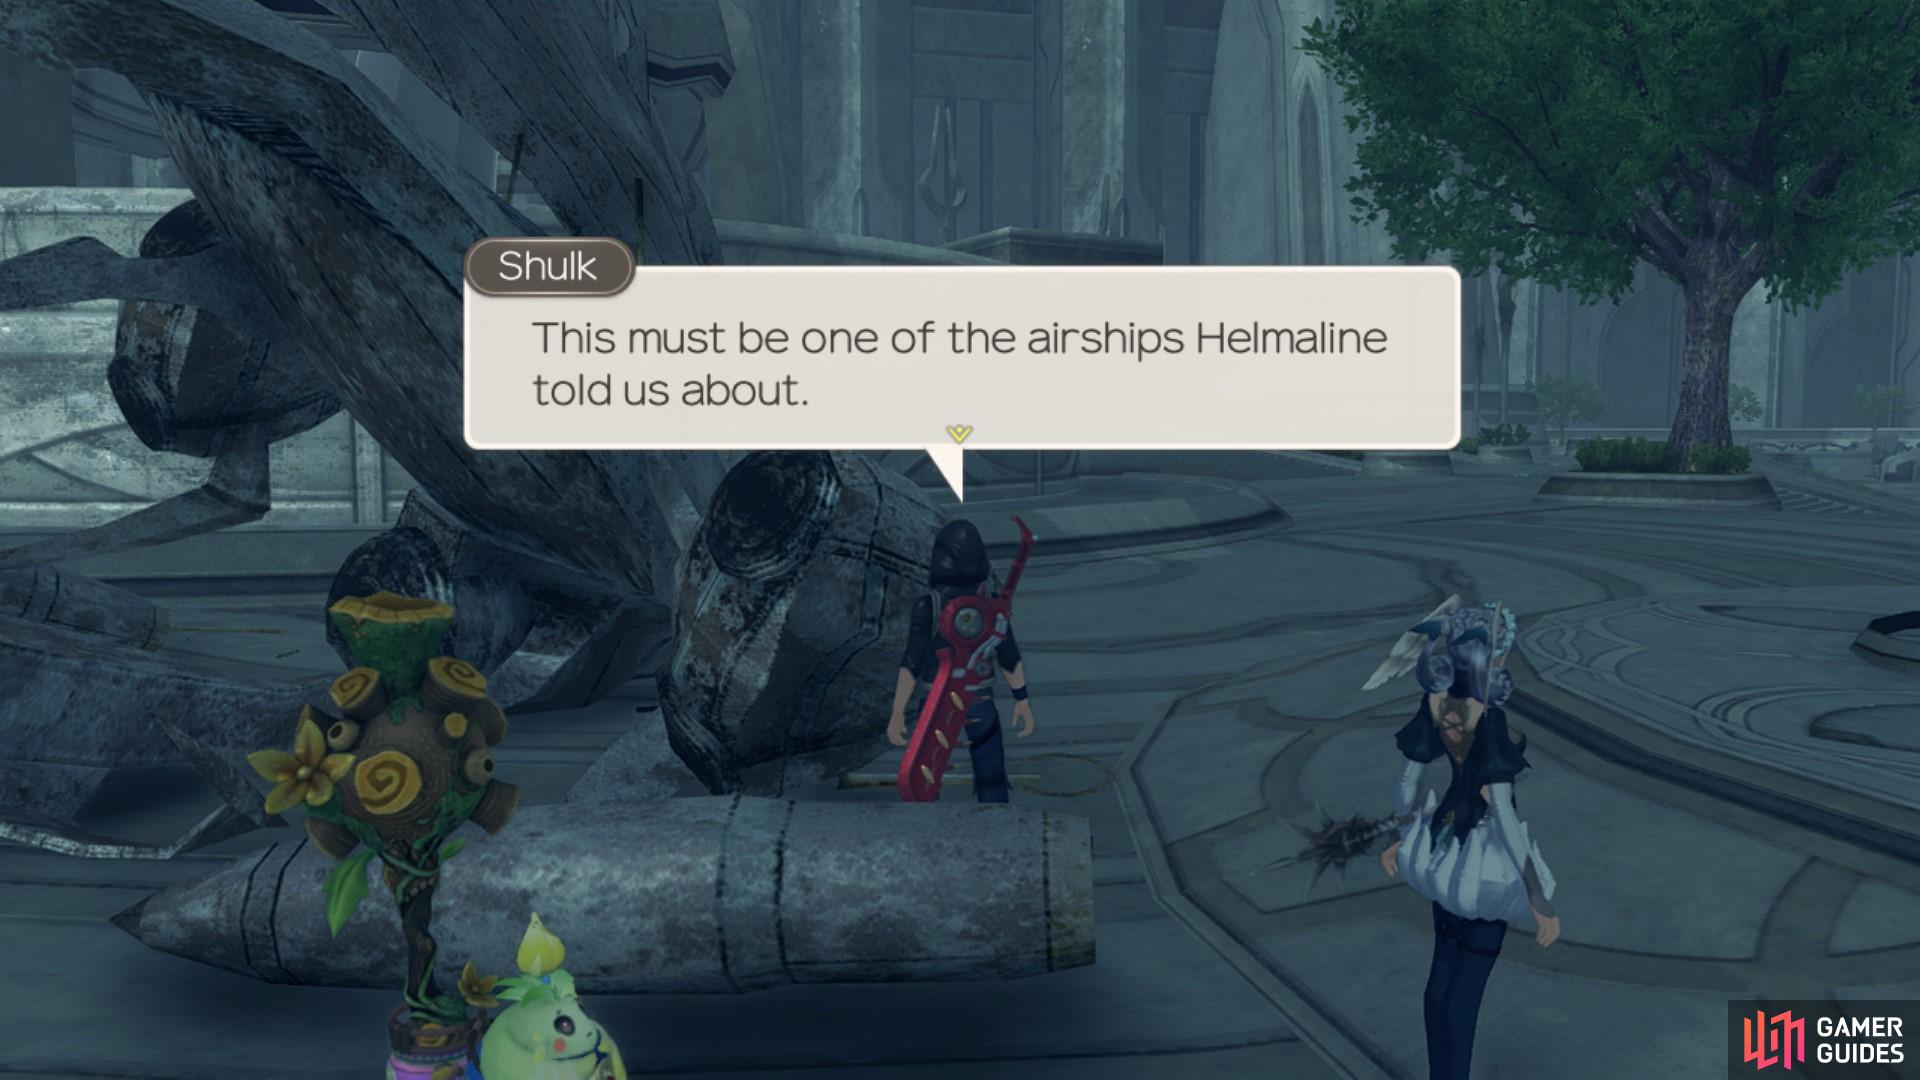
There are three airships to examine in Alcamoth.
New Way of Life
Ines can be found in Halcyon Wheats nearby the Agni’s Birthplace landmark. She has asked that you collect 4 lots of Thick Nectar and 5 High Leaves to make a growth stimulant. The Thick Nectar can be obtained from slaying Skeeters near Xen’s Thoroughfare and High Leaves are a collectable found across the Bionis’ Shoulder. When you have all of the desired materials, return to Ines to complete the quest.
Wallflower
Angela is found between Gran Dell Approach and Grand Arch. You can only pick this quest up from Angela if Kino is leading the party. She will ask you to help her make friends. You will need to speak to Selene, Nestinor and Rudodo. Because these are all children, they will only be available to find during the day. Nestinor can be found north of Tranquil Tarn, Selene is on a balcony a few levels up from the Grand Arch and Rudodo is nearby the Gran Dell Approach. When you have spoken to all of them, return to Angela to complete the quest.
Rubble Trouble
Selsetana can be found near the Grand Arch in Gran Dell. She has asked you to find 3 pieces of Hover Stone. You can find these items at Soltnar Seal Island (you’ll need to wait until the next story event for this one), Pillar Knoll and Scapular Lance. Once you have fetched all three stones, return to Selsetana to complete the quest.
Fogbeast Attack
With these Quests taken care of, make your way to the Soltnar Seal Island Landmark to trigger a scene followed by a forced battle against two Lv 67 Fogbeast Field Ponios. Despite the music trying to fool you, these are nothing more than a regular battle that you should have no issues with provided you’ve been clearing Quests and exploring the shoulder. Be sure to switch in Kino or Nene based on if you’re struggling to keep Aggro off you or not enough healing coming in.
Following the scene, quickly travel back to Gran Dell to find yourself in another forced battle against two Lv 63 Fogbeast Leg Armus and these should be even easier than the previous forced encounter, just focus on one target at a time and you’ll take them down in no time at all. A few more Quests will open up following the scenes however hold off on them for now, after you continue the story a little another set will open up, allowing you to work on them all at once. Prepare yourself and then travel back to Teelan’s Laboratory to trigger a scene and a battle.
Boss: Gael’gar
| Enemy | Level | Detection |
|---|---|---|
| Gael’gar | 70 | Sight |
| Aggressor Andos | 68 | Sight |
| Defender Andos | 68 | Sight |
This is your first real boss battle in Future Connected and how you fare with it will be determined on your Level. It’s easy to come into this battle far above Gael’gar’s level (around 75) but choose to fight him around his level and it’s a tough battle. To begin with, he’s accompanied by an Aggressor Andos and a Defender Andos, both of which can get in the way so choose to target the Defender Andos first to prevent it from Buffing Gael’gar and the other Andos before you take out the Aggressor. Gael’gar himself is a formidable foe and he has many Arts you’ll need to be aware of.
-
Accel Wind - Grants Gael’gar the Haste Buff.
-
Aqua Heal - Restores moderate HP of to Gael’gar.
-
Bolt Sweep - An Ether based Art that deals moderate damage to targets in an arc in front of him.
-
Flare Slash - An Ether based Art that deals moderate damage to targets in a line while also inflicting Blaze.
-
Furor Slash - A Physical based Art that deals major damage to targets in an arc in front of him.
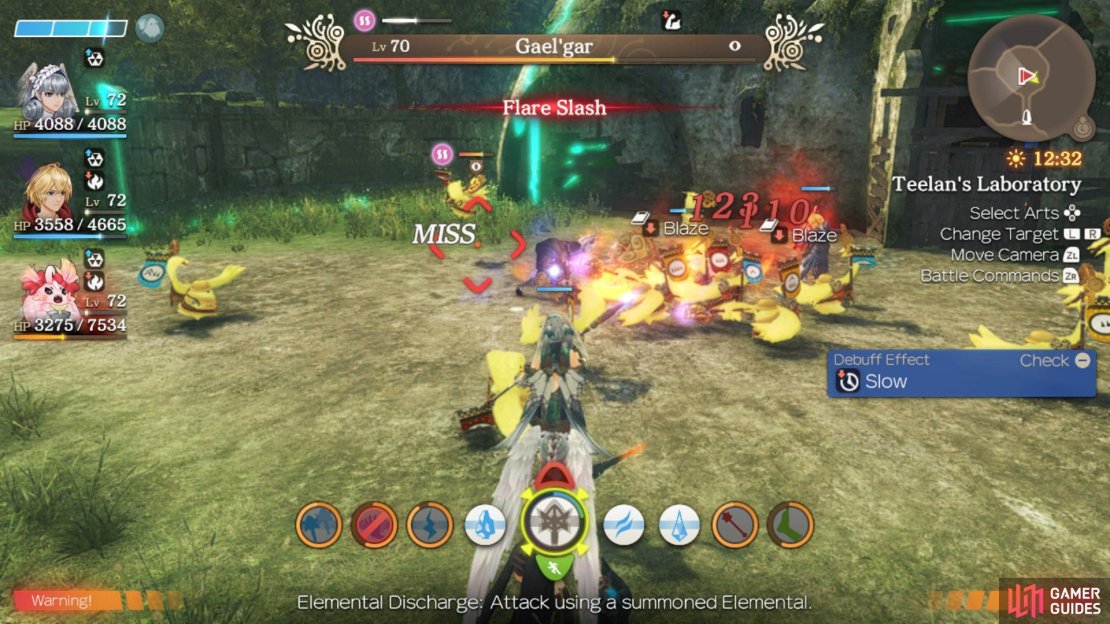


Gael’gar has many Arts that can hit multiple targets and they all do moderate damage so you’re going to suffer a lot of damage if you’re fighting him at a lower level. He is susceptible to the Topple Combo which will be useful to stop him from healing himself with Aqua Heal but the main worry is if he starts using Accel Wind, this will grant him Haste and will make the final stages of the battle a lot tougher. Instead, as soon as you see him use this, make use of a Union Attack or keep him Toppled and end the battle as quickly as possible.
Watch the scenes that follow the battle and you’ll find yourself back at Gran Dell.
No Comments