This page details how to complete The Sequence quest in the Halo Infinite campaign. Includes where to find all the collectibles, how to reconstruct the forerunner sequence by collecting data at the East, South, North, and West beacons, and how to defeat the enemies guarding each beacon. This quest begins immediately after Pelican Down.
How to Complete The Sequence
This is a relatively simple quest, but it can take a long time due to the amount of travelling throughout the open world involved. If you’ve done a lot of open world exploring and captured most of the FOBS (Forward Operating Bases), you’ll find it much easier and faster to move between each beacon. However, if you haven’t explored much and therefore don’t have access to many fast travel points at FOBS, you’re in for quite the journey as you move between each beacon to collect data.
There are numerous types of enemies at each beacon which you’ll need to defeat before you can interact with the terminal outside and enter the beacon itself, but there are also a lot of enemies in the landscape between the beacons. You can try to run through these or bypass them with vehicles, but you’ll often find that there’s no obvious route out of an area, so you’ll need to stand and fight. Either way, be prepared as you wander through the landscape. There are few places without groups of enemies waiting for you.
Enter the Command Spire
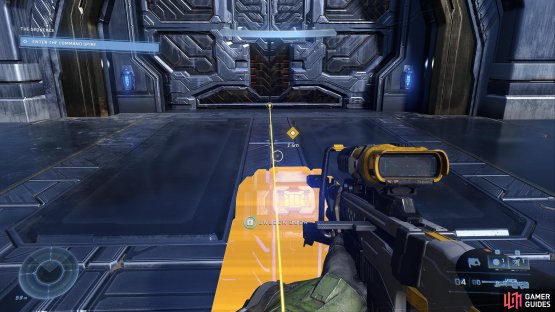
The Pelican will drop you off at the Command Spire, and you’ll need to take a few enemies out beneath it before you can enter. This should be an easy task since you’ll encounter the same types of Brutes, Jackals, and Grunts that you’ve been facing throughout the campaign so far. However, there are a few Elite Brutes in the area so be prepared for them and aim for their heads to kill them as quickly as possible. Once you’ve cleared the area of enemies, use AI Scan to locate the nearby terminal. You’ll need to interact with this to trigger a cutscene after which it becomes obvious that the original plan to waltz on into the Command Spire is not going to work. Instead, you’ll need to collect data from each of the four beacons in the area in order to reconstruct the sequence.
(1 of 2) Interact with the terminal at the Command Spire to trigger a cutscene.
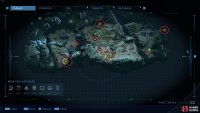
Interact with the terminal at the Command Spire to trigger a cutscene. (left), The location of all four beacons in the area, circled in red here. (right)
As you attempt to leave the Command Spire you’ll be attacked by two Banshees. These are flying vehicles which have fairly powerful weapons, but they’re also quite weak. You’ll find a Skewer on the nearby weapon racks which you can use to take them out in one hit.
Reconstruct the Forerunner Sequence
East Beacon
We’ll begin by collecting data from the eastern beacon first. Make your way up the hills to the northeast using the Grappleshot to climb the rocky landscape. You should encounter an Elite Brute up here with white armor. This is a particularly tough elite unit who can quickly switch between ranged and melee combat. It uses an Energy Sword and Active Camo while in melee combat, so you’ll need to counter this by using the Threat Sensor to reveal the position of the Brute while it’s in stealth mode. One hit with the Skewer will kill the Elite Brute instantly, but if you dropped this or you’ve ran out of ammunition with it, any gun will do. It’ll just take longer and you’ll need to avoid melee combat at all costs.
At the top of the hill as you reach the bridge towards the eastern beacon, you’ll encounter more Elite Brutes with Ravagers or Hydras. These can quickly inflict a lot of damage, so you’ll need to initiate the fight and surprise them to take them out as soon as possible. The Elite Brutes will be reinforced by smaller flying objects which fire energy blasts. These are also highly damaging if you’re caught in the fire, but they can be killed easily with a couple of shots to the eye cores. As you move over the bridge you may also be ambushed by two Elite Brutes who specialize in melee combat. Use Dynamo Grenades to stun these and then kill them as quickly as possible. If you’re unable to neutralize them, find some high ground and shoot them from above. After crossing the bridge, look to your right. You’ll find a Spartan Core here, though it’s not part of the main mission collectibles:
As you move closer to the eastern beacon you’ll encounter more and more enemies. Most of these will be regular Brutes, Jackals, and Grunts, but there’s also a plasma cannon to deal with. Focus on taking this out (you’ll find a M41 SPNKR - Rocket Launcher on the floor nearby) then clear out the rest of the enemies. There’s a Brute Officer directly in front of the beacon, but it shouldn’t be too difficult to take them out so long as you aim for the head with a powerful enough weapon. Once all the enemies are dead, you’ll be able to interact with the terminal and enter the beacon. You’ll find a Banished audio log inside, which forms part of The Sequence main mission collectibles. All that remains after you’ve listened to this is to interact with the terminal inside the beacon to collect the necessary data.
(1 of 3) Destroy the cannon outside the East Beacon with a powerful energy weapon, rocket launcher or the Skewer.
South Beacon
Now that we’ve dealt with the East Beacon, we’ll move on to the one in the south. Ideally you’ll be able to fast travel here using one of the nearby FOBS, but if not you’ll have to travel through the landscape to reach it, killing groups of enemies along the way. Try to capture a few FOBS along the way if possible, to ensure that you have fast travel options here for the future. Once you’re at the South Beacon, you’ll encounter more of the same in terms of a heavily guarded area.
The main difference here is that you’ll need to destroy two Wraith tanks which are guarding the beacon, alongside numerous other regular and Elite enemy types. If you approach the beacon from behind you’ll find a Spartan Core here, so be sure to collect that. You can then move to the second level of the beacon up the ramps and pick up a Ravager from the Elite Brute here, or a Hydra - Rocket Grenade Launcher from the weapon racks. These will be extremely effective at destroying the Wraith tanks, but you can also try to focus on taking out one of the drivers of the tanks first, then jump into the tank and use it to destroy the other, along with any remaining enemies in the area. This is a relatively easy beacon to infiltrate once you’ve dealt with both tanks.
Once you’ve defeated all the enemies in the area, interact with the terminal outside the South Beacon and enter to find another Banished audio log associated with the main mission inside.
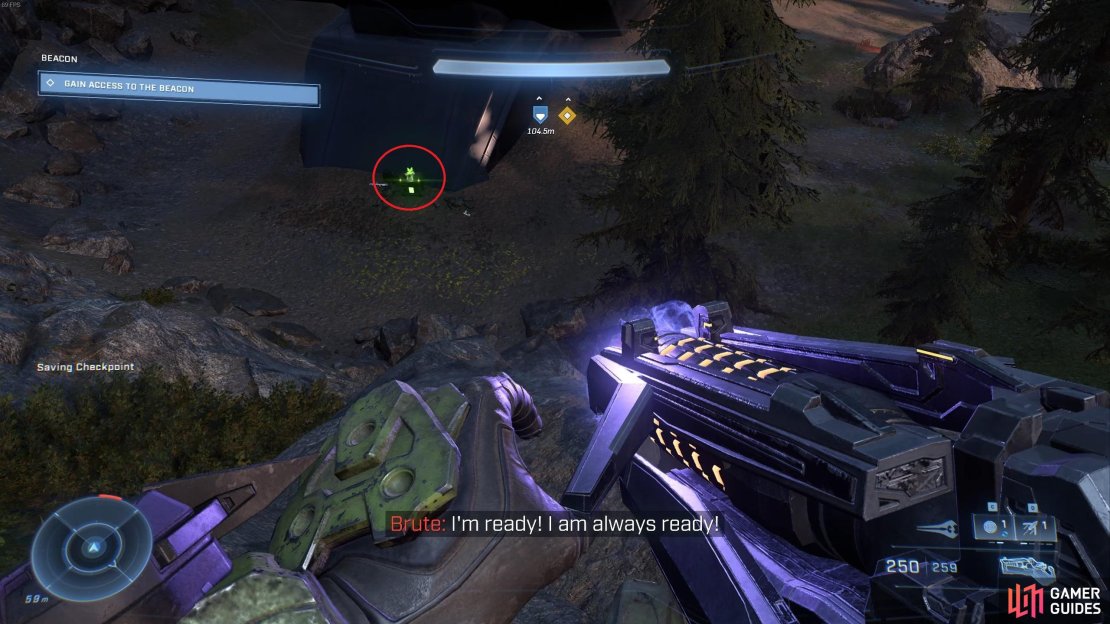
(1 of 3) You’ll find a Spartan Core behind the South Beacon.
North Beacon
After dealing with the South Beacon, we’ll move on to the North Beacon. If you haven’t done so already you can capture Fob Juliet along the way. The North Beacon is fairly well guarded, and here you’ll find the addition of some Skimmers alongside the regular Brutes, Jackals, and Grunts. The main thing which distinguishes this beacon from the others is the presence of quite a few Ghost vehicles, with Elite Brutes using them. You’ll need to take these out first if you don’t want to be constantly harassed by them, and the easiest way to do this is to hijack the vehicle using the Grappleshot, then enter it and use it to kill some of the lesser enemies while you can. Using this method unlocks the Whip-Riding the Ghost achievement.
Alternatively you can use the Shock Rifle to disable the vehicles from afar, then run closer to them and kill the Elite Brutes inside. You’ll find a weapon rack with two Shock Rifles present on the second floor of the exterior of the beacon, alongside one Spartan Core. After dealing with all the enemies in the area, interact with the terminal to find another Banished audio log associated with the main story inside.
(1 of 2) You’ll find a Spartan Core near the weapon racks on the North Beacon.
You’ll find a Spartan Core near the weapon racks on the North Beacon. (left), Another Banished audio log associated with the main mission can be found inside the North Beacon. (right)
West Beacon
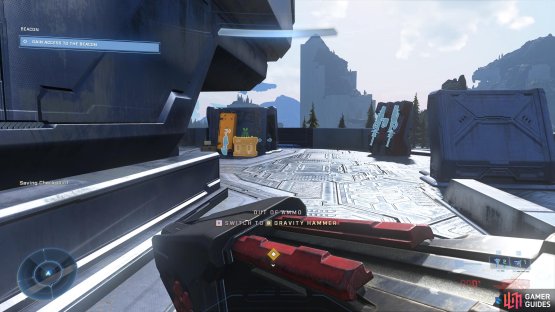
Now on to the West Beacon. This should be the toughest yet, since it’s defended by two Hunters and a white Elite Brute. You should aim to fight these separately, since all three together will be punishingly difficult without proper movement. We’d recommend that you try to take out the Hunters first, since these will pursue you over a greater distance than the Elite Brute will. The Brute will mostly stay near to the entrance of the beacon, whereas the Hunters will follow you into the surrounding landscape if you retreat. One of the most effective ways to defeat Hunters quickly and efficiently is by using the Gravity Hammer. If you can get your hands on one of these as you make your way to the West Beacon, it will serve you well in battle with the Hunters. So long as the hammer is charged, you can spam attack the Hunters to completely disable their offensive capabilities, while inflicting massive damage and taking them out quickly. The only potential issue with this tactic is that you’ll expose yourself to incoming fire from ranged weapons, but so long as you keep moving you should be able to evade most of this.
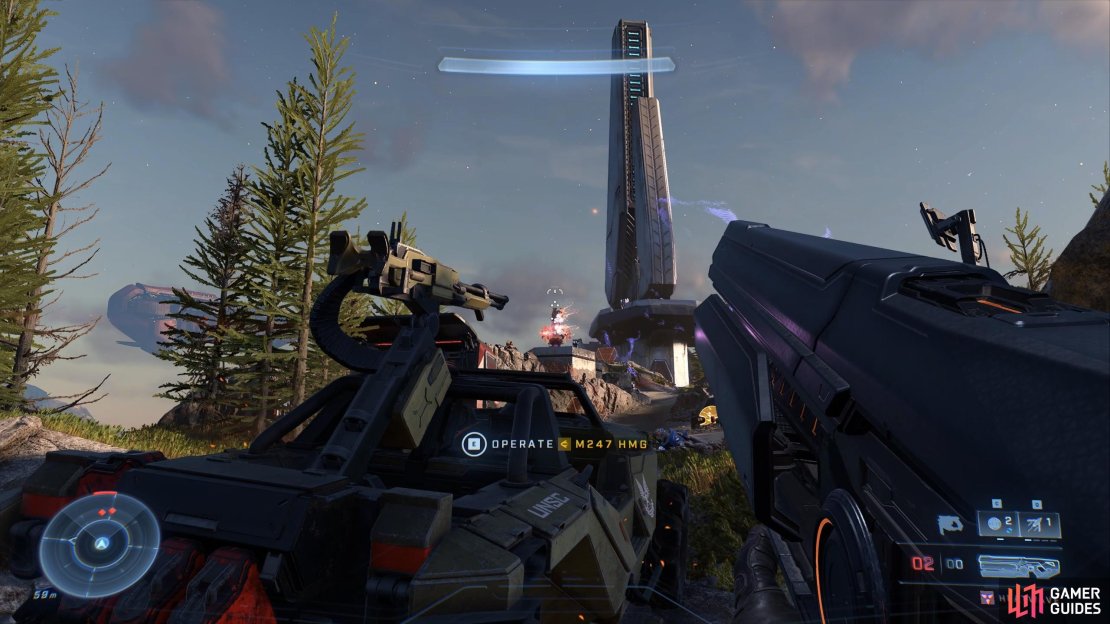
You’ll find a Spartan Core just outside this tower, near to an upturned M12 Warthog. You can flip this and use its machine gun to take care of most of the regular enemies, including the white Elite Brute if you’re able to. If you can’t see the elite, use the Threat Sensor near the terminal to expose its position, then hunt it with whatever weapons you have available to you. A Dynamo Grenades will be effective at stunning it, allowing you to damage it without being pursued for a few seconds. After the Elite Brute is dead, clear up any regular enemies which remain and interact with the nearby terminal to open the door to the beacon. You’ll find another Banished audio log associated with the main story inside.
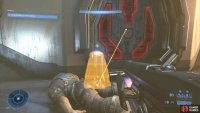
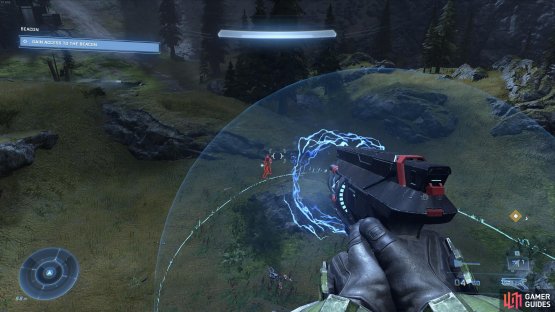
(1 of 2) Use the Threat Sensor equipment to expose the position of the Elite Brute when it’s in stealth mode.
Use the Threat Sensor equipment to expose the position of the Elite Brute when it’s in stealth mode. (left), You’ll find another Banished audio log inside the West Beacon. (right)
Return to the Command Spire
Once you’re done with this last beacon, all you need to do is return to the Command Spire and interact with the terminal there to enter. The quest will end once you’re inside, and you’ll unlock the Light the Way achievement.








No Comments