This page details how to play the Oddball game mode in Halo Infinite. Includes the basics of point scoring, how to play well with a team, how to keep the ball for as long as possible while preventing the other team from picking it up, and the differences between Quick Play and Ranked Arena.
Oddball Match Conditions Overview
The Oddball game mode is limited to 4 vs 4 in either Quick Play or Ranked Arena matches. There’s no option for Oddball in Big Team Battle matches. The objective to win is fairly simple: your team must hold the ball collectively for 100 seconds before the other team does. This means that whenever a team member is holding the ball, the timer will increase by 1 for each second that they’re holding it. The timer will stop as soon as the ball is dropped, but it’ll start from where it left off the next time a team member picks it up again. The result is a crazed hunt for anyone who has the ball on the opposing side, and the need for a strong defence of whoever has it on your team.
The basics of Oddball are essentially the same for both Quick Play and Ranked Arena matches, with the only differences being the special conditions noted below: you’ll start with the MA40 AR automatic rifle in Quick Play, and the BR75 precision rifle in Ranked Arena. You’ll also have no radar in the more competitive ranked match, and friendly fire will be on, so you’ll need to be careful not to hit your teammates with your own fire. There’s no time limit for Oddball matches, but most games will last anywhere between 5 - 10 minutes depending on the level of competition. Your team will need to win at least two rounds to win the game.
Quick Play Match Conditions
| No. of Players | Rounds to Win | Time Limit | Special Conditions |
|---|---|---|---|
| 4 vs 4 | 2 | No Time Limit | Start with MA40 AR automatic rifle, friendly fire off, radar on |
Ranked Arena Match Conditions
| No. of Players | Rounds to Win | Time Limit | Special Conditions |
|---|---|---|---|
| 4 vs 4 | 2 | No Time Limit | Start with BR75 precision rifle, friendly fire on, no radar |
Scoreboard Points for Oddball
| Pick Up Ball | Control Ball |
|---|---|
| 10 Points | 50 Points every 5 seconds |
How to Win an Oddball Match
Stay With Your Team
The first games that you’re likely to experience of Oddball will almost certainly be a chaotic mess, with both teams mindlessly pursuing the ball in a frenzy. This will get the job done against lower ranking teams, but as you progress through the ranks you’ll need to be a lot more organised if you want to maintain control of the ball or snatch it back from a competent opposing team. As with most of the game modes, the longer you can stay alive the more chance you’ll have of winning, and the best way to ensure that you stay alive for a long time is to stick with your teammates. This is particularly important during an Oddball game, since one of your teammates will (ideally) have possession of the ball, and will therefore be vulnerable.
The main reason why a teammate in possession of the ball is vulnerable is because their location will be marked and visible to the enemy as an icon, in the same way that you can view your teammates across the map by their icons. This means that the enemy will always be just around the corner and ready to attack, and they’ll have an advantage in knowing exactly where you are. Another reason why the teammate in possession of the ball is vulnerable is that they won’t be able to use their weapons while holding it, and they’ll suffer from a speed debuff for as long as they’re holding it. However, this vulnerability is entirely avoidable so long as the one with the ball knows how to switch between holding it and switching to their weapons when necessary.
Know When to Drop the Ball
The best way to determine when you should drop the ball is based on how close the enemy are to your team, and how many teammates you have available to repel an offensive. If there’s only two of you and the enemy are approaching with 3+, it’s probably a good idea to drop the ball and attempt to defend the position with your weapons at this point, especially if there are no other teammates on the way within the next few seconds. If you start firing early as an opposing team is rushing your position, you have a decent chance of weakening their defences enough to finish them off with melee, grenades, or even a hit with the ball when they get close enough. The alternative is holding onto the ball as you watch the enemy rush your allies and overwhelm them, which invites certain defeat anyway. Better to help your allies defeat the offensive with a chance to retain the ball by the end.
The only exception to dropping the ball when you’re being attacked by multiple enemies is when there’s only a few seconds left before you hit 100 seconds while holding the ball. At this point you can risk holding out for the last 10 seconds or so, knowing that you’d be certain to die if you had to wait any longer. If nothing else, you’re holding the ball and increasing that timer which will make it all the more easy for an ally to come along and hold the ball to finish off the match. In a scenario where you’re almost certain to die anyway, you aren’t losing anything by holding on to the ball and potentially taking out an enemy or two with its melee capabilities.
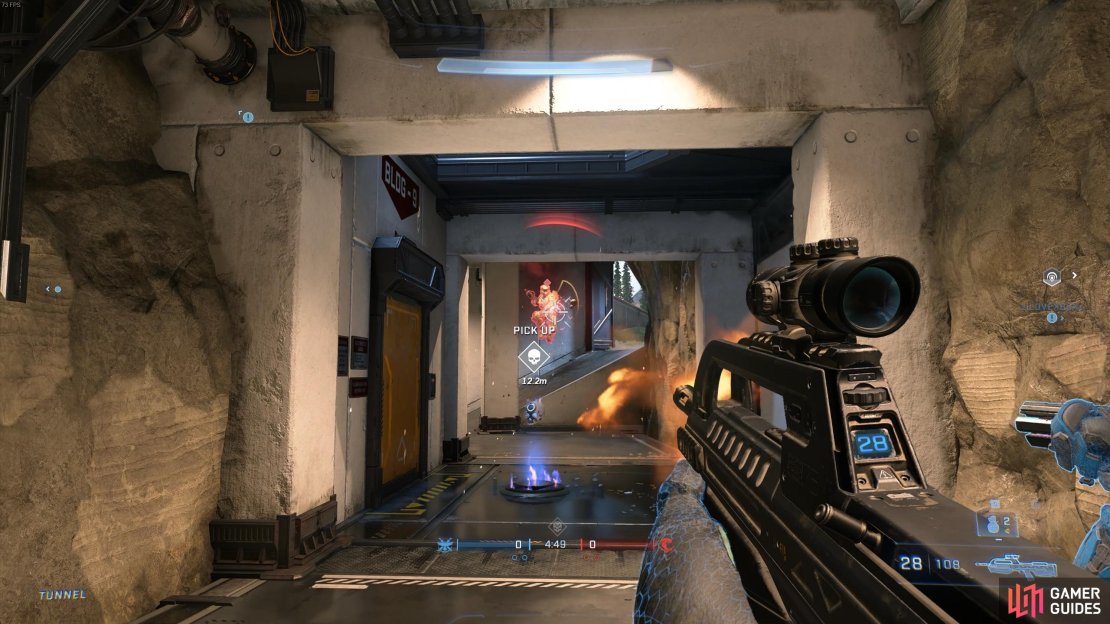
(1 of 4) You should focus on killing the enemy before picking up the ball at the beginning of a game.
How to Launch the Oddball
If you’re being attacked by a group of enemies who outnumber you and all your other options are spent, there’s one last thing you can do to prevent them from picking up the ball: launch it across the map. There are two ways of doing this. The first is by using the Repulsor power item, which emits an energy blast that can send pretty much anything in front of you (including vehicles) away. Since the ball is rather light, you can launch it to the other side of a map, or even out of map boundaries. If the latter occurs, the ball will respawn in neutral ground soon after.
The second method for launching the ball across the map is with a simple melee attack. All you need to do is drop the ball and then quickly execute the attack, preferably while looking up, to send it flying. The same is true of the Repulsor method in that you’ll need to quickly drop the ball while looking up or ahead of you, and then react in time with the execution of the skill. Both of these methods can buy some time for your team to regroup and muster an offensive on neutral ground, rather than allowing the enemy to hold onto the ball until you’re ready to attack again.
Aside from launching the Oddball across the map, another way to ensure that the enemy doesn’t get the ball if you’re sure to be overwhelmed is by jumping into a death zone on the map with the ball in hand. Not all maps have these, but they usually involve drops into an abyss. This will reset the ball and give your team a chance to get it back, while denying the enemy. A better option than the launch if you’re not too confident with the timing.
Control Power Weapons & Equipment
This advice applies to any game mode. The more powerful your weapons and equipment, the better chance you’ll have of consistently defeating the enemy, all else being equal. Power items such as Drop Wall and Repulsor have obvious utility here, allowing you to repel the enemy in strategic ways at critical stages of a fight. If you’re defending a tight spot with your team, dropping a shield with Wall Drop will help to repel some of the fire power incoming, especially from range. You’ll need to keep in mind though that enemies can easily run past the shields if they get close enough, so a plan B is necessary. Repulsor is particularly useful here, especially if the enemy launch numerous grenades at your defensive position at the same time. If you time it right, a well timed use of Repulsor can send all the grenades flying back towards the enemy team.
Another useful power item, especially if you’re the one carrying the ball, is the Overshield. This will effectively make you twice as tough to kill, which can make you a monster in melee combat as the enemy try to eat through your defences. The longer you’re alive in melee range with the ball in hand, the more opportunities you’ll have to smash the enemy with your superior melee damage and attack speed. Thruster and Grappleshot are somewhat less useful, since they can just as easily propel you into a vulnerable position where you’ll be exposed to the enemy, but they can be useful in a limited sense if you need to get out of a small space and return to your allies.


No Comments