
This page details how to complete The Command Spire quest in the Halo Infinite campaign. Includes where to find the Mythic Skull, how to defeat the Adjutant Resolution (a second time!), and how to reach the observation platform. This quest begins immediately after Nexus.
How to Complete The Command Spire
This is a fairly straightforward quest with a linear path through the Command Spire. However, the Mythic Skull can be easily missed here, so it’s important that you know how and where to find it before you complete the quest. We’ll cover that below.
Activate the Crucible with a Power Seed
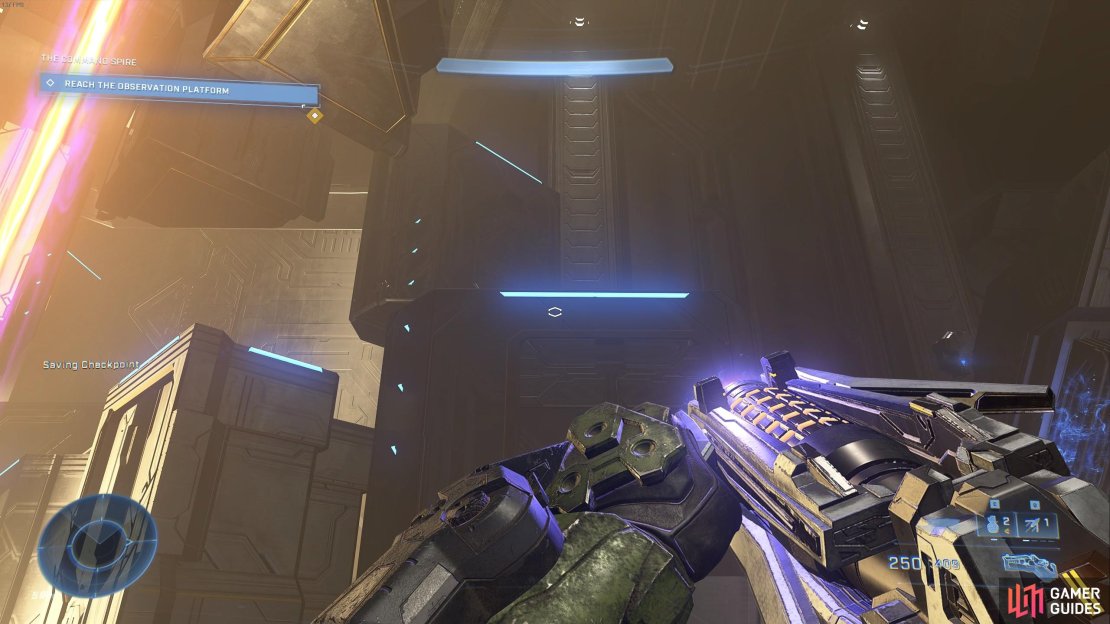
The first thing that you’ll encounter after going up the gravity lift are a few Sentinels. These will attack you a few seconds after you ascend, and you’ll need to defeat them before you can interact with the nearby terminal to progress. Once you’ve interacted with the terminal, a number of platforms will be lowered surrounded by a beam of energy. Don’t make the mistake of thinking this is some kind of gravity lift! If you step into the beam, it will incinerate you. To get up, you’ll need to use Grappleshot on each platform, avoiding the beam as you go. The edge of each platform is marked by a blue light, so you’ll know which ones to grapple to. Just follow these until you reach the top.
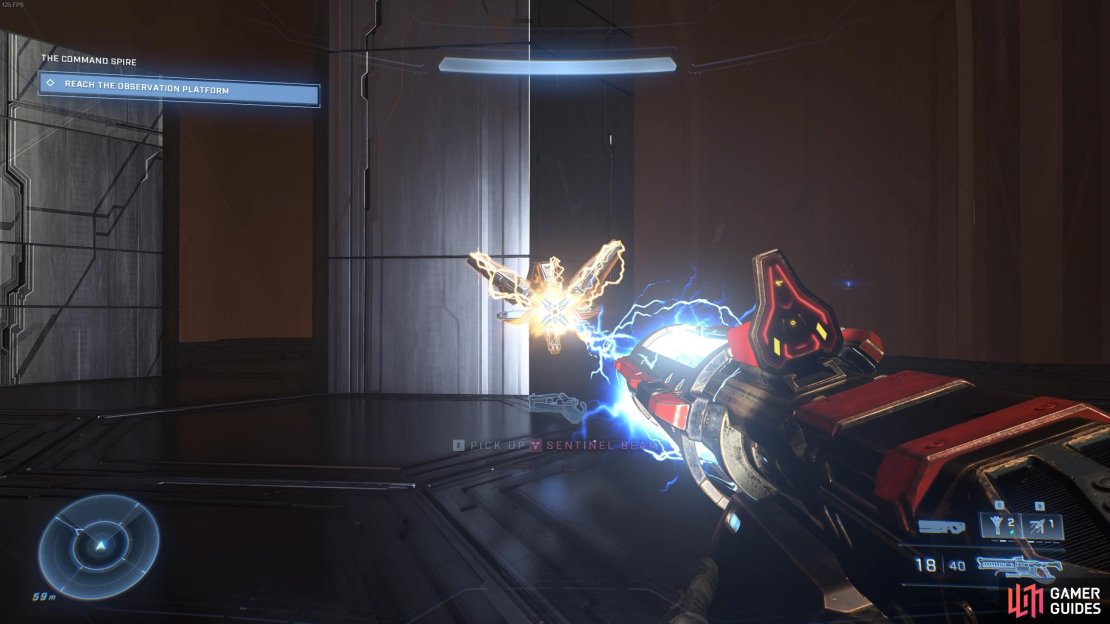
When you reach the top you’ll be attacked by a few more Sentinels. Kill these and then look for the power seed, which is located directly opposite the crucible. As you run back with it towards the crucible, more Sentinels will attack. You’ll need to drop the power seed to deal with them, then pick it back up and place it in the crucible. This will activate the gravity lift in front of you, which you can use to get deeper into the spire. Up here you’ll find some weapon racks, indicating that there are more enemies ahead. You’re about to face the usual gang of Brutes, Jackals, Grunts, and Skimmers, and some of their elite forms along the way. The toughest of these are arguably the Elite Brutes which specialize in melee combat. To kill these quickly, aim for the head. If you have a powerful weapon such as the Sentinel Beam, it won’t take long to kill them.
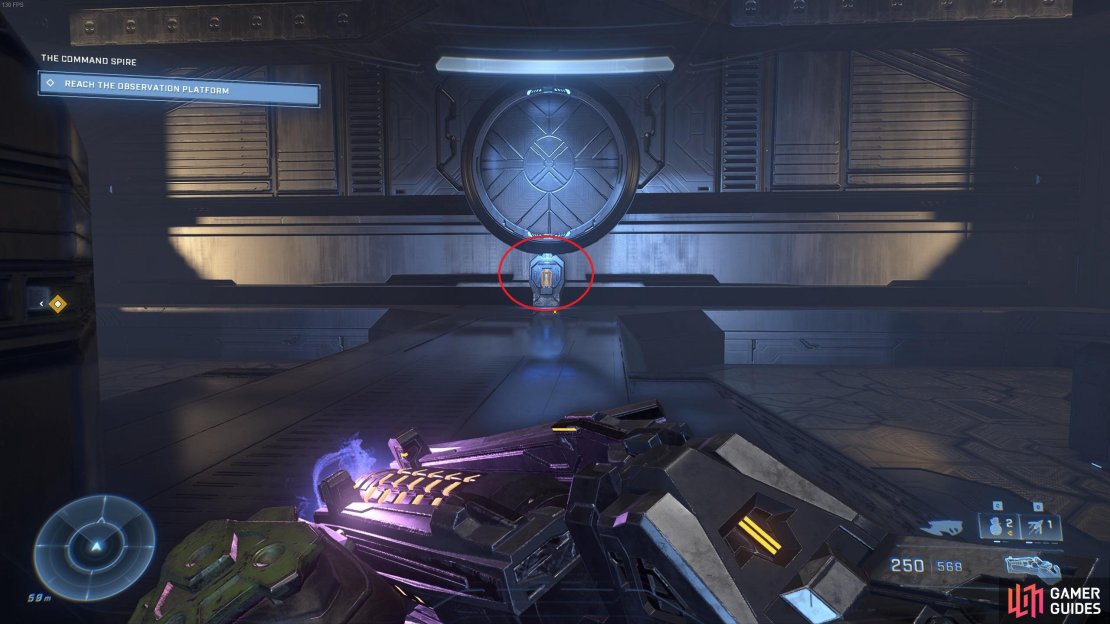
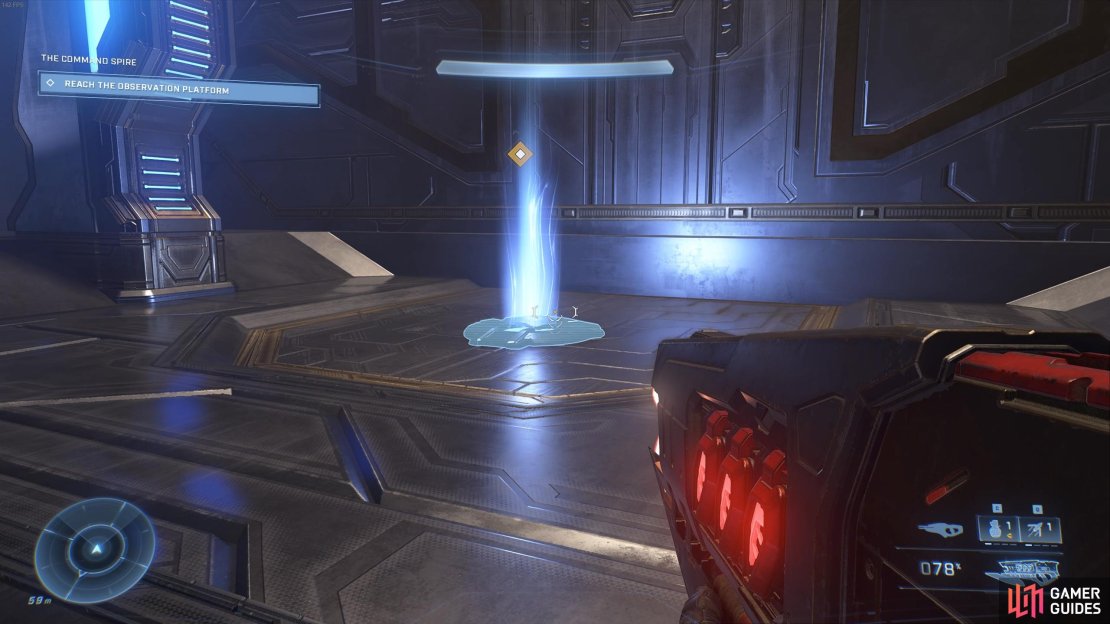
Enter the Portal to Reach the Heart of the Command Spire
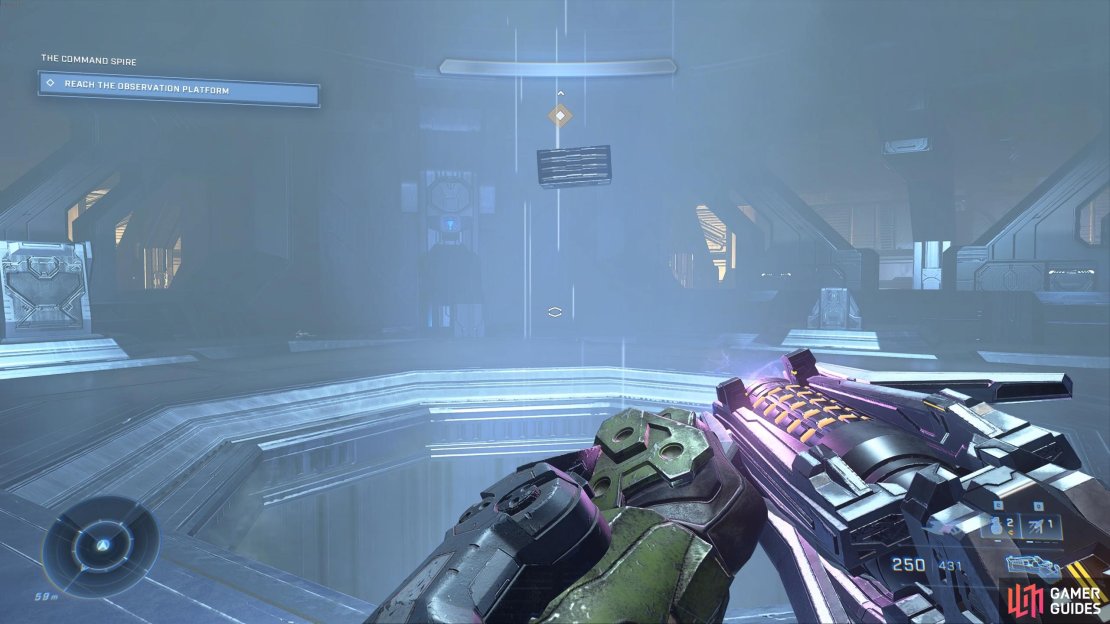
After making it through a number of rooms filled with enemies, you’ll encounter a portal in the form of a small blue light, which looks like a tiny gravity lift. Walk onto this to be teleported to another part of the Command Spire, where you’ll witness the production of materials more intimately, as pieces of structures are sent upwards through energy platforms. You’ll need to kill more enemies in smaller rooms from here, until you eventually reach a gravity lift which takes you to another part of the Command Spire. Here you’ll encounter a much larger room where production of materials is taking place, and you’ll notice a change in the way that the materials are moving. You’ll see some of the pillar-like structures moving horizontally rather than vertically. This room is also filled with enemies, so you’ll need to deal with them as you move through it. The Mythic Skull can be located from this room, so whatever you do, do not use the next portal until you’ve found the skull.

The Command Spire Collectibles - Mythic Skull
Once you’ve killed all the enemies in this large production room, you can locate the Mythic Skull in peace. To do this, you’ll need to [Grappleshot](Grappleshot “Grappleshot”) onto one of the moving structures, then onto a nearby ledge and finally, onto a platform which leads to a hidden room. See the gif below to find out exactly what you need to do to reach the Mythic Skull:
How to Defeat Adjutant Resolution
Now that you’ve located the Mythic Skull, you can progress through the room by following your AI Scan to the objective markers. This will lead you out of this room through a portal, then onto a large cavernous room with a platform at its centre, surrounded by pillars. You’ll need to use [Grappleshot](Grappleshot to reach the platform, and once you do a boss fight with Adjutant Resolution will begin. This is the same Adjutant Resolution that you fought during the Spire quest, and the fight will be similar. However, there are a few additional complications which make it slightly more difficult: some of the pillars that you’ll find yourself taking cover behind will disappear at times, and there will be adds in the form of Sentinels which arrive throughout the fight to support Adjutant Resolution.
Other than the above mentioned changes, and the change in the setting, the fight is basically the same: you’ll need to shoot the “eyes” from which Adjutant Resolution fire at you to destroy each one, then shoot the core eye while Adjutant Resolution recalibrates. Use the pillars to take cover, and always look around for the Sentinel adds so that you can kill them as soon as they appear without being ambushed. Any gun will do, but try to stick with accurate guns such as the Shock Rifle or Heatwave, which you’ll find on the nearby weapon racks. Speaking of which, you can also take cover behind weapon racks without the danger of them being removed, but the space you have to take cover here is greatly reduced compared with the pillars.
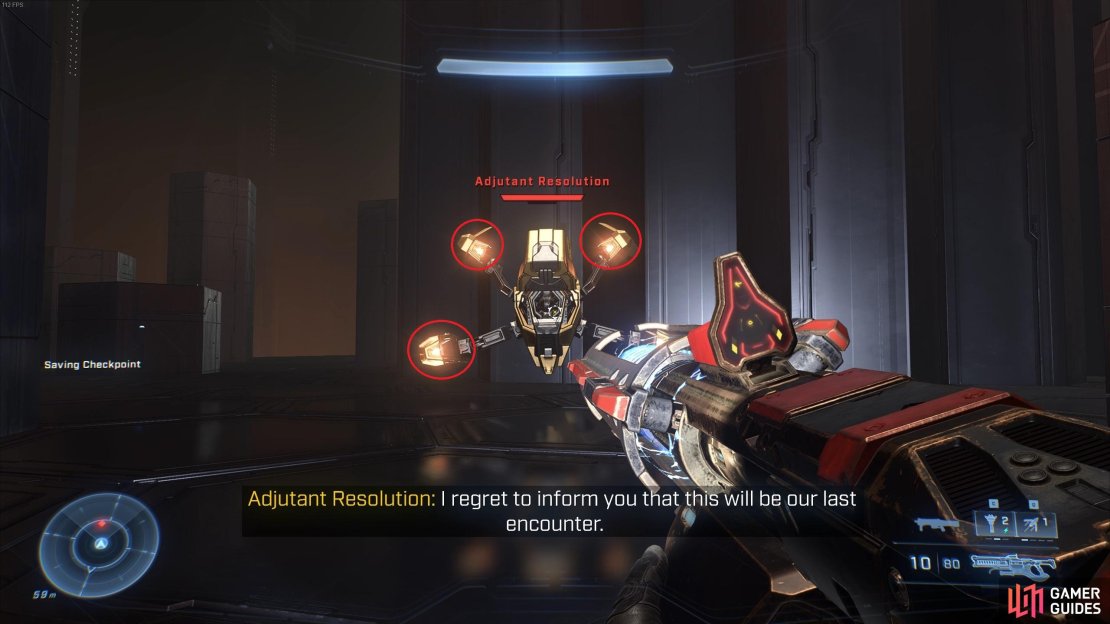
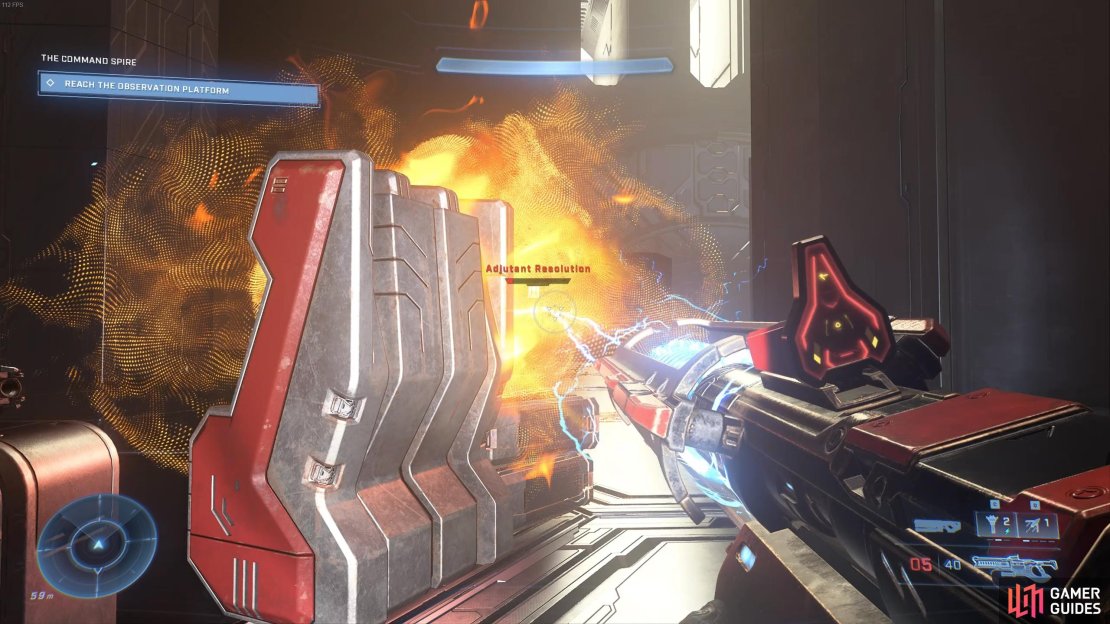
(1 of 3) Shoot the eyes of the Adjutant Resolution to damage it and expose its core eye.
Shut Down the Spires from the Observation Platform
Once you’ve defeated Adjutant Resolution, use the elevator at the centre of the room to reach the Observation Platform. Here you’ll encounter a number of enemies, but nothing you haven’t seen before. Take them out and then head towards the terminal near the window. As you reach the terminal you’ll be attacked by a ship, which you’ll need to take down using a power weapon ideally. You’ll find a M41 SPNKR - Rocket Launcher and a Skewer just to the left of the terminal, both of which are excellent choices and will bring down the ship in just a few hits. However, you can also use something like the Ravager, Heatwave, Sentinel Beam, Cindershot, or Hydra, all of which inflict enough explosive damage to destroy the ship fairly quickly. Try not to waste too much ammunition here, as there will be two more ships that you’ll need to destroy after the first before you can interact with the terminal in peace. Be sure to make use of the nearby pillars to take cover from the ships, especially while reloading.
After interacting with the terminal a cutscene will trigger, and you’ll unlock the Hear These Words! achievement.
No Comments