
This page details how to complete the Foundation campaign mission in Halo Infinite. Includes where to find the Cowbell Skull, Banished audio log, and UNSC audio log. This mission begins immediately after Warship Gbraakon.
Foundation, Halo Infinite.
How to Locate the Weapon
The primary objective for the Foundation mission is to locate “the weapon”. You’ll soon find out what this turns out to be, but for now all you need to focus on is infiltrating the underbelly of Zeta Halo. You’ll encounter a number of Grunts, Jackals and Brutes in the initial area, so you’ll be fired at from all angles. Make use of the structures jutting out of the ground for cover as you shoot, reload, and recover your energy shield. There will be a significant amount of enemies the whole way through, including a Brute with a jet pack and a Ravager. Take this one out as soon as possible, since they can easily outflank you by flying over the objects, and the Ravager will inflict much more damage than the others.
Once you’re inside Echo 216 will comment on the beauty of the structures here, but you won’t have much time to appreciate it as you continue to move through. There’s a high concentration of Jackals with blue shields here, so be sure to pick up a Pulse Carbine to make short work of them by killing in two hits.
As you move through the various rooms filled with enemies, keep using AI Scan to highlight the direction that you should be going in. Soon you’ll reach a gravity lift which will transport you upwards, into a large cavernous room with broken structures. You’ll need to hop along these to reach the other side, before reaching more rooms with yet more enemies. There will be plenty of weapon racks in each room, so you don’t need to worry about running out of ammunition.
Soon you’ll reach an even larger cavernous room with moving pillars of Forerunner origin. Run through the pillars over the bridge towards the light in the distance. As you approach it you’ll lose contact with Echo 216 as the comms cut out. A long cutscene will play when you reach the light, during which Master Chief meets the the Weapon. It turns out this is an AI. What follows is a somewhat informative and amusing exchange between the two, before Master Chief inserts the AI, which unlocks the Together. Again? achievement.
Foundation Collectibles - Cowbell Skull
After the scene, the platform you’re on will rise and take you to a different part of the complex. A collectible in the form of the Cowbell Skull can be found here, so don’t run through too quickly. Head up the stairs in front of you and go through the two automatic doors highlighted in blue. You’ll encounter a few Grunts in this next cavernous room, and the Weapon will note that there’s something up ahead, hinting at the nearby skull.
Once you’ve dealt with the Grunts here, look up and to your right, using AI Scan. You’ll see the skull highlighted in yellow on top of one of the structures. To reach it, you’ll need to use your Grappleshot at least twice, as shown in the gif below:
Follow the Signal
Activate the Bridge with a Power Seed
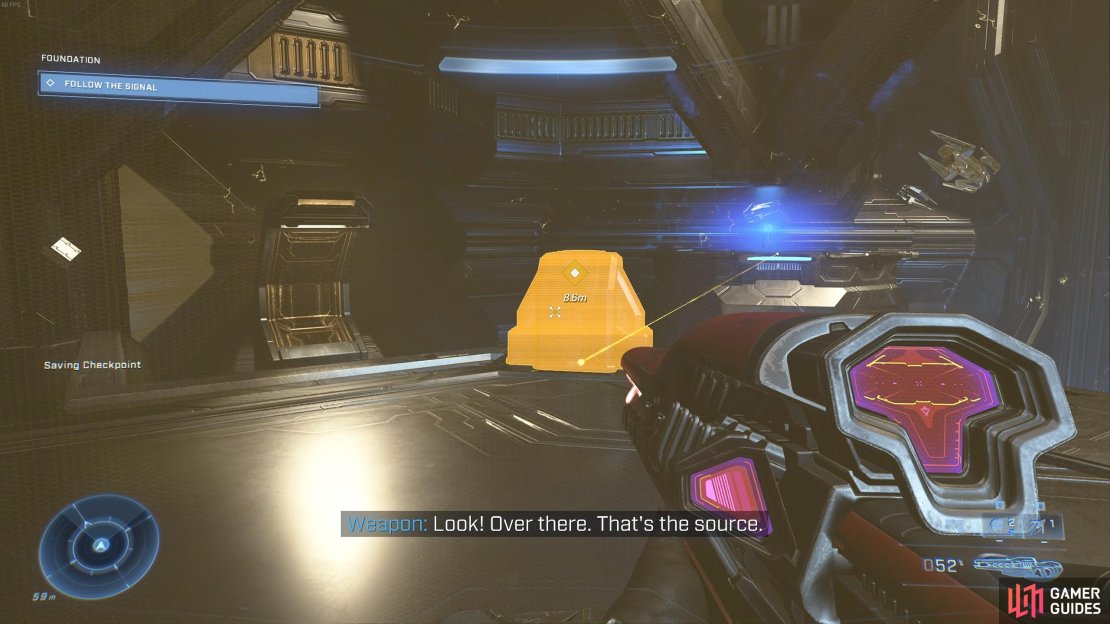
Now that you’ve got the Cowbell Skull, continue through the complex as you kill more Grunts. You’ll be passing through a few more doorways before you reach another room where the Weapon comments on the presence of the source. To reach it, you’ll need to power up the bridge, and to do that you’ll need a power seed. You’ll find this just below the bridge if you go down either of the ramps to your left or right. Take the power seed and place it in the nearby crucible to activate the bridge. You can now run across it and interact with the source to trigger another cutscene, during which you’ll meet Doctor Halsey.
Foundation Collectibles - Banished Audio Log
Now that you’ve acquired and activated the Weapon, it’s time to leave. Use your AI Scan to highlight the way, as you reach yet another cavernous room with a crucible in front of you. Interact with the crucible to raise the bridge, then head over it, killing the Grunts which appear as you go. This will lead to an area with even more Grunts, Brutes, and Jackals, so be ready to fight them. There’s a plasma cannon at the end of this room, so spare some ammunition in a gun with more precise fire so that you can take it out, or just throw grenades at it if necessary. There’s plenty of structures to take cover behind as you finish off others in the area. After defeating all the enemies in this room, you’ll find a Banished audio log beside the door located behind the plasma cannon.
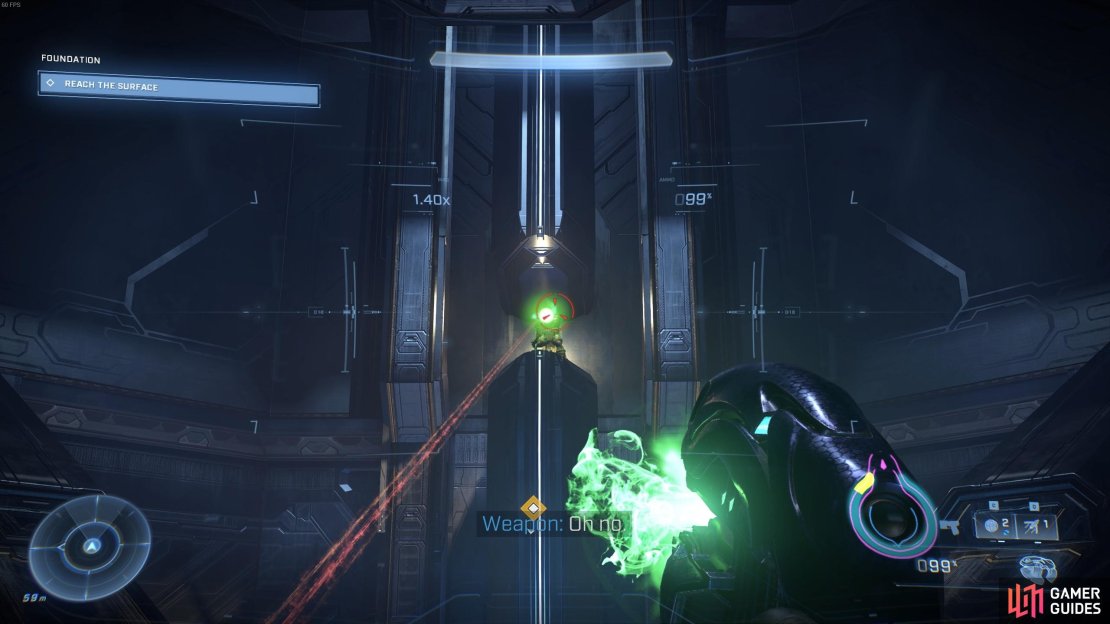
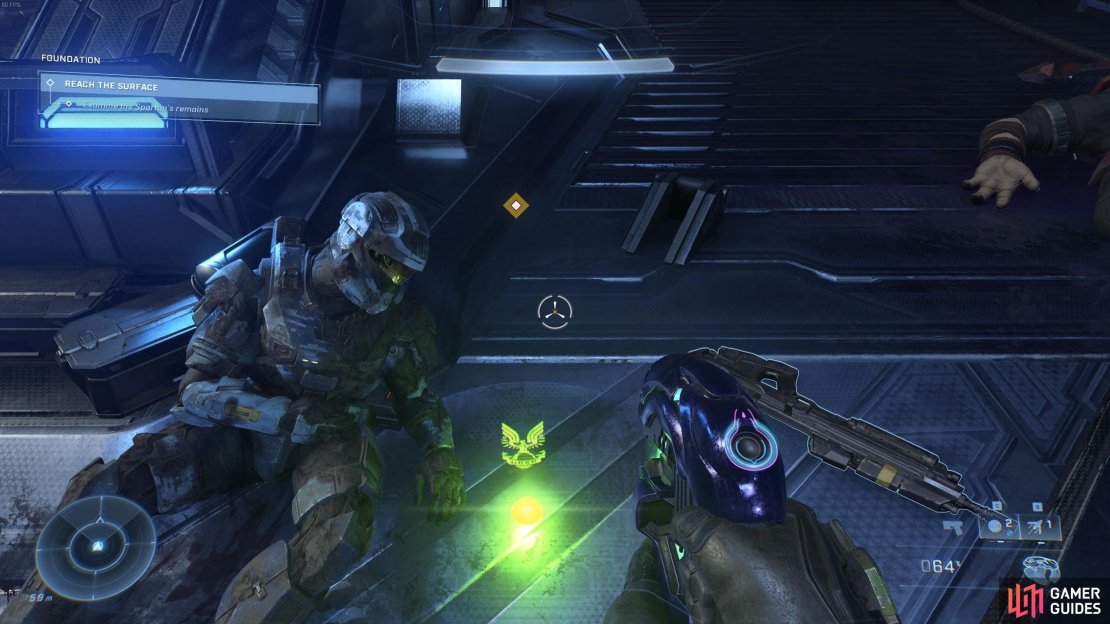
Once you’ve acquired the Banished audio log, continue through the hallways until you reach a room with a sniper and an offline gravity lift. To activate the gravity lift, use Grappleshot to reach the platform where the sniper was. You’ll find a power seed up here which you can use to power the crucible below. When you’re up the gravity lift, head through the hallways until you reach a room with a dead Spartan. Investigate the body to acquire a Mjolnir Suit Upgrade for your shield. You’ll need to power this with a Spartan core, something which you’ll come across soon enough. Once you’re done investigating the Spartan, you’ll enter another room with more Grunts, Brutes, and Jackals. Take them out by focusing fire on the snipers on both sides of the room at the upper levels.
Foundation Collectibles - UNSC Audio Log
After you’ve killed all the enemies in this room, head to the end of it to find a control terminal which is used to call down the nearby elevator. Interact with it to confirm that it requires a power seed, which you can find by following the objective marker to a large room with a long walkway into the centre. The Weapon will comment on the genetic repositories in this room. At the end of the walkway you’ll find the power seed, and a UNSC audio log to the left of it.


How to Defeat Tremonius
Take the Power Seed to the Crucible & Restore Power to the Elevator
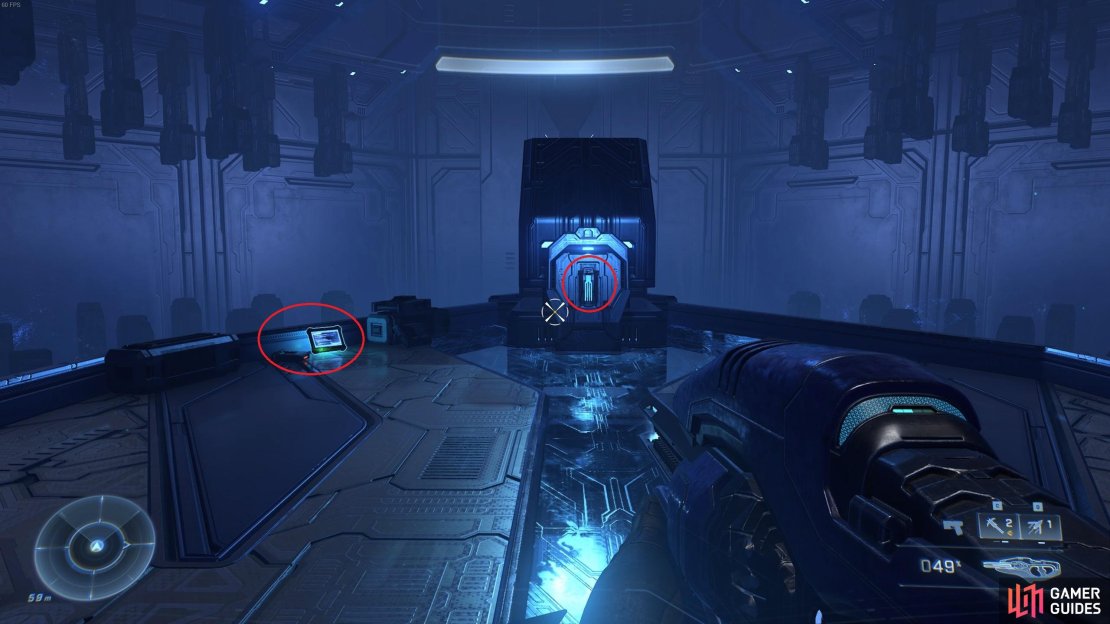
Now that you’ve acquired the UNSC audio log, take the power seed and return to the elevator. You’ll need to place the power seed in the crucible to restore power to the elevator, then you can deploy the Weapon to the terminal to activate it. However, before you do this we’d recommend that you stock up on any grenades in the area, and make sure you have a weapon with a decent amount of ammunition in it. Ideally, you should look for a Pulse Carbine, since this will be most useful for the fight ahead.
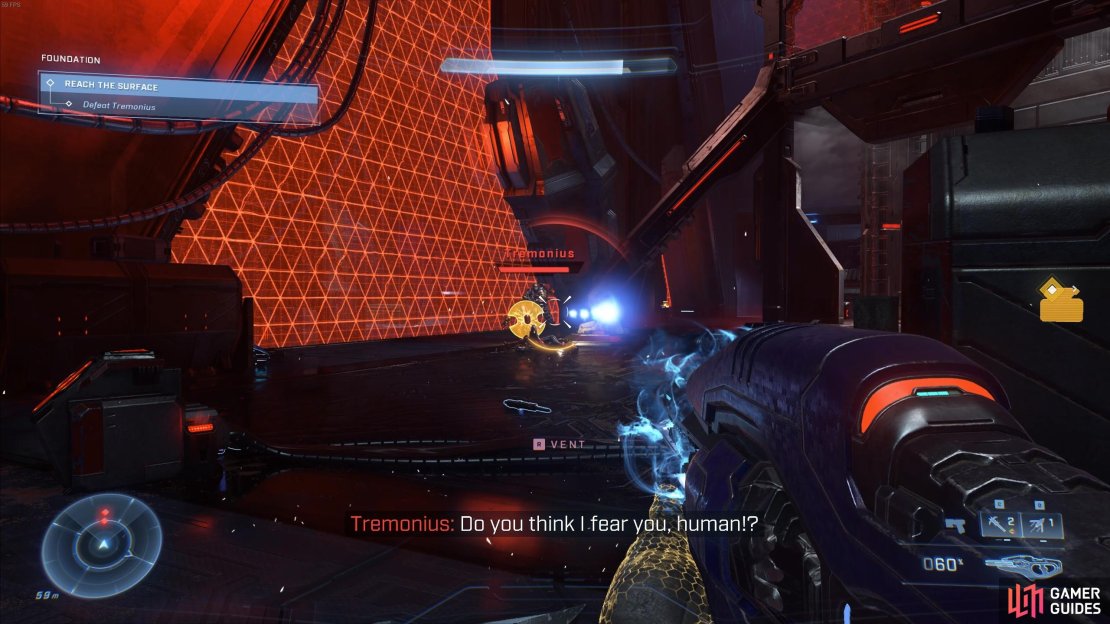
With the elevator activated, an elite Brute named Tremonius will come down and exit it with some Jackals. These Jackals have large orange shields which are more powerful than their blue equivalents. They also have more armor and inflict slightly more damage, so you should focus on taking these out quickly to eliminate the risk of being shot from behind or from the side. This is where the Pulse Carbine comes in, since it’s extremely effective at destroying Jackal shields in just a few hits. If you need to finish the Jackals off, throw a few grenades.
Once the Jackals are dead, turn your attention to Tremonius and fire at him to deplete his energy shield. You won’t be able to damage his core health until you do this, so it’s important that you maintain fire on him to ensure that the shield doesn’t have time to regenerate. Even when the shield is fully depleted, it will regenerate to full again if you don’t damage Tremonius for a while. the Pulse Carbine is again the most effective weapon available to you for eating through shields, so try to use this at first. You’ll probably run out of ammunition with the Pulse Carbine before you kill Tremonius, so you’ll need to finish him off with grenades, other weapons picked up from the area, or with your pistol.
Once you’ve defeated Tremonius you’ll unlock the Ascension achievement. All that remains now is to use the elevator to reach the surface, thereby completing the mission.
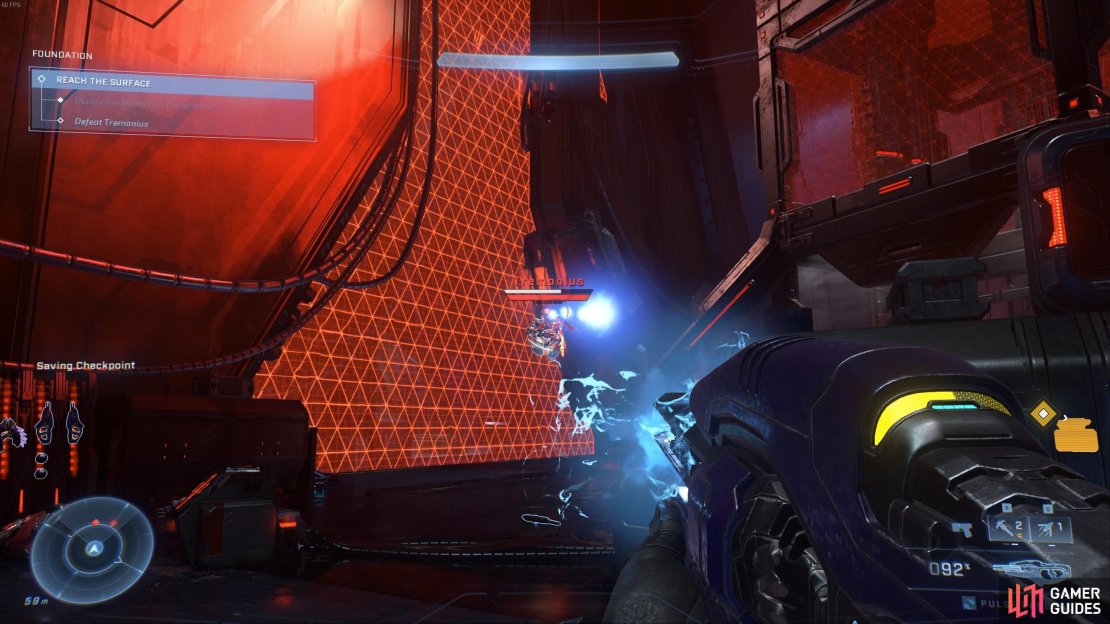

(1 of 3) The Pulse Carbine will destroy Tremonius’ shield quickly.
No Comments